The southern slice of the Heroes and Light campaign in Order of the Sinking Star links the Hearty Heroes of Hauling with the Vault of the Beamcasters, so every room mixes cart tracks, floor switches and colored beams. Clearing this run opens the Hauling gate, the western beast ruins and the central staircase, then unlocks new paths heading further south. The rooms below are the ones reachable before you need progress in other clusters.
Quick answer: Push each beam-emitting cart onto its track switch to aim the beam into its receptor, stand on the pedestal to open each trial, then route beams into every target cage and floor plate to clear the gate.
Controls used in this section
The same four inputs carry you through every room here. Keep them in mind before you start pushing carts.
| Key | Action |
|---|---|
| V | Interact and enter trial chambers |
| Space | Trigger pedestals and primary interactions |
| X | Operate cart levers and direction selectors |
| Tab | Open the map |
Cart, Rod laser setup and the Hauling courtyard gate
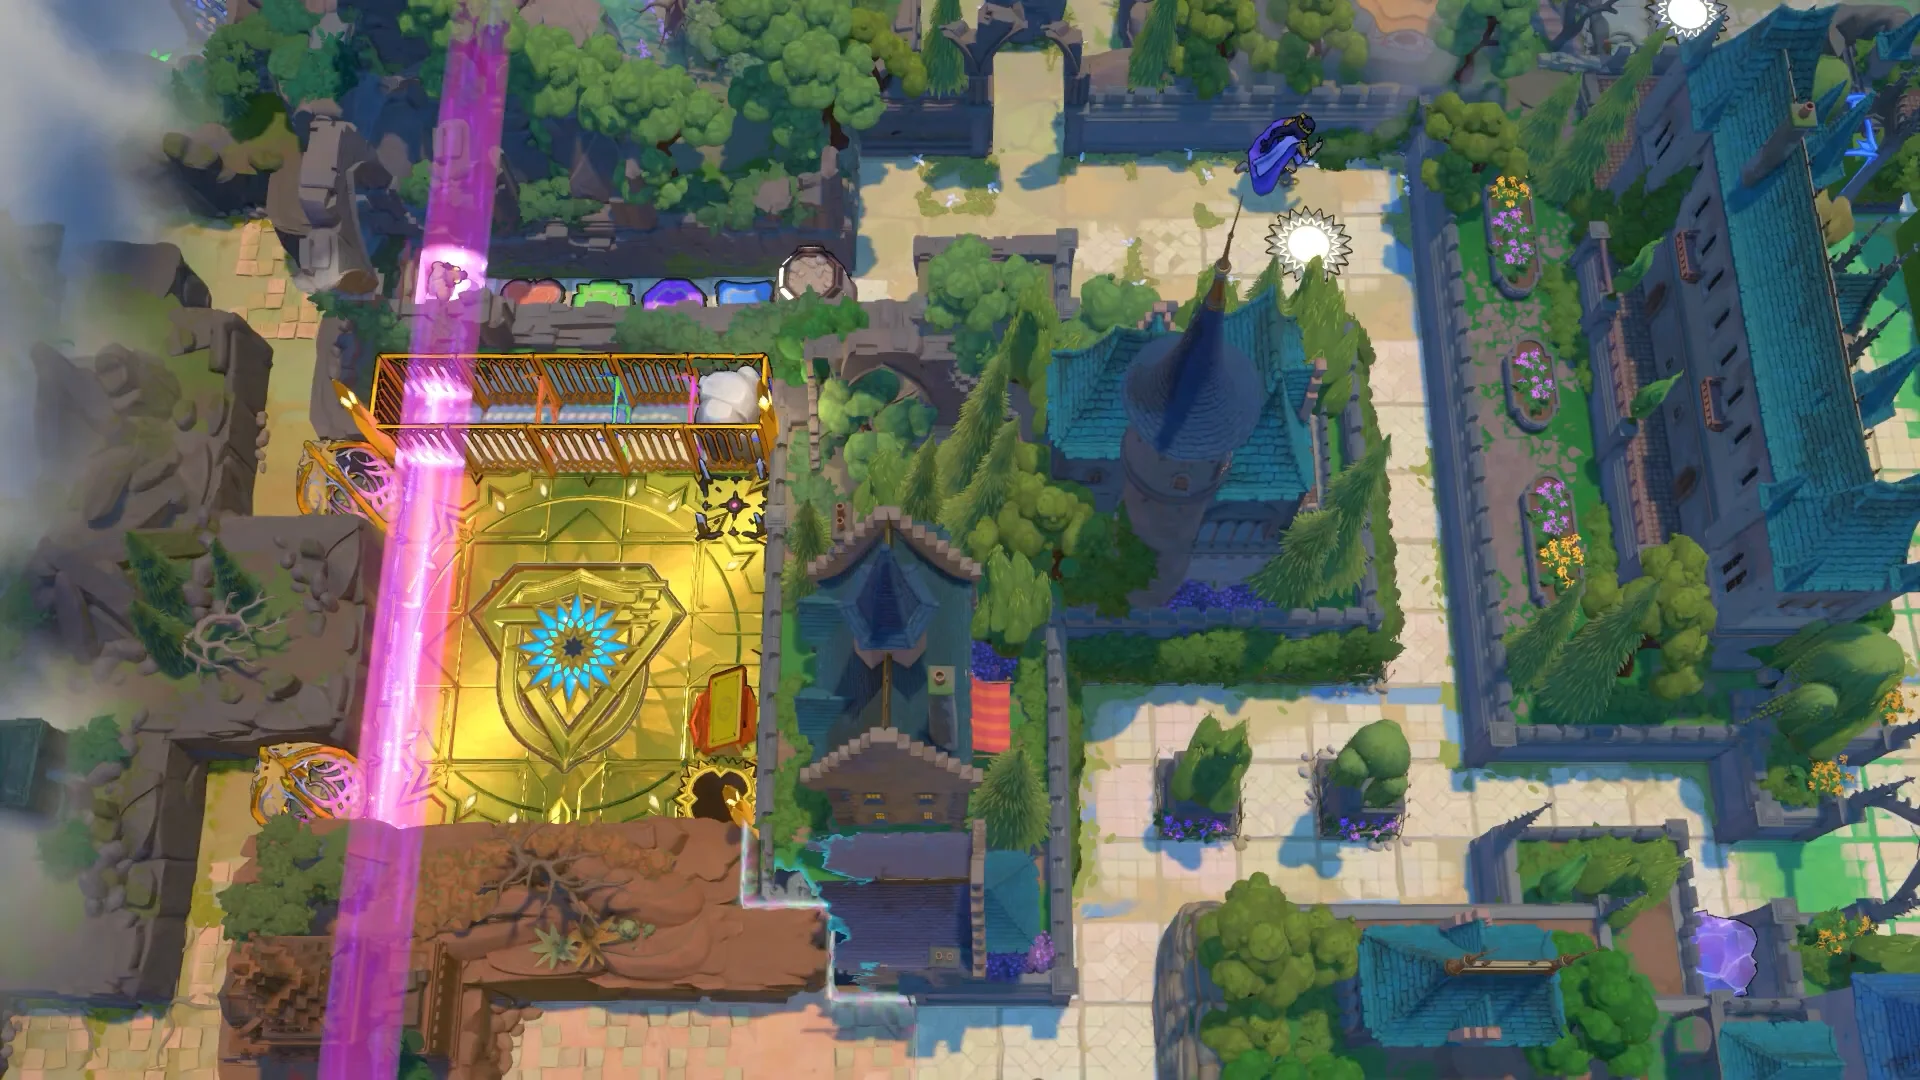
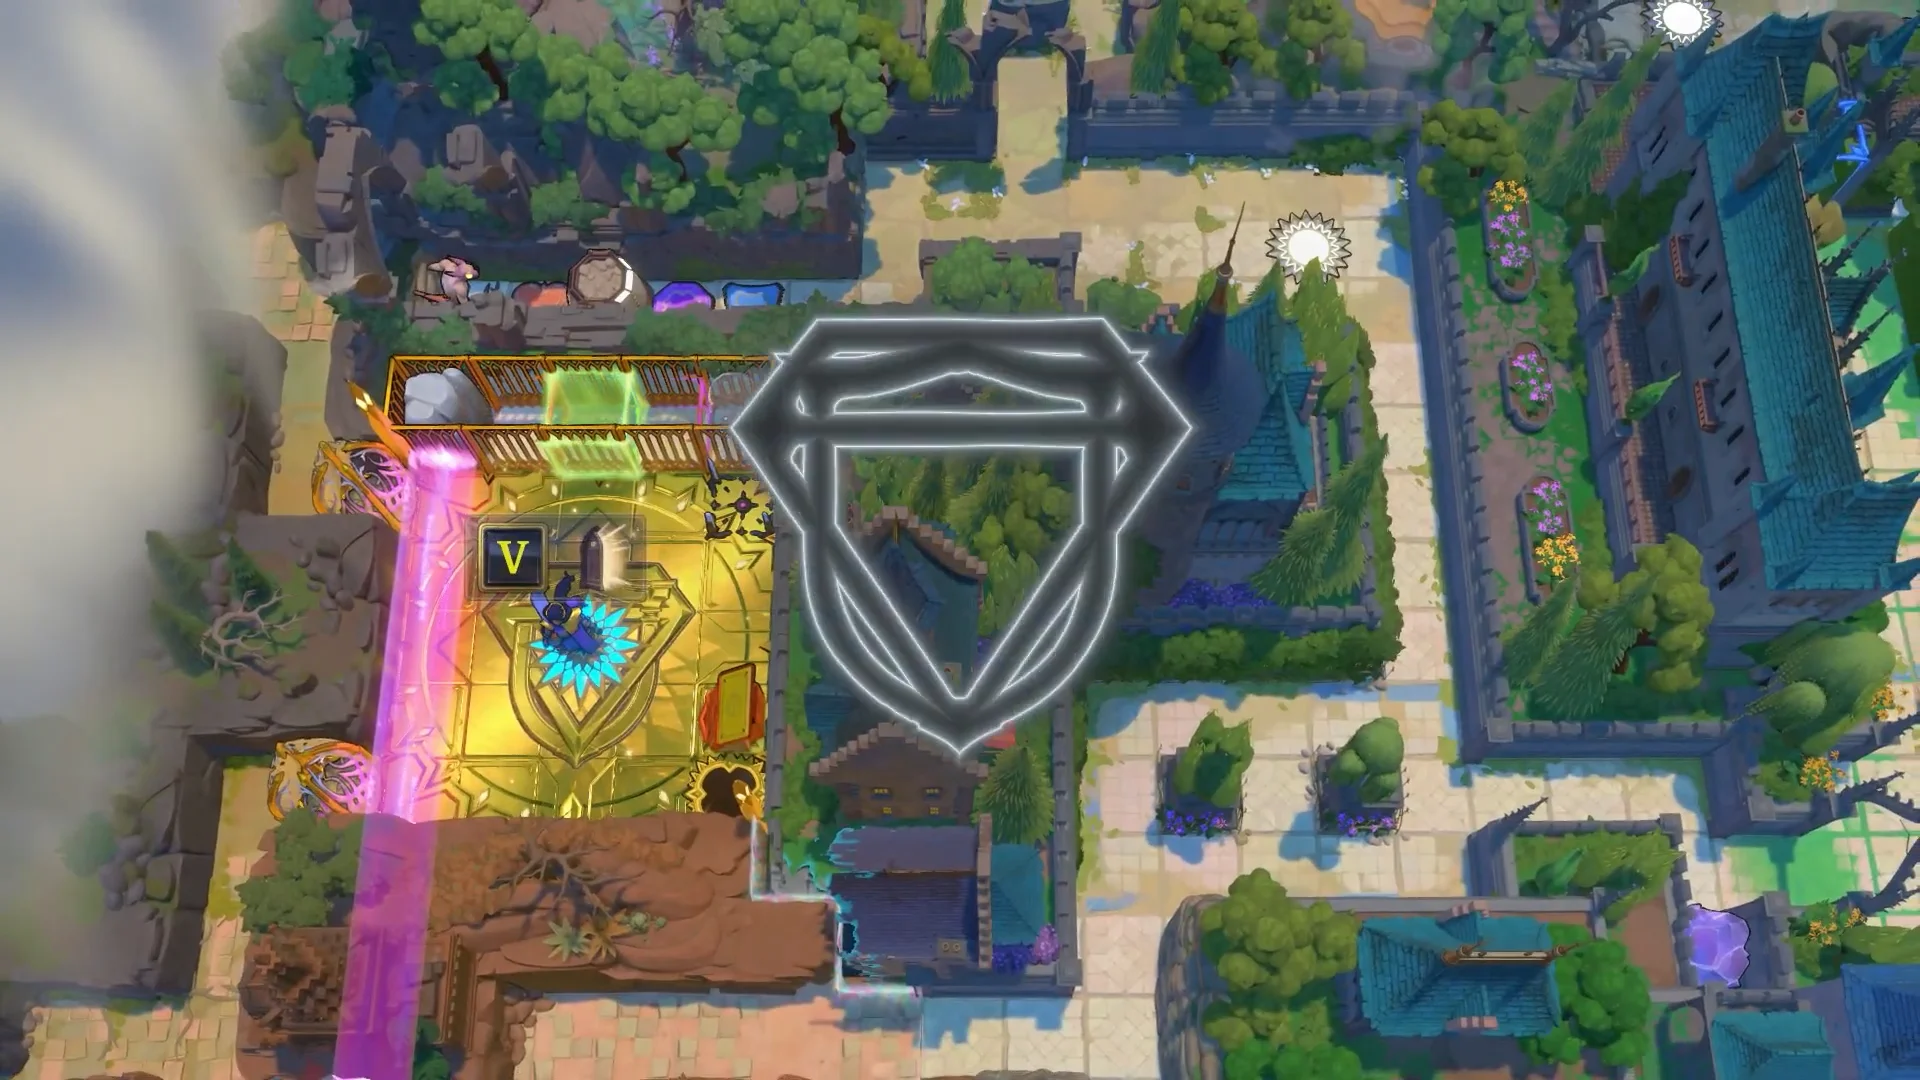
From the Crossroads, head south into Heroes of Hauling and then west toward Cart, Rod. The goal here is to aim the purple beam across the golden courtyard and reach the central pedestal.
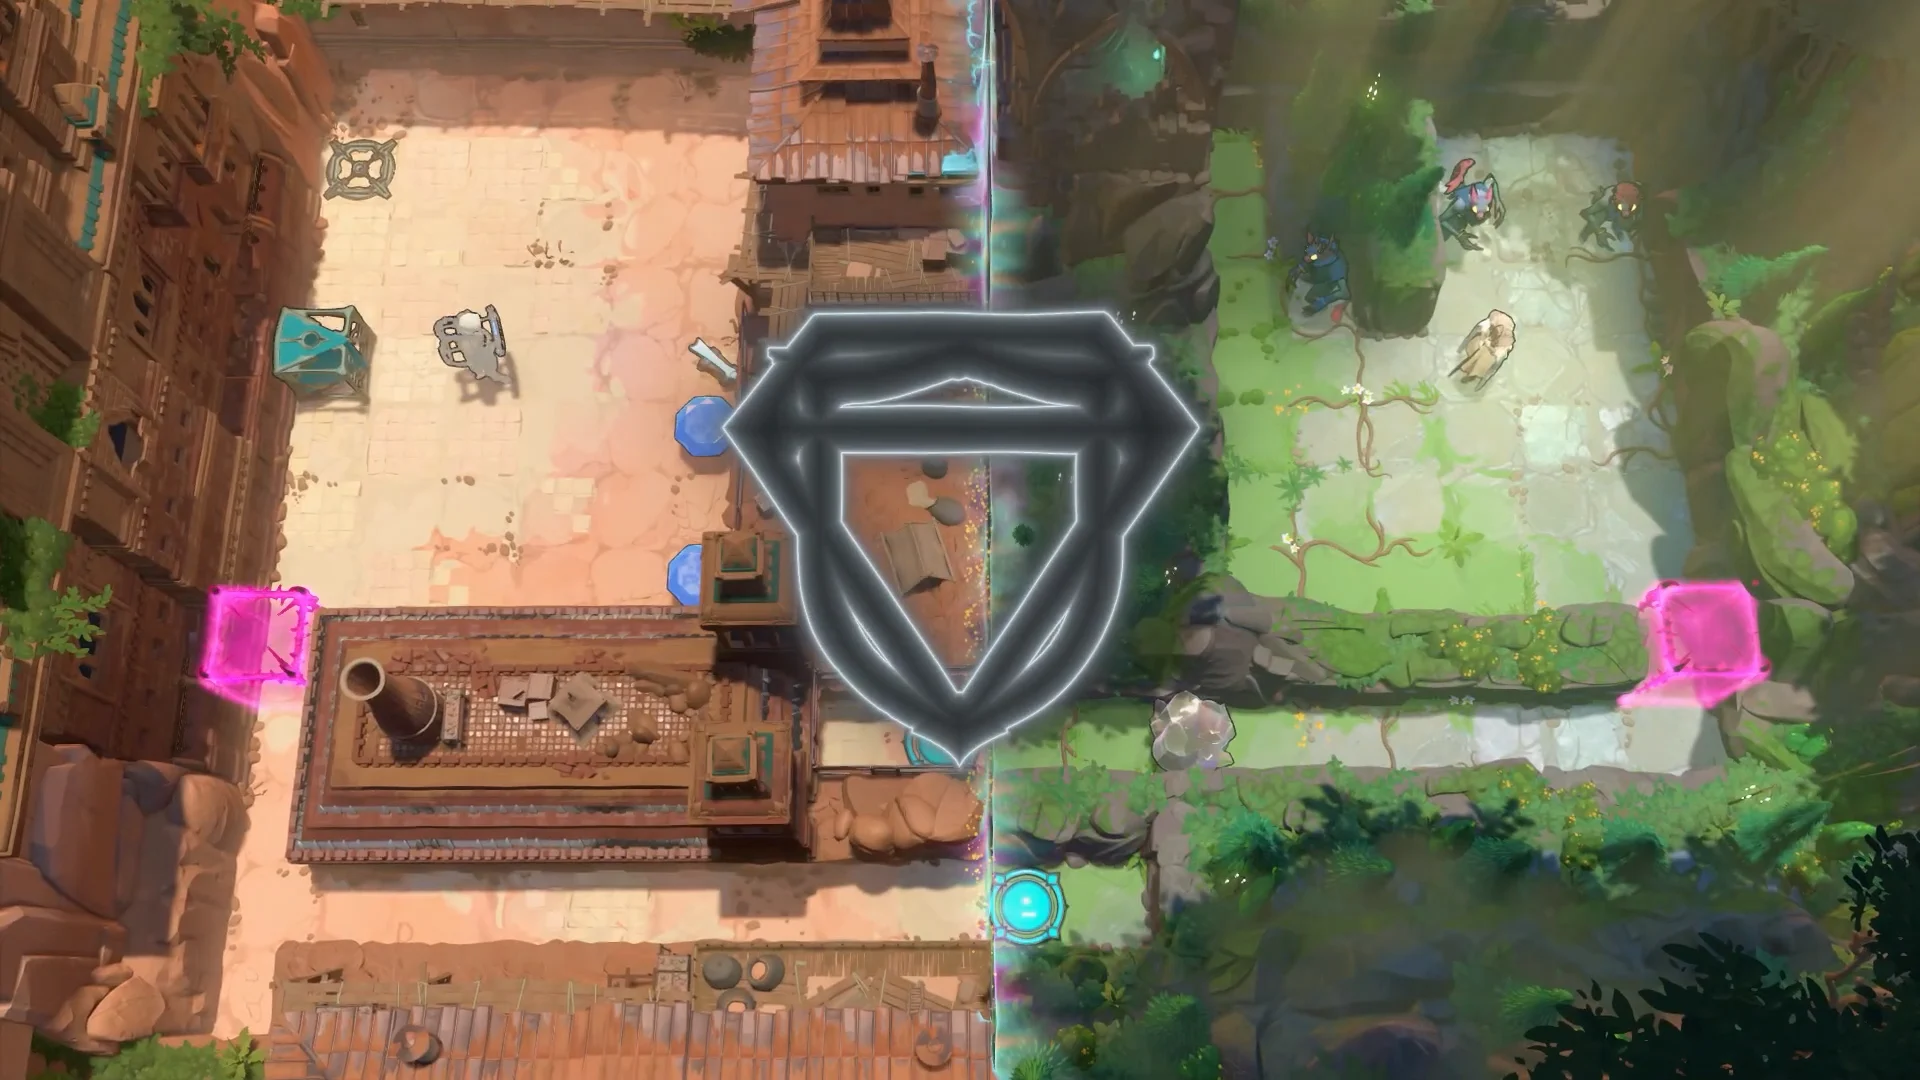
Hauling trial: the dual-sided rift chamber
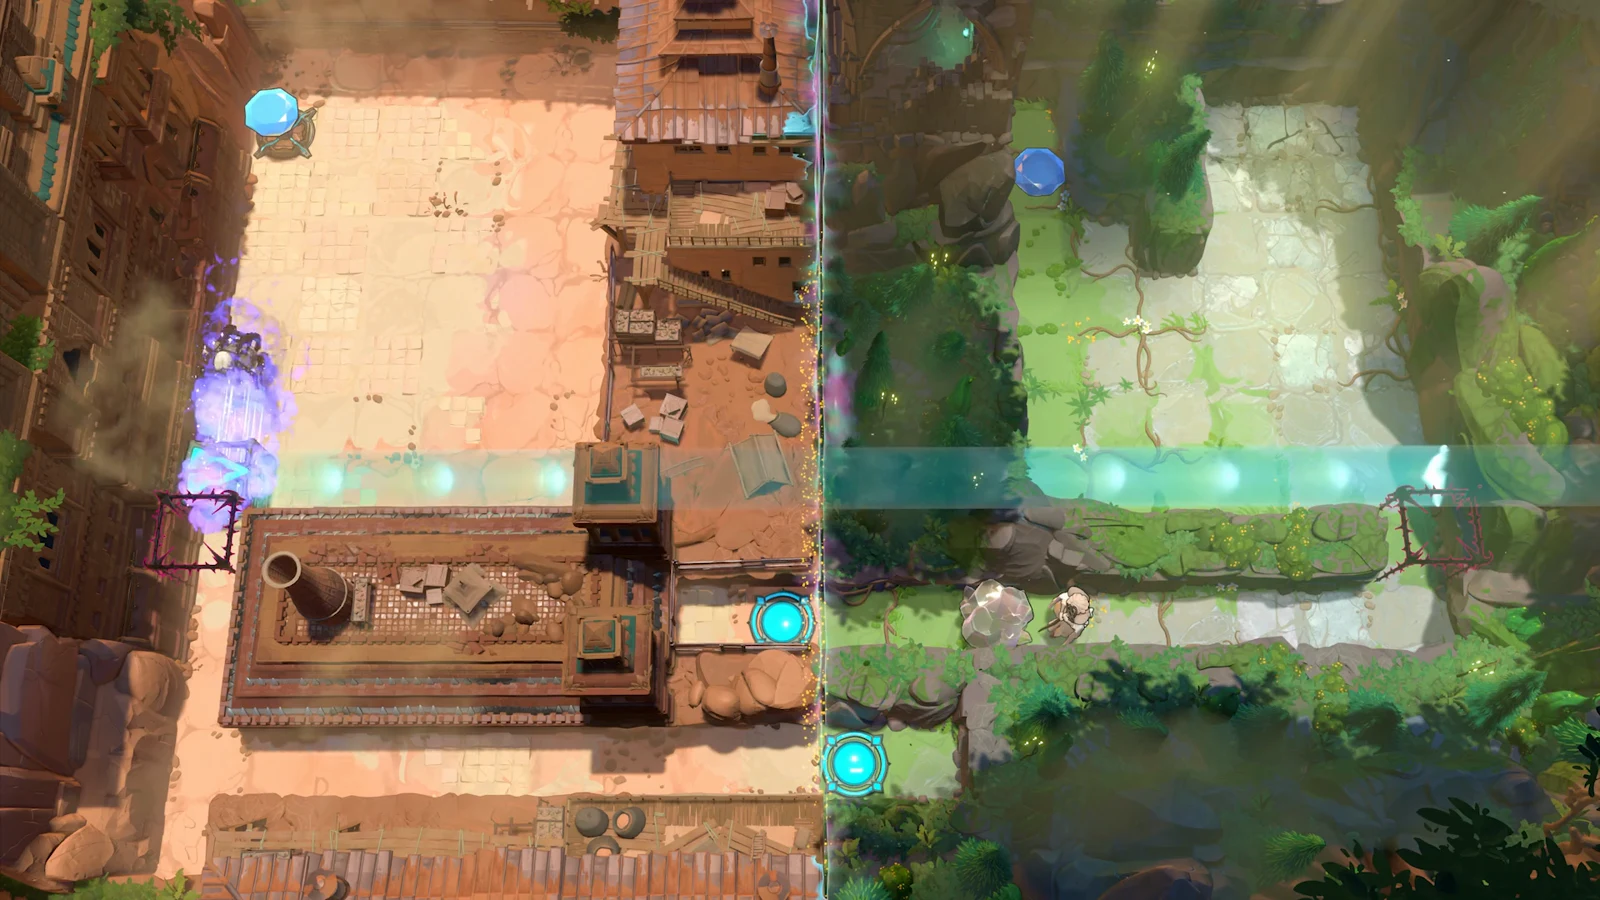
Inside the chamber, two characters are separated by a glowing vertical rift. You work both sides to carry one beam across the rift and into the pink receptor cage.
Western beast maze and the shield trial
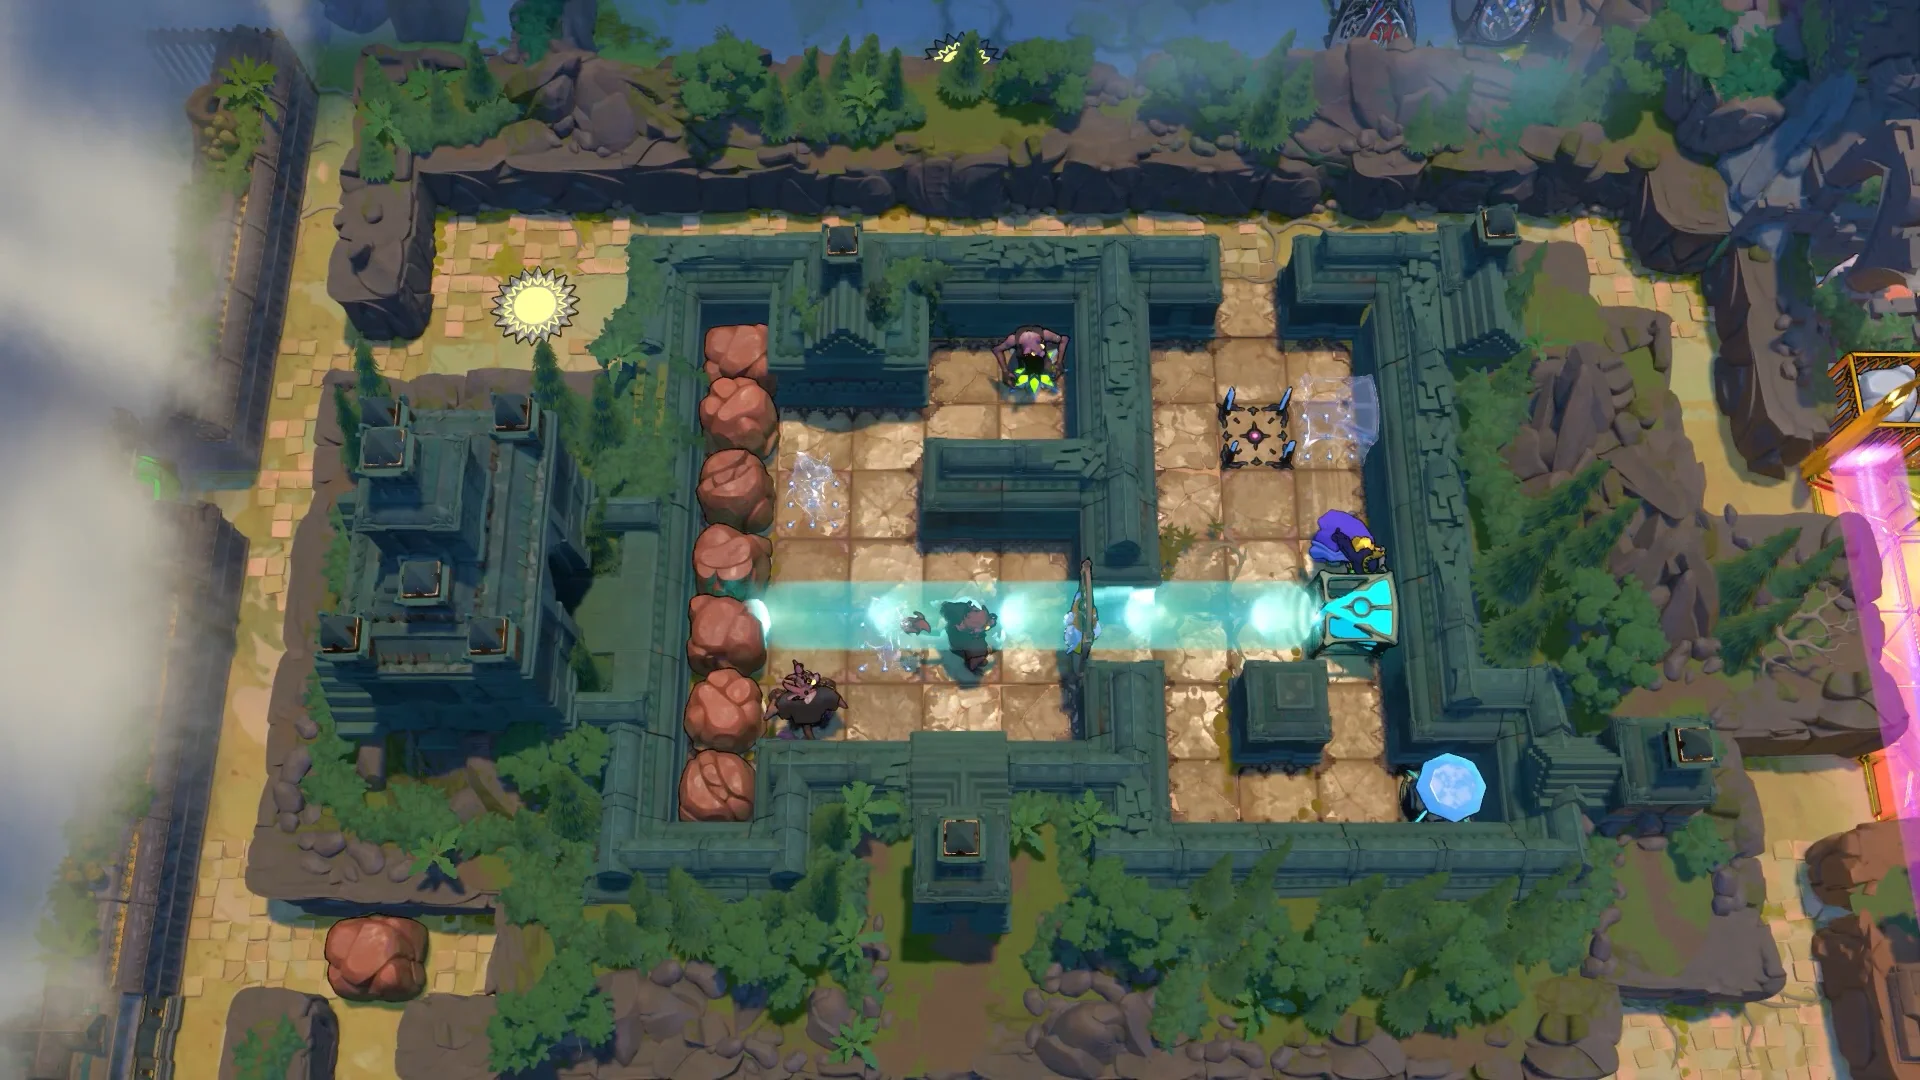
Walk west through the rocky canyons to the stone monster ruins. The overworld maze here uses a beam cannon on a track to destroy the dark beasts before you can reach the center door.
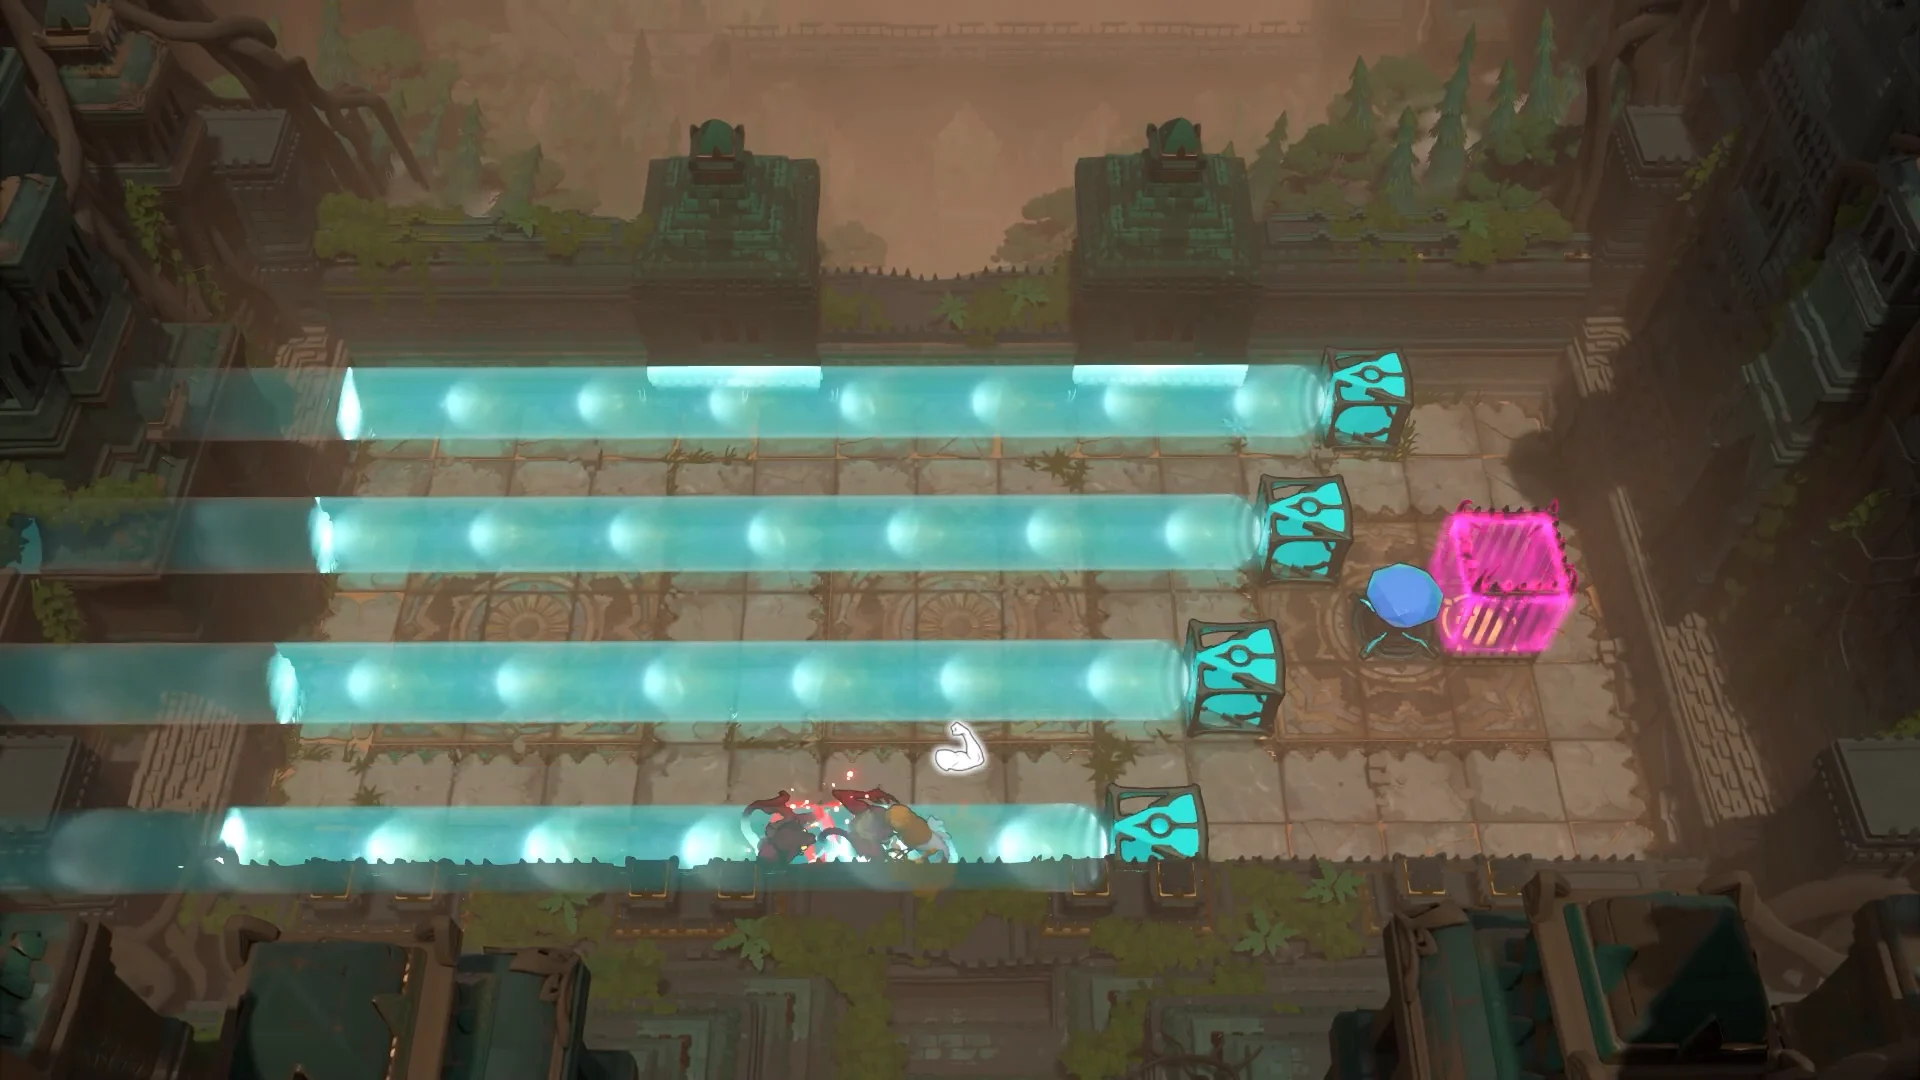
Prism carts trial chamber
This room has four parallel horizontal beam channels and several prism carts riding horizontal lanes. You shift the carts so the beams fold down and back across the room, feeding the bottom beam into the far right purple cage.
Push the reflector carts along their lanes one at a time, reflecting each beam downward and then across again, until the lowest beam lands in the purple target receptacle on the right. Then exit back to the overworld and pathfind north through Heroes and Artifacts into Heroes and Light.
Heroes and Light overworld maze and the central staircase
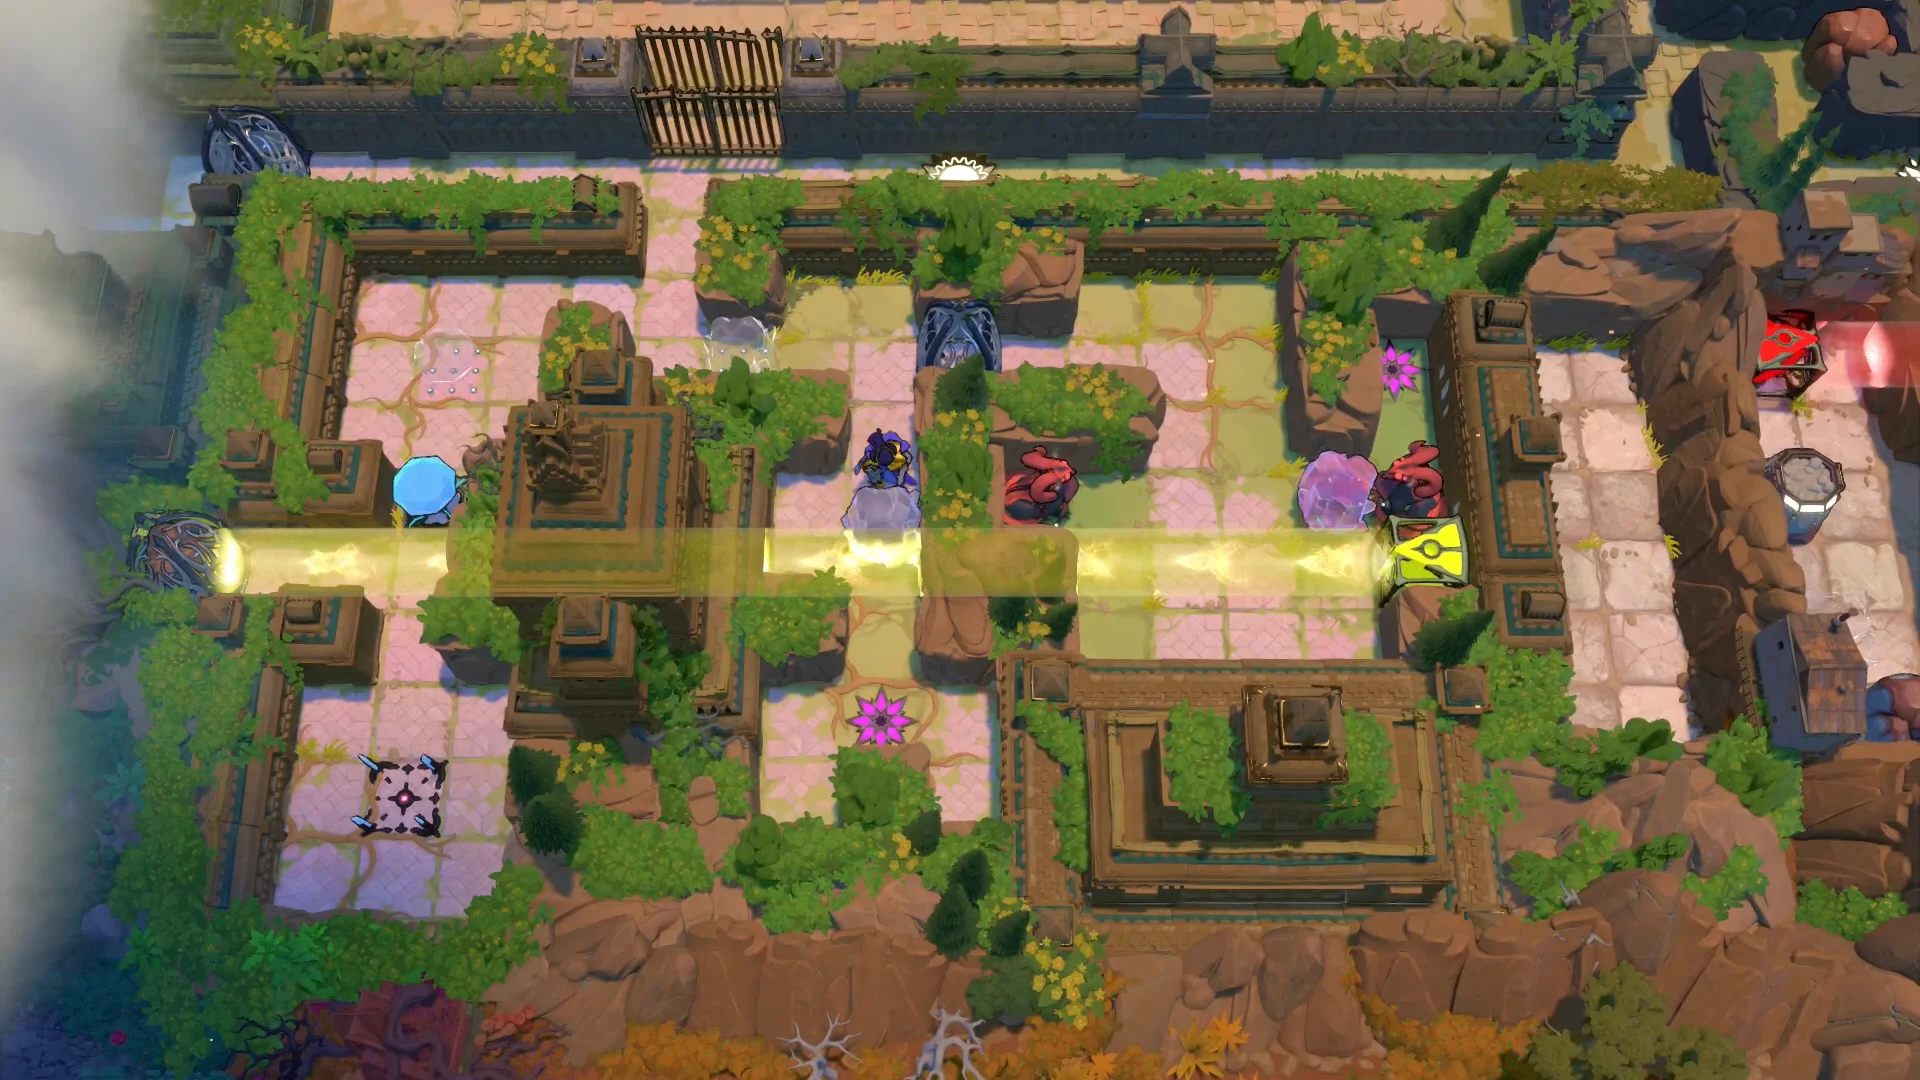
Back on the surface, the overgrown maze is blocked by dark brambles over the central structure. A yellow light beam clears them and reveals the underground staircase.
Align the yellow beam horizontally through the courtyard so it dispels the dark brambles. With the path open, the central underground staircase unlocks and you can drop into the first light trial.
Red pillars light chamber
The first underground trial has yellow vertical light beams and red snake-shaped stone pillars blocking the rear receptors. Move the three bottom light cannons sideways across their columns, pulverizing the brown rock obstacles one at a time, then blast the red snake totems so the beams reach the receptors behind them.
Purple crystal chamber
Return to the maze and trigger the ground nodes to zap the monster plants. Next, enter chamber three, where purple crystal clusters stand in rows above floor targets. Move the light projector blocks from the upper and lower edges into the crystal area, directing yellow energy beams across each row. Continue until every purple crystal has vanished and all the floor pressure runes are lit.
In a yellow beam, something only breaks when it cannot be pushed. Line up a crystal against a wall or another block on the far side so the beam smashes it instead of shoving it out of position.
How to confirm the section is clear
Each trial completes the moment its beam locks into the pink or purple cage, or when every floor rune glows at once. On the surface, the matching courtyard beams then clear their barrier gates, and a solved purple crystal chamber opens the new pathways in the overworld maze so you can keep moving south. When the southern paths are all open, this part of Heroes and Light is finished and the next segment waits beyond it.