Skipping Stones to Lonely Homes is the south world in Order of the Sinking Star, reached by walking south from the Crossroads. It runs on one idea with endless variations: you push stones to divert fast water, drop lily pads into the right currents, and ride them across open sea. The campaign splits into two numbered levels, adds a second playable character partway through, and hides four ancient charting tools along the way.
Quick answer: Clear both Skipping Stones levels, break every interdict, rescue the surveyor’s boat Vedessud, then finish the six optional chambers to pop the Skipping Stones achievement.
How the south world is laid out
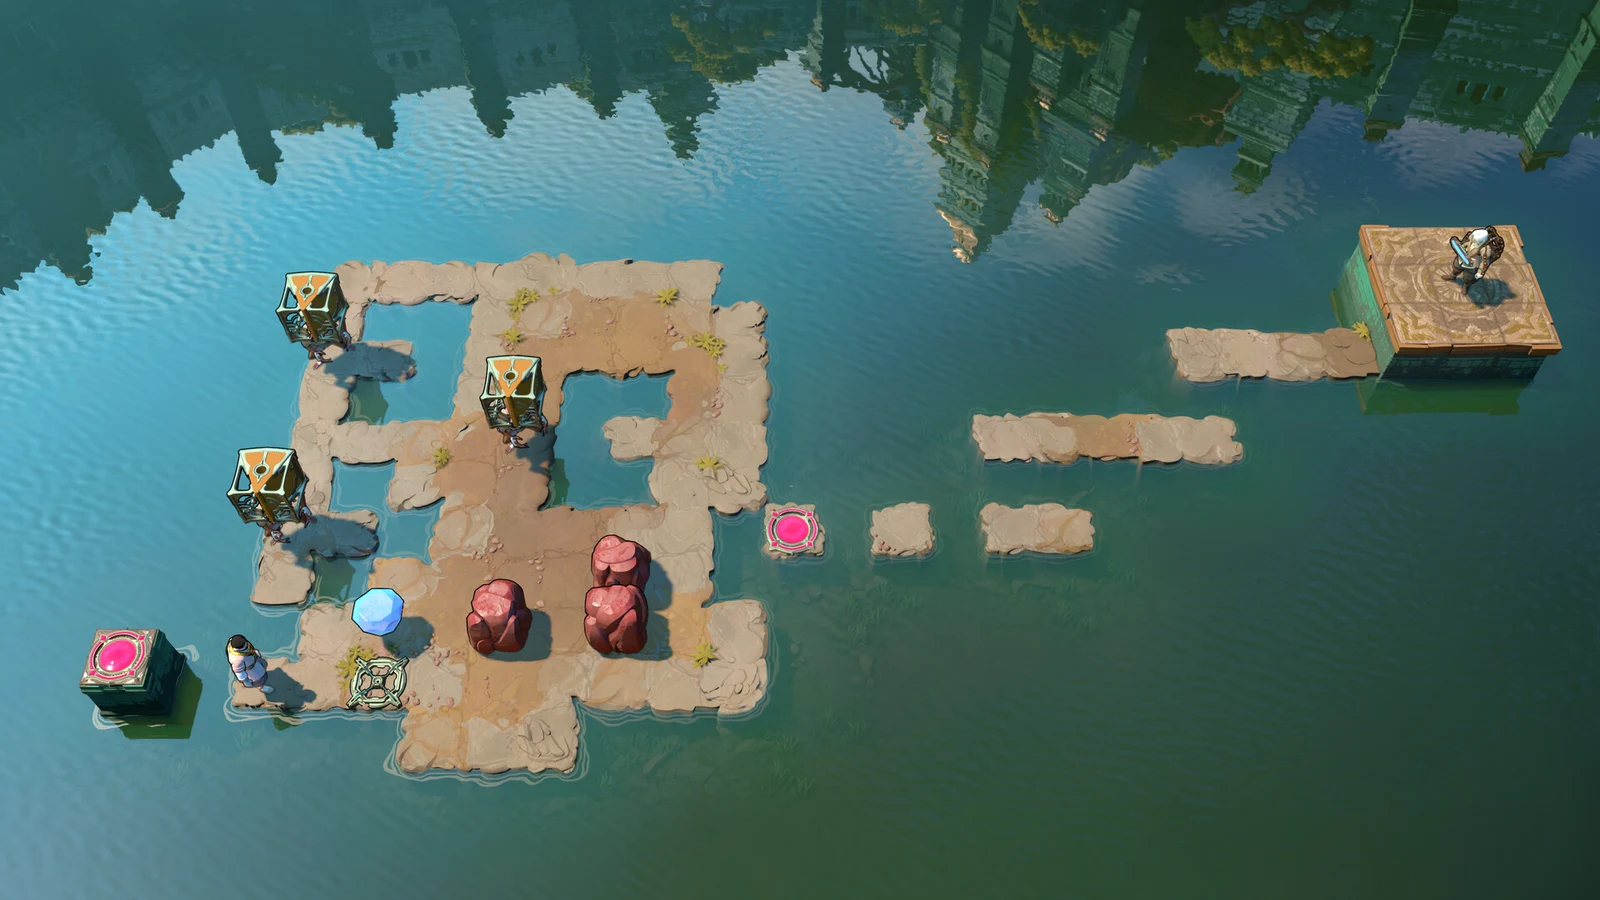
You enter after a crash, where your talking boat Borrie asks you to fetch a map on the island. From there the world flows screen by screen. Each screen is a self-contained grid of land, water currents, stones, and lily pads, and stones you push off one screen often become the key to the screen below or beside it.
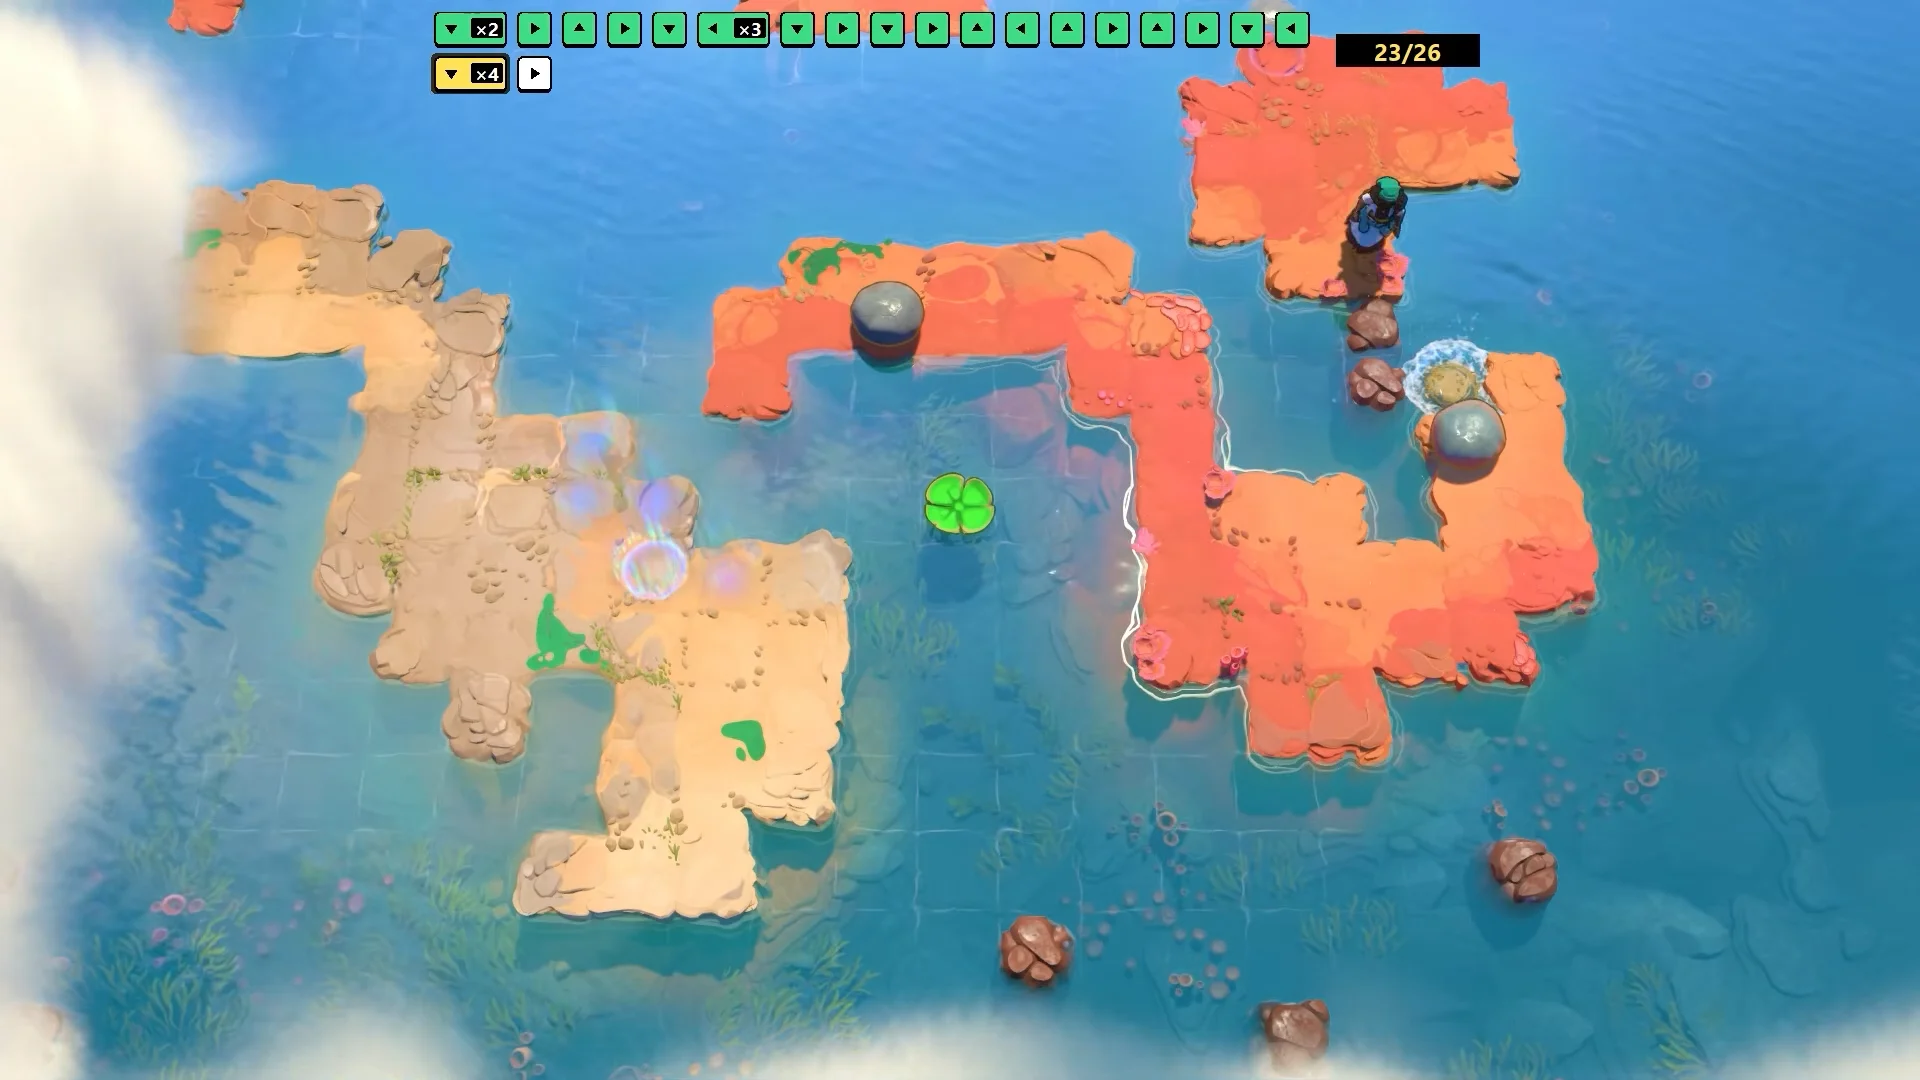
Two systems carry the whole world. Stones slide one tile at a time until a wall or another stone stops them, and a stone shoved into water becomes a submerged step you can later stand on or build a bridge across. Lily pads drift along currents, and pushing a stone into a pad knocks the pad into a neighboring current so it eventually carries you to the next landmass.
Hold Alt (or L2) to speed up the currents when you are waiting for a pad to line up, and hold Ctrl (or R2) to slow time when a push needs tight timing. Movement has unlimited undo, so a bad push is never fatal.
Level 1: solo stone and lily pad screens
The first level is thirteen screens solved alone as Janaila. The opening screen is the template for everything after it.
Several screens expect you to carry a leftover stone down to the next screen. On screen 4, for example, you route the bottom stone into the checkpoint column and then continue pushing it down three tiles to deliver it to screen 5, where it becomes the piece you need there. Treat spare stones as inventory you move between rooms.
Breaking the interdicts
Interdicts are magical seals drawn as glowing circles on rock and sand. While one is active it locks a stretch of water and blocks your route. You clear it by physically reaching the markings and scuffing them out with your feet, which dissolves the circle and reopens the passage.
The interdicts always sit behind a short stone puzzle, so the real task is building a stepping route to the marked tile rather than the erasing itself. Once you stand on it, the disruption is automatic.
The four charting treasures
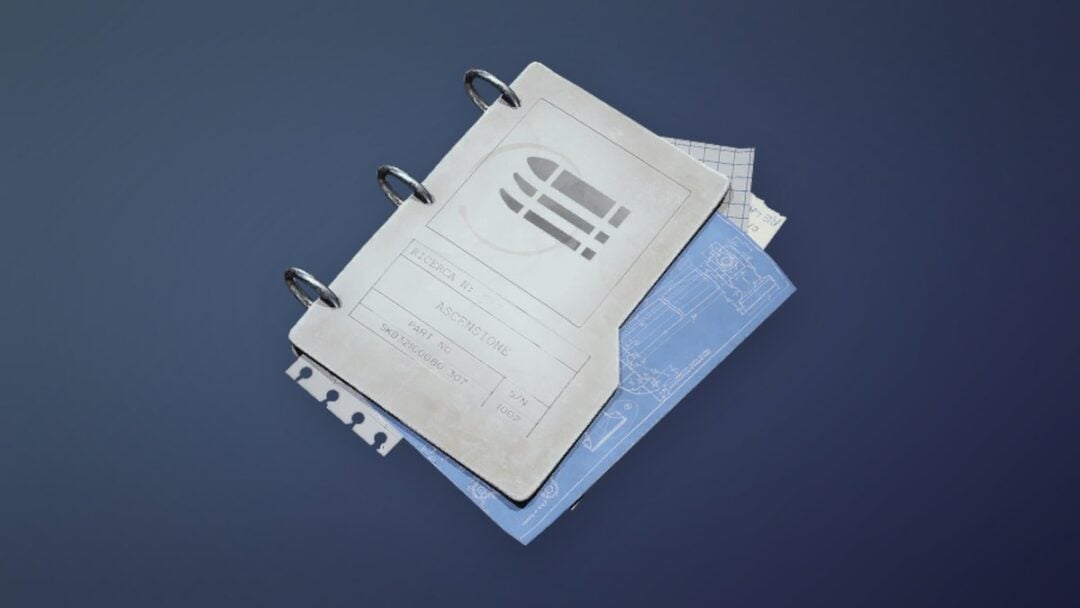
Four chests scattered through the waters hold ancient surveying tools. Each one sits behind an optional detour off the main route, and grabbing all four is part of fully completing the world.
| Treasure | What it is | Where |
|---|---|---|
| Platinum ruler | Wooden ruler that stretches lengthwise yet stays rigid when bent | Level 1 treasure detour (screen 7) |
| Bag of pins | Magnetic platinum pins with painted heads showing landscapes | Level 1 treasure detour (screen 11) |
| Ink bottle | Capless ink that sloshes but never spills, even inverted | Eastern green-island waters |
| Fountain pen | Platinum pen with a dial that reshapes the nib | Isolated western islet chest |
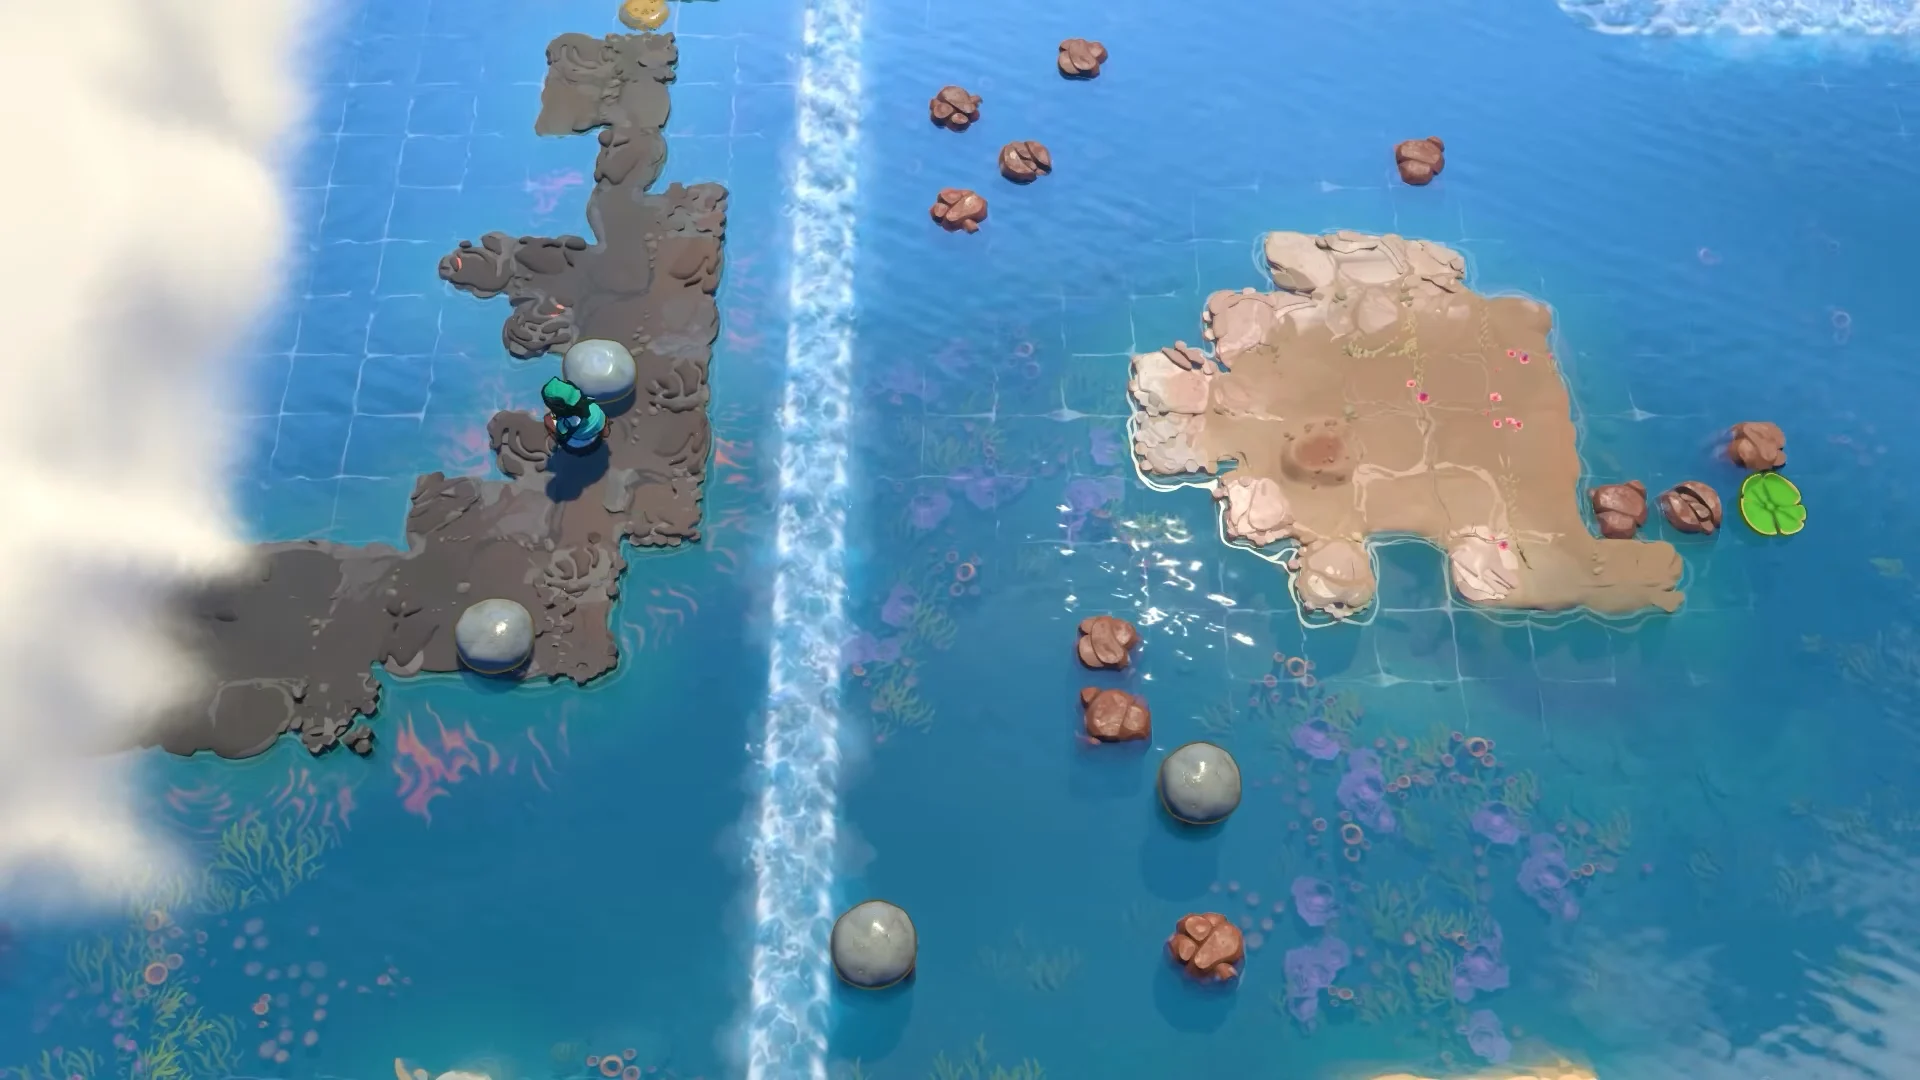
Both level 1 treasures are reached by pushing a stone onto a submerged brown rock in a corner of the screen to build the extra step the chest requires. For the first one, remember to haul the stone beside the chest back out with you, because you need it to finish the screen you grabbed it from.
The later two chests sit on tiny outcrops reached by riding rapids west. Route a boulder into the western current to bridge the gap, then step across to the islet.
Level 2 and the two-character switch
Level 2 is twelve screens and introduces a second character. You toggle between the two with the C key, controlling one at a time while the other stands still. Many solutions depend on one character acting as a wall that stops a sliding stone so it submerges exactly where you need a step.
In the written solutions the two are labelled C1 and C2. You can decide which is which on every screen except the final puzzle, where the character you carried in from level 1 has to be C1. The core rhythm is passing a single stone back and forth across water, each push laying a new submerged tile until a crossing exists for both of them.
Screen 7 and screen 9 also fold in interdicts. Touch the interdict with one character first, then use the other to set up the lily pad ride that carries you out. Treat the interdict as a free action you slot in before the timing-heavy pad pushes.
Meeting the surveyor and pushing the blob
Between the two levels you solve a rotating ring gateway on the overworld map to open a new sector. Walk up to the ornate stone gate and line up the ring to pass through.
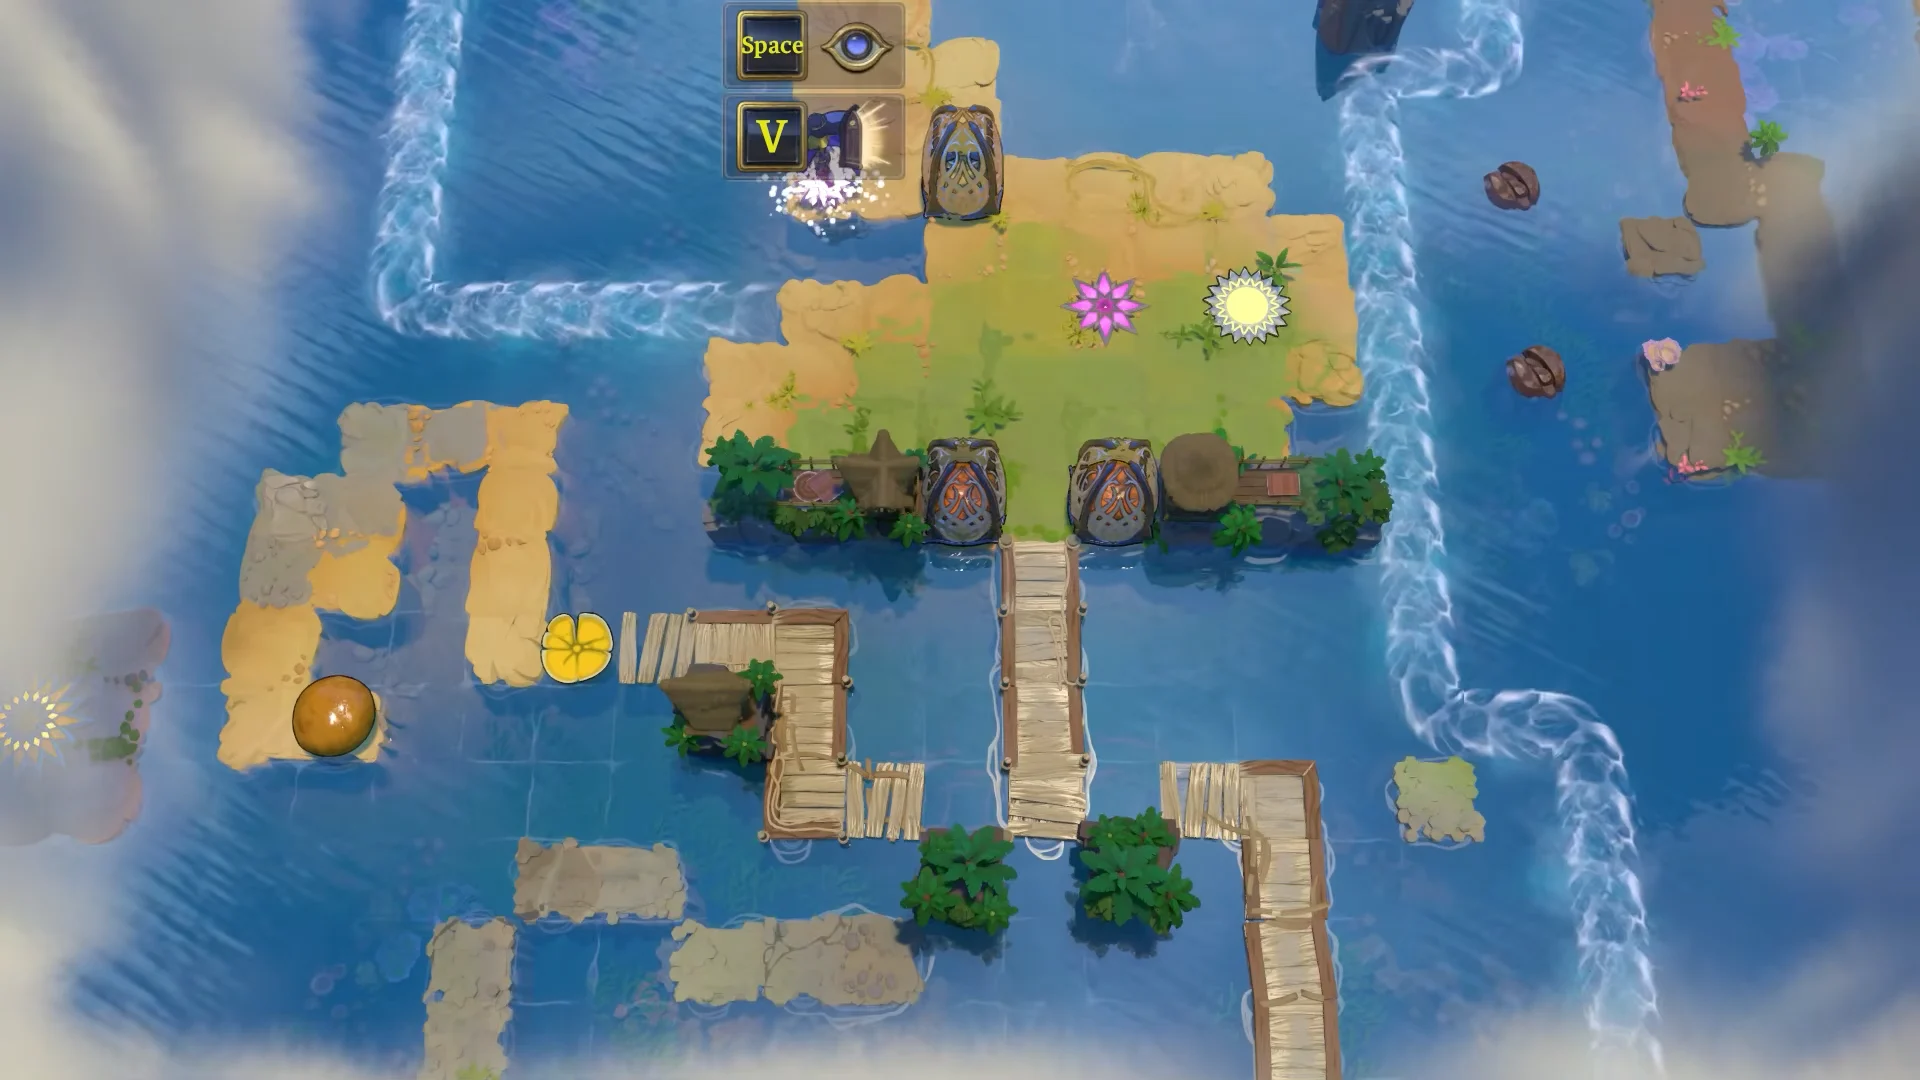
Inside, you meet a stranded surveyor from the Eastern Reaches, there to investigate rumors of an unauthorized Farguild incursion, along with her elastic pink companion blob. From here the co-op puzzles change shape: instead of stones, you bounce the blob through currents, pressure pads, and narrow channels by coordinating both characters.
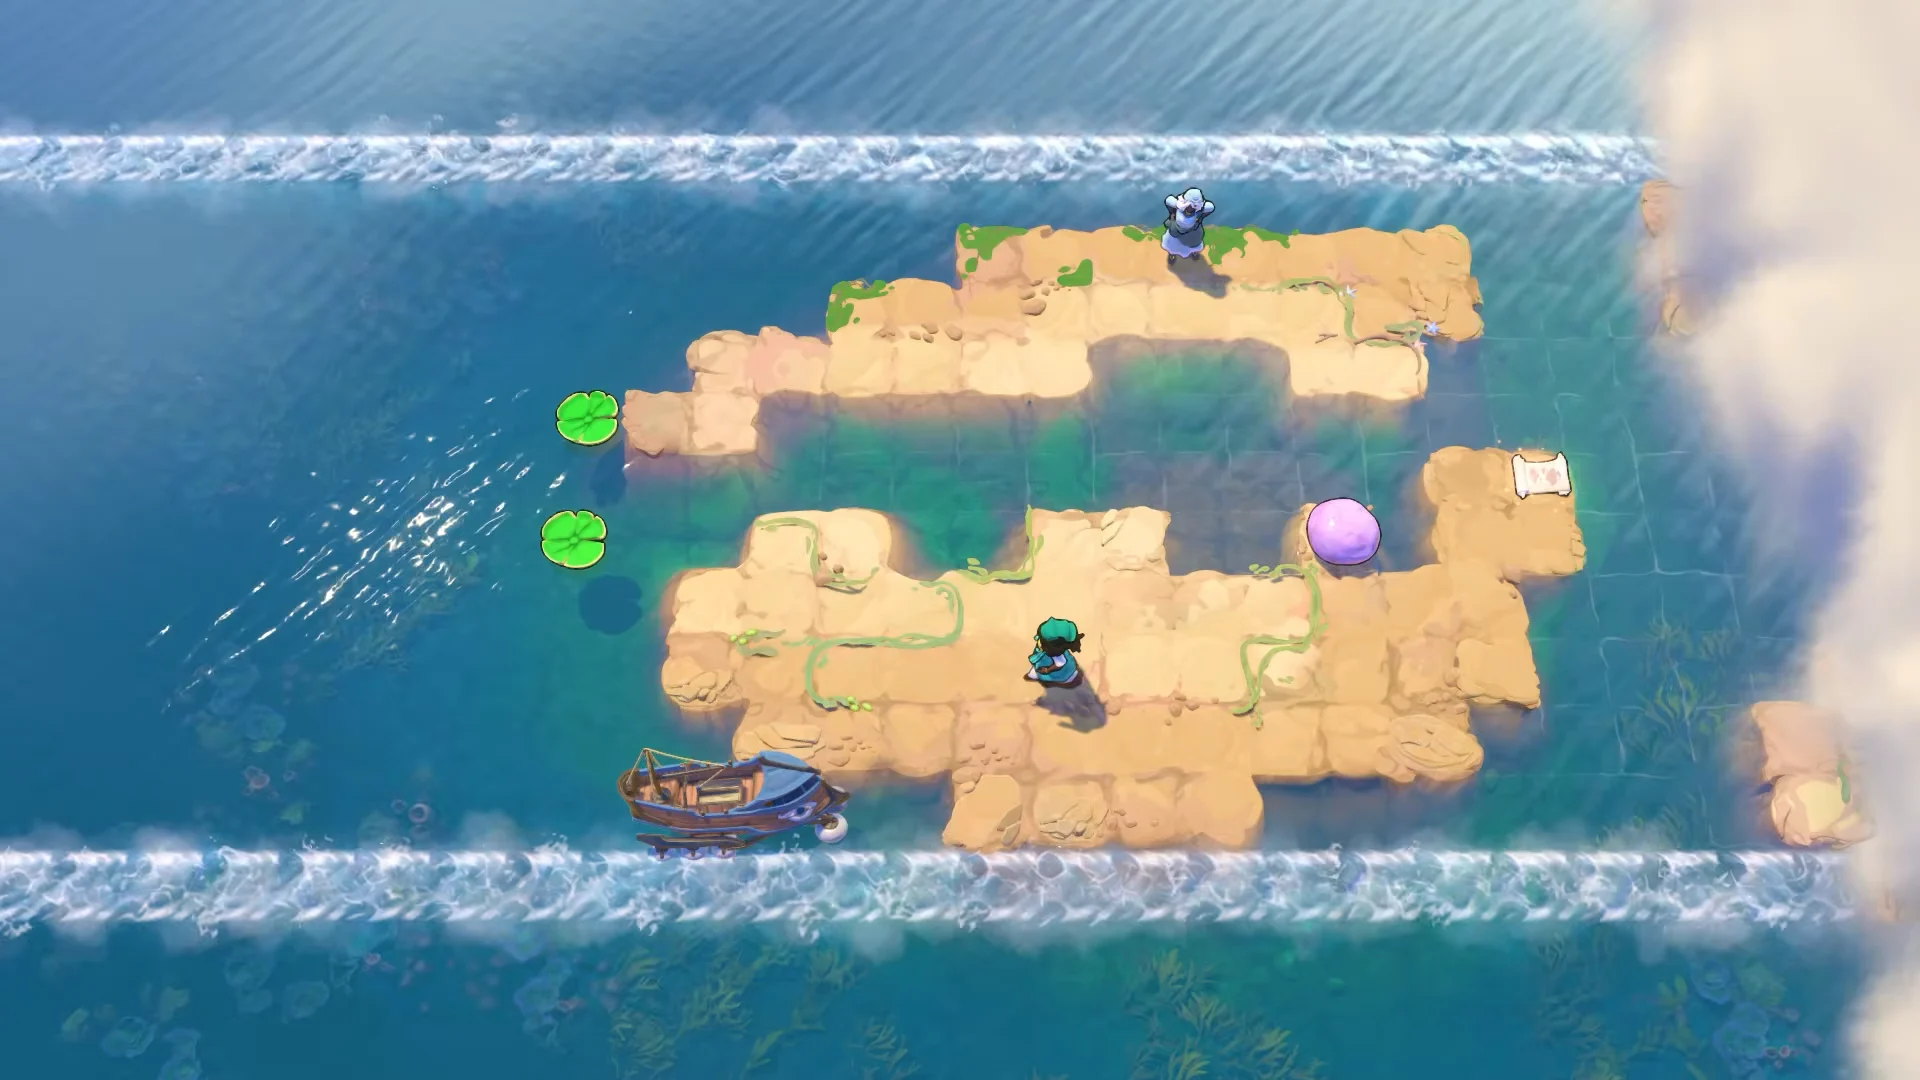
The blob behaves like a stone that you can relay between the two characters, and each push sends it one channel over. Work out where it needs to finish, then take turns nudging it from alternating sides so it tracks across the gap.
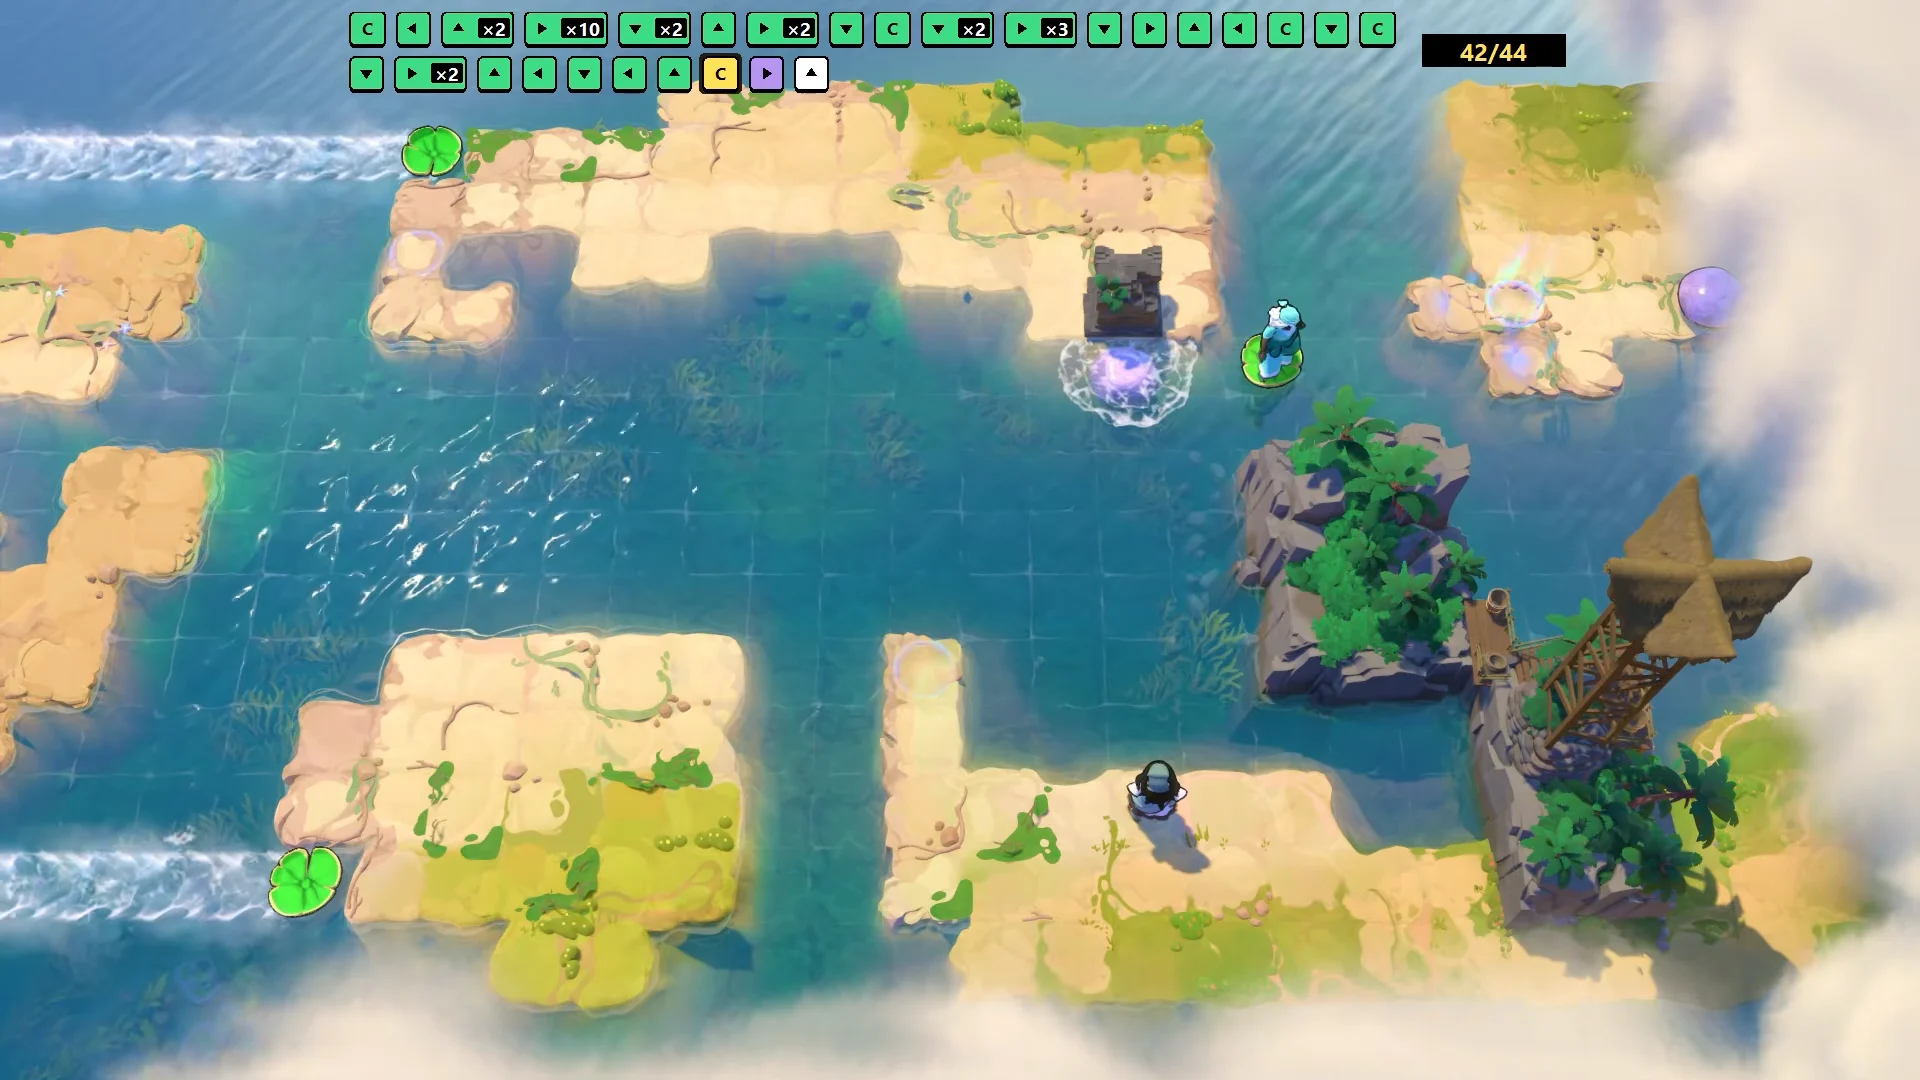
Later rooms add wooden boardwalks, docks, and a watchtower. The boardwalk canal is one of the longer sequences, built around guiding the blob past the planks without letting a current carry it off line.
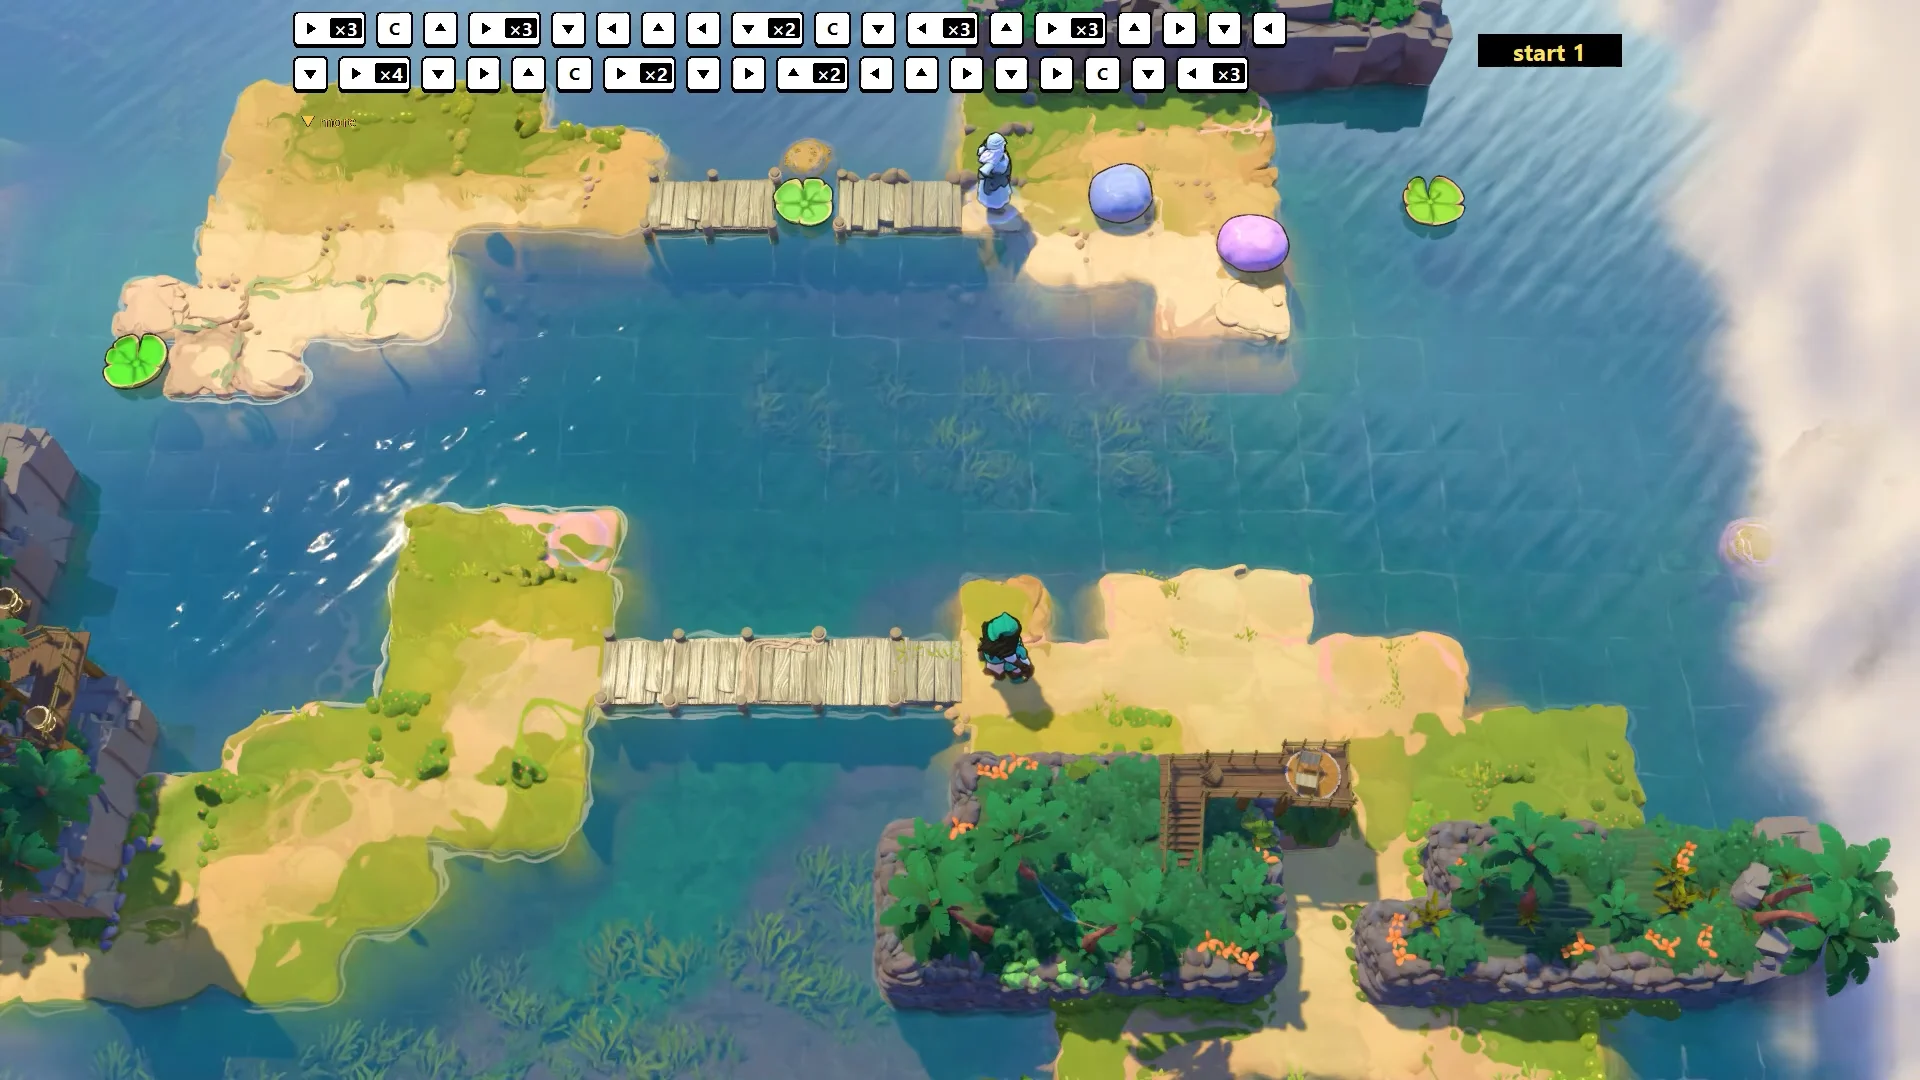
This stretch also stacks two more interdicts and a set of pressure pads that both characters must stand on together. Clear the pads first to open the gates, then break the two interdicts to free the final crossing.
Rescuing Vedessud and opening the north passage
The co-op chain ends when you relay the blob to the northern docks and reach the surveyor’s grounded boat, Vedessud, nicknamed Veddy. Reaching it completes the rescue. On the overworld you then activate the north pathway and can listen to an audio log addressed to Quigley before heading further up.
The six optional chambers
Six optional rooms sit past the north passage, each a short block-and-boulder puzzle for both characters. They reuse the stone-stopping tricks from earlier, this time to align crates and boulders onto goal pads.
- Parallel bridges — have two characters push a boulder along matching sandy lanes.
- Isolated islets — work together to push a crate and boulders between two separate islands.
- Watchtower sandbar — push brown blocks and boulders onto the goal pads.
- Stream gap throw — toss rolling boulders over the open stretch of water.
- Pier and raft — place the stones and crates on wooden piers and docks that float.
- Double target pedestals — roll stones into both glowing sockets.
Confirming the campaign is complete
Finishing the last optional chamber pops the Steam achievement Skipping Stones, described as “Finish the initial Skipping Stones campaign.” The unlock banner appears on screen showing a global rarity around 14.5%. Once that banner shows, the south world is done and you can return to the overworld to pick another direction.