Magazine Geometry 101 is a research task in ARC Raiders that unlocks the Drum Mag amplification for the Rattler. It has two combat requirements wrapped into one job: pour 15,000 total damage into a Bastion using a Rattler, and destroy one Bastion with the same weapon. The research itself sits behind a level 4 Research Station and costs materials once you clear the field work.
Quick answer: Equip a Rattler, fight a Bastion from cover, and aim only at the yellow joints on its legs. Body shots often fail to register toward the 15,000 count, so stick to the weak points.
What the Magazine Geometry 101 task requires
The task has two steps you must finish during actual raids before you can research it at the station. Both have to be done with a Rattler specifically, so leave other weapons out of the equation for this one.
- Use a Rattler to inflict 15,000 damage on a Bastion.
- Destroy 1 Bastion with a Rattler.
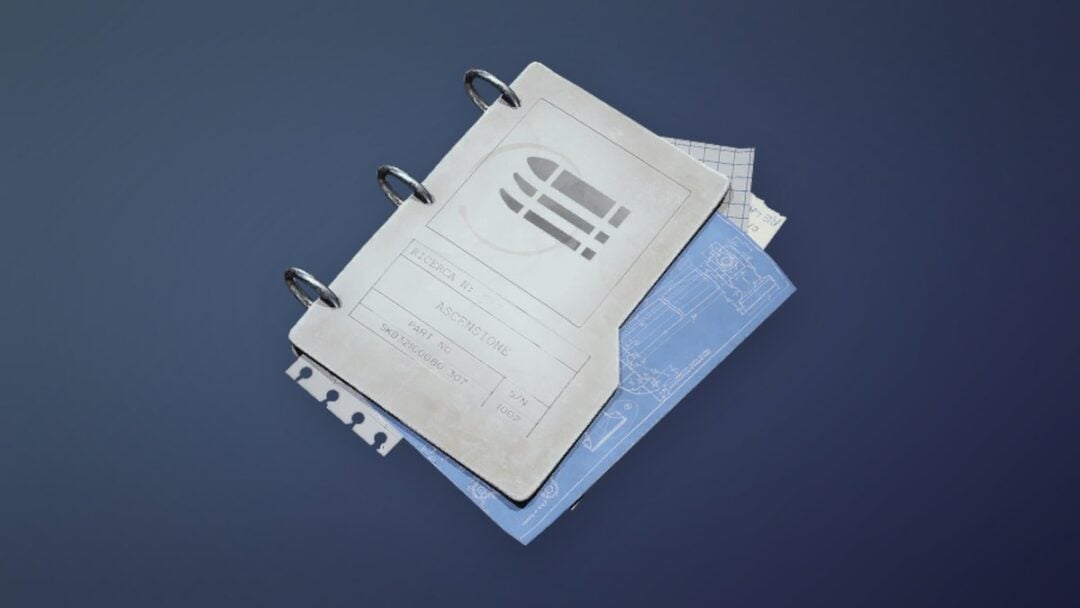
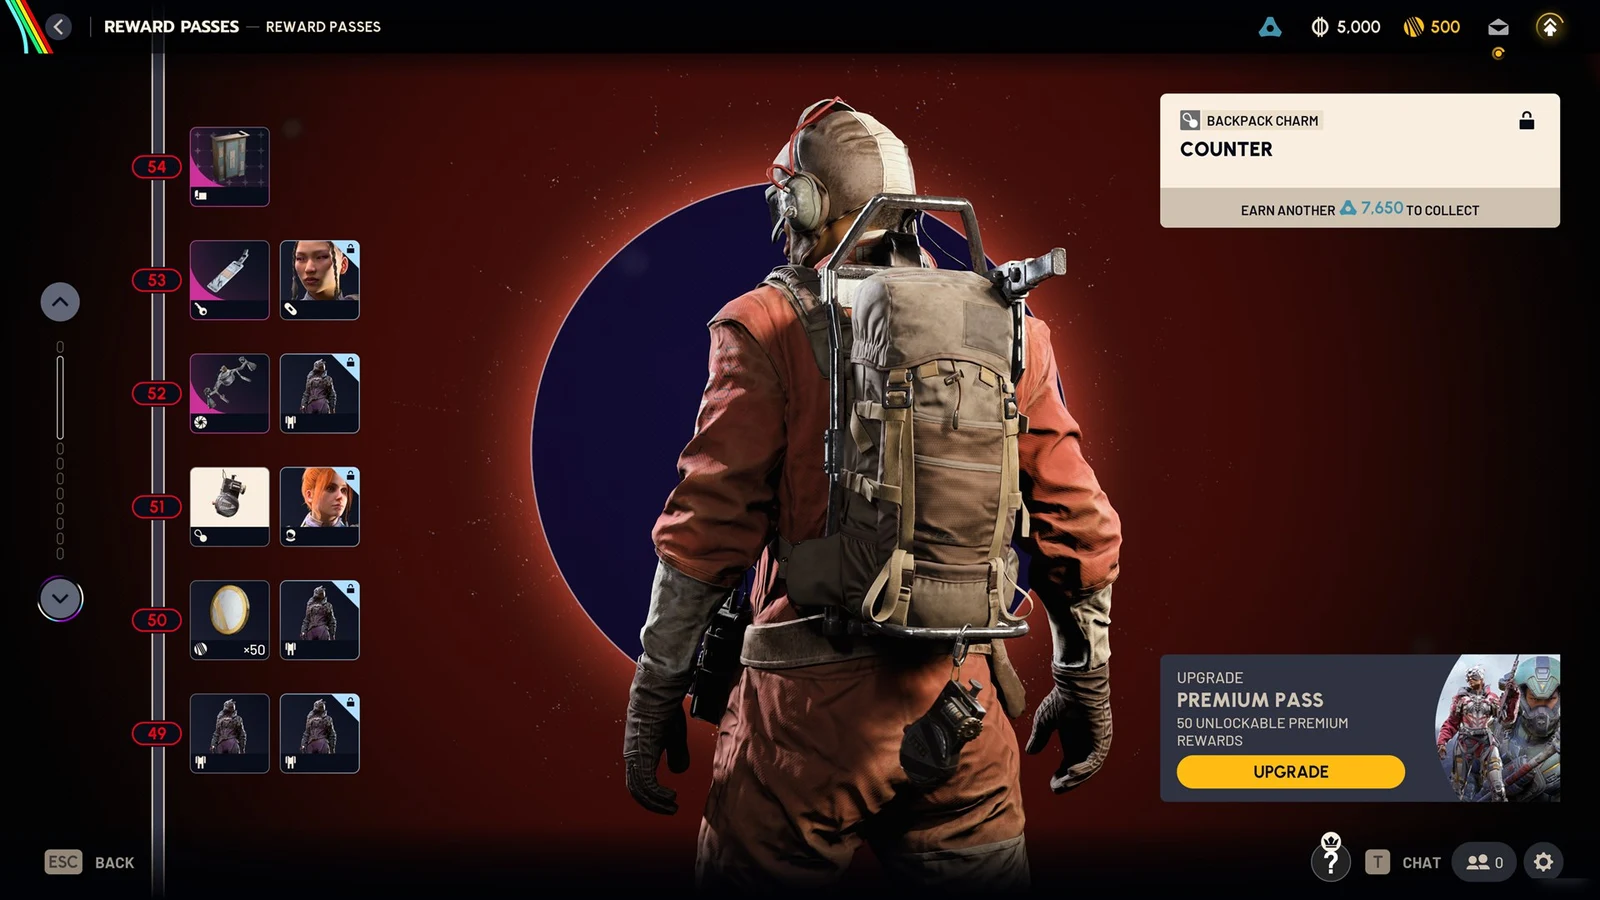
Once both are complete, the research unlocks at a Research Station built to level 4, costing 5,000 Research Points and 5 Bastion Cell. Finishing it grants the Drum Mag upgrade, which feeds into the Amplified Rattler builds.
Why you aim at the yellow leg joints
A Bastion is heavily armored across its body, and shots into its center mass frequently fail to count toward the challenge total or give you XP. The yellow kneecaps on its leg joints are critical hit zones that reliably register damage, so every bullet you spend there moves the 15,000 counter forward.
There is a second payoff to hitting the legs. Destroying a leg joint stuns the Bastion briefly, which opens a window to keep firing without taking return fire. The machine also has a yellow canister on its rear; breaking that peels back its rear plate and exposes a large weak part that takes major damage, which is useful when you reach the destroy-one step.
Watch the HUD counter climb as you land leg hits. If the number barely moves, you are hitting the body instead of the joints.
How to deal 15,000 Rattler damage safely
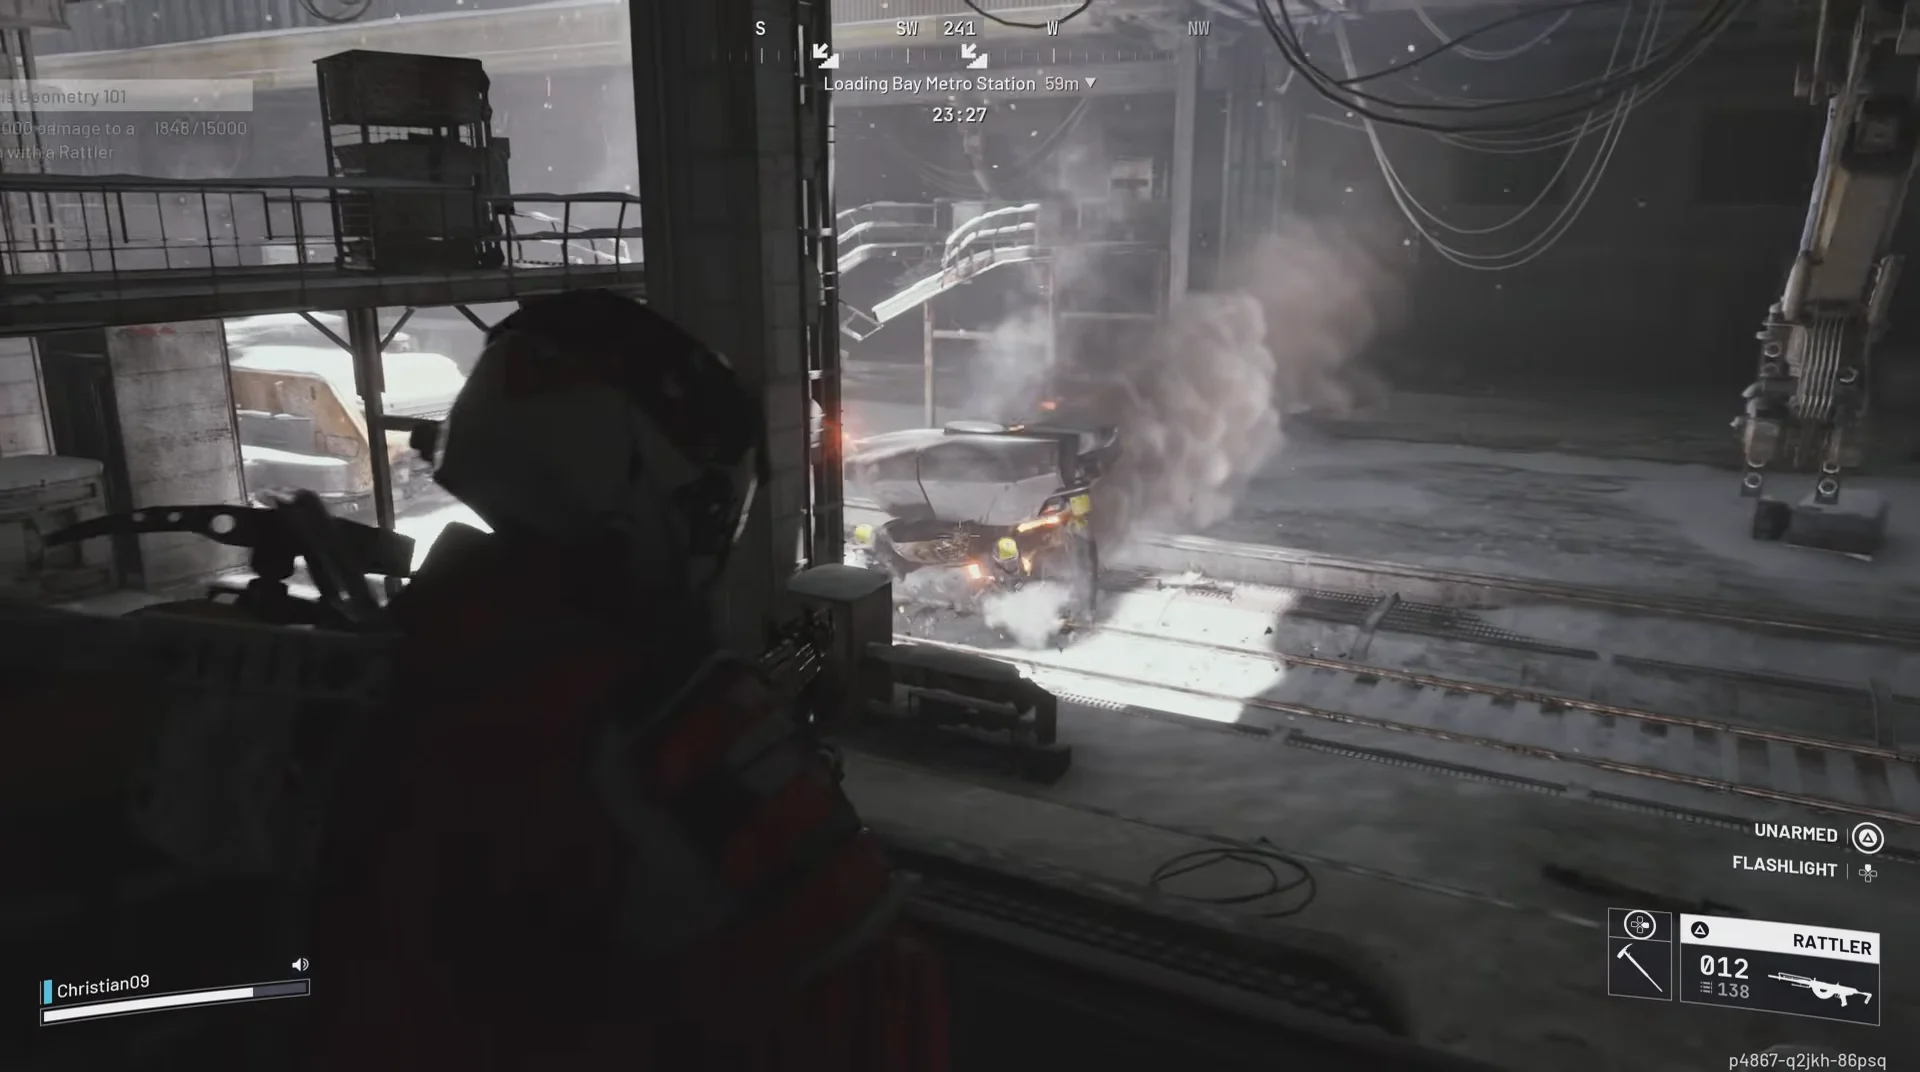
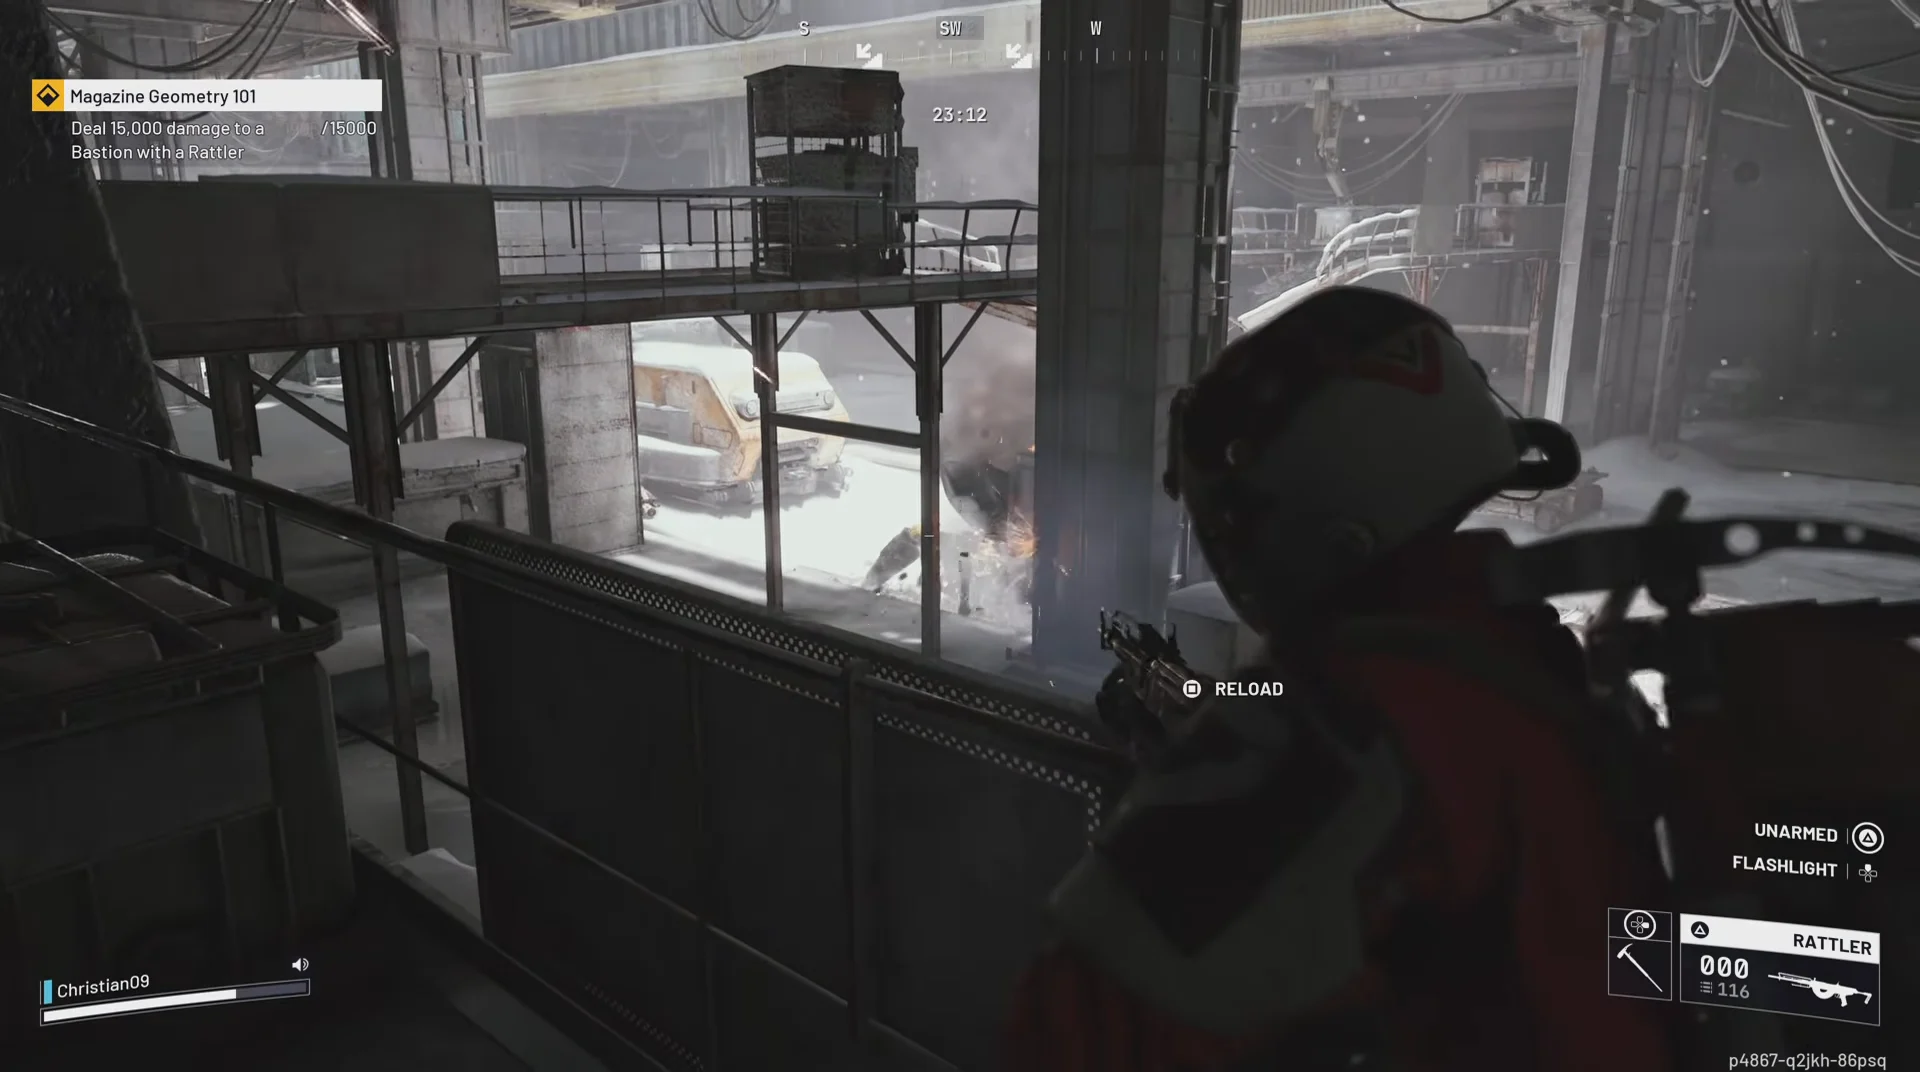
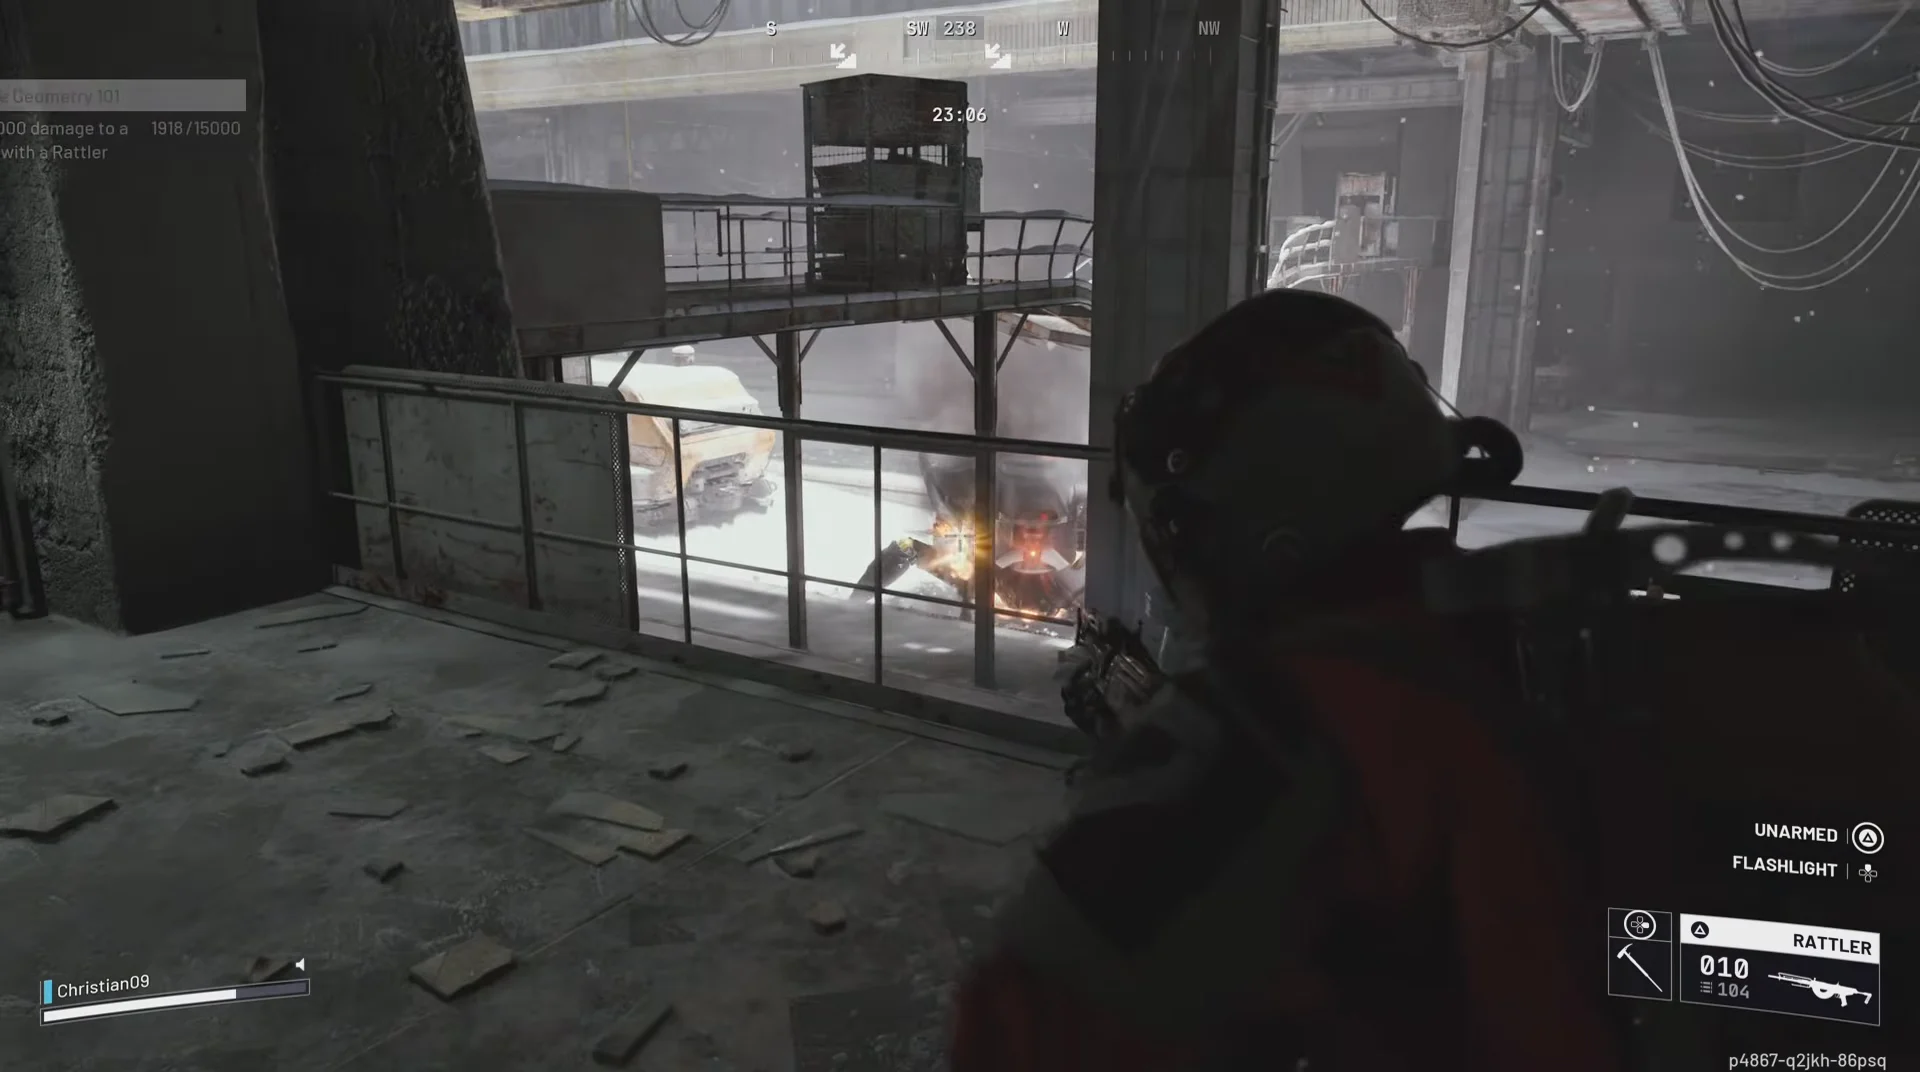
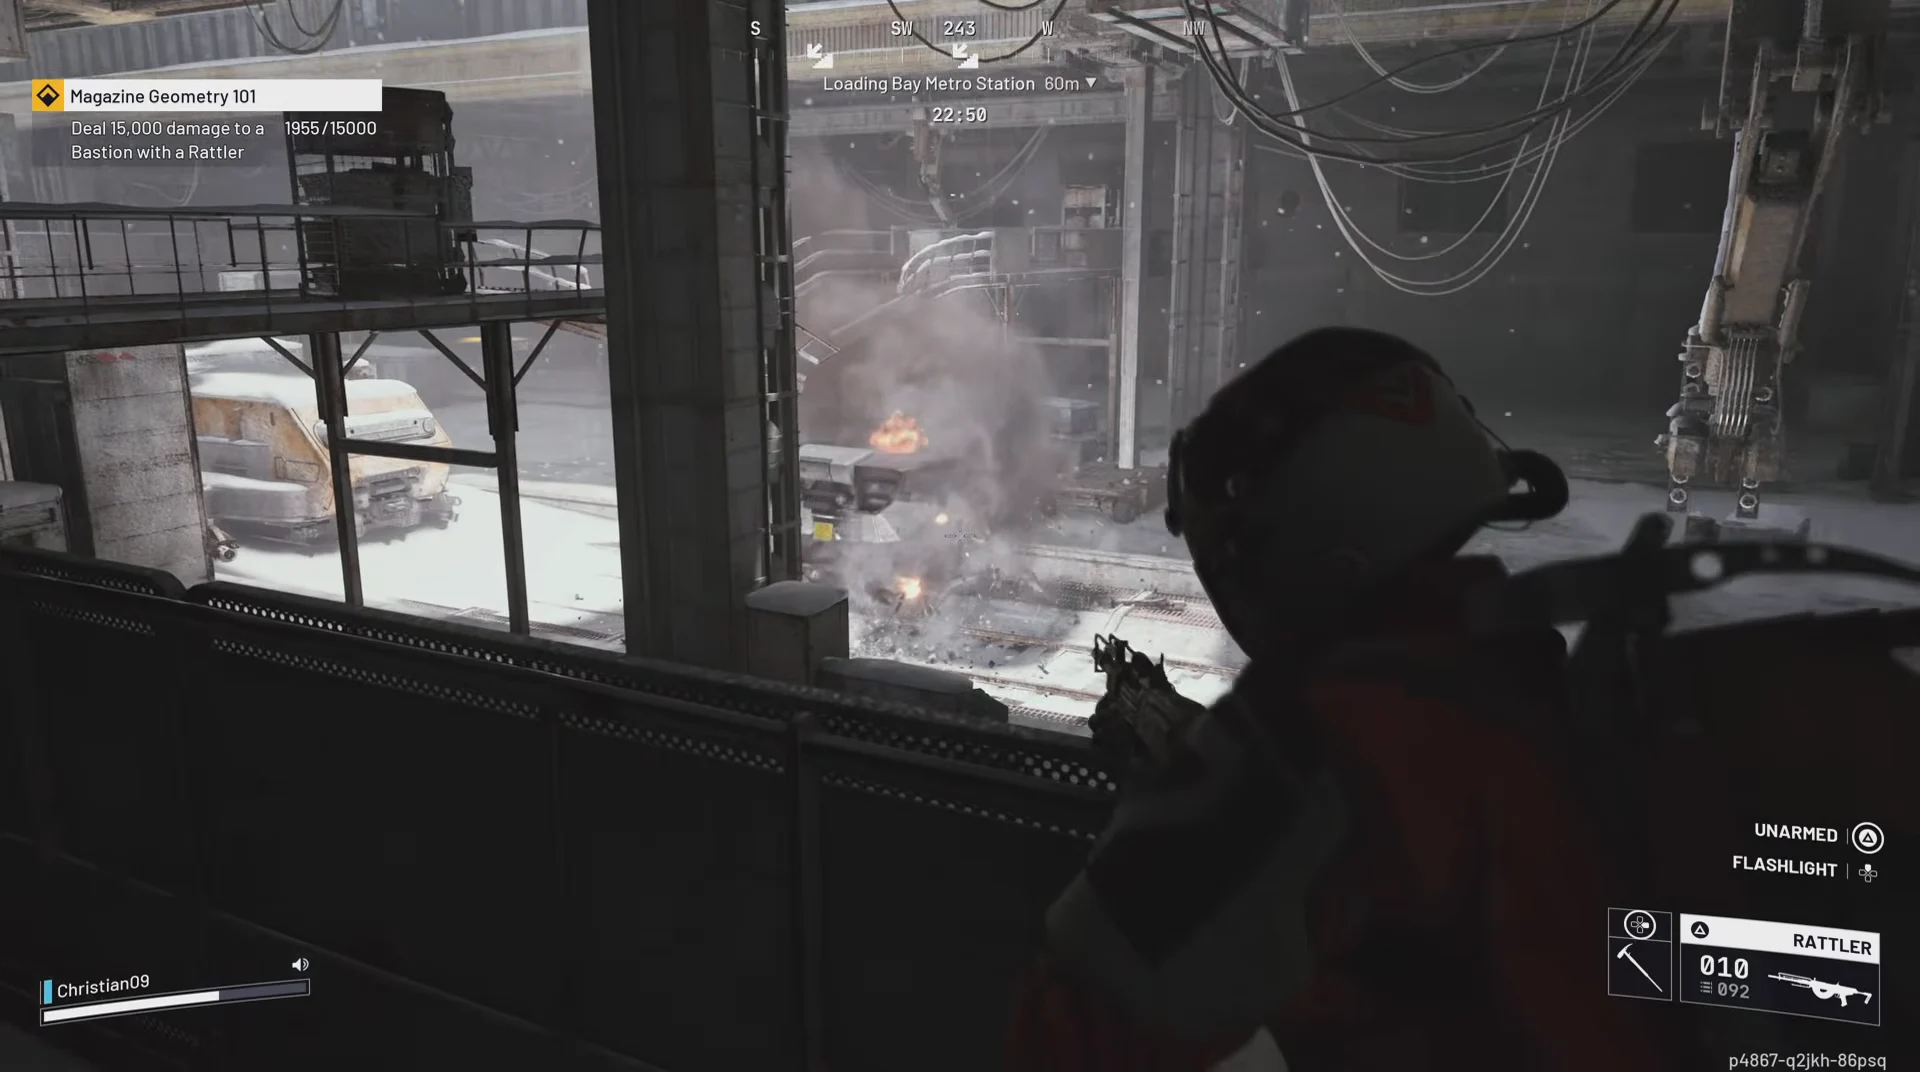
The 15,000 figure is cumulative across the whole task, not per Bastion. You do not need to hit it in one fight, so you can chip away over multiple raids and still bank progress.
Bastion weak points and health values
Knowing exactly how much each Bastion part can take tells you where your Rattler rounds do the most work. The leg joints and the rear core are the parts that matter here.
| Bastion part | Health |
|---|---|
| Body | 2,050 |
| Core | 5,000 |
| Upper leg | 280 |
| Lower leg | 180 |
| Joint | 180 |
| Medium armor plate | 48 |
The Bastion itself deals 6.5 damage from its turret and 0.5 from a body attack, which is why moving behind cover during its gatling volley keeps you alive. When you salvage a destroyed one, you pull a Bastion Cell, the exact material the research consumes, so every Bastion you kill for the destroy step also stocks the research cost.
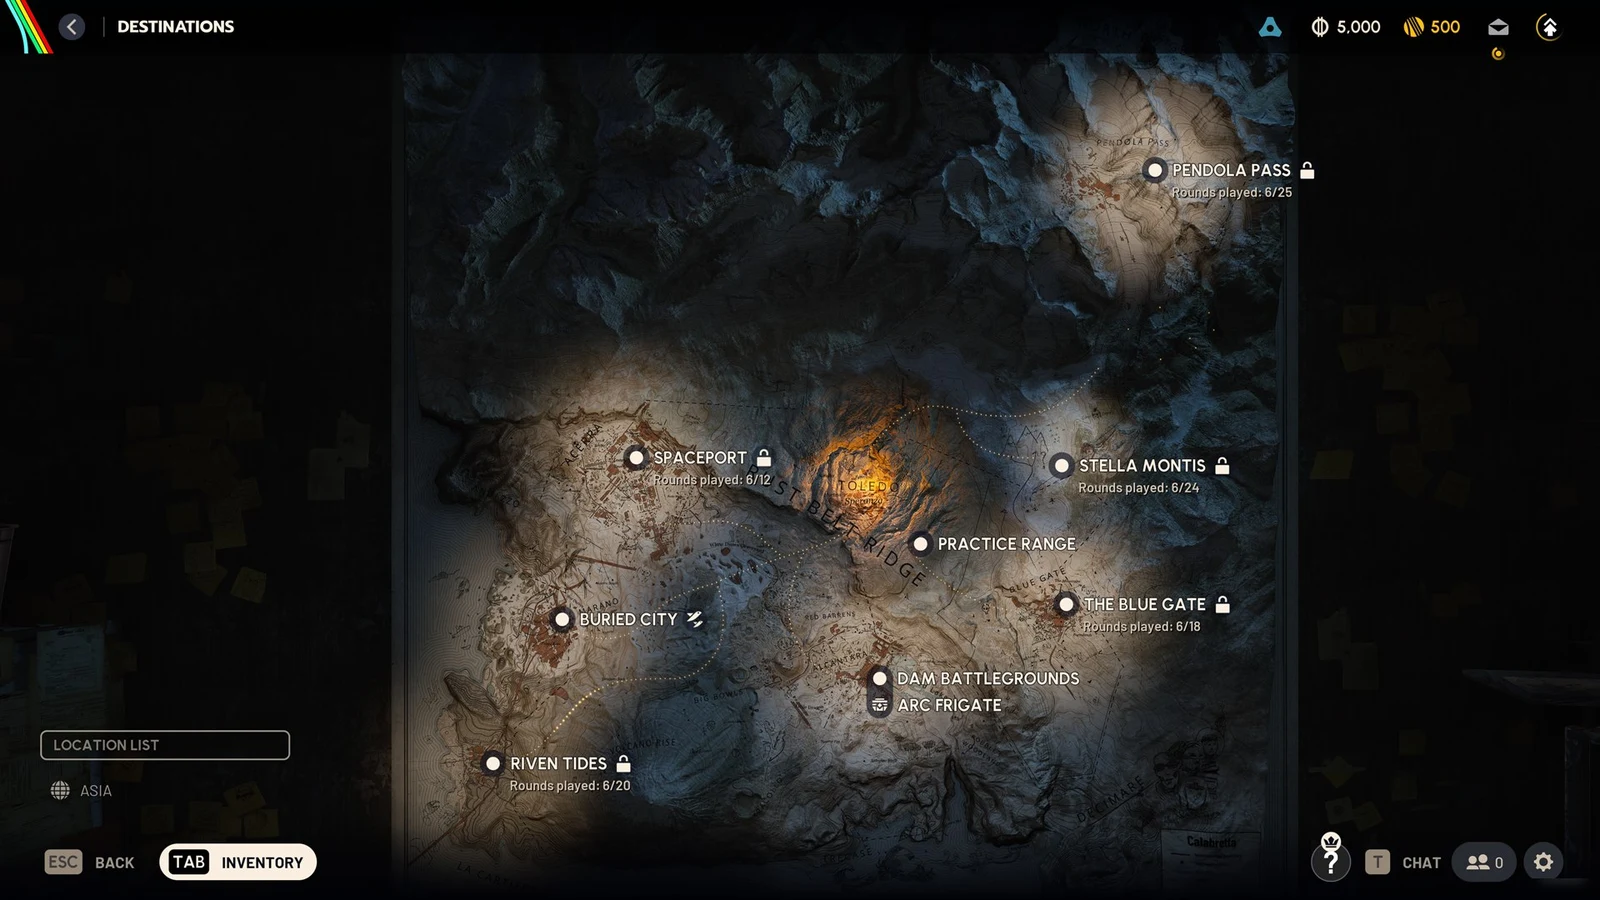
Bastions patrol wide open areas on every map. Beyond the Stella Montis loading bay, dependable spawns sit under the Cielo Sereno Observatory on Pendola Pass and around Market Ruins, Marano Park and north of Plaza Rosa on Buried City.
Rattler stats you are working with
The Rattler is a common, fully automatic assault rifle. Its small magazine and two-at-a-time reload are the limiting factor during this task, which is why ammo stock and cover timing matter so much.
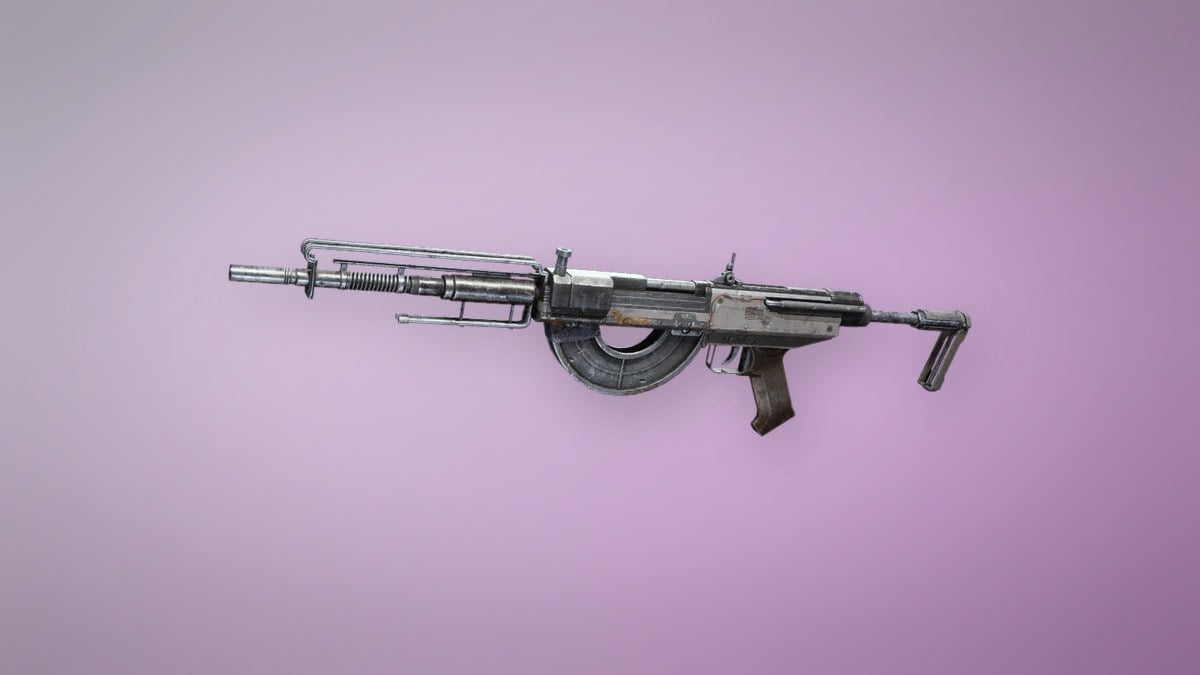
| Attribute | Value |
|---|---|
| Category | Assault Rifle |
| Ammo |  Medium Ammo Medium Ammo |
| Firing mode | Fully-Automatic |
| Magazine size | 12 (I), 16 (II), 20 (III), 24 (IV) |
| ARC armor penetration | Moderate |
| Mod slots | 3 |
| Rarity | Common |
Higher weapon levels raise the magazine size, so a Level IV Rattler holds 24 rounds and cuts down how often you have to duck back and reload during the fight. The gun can be amplified with Drum Mag, Incendiary Rounds and More Reload once the research is done.
How to confirm the task is complete
The HUD tracker in the top-left shows your running total against 15,000 while you fight, so you can watch it approach the goal in real time. Once both the damage and the destroy-one steps clear, the research becomes available at your level 4 Research Station. Spend the 5,000 Research Points and 5 Bastion Cell there to finish Magazine Geometry 101 and add the Drum Mag upgrade to your Rattler amplification options.