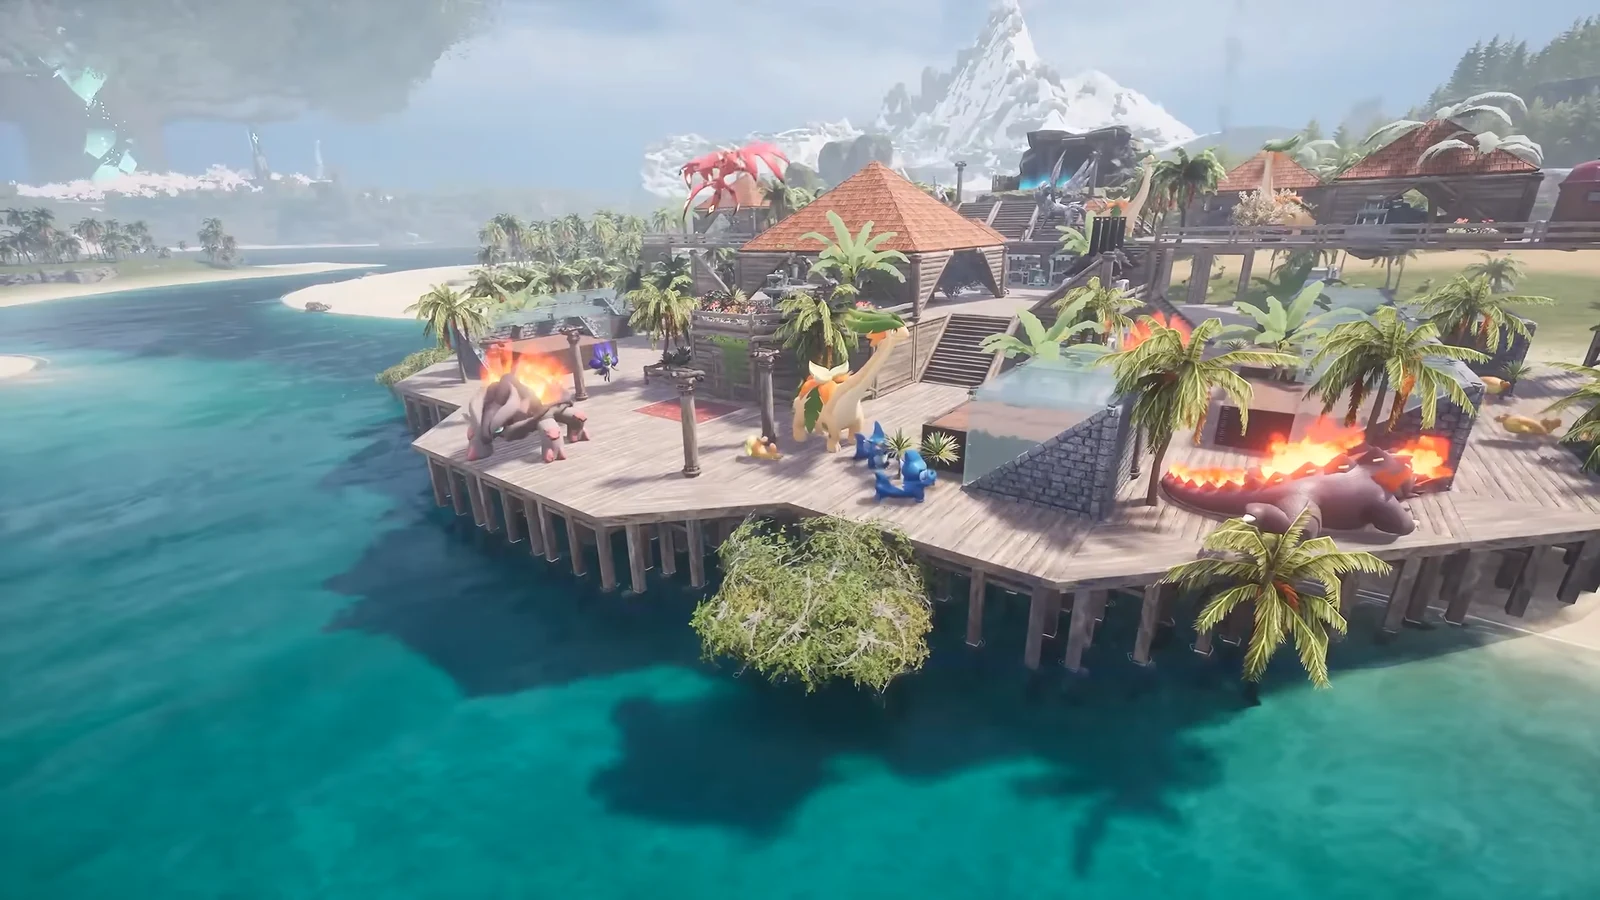
Space, not materials, is what actually limits a Palworld base. The blue build radius stays the same size no matter how much you unlock, so the difference between a cramped starter camp and a full production palace comes down to a handful of placement tricks. Version 1.0.2.101103 gives you enough tools to stack furnaces, farms, beds, and storage on top of each other, hide doorways behind decorations, and push bulky stations right to the edge of the boundary.
Quick answer: Enable Axis Alignment Mode (Ctrl on PC), place a temporary prop such as a Wooden Bench or Fireplace, and snap the facility you want onto it. Remove the prop and repeat on lower levels. Collision-free wall ornaments can conceal doorways you can still walk through.
Axis Alignment Mode and temporary supports
Begin any compact layout by switching on Axis Alignment Mode. On PC, hold Ctrl to make structures lock to the build grid rather than sit in free placement. This makes it easy to align benches, chests, and stations, and lets you pile Wooden Benches one above another as scaffolding.
Use a straight line of Stone Fence or Wooden Fence as a temporary guide: attach the chests, then take the fence away, leaving the containers neatly aligned. Downward Pillars provide the same aid vertically, so you can suspend structures under a floating floor or rock without building upward from the ground.
With Paint Mode (P on PC), you can change the color of stone, glass, and wood foundations. If a Sign label is too large, put spaces on both sides of its text to reduce the font size.
Wooden and Japanese-style structures have little structural health and are vulnerable to fire; metal and Ancient Civilization builds withstand much more damage. When possible, replace flammable production rooms with tougher materials.
Which support stacks each facility
Because facilities rest at varying heights, the right support furniture depends on the building being stacked. Follow the same sequence each time: set down a support, snap the facility above it, remove the support, and continue one level lower.
| Facility | Temporary support |
|---|---|
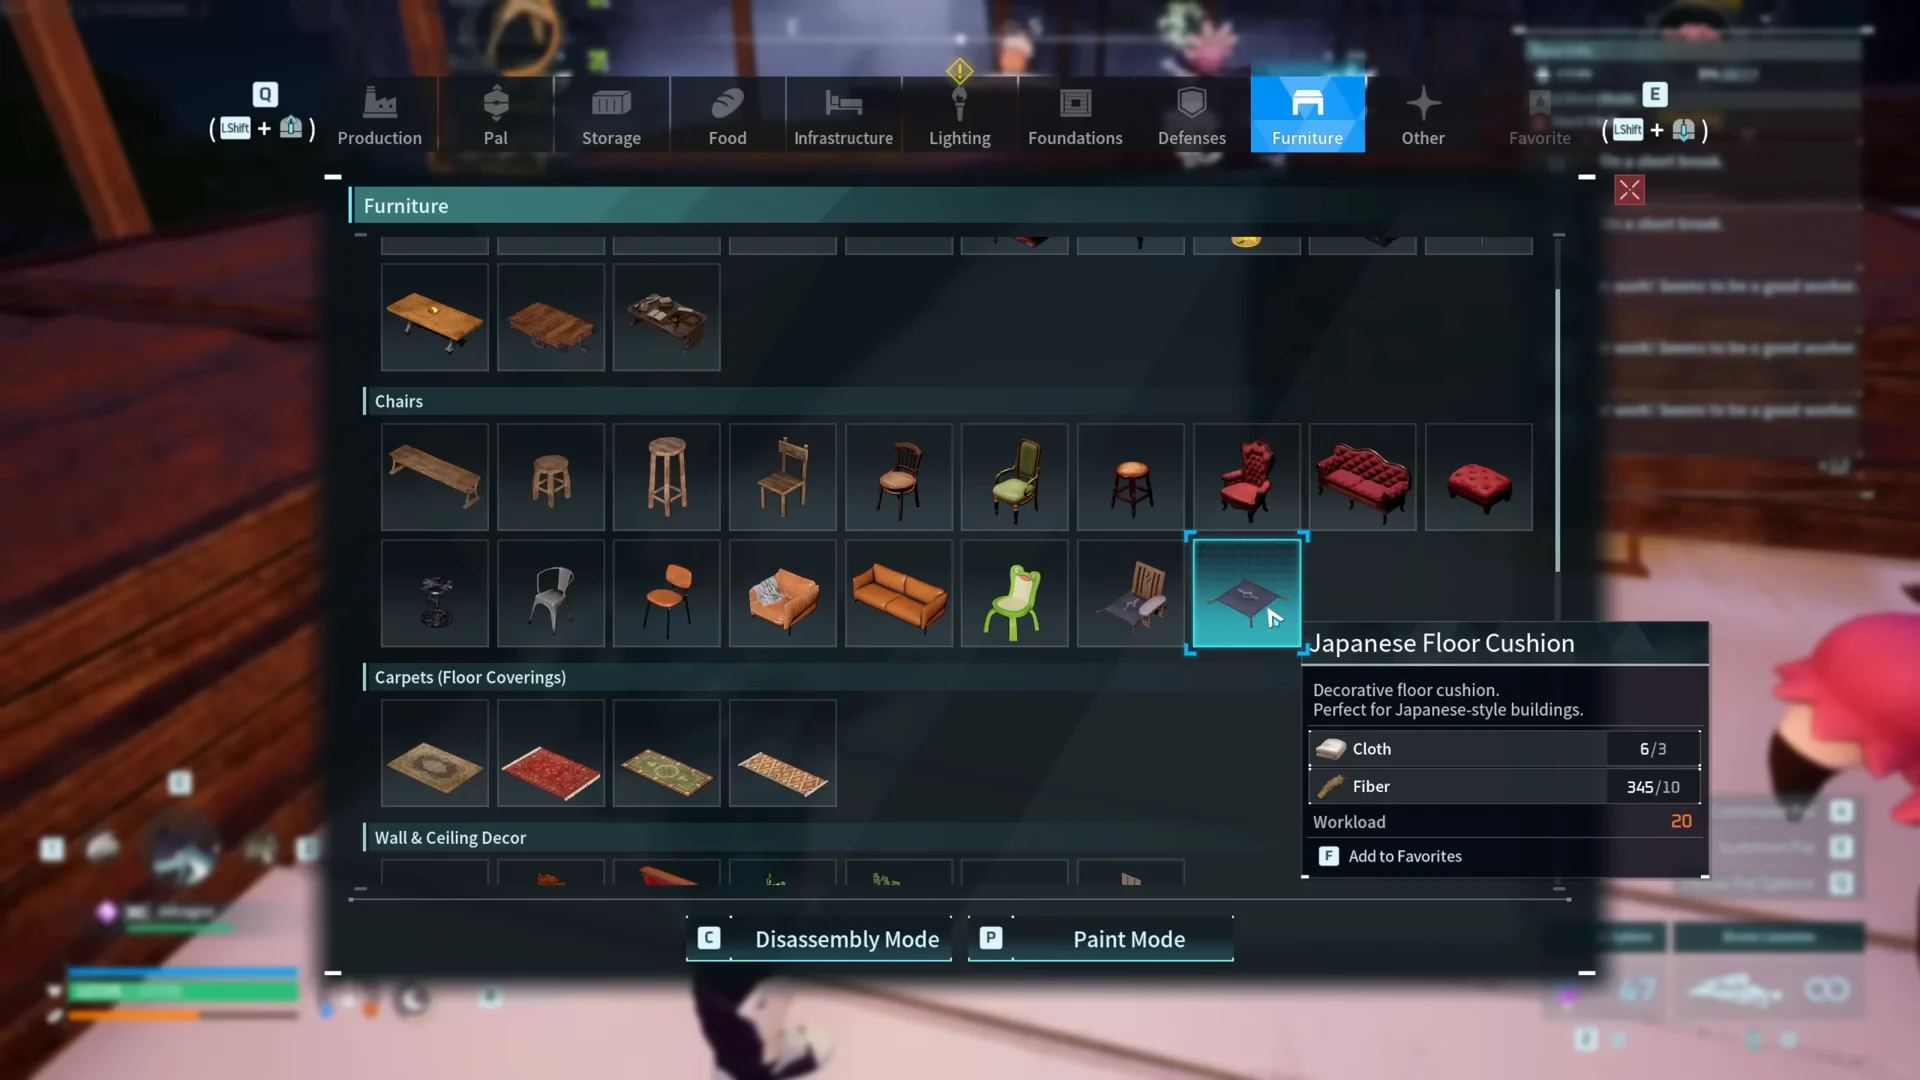
| Crop Plantation | Wooden Bench, or Japanese Floor Cushion for a tighter stack |
| Ancient Furnace | Fireplace |
| Ancient Pal Bed | Japanese Floor Cushion (delete after placing) |
| Ancient Farm | Fireplace and Wooden Bench combined |
| Ancient Hot Spring | Three Fireplaces |
| Metal Chest | Tidy Square Table |
| Advanced Chest | Wooden Bench |
Plantations are the biggest space hogs, so they benefit most. The Japanese Floor Cushion, unlocked with the Japanese-style furniture set, gives the most condensed vertical stack. Favorite the plantation pieces and the cushion in the build menu so you can flip between them without digging through categories, and cap plantation stacks at four levels before Pals start getting stuck.
Stack Metal Chests
Stack Advanced Chests
Hide doorways behind collision-free decorations
Several decorative pieces have no collision box, which means you can walk straight through them. Hang one over an opening and you get a hidden, fully passable entrance that still looks like a solid wall.
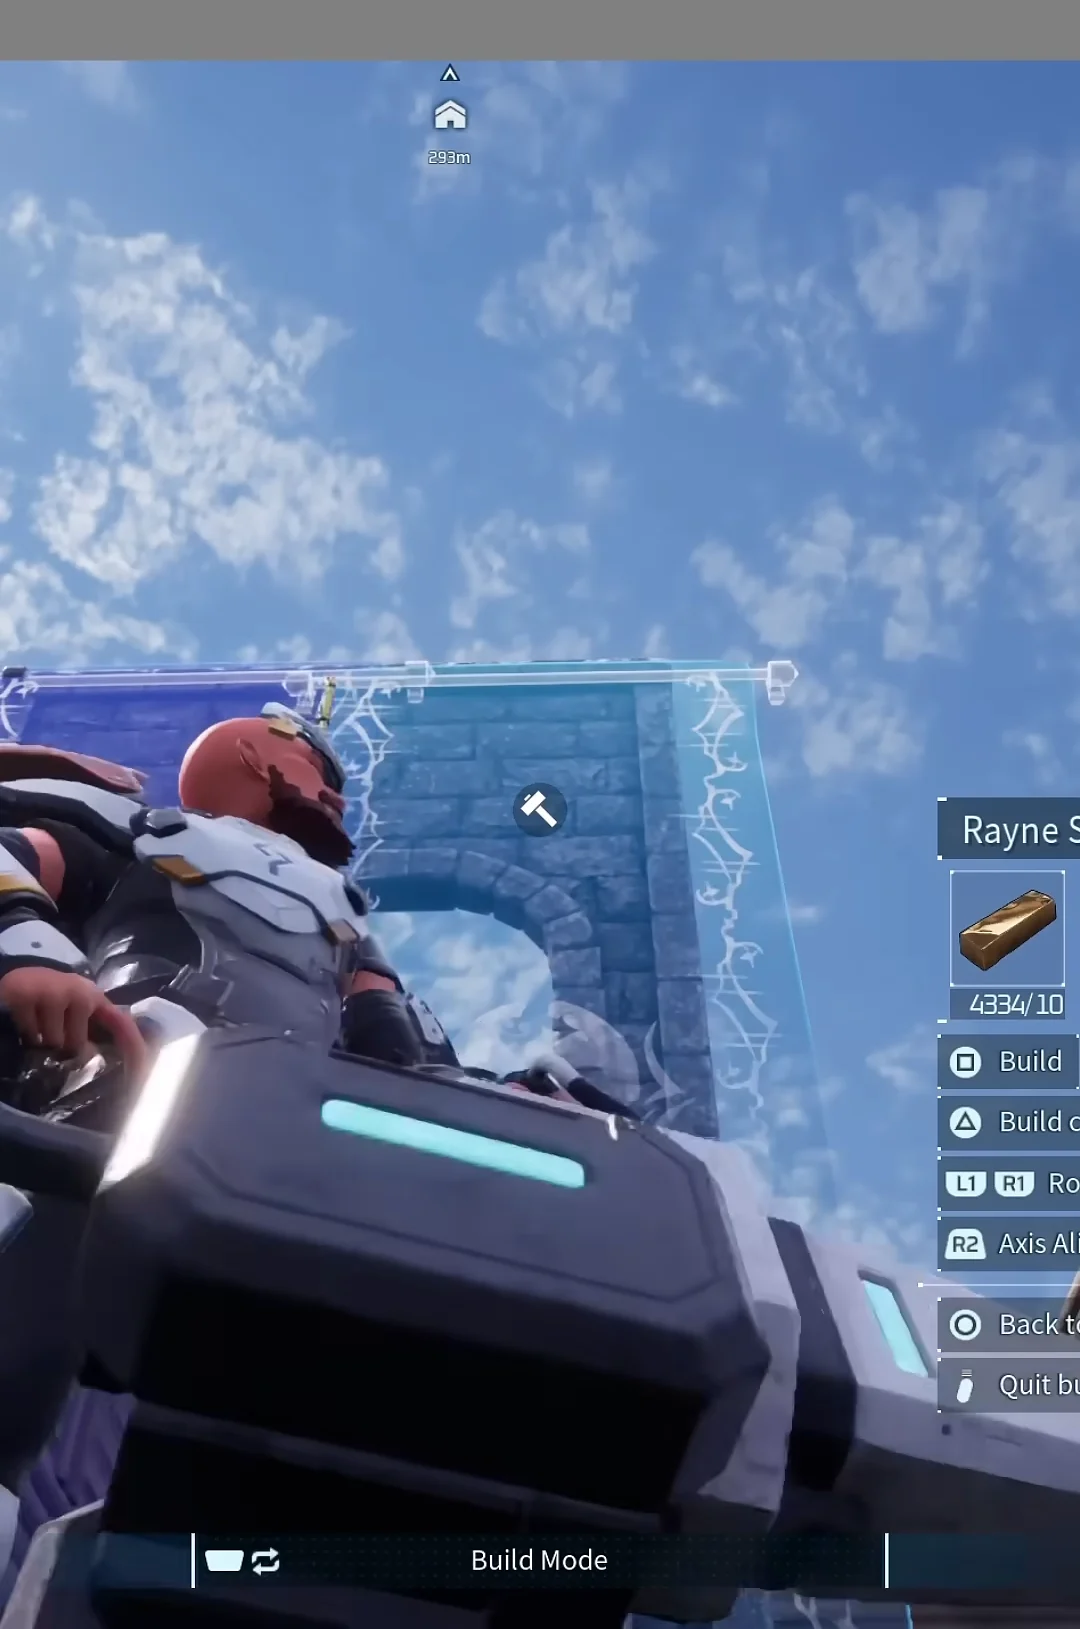
Rayne Syndicate Vertical Banners are a straightforward decorative choice. Hang one across a Pal door and you can walk through as though it were absent. For a larger opening, arrange multiple banners in rows and columns over structures such as giant Pal doors; they cover the full entrance without visible overlap.
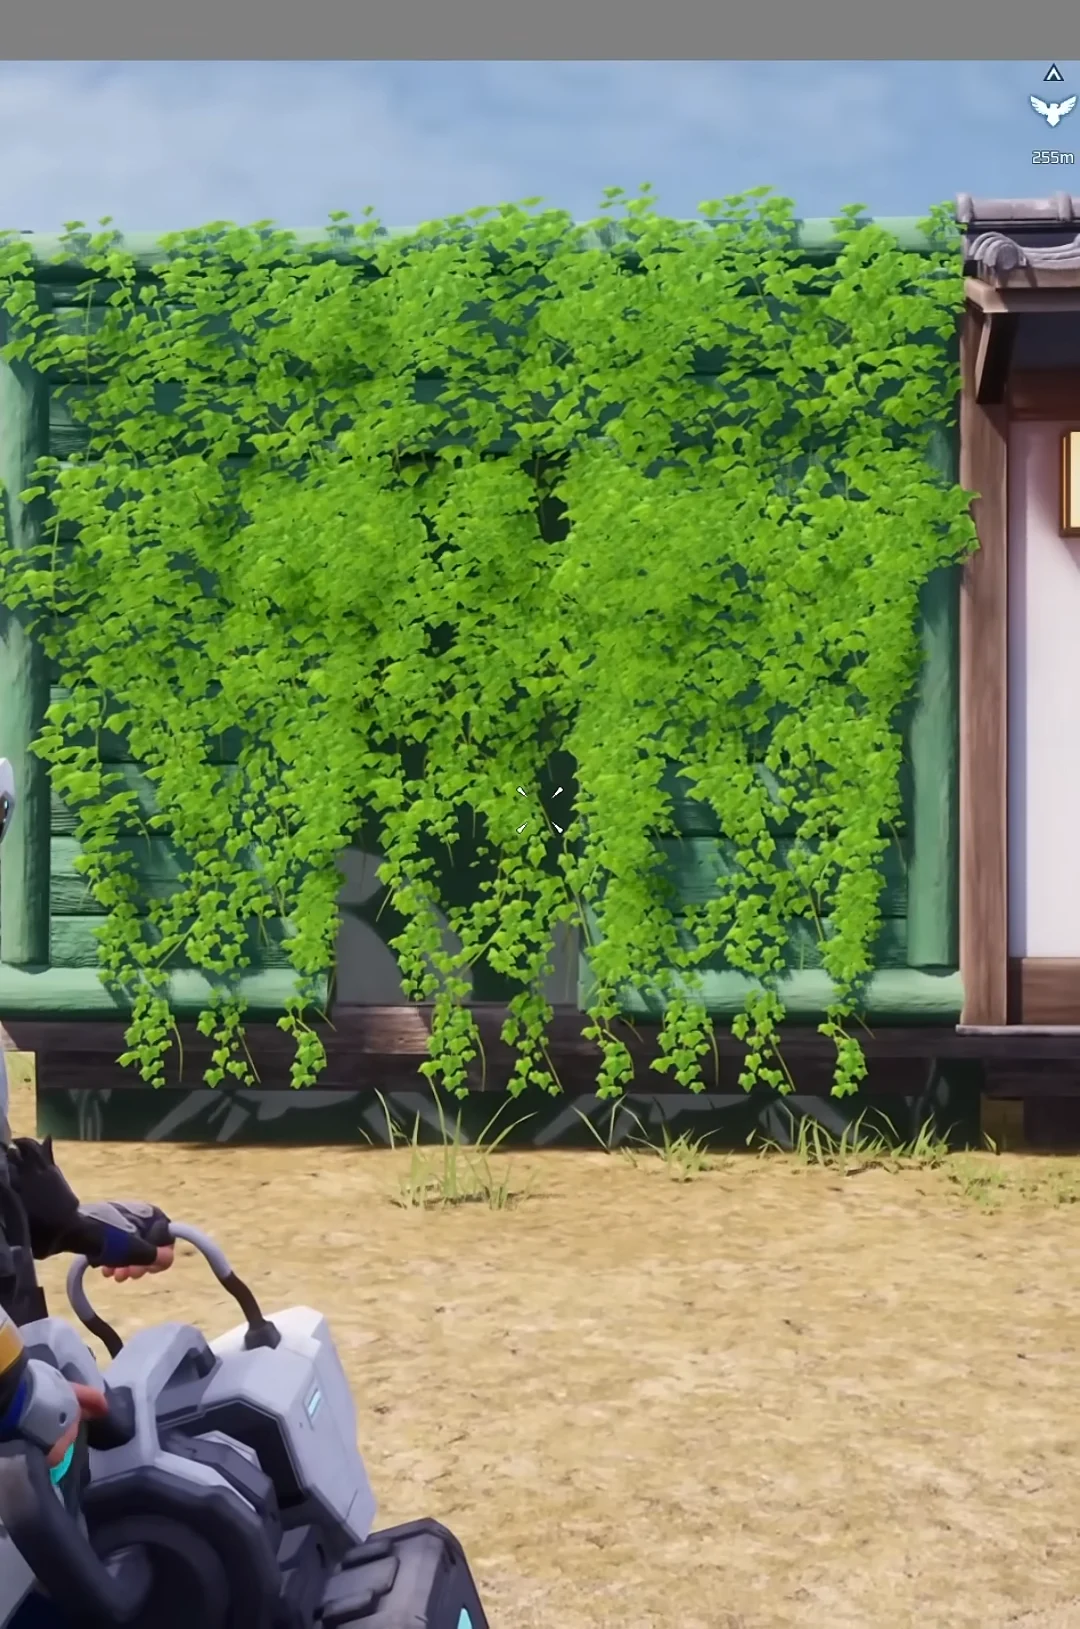
Wall ivy decorations behave the same way. Hang ivy across a doorway or wall opening and you get a camouflaged entrance you can walk through freely, which works well for a natural, overgrown look.
For a hidden entrance that looks especially convincing, mount Japanese-style sliding screen hangings on a flat wall. Use replace mode to turn the solid wall behind them into a door frame. The screens remain over the open doorway, letting you walk through a surface that appears solid.
Center railings on diagonal foundations
Diagonal foundation edges make fences snap awkwardly, but an Ironwood Side Table works as a spacing guide to leave an even, centered gap between two runs of Iron Fence.
Structures that work even when Pals can’t reach them
Some base structures provide their benefit even when no Pal walks up to them, so you can conceal them for appearance or reduce transport time. This remains true in 1.0, but keep multi-worker crafting stations accessible if you want production to stay reliable.
- Chests sealed behind walls receive items instantly, since the goods teleport in when a Pal cannot path to them.
- Ranches in inaccessible spots still work, with Pals grazing and dropping materials immediately.
- Pal Beds continue to restore SAN and health even when sealed off.
- Campfires provide inexpensive lights that need no maintenance or electricity, and can be tucked behind a wall.
Place a chest beside each resource node to minimize hauling, letting Pals deposit ore or wood after very little travel. With an Item Retrieval Machine, you can access the contents of every base chest from a single console, making scattered storage convenient for you.
Chest filtering and worker control
Use Chest Settings (V on PC) to choose which resources Pals can deposit in a container. In Security Settings, enable Private Lock Enabled to prevent Pals from putting anything in that chest, keeping it for your personal gear.
Use the Monitoring Stand to set work preferences and assign fixed jobs. For instance, disable mining for Anubis so it can focus entirely on handiwork. Separate Expedition Stations at different bases also let you dispatch Pals along multiple routes at once.
Alpha Sekhmet currently has a bug that gives her much higher work speed percentages and keeps those bonuses on her permanently, making her an exceptionally powerful worker until the behavior is changed.
Building over water, floating rocks, and oil nodes
You don’t need flat ground once you know how to use foundations. Build them out over open water for a huge, level ocean mega base, or suspend a base from floating rocks with downward pillars.

At Oasis Isle, map coordinates 910, 193, a base can take advantage of natural Kinship Peach spawns for expedition rewards and breeding. At an oil node, carefully position two Crude Oil Extractors against opposite edges to fit both on the same node. Production can scale through breeding too: place breeding farms on several stories to increase egg output within one radius.
Ancient-tier facilities for late-game bases
Ancient buildings replace older production lines with quicker versions that have higher health. When they become available, reorganize around them rather than adding machines beside outdated ones.
| Ancient facility | What it does |
|---|---|
| Ancient Hatchery (level 76) | Eggs incubate at high speed; partner skills from Broncherry, Broncherry Aqua, and Grintale have no effect on it |
| Ancient Furnace, Workbench, Kitchen | High-durability upgrades to core crafting and cooking stations |
| Ancient Monitoring Stand | Improved SAN management over the standard stand |
| Ancient Clinic | A Medicine Pal working with the Monitoring Stand keeps the base running in extra hard work mode |
| Ancient Pal Bed | Top-tier recovery bed, stackable with cushions |
Pairing the Ancient Clinic with a dedicated Medicine Production Pal and an upgraded Monitoring Stand is what lets a base run at maximum work intensity without SAN collapse. Combine that recovery loop with the stacking methods above, and a single base radius can hold your entire late-game production, storage, breeding, and oil operation without a Pal ever getting stuck in a corridor.