Clearing Hard Mode bosses in Palworld 1.0 comes down to one core idea. You either stack attack boosters onto a single powerful carry, or you rotate burst attacks through a party built around Gobfin. Both approaches can drop a boss in under half a minute, and one of them barely asks you to touch your gear.
Quick answer: For the fastest kills, run Gobfin & Friends, the highest-DPS party in the game. For the lowest setup cost, run Booster + Carry with four Gobfins feeding a strong carry such as two rotating Knocklems, which beats Tower and Hard Mode bosses with zero player damage.

The four meta party builds ranked
Party pals bring several built-in perks that make these builds work. They carry a 25% damage reduction, dodge while withdrawn, heal inside their spheres, and share aggro with you. Since patch v0.5, attacks also keep cooling down while a pal is withdrawn, which is what enables both rotation and swapping. Four archetypes define end-game combat right now.
| Build | DPS | Difficulty | Prep |
|---|---|---|---|
| Mixed Team | Low | Low | Medium |
| Booster + Carry | Medium | Low | Low |
| Swapping | High | High | High |
| Gobfin & Friends | Very High | Medium | Very High |
Mixed Team is five strong party pals fought one at a time. You swap a pal out when it drops low and let the others regenerate in their spheres, with healing potions speeding that up. It is the easiest to run but the weakest, because it uses no boosters. Everything above it trades convenience for damage.
Booster + Carry: the lowest-prep boss killer
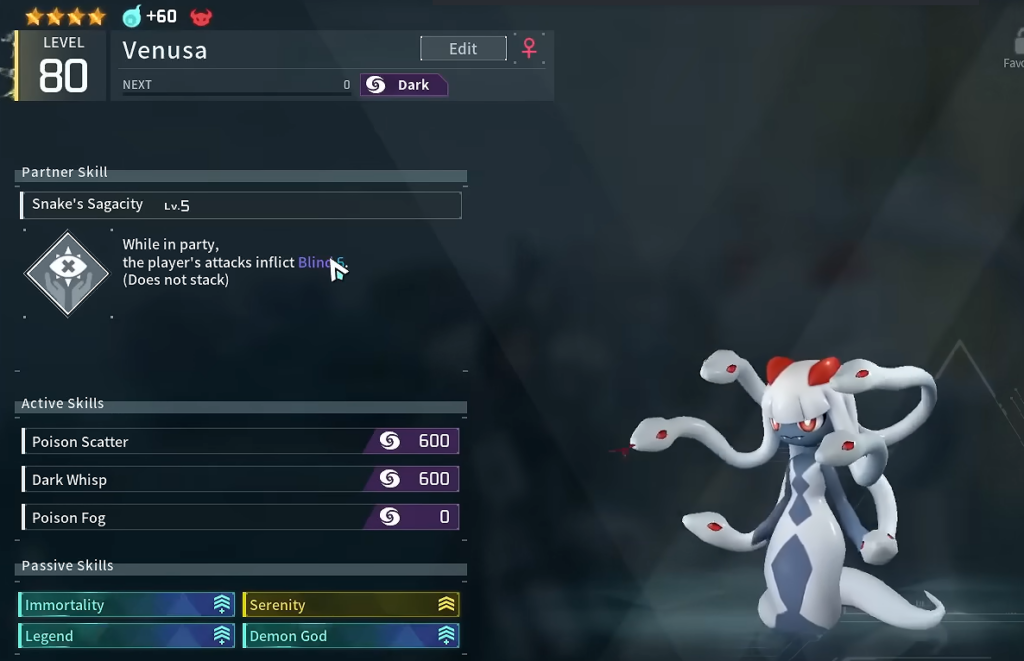
If you want boss kills without grinding a full roster, start here. You stack pals that boost the attack power of a matching element onto one carry. Four Kelpsea, for example, each give Neptilius 20% attack power. The whole attack stat goes up, not just one element’s damage.
Booster pals never leave their spheres, so they only need four stars plus Vanguard and Stronghold Strategist. That means your investment goes into a single pal, and the build does not need good player gear. Because everything rides on one attacker, survivability matters more. Vampiric keeps the carry alive during Tower Boss fights, and you can swap it for Musclehead once the pal is strong enough to survive without the healing. Pick a strong enough carry, and you can clear Tower Bosses without attacking at all.
Best carry pals for Booster + Carry
| Carry | Why it works |
|---|---|
| Knocklem | Swap between two Knocklems for 100% Partner Skill uptime, giving 200% bonus attack and defense. With three Turtacle Terra boosters and Vampiric it downs Tower and Hard Mode bosses, with zero player damage against Bjorn & Bastigor. |
| Selyne | Doubles Neutral and Dark damage while mounted, enabling two boosted Holy Bursts. Use pure attack passives and accessories, since Celestial Emperor and Neutral Whistles scale poorly with the Partner Skill. Clears Hard Mode Marcus & Faleris in around 5 seconds. |
| Rockburst carry | A melee-range Rockburst is the strongest attack in the game. Dark and Electric pals have 0 minimum range on filler attacks, so they stay in melee for full damage. Dashing attackers like Splatterina or Necromus fit the combo, but you must position to keep the boss inside melee range. |

Gobfin & Friends: the highest-DPS Hard Mode build
Gobfin & Friends is the top pick for almost all end-game content. It surrounds one damage pal with boosters and element-swap support, so a single attacker hits far harder than five unboosted pals ever could. Wixen fighting alongside you against Bjorn & Bastigor, backed by four Gobfins, has cleared that Hard Mode encounter in 29 seconds.
The build is easiest to pilot with Felbat or Lovander for the swap. It hits harder but plays tighter with an element-swap pal like Frostallion or Anubis. Felbat with four Gobfins is especially strong against Tower Bosses, Oil Rigs, and Moon Lord on master difficulty. The trade-off is investment. Covering every element means building a lot of pals, and the build scales with your gear.
Vanguard suffers heavy diminishing returns once you already run attack pendants and four boosters, so you can skip it on these builds. Save the passive slot for something more useful.
Swapping: highest single-attack damage
The Swapping build picks the highest attack stat and biggest burst skill for each specific fight, then swaps the pal out after every attack to spam that single move. DPS is very high, but dodging while swapping is demanding, and it gets tricky against Hard Mode Saya & Bjorn when using melee Rockburst.
Croajiro Noct is the standout. It is a Booster with a high attack stat, so five Croajiro Noct rotating Rockburst or Holy Burst hit hard with almost no cooldown between attacks. If the cooldown is too long for five pals to rotate without filler, swap Ferocious for Serenity. Expect to invest in five pals, slightly more than Booster + Carry.
Cooldown types that change your damage
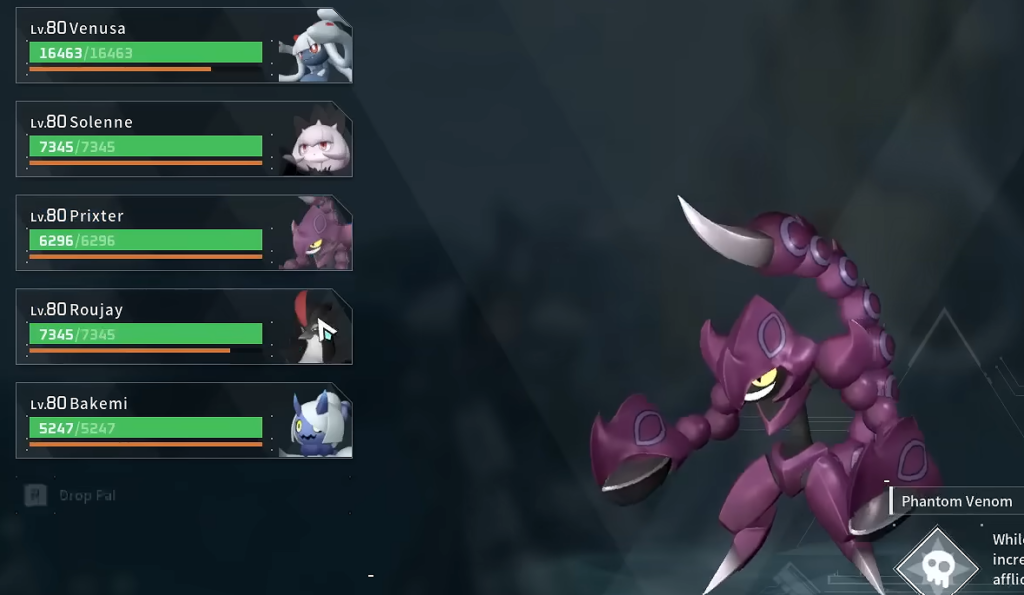
Cooldown reduction is the hidden lever behind rotation and swapping. There are three cooldown types, and they directly change how strong Serenity and Impatient are.
| Cooldown type | Behavior |
|---|---|
| Mounted | Matches the skill tooltip cooldown exactly. |
| Base | About 10% longer than the tooltip value. |
| Party | 40% cooldown reduction compared with the tooltip. |
Passive skills that carry combat builds
Attack, cooldown, and sustain passives decide how a build holds up in long boss fights. These are the ones that matter for the builds above.
| Passive | Effect |
|---|---|
| Ferocious | Attack +20% |
| Brave | Attack +10% |
| Impatient | Active skill cooldown reduction 15% |
| Hard Skin | Defense +10% |
| Vampiric | Sustain healing, strong against Tower Bosses, weaker against Raid bosses |
| Musclehead | Pure attack option that replaces Vampiric when the pal survives without healing |
Serenity trades into Ferocious’s slot when a rotation needs shorter cooldowns to stay off filler attacks. On the Booster + Carry side, Lunker can replace Musclehead on Neptilius and Finsider Ignis.
Raid boss pals and Element Boost passives
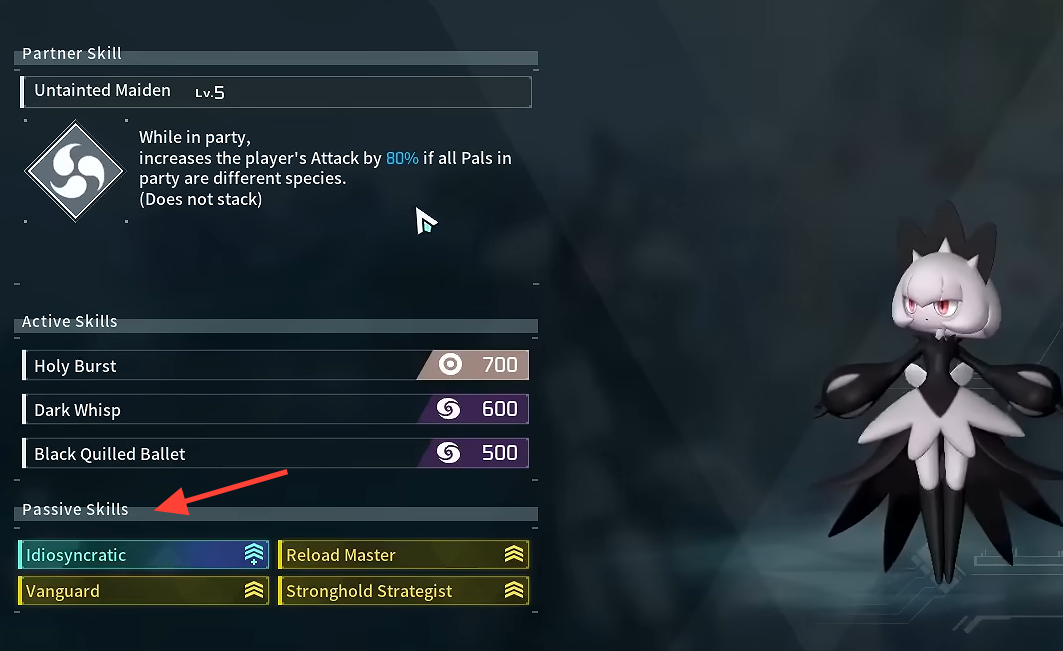
Hartalis, Xenolord, Bellanoir Libero, and Blazamut Ryu cannot roll Legend. Instead they spawn with a 30% Element Boost passive covering two elements, plus their own exclusive attacks.
| Passive | Elements boosted |
|---|---|
| Siren of the Void | Ice and Dark |
| Eternal Flame | Fire and Electric |
| Invader | Dark and Dragon |
| Savior | Neutral and Grass |
Which build you put on these pals depends on whether you use them as a Base Raider or a party pal, and on the attacks you plan to run. Siren of the Void suits Bellanoir Libero, and Invader suits Xenolord. Hartalis pairs well with Savior for big Purifying Light, Holy Burst, and Air Blade damage. Eternal Flame is not worth running on Blazamut Ryu. Keep in mind that the raw strength of Holy Burst, Air Blade, and Lightning Streak often makes a standard attack build outperform an elemental one, though Xenolord and Libero’s exclusive skills can flip that.
If you are starting from nothing, build Booster + Carry first, since it only asks for one invested carry and cheap boosters that do not depend on good player gear. As your roster and gear grow, shift to Gobfin & Friends for the highest ceiling, and keep Swapping ready for fights where a single burst attack does the heaviest lifting.