

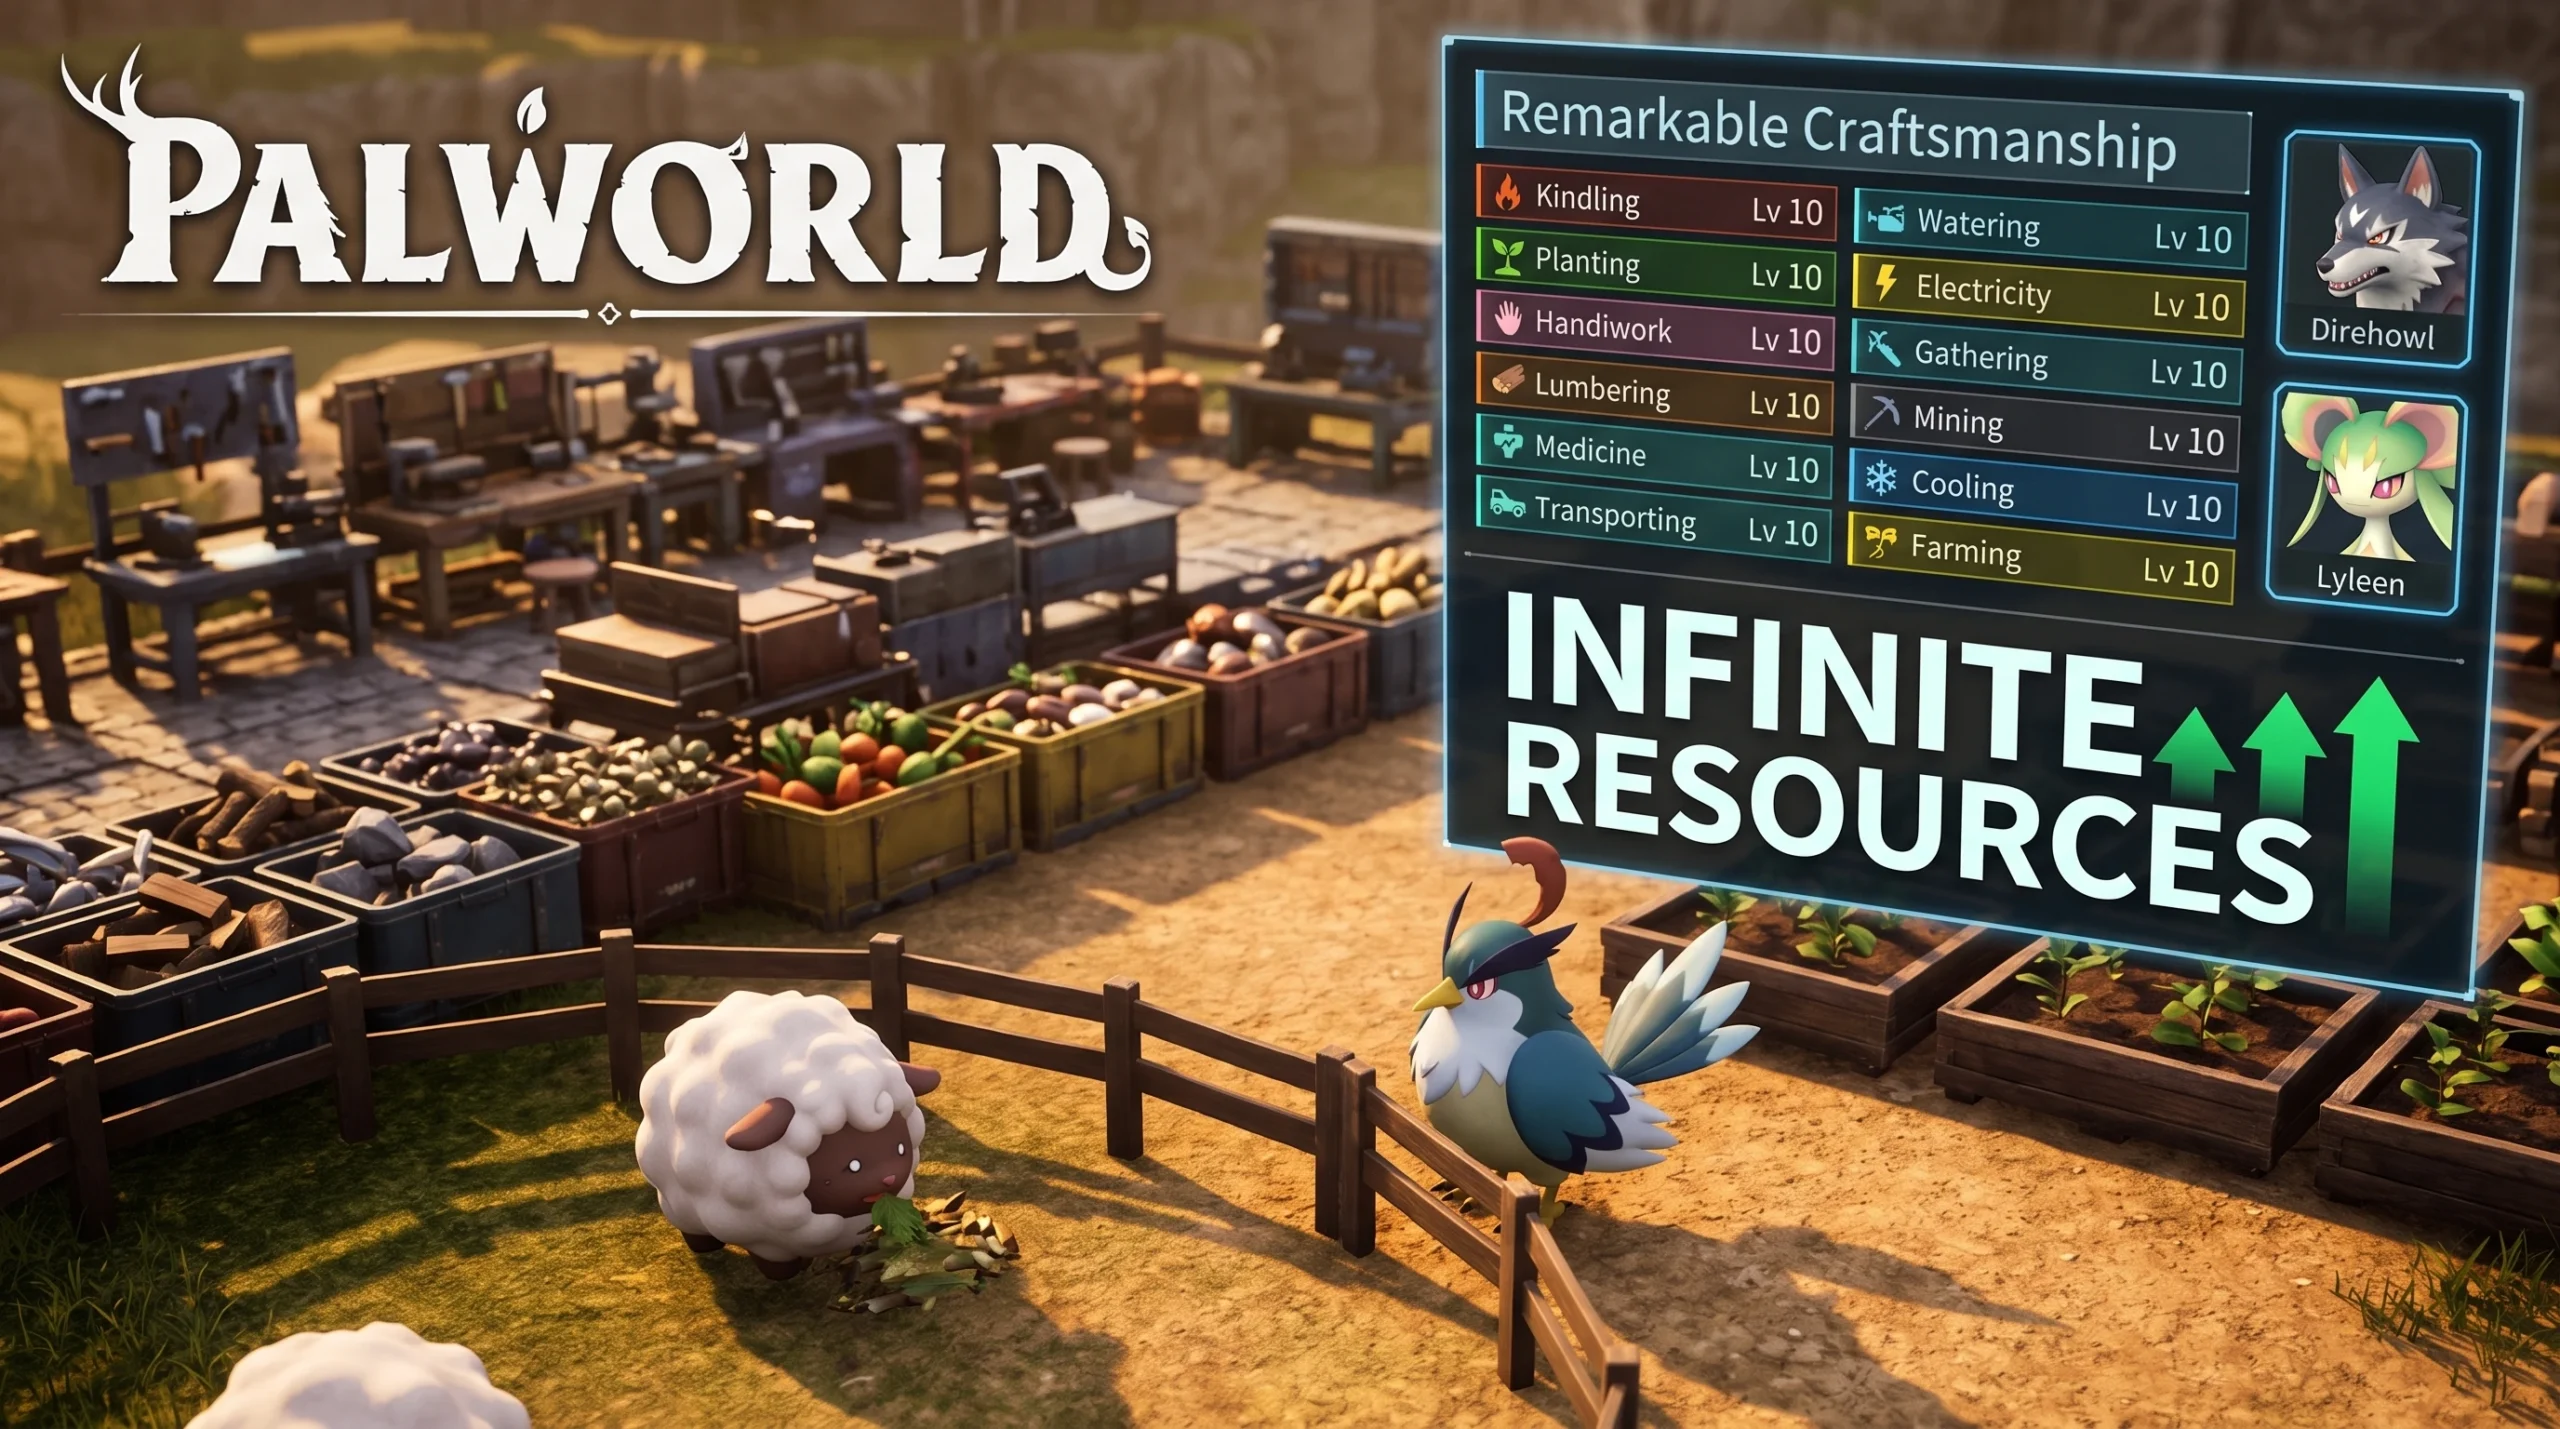
Palworld 1.0 rebuilt the base workforce from the ground up. Work Suitability no longer stops at Level 4, the condensing system decides which Pals are worth star-ranking, and a fresh wave of endgame specialists can hit the new Level 10 cap without spending a single technique book. If you want a base that refines, crafts, and mines at full speed, the fastest path is to stop condensing generalists and start condensing single-skill workers.
Quick answer: Catch a Pal that already sits at Level 8 in one work suitability, then condense it to four stars at the Pal Essence Condenser. Each star adds +1 to that top skill, and the fourth star adds +1 to everything, taking Level 8 straight to Level 10 with no applied technique books.
How work suitability Level 10 works in 1.0
Every Pal has a Work Suitability rating for each job it can do, and a higher level means faster work. The cap rose from Level 4 to Level 10, so the gap between a casual base and an optimized one is much wider than before. You will not find a wild Pal that already sits at Level 10. The highest natural value is Level 7 or 8 in a single skill, and you have to close the rest of the gap yourself.
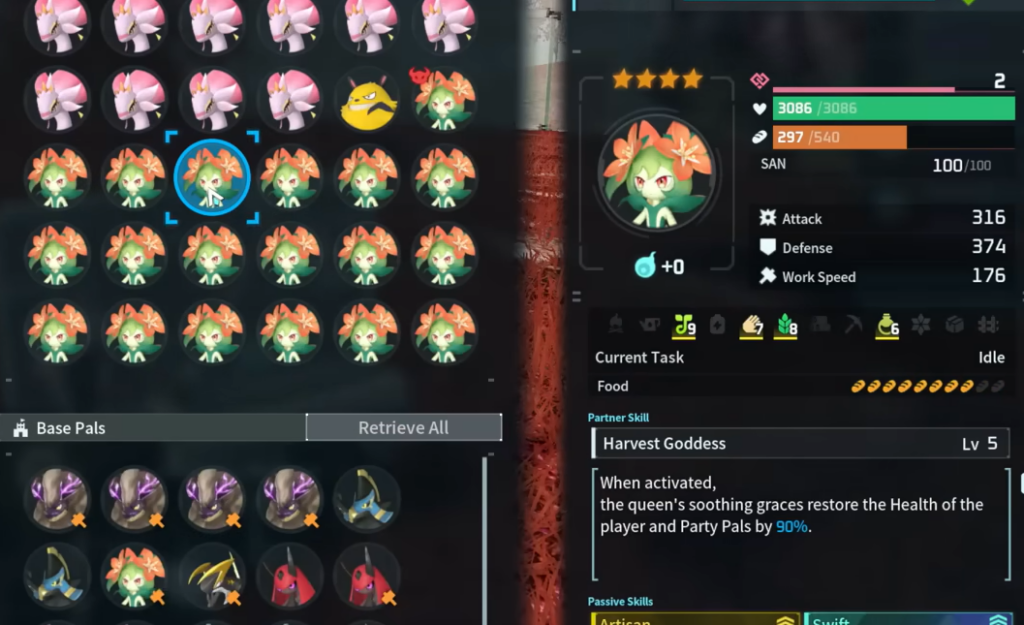
The main lever is condensing at the Pal Essence Condenser. Each star you add raises one of the Pal’s existing work suitabilities by +1, working down the list from its highest skill to its lowest. The fourth star is different. It adds +1 to every work suitability at once. Max condensing rank now costs 48 copies instead of 116, so pushing a worker to four stars is a realistic project rather than a lifetime grind.
This is exactly why specialists win. A Pal with Level 8 Kindling and almost nothing else gains Kindling at every star, so four stars means four +1s and a clean jump to Level 10. A Pal with a little Kindling, a little Transporting, and a little Handiwork just gets its weak spots patched one at a time and never reaches the ceiling in the skill you actually care about.
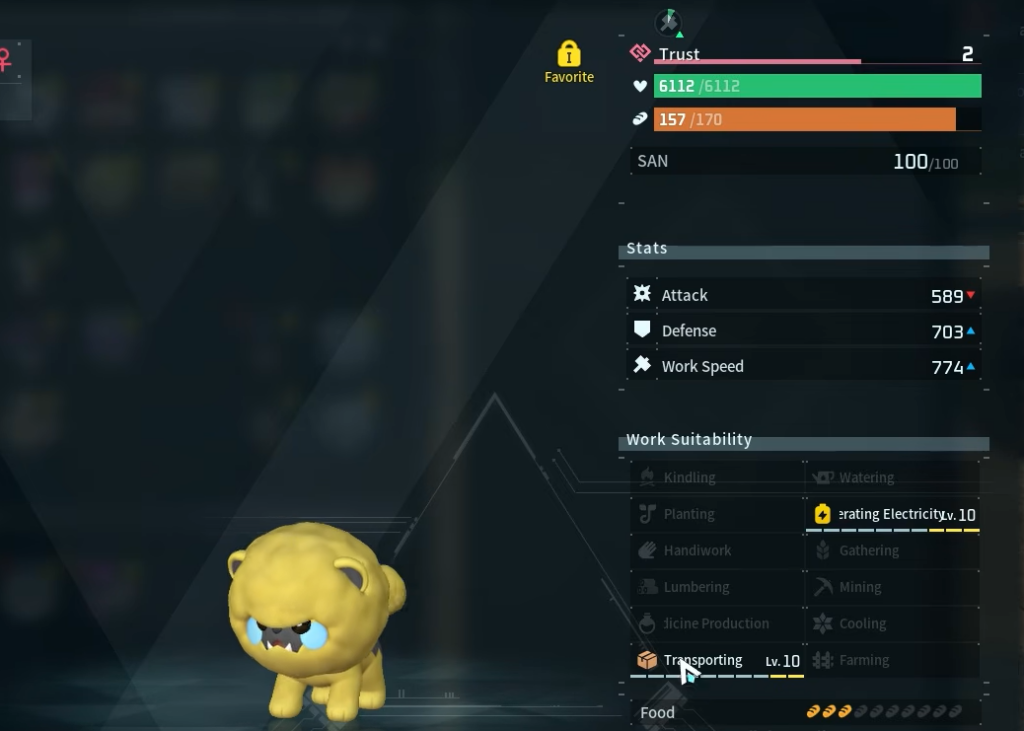
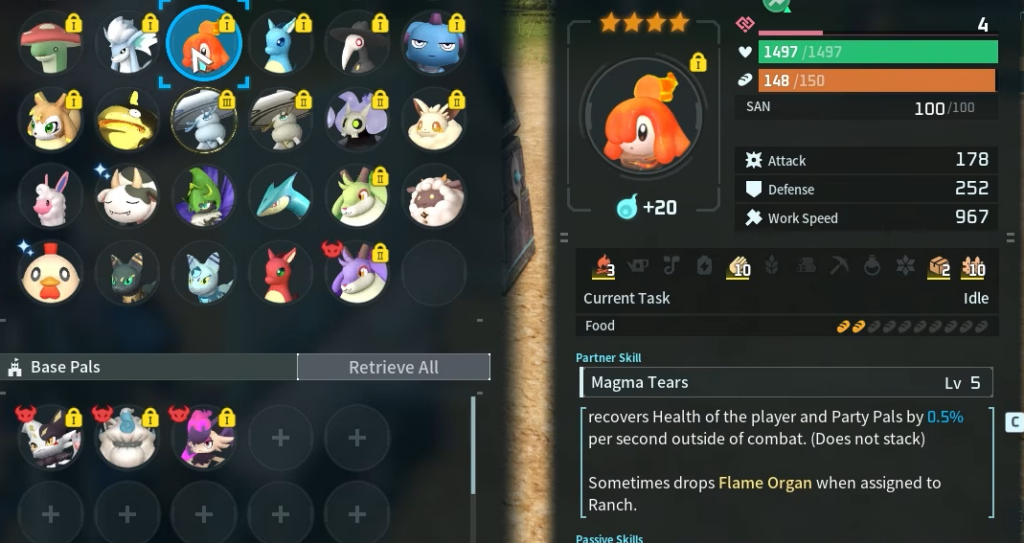
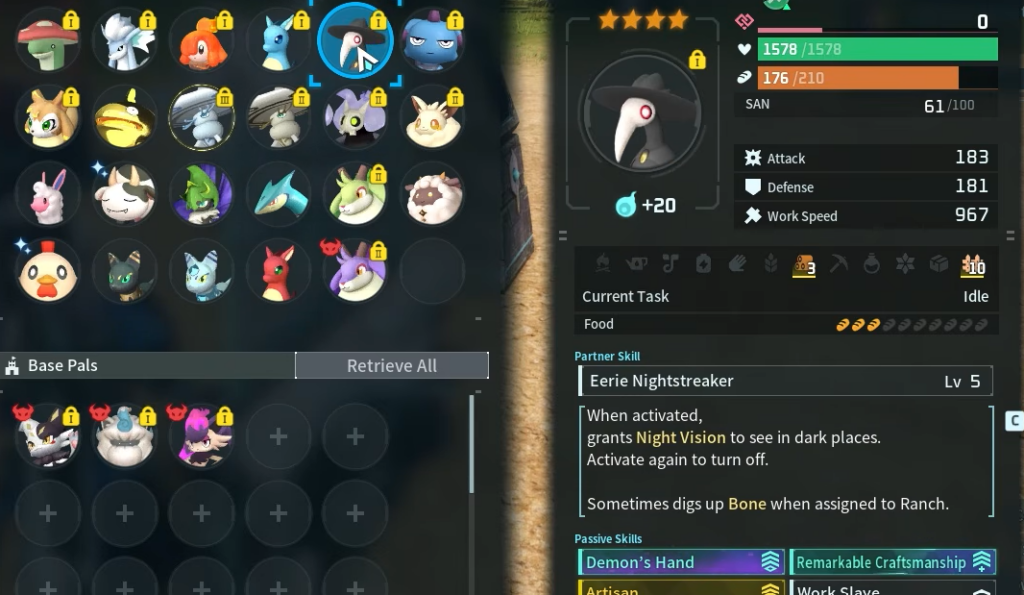
You can confirm it worked on the Pal Stats screen. After each star, the work suitability line updates immediately, so a four-star Level 8 specialist will read Level 10 in that skill. If your worker is stuck below the cap, the reason is almost always that its stars are being spread across multiple low skills instead of feeding one high one.
Best Level 10 work Pals for every job
These are the workers that scale cleanly to Level 10 through condensing alone. Most of them come from the World Tree region, which only opens up at endgame, so cross-check names in-game before you commit rare eggs to breeding. Transporting is the one exception where no Pal reaches Level 8 naturally.
| Work suitability | Best Level 10 pick | Alternatives |
|---|---|---|
| Kindling | Renjishi | Jormuntide Ignis |
| Watering | Shaolong | Jormuntide, Suzaku Aqua |
| Planting | Dandilord | Ophydia |
| Generating Electricity | Orserk | — |
| Handiwork | Solenne | — |
| Gathering | Jetragon | Frostallion Noct, Hartalis, Starryon Primo |
| Lumbering | Celesdir Noct | Celesdir, Silvegis |
| Mining | Aegidron | Astegon, Blazamut Ryu, Blazamut |
| Medicine Production | Silvance | — |
| Cooling | Bastigor | Frostallion |
| Transporting | Eidrolon | — |
A few of these are catchable before the endgame. Jetragon shows up as a Level 70 Alpha boss in the northwest corner of the Sunreach region, and it also happens to be the fastest flying mount in the game. Renjishi and Dandilord are both Level 78 Alpha bosses in the northeast of the World Tree region. Celesdir Noct can be caught in the World Tree region, but you can reach it earlier by catching a standard Celesdir on the main map and breeding it with Kitsun Noct.
A Level 8 base skill only needs four stars to reach Level 10. Pals like Jormuntide Ignis start lower, around Level 6 Kindling, and still climb all the way to Level 10 at four stars because condensing keeps feeding their top skill.
Work aura Pals that give +1 to the whole base
A handful of Pals carry a passive skill called a work aura. While one is active at your base, every other Pal there gets +1 to a specific work suitability. Like other traits, a work aura can be passed to other Pals through breeding. These are strong while you are leveling and building toward specialists, but once your dedicated workers reach Level 10 on their own, the extra +1 stops mattering.
| Work aura | Carrier Pal |
|---|---|
| Kindling | Katress Ignis |
| Watering | Amione |
| Planting | Petallia |
| Generating Electricity | Puffolt |
| Handiwork | Ribbuny |
| Gathering | Clovee |
| Lumbering | Eikthyrdeer Terra |
| Mining | Tetroise |
| Medicine Production | Mycora |
| Cooling | Smokie Cryst |
| Transporting | Wumpo |
| Farming | Cinnamoth |
Best ranch Pals and what they drop
Farming is the odd job out because it has no levels. A Pal placed in a Ranch simply drops its own item, so you pick by the resource you need. Several drops got shuffled in 1.0, so check the table before you stock a farm with a Pal that no longer produces what you expect.
| Ranch Pal | Drop |
|---|---|
| Woolipop Terra | Caramel Cotton Candy |
| Woolipop | Cotton Candy |
| Beegarde | Honey |
| Chikipi | Egg |
| Sparkit | Electric Organ |
| Rooby / Kelpsea Ignis / Flambelle | Flame Organ |
| Mau | Gold Coin |
| Sibelyx / Sibelyx Primo | High Quality Cloth |
| Dumud | High Quality Pal Oil |
| Mau Cryst / Foxcicle | Ice Organ |
| Surfernt | Leather |
| Mozzarina | Milk |
| Shroomer | Mushroom, Cavern Mushroom |
| Caprity | Red Berries |
| Caprity Noct / Depresso | Venom Gland |
| Melpaca / Lamball / Cremis | Wool |
| Sootseer / Cawgnito | Bone |
| Vaelet | Seeds |
Honey is worth calling out because Beegarde is the one common ranch drop you cannot buy from a Wandering Merchant, which makes a dedicated Beegarde ranch uniquely useful. Caprity is a strong pick while leveling since it drops Red Berries and restores hunger. Seeds from Vaelet rank near the bottom simply because most players never run short on them.
New partner skill Pals worth a base slot
Version 1.0 reworked several partner skills. None of these will carry your endgame, but a few earn a place at the base for specific tasks.
| Pal | Partner skill effect |
|---|---|
| Braloha | Increases egg production speed at the Breeding Farm by 50% |
| Dynamoff | Shortens egg incubation time by 40% |
| Lullu | Increases crop growth rate by 70% |
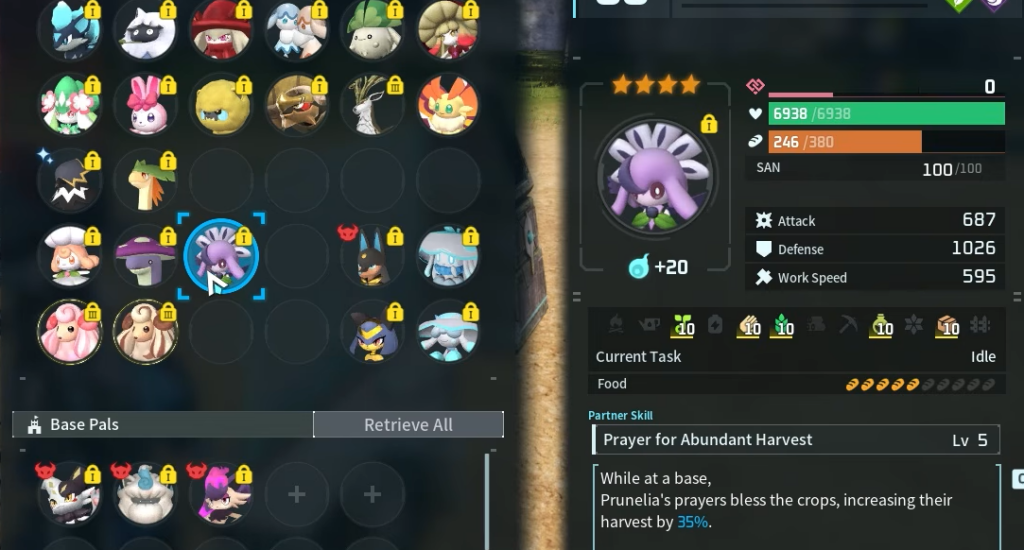
| Prunelia | Blesses crops, increasing harvest by 35% |
| Shroomer Noct | Slows base SAN loss by 15% |
| Woolipop | Reduces base Pal hunger depletion by 20% |
| Woolipop Terra | Reduces base Pal hunger depletion by 25% |
Two combos are worth understanding. Anubis has a partner skill that only pays off when Sekhmet is working alongside it, since Sekhmet’s Desert Empress skill boosts Anubis’s work speed by 40% and efficiency by 60% at a Workbench or Workshop. Jelliet works the same way with Jellroy, raising watering speed by 120% while both are in the base.
The Woolipop hunger effect is a debuff. Keep it away from your working Pals so it does not slow them down, but it can be handy in a raid party to keep enemy hunger debuffs from wearing off mid-fight.
Base setup for fast Level 10 workers
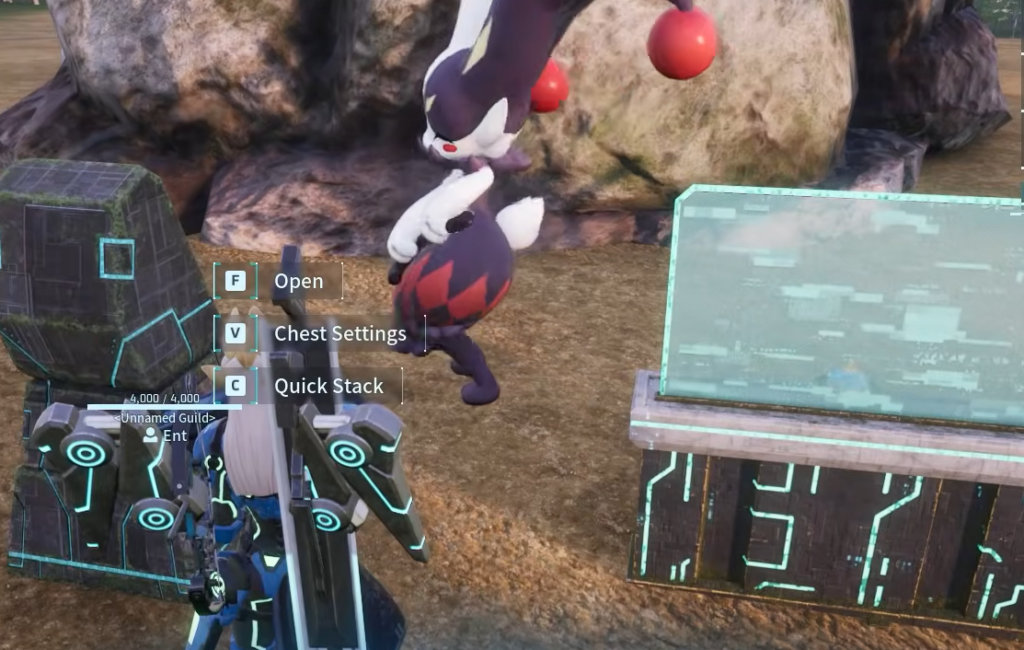
Once your specialists are hatched, the base itself needs to keep pace. A hungry Pal works slower and a starving one can start wrecking your base, so keep the Feed Box stocked at all times. Low SAN causes the same problem with extra property damage, so a Hot Spring pays for itself. Build workstations right next to the resource they use, since Pals work fastest beside the deposit, tree, or water source their job needs.
Larger operations tend to run three bases: one for mining, one for crafting and assembly lines, and a separate breeding base so your ranch and egg Pals never wander into your production floor. If perfect-pal breeding is your long-term plan, isolate that base completely so a stray ranch Pal is not clogging a work slot in your main camp.
The last piece is scale. Give Handiwork specialists a full assembly-line queue, dedicate plantations to your planting and gathering workers, and add enough storage that transporting never becomes the bottleneck choking everything upstream of it. Past a certain gear tier, the exact worker roster matters less, so once the base runs itself, feel free to swap your favorites back in.





