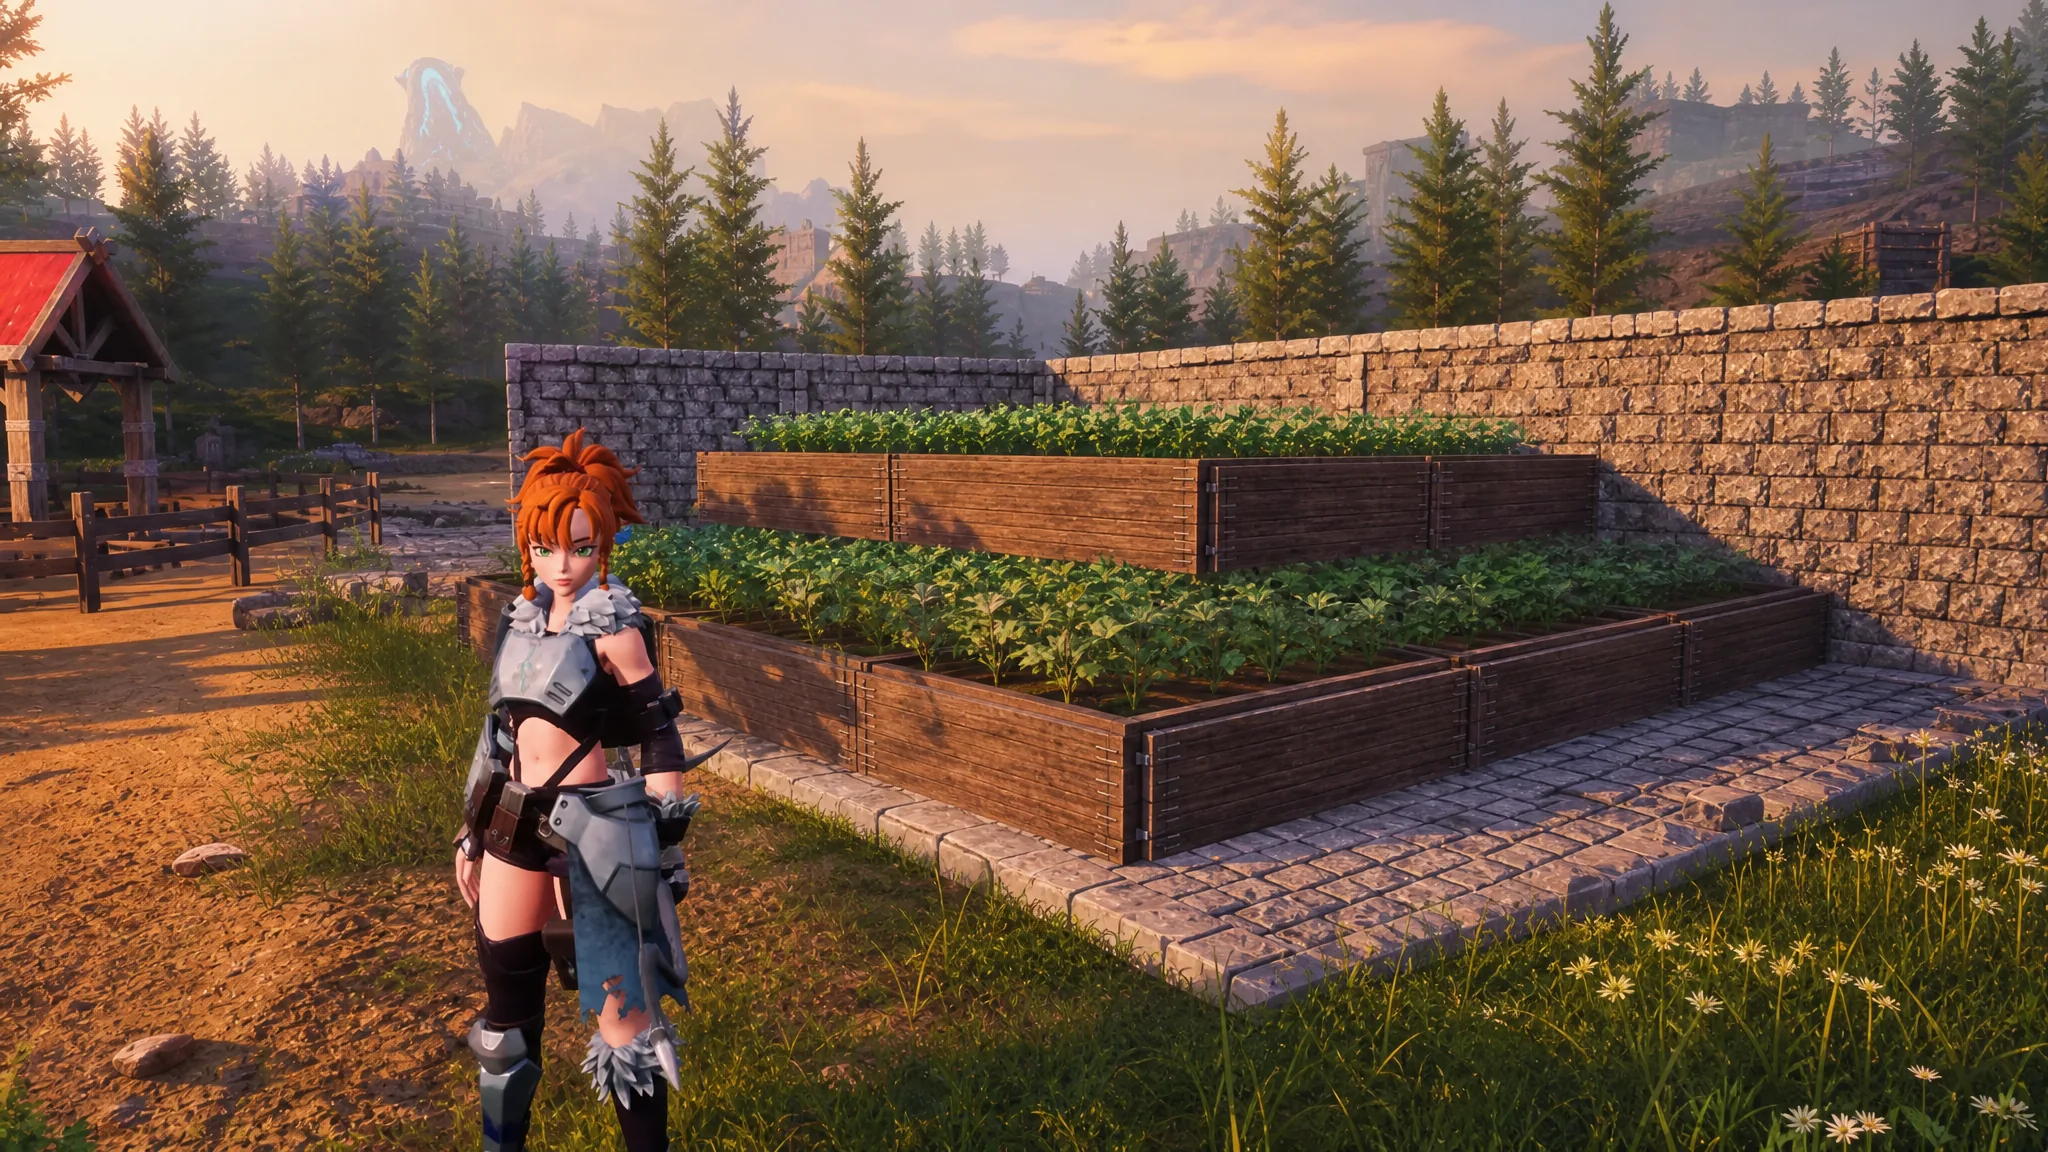
Every base in Palworld gives you a fixed footprint, and a full spread of plantations eats through it fast. Stacking lets you drop one plot on top of another so a whole farm fits into a single corner, and your Pals still plant, water, and harvest each layer. The trick survived into version 1.0, though the placement tolerances are tighter now, so alignment matters more than it used to.
Quick answer: Build a foundation with a back wall, place a plantation against it, set a Japanese Floor Cushion (Level 55) or a Wooden Bench (Level 5) in the plot’s center, then hold Ctrl and jump while placing the next plantation so it snaps onto the support above.
Why plantation stacking works in Palworld 1.0
Stacking relies on one behavior in the building system. A plantation only needs a flat object covering its center point to count as supported. The rest of the plot’s footprint can hang over empty air. A cushion or bench sitting under that center is enough to hold a full crop plot.
You also need something for the game to snap against, or your plots settle at random angles. A foundation with a wall behind it gives that reference, and any wall type works. Hold Ctrl in build mode for axis alignment, then aim at the side of the wall rather than the ground. If you want more than four layers, put a second wall on top of the first. Once the stack rises above a single wall’s height, the game loses its anchor and plots stop snapping cleanly.
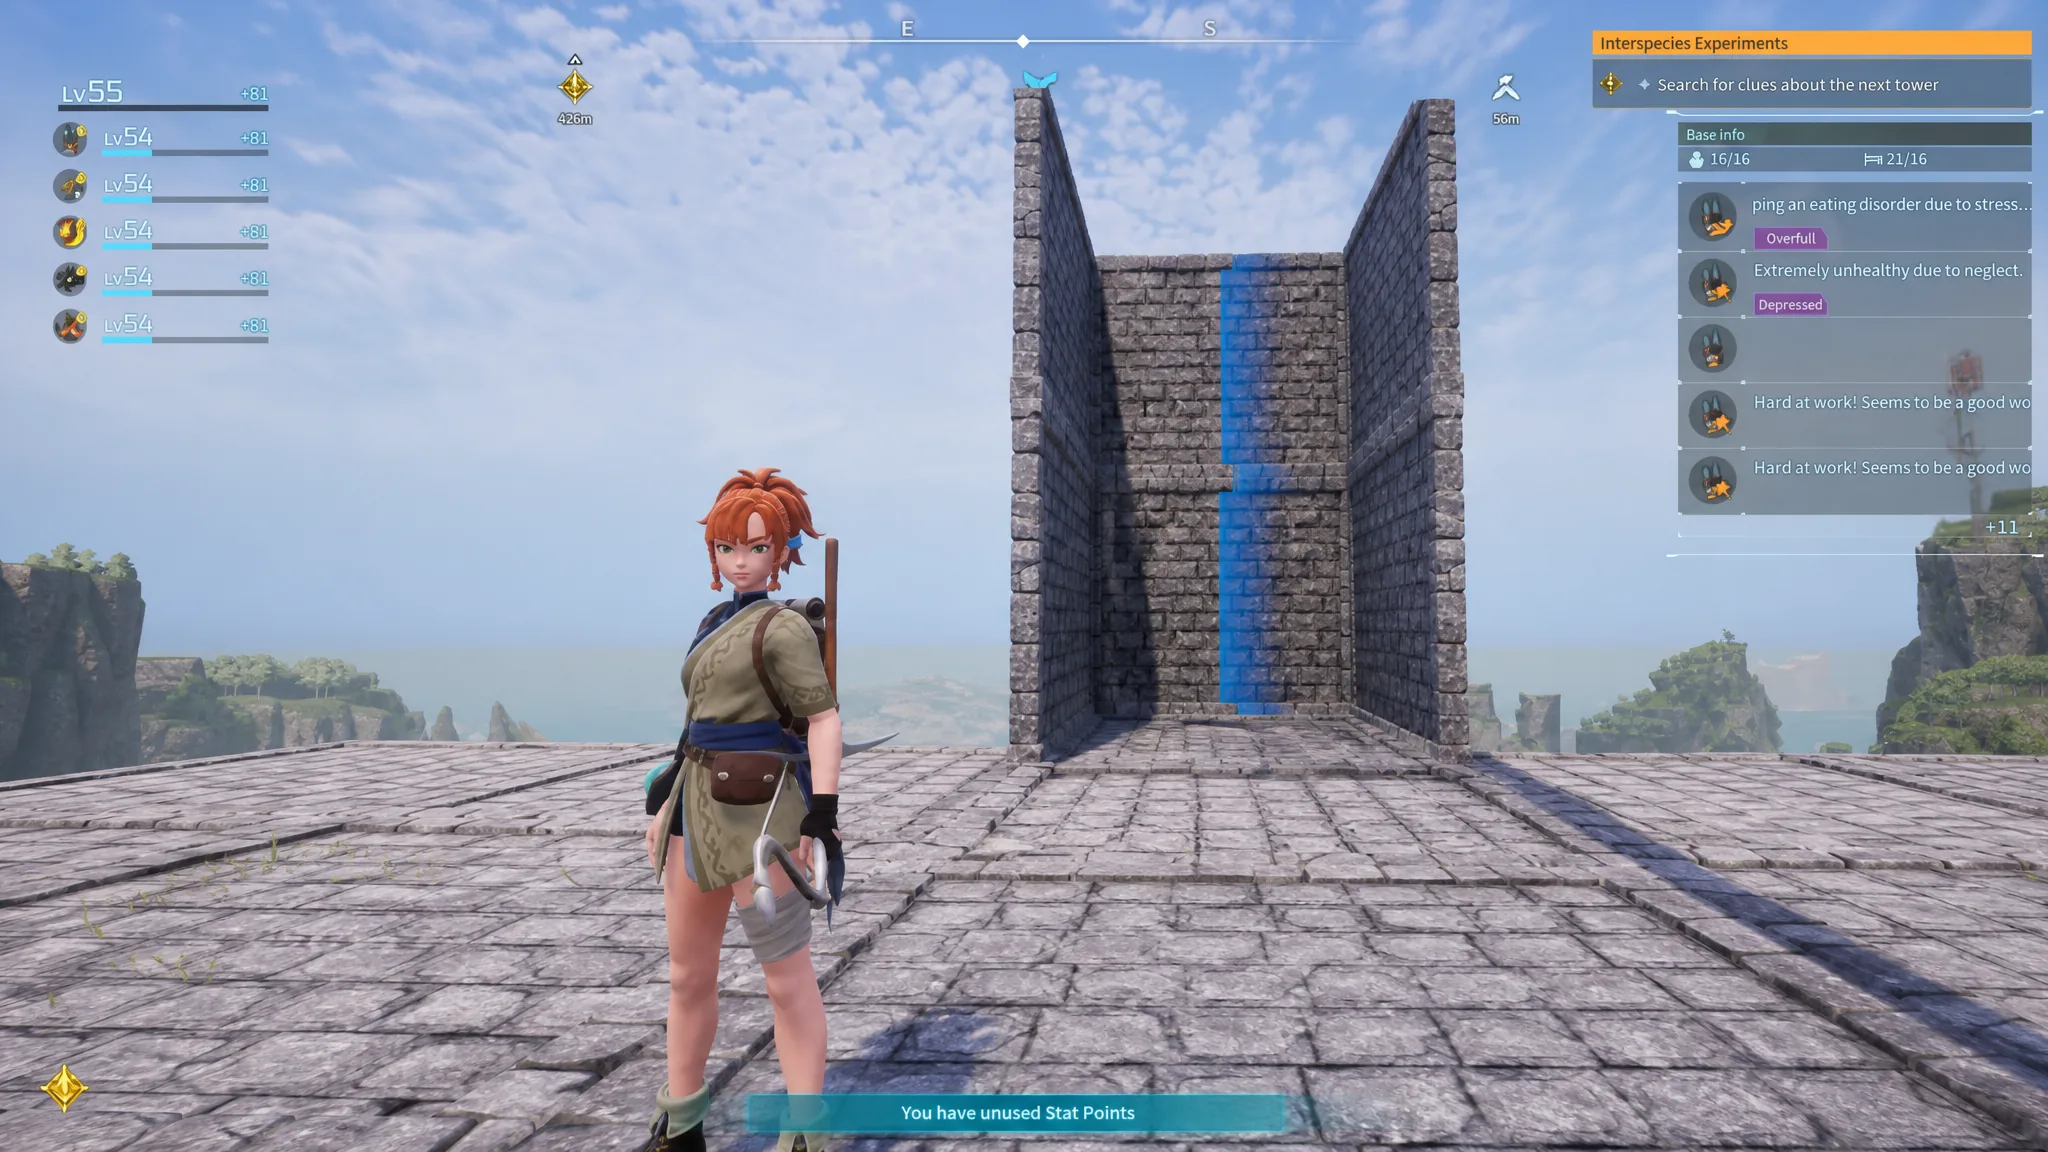
Place the whole setup on flat terrain in an open part of the base. Nearby storage, machines, or defensive walls can interfere with collision checks even when they don’t look like they touch the plots. Two methods handle the actual stacking, and they differ mainly in unlock level and how much fiddling they demand.
| Method | Unlock | Result | Best for |
|---|---|---|---|
| Japanese Floor Cushion | Level 55 | Tight and even, cushion stays permanently | Late-game bases |
| Wooden Bench | Level 5 | Works, often crooked, leaves nothing behind | Early game |
| T-shape bench layout | Level 5 | Nearly as clean as the cushion | Early players who want it neat |
Stack plantations with the Japanese Floor Cushion (Level 55)
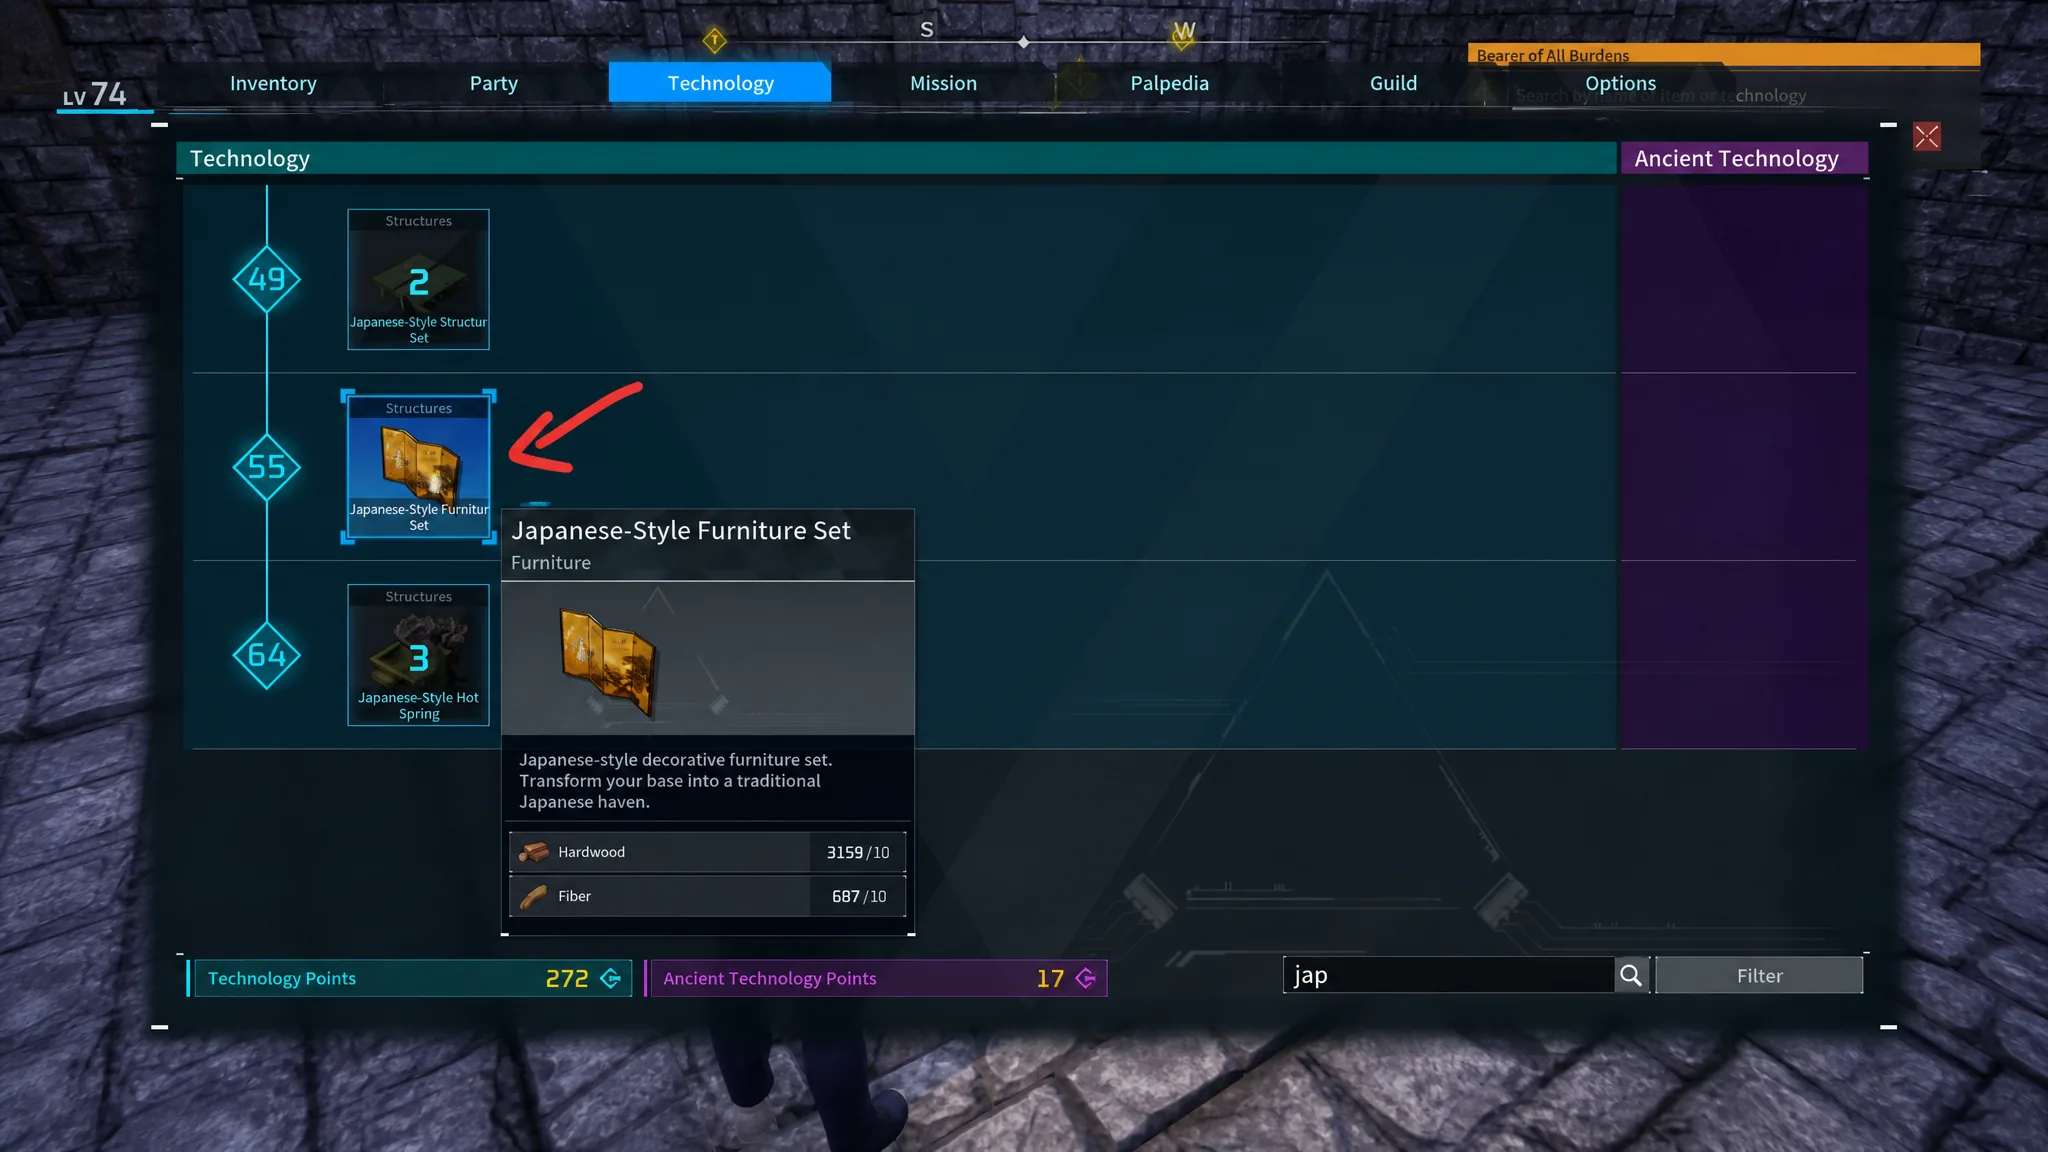
The cushion comes from the Japanese-Style Furniture Set, unlocked at Level 55 on the technology tree. It costs Cloth x3 and Fiber x10 to build. This is the cleanest option because the cushions stay hidden between the plots and never need removing, so there’s no reaching between crops to disassemble a support.
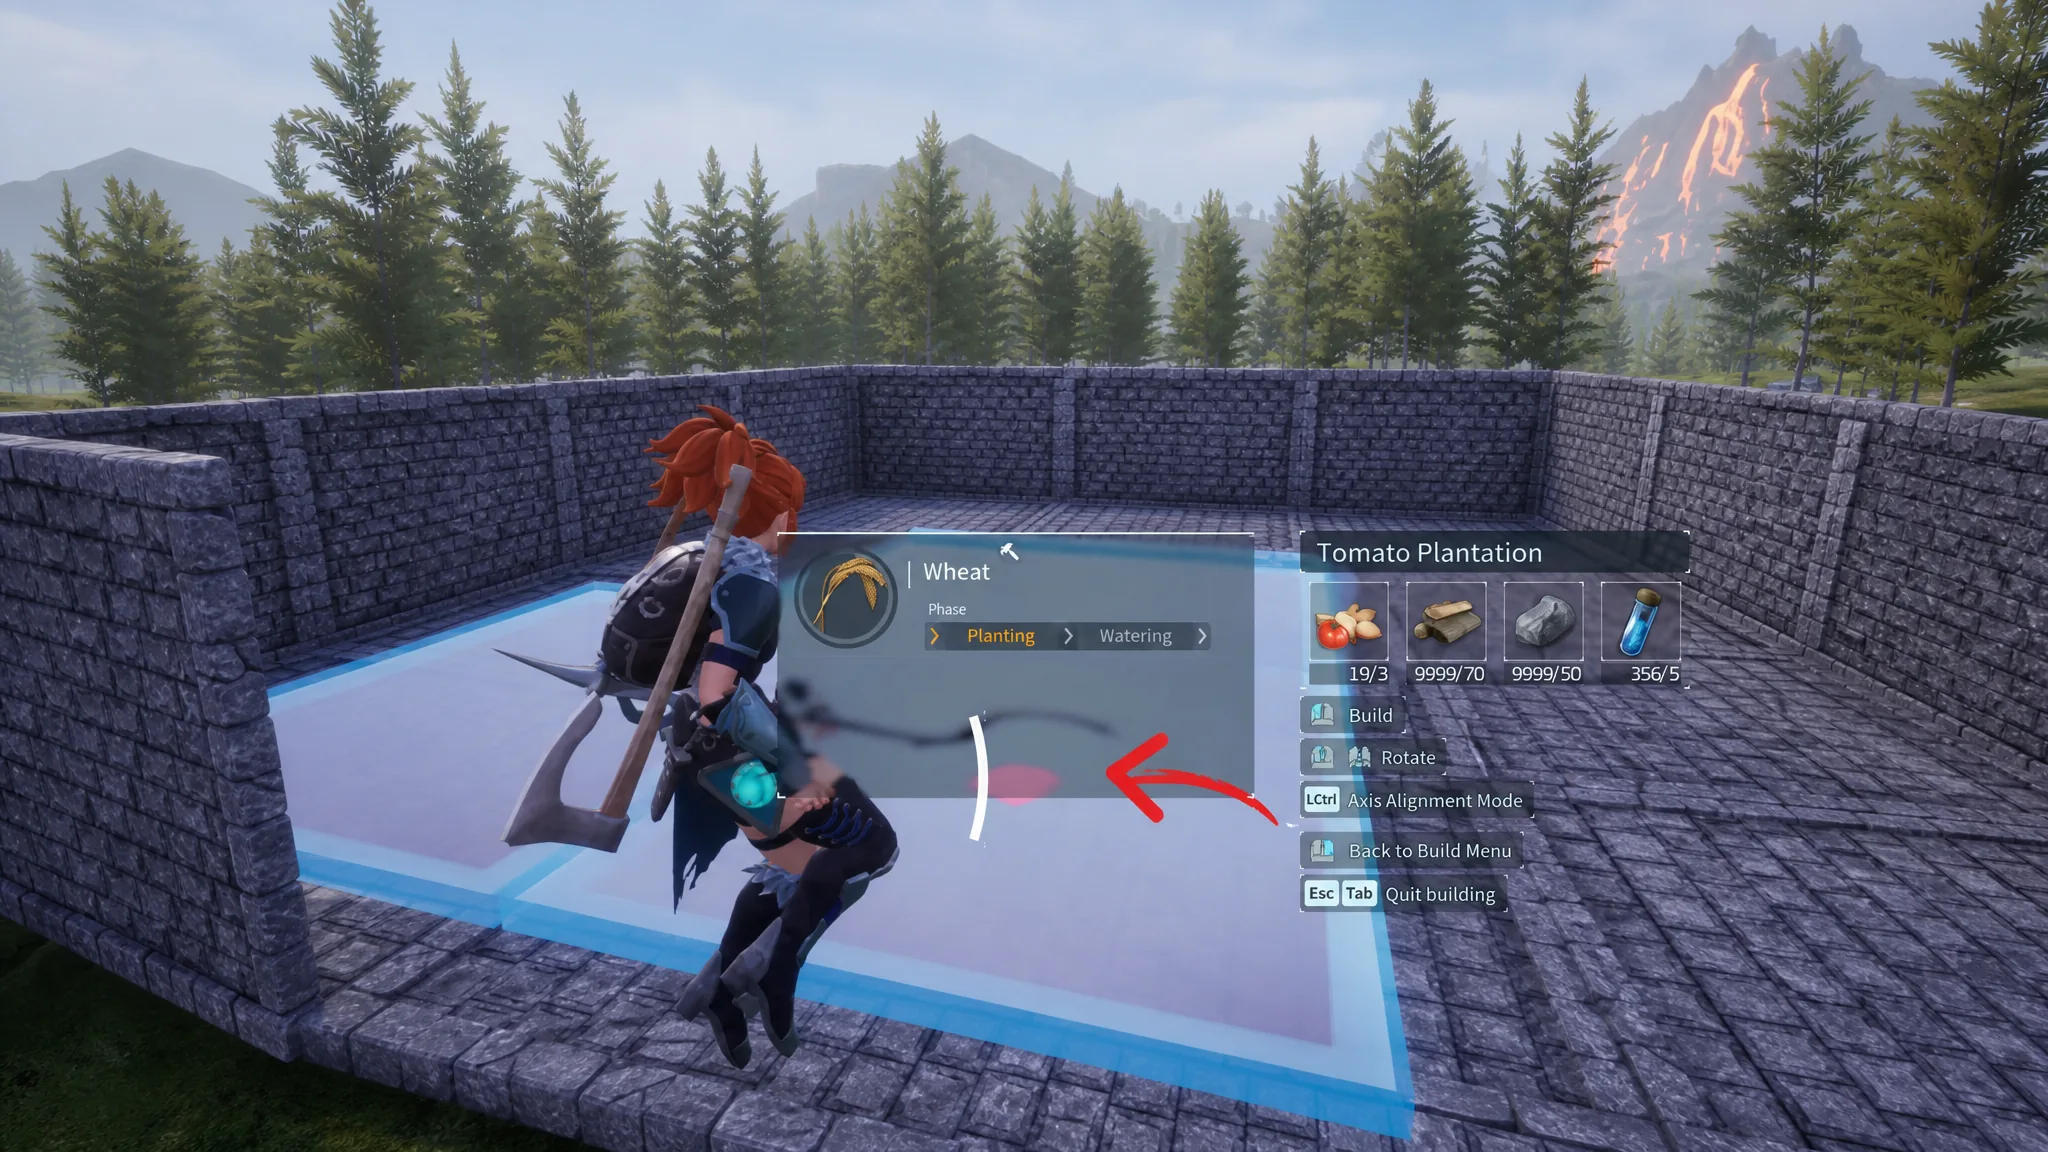
The cushion doesn’t need to be perfect, just close enough to cover the center point of the plot below. When a stack comes out crooked or refuses to pass two levels, an off-center cushion is almost always the cause. Break it, place it again, and confirm the position from two sides.
Note: A cushion is permanent once it holds weight. Removing one destroys everything above it, and every cushion counts toward your base structure limit, which becomes an issue on servers with tight caps. If you leave the foundation empty and never place a plot directly on it, you can delete the foundation afterward and the stack will float.
Stack plantations with Wooden Benches before Level 55
The Wooden Bench comes from the Wooden Living Room Furniture Set at Technology Tier 5, so this method is available almost from the start. It builds from the top down, and each bench you remove exposes the height for the next layer.
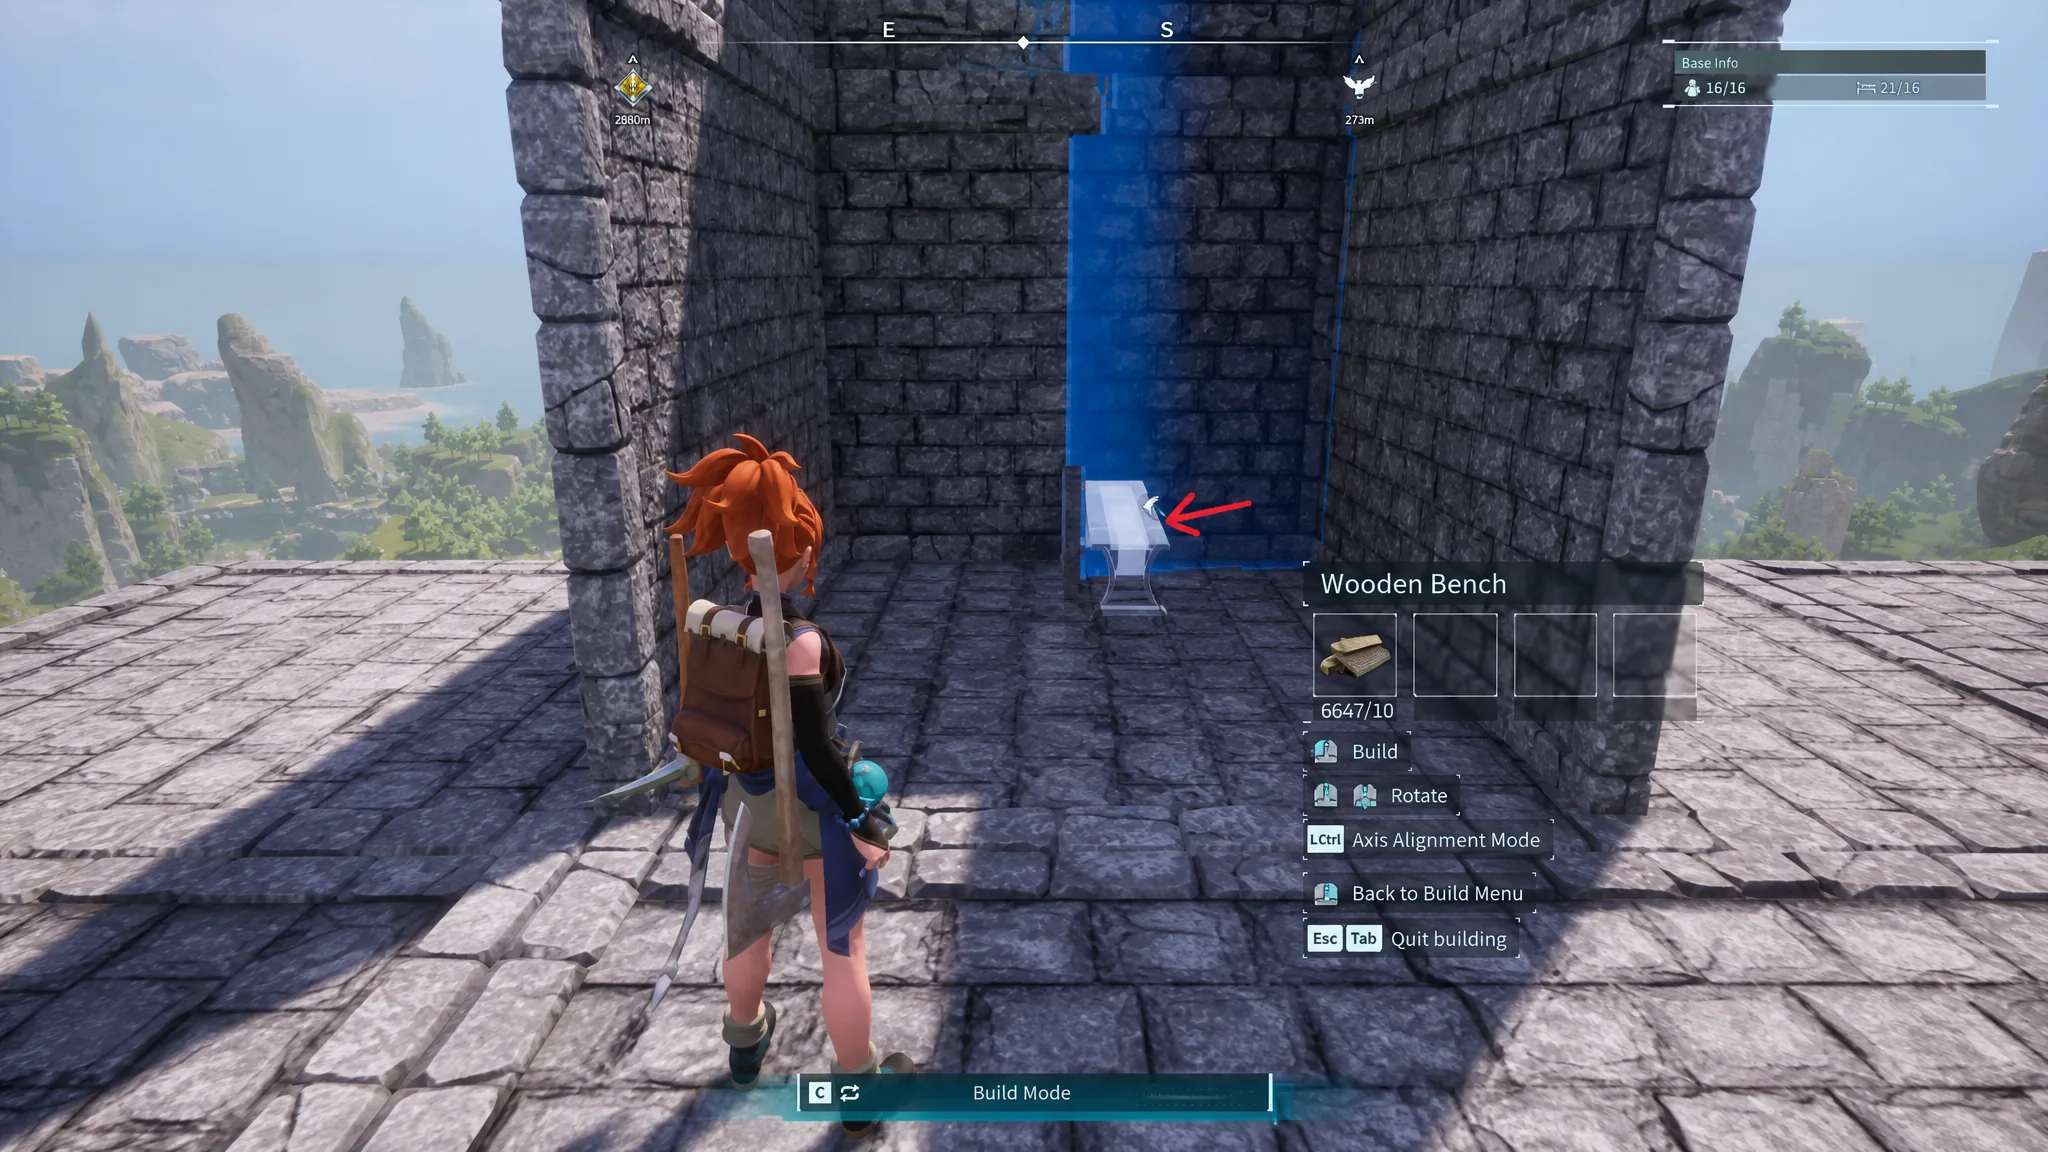
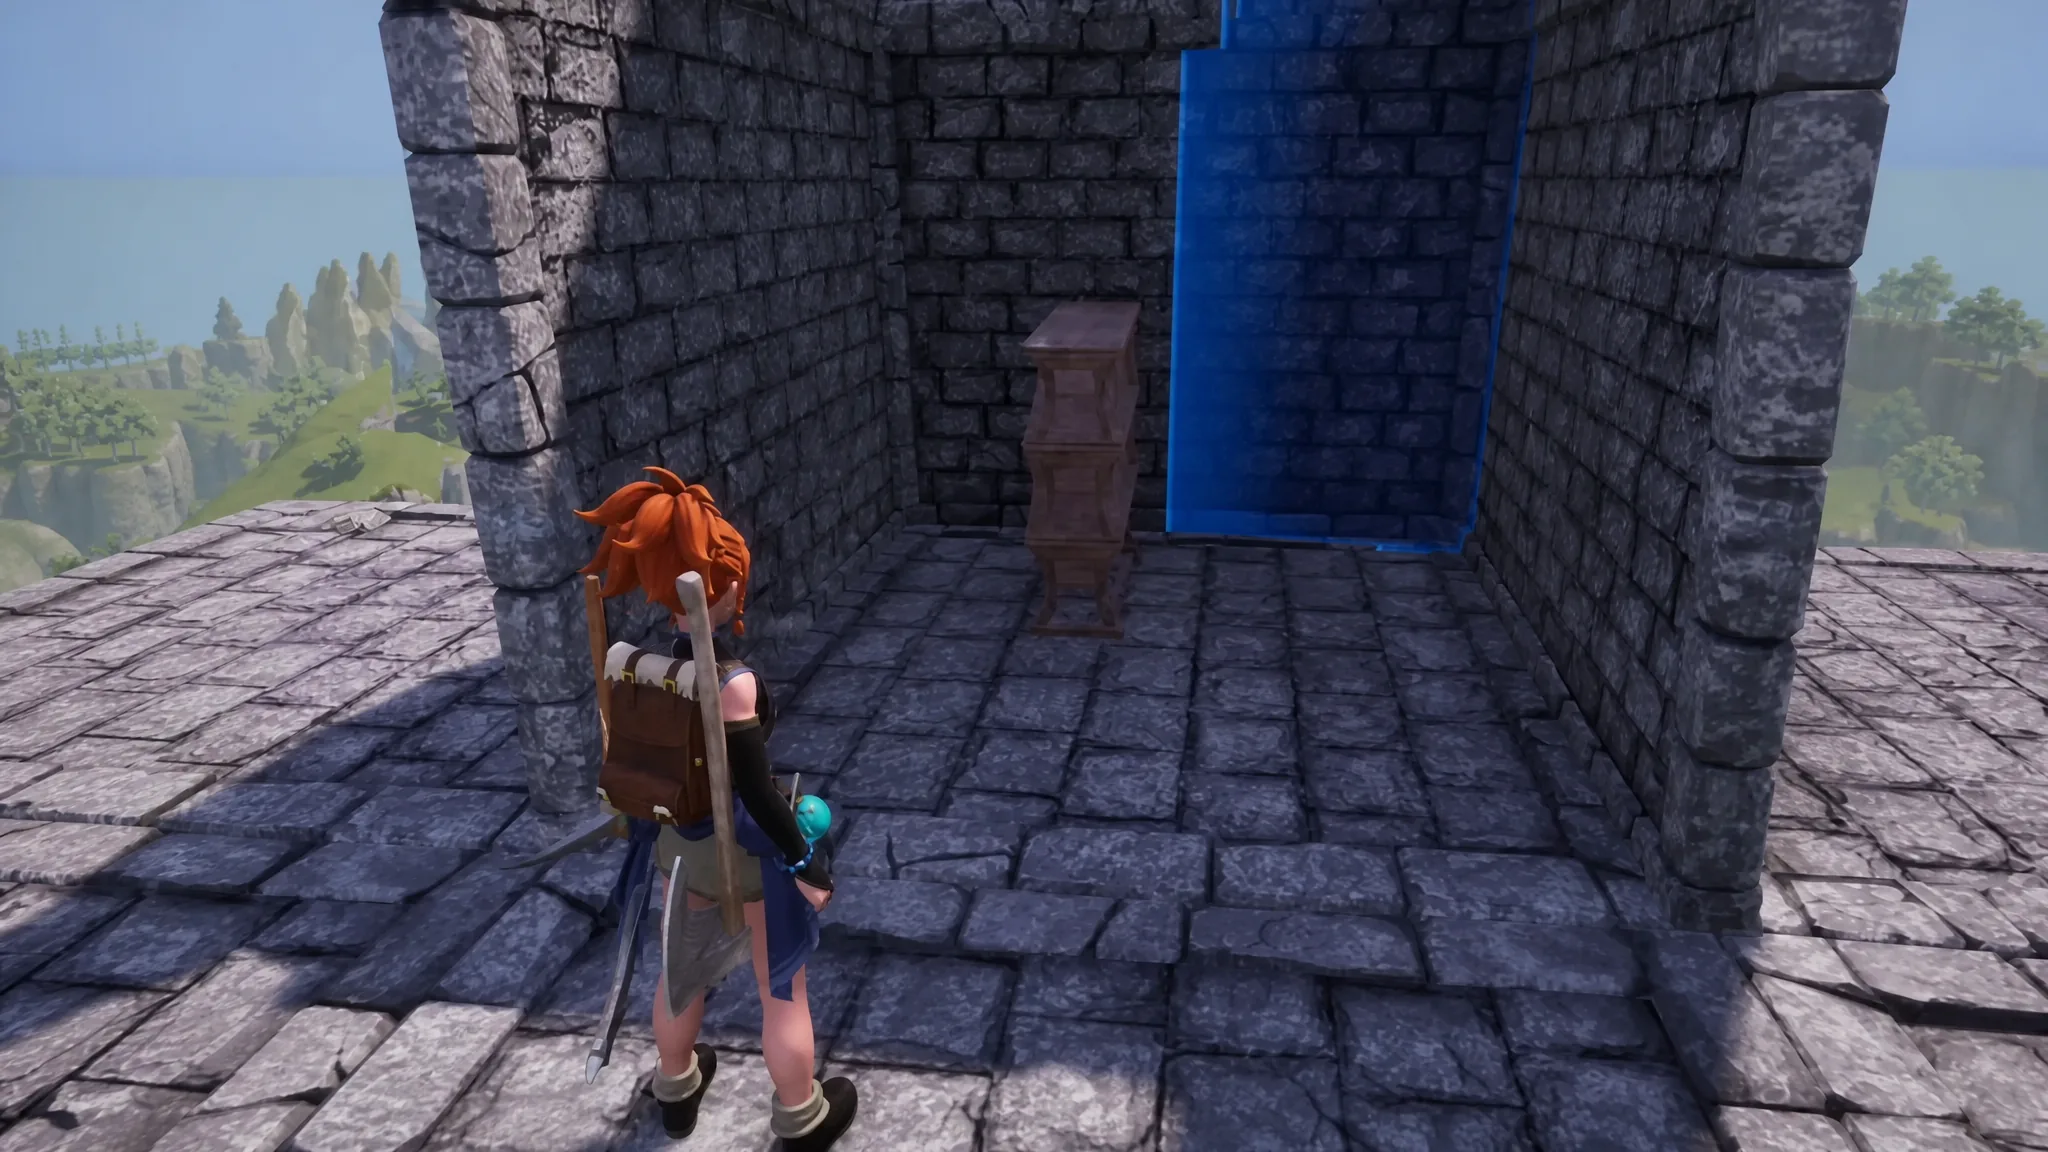
Confirm the highlighted object before you disassemble anything. Accidentally selecting a finished plantation removes part of the stack and makes the remaining layers harder to realign.
The T-shape bench layout for cleaner results
A single bench is a thin strip, and a plot resting on a thin strip wobbles into place at odd angles. The T-shape fixes that for a few extra minutes of building. Snap a bench to the center of your wall running parallel to it, then snap a second off the middle pointing away, forming a T. Add two more to extend the stem for four benches in one layer. Build three more identical layers on top, then work from the top down, deleting each bench layer as you go. Delete the wall once finished.
Other objects that work as a support
The cushion and bench aren’t the only flat surfaces you can stack on. Each of these covers a plot’s center point the same way.
| Object | Unlock | Notes |
|---|---|---|
| Wooden Bench | Level 5 | The standard early option |
| Pillar | Early | Reliable, costs two foundation blocks |
| Ironwood Low Table | Level 35 | Same height as a bench but wider, covers a large plot with one piece |
| Retro Street Lamp | Needs the cushion | Tall enough to jump-stack from, no wall required |
| Mounted Torch | Needs the cushion | The smallest spacer, good for compact towers |
The Ironwood Low Table is the underrated pick past Level 35. Its wider surface saves you from lining up multiple benches on every layer of a large stack. Wooden Stools were once usable, but a late-July change means they no longer place on top of plantations, so treat that one as unreliable.
Stacking large plantations (Wheat, Tomato, Lettuce and more)
The Berry Plantation uses the small footprint. Wheat, Tomato, Lettuce, Potato, Carrot, and Onion all share the larger one. Large plots mix freely with each other, so a Wheat Plantation under a Tomato Plantation causes no trouble. Berry is the outlier, since its footprint doesn’t match and a Berry plot dropped into a large stack won’t find the cushion.

The fix is an off-center cushion. If Berry sits at the bottom and you want a large plot above it, put the cushion near the bottom middle of the Berry plot. If Berry goes on top of a large plot instead, place the cushion near the top middle. The red arrow that appears while positioning a plantation makes a handy marker for where to aim.
Placement changes too. Push the bottom large plot away from the wall before committing. Walk forward until the preview turns red, then back off until a small gap opens behind the plot. A large plot pressed tight against the wall clips into it, and every layer above inherits the same problem. You also need more surface underneath, so add a bench on each side of your center bench for three in a line, or use a single Ironwood Low Table. A Diagonal Wall snaps Wheat better than a normal one because it’s wider. When your character is too short to reach the next layer, drop a bench beside the stack, stand on it, and jump from there.
How many plantations you can stack and Pal access
The ceiling depends on how you anchored the tower. The building system rarely stops you first. Past three or four levels, Pals start struggling to reach the upper plots, and some get stuck inside a plantation entirely. You fix a stuck Pal by pulling it out of the base and placing it back.
| Setup | Reported ceiling |
|---|---|
| Single wall as the anchor | 3 plots |
| Common recommendation | 3 to 4 plots |
| Second wall stacked on top | Past 4 |
| Cushion method with a ramp for access | 6 plots |
A ramp or stairs beside the tower helps a lot, and taller or flying Pals reach farther. To verify a stack works, watch it through a full crop cycle. Every layer should receive Planting, Watering, and Gathering progress. If one plot stays untouched, the issue is alignment or blocked access rather than a shortage of workers, so leave open space around the front and sides instead of pressing stacks together.
Does stacking increase crop output?
No. Each plot in the tower runs its own work cycle, exactly as it would if the plots sat spread across the ground. In 1.0, a single Watering, Planting, or Gathering interaction no longer advances every overlapping plot at once, so each plantation needs its own work progress. What stacking buys you is floor space, plus a small speed benefit because farming Pals stop walking between distant plots. Anyone claiming a stack multiplies your harvest is wrong.
Common stacking problems and fixes
| Problem | Likely cause | Fix |
|---|---|---|
| Plantation won’t snap | Game is targeting the ground | Hold Ctrl, aim at the back edge of the wall, then jump |
| Plot throws itself to a 45-degree angle | Wrong surface targeted or bad camera angle | Look at the wall, not the plot below, then shift the camera slightly |
| Can’t get past two plots | The second cushion is off-center | Break it, place again, check from two angles |
| Pals ignore the upper plots | Height, or a Pal stuck in the stack | Build a ramp, or pull the Pal out of the base and put it back |
| Last bench won’t highlight | The plot above blocks your target | Crouch with C, step backward, build on a slight incline |
| Blueprint tilts sharply upward | Unstable support position | Cancel the placement and reposition the support rather than rotating |
Tomato and Lettuce fall behind more often than the rest, most likely a watering throughput quirk where Pals loop back to lower plots instead of climbing higher. Adding Watering suitability is worth trying before tearing a stack down. Skill Fruit Plantations, meanwhile, have not been made to stack with any version of this. Make sure every bench is fully constructed before adding another support, since an unfinished bench can look present without offering a valid surface.
Stacking earns its place when floor space is your scarcest resource, especially on a single production base that ships ingredients out and needs room for breeding farms, ranches, and machines. The tradeoff is object count, since every permanent cushion is another structure the engine tracks and bases already stutter more than open ground. If frames matter more than a tidy tower, the bench method leaves nothing behind once you delete the final bench, which makes it the more forgiving choice on tight builds.