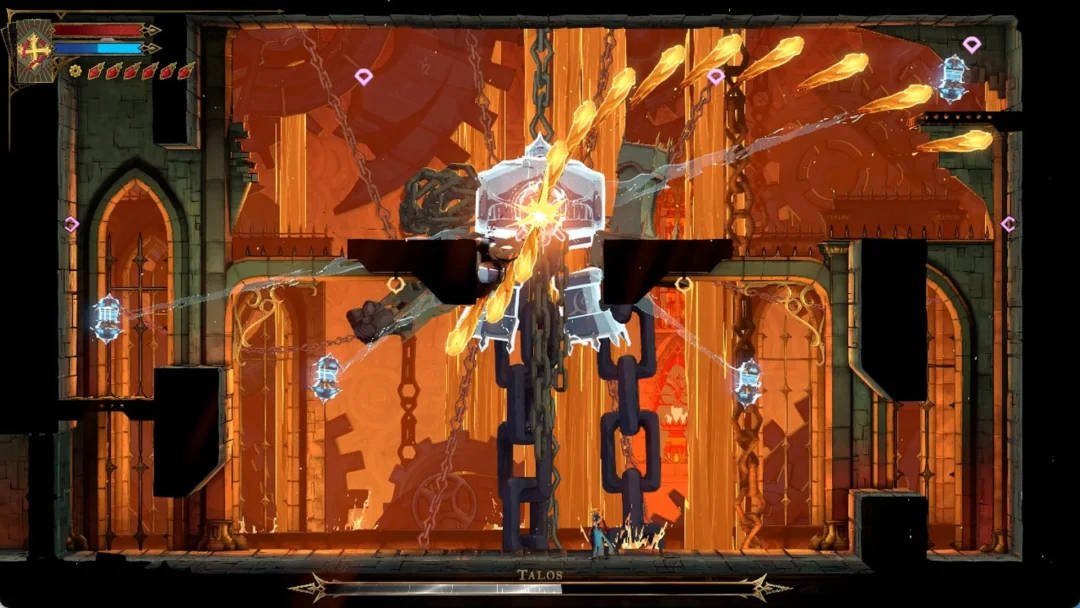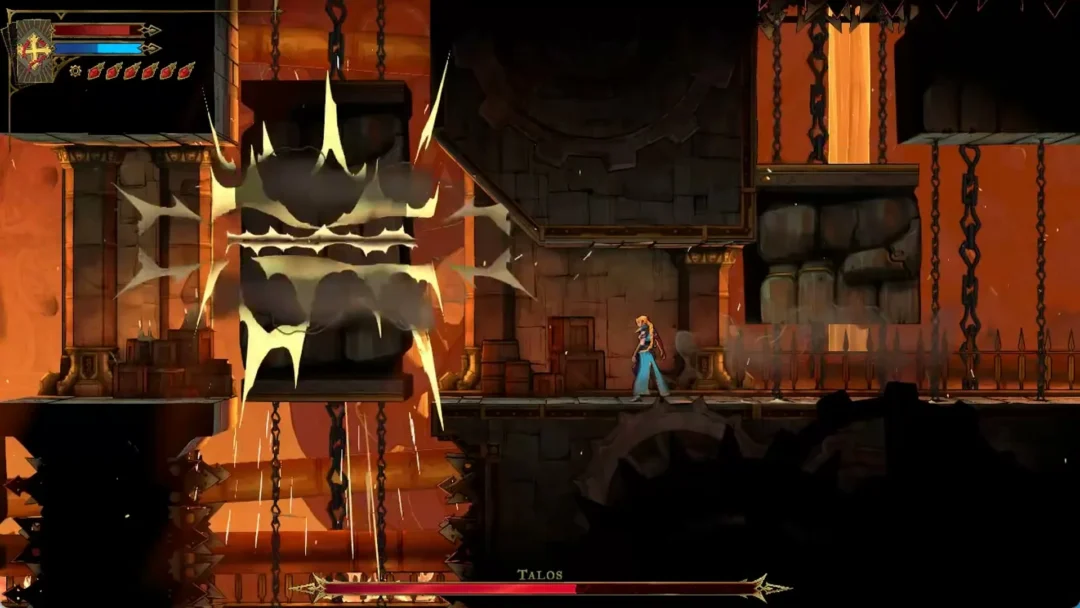
At level 80, Bellanoir Libero (Ultra) is a raid that punishes teams built for only one situation. It begins as a Dark-type boss before changing to Ice mid-fight, making a Dragon-only setup ineffective when the battle becomes most dangerous. The quickest clears prepare two base armies and two mounts, switching between them as soon as the bar reaches the changeover point.
Quick answer: Field 15 Xenolords and ride Chillet for the Dark phase, then at roughly 300,000 HP remaining swap to 15 Moldrons and mount Pyrin for the Ice phase.
Bellanoir Libero (Ultra) boss stats, phases, and timer
The elemental change defines the encounter. During Phase 1, Bellanoir is Dark and takes super-effective Dragon damage; in Phase 2, it becomes Ice, making those Dragon Pals easy targets while Fire becomes the preferred element. Most attempts fail during the transition’s freeze burst, making precise swaps more valuable than higher stats.
| Property | Detail |
|---|---|
| Level | 80 |
| HP | 1,000,000 |
| Phase 1 element | Dark (weak to Dragon) |
| Phase 2 element | Ice (weak to Fire) |
| Timer | 10 minutes |
| Catchable | No — defeat it for the egg |
| Summon item | Bellanoir Libero (Ultra) Slab |
A clean two-phase run with the setup below finishes in around two minutes of active fighting, which leaves a large buffer on the 10-minute clock.
Minimum requirements for your raid Pals
Both armies need to be fully built before you place the Slab. Undercooked Pals die to the first Flame Wall and the run turns into a timer race you will lose.
- Level 80
- Pal Soul upgrades: HP +20, Atk +20, Def +20
- Trust Level 10
- 4-Star Condensed
- Awakened
- Alpha variants
- 15 copies or more of each, depending on your base size
Best base army: Xenolord for Dark, Moldron for Ice
| Pal | Phase | Key detail |
|---|---|---|
| Xenolord (x15) | Phase 1 (Dark) | Attack 1903; Dark/Dragon typing |
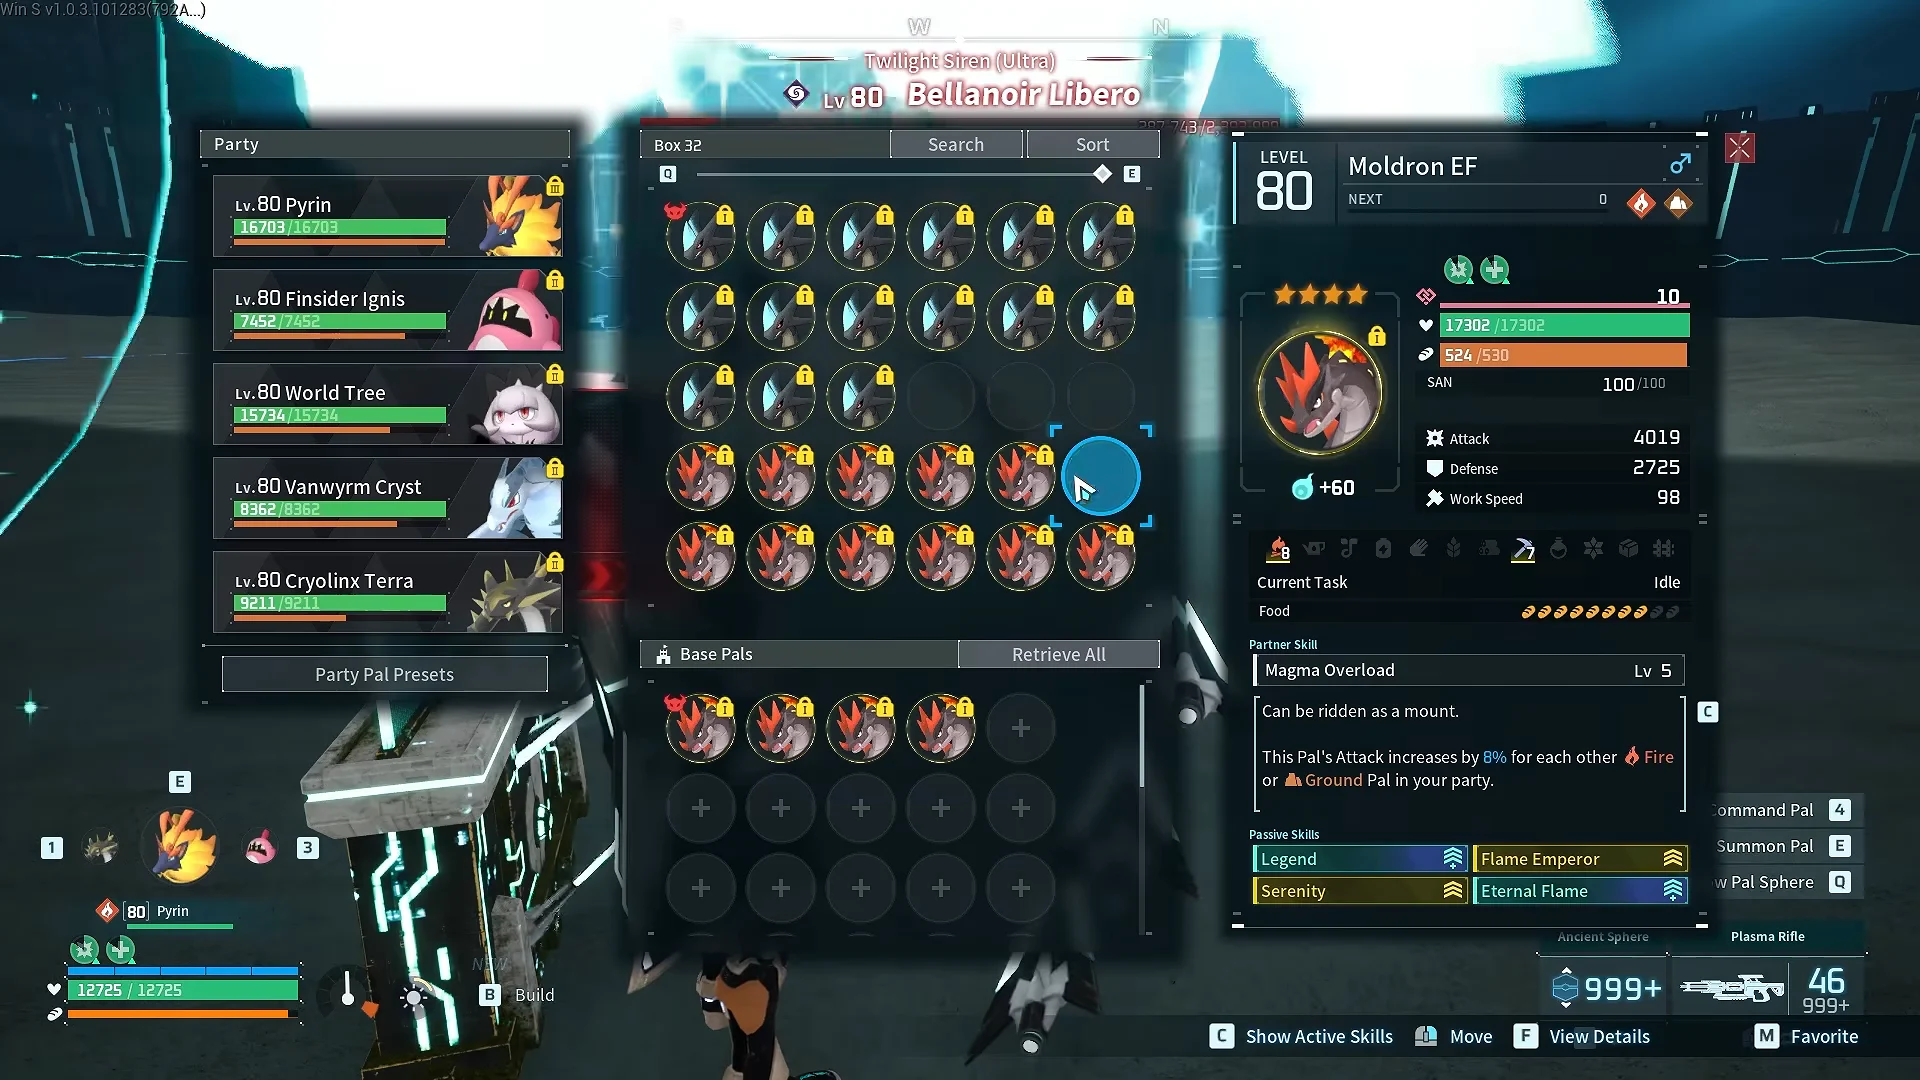
| Moldron (x15) | Phase 2 (Ice) | Attack 3316; ranged Magma Laser |
For the opening element, Xenolord anchors the team: its Dark/Dragon typing takes greatly reduced damage from Bellanoir’s Flame Wall. That protection allows fully offensive passives rather than defensive ones, keeping the group attacking with Omega Laser, Beam Slicer, Cosmic Meteor, and Meteor Wings instead of falling within 30 seconds.
Moldron takes over for the Ice phase, and it hits far harder than anything in the first half. Its Ground/Fire typing is super-effective against the boss’s new element, and Magma Laser is a ranged move, so the army pressures the boss without walking into Blizzard Spikes. Moldrons built with Legend, Flame Emperor, Serenity, and Eternal Flame routinely come out of a clear at full health.
Mounts: Chillet and Pyrin convert your gun damage
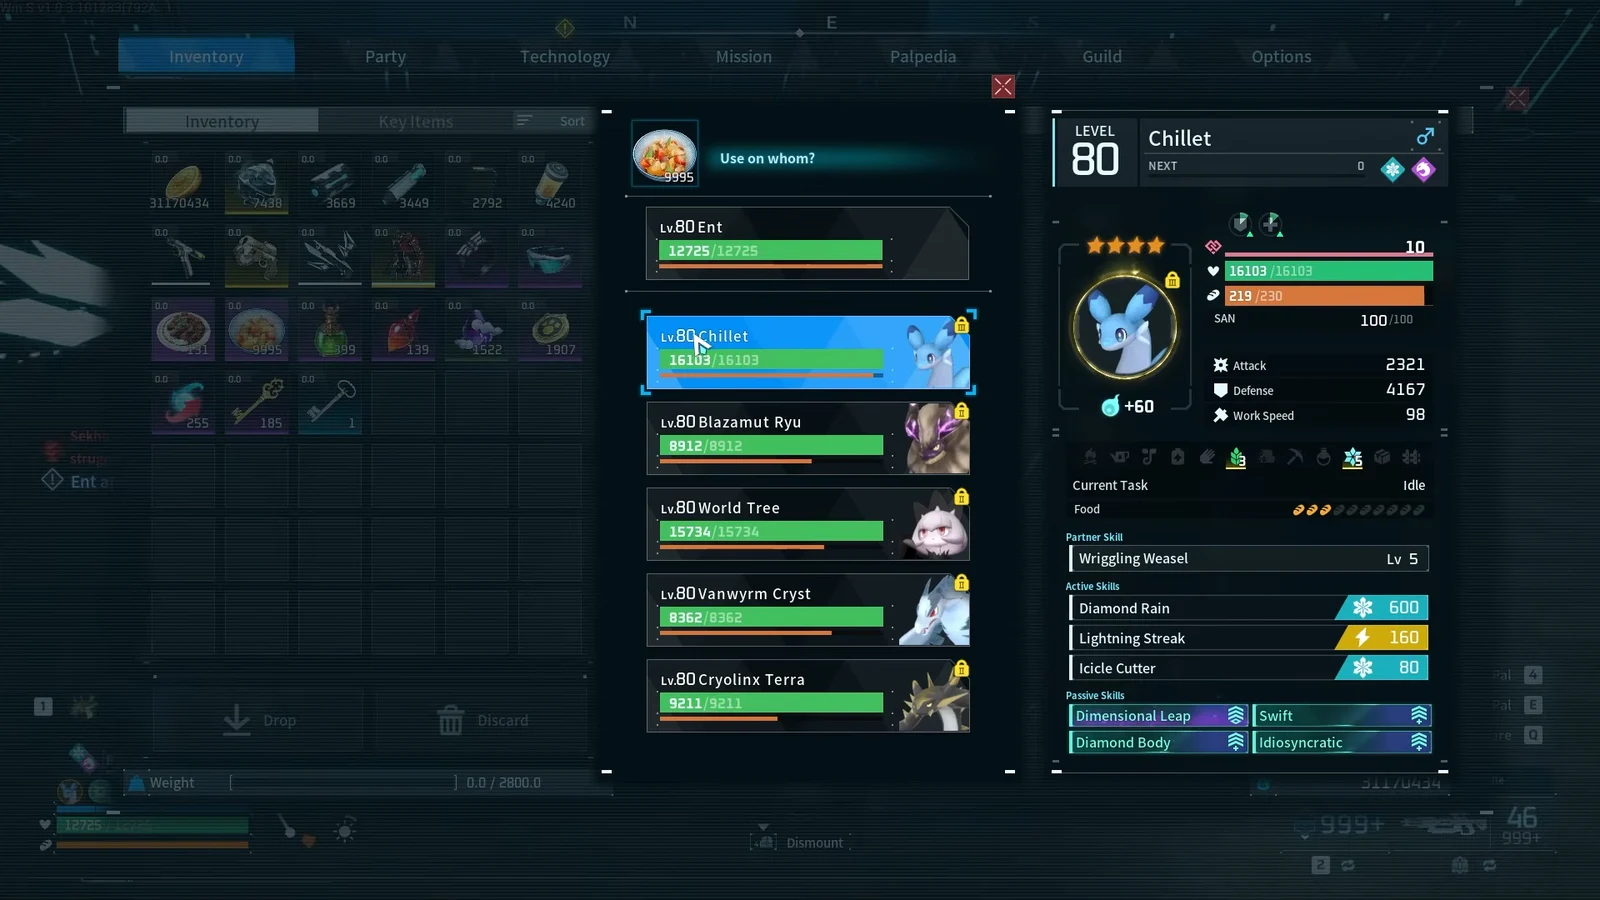
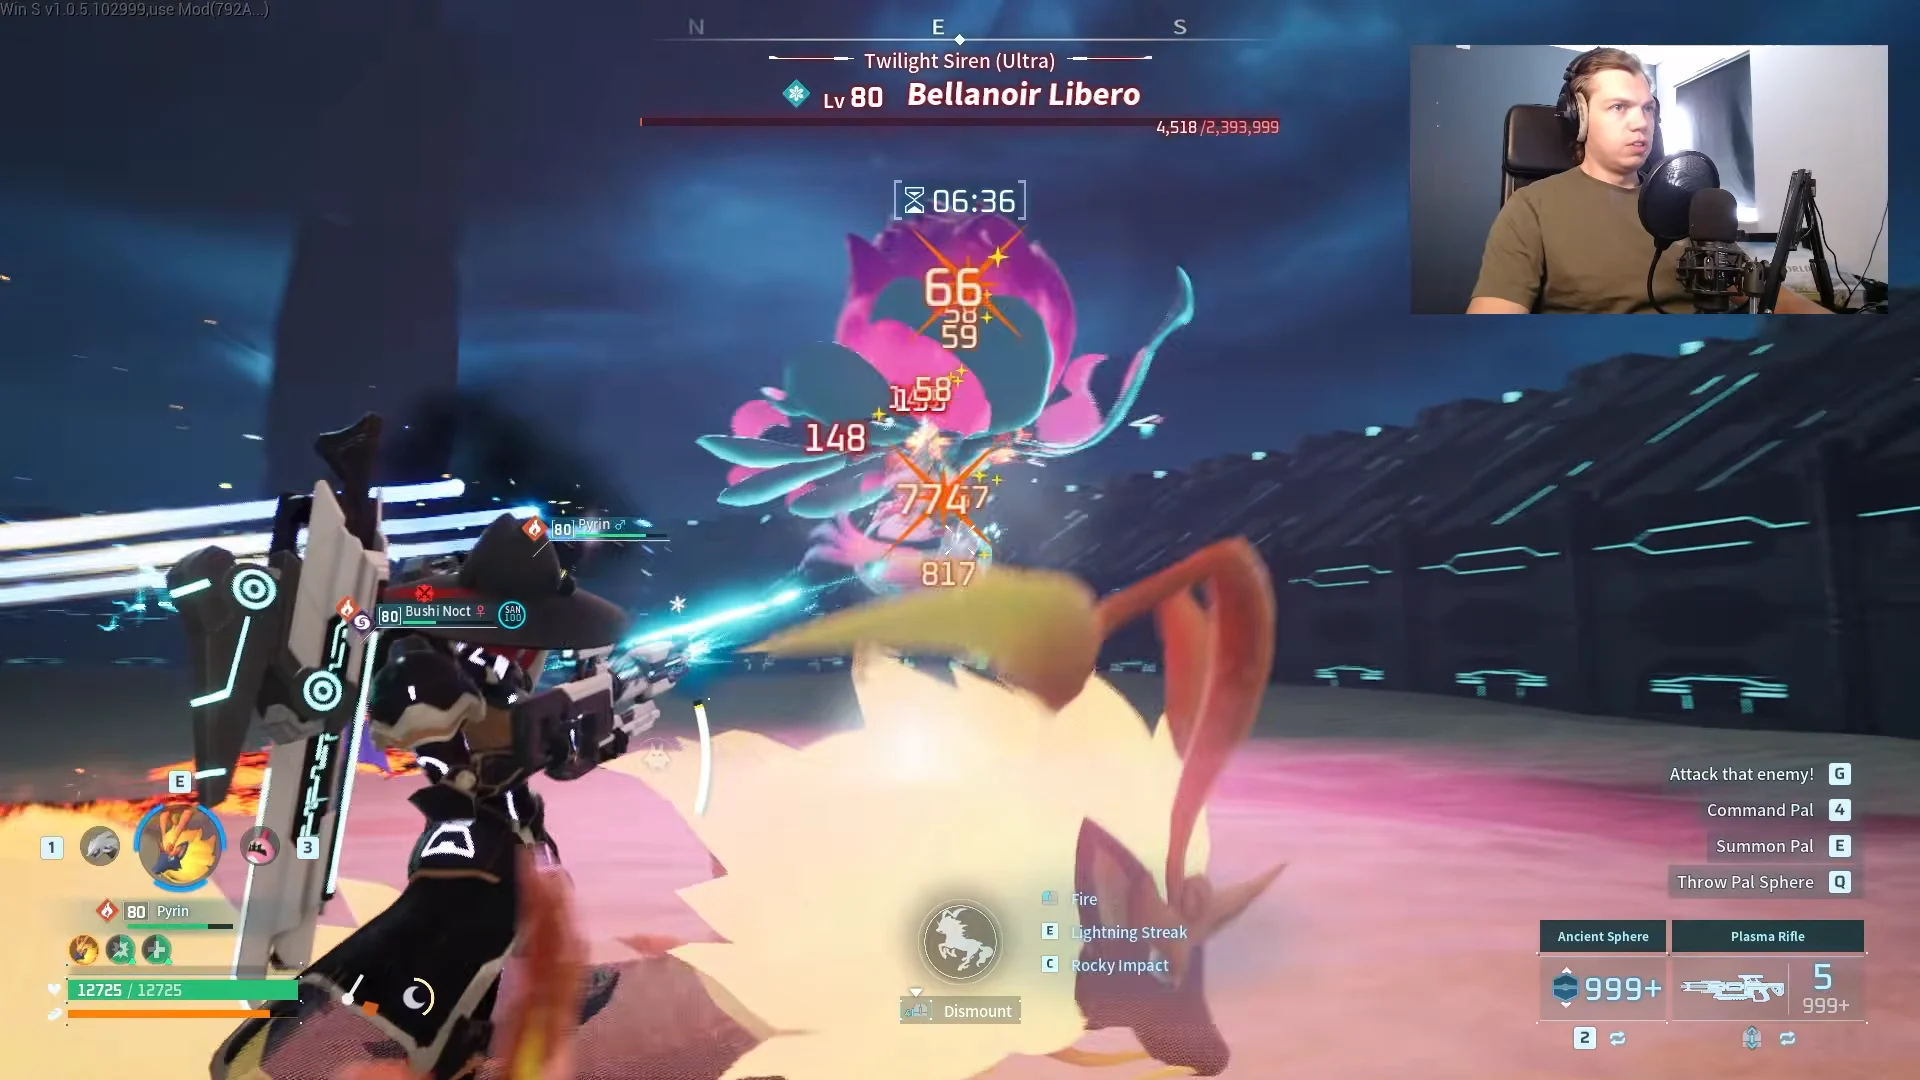
Your mount’s purpose is to alter your own projectile element, not to provide damage. While riding Chillet, your attacks gain Dragon for the Dark phase, and Diamond Body prevents skills such as Dark Laser from forcing you into a stagger animation. Diamond Rain, Lightning Streak, and Icicle Cutter can also freeze and stun Bellanoir, disrupting Flame Wall before it can clear your base Pals.
For phase two, Pyrin changes the rifle’s damage type to Fire instead of Dragon, keeping its attacks effective against the Ice weakness. Equip Vanguard, Stronghold Strategist, Idiosyncratic, and Legend on both mounts.
Party support Pals that boost player damage
The four Pals riding along with your mount never fight as an army. Their only job is to inflate your own numbers, because player weapon damage carries this raid.
| Pal | What it does |
|---|---|
| Lyleen (“World Tree”) | +80% player attack if all party Pals differ |
| Finsider Ignis | Super-effective damage boost |
| Blazamut Ryu | Super-effective damage boost |
| Vanwyrm Cryst | Weak-point (headshot) damage |
| Cryolinx Terra | Weak-point (headshot) damage |
The 80% attack bonus from Lyleen applies only when each Pal in your party belongs to a separate species, so avoid duplicates.
Player gear, weapons, and food buff
| Slot | Item |
|---|---|
| Weapon | Plasma Rifle (Legendary, Attack 2232) |
| Weapon | Drone Launcher (Legendary, Attack 240) |
| Armor | Cold-Resistant Ancient Armor (Legendary) |
| Accessory | Attack Pendant |
| Accessory | Dogen Emblem |
| Accessory | Silvegis Emblem |
| Accessory | Warsect Terra’s Belt |
| Consumable | Mammorest Curry |
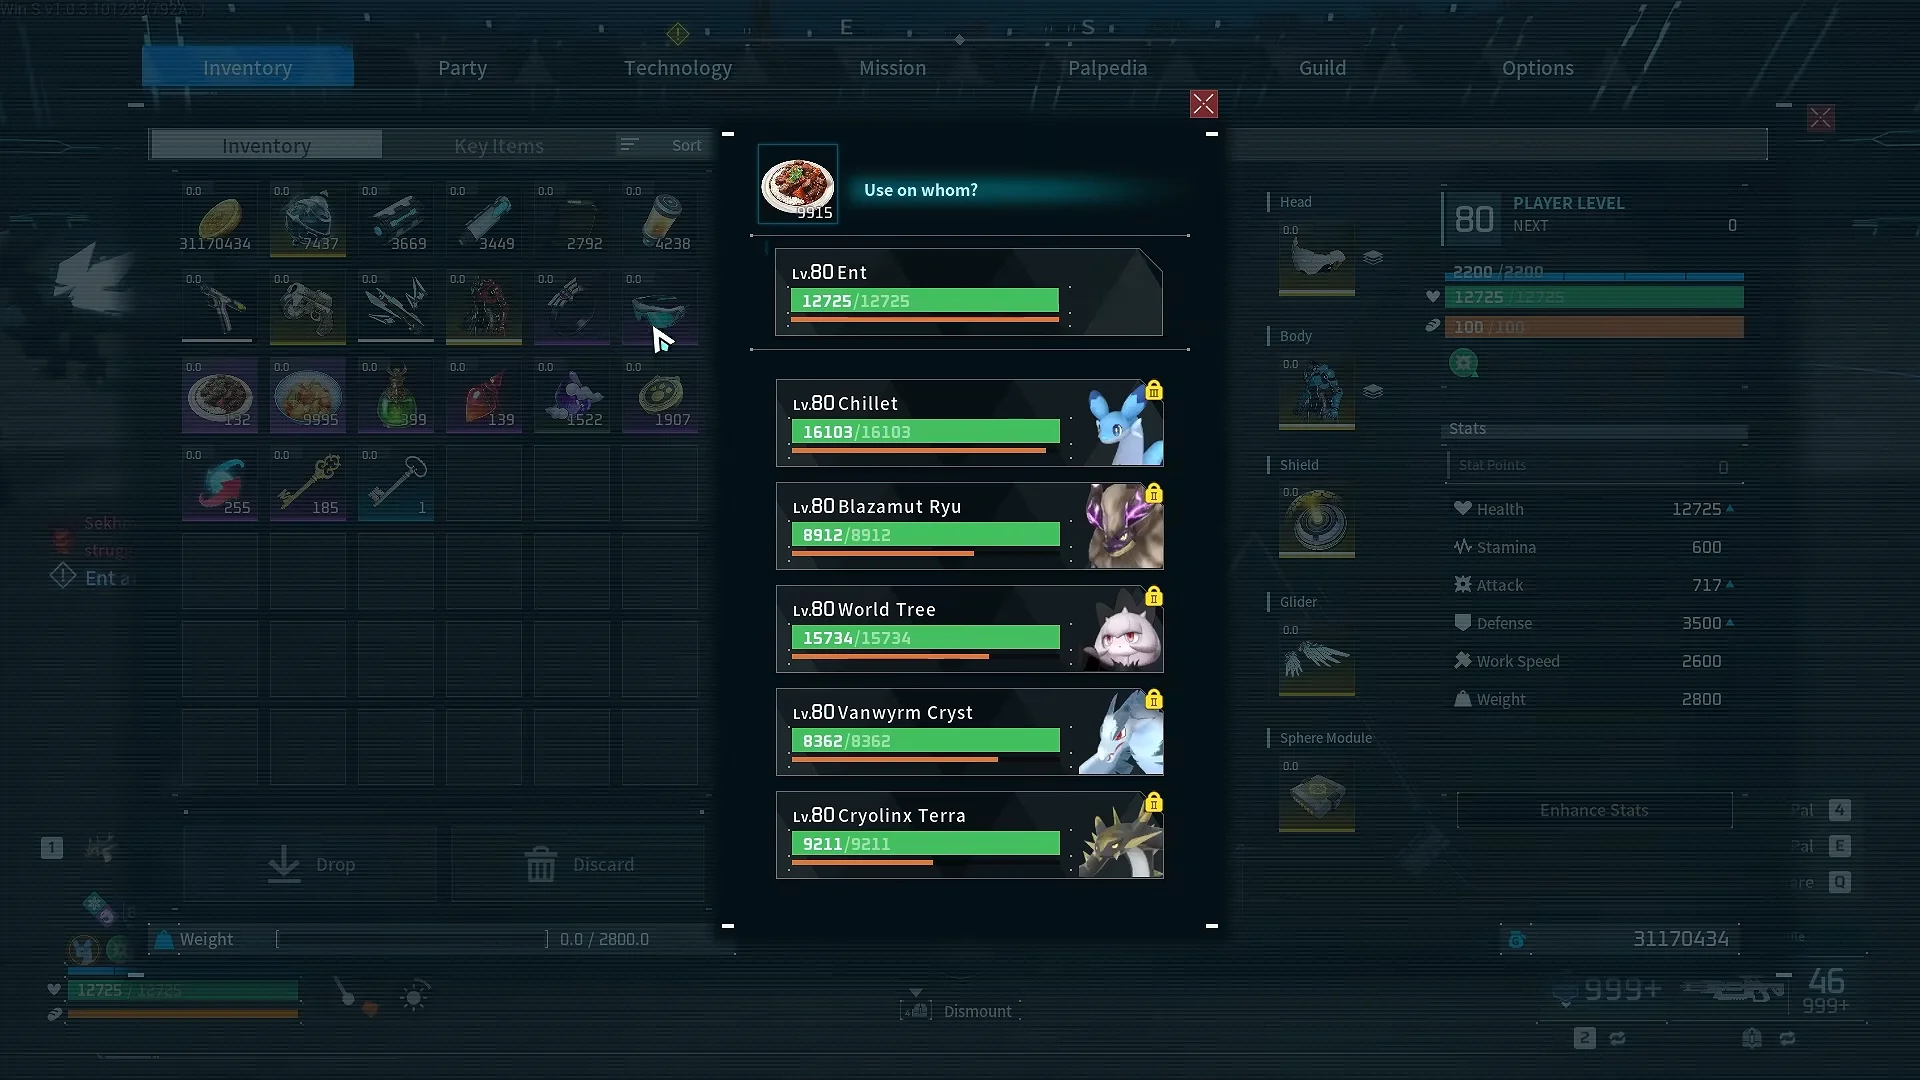
Your main source of damage is the Plasma Rifle, while the Drone Launcher supplies steady chip damage as you reposition. Choose Cold-Resistant Ancient Armor for defense: during the second half, it reduces the Ice damage spike and still grants a small attack increase. Eat Mammorest Curry before the boss is summoned, since it raises both your attack and your Pals’ attack.
How to run the raid


Confirming the kill and collecting rewards
You know it worked when Boss Eliminated appears on screen and the raid ends. Loot drops on the ground where the boss died, so sweep the area before leaving.

- Witch’s Crown (Ultra), the headgear exclusive to this difficulty
- Ancient Civilization Core for high-tier crafting
- Huge Dark Egg, which hatches Bellanoir Libero
- Training Crystal and another Bellanoir Libero (Ultra) Slab
- Applied Medicine, Ranching, and Transporting Handbook I
No-swap alternative: a Jormuntide Ignis army
If running to the Palbox mid-fight sounds like a good way to lose a run, a single Jormuntide Ignis army clears the raid without any swap at all. Build them with Eternal Flame, Immortality, Demon God, and Serenity. The damage is lower than the Xenolord-into-Moldron route, but the consistency is higher, and nothing dies when the boss turns Ice.
Eidrolon Ignis is the other flexible option, since its Dragon and Fire combination covers both phases at once. Pairing it with Dupin for the second half also works, though Eidrolon Ignis is expected to die at the phase change, so keep the replacement army ready in the Palbox.
Two mistakes account for almost every failed attempt. Swapping too late bunches all 15 Moldrons directly on top of the Palbox, where one Ice move deletes the whole army at once. Standing too close in either phase points the boss at your base Pals instead of you, and they are not built to survive that attention. Handle the swap early, hold your distance, and Bellanoir Libero (Ultra) stops being an attrition fight and becomes a short, repeatable farm.