


The Hard Mode version of Auri and Shaolong is a level 80 Tower Boss at the Azure Covenant Tower in Sunreach, with a 501,600 HP pool and no allied enemies to distract you. Shaolong keeps its Water and Dragon typing, so Electric and Ice damage still both hit for extra, but the fight now punishes weak damage output inside the five-minute timer. Beating it once guarantees the Auri Hat and gives a 10% chance at the Legendary Beam Launcher schematic.
Quick answer: Field a fully maxed Electric or Ice attacker (Orserk or Moldron Cryst), pair it with a flying mount for the flood, hit Auri’s head for weakpoint damage, and fly to a corner or hide behind a pillar when the Celestial Vortex triggers at the end of the flooding phase.
Hard Mode Auri and Shaolong stats and rewards
To unlock this rematch, you first need to defeat Auri and Shaolong on Normal Mode. The Hard version sits at level 80 with a much larger health bar than the Normal fight, and it fights alone with no extra Pals or human allies backing it up.
| Detail | Value |
|---|---|
| Boss |  Auri and Shaolong Auri and Shaolong |
| Level | 80 |
| HP | 501,600 |
| Element | Water / Dragon |
| Weakness | Electric, Ice |
| Location | Azure Covenant Tower, Sunreach |
| Other enemies | None |
A first clear guarantees the Auri Hat and rolls a 10% chance for the Legendary Beam Launcher schematic. You also receive a mix of large Lotus materials and a Training Crystal for leveling Pals.
| Reward | Details |
|---|---|
 Auri Hat Auri Hat | Guaranteed on 1st clear |
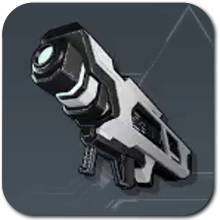 Legendary Beam Launcher Legendary Beam Launcher | Schematic (10%) |
 Training Crystal Training Crystal | Plus Carrying, Life, Power, Speed, and Stamina Lotus (L) |
Prepare your carry Pal before entering
Because the boss has half a million HP and the timer is only five minutes, an underprepared attacker will simply run out of time. Before you queue at the tower door, bring at least one ace attacker up to the following minimum standard.
| Requirement | Target |
|---|---|
| Level | 80 |
| Pal Soul upgrades | HP +20, Atk +20, Def +20 |
| Trust Level | 7 or higher |
| Condense | 4-Star |
| Awakened | Yes |
The three strongest ace attackers all consistently reach the flying boss with ranged skills. Moldron Cryst and Orserk each free up a party slot for a support Pal because their damage is high enough on their own, while Frostallion trades a little damage for a flight option that helps during the flood.
| Pal | Rating | Why it works |
|---|---|---|
 Moldron Cryst Moldron Cryst | ★★★★★ | Two exclusive ranged Ice attacks land reliably on the flying boss and free a party slot. |
 Orserk Orserk | ★★★★★ | Strong ranged Electric attacks, frees a party slot, and buffs the player. |
 Frostallion Frostallion | ★★★★☆ | Partner Skill grants Ice, Freeze, and Attack buffs, and flight covers the flood phase. |
Team compositions for Electric and Ice
You can build around either weakness. Electric answers Shaolong’s Water half, and Ice answers its Dragon half. Both team layouts run the same way: one ace attacker, one flying reserve mount for the flood, and support Pals stacking offensive and defensive buffs.
Electric team (Orserk core)
Orserk is the main attacker thanks to its Partner Skill, with Beakon as an Electric mount to reposition during the flood. Univolt adds an extra Electric damage boost, Celesdir Noct grants a flat 80% Attack increase, and Silvegis buffs your shield for a safety margin.
| Role | Pal |
|---|---|
| Ace attacker | Orserk |
| Flying reserve |  Beakon Beakon |
| Support |  Univolt, Celesdir Noct, Silvegis Univolt, Celesdir Noct, Silvegis |
Note: Shaolong has two Ground skills that hit Electric Pals super effectively. This team should survive and heal through them, but if the Ground attacks keep deleting your carry, switch to the Ice setup to play safe.
Ice team (Moldron Cryst core)
This layout swaps Electric for Ice and works the same way. Moldron Cryst is the main attacker for its exclusive Ice skills, backed by Orserk, Celesdir Noct, and Silvegis for buffs. Frostallion is the preferred secondary mount because its Partner Skill gives a significantly larger bonus than similar mounts like Beakon Cryst or Azurobe Cryst.
Player-focused team
Since Shaolong flies and moves quickly, Pal attacks can miss. If that becomes a problem, shift most of your damage onto your own weapons instead. Frostallion leads as the active Pal for its elemental infusion Partner Skill, while Solenne, Cryolinx Terra, Vanwyrm Cryst, and Moldron Cryst provide Ice and weak point damage buffs.
| Role | Pal |
|---|---|
| Active Pal | Frostallion |
| Support |  Solenne, Cryolinx Terra, Solenne, Cryolinx Terra,  Vanwyrm Cryst, Moldron Cryst Vanwyrm Cryst, Moldron Cryst |
Best weapons, accessories, and armor
The Drone Launcher is the most important weapon to carry because it keeps Orserk’s Partner Skill buff fully stacked as long as an enemy is nearby. The Plasma Rifle is the strongest all-around gun, and the Megaboost Gun adds a buff to your current active Pal. The Mechanical Bow is weaker without a dedicated bow-buffing team, but it is still useful for applying status effects like Poison.
| Weapon | Lv. | Attack | Durability |
|---|---|---|---|
 Megaboost Gun Megaboost Gun | 63 | 250 | 400 |
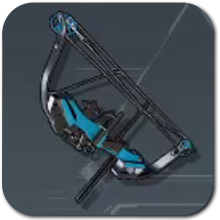 Mechanical Bow Mechanical Bow | 67 | 20000 | 2000 |
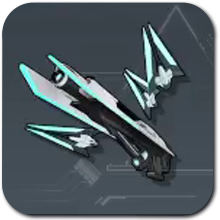 Drone Launcher Drone Launcher | 77 | 200 | 6500 |
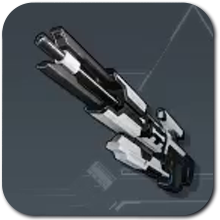 Plasma Rifle Plasma Rifle | 78 | 1860 | 25000 |
For accessories, pick items that boost the element the boss is weak to. The Dogen Emblem is the usual choice since it raises both your Attack and your Pal’s Attack.
| Accessory | Effect |
|---|---|
 Dogen Emblem Dogen Emblem | Greatly raises your Attack and your Pal’s Attack. |
 Lord of Lightning’s Baton Lord of Lightning’s Baton | Raises Pal Attack, significantly increases Electric damage. |
 Ice Emperor’s Baton Ice Emperor’s Baton | Raises Pal Attack, significantly increases Ice damage. |
 Orserk’s Talisman Orserk’s Talisman | Raises Pal Defense and Electric damage. |
 Fenglope Lux Ring Fenglope Lux Ring | Reduces incoming Water damage, increases Electric damage. |
 Frostallion’s Talisman Frostallion’s Talisman | Raises Pal Defense and Ice damage. |
 Cryolinx Ring Cryolinx Ring | Reduces incoming Dragon damage, increases Ice damage. |
Since this is an endgame fight, run the highest-Defense gear you own. The full Ancient Armor set is the minimum, and you can substitute a higher-tier version if you have one.
| Armor | HP | Def | Added effect |
|---|---|---|---|
 Ancient Shield Ancient Shield | N/A | 2200 | None |
| Ancient Helm | 1200 | 500 | Neutral Damage Reduction Lv.1 / Dragon Damage Reduction Lv.1 |
| Lightweight Ancient Armor | 2400 | 840 | Cold Resistance Lv.2 / Heat Resistance Lv.2 / Max Carrying Capacity Lv.4 |
Food buffs and healing items to bring
With a timer running, prioritize food that raises your damage output over defense. It is possible to survive comfortably but still lose to the clock, so lean offensive. Broncherry Fried Noodles and Mammorest Curry are strong choices.
Always pack healing and revival items so a big hit or a downed Pal does not end the run. High Quality Recovery Meds, Advanced Recovery Meds, and a Revival Potion or two cover most emergencies.
Hard Mode attack list
The Hard rematch adds Ground-element attacks on top of Shaolong’s Water and Dragon moves. Learning the highest-power skills helps you decide when to hide and when to burst.
| Skill | Element | Power | CT |
|---|---|---|---|
| Hydra Charge | Water | 500 | 24 |
| Azure Dracoflare | Dragon | 600 | 30 |
| Geyser Gush | Water | 600 | 30 |
| Aqua Surge | Water | 500 | 24 |
| Hydro Slicer | Water | 350 | 16 |
| Dragon Meteor | Dragon | 600 | 30 |
| Meteorain | Dragon | 700 | 30 |
| Rocky Impact | Ground | 600 | 30 |
| Sand Twister | Ground | 500 | 24 |
Fight strategy and the Celestial Vortex

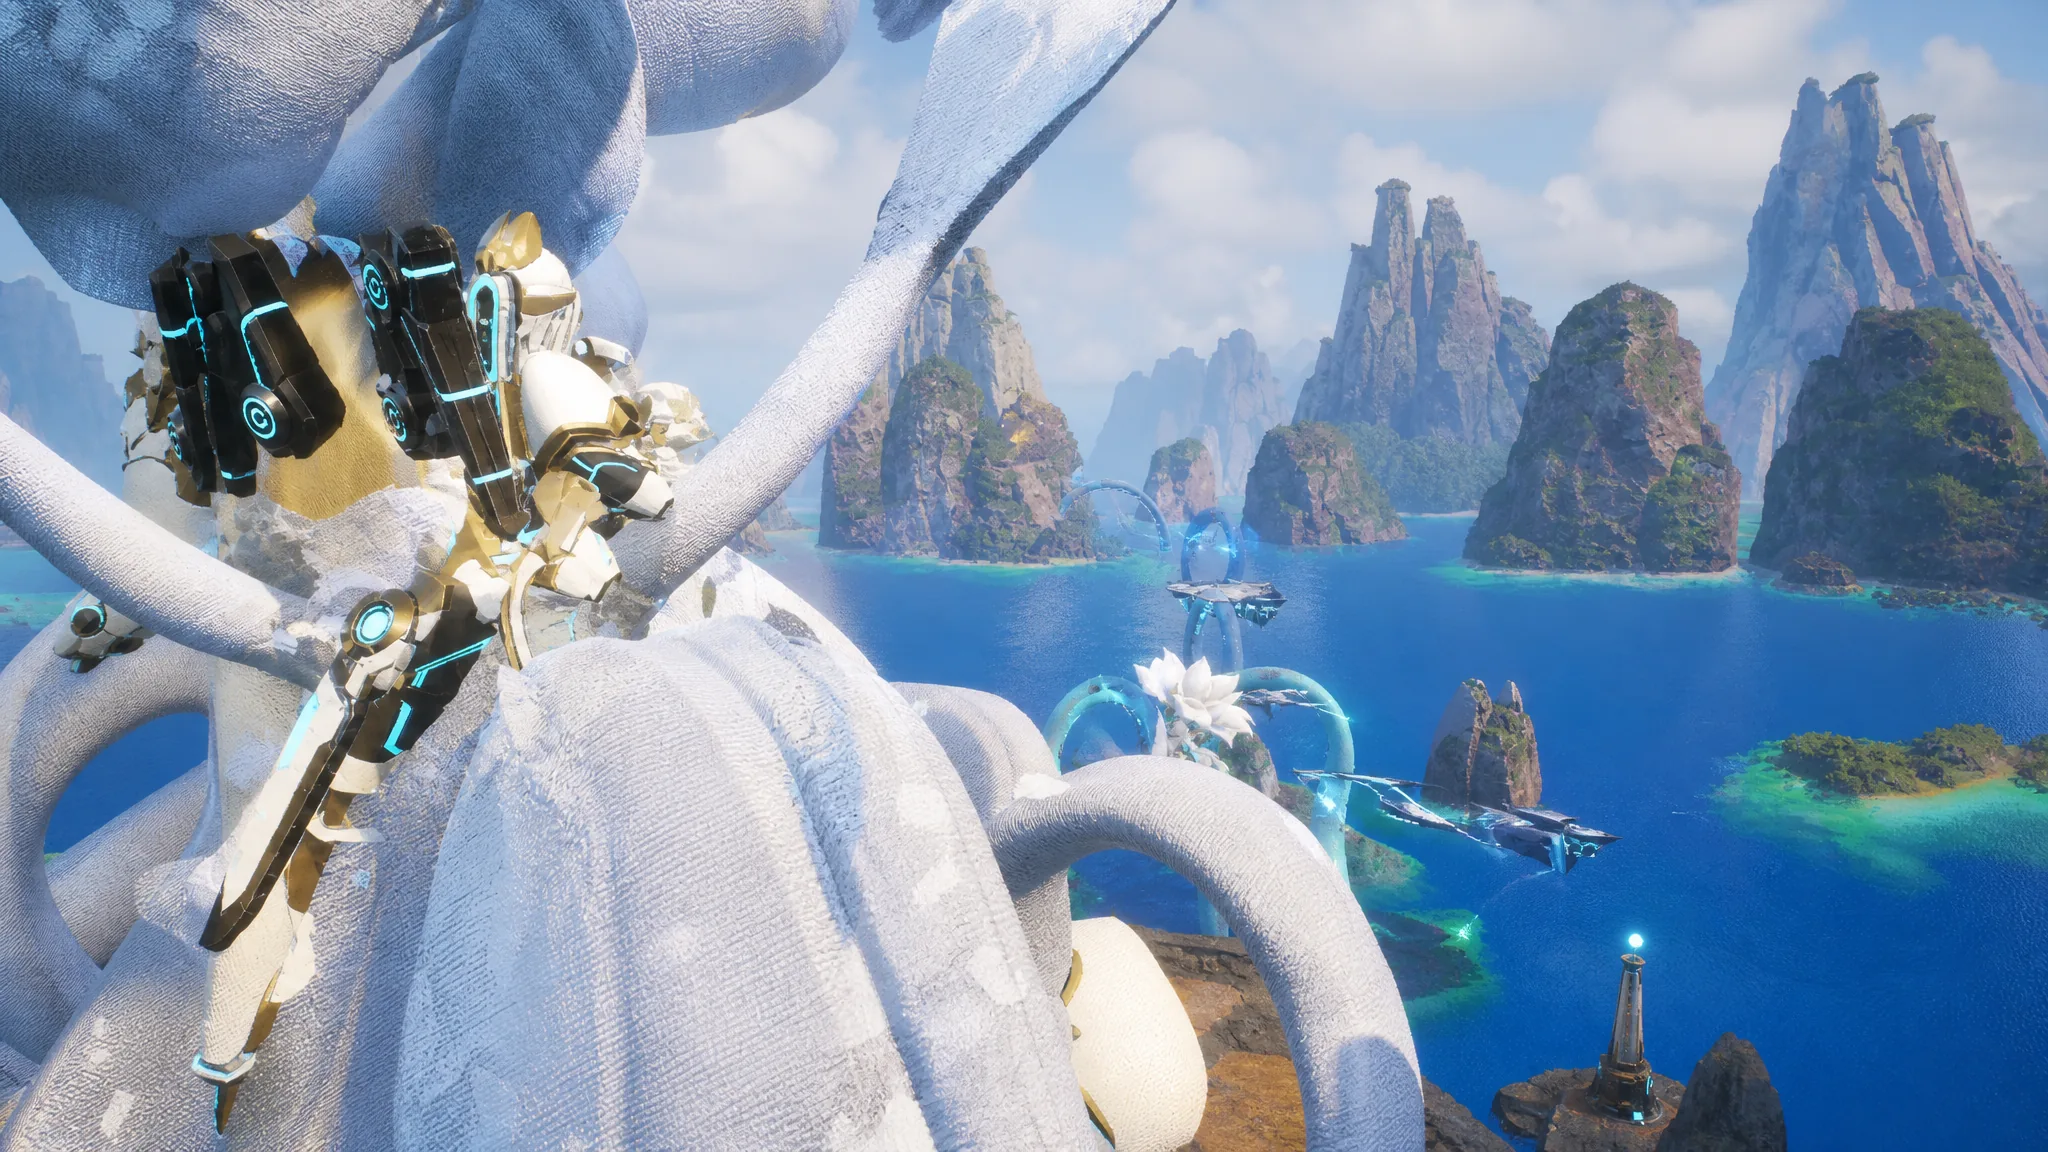
You will know the fight is won when the boss health bar empties before the timer runs out and the elimination prompt appears. The most common failure is simply timing out, which usually means your carry Pal was not fully upgraded to the level 80 minimums or your gear was undertiered. Play defensively, keep hitting the weak points, and either Electric or Ice will carry you through.





