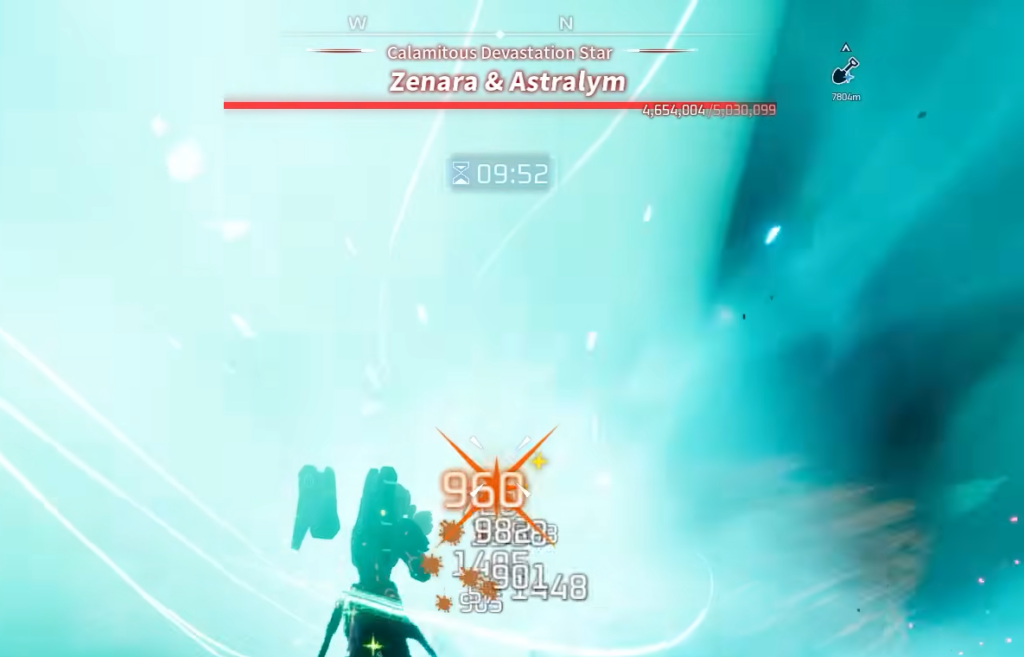
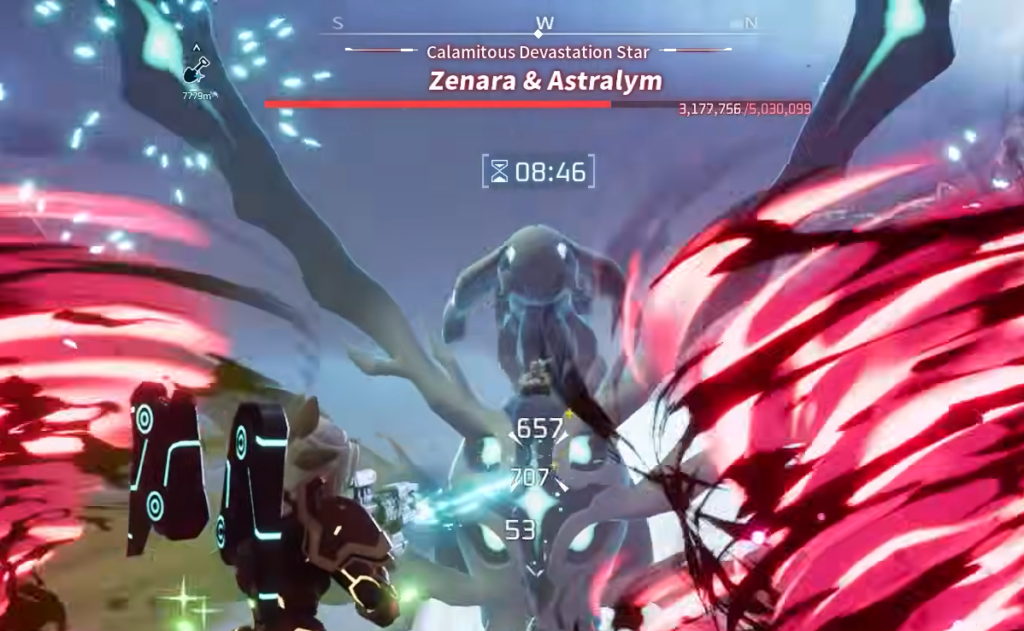
Zenara & Astralym is the final World Tree boss in Palworld 1.0, and it sits behind a 5,030,099 HP bar at Level 80. A properly built army of Level 80 Necromus can flatten that health pool in roughly a minute, because their Twin Spears attack lands 6,000 to 8,000 per hit when the whole squad charges together. The rest comes down to reaching the arena, feeding the right buffs, and reacting to the wing interrupts.
Quick answer: Place a Palbox inside the boss arena, deploy a line of Level 80 Necromus with Twin Spears, feed them Galeclaw Nikujaga, set them to Defensive, then start the raid and focus the boss’s neck and wings while swapping in fresh Necromus whenever some are incapacitated.
Zenara & Astralym boss stats and difficulty
The fight is a Blightstar Calamity raid event. Once you start it from the arena terminal, the boss spawns with a single massive health bar and a short preparation timer before the encounter goes live.
| Detail | Value |
|---|---|
| Boss | Zenara & Astralym |
| Level | 80 |
| HP | 5,030,099 |
| Event | Blightstar Calamity raid |
| Weak point | Neck (max damage) |
This can be cleared with every custom multiplier left at the default value of 1, meaning damage from Pals, damage to Pals, damage from the player, and damage to the player are all unchanged. If the encounter feels too punishing, lowering the “Damage to Pals” multiplier in World Settings is the intended relief valve, but it is not required for the Necromus method.
Unlock the arena before you can fight
The boss sits in a secret arena inside the World Tree, reached by heading west after you enter the area. The door is sealed on arrival, and two separate requirements gate it.
Defeat the three mini-bosses
Each of these World Tree fights drops a unique item used to remove the seal outside the arena.
| Boss | Level | Location | Coordinates |
|---|---|---|---|
| Silvance | 78 | Shinespore Root | -1933, 1155 |
| Grizzbolt, Shaolong, and Lyleen | – | Forbidden Laboratory | -1995, 1625 |
| Dandilord | 78 | Rotmist Root | -1675, 1633 |
Collect 8 Key Spheres
The large double doors above the stairs need Key Spheres to open. There are 8 total, and one drops from every Tower Boss on the world map. In 1.0 the new tower adds Auri and Shaolong as a fresh Tower Boss, so anyone returning from early access typically only needs that final sphere. If you are level 70 or higher, the towers go down quickly. Once you have all 8, return and open the doors.
Build the Necromus army
The speed of this clear comes from stacking many Level 80 Necromus with the same offensive kit and legendary passives, then commanding them to strike as one. A well-rolled Necromus in this setup carries the loadout below.
| Attribute | Detail |
|---|---|
| Level / Element | 80, Dark |
| HP | 18,500 |
| Attack | 4,946 |
| Partner Skill | Dark Knight of the Abyss (Lv. 5) |
| Active Skills | Twin Spears (700), Apocalypse (400), Sand Twister (500) |
| Passive Skills | Immortality, Diamond Body, Serenity, Legend |
Twin Spears is the payload here. When the army charges in unison, it lands rapid consecutive hits in the 6,000 to 8,000 range, which is what melts the boss’s health bar so fast. Immortality, Diamond Body, and Serenity keep individual Necromus alive long enough to keep the damage flowing.
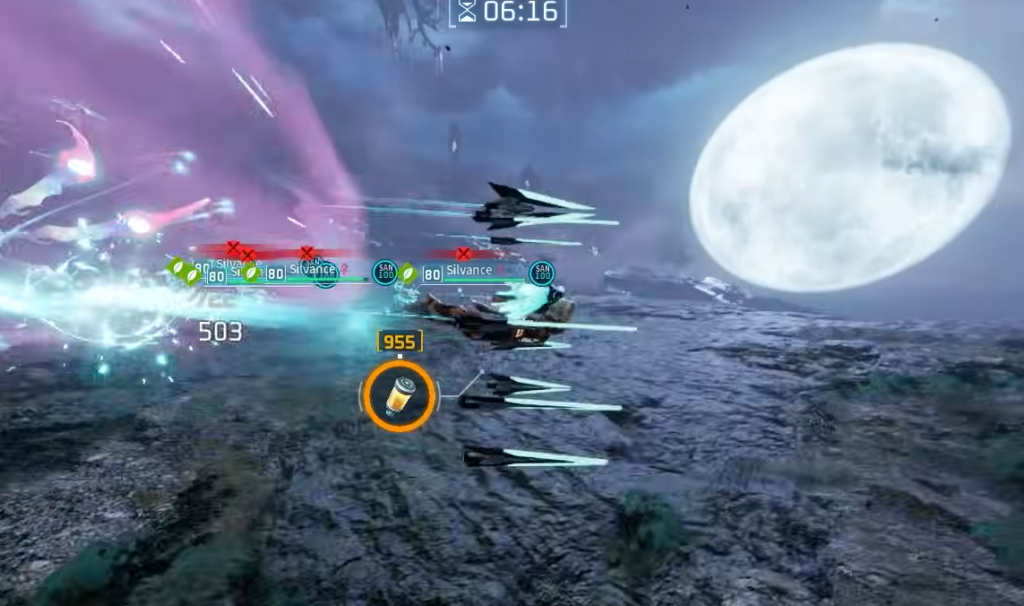
You do not have to run a pure Necromus squad. A mixed army of durable, high-attack Pals such as Paladius, Frostallion, Lovander, Sekhmet, Dupins, or Silvance works too, since the boss’s element is unclear. Keep a Lovander on the roster for its Heart Drain skill, which heals while it attacks, and bring at least one flying Pal so you can reach the wings during interrupts.
Do not deploy every Pal at once. Keep a reserve in the Palbox so you always have fresh bodies to swap in when the front line gets incapacitated.
Prep before you start the raid
Galeclaw Nikujaga to your Pals and Mammorest Curry to your character for the attack and survivability boost.Defensive. Then interact with the terminal and select Challenge now to begin.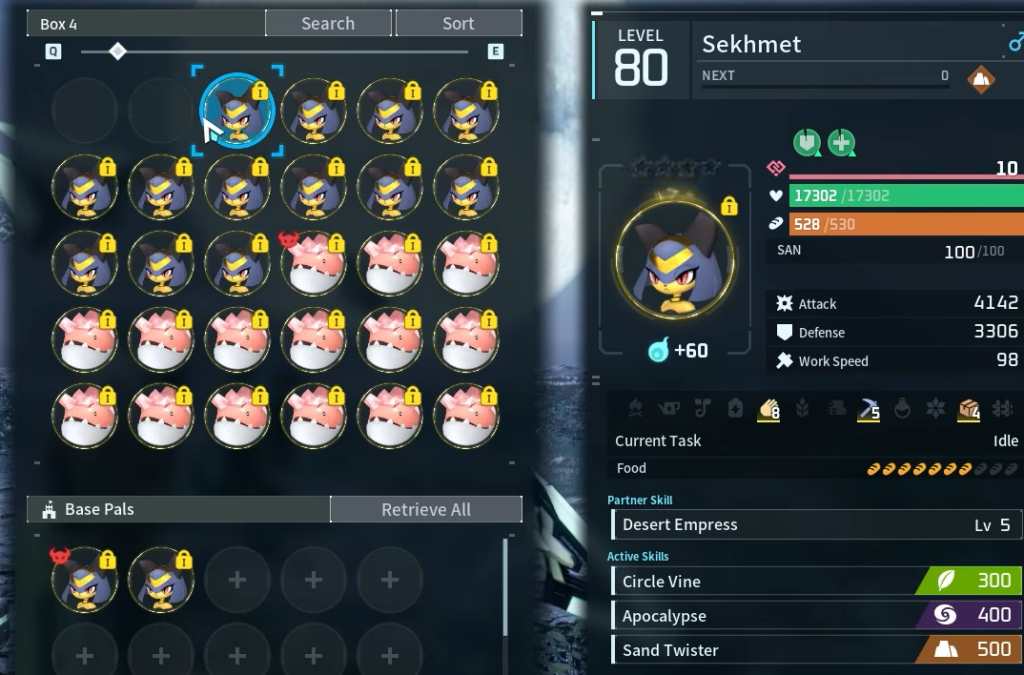
How the fight plays out
When the encounter opens, command your Pals to stand down and land the first hits yourself to draw the boss’s attention. Once you have aggro, send the army in and aim your own fire at the neck, which is the highest-damage spot. If you brought ice attacks, use them to freeze the boss for a brief opening.
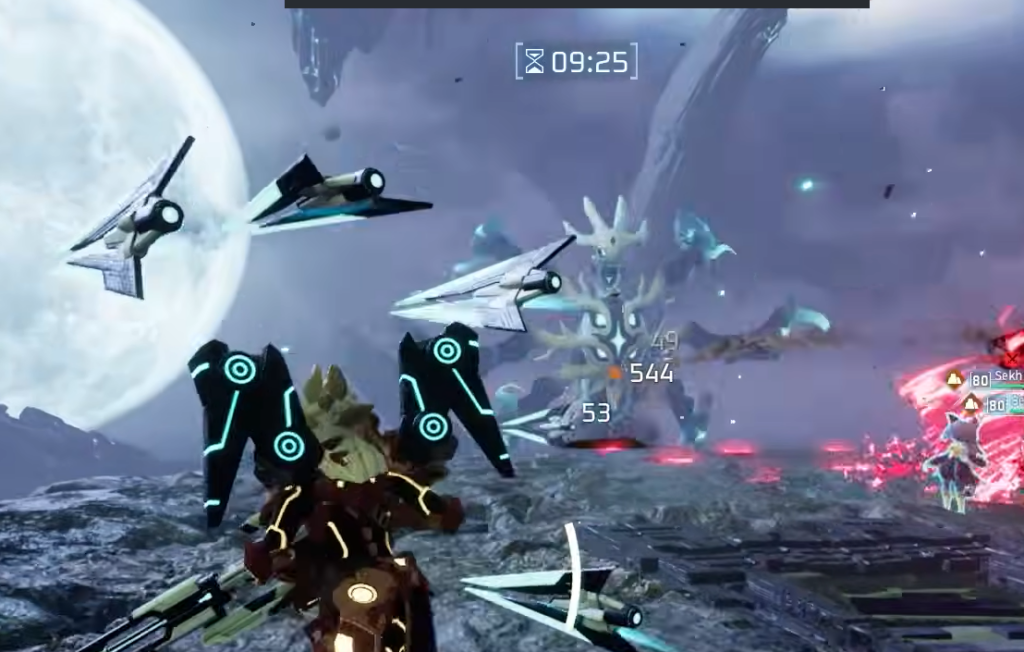
Astralym cycles through a fixed set of attacks. It fires homing projectiles that track you and your Pals, drops red dome-shaped gravity AoEs that lift Pals into the air and slam them down, and summons multiple tornadoes. A strong active shield absorbs most of the projectile and AoE pressure.
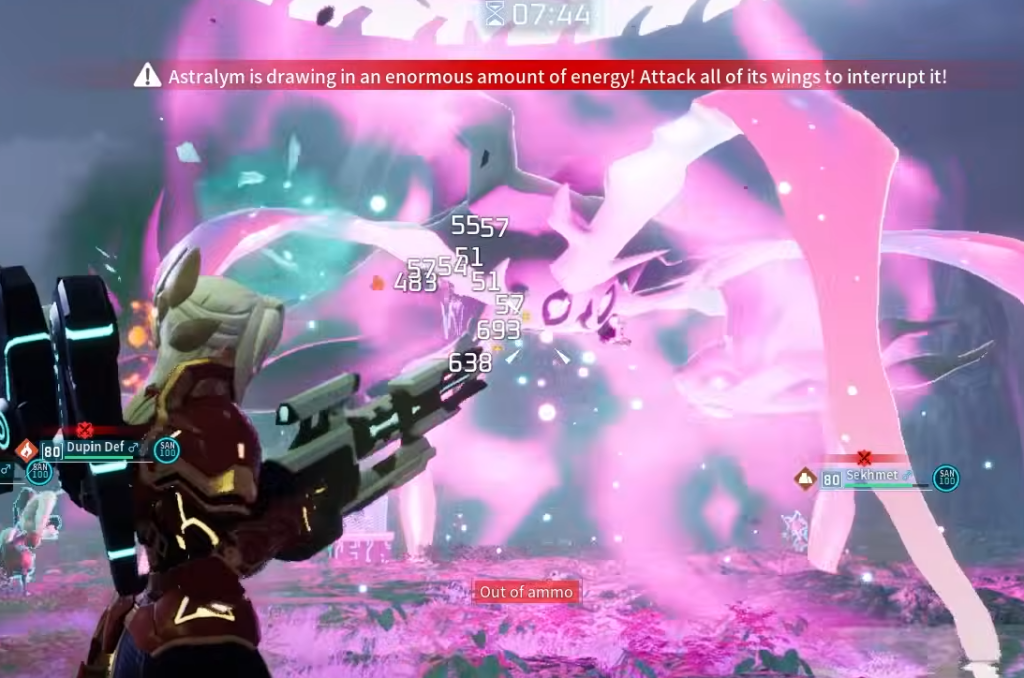
Three warning prompts drive the interrupts. When you see the message about drawing in energy, get on your flying Pal and shoot the orbs on the boss’s wings and legs to stagger it.
| Warning | Response |
|---|---|
| Astralym is drawing in energy! Attack its wing to interrupt it! | Fly up and shoot the wing orb to stagger the boss. |
| Astralym is drawing in an enormous amount of energy! Attack all of its wings to interrupt it! | Hit every wing orb to stop the charge. |
| Astralym is mustering the last of its power! Strike now to stop it! | Dump all damage to finish the boss before the cast completes. |
While the boss sits inside its defensive orb, use the downtime to swap out dead Pals at the Palbox and heal. You can keep attacking through the barrier. In the later phase, it fires a rotating pink beam from a wheel that sweeps across the arena. Run around the wheel in the same direction the beam rotates to stay clear, and pull any low-health Pals out of the path so they are not caught.
Keep healing with Pal Recovery Grenades or a Lovander’s Heart Drain, and rotate fresh Necromus in every time the front line thins out. The attack patterns repeat, so it becomes a loop of interrupting the wings, dodging the beam, cycling Pals, and letting Twin Spears chew through the health bar until the final warning appears.
Rewards and confirming the clear
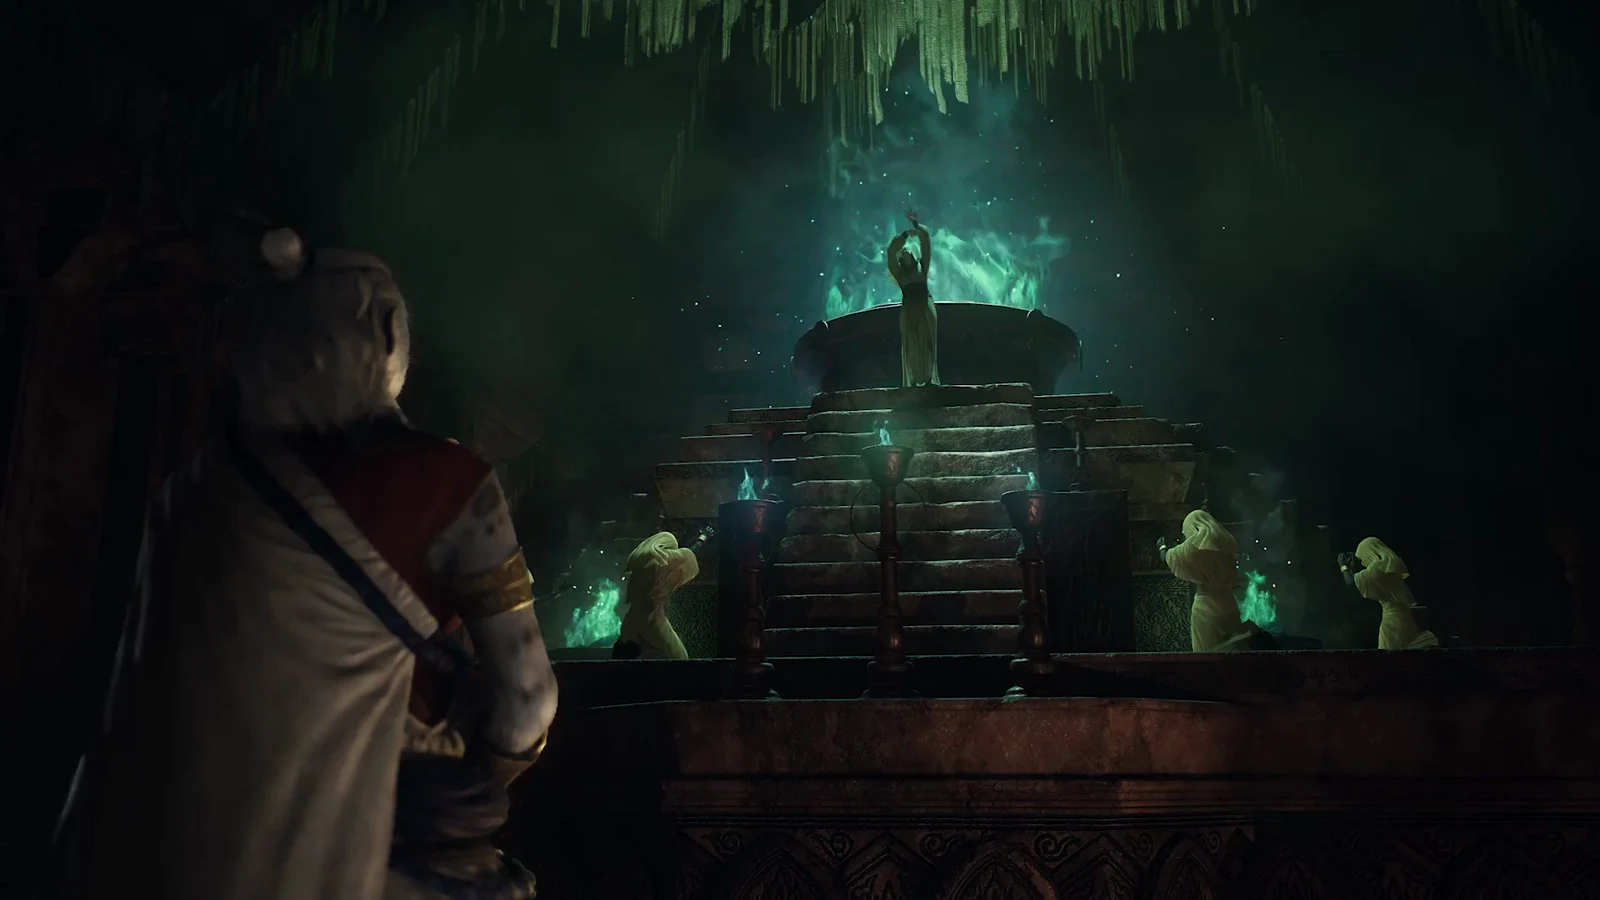
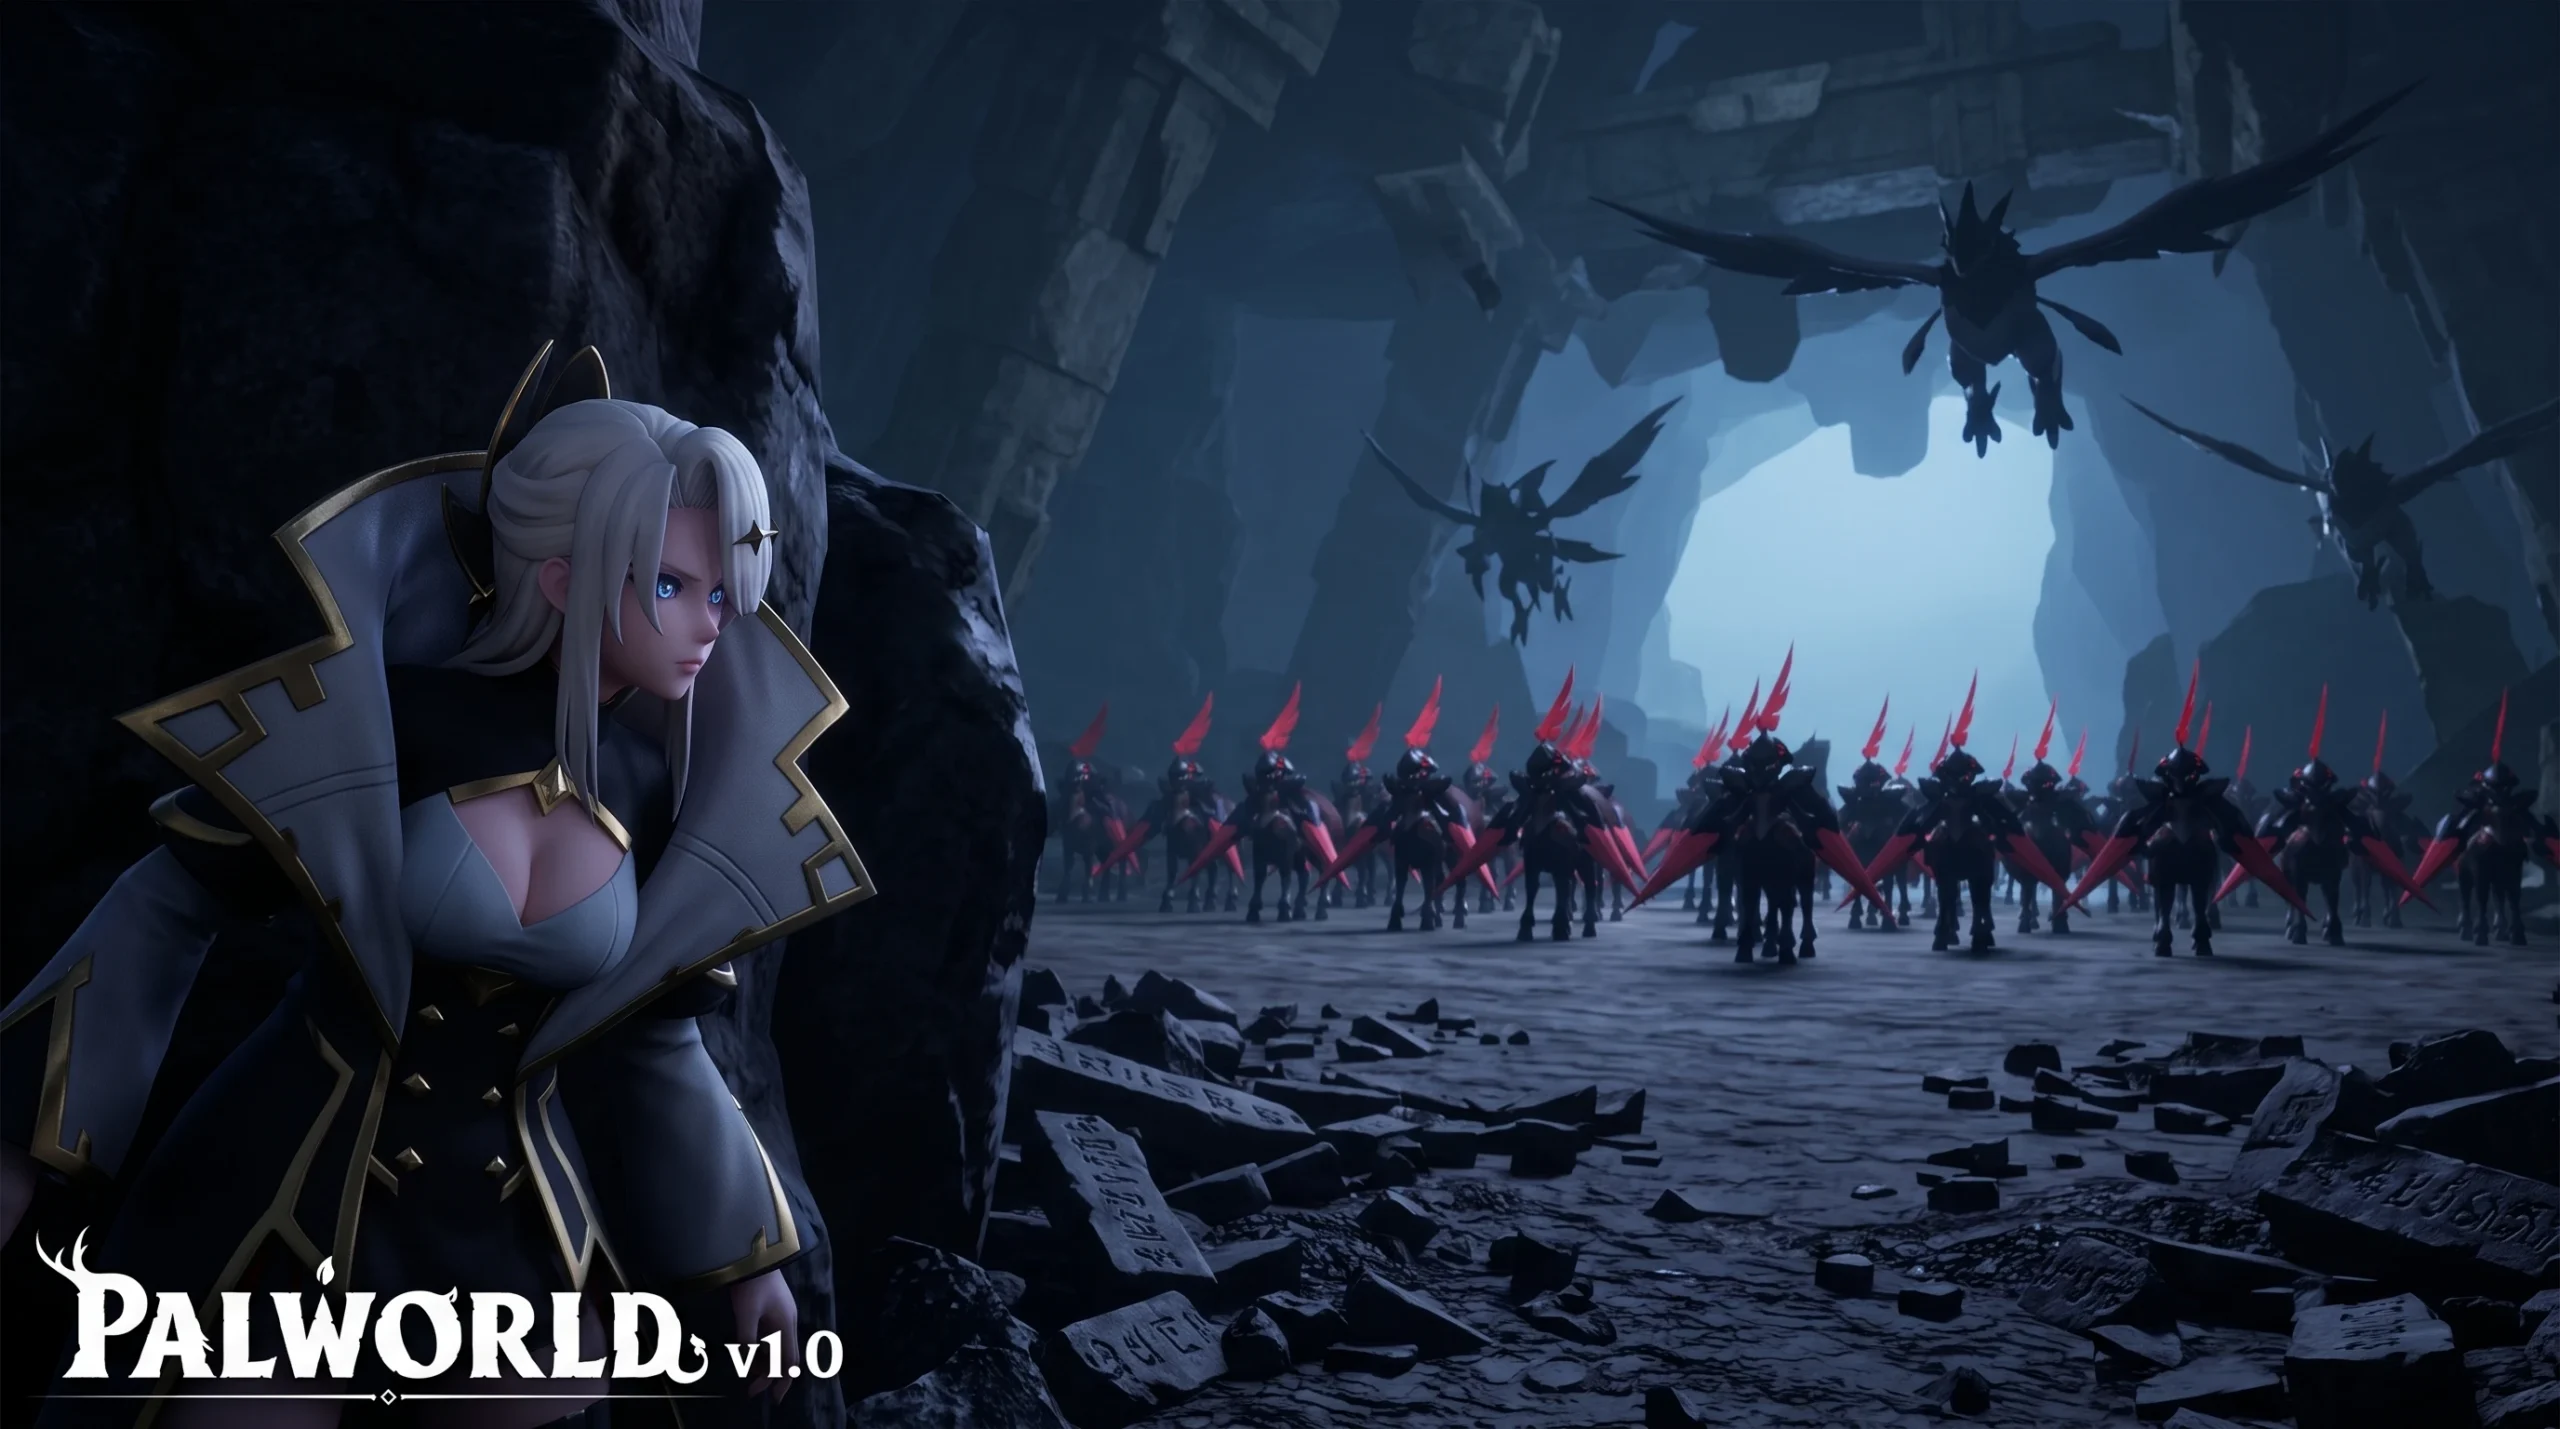
You know it worked when a cutscene plays showing the winged white boss falling and its silver-haired tamer dropping unconscious to the ground. You are then teleported back to the dungeon entrance with loot notifications on screen.
| Reward | Type | Details |
|---|---|---|
| Zenara Hat | Legendary Armor | Defense 20, Health 60 cosmetic headpiece |
| Dark Skill Fruit: Psycho Gravity | Epic Consumable | Power 700, Cooldown 30; teaches Psycho Gravity to a Pal |
Clearing the arena also completes the associated achievement for reaching and defeating the World Tree’s final boss. With a stacked Necromus army, buffs applied, and the wing interrupts handled cleanly, that 5-million health bar comes down fast enough to finish the raid before Astralym ever completes its ultimate cast.