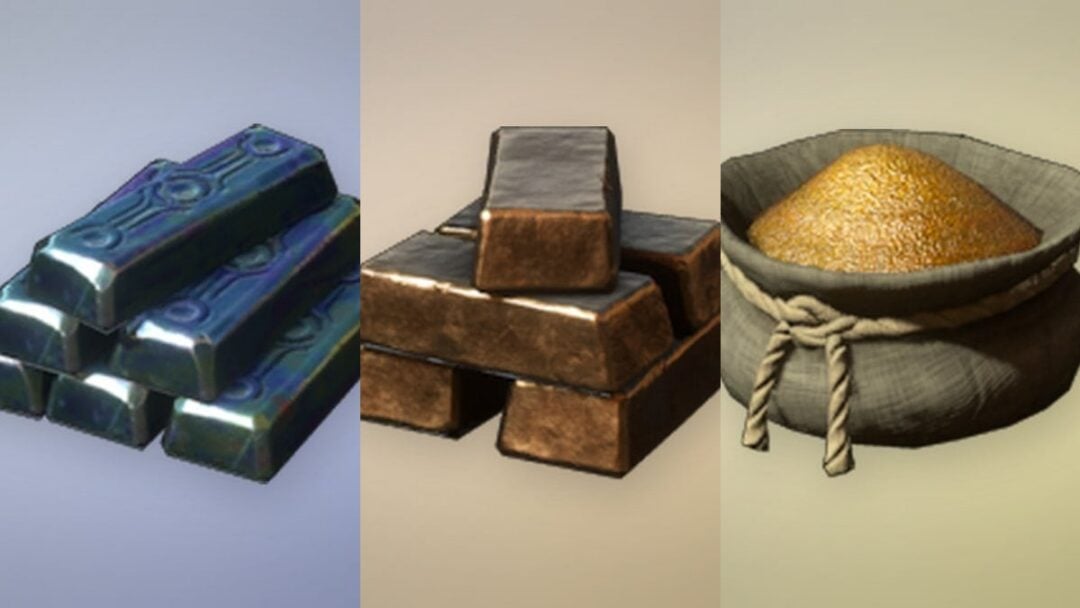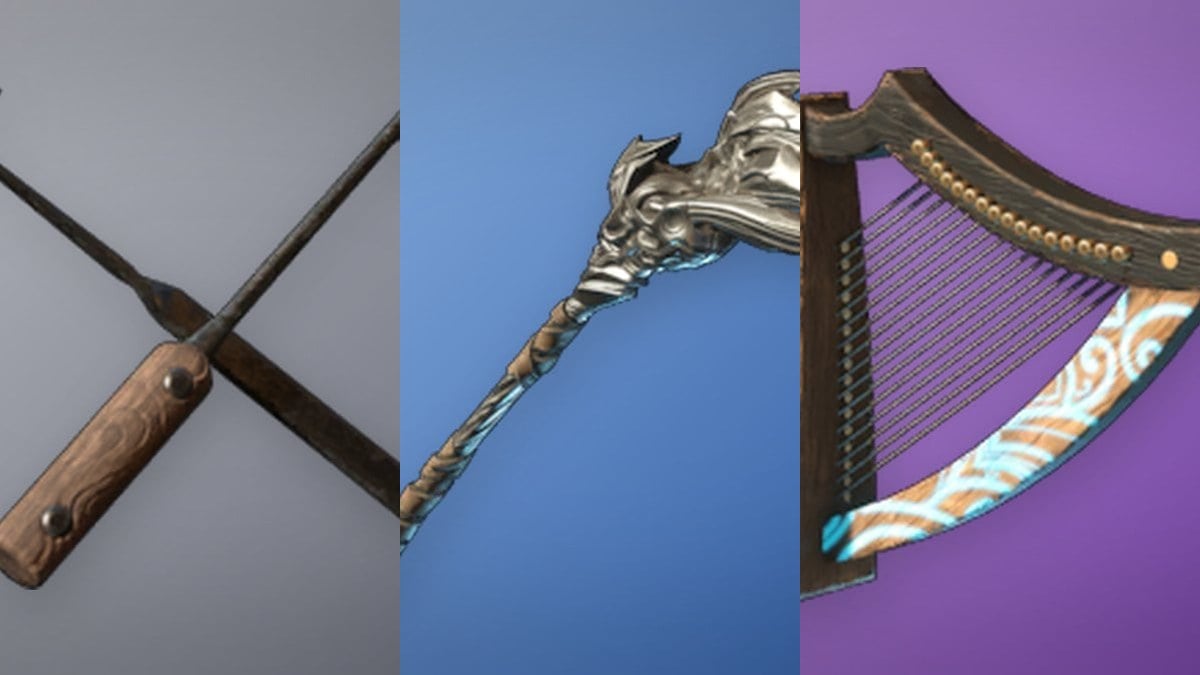
The Maiden Voyage is the opening quest for Curse of the Allflame, and it exists to teach you the whole league loop before you ever touch a real Voyage. You meet the corsair captain Valerie, take a Bathysphere down to the Fathomless Depths, learn how Allflame Lanterns work, collect Dead Man’s Sulphur, and run your first craft. None of it is difficult, but a few steps trip people up because the light runs on a timer.
Quick answer: Speak to Valerie on the Coast near the Mud Flats, board the Sovereign, use her Chart to dive, place all six Allflame Lanterns to expose loot and Sulphur, return to the Bathysphere before the water floods back in, craft with the Sulphur below deck, chart a few more areas into a Voyage, run it, then return to the ship and talk to Val to close the quest.
Where to start the Maiden Voyage quest
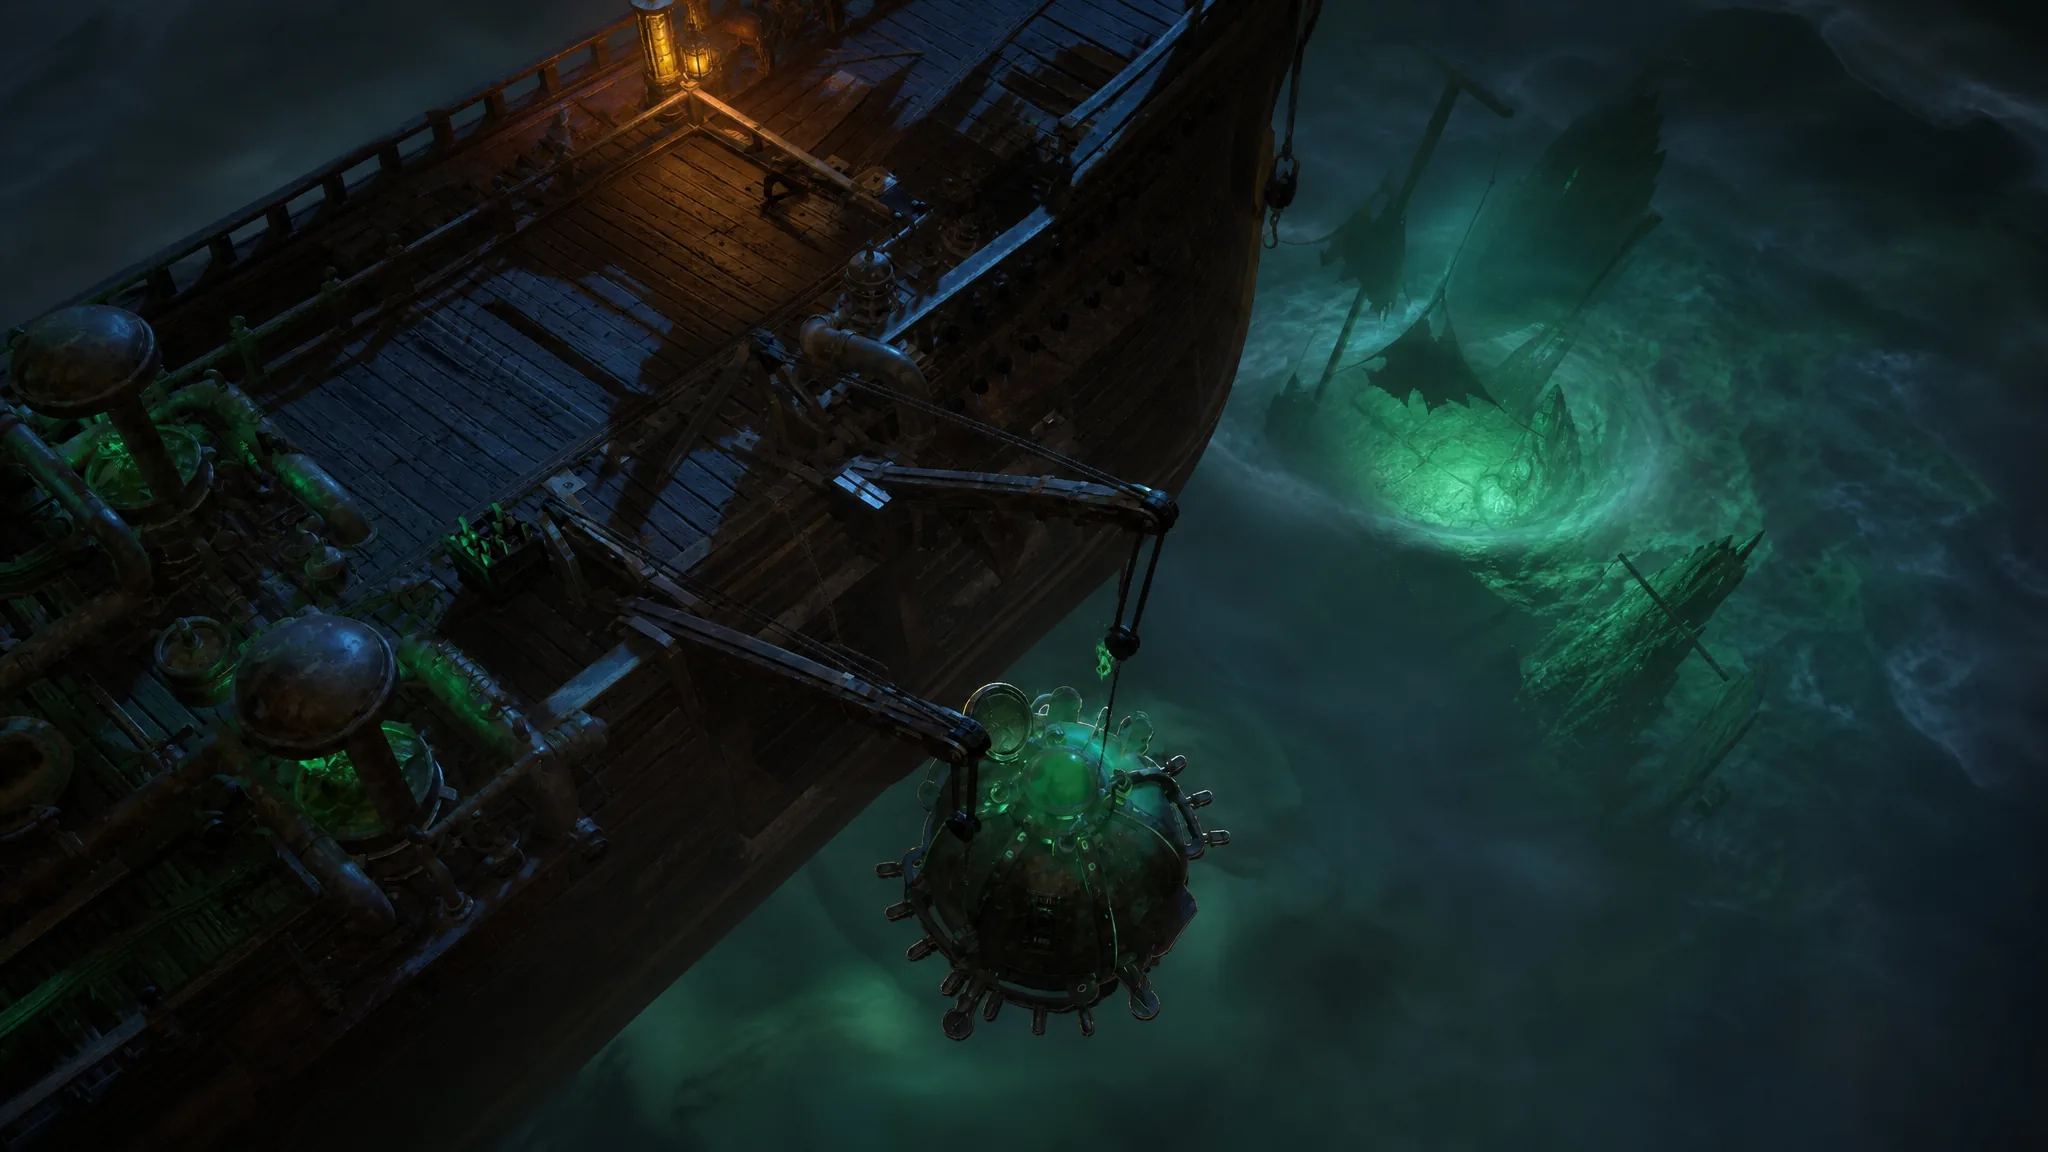
Head into the Coast and move toward the Mud Flats in Act 1. Valerie is waiting along the way, and she stops you because your fighting caught her attention. She invites you aboard her ship, the Sovereign, explains what she is after beneath the frozen seas, and hands over your first Chart.
Before you dive, talk to Val one more time and switch on the option to place Allflame Lanterns automatically. That setting saves a lot of manual clicking on this first run and keeps you moving while the light holds.
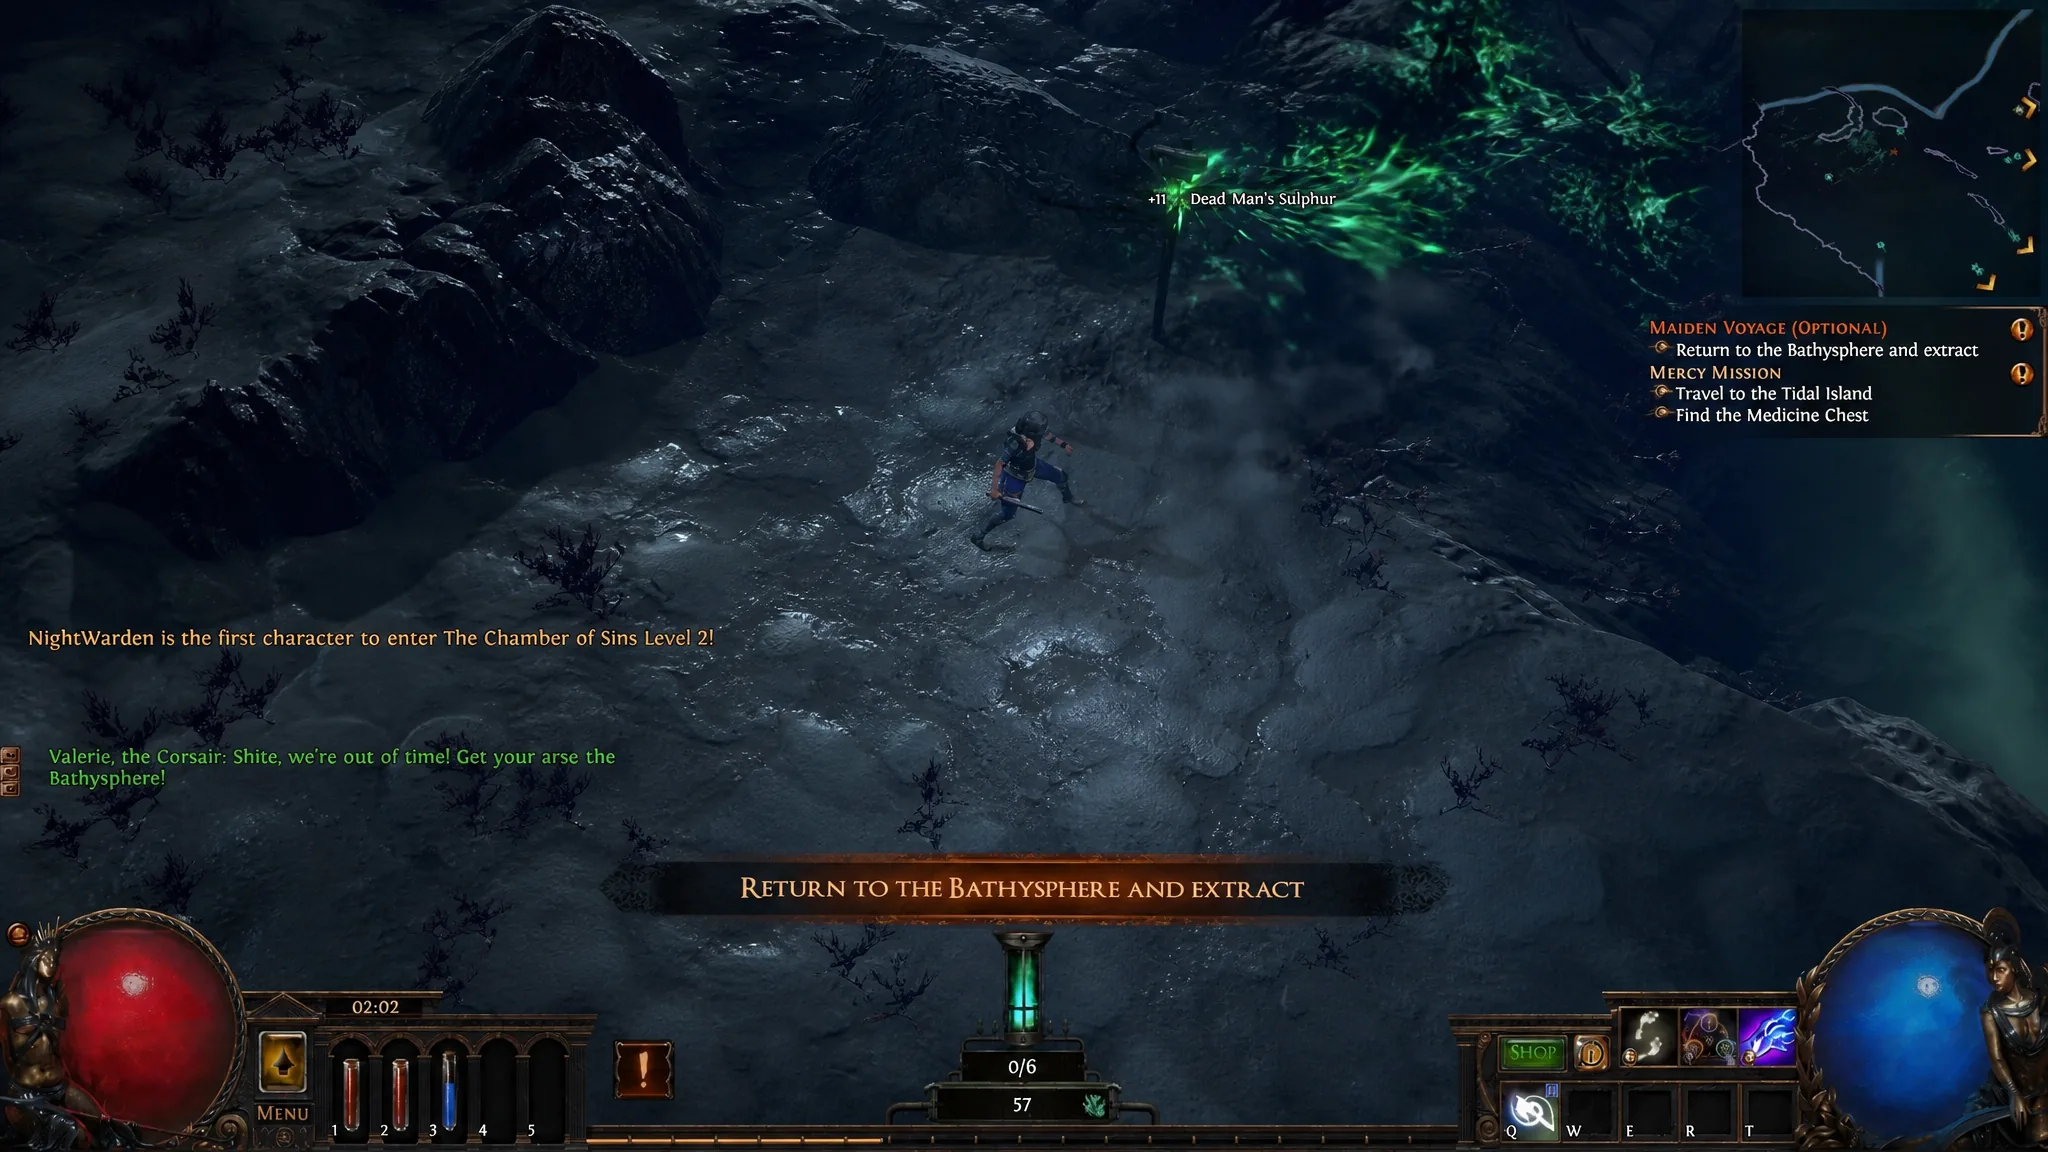
Your first dive into the Fathomless Depths
Note: The Lanterns do more than hold back the water. As they work, they gather Dead Man’s Sulphur from the corrupted dead, which you pick up before you leave. That Sulphur is the fuel for the crafting you do next.
Dead Man’s Sulphur and your first Allflame craft
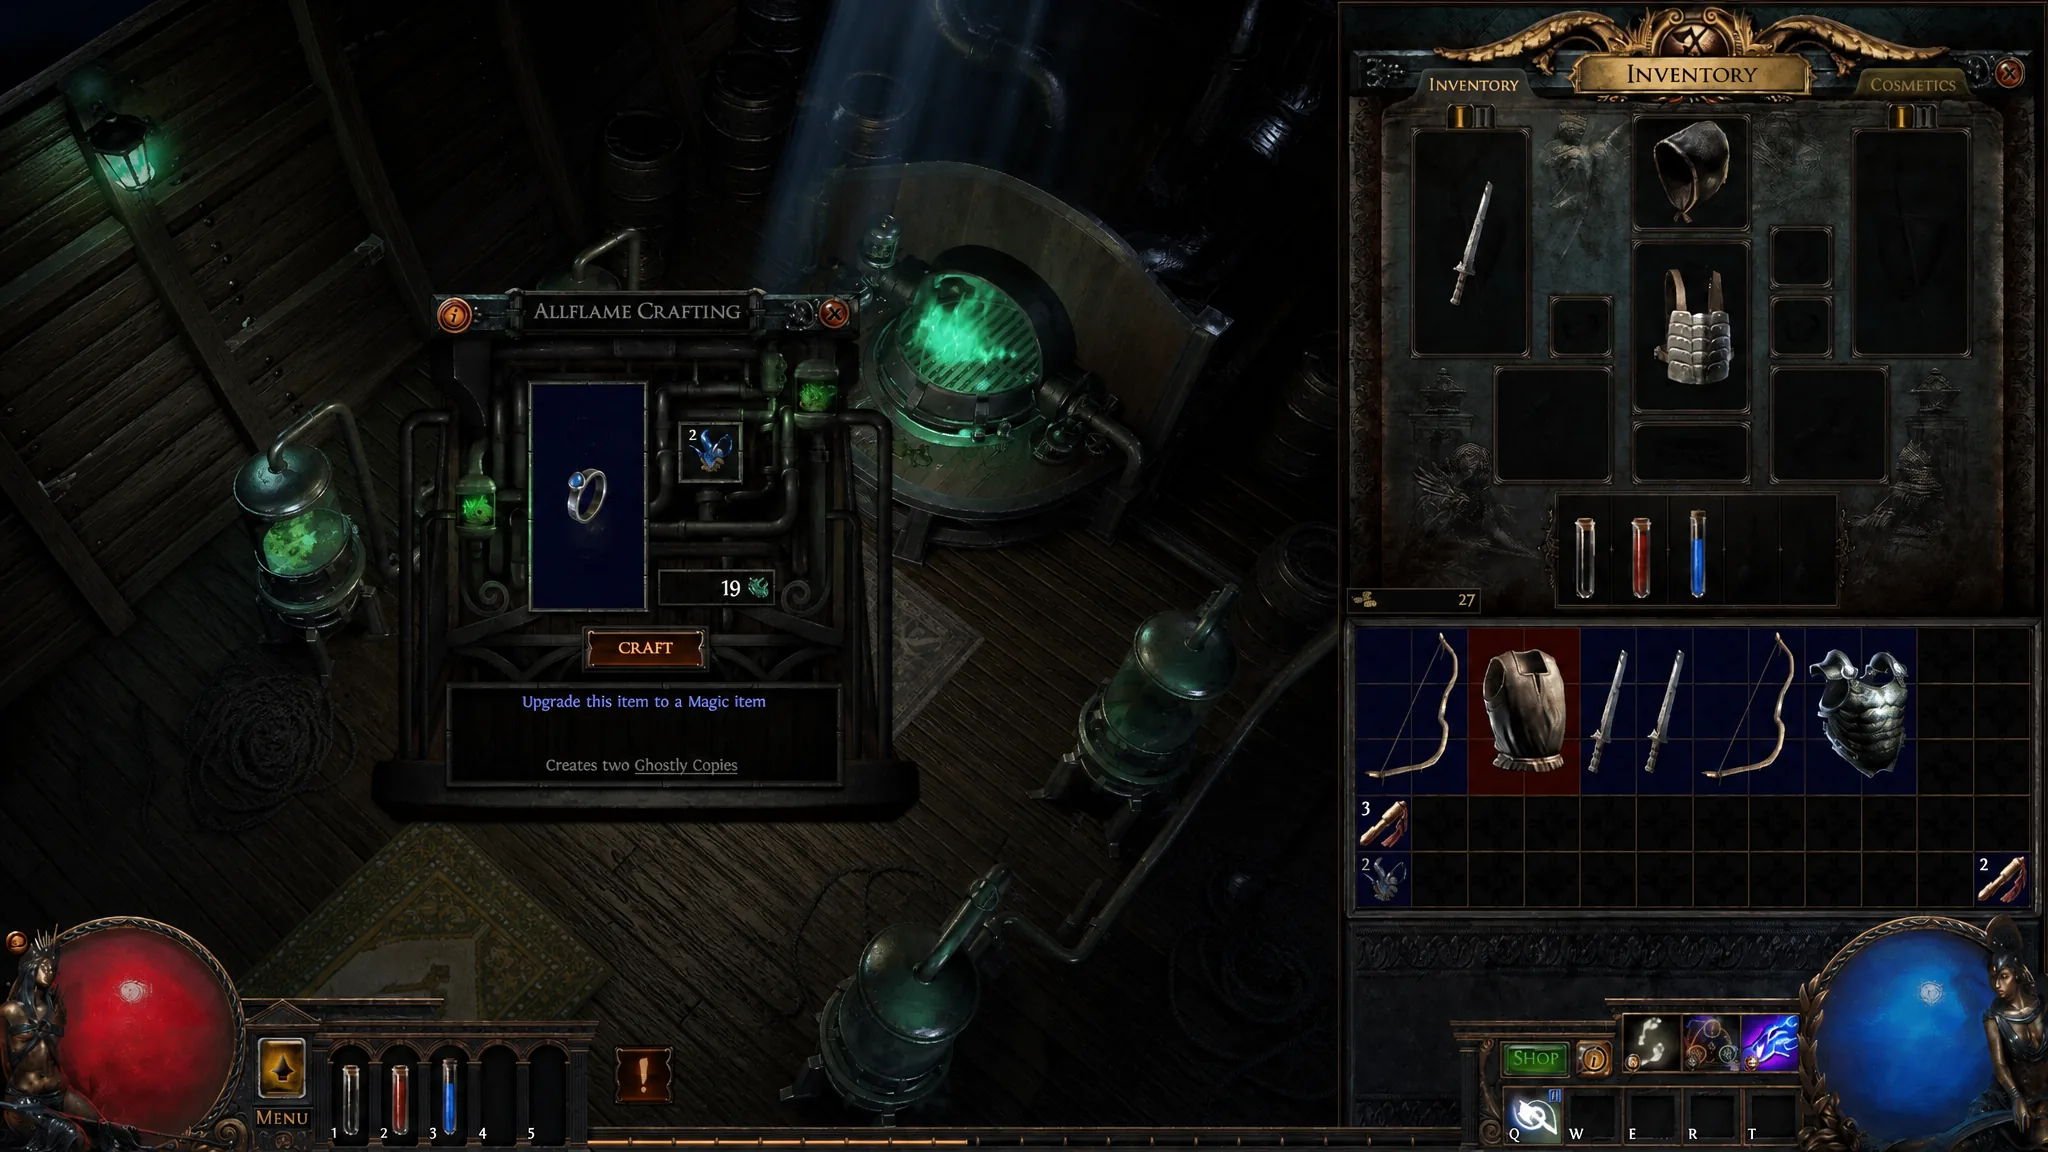
Back on the ship, collect the Sulphur you brought up and head below deck to meet Val at the Allflame Forge. She gives you a handful of items to experiment with so you can see how the crafting works without risking anything valuable.
Feed an item into the Forge and it splits that craft into several ghostly outcomes at once. You look them over, pick the single result you like best, and the rest disappear. It is a simple idea with a big payoff later, since you get to choose the best roll instead of gambling on one.
Tip: Stronger crafts cost more Sulphur, and each pass makes an item more intangible, which lowers how many outcomes future crafts can show. Early on you have plenty to play with, but hold your best Sulphur for the rolls that matter most.
Chart more areas and assemble a Voyage
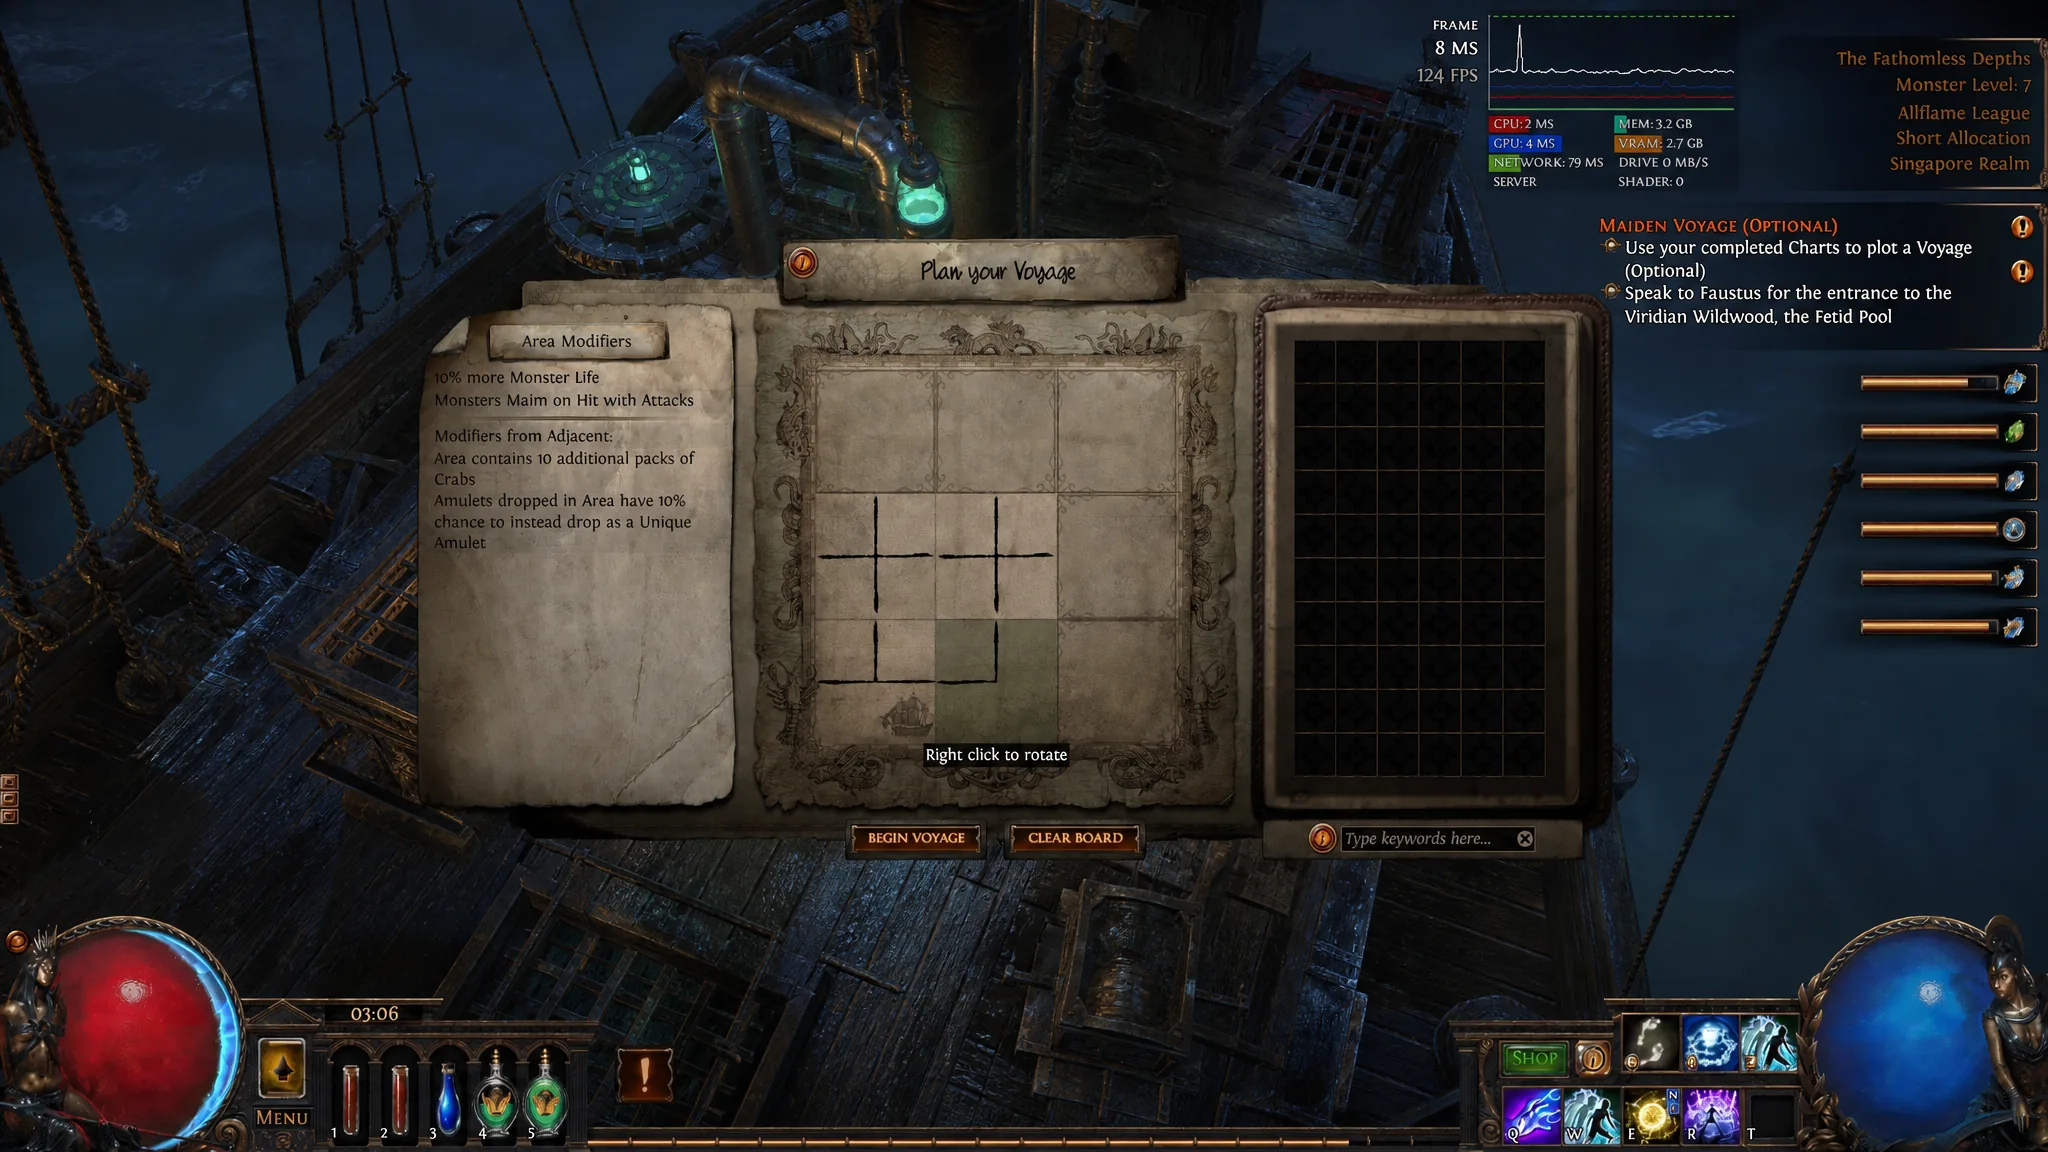
After the first Chart, Val asks you to complete a few more before you can plan a full Voyage. Charts appear as you travel through Wraeclast, so keep exploring and finish the extra ones she points you toward.
Once you have enough charted, a new option shows up when you talk to Val. You place your completed Charts onto her board to build a Voyage, and each piece adds a modifier that shapes the run. When the board is set, take the Bathysphere down again.
| Single Chart dive | Full Voyage |
|---|---|
| Six Allflame Lanterns | Many more Lanterns across a larger area |
| Small revealed pocket at a time | Entire map is visible from the start |
| One area’s rewards | Combined rewards with modifiers from each Chart |
Run the Voyage and finish the quest
You know the quest is finished when Val’s dialogue wraps the journey and the quest clears from your tracker. From here the same loop is yours to repeat, and it is one of the better early sources of starter gear even if the big drops come later.
The whole point of the Maiden Voyage is muscle memory. Once you have placed Lanterns against the clock, banked loot in a Capsule, and watched the Forge spit out a row of outcomes, the deeper league systems stop feeling intimidating and start feeling like free upgrades on every dive.