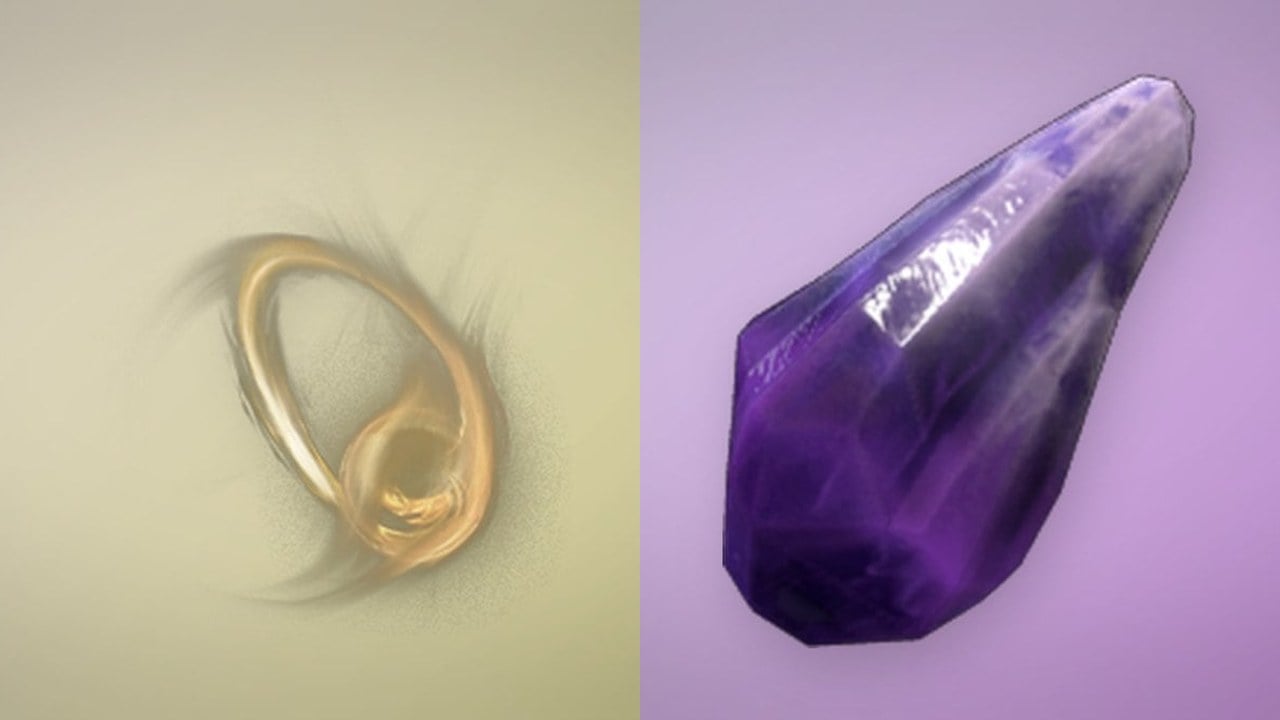
Four Scout Amulets sit inside the Final Ascent version of PEAK, one hidden at a Scout Statue in each of the first four biomes. Every Amulet gives a strong effect but inflicts Petrify on the user, and none of them has a usage limit, so the real question is which effect earns its cost during a hard climb. The order below sorts them by how directly they help a team push toward the Peak on high Ascents.
Quick answer: Scout’s Ambition ranks first because its 8 seconds of shared infinite stamina solves the exact problem that stops teams on Ascent 6 and higher. Scout’s Generosity is second, then Scout’s Tenacity, then Scout’s Initiative.
PEAK Amulet ranking (best to worst)
| Rank | Amulet | Effect and Petrify cost |
|---|---|---|
| 1 | Scout’s Ambition 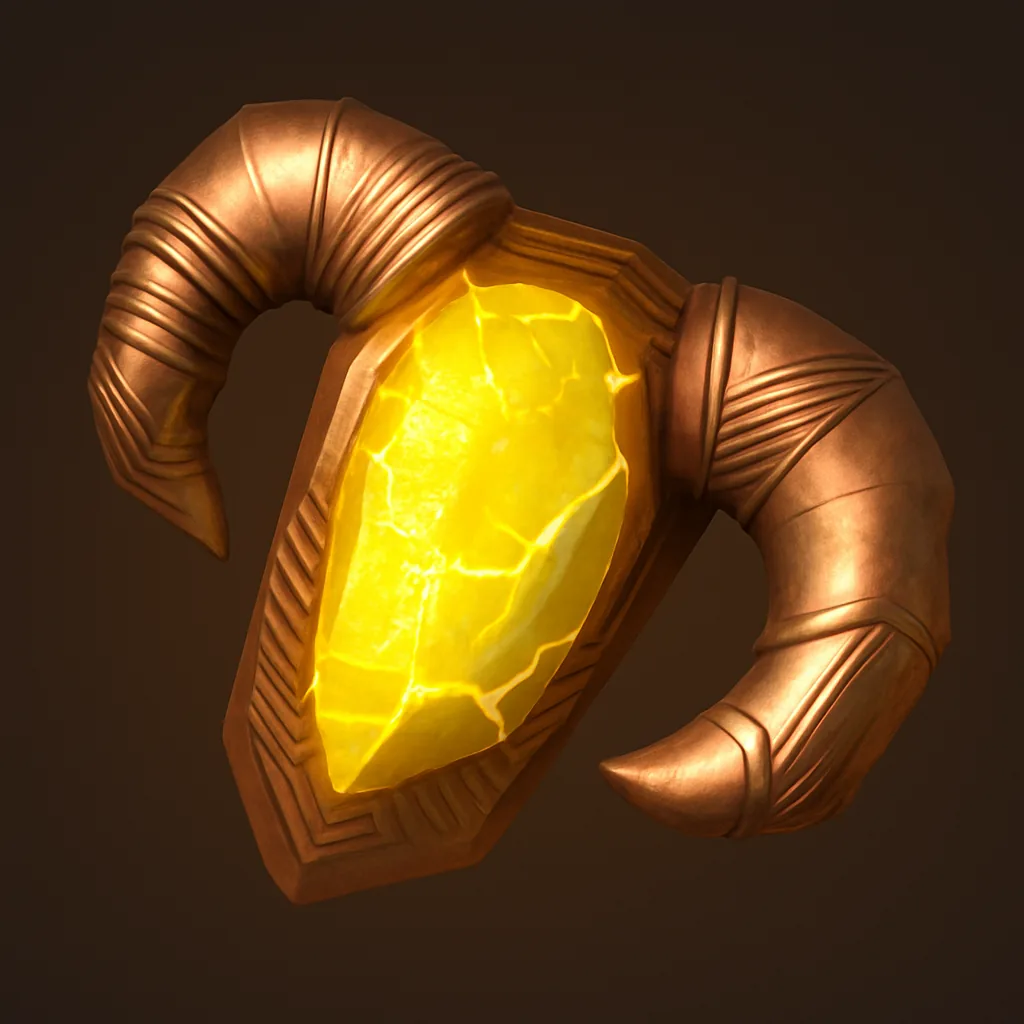 | Infinite stamina for all scouts in a 9.6m aura for 8 seconds. 30 Petrify per use. |
| 2 | Scout’s Generosity  | Duplicates any highlighted item. 25 Petrify for a normal item, 45 for a mystical item. |
| 3 | Scout’s Tenacity 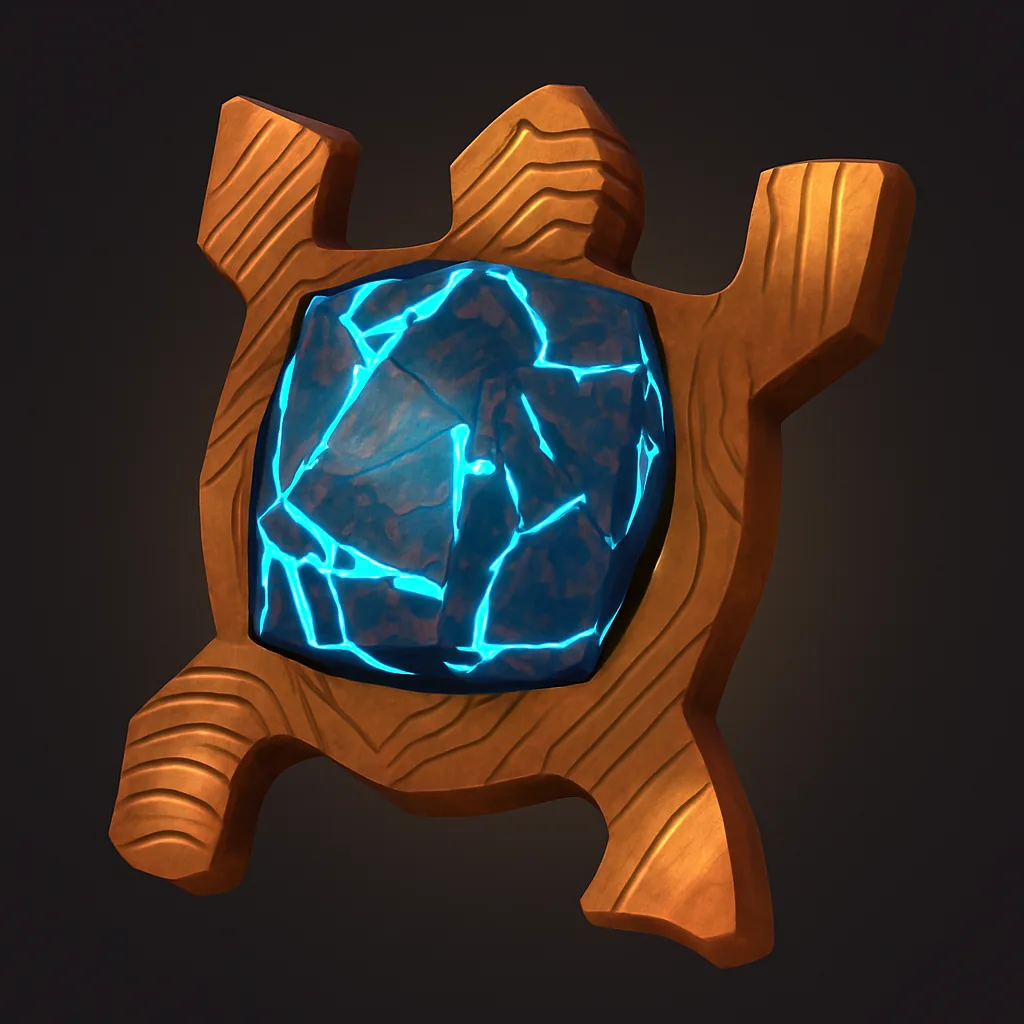 | Heals up to 60 Injury, Spores, Poison, Cold, Heat, and Drowsy, then grants 10 seconds of invulnerability. 10-30 Petrify based on the amount healed. |
| 4 | Scout’s Initiative 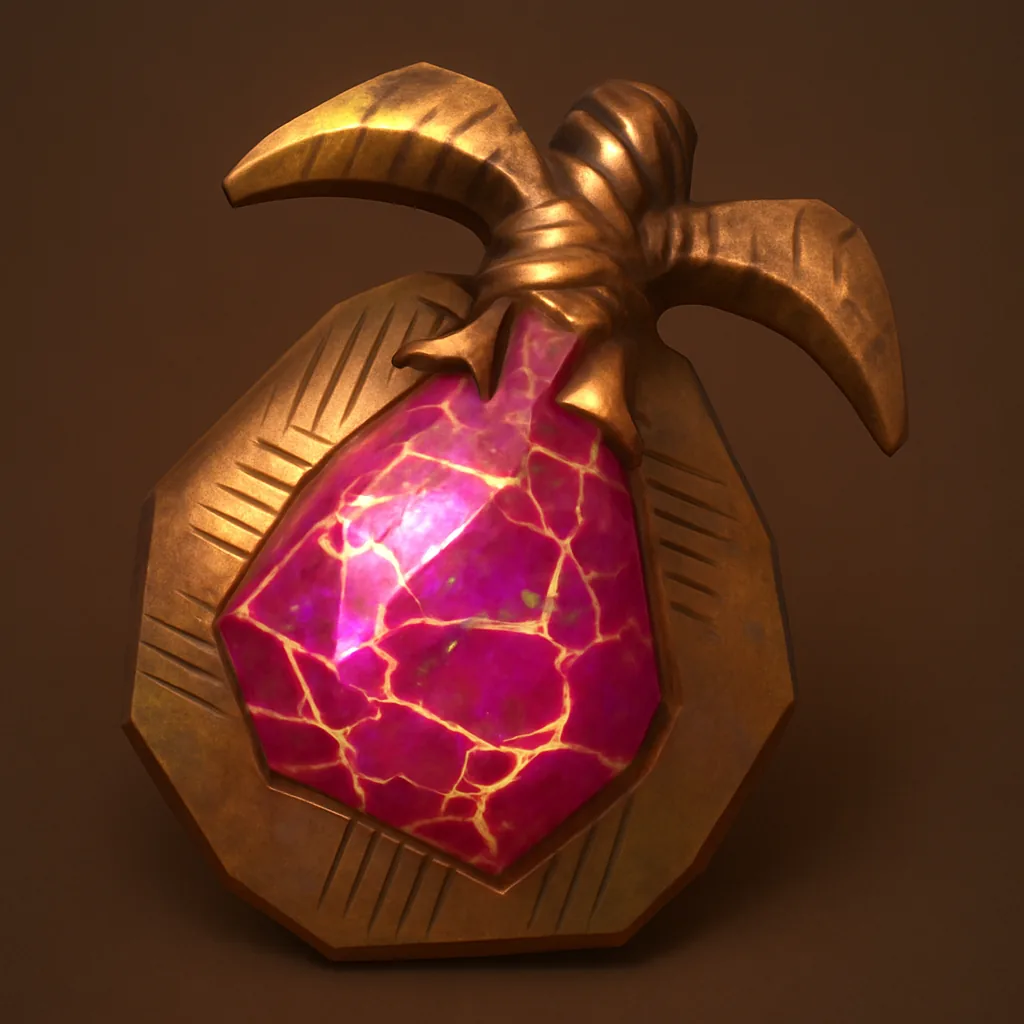 | Launches scouts within 12.8m into the air, then gives wind walk for 3 seconds. 7.5 Petrify per use. |
How this was ranked: each Amulet is judged on how much it advances a vertical climb on Ascent 6 and above, weighed against its Petrify cost and how often the situation it fixes actually comes up. This order reflects the Final Ascent update as of August 2026.
Scout’s Ambition: shared stamina wins climbs
Stamina drains faster the higher your Ascent, and that drain is what usually ends a run on a tall wall. Scout’s Ambition removes that limit for everyone. Activating it creates a 9.6m aura for 8 seconds, and every scout inside gains infinite stamina for the duration.
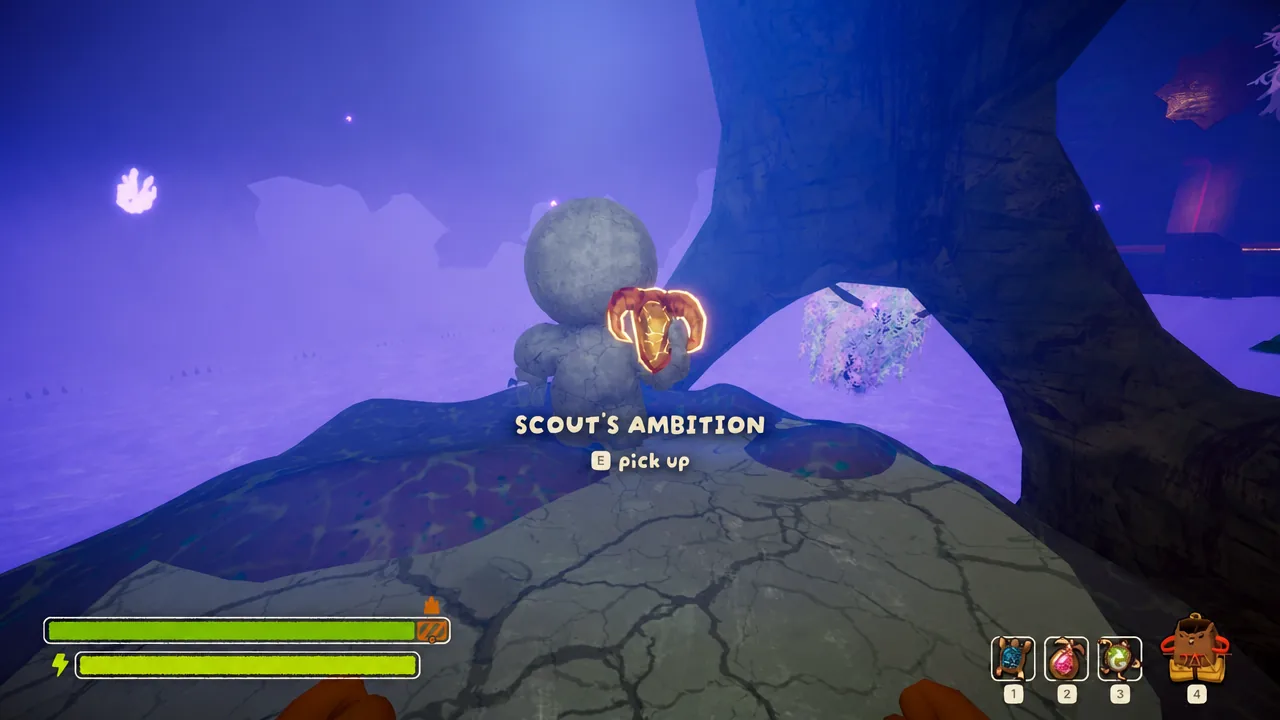
The 30 Petrify cost looks steep, but it barely matters in a four-player run. Each teammate can hold their own Scout’s Ambition, so a squad can chain up to 12 activations before Petrify becomes a problem. That reliability makes it the amulet to carry into THE KILN and THE CITADEL, where food is scarce and you constantly need a quick way to gain height.
Scout’s Generosity: copy the item that saves the run
Point at any item you hold and Scout’s Generosity duplicates it. That covers backpacks, food, climbing tools, and mystical items like the Scout Effigy for reviving a teammate. On high difficulty every resource counts, and being able to double a healing item or a Rescue Claw can turn a failing run around.
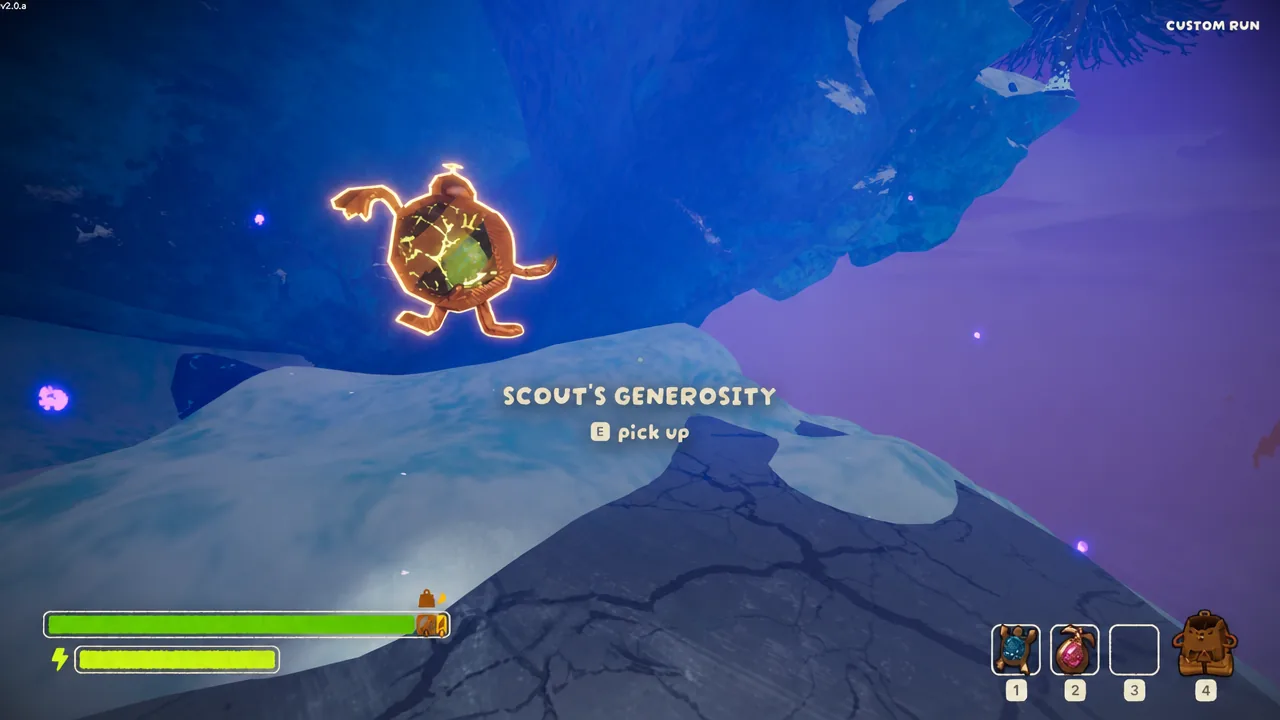
The cost scales with what you copy. A normal item inflicts 25 Petrify, and a mystical item inflicts 45, which is the heaviest single Petrify hit of any amulet. It sits below Scout’s Ambition because it feeds resource hoarding rather than moving you up the mountain. Great items help, but they do not clear a vertical wall the way infinite stamina does.
Scout’s Tenacity: reset your status bar and tank damage
Scout’s Tenacity heals up to 60 across Injury, Spores, Poison, Cold, Heat, and Drowsy, then applies 10 seconds of invulnerability. It does not touch weight, hunger, or curse. You can use it on yourself or on another player, which makes it a flexible emergency button.
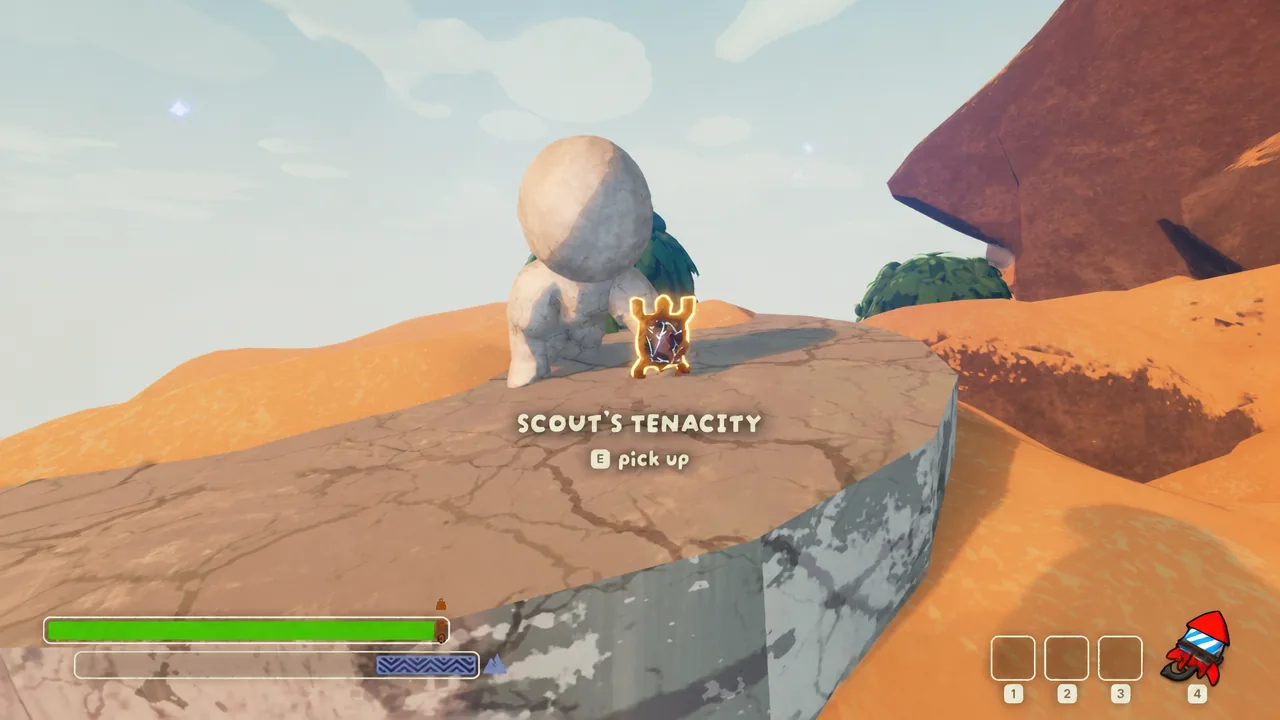
The invulnerability window absorbs a fatal fall, and the cleanse lets you brute-force through MESA, ALPINE, and GLOOM where heat, cold, and drowsy chip away at your stamina bar. Petrify runs 10 to 30 depending on how much it heals, so light use is cheap. It ranks third because its value depends on you already being in trouble, rather than pushing a clean climb forward.
Scout’s Initiative: a cheap safety net, little else
Scout’s Initiative launches scouts within 12.8m into the air and gives wind walk for 3 seconds. At 7.5 Petrify it is the cheapest and most reusable amulet, and the glide can carry you across a horizontal gap or stop a deadly fall.

The problem is that it gives no real height or speed, so it does nothing for the vertical climbing that decides a run. Its best use is recovery after a mistake, or gliding over metal gates in the GLOOM. That narrow, failure-dependent role puts it last.
Where to find each Amulet
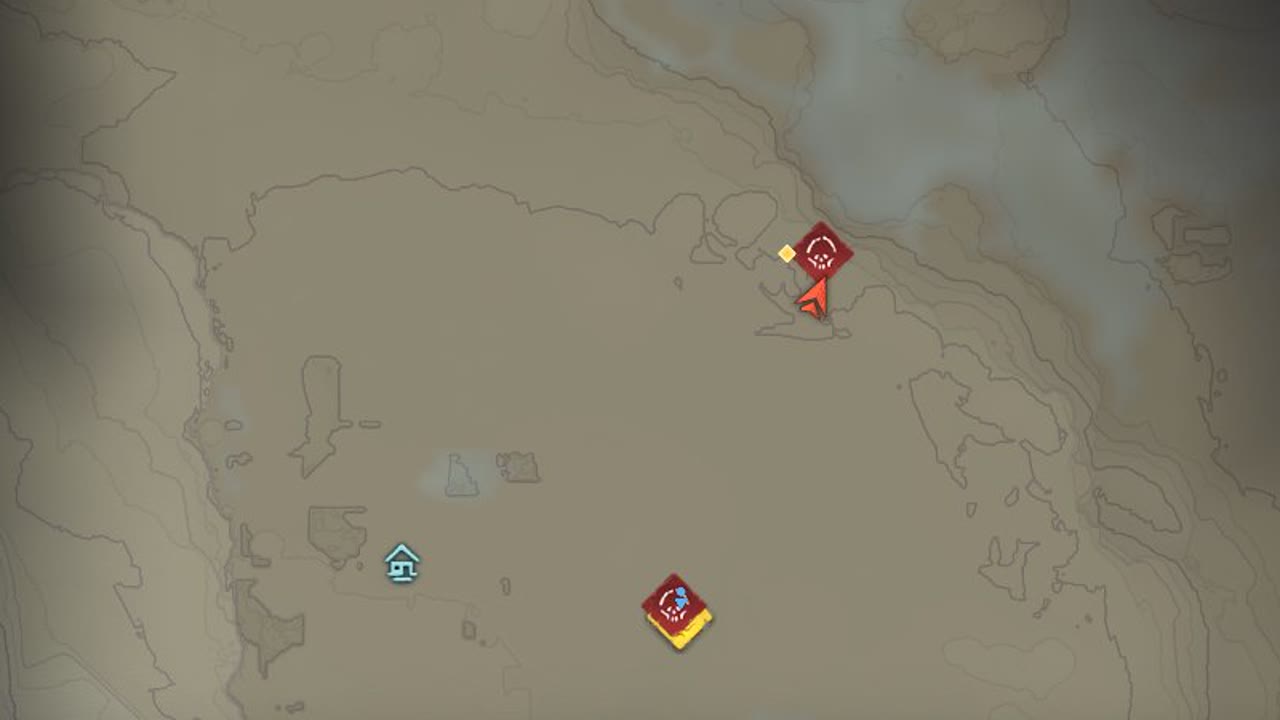
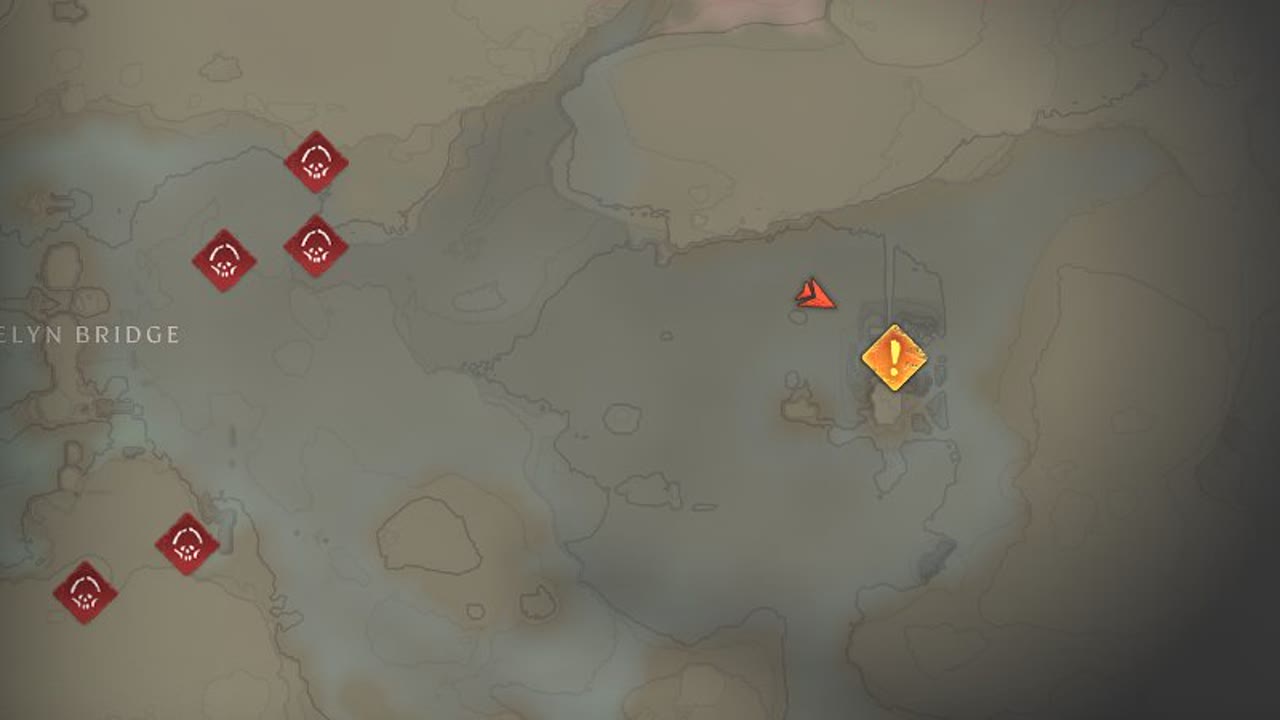
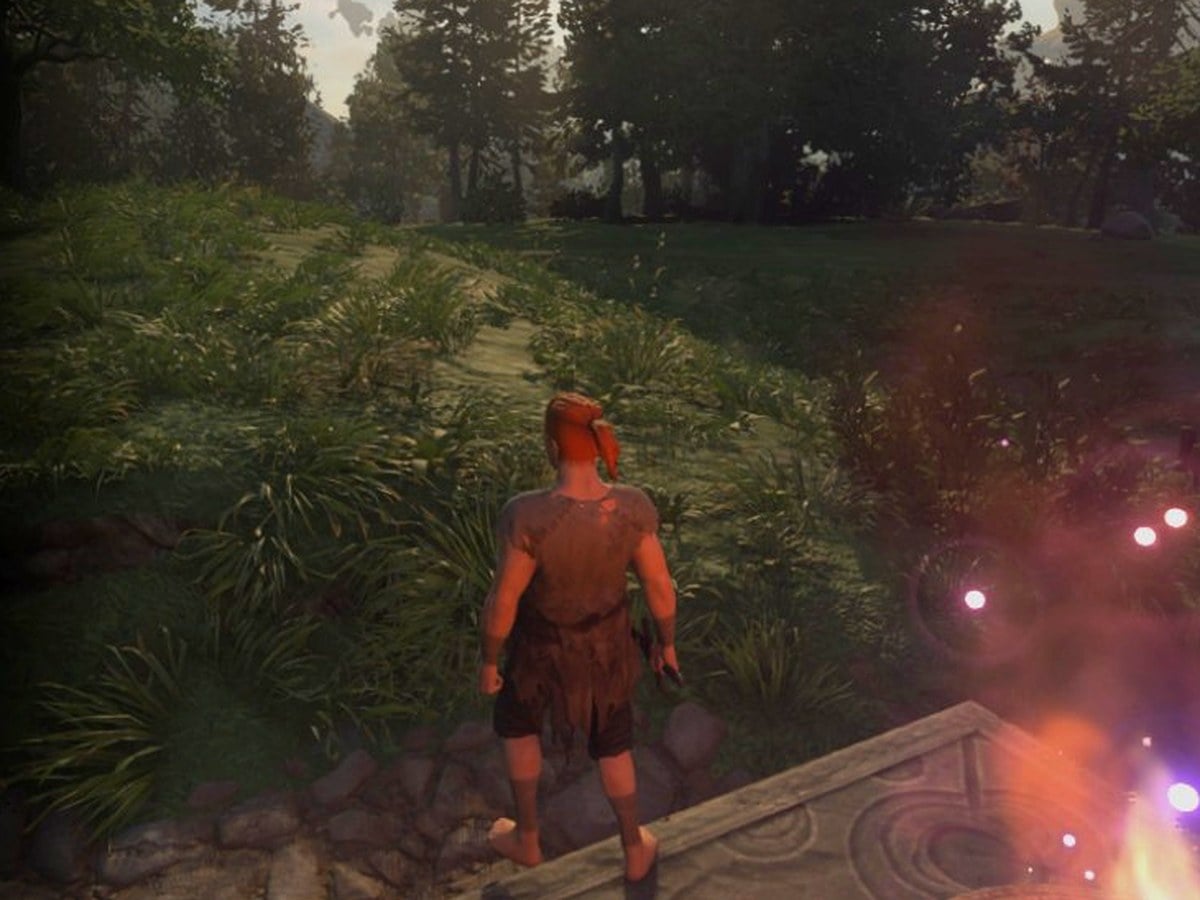
Every Amulet waits at a Scout Statue, marked by a glowing beam of light, and there is only one per biome across the first four biomes. Spawn spots reset daily, so the exact statue location changes and picking one up counts toward the Esoterica Badge.
| Biome | Amulet |
|---|---|
| Shore | Scout’s Tenacity |
| Tropics / Roots | Scout’s Initiative |
| Alpine / Mesa | Scout’s Generosity |
| Caldera / Gloom | Scout’s Ambition |
Bringing all four Amulets to the Peak
The Amulets are more than climbing tools. Carry all four to the Peak and bestow them on the Stone Scout to transform the Strange Gem into Scout’s Honor, which opens access to Nadir. Entering Nadir is required for the Rule Zero Badge and for winning a run on Ascent 8.
Note: because using an Amulet spends it and inflicts Petrify, save all four intact if your goal is the Stone Scout and the secret ending rather than mid-climb survival.