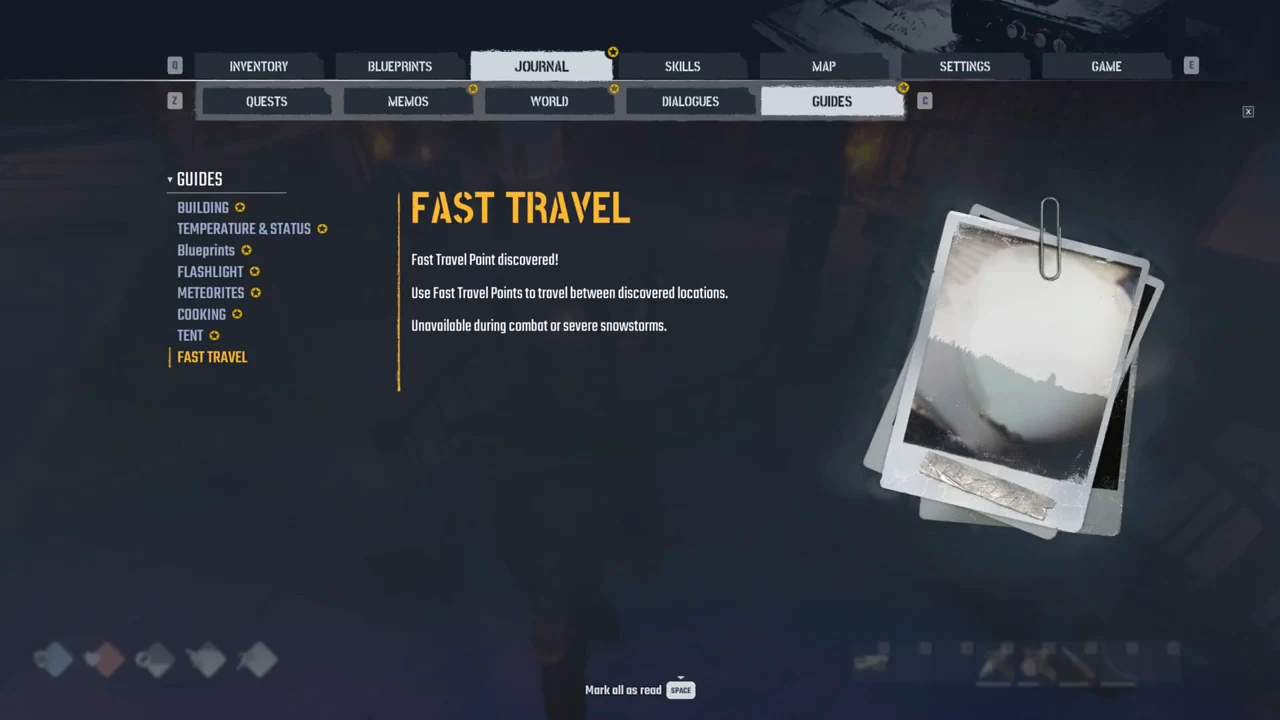
The Rabbit Trap is Permafrost’s hands-off way to get Meat and a pelt without chasing anything through the snow. You set a snare, walk away, and come back to a hare strung up by its leg. It is cheap to make, but the two parts that trip people up are where it will accept placement and how you actually harvest the catch once it is hanging there.
Quick answer: Craft the Rabbit Trap (tier 3 Crafting blueprint, 2 Wood + 1 Rope), place it on open snow away from tree trunks, then return and hold F with a knife equipped to skin the catch.
What you need before you set a trap
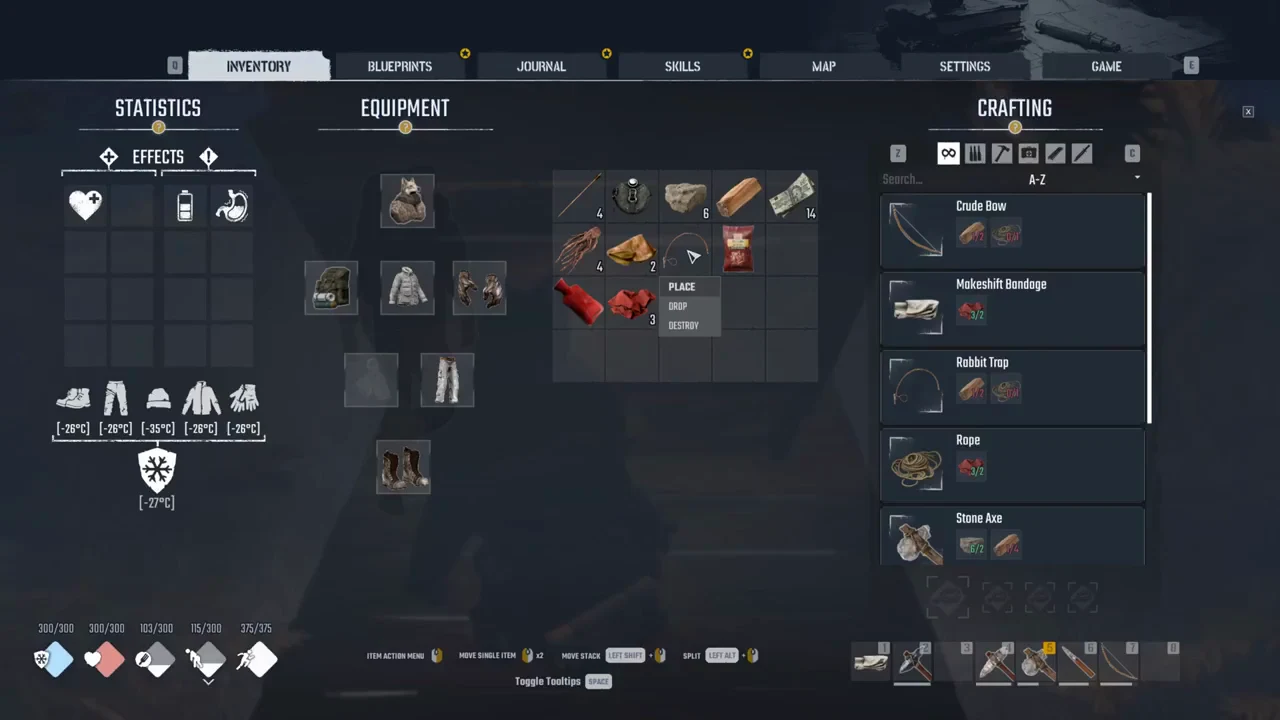
The recipe is a Crafting blueprint at tier 3, and it costs 1 blueprint point. To unlock it, open the Blueprints screen, find the Rabbit Trap, and hold the left mouse button on it until it learns. After that it appears in your inventory’s crafting list.
Each trap takes 2 Wood and 1 Rope and is made straight from your inventory, no workstation required. Rope is its own small craft: 1 Rope comes from 2 Cloth, also made in the inventory. So from scratch you are really looking at 2 Wood and 2 Cloth per trap.
- Rabbit Trap: 2 Wood + 1 Rope, crafted in Inventory
- Rope: 2 Cloth, crafted in Inventory (tier 2 blueprint)
- A knife in hand for skinning (the Stone Shiv works)
Placing the Rabbit Trap
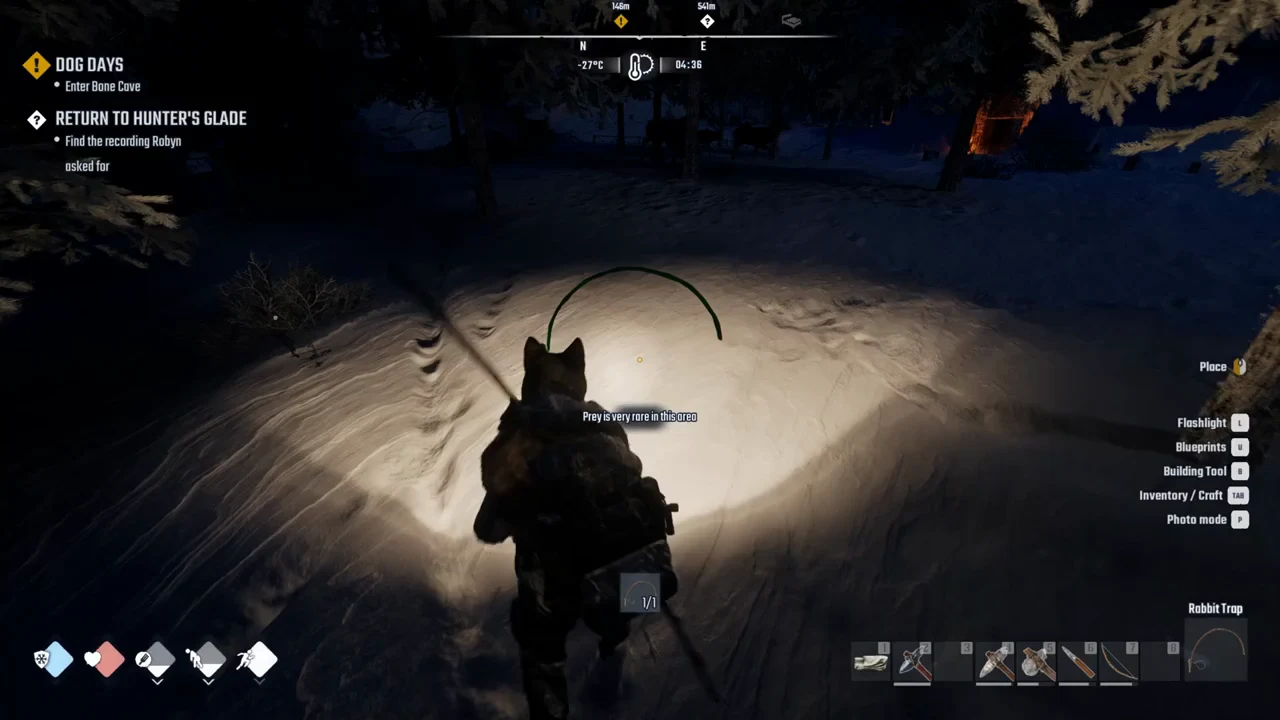
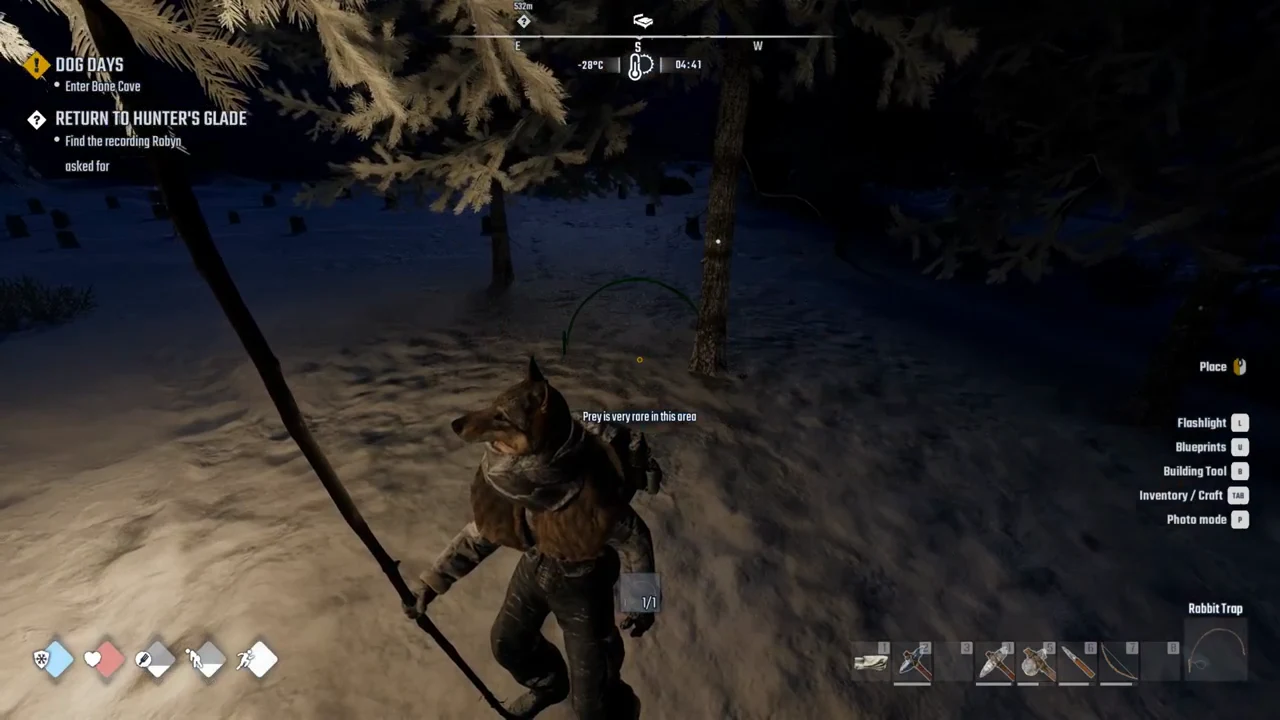
A couple of things reliably stop placement, so it helps to know them going in:
- The preview refuses placement while it floats above the ground, displaying “CAN’T BUILD IN AIR”.
- Jam it right against a tree and the tree’s own “Tree, Press LMB to break” prompt fights you for the click
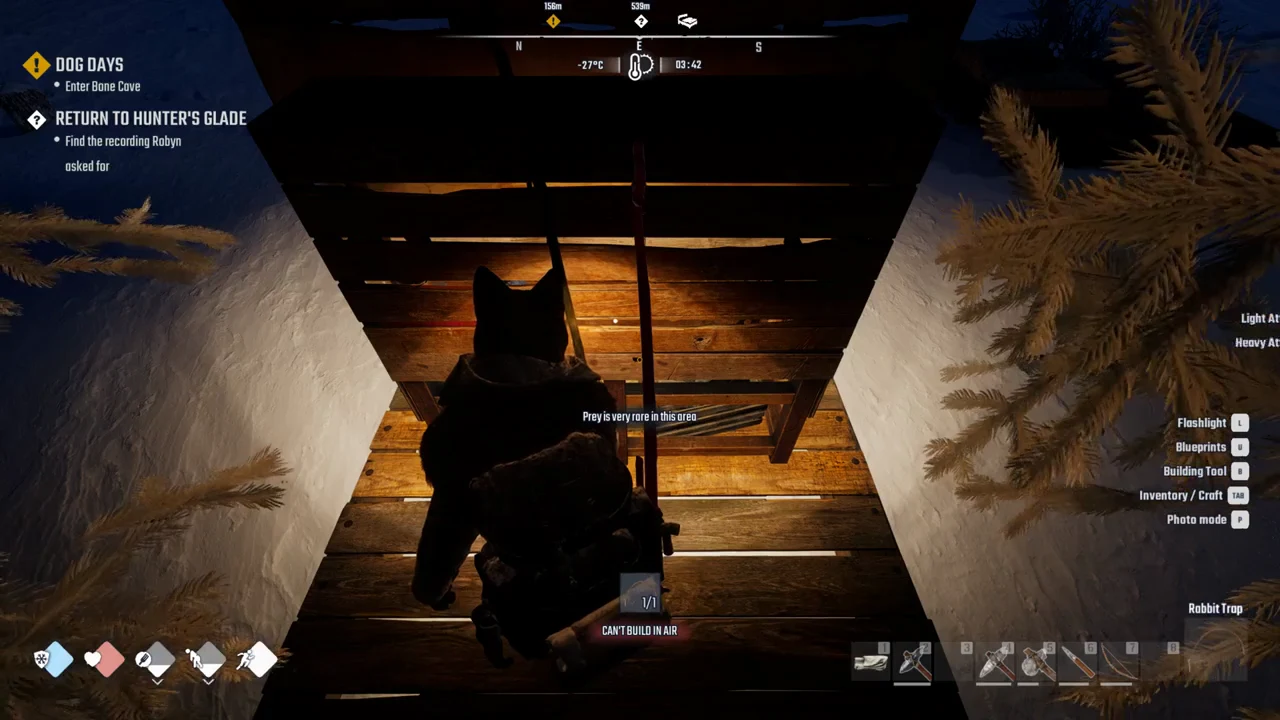
Pick solid ground with a little space around it rather than crowding a trunk.
How long a catch takes
This is not instant. On a spot rated “very rare,” expect a catch within about three and a half in-game days. There is no on-screen timer for it, so the practical approach is to set a trap, go do something else, and check back on a later visit rather than waiting on the spot.
When an animal is suspended in the snare, its rabbit symbol appears on the compass bar along the screen’s top edge. Seeing the symbol means a catch is ready.
Skinning the hare
The interaction prompt targets the hare dangling from the snare, not its base. Point at the base—even from arm’s length—and no prompt appears.
What you get, and what to do with it
One catch yields one Meat and one pelt. Here is what each is worth and good for.
| Item | Value | Effect / use |
|---|---|---|
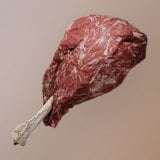 Meat Meat | 5 | Raw, it restores Hunger 30; prepare it as a Dish over a campfire and the restore value becomes Hunger 90. |
 Hare / Rabbit Pelt Hare / Rabbit Pelt | 15 | “Tough hide stripped from hunted animals.” |
The Bone Cave dog’s requested food is one piece of raw Meat, making a snared hare an easy way to feed it without pursuing bigger game. Cooking the Meat first restores roughly three times as much Hunger, so eat it raw only when necessary.
Once you harvest, the trap is gone from the spot. It is one catch per trap, so plan to craft and set a fresh one each time you want another hare.