Gaming Guide

Permafrost Lost Connection Walkthrough: The Four Tapes and Sean’s Choice

Track every tape recorder, reach the rooftop booth, and learn which answer opens Sean's locked stash.

Track every tape recorder, reach the rooftop booth, and learn which answer opens Sean’s locked stash.

Lost Connection is a House Camp side quest that sends you after a missing boy named Brian, following four tape recorders across the snow to a painted Moon cult sign. Along the way you choose what to tell his father, Sean, and one answer that works opens his storage chest and the key inside it.

Quick answer: Take Anna’s quest in the Church, follow four tapes to the Moon cult sign, report to Anna, then tell Sean the Moon Cult took his son to unlock his chest and key.


Start Lost Connection with Anna in the Church

Anna hands out this quest inside the Church at House Camp, under the CHURCH banner. Walk up to her for the “Press F Talk” prompt and pick “What is it? [Side Quest]”. Her surname appears as Ivashchenko on the talk prompt and as IVASCHENKO in the dialogue header; both are the same person.

Work through her lines until you reach “Point the way. [Accept Quest]” and select it. The LOST CONNECTION banner appears and the journal sets your goal to find out what happened to Brian.
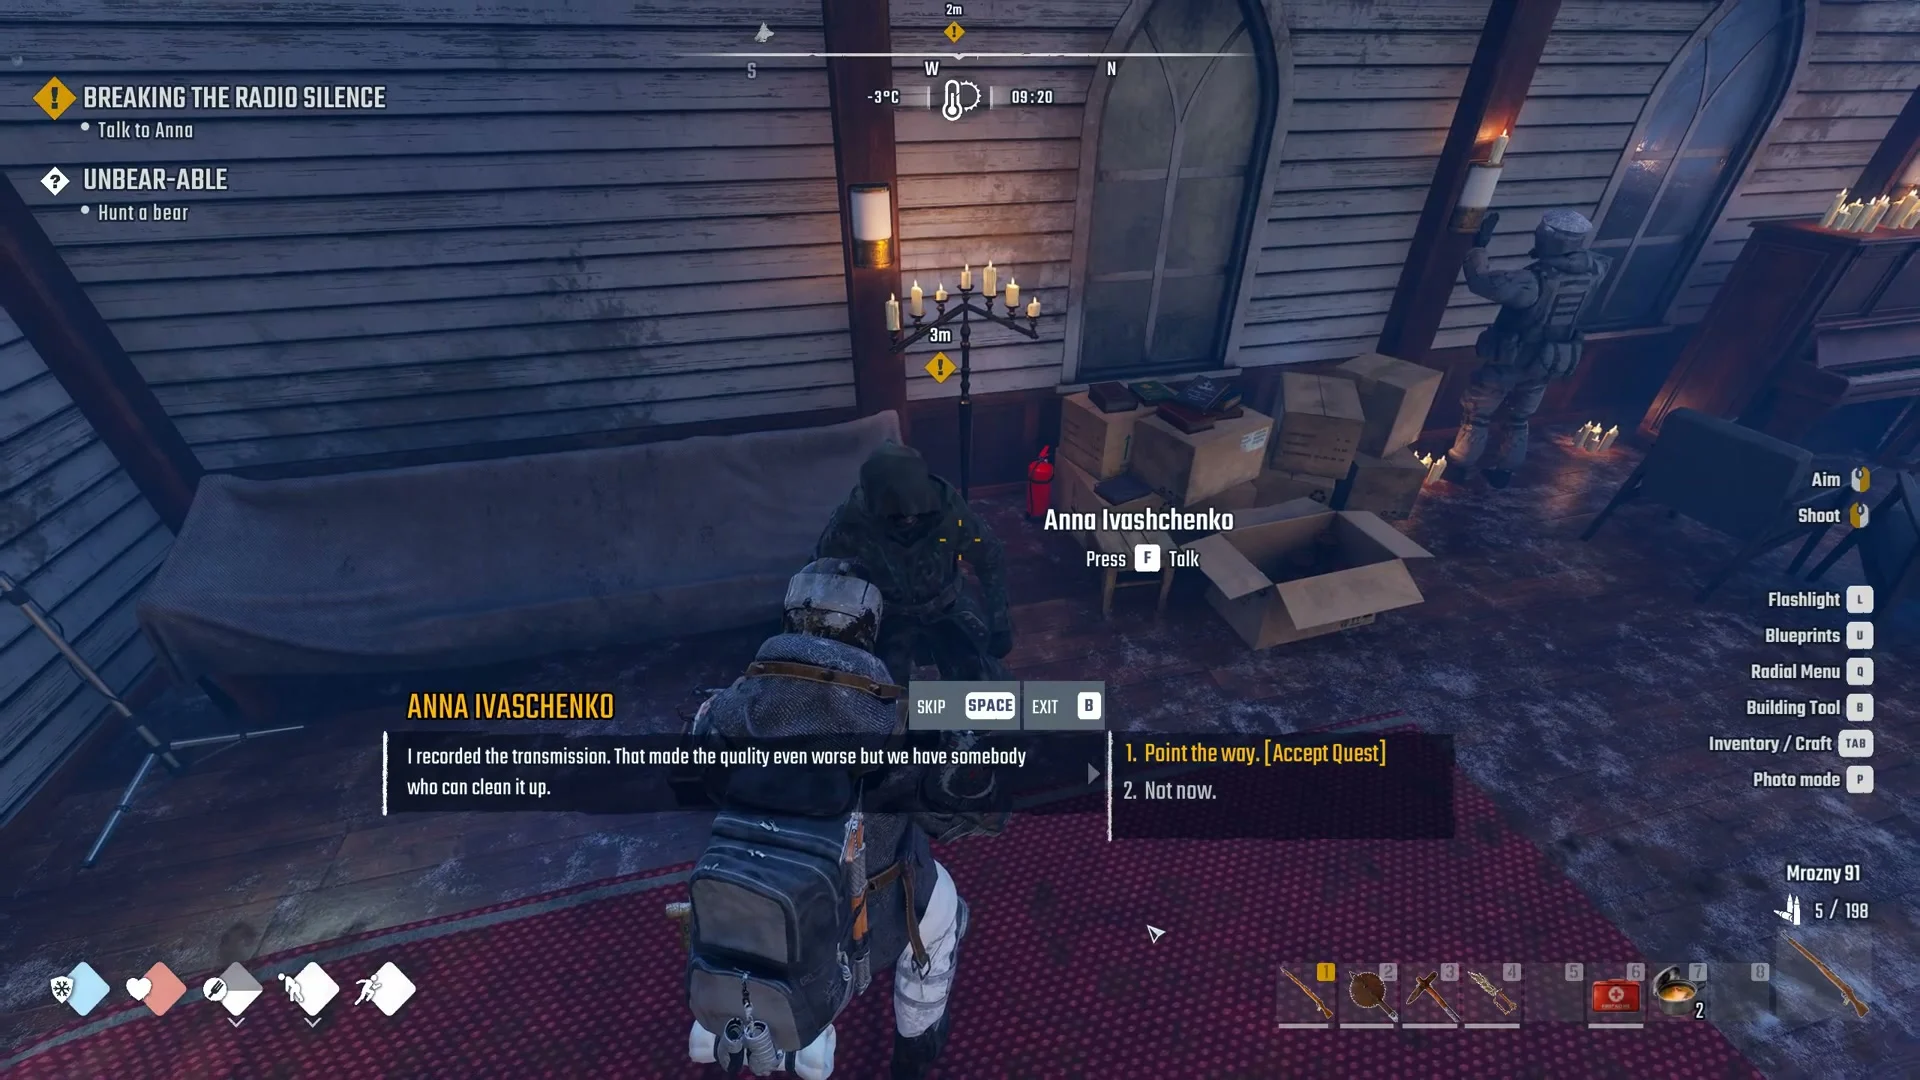
Anna Ivashchenko in the Church with the replies Point the way. Accept Quest and Not now.141:50Anna's option Point the way
Anna's offer in the Church, with "Point the way. Accept Quest " as the first reply. Shown at 141:50 in Royal Gaming’s video. Image: SpaceRocket Games

Collect the four tape recorders

Listening to a recorder plays a brief message and reveals the marker for the following tape. Its prompt reads “Recording / Press F Interact”; listening also triggers the “New recording” notice. Pick up the tapes sequentially.
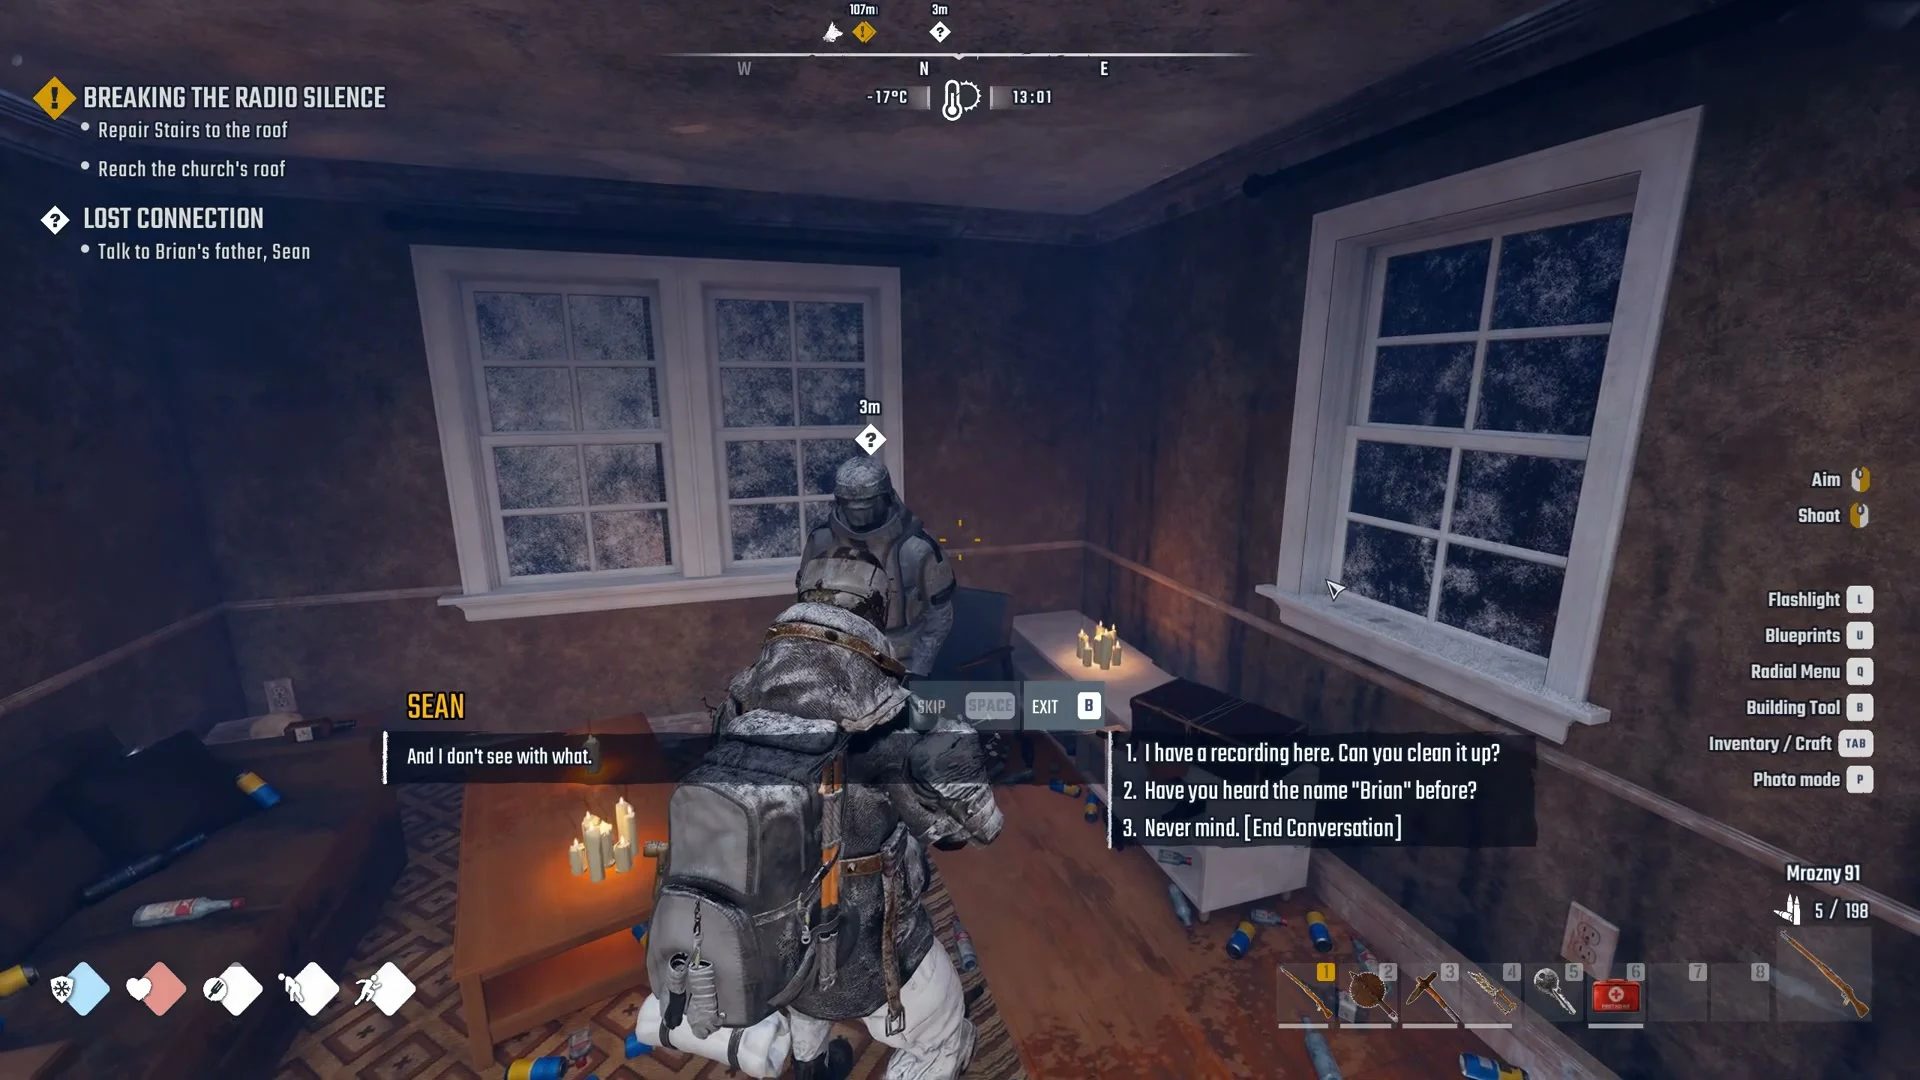
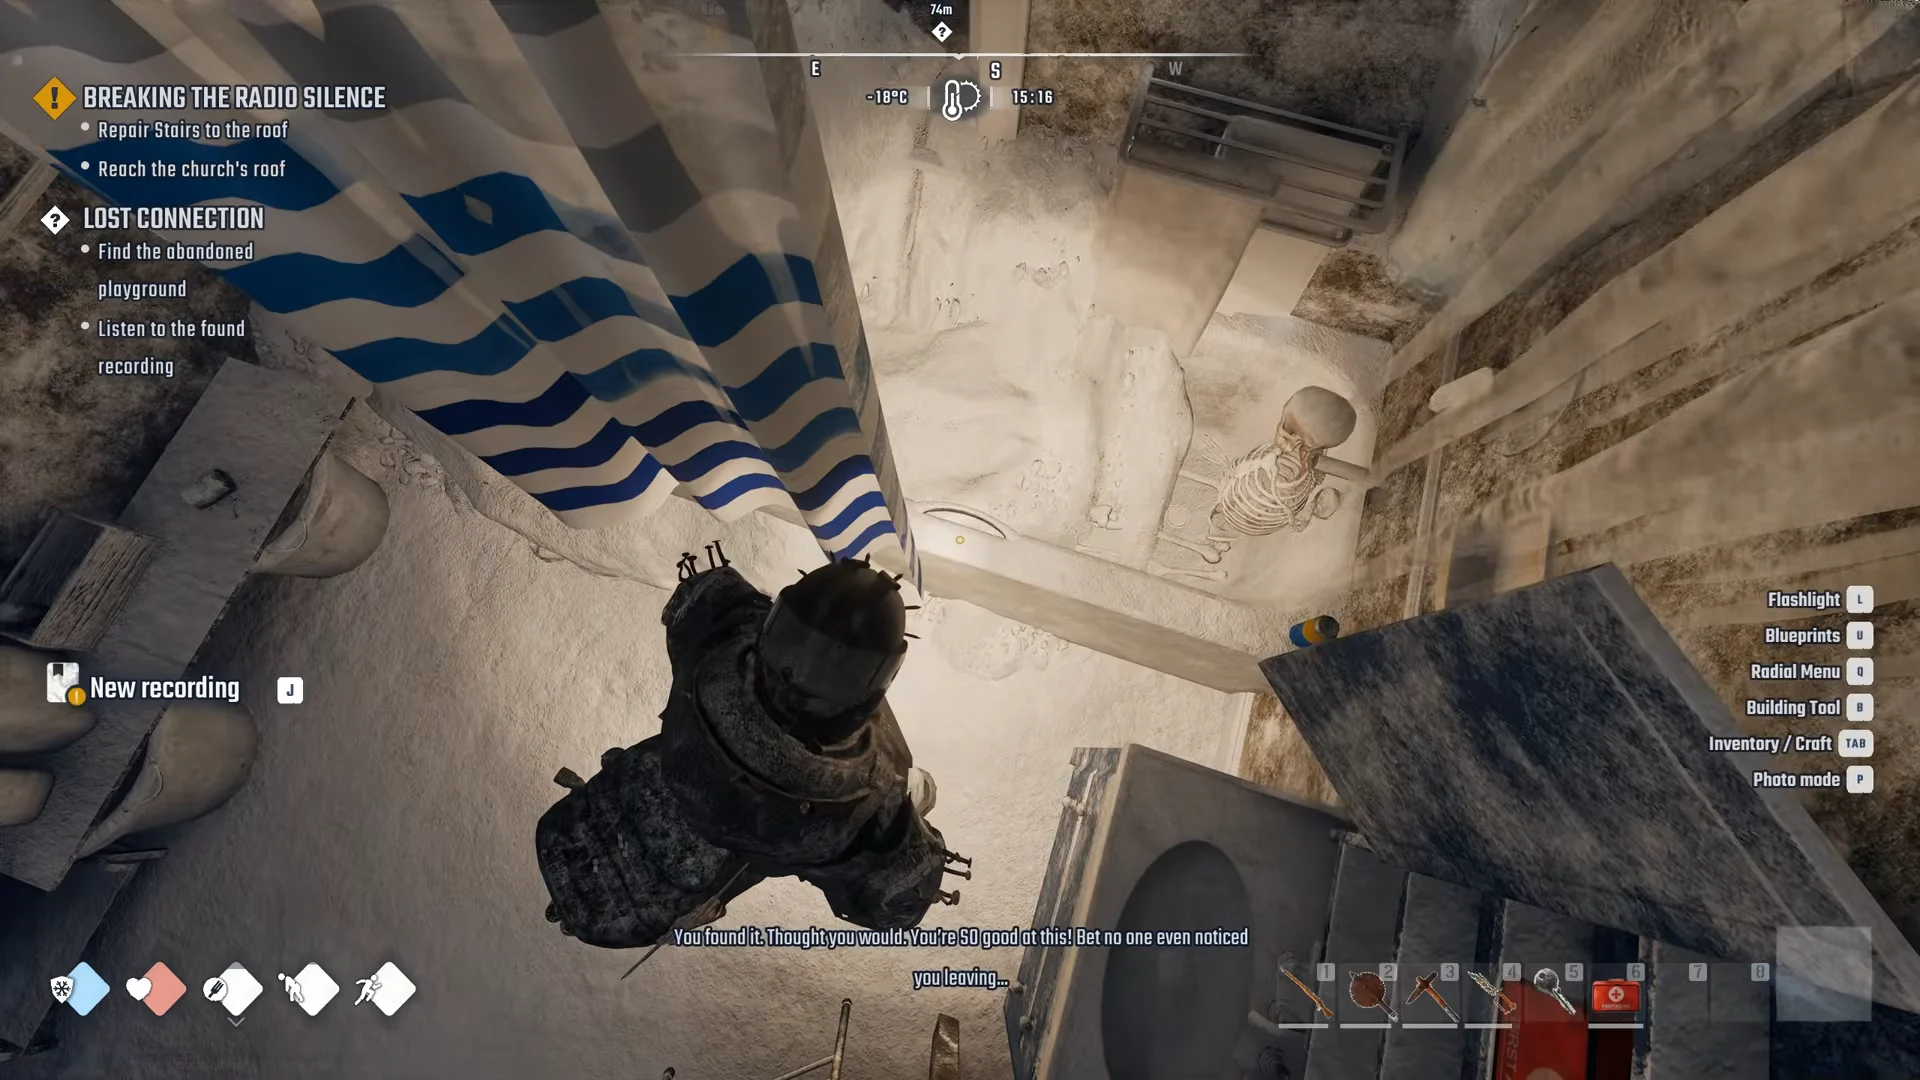
First, speak to Sean inside his house in House Camp. Pick “I have a recording here. Can you clean it up?” and then “I’ll join you.” Sean recognizes his son’s voice but an old leg wound keeps him home, so you go instead. Your tracker now points to the place Brian was last seen.
Sean in his house with three replies, the first reading I have a recording here. Can you clean it up?, and the objective Talk to Brian's father, Sean146:56Asking Sean to clean up the recording
Sean in his house with the reply "I have a recording here. Can you clean it up?" at the top of the list. Shown at 146:56 in Royal Gaming’s video. Image: SpaceRocket Games
Follow the marker down the street of wrecked cars to a half-collapsed, two-story house buried in snow. Enter through the icy breach in the side wall, climb to the upstairs bathroom, and interact with the recorder on the sink counter. Both objective lines tick off.
Bathroom tape in the buried house150:02Bathroom tape in the buried house
The first tape sits in the upstairs bathroom of the snow-buried house, on the sink counter. Shown at 150:02 in Royal Gaming’s video. Image: SpaceRocket Games
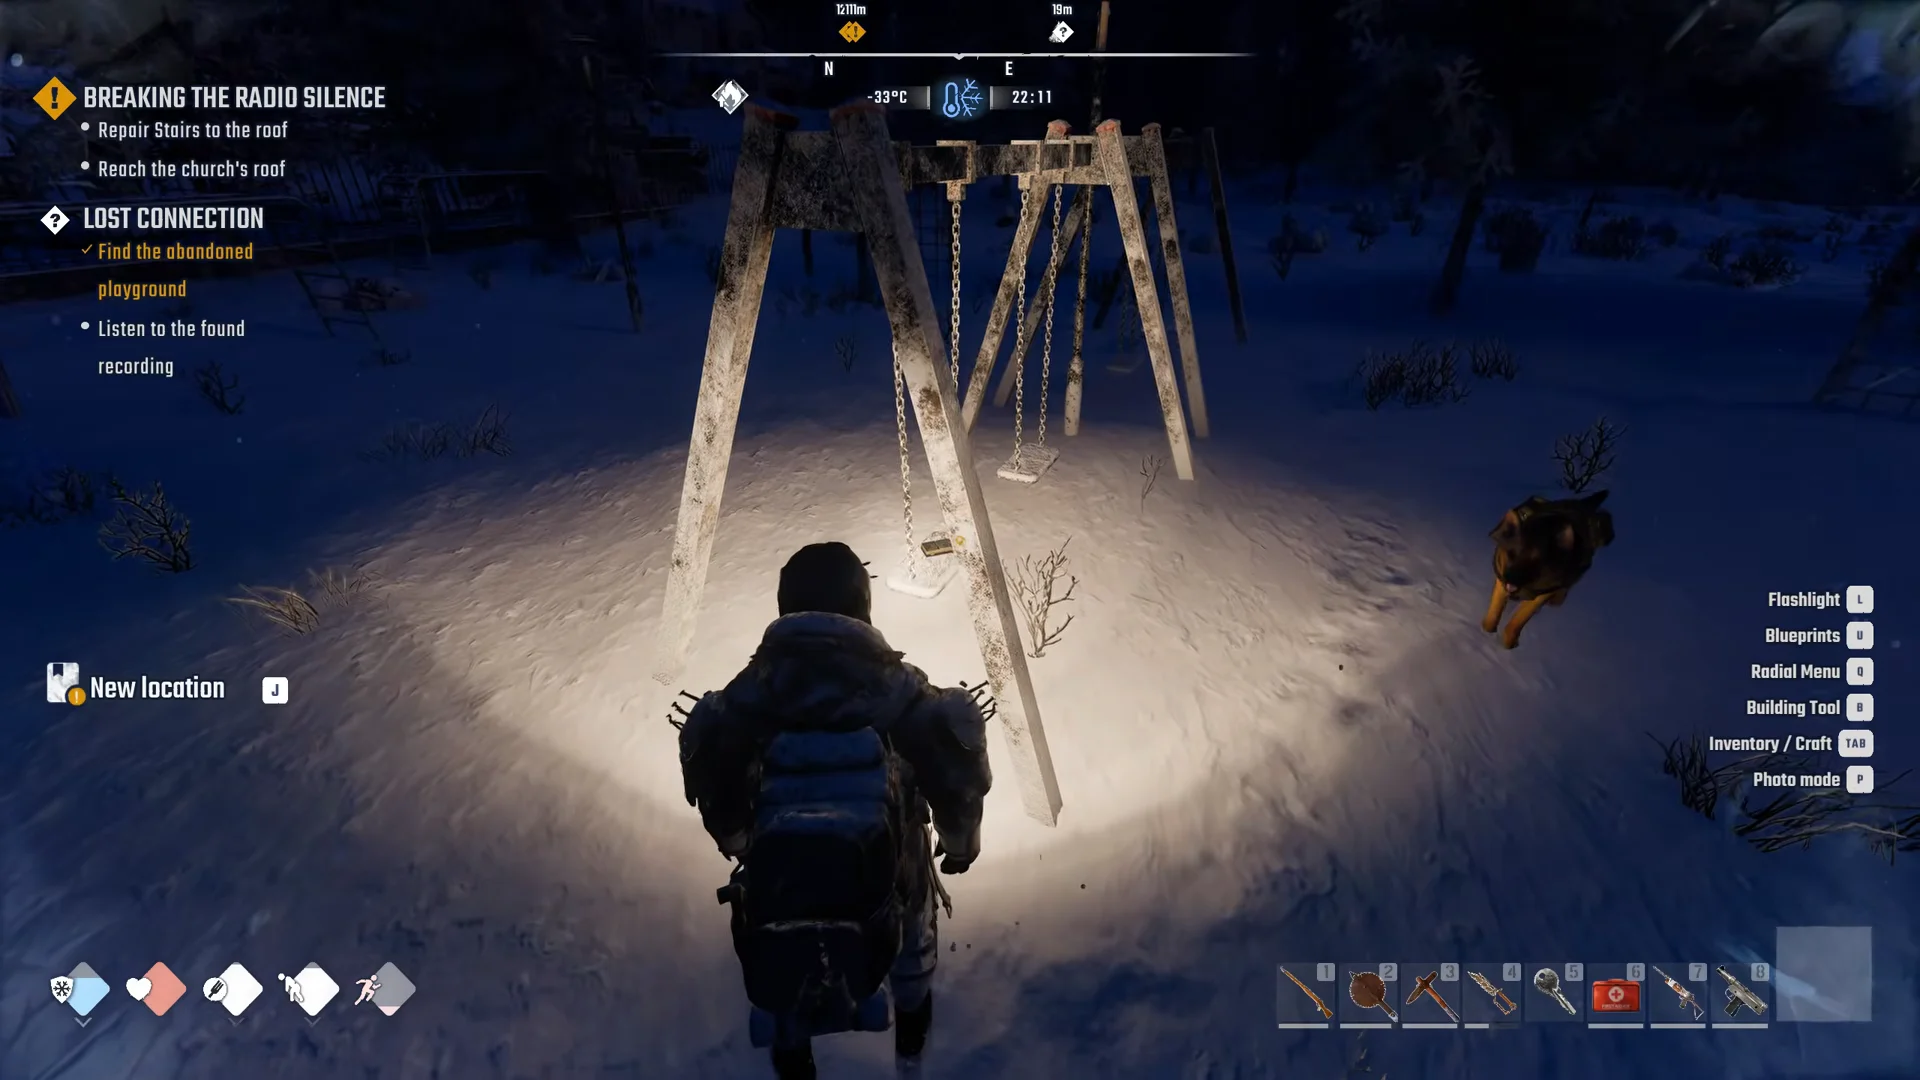
Make your way to the playground. The location registers as PROMENADE (HOUSE CAMP), and a “New location” notice appears. Find the tape on the left swing’s seat; picking it up completes the objective and sets your next marker.
Tape recorder on the playground swing158:49Tape recorder on the playground swing
The playground tape waits on the left swing seat in Promenade. Shown at 158:49 in Royal Gaming’s video. Image: SpaceRocket Games
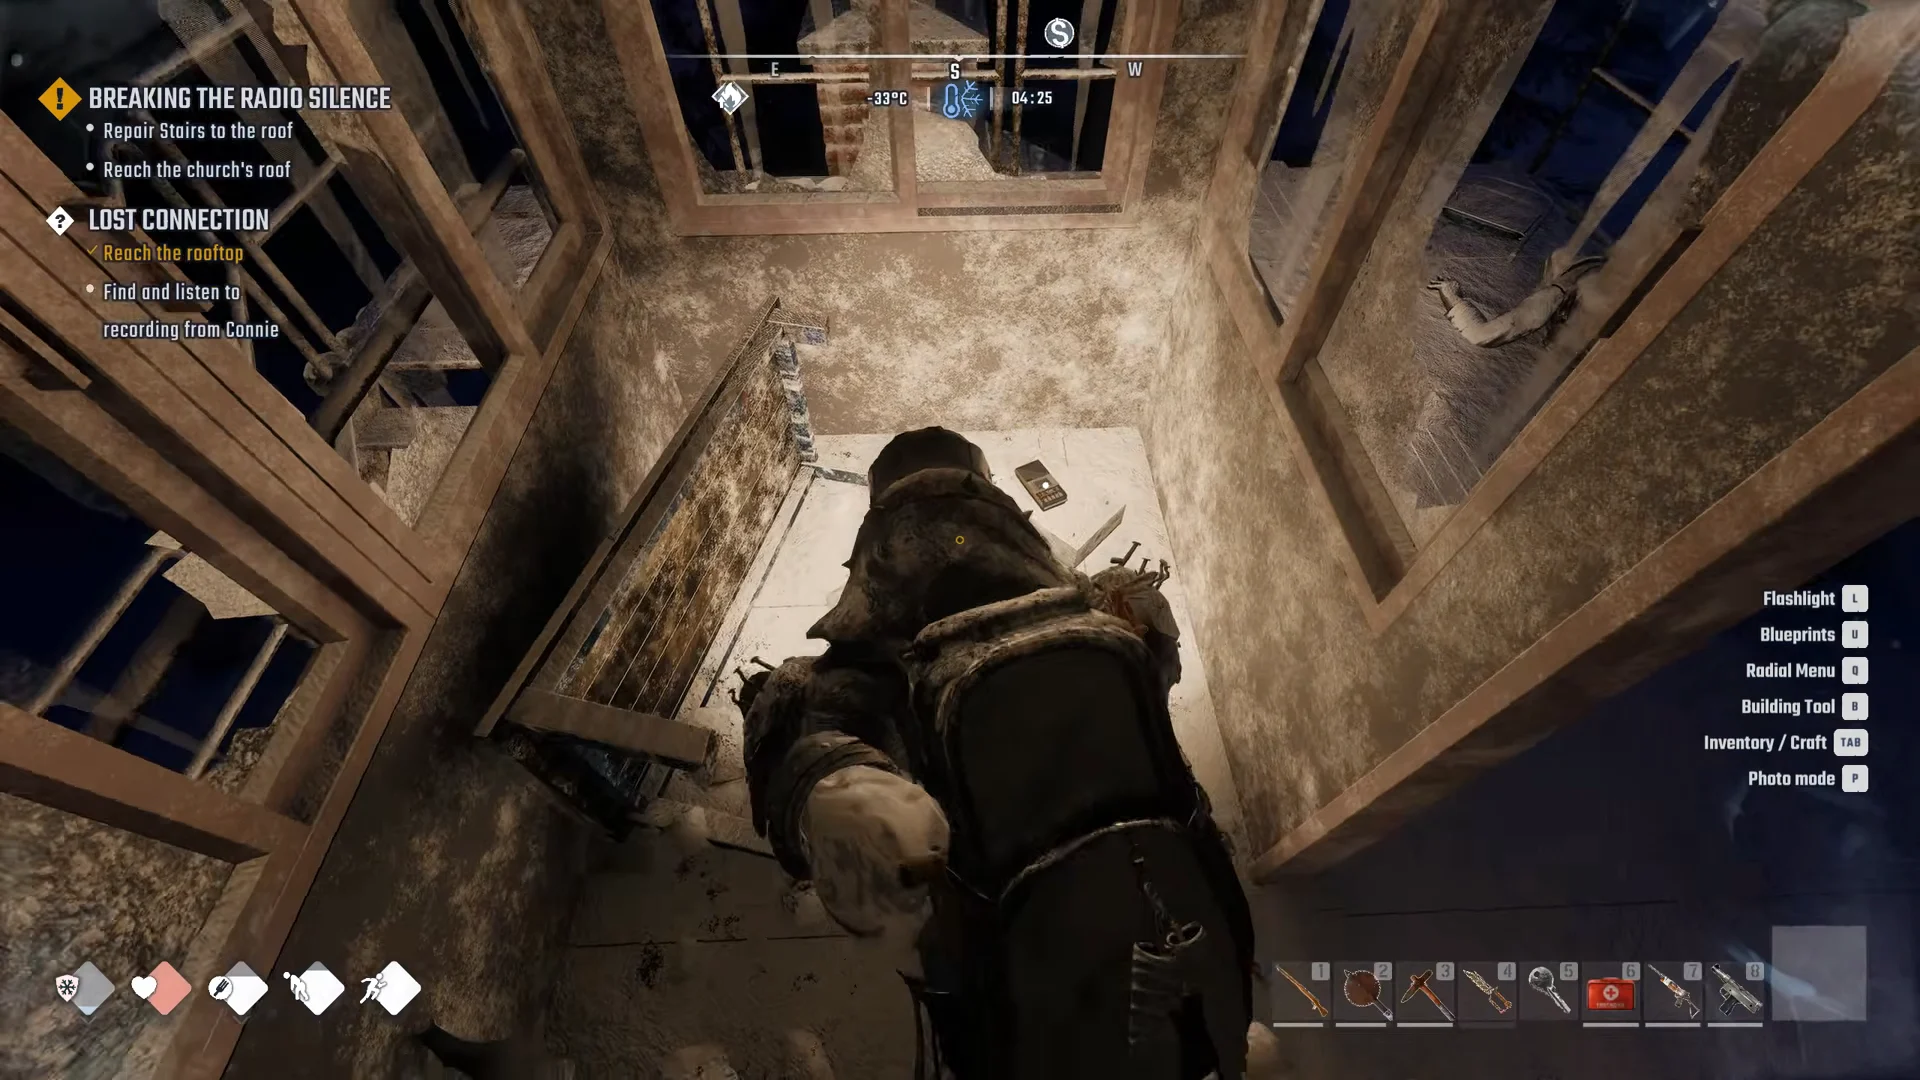
The marker points to an aged white wooden house near the playground. Head up to its roof; this is separate from the Church roof used in the main quest. Enter via the little front porch, climb the snow-covered stairs inside to the top floor, then exit through the broken wall and cross the planks spanning the rooftops. They lead to a metal catwalk with railings, circling a small rusted booth; reaching it completes “Reach the rooftop.” Pick up the recorder from the booth’s floor. You’ll also find a COPPER PICKAXE recipe pickup here, plus a Military Crate that requires a working knife to open.
Rooftop booth with Connie's tape165:34Rooftop booth with Connie's tape
Connie's third tape sits inside the rooftop booth at the end of the plank crossing. Shown at 165:34 in Royal Gaming’s video. Image: SpaceRocket Games
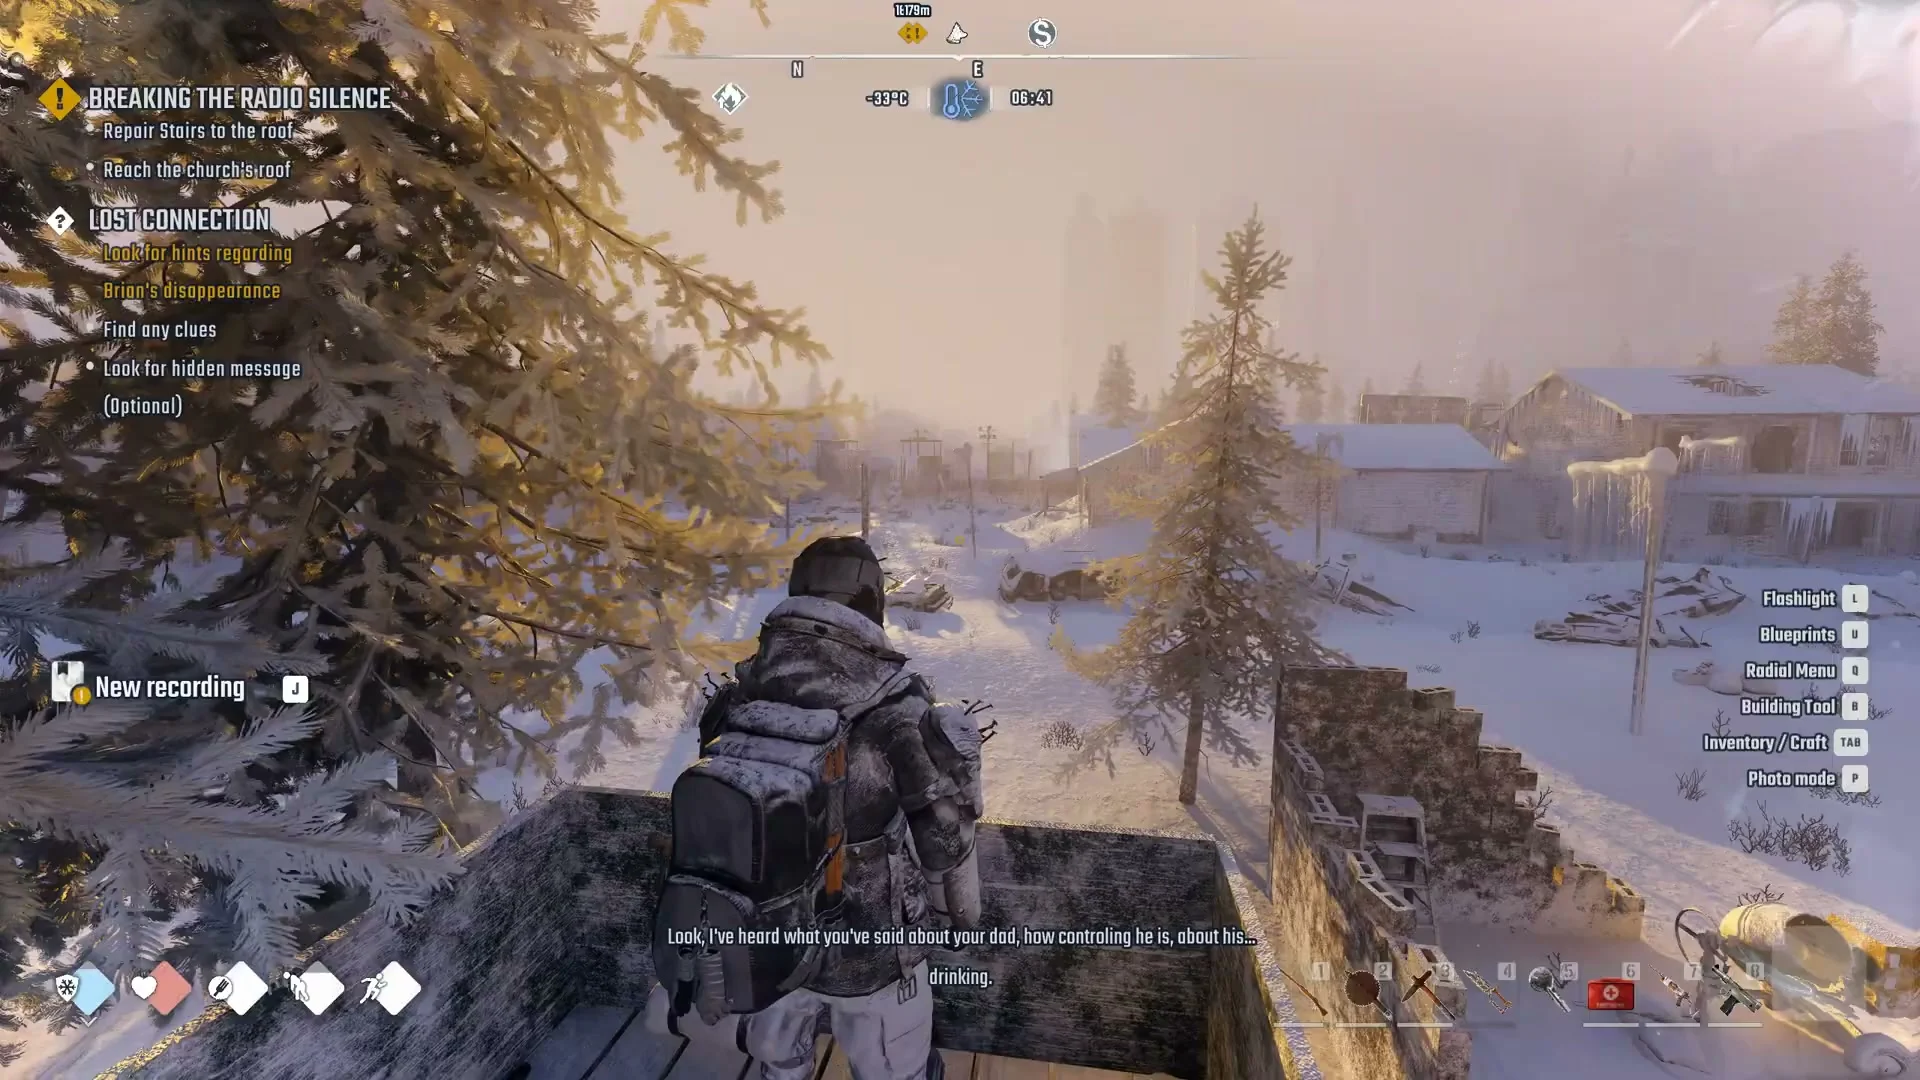
Follow the final marker through GATE F to a patch of collapsed concrete slabs with a wooden lookout platform on stilts, just outside the camp wall. Interact with the recorder at the platform to tick “Look for hints regarding Brian’s disappearance.”
View from a wooden lookout platform over snowy ruins with a New recording notice and the Lost Connection objectives in the tracker168:40Last tape on the lookout platform
On the wooden lookout platform above the collapsed slabs, just after the last tape: the "New recording" notice shows at the left. Shown at 168:40 in Royal Gaming’s video. Image: SpaceRocket Games

Interact with the Moon cult sign

Below the lookout platform, an upright slab carries a painted emblem of a horned skull with a crescent moon. Walk up for the “Moon cult sign / Press F Interact” prompt and use it. This clears the remaining lines, including the optional “Look for the hidden recording,” and switches your objective to “Report back to Anna.”
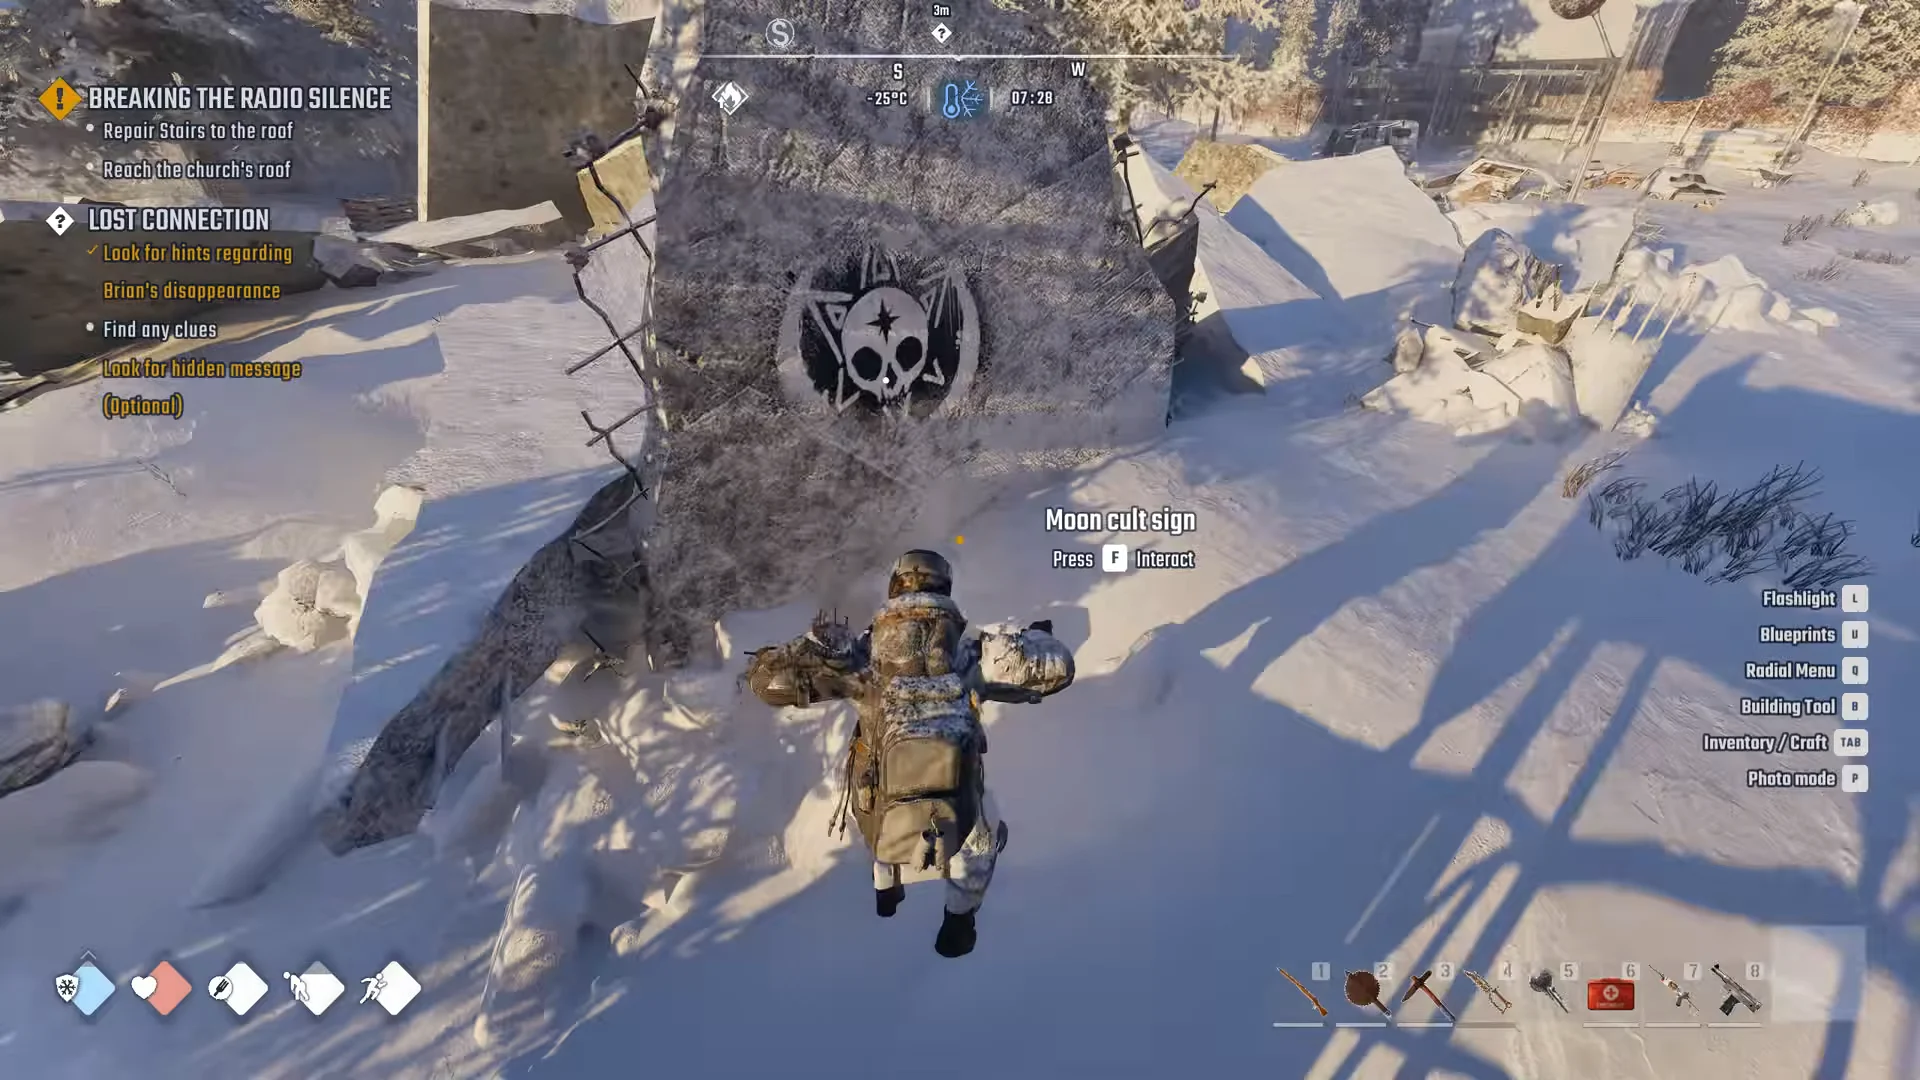
Moon cult sign at the ruins169:46Moon cult sign at the ruins
The Moon cult sign on the ruin slab ends the tape trail and sends you back to Anna. Shown at 169:46 in Royal Gaming’s video. Image: SpaceRocket Games

Report to Anna and refuse to lie

Go back to the Church via GATE F and speak with Anna. Begin by selecting “About Brian… [Finish Quest]”. She wants you to tell Sean that his son is dead to keep him from searching for him. One route that works uses these dialogue choices in sequence:

  • “The Moon Cult took him.”
  • “They manipulated him.”
  • “I found a recording, I think it’s for you. [Play recording]”
  • “You want me to lie?”
  • “I won’t lie to him.”

After “I won’t lie to him.” the tracker updates to “Speak with Sean about Brian’s disappearance.”


What to tell Sean

Back at Sean’s house, the first set offers three lines: “Your son had a friend his age.”, “The Moon Cult kidnapped your son.”, and “Your son is dead. [Lie]”. To reach the final set, you can start with “Your son had a friend his age.” and work through the follow-ups; the last set offers “The Moon Cult kidnapped your son.” and “Your son is dead. [Lie]”.
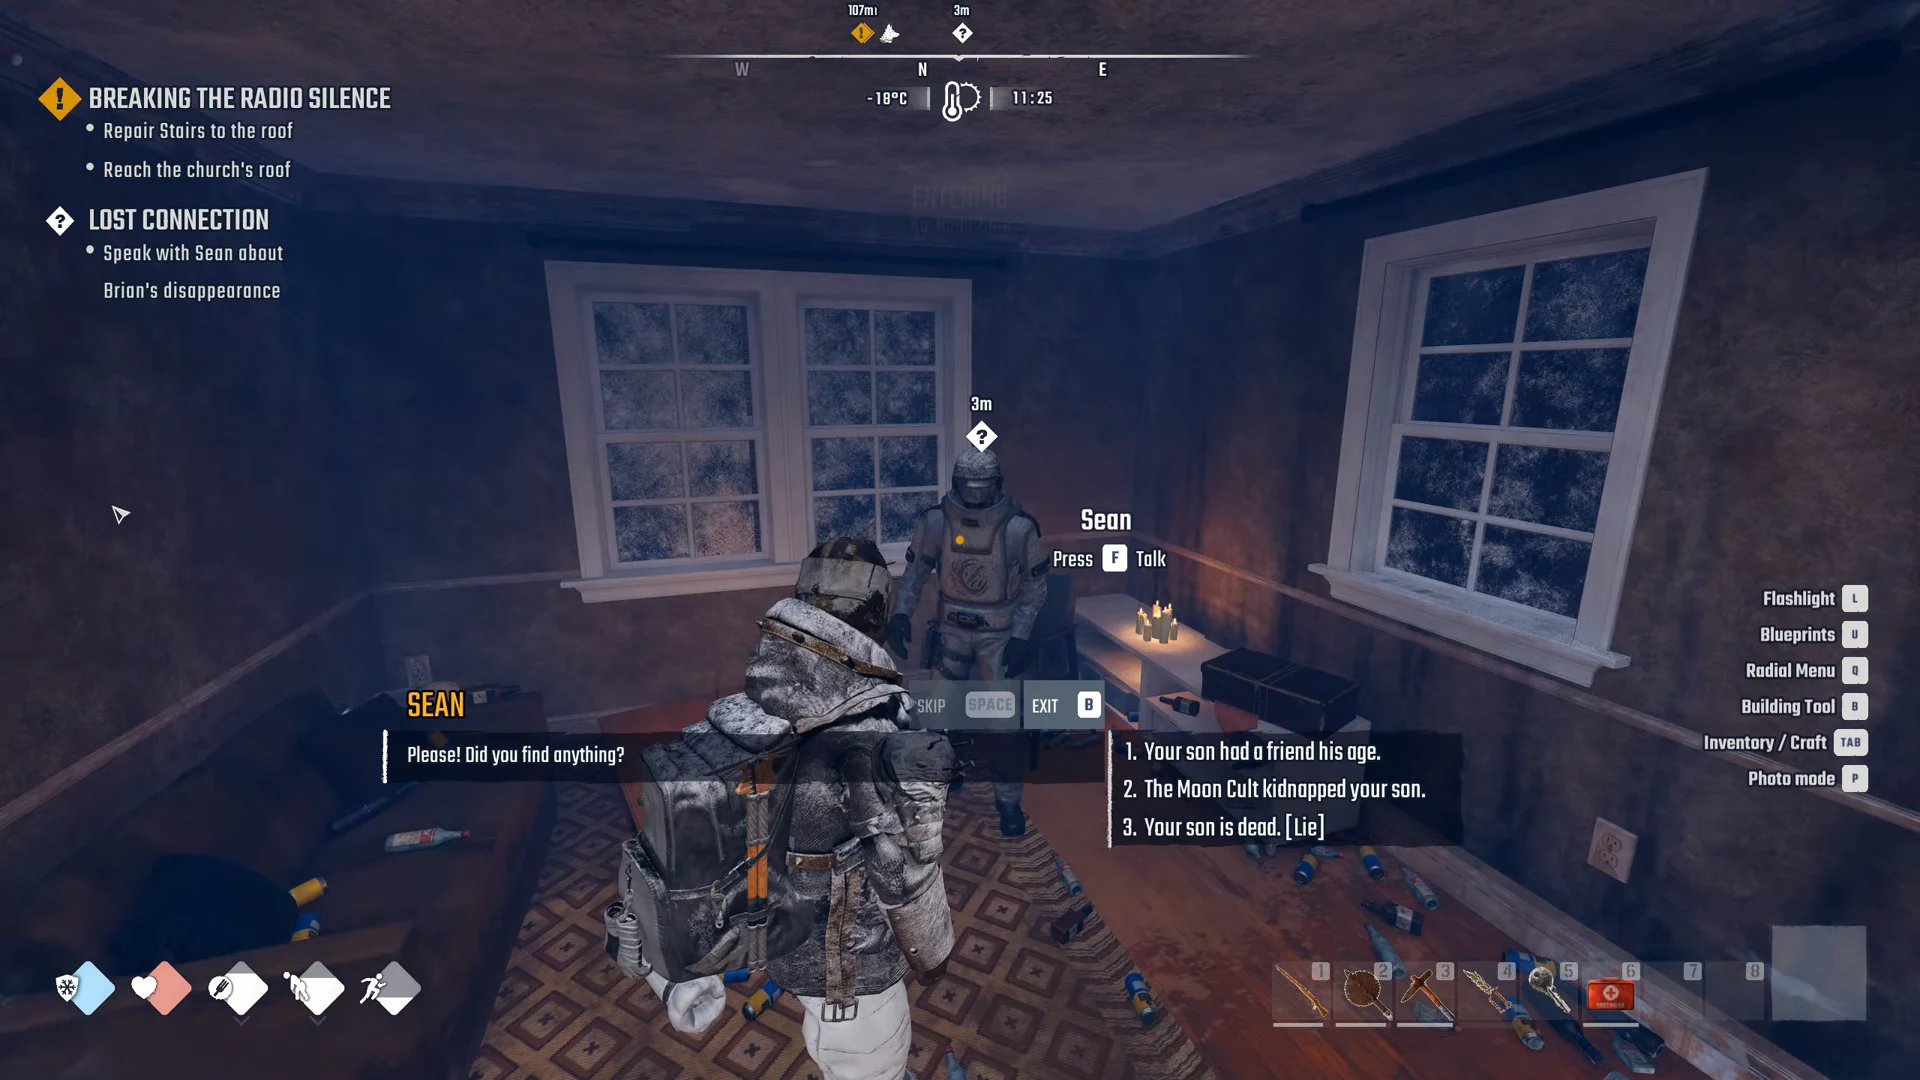
Sean's choices including the lie175:13Sean's choices including the lie
Sean's final choices, with the truth and the lie side by side. Shown at 175:13 in Royal Gaming’s video. Image: SpaceRocket Games

Choose “The Moon Cult kidnapped your son.” Sean learns his son is still alive, is grateful, and allows you to take the contents of his chest. The tracker then reads “Talk to Anna.”


Open Sean’s chest and the barred stash room

Press F beside Sean to open “Sean’s storage chest”. Inside are 100 Bucks, Sean’s key, several medkit pouches—including a Medkit AFAK—and 10 Beer in a stack. Keep Sean’s key for the next step.
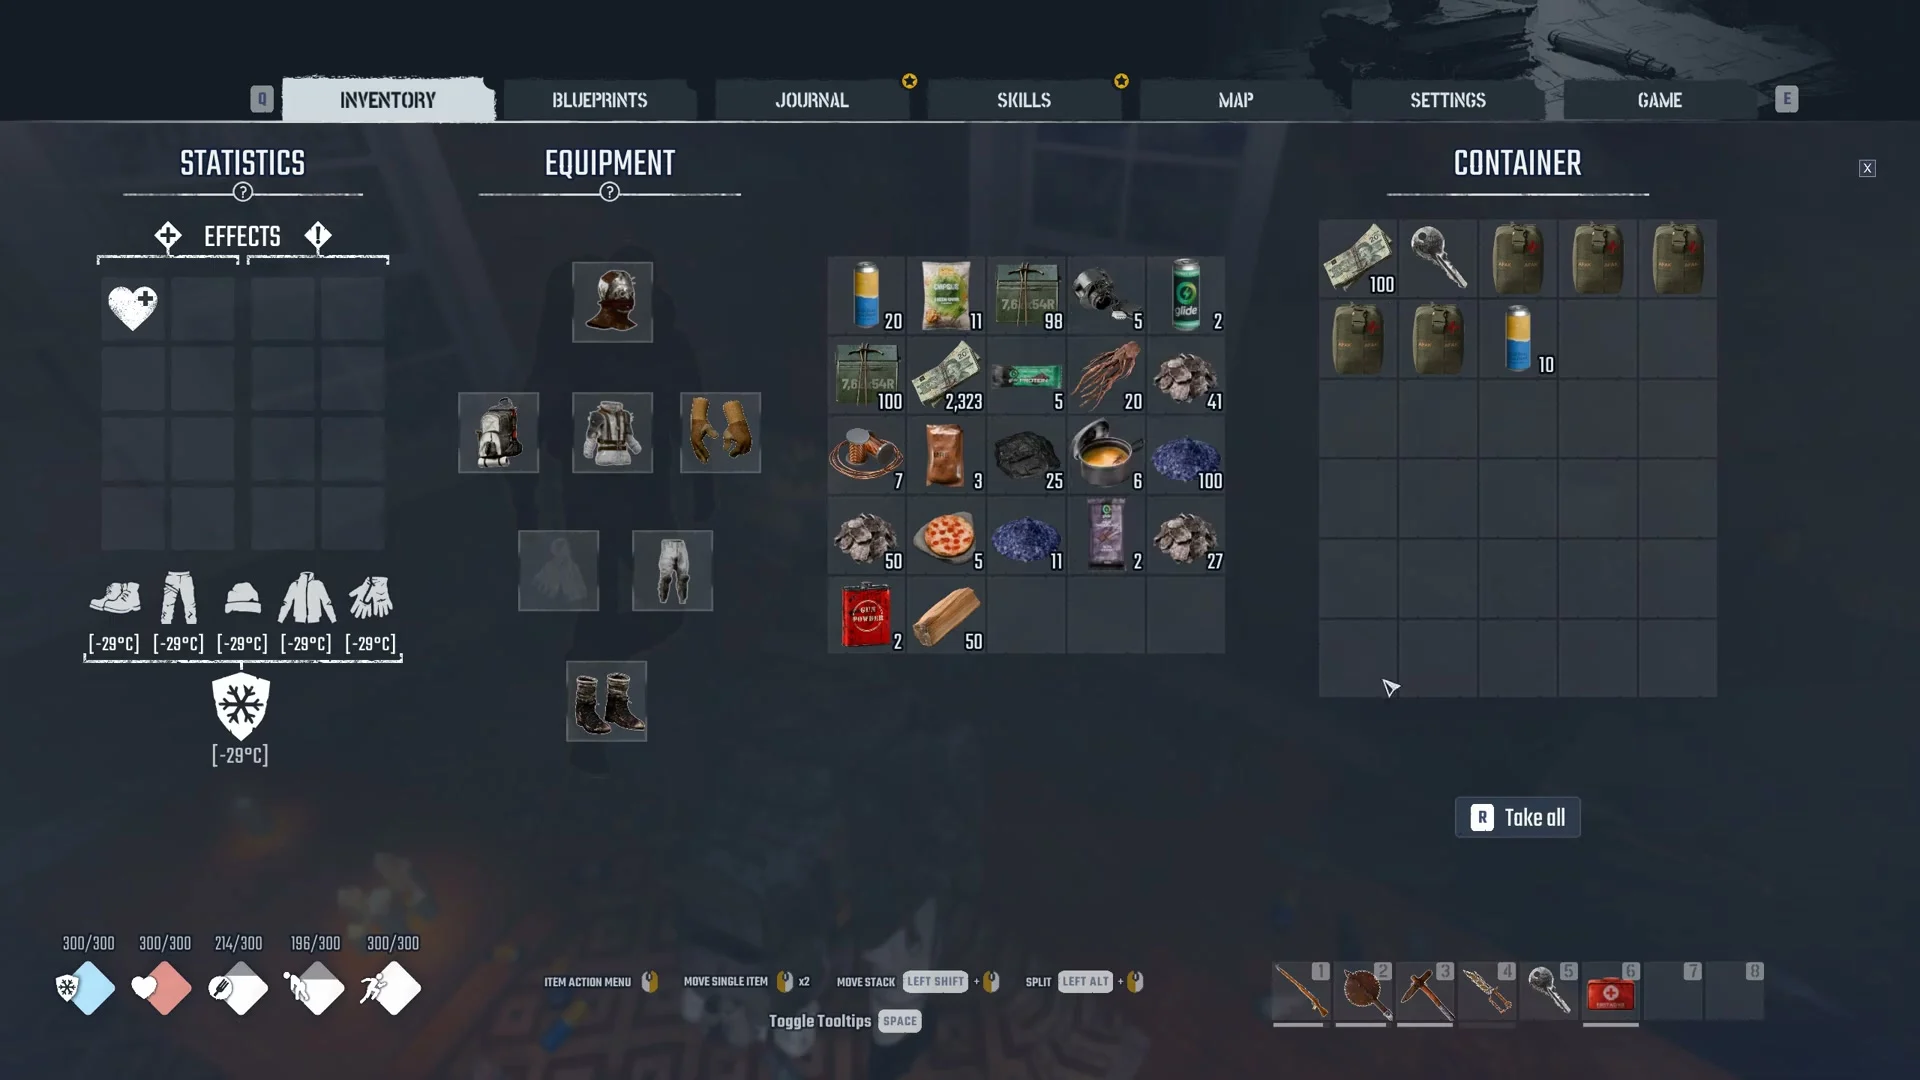
Container panel of Sean's storage chest holding a stack of 100 Bucks, a key, five medkit pouches and a stack of 10 cans, with Take all below176:34Inside Sean's storage chest
Sean's storage chest opened: 100 Bucks, the key, the medkit pouches and the stack of Beer. Shown at 176:34 in Royal Gaming’s video. Image: SpaceRocket Games

The stash itself sits behind a barred iron door in the back rooms of the same house. At the door you get “LOCKED / Sean’s key used to unlock” and “Doors / Hold F Unlock.” Holding F consumes the key (“-1 Sean’s key”) and opens a small room with a bed, a lamp, and metal shelving stocked with Metal Junk, Wire, Processed Plastic, Plastic Junk, bottles, and canned food. Clear some inventory space first, since “INVENTORY FULL” stops pickups.
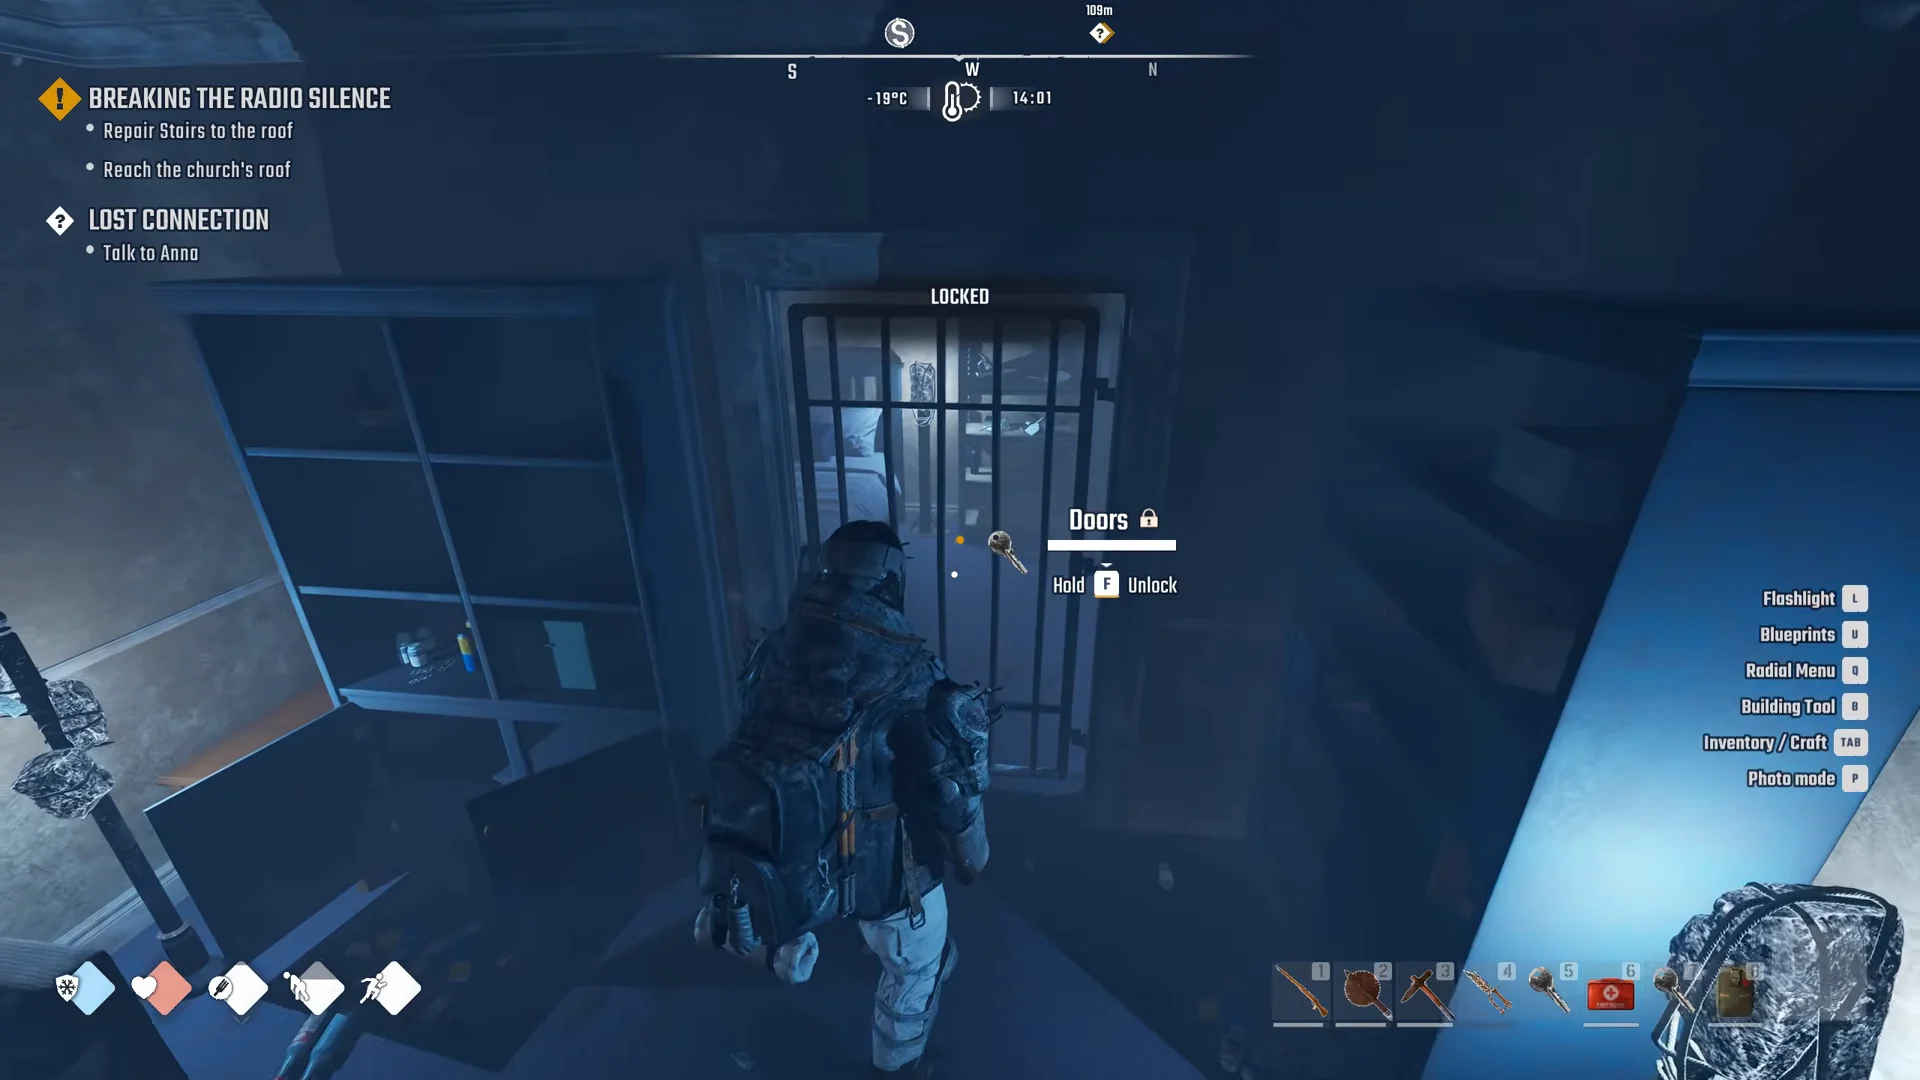
Barred door to Sean's stash178:49Barred door to Sean's stash
Sean's key unlocks this barred door to his hidden stash room. Shown at 178:49 in Royal Gaming’s video. Image: SpaceRocket Games

Finish with Anna and claim the reward

Return to the Church and speak with Anna. Select “About Brian… [Finish Quest]”, followed by “I just talked with Sean…” Once the tracker reads “Collect the reward”, open the box that appears on the floor near Anna by pressing F to finish the quest.

When the quest ends, the screen displays LOST CONNECTION / QUEST SUCCEEDED and grants +1 Ultra Dish (H/W/E) and +25 Bucks. The box also holds Health & Warming Dish.
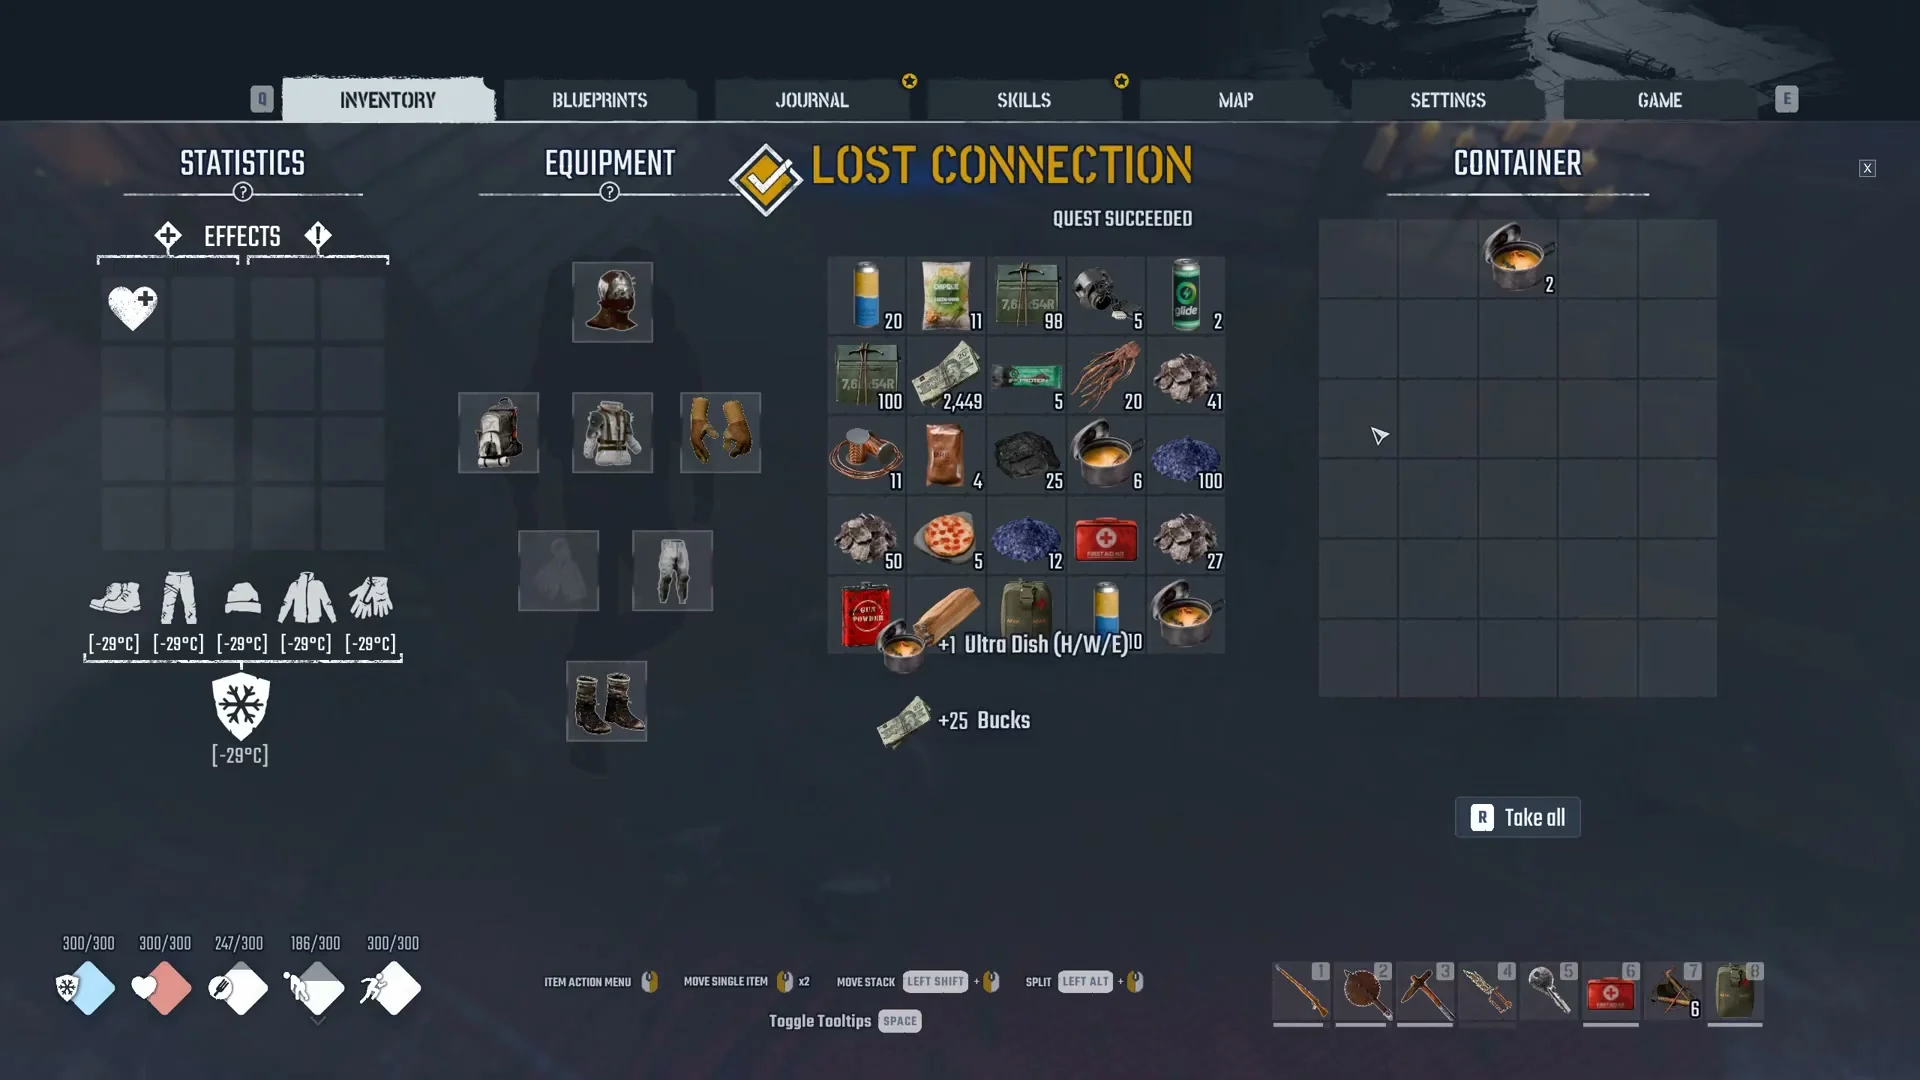
Banner Lost Connection, Quest Succeeded over the reward container, with +1 Ultra Dish (H/W/E) and +25 Bucks181:14Lost Connection, Quest Succeeded
The reward box by Anna opened: the Quest Succeeded banner with +1 Ultra Dish (H/W/E) and +25 Bucks. Shown at 181:14 in Royal Gaming’s video. Image: SpaceRocket Games

What can block you

A few things can stall the route, so plan around them before you set out:

  • At night, Promenade and the rooftops can trigger BONE-CHILLING COLD and COLD ZONE warnings. Take a deployable heat source with you, such as a Barrel Brazier.
  • A broken knife will not open the rooftop Military Crate, showing “Your tool is too damaged to use!”
  • “INVENTORY FULL” blocks tape and loot pickups, including everything in the stash room, so keep space free.