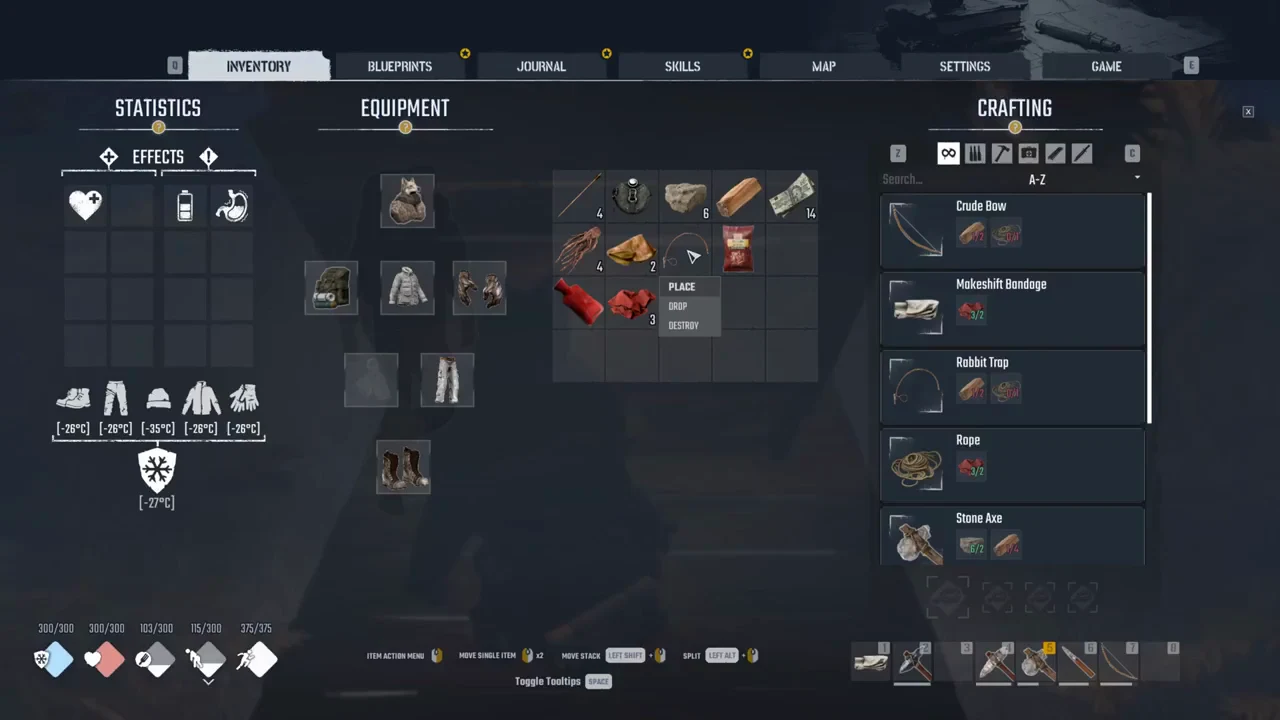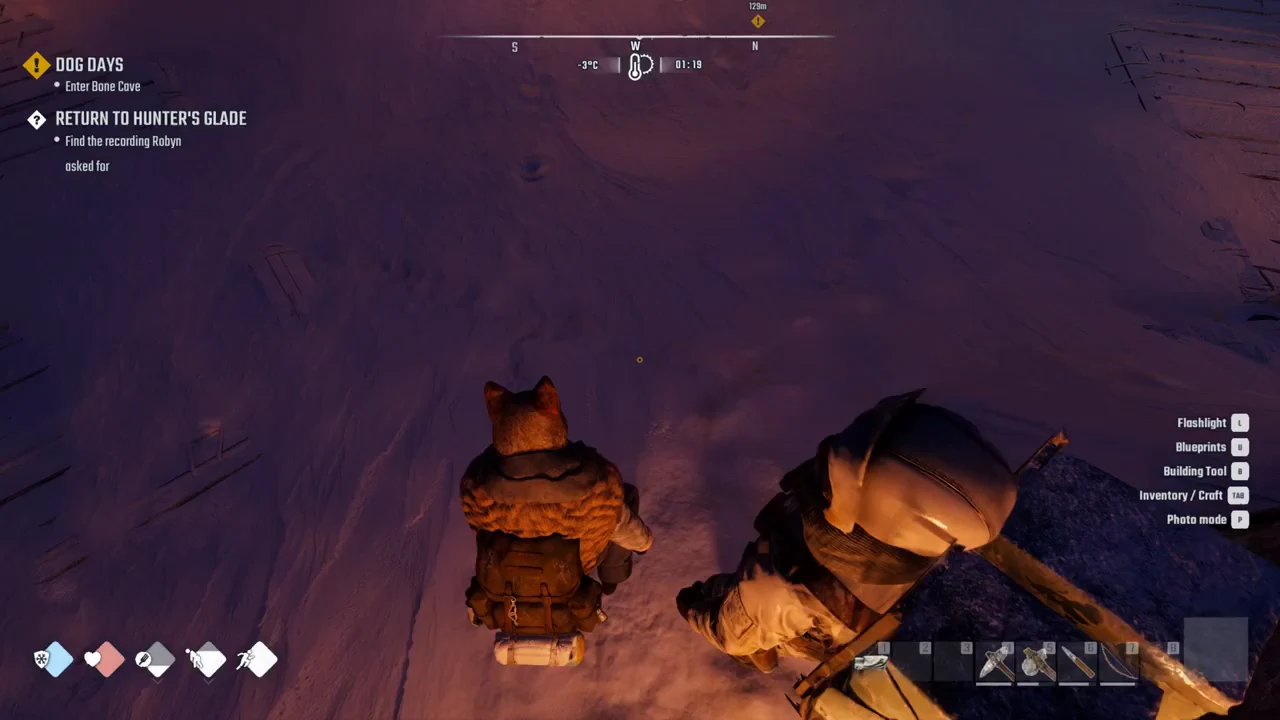
The Mule is a travelling porter who sets up in Horizon and sells stone tools, food, hides and raw materials for Bucks. He stands out in the open in the lower yard, in front of the General Trader’s hut, wearing a gas mask and a large pack. Walk up, press F to talk, and pick “Let’s trade!” to open his shelf.
Quick answer: Find The Mule in Horizon’s lower yard by the General Trader hut, press F, choose “Let’s trade!”, then buy Flint at 12 Bucks each. Two Flint plus 4 Wood crafts a Flint Pickaxe at a Workbench.
Where to find The Mule in Horizon
Head to Horizon’s lower yard and look for the hut marked with the $ sign, which belongs to the General Trader. The Mule stands outdoors right in front of it, so you do not have to go inside anything to reach him. He was there on game day 4 and day 5.
When you get close, the prompt reads “The Mule, Press F Talk”. Your character has to stand near him and face him for the prompt to appear. The first time you speak to him, the game logs a new character entry in your journal.
He says he travels between hideouts, so treat Horizon as where you meet him rather than a fixed home. He has only been met in Horizon.
The first conversation
On the first talk he nicknames you “Snowdive”, explaining it is a trail name you earned even if the dive you took was not on purpose. Ask about Icarus and he warns you off following in his footsteps. After the greeting, his menu settles into three choices: “Let’s trade!”, “I have some questions.”, and “Maybe later.”
Ask him to tell you more about himself and he keeps it short: a porter who moves between hideouts trading goods, called Mule, and that is all you need to know. Pick “Let’s trade!” to open the Bargain screen.
The Mule’s full stock and prices
His shelf carries 21 lines. Prices are in Bucks, and the stack column shows how many of each he has on hand. He holds 803 Bucks to spend on what you sell him.
| Item | Price (Bucks) | Stock |
|---|---|---|
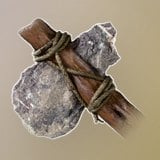 Stone Axe Stone Axe | 36 | 1 |
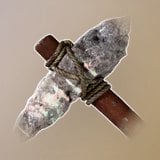 Stone Pickaxe Stone Pickaxe | 36 | 1 |
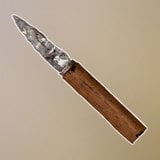 Stone Shiv Stone Shiv | 18 | 1 |
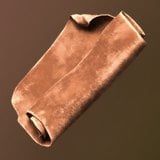 Treated Hide Treated Hide | 15 | 10 |
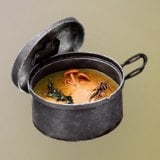 Ultra Dish (H/W/E) Ultra Dish (H/W/E) | 45 | 6 |
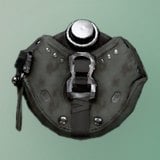 Moonshine Moonshine | 10 | 20 |
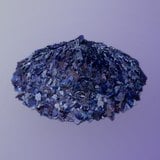 Processed Plastic Processed Plastic | 2 | 20 |
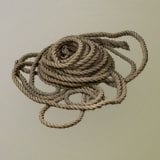 Rope Rope | 30 | 20 |
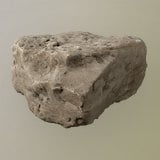 Stone Stone | 8 | 50 |
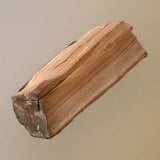 Wood Wood | 5 | 50 |
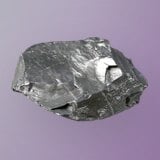 Flint Flint | 12 | 20 |
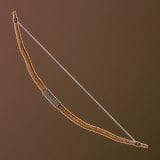 Crude Bow Crude Bow | 40 | 1 |
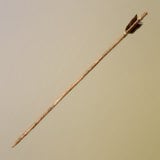 Wooden Arrow Wooden Arrow | 5 | 20 |
 Cloth Cloth | 15 | 10 |
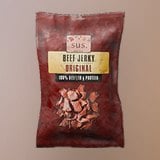 Beef Jerky Beef Jerky | 15 | 5 |
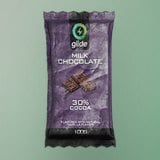 Chocolate Bar Chocolate Bar | 10 | 3 |
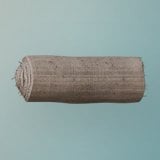 Bandage Bandage | 50 | 4 |
 Energy Drink Energy Drink | 15 | 1 |
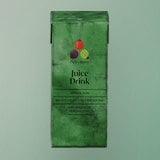 Juice Juice | 12 | 3 |
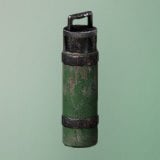 Improvised Tea Improvised Tea | 40 | 4 |
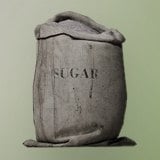 Sugar Sugar | 5 | 4 |
Hover over a line to read its effects. The Ultra Dish (H/W/E) restores Hunger 120, Energy 60, Cold Resistance 30 and Health 60. Beef Jerky gives Hunger 80, Chocolate Bar Hunger 40, and a Bandage heals Health 90. Improvised Tea restores Cold Resistance 45, Health 45 and Hunger 10, Energy Drink gives Hunger 10, Stamina 60 and Energy 25, and Juice gives Hunger 10 and Stamina 20. Moonshine adds Cold Resistance 20. The Crude Bow lists Damage 60, and the Stone Pickaxe shows Damage 12 and mines Flint and Stone.
His shelf differs from the General Trader’s beside him. On Story difficulty, that hut carried Stone, Wooden Arrow, Surgical Spirit, Herbs, Frozen Fruit, Bag of Chips and Sugar, so inspect both traders.
What The Mule pays for your items
Selling pays a fraction of an item’s value, so most raw resources are close to worthless to him. Tools and medication fetch the most. A Stone Axe’s price depends on its condition, and the figure below was read at 57% durability.
| Item | He pays (Bucks) |
|---|---|
| Bandage | 30 |
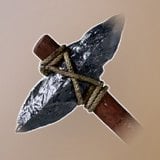 Flint Pickaxe Flint Pickaxe | 26 |
| Stone Pickaxe | 20 |
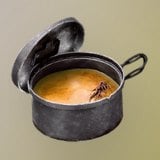 Dish Dish | 18 |
| Stone Axe (57% durability) | 12 |
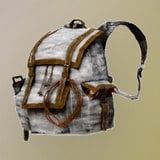 Casual Backpack Casual Backpack | 12 |
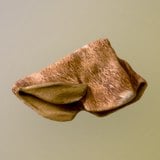 Deer Pelt Deer Pelt | 9 |
| Stone Shiv | 9 |
| Beef Jerky | 9 |
| Moonshine | 6 |
 Herbs Herbs | 5 |
| Crude Bow | 3–4 |
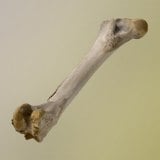 Bones Bones | 3 |
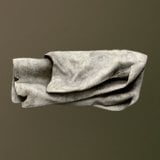 Makeshift Bandage Makeshift Bandage | 3 |
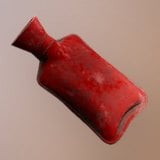 Makeshift Heater Makeshift Heater | 3 |
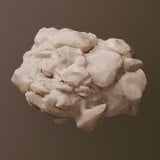 Animal Fat Animal Fat | 2 |
| Cloth | 2 |
| Flint | 2 |
| Stone / Wood / Wooden Arrow / Edible Root | 1 |
Whatever he buys, he turns around and lists for more. Bones he takes at 3 go back up at 10, Herbs bought at 5 reappear at 8, a Casual Backpack sold for 12 is relisted at 20, Animal Fat moves from 2 to 5, and a Deer Pelt bought at 9 is put back at 15.
How the Bargain screen works
Your inventory appears on the Bargain screen’s left, while his goods are shown on the right. You can complete a trade when your offer matches the value of his stock or exceeds it. The symbol between the totals shows a thumbs-down if your offer is lower; it changes to a handshake when the values are equal or yours is higher.
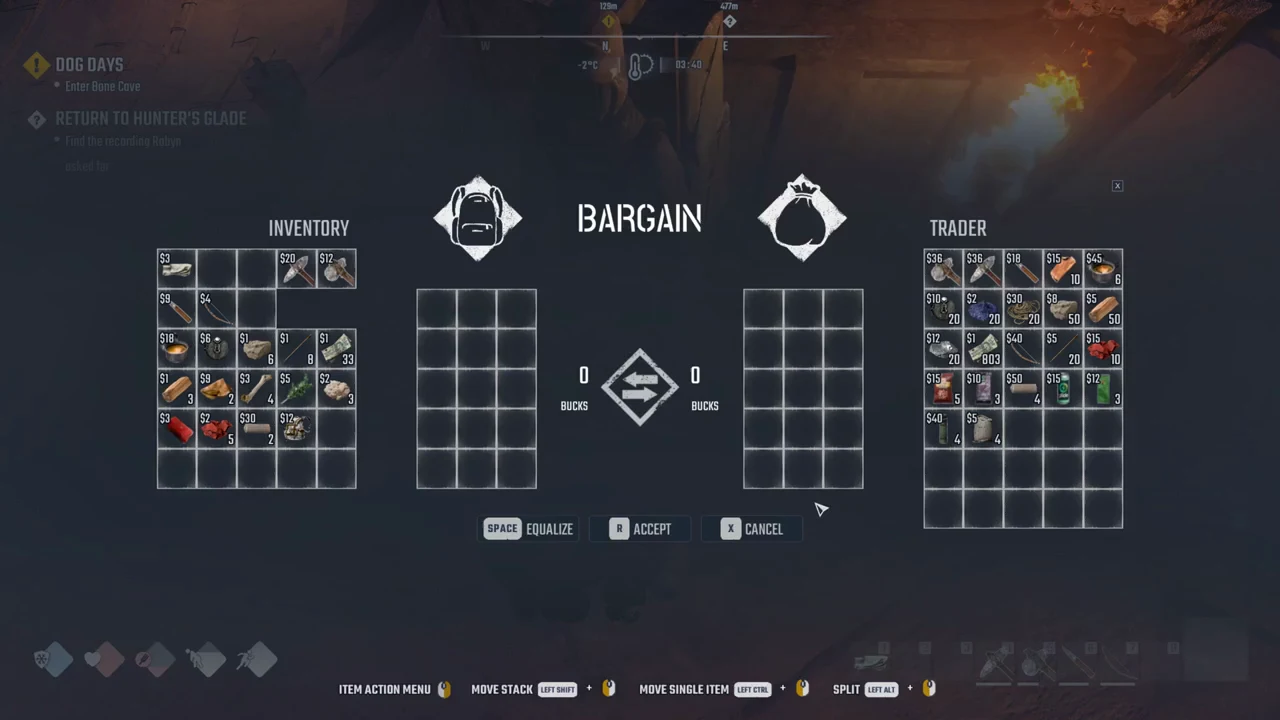
The controls shown on the screen are:
- Left Shift + click — move a whole stack
- Left Ctrl + click — move a single item
- Left Alt + click — split a stack
- Space — Equalize (fills the gap with Bucks)
- R — Accept the trade
Equalize adds Bucks to the side with the lower value. With your goods valued at 68 and his at 65, it put 3 Bucks on his side to balance the trade. To close the window, click the X control in the upper-right corner; pressing the X key won’t close it.
Buy Flint and build a Flint Pickaxe
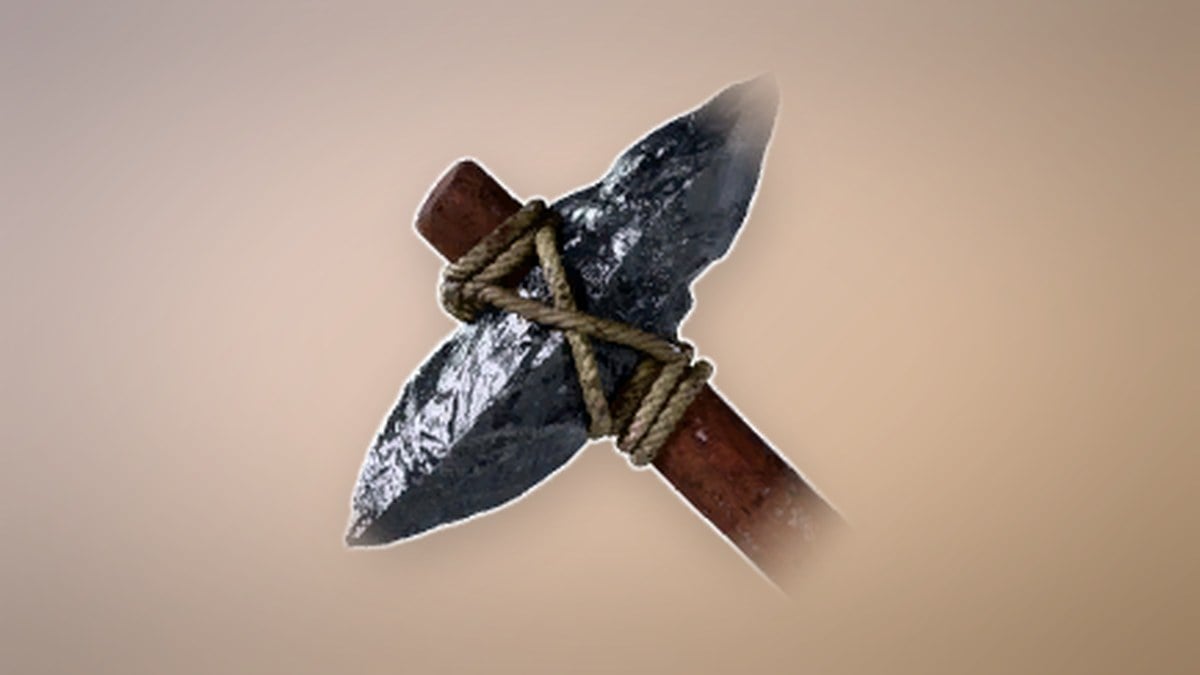
Flint is the most useful thing on his shelf early on. He stocks 20 of it at 12 Bucks each, and two pieces are enough for a Flint Pickaxe when crafted with 4 Wood at a Workbench. That lets you skip hunting down a Flint Boulder entirely.
A balanced barter looks like this in practice. Two Flint at 12 and two Beef Jerky at 15 come to 54 Bucks on his side. Matching that with 4 Bones, 1 Herbs, 1 Casual Backpack, 3 Animal Fat and 19 Bucks brings your side level, the handshake appears, and R closes the deal.
Mistakes to avoid
A Bandage may seem worth selling for 30 Bucks, but he charges 50 to sell one, and the dog in Bone Cave needs a Bandage. Selling it leaves you worse off twice over. He does not sell raw Meat either, so look elsewhere when you need some.
Keep raw resources out of your sell pile when you can help it. Stone, Wood, Wooden Arrow and Edible Root pay a single Buck each, and Cloth, Flint and Animal Fat only 2, so they are better spent crafting than traded away. Use spare loot to balance a Flint purchase instead, and you leave with the tool materials you actually came for.