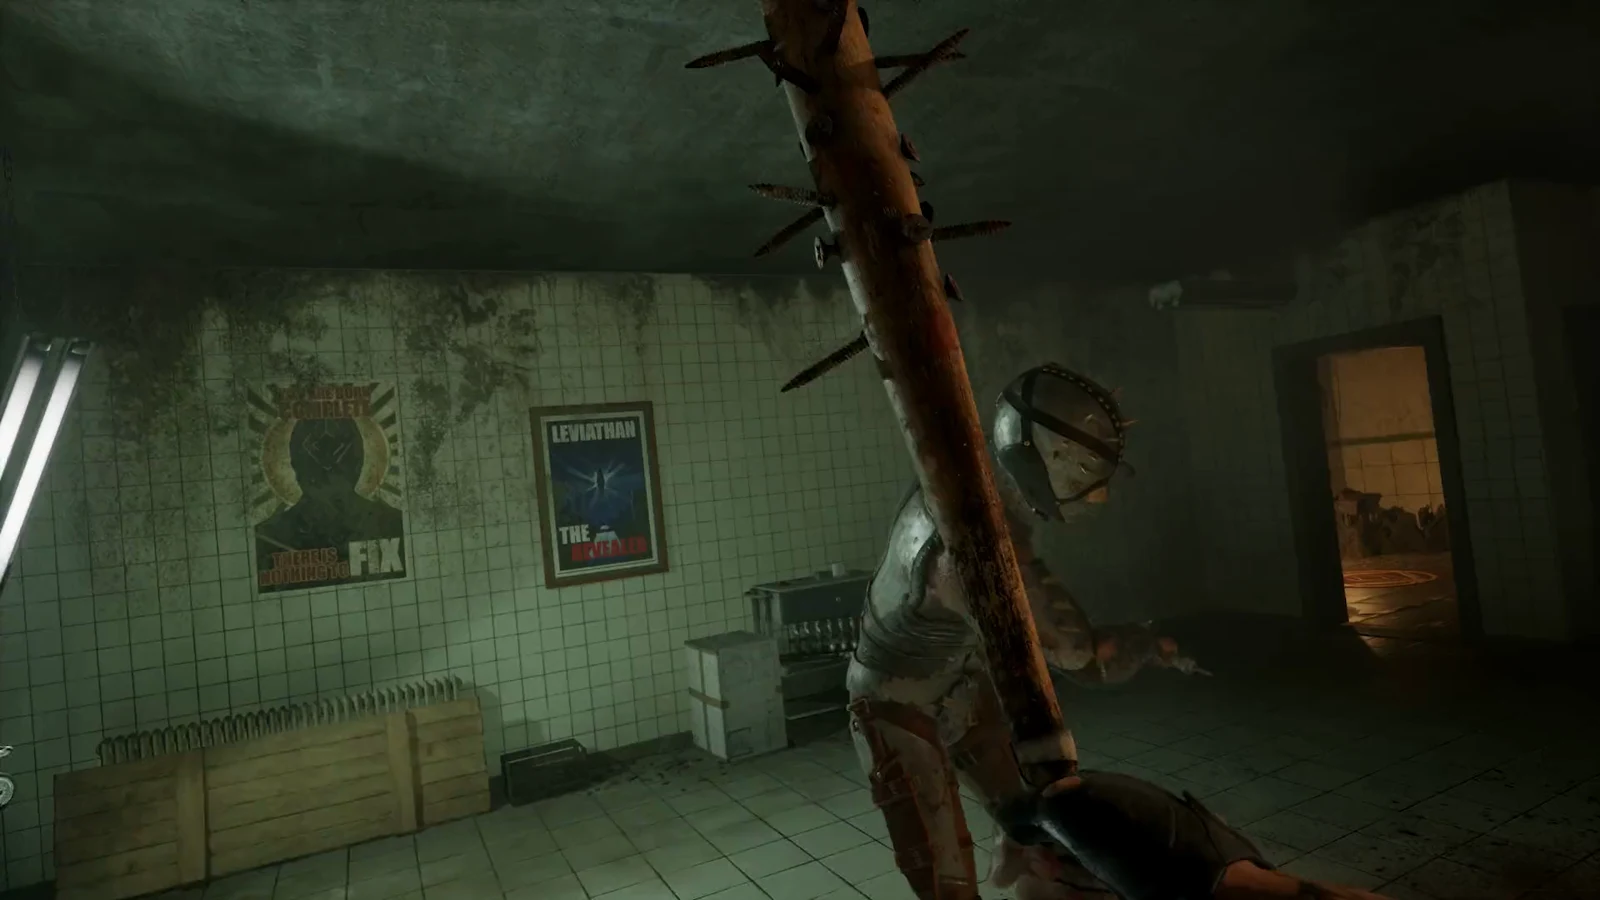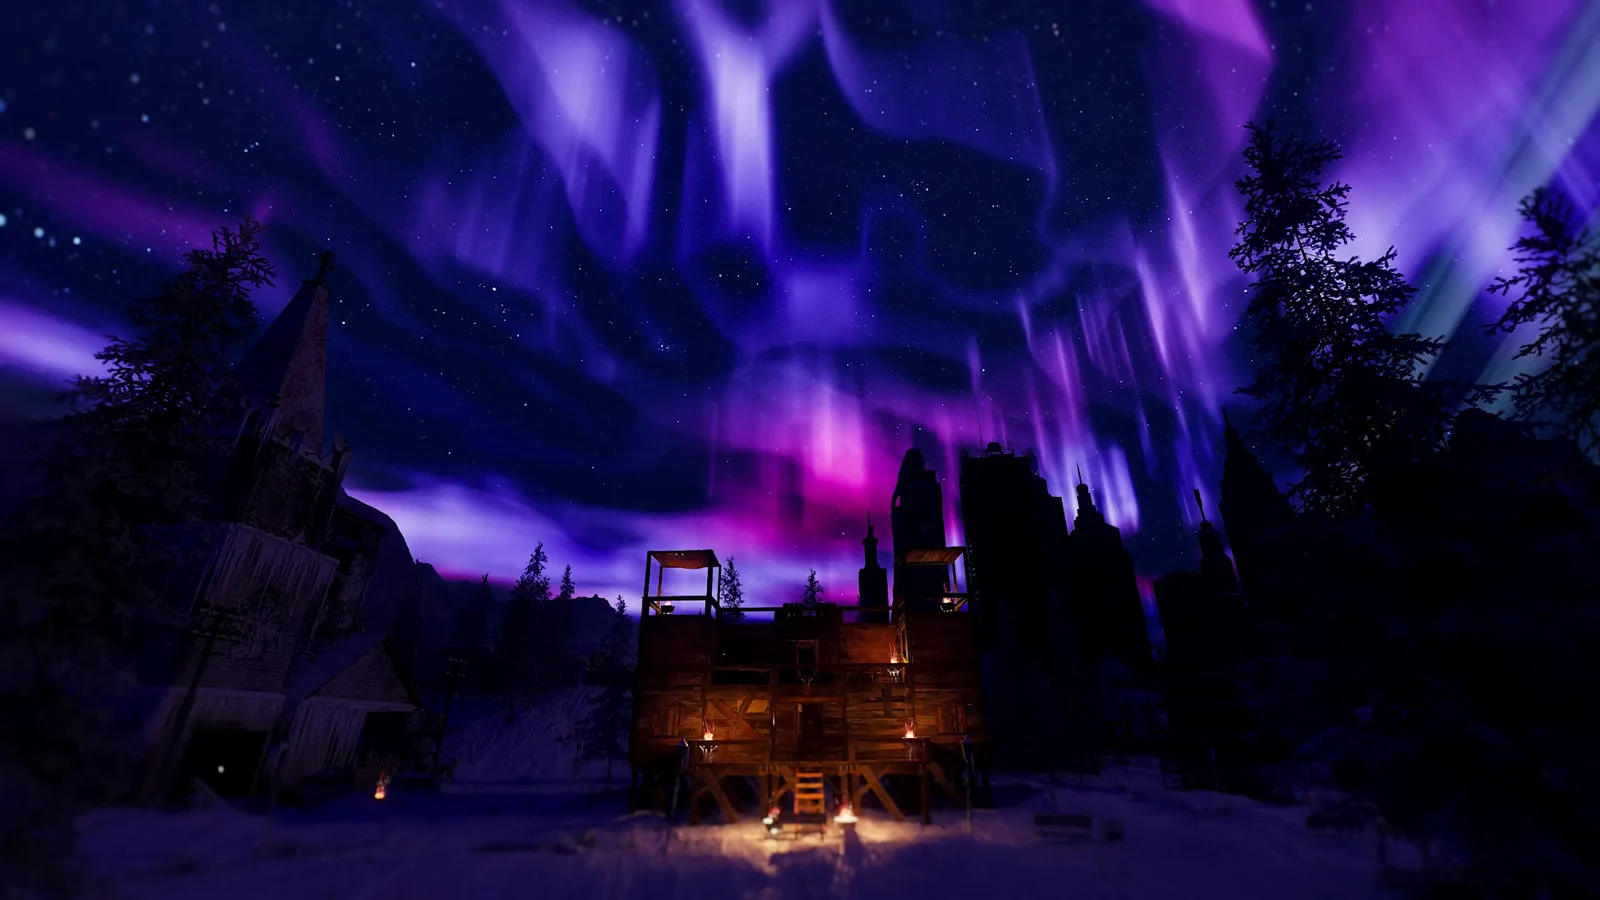
Permafrost drops you into a frozen open world that leans hard on fog, snow, and long draw distances, and the settings menu is where you decide how much of that your card has to push. The early access build (version 0.44.2) keeps everything under one SETTINGS screen split into four tabs, and the frame rate you get in a blizzard depends almost entirely on a couple of rows on the VIDEO tab. Here is what each option does, every DLSS and FSR mode the game offers, and the order to change things in if you just want more frames.
Quick answer: Open Settings → VIDEO, set Super Resolution to NVIDIA DLSS or AMD FSR, move Upscaling Quality toward Performance, and press R to apply. On an RTX 2060 at 4K, that one row took the opening area from about 26 to 31 FPS up to about 37.
Where the settings live
Choose SETTINGS from the title screen. Four tabs appear along the top: GAME, VIDEO, AUDIO, CONTROLS. Use Q and E to move through them on the main menu, B to exit, and R on VIDEO to apply your changes.
Inside a running game, press Esc. The menu opens on its GAME tab, and SETTINGS sits one slot to the left in the row that reads INVENTORY, BLUEPRINTS, JOURNAL, SKILLS, MAP, SETTINGS, GAME. The four pages are the same there, switched with Z and C, with one extra entry: a Skip Tutorial tick box on the GAME page.
Display basics: Window Mode, V-Sync, resolution, and Max FPS
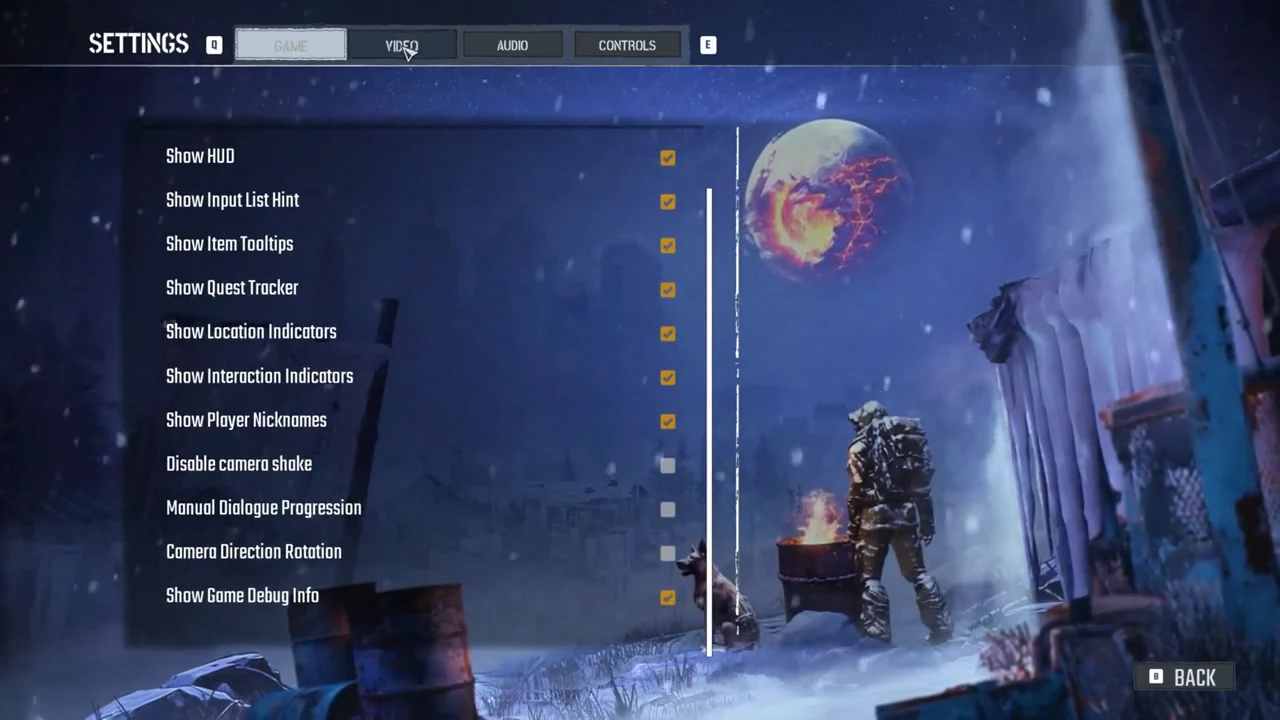
Configure the display mode before adjusting individual effects. Window Mode offers Windowed, Full Screen, and Borderless, with Borderless selected by default. Resolution is available in Windowed and Full Screen; Borderless disables that setting and expands the game across the desktop. V-Sync starts OFF.
Max FPS offers 30, 60, 120, and Unlimited, and ships at 60. Leave it there unless the card clearly holds more. Motion Blur sits a little further down as a simple on/off switch and is on by default; turning it off keeps the image clearer when you spin the camera in a whiteout.
Super Resolution: DLSS and FSR modes
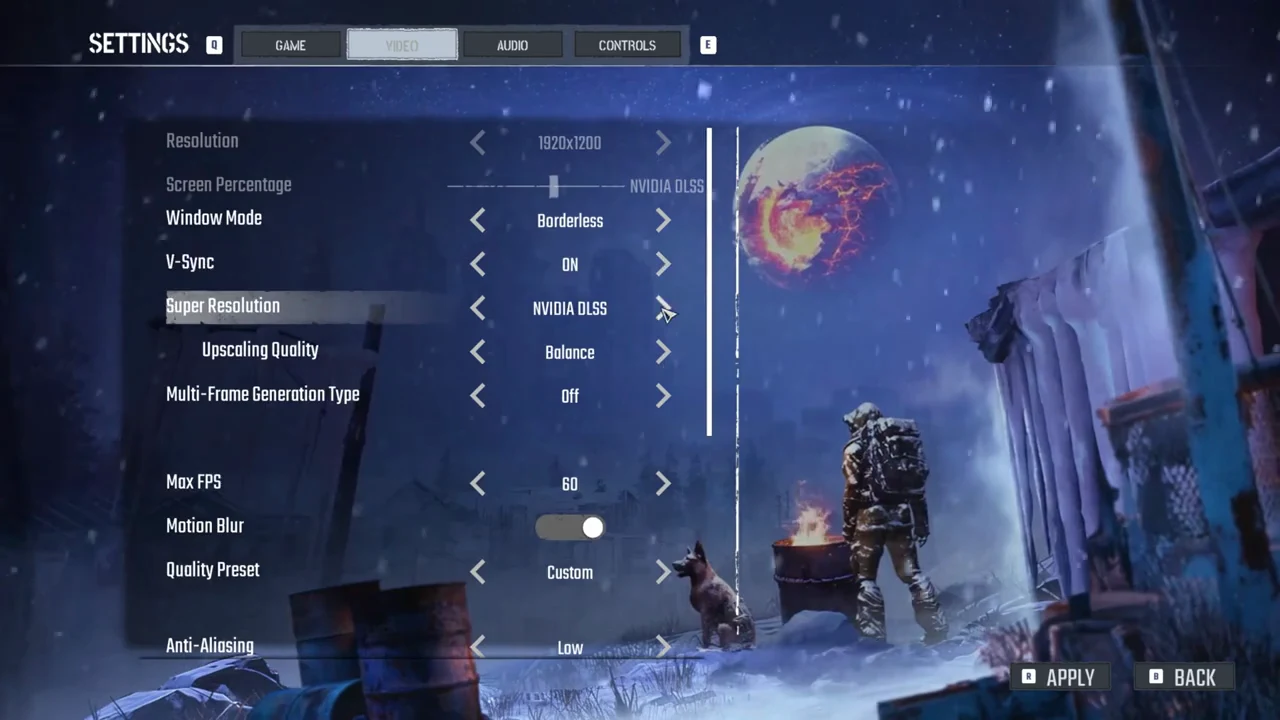
Super Resolution can be Off, AMD FSR, or NVIDIA DLSS. Selecting either FSR or DLSS reveals an indented Upscaling Quality row beneath the setting; this is the control that has the biggest effect on performance. The available modes differ between the two upscalers, and the game labels the middle option “Balance”.
| NVIDIA DLSS modes | AMD FSR modes |
|---|---|
| Off | Off |
| Auto | Quality |
| DLAA | Balance |
| Ultra Quality | Performance |
| Quality | Ultra Performance |
| Balance | — |
| Performance | — |
| Ultra Performance | — |
DLAA keeps rendering at full resolution and uses only the anti-aliasing component, which lowers performance instead of improving it. Moving from Quality through Performance to Ultra Performance progressively reduces the internal render resolution, returning the most frames. If your card does not support DLSS, use AMD FSR; its modes are Quality / Balance / Performance / Ultra Performance.
With Super Resolution turned Off, the Upscaling Quality row vanishes. This unlocks Screen Percentage at 100, letting you reduce render resolution yourself without an upscaler. When FSR or DLSS is enabled, Screen Percentage is locked and displays the name of the active upscaler.
There is also a Multi-Frame Generation Type row beneath Upscaling Quality. On a GeForce RTX 2060 the only value it offers is Off, with both FSR and DLSS selected, so there is no frame generation to turn on there.
Quality Preset and the ten detail rows
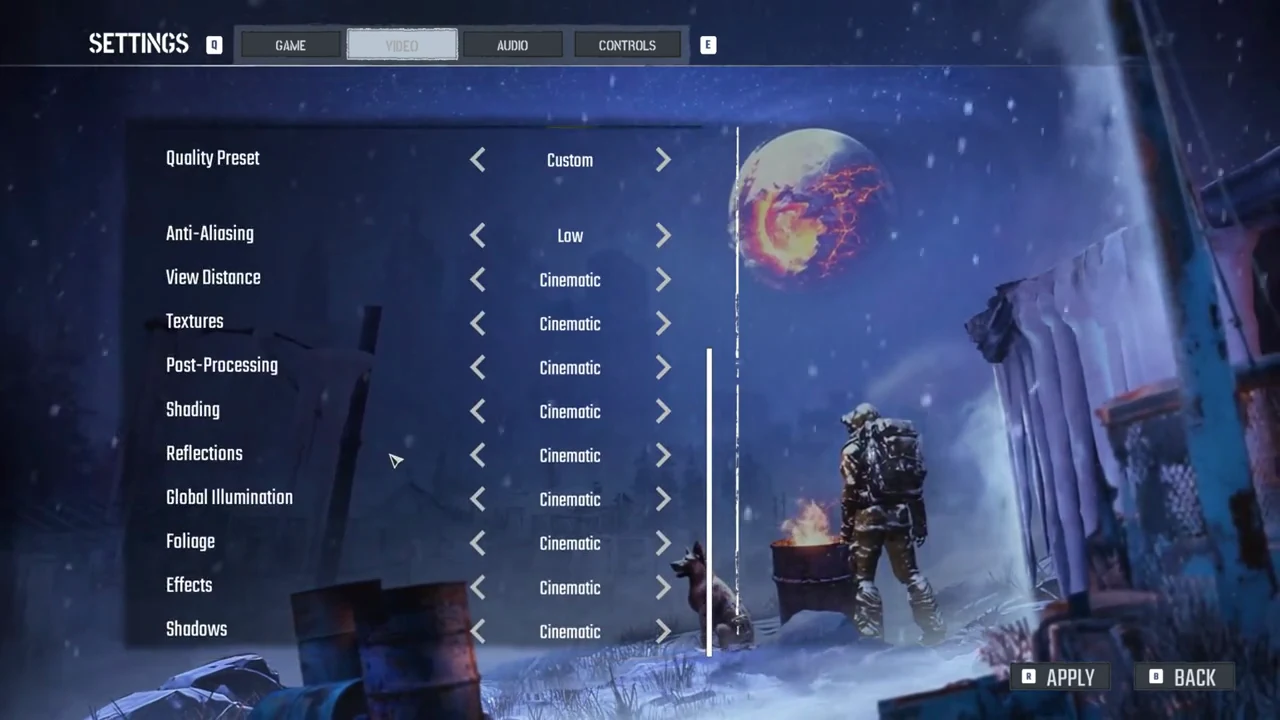
Quality Preset offers six settings: Low, Medium, High, Epic, Cinematic, and Custom. Selecting a named preset applies its level to all ten detail rows below. Manually adjusting even one row changes the preset to Custom.
Anti-Aliasing is first in the row order; View Distance comes next; Textures precedes Post-Processing. Shading is followed by Reflections, then Global Illumination; Foliage comes before Effects, and Shadows finish the list. The available levels for each row are Low, Medium, High, Epic, and Cinematic. On an RTX 2060, the initial settings were Medium on every row but Effects, which was High; as a result, the preset starts at Custom rather than Medium.
What to change first for more frames
With an RTX 2060 and i7-9700K at 3840×2160 in Borderless and all detail rows at Medium, the opening ravine delivered about 26 to 31 FPS using NVIDIA DLSS on Balance. Switching DLSS to Performance brought it to about 37 FPS. That is roughly 6 to 11 more frames from one row on that PC.
If you have turned Super Resolution off, Screen Percentage does the same job as an upscaler’s quality setting by lowering the render resolution manually, with the slider reading 100 at native.
Applying and discarding VIDEO changes
Nothing on the VIDEO tab takes effect while you are clicking through it. The picture only changes once you press R or select APPLY in the bottom right. If you leave with BACK, choose NO in the prompt to leave without saving.
If you try to switch tabs or back out with changes still pending, a prompt appears: “UNSAVED CHANGES: You have unsaved changes. Do you want to save before leaving?” with YES and NO. YES saves and leaves, NO leaves without saving.
Choosing NO may leave the discarded values visible on the VIDEO tab when you reopen it during the same session. Check the rows again before hitting APPLY; otherwise, a value you meant to discard may be applied with your next edit.
GAME tab: clearing the on-screen text and other toggles
The GAME tab changes take effect at once, with no APPLY button. Show Game Debug Info is ticked by default, and it is what prints the version number in the top right corner, the frame time and FPS line in the top left (reading something like “avg ms = 26.36 | avg FPS = 37”), and the position line in the bottom left. Untick it for a clean screen. That line is also the game’s only FPS counter, so leave it on if you want to watch frames while you tune.
Language at the top is set to ENGLISH, and Unit System can be Metric or Imperial. The checkboxes below are all enabled initially: Show HUD; Show Input List Hint; Show Item Tooltips; Show Quest Tracker; Show Location Indicators; Show Interaction Indicators; Show Player Nicknames. Show Interaction Indicators marks nearby usable or collectible objects with small white circles. Show Quest Tracker puts the current quest’s name and objective in the top left.
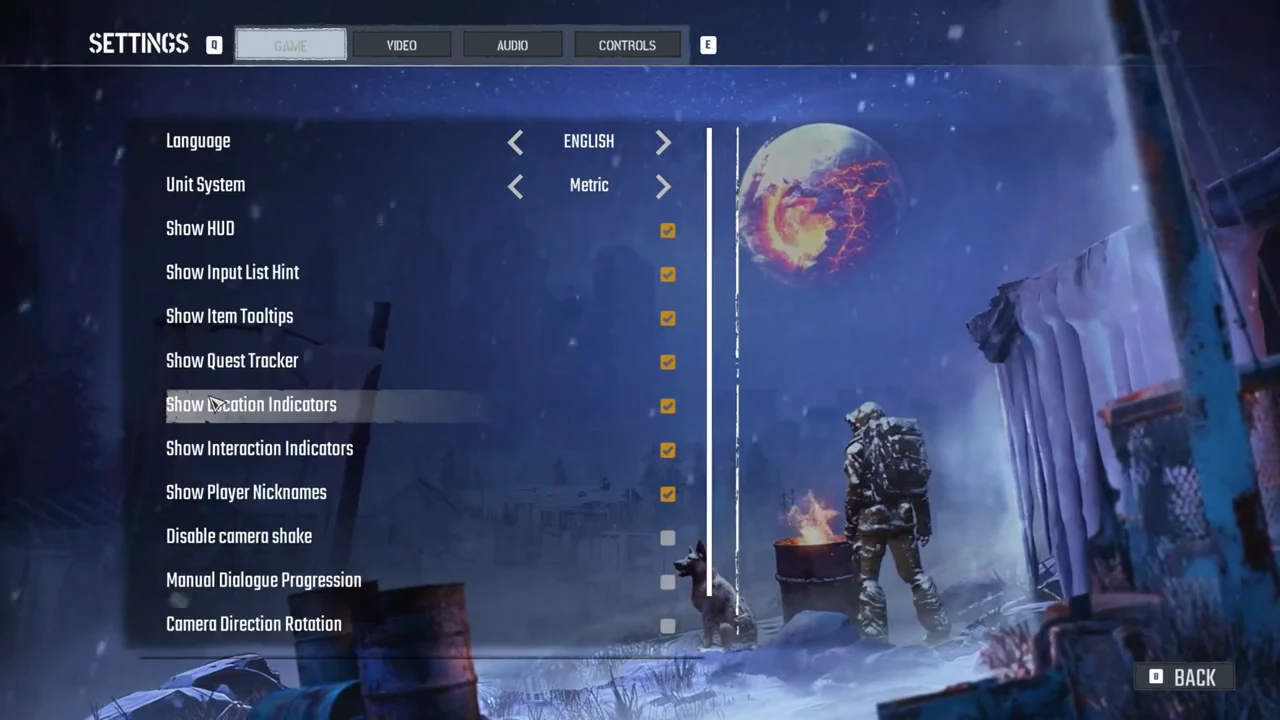
Three other boxes are initially off: Disable camera shake; Manual Dialogue Progression; Camera Direction Rotation. During a game, this page also includes a Skip Tutorial box, and the Esc menu’s GAME tab has a SKIP TUTORIAL button. Press END during play to switch the entire HUD off or on.
AUDIO tab
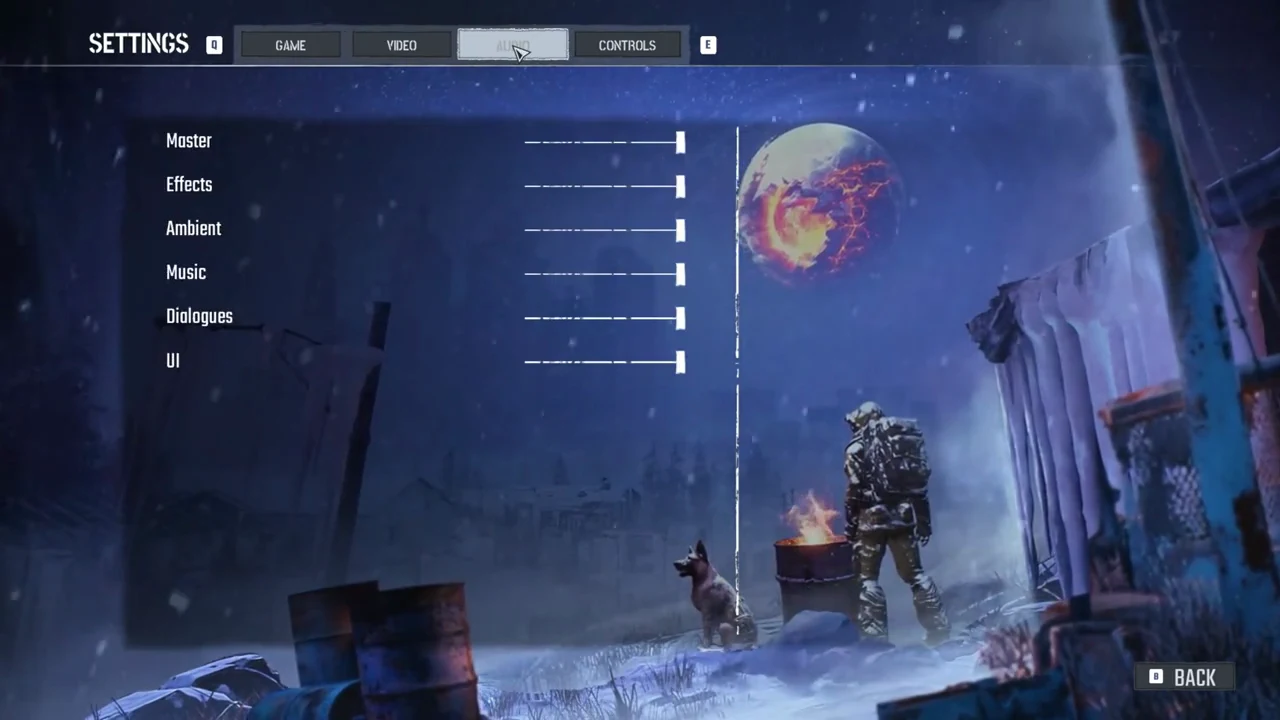
The Audio page contains six unnumbered sliders—Master / Effects / Ambient / Music / Dialogues / UI—and each begins at maximum.
CONTROLS tab
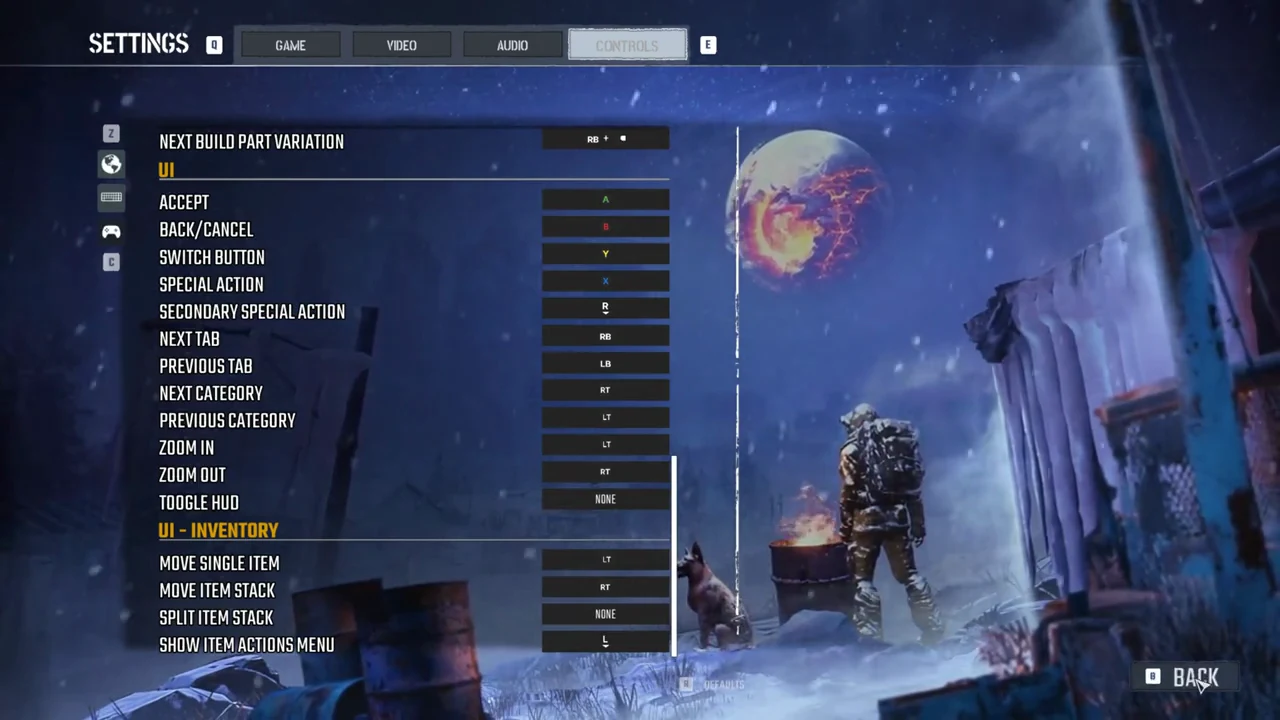
The CONTROLS tab is split into three pages: camera, keyboard and mouse, and controller. Select a page using the icons along the left, or move between them with Z and C. The camera page provides Camera Sensitivity, a slider with a number box set to 1 by default, plus Invert mouse X and Invert mouse Y, both off. Press R on this tab to restore DEFAULTS.
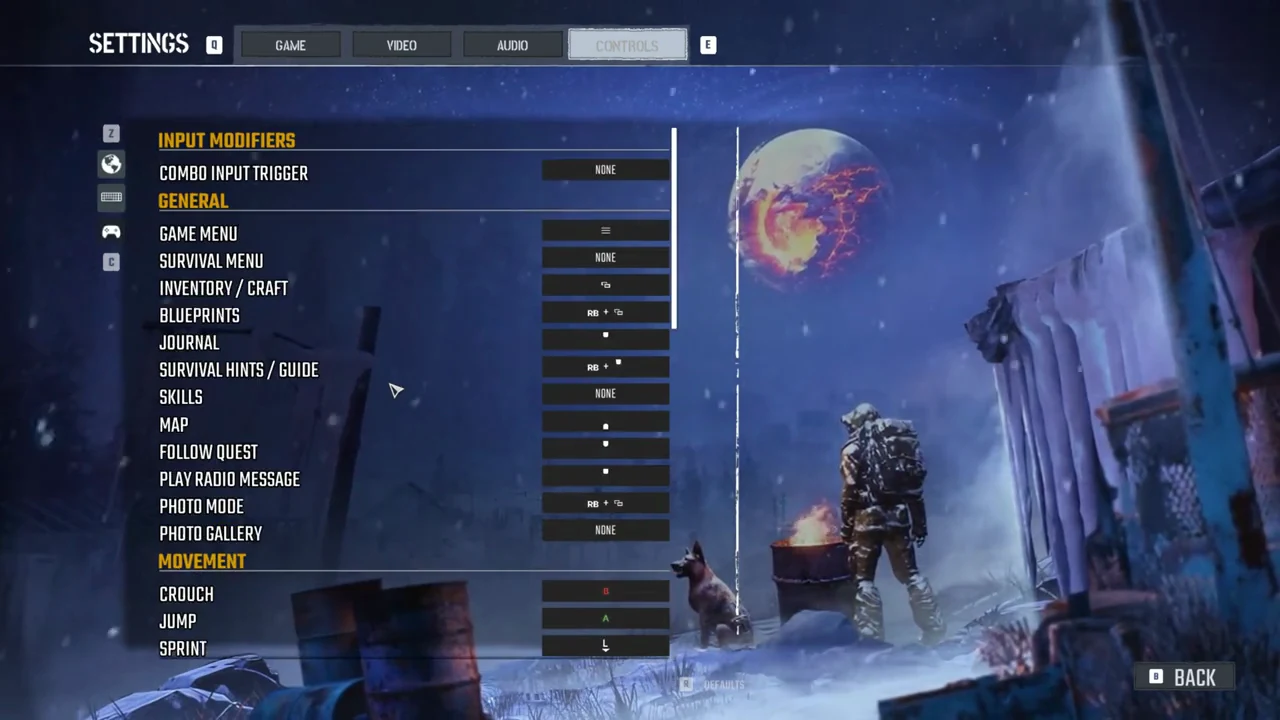
The keyboard and mouse page lists every binding grouped into General, Movement, Actions, Tools, UI, and UI – Inventory. The controller page mirrors that layout for a gamepad and maps the same actions to the pad’s buttons, sticks, and D-pad. BACK returns you to the main menu.
A few things people go looking for are not here. There is no field of view slider on any tab, the audio sliders carry no percentage, and the frame counter is bundled into Show Game Debug Info rather than being its own option. On the RTX 2060, frame generation is not available at all. For nearly everyone chasing a steadier frame rate in the snow, the path is the same: pick DLSS or FSR, push Upscaling Quality toward Performance, press R, and tune the detail rows only if you still need them.