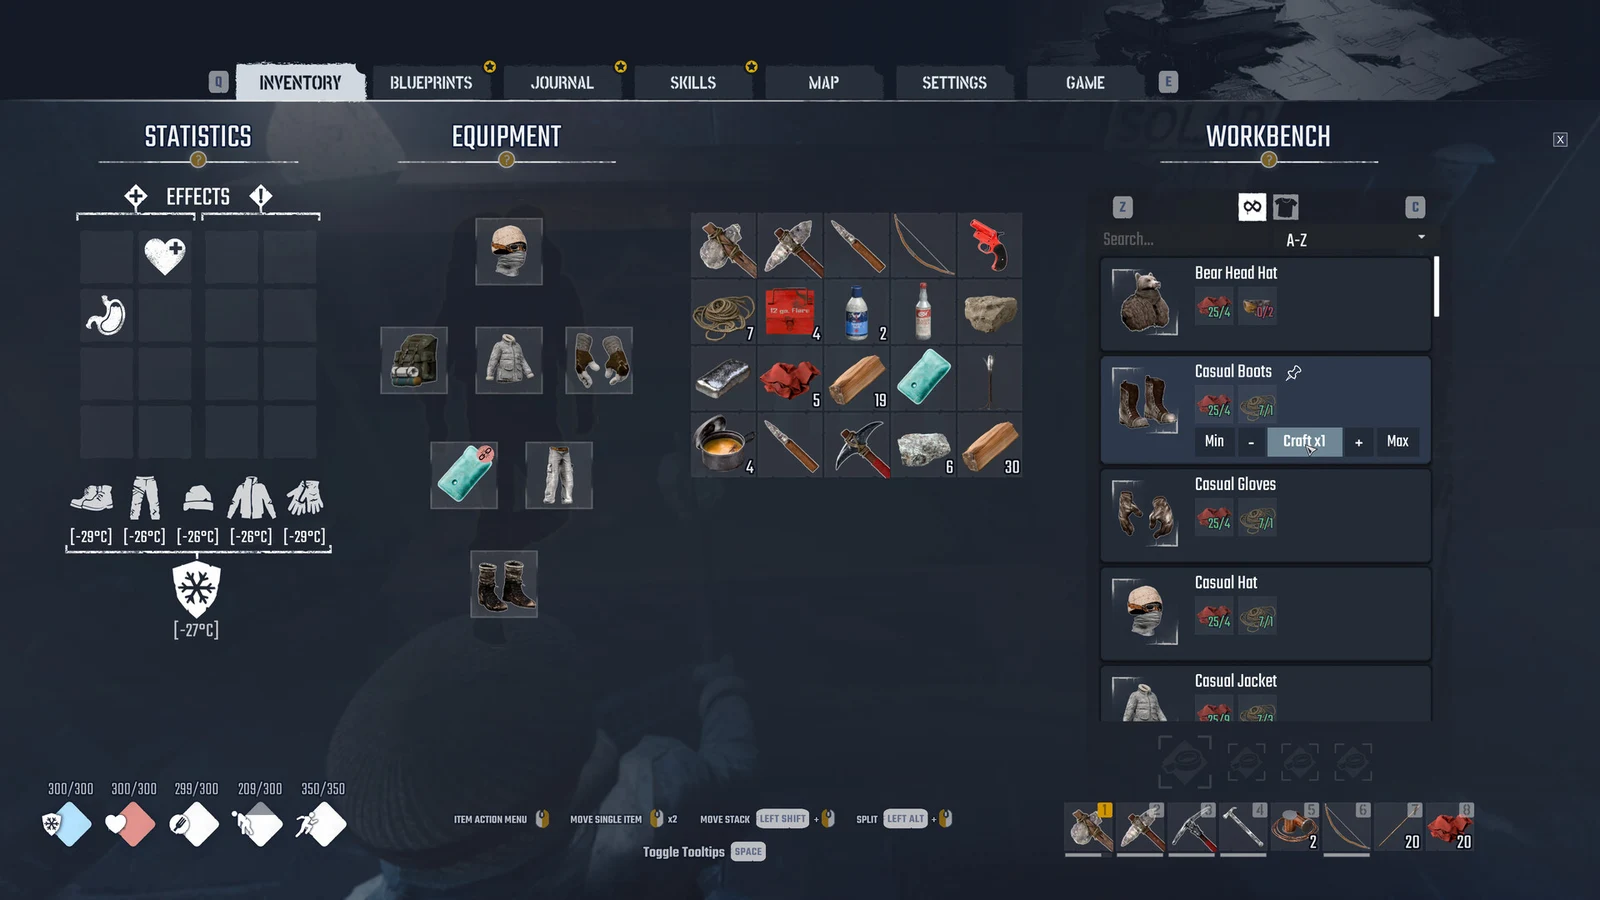
Body Warmth is the diamond-shaped snowflake meter at the bottom left of the HUD, scored out of 300. When the air is colder than your clothing rating, it drains, and once it hits zero your Health starts falling instead. A positive COLD RES. value adds that many points to Body Warmth at once; a negative value cools you. Ranking them by that single number tells you exactly what to carry into a Cold Zone.
Quick answer: COLD RES. is added to Body Warmth (out of 300) instantly. The Warming Dish gives 50, and some cooked mixes reach 60, with Improvised Tea and Improvised Coffee at 45 each. A lit Campfire refills 0 to 300 faster than any drink.
Cold resistance ranking
Every consumable with a COLD RES. line, from the warmest cooked dish down to the items that cool you.
| Item | COLD RES. | Also restores | Value |
|---|---|---|---|
 Warming Dish Warming Dish | 50 | Hunger 200 | 35 |
 Improvised Tea Improvised Tea | 45 | Health 45, Hunger 10 | 15 |
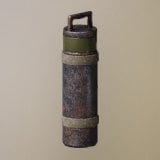 Improvised Coffee Improvised Coffee | 45 | Energy 45, Hunger 10 | 10 |
| Energy & Warming Dish | 30 | Energy 60, Hunger 90 | 40 |
| Health & Warming Dish | 30 | Health 60, Hunger 180 | 40 |
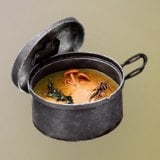 Ultra Dish (H/W/E) Ultra Dish (H/W/E) | 30 | Hunger 120, Energy 60, Health 60 | 45 |
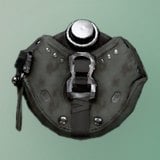 Moonshine Moonshine | 20 | — | 10 |
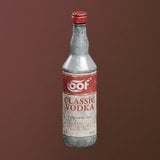 Vodka Vodka | 20 | — | 16 |
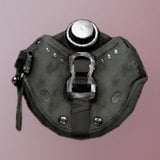 Alcohol Alcohol | 10 | Energy 10 | 10 |
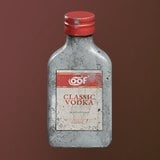 Small Bottle of Vodka Small Bottle of Vodka | 10 | — | 4 |
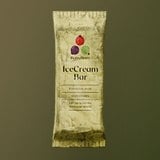 Ice Cream Ice Cream | -10 | Hunger 40 | 5 |
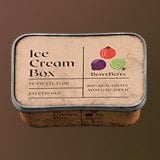 Ice Cream Box Ice Cream Box | -10 | Hunger 50 | 15 |
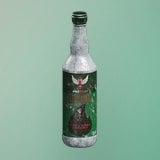 Methyl Alcohol Methyl Alcohol | -30 | Health -150, Stamina -20, Energy -50 | 10 |
This order comes purely from the COLD RES. each item adds to Body Warmth, with ties broken by whatever else the item restores. It reflects the 0.44.2 Survival build.
Why the top picks rank where they do
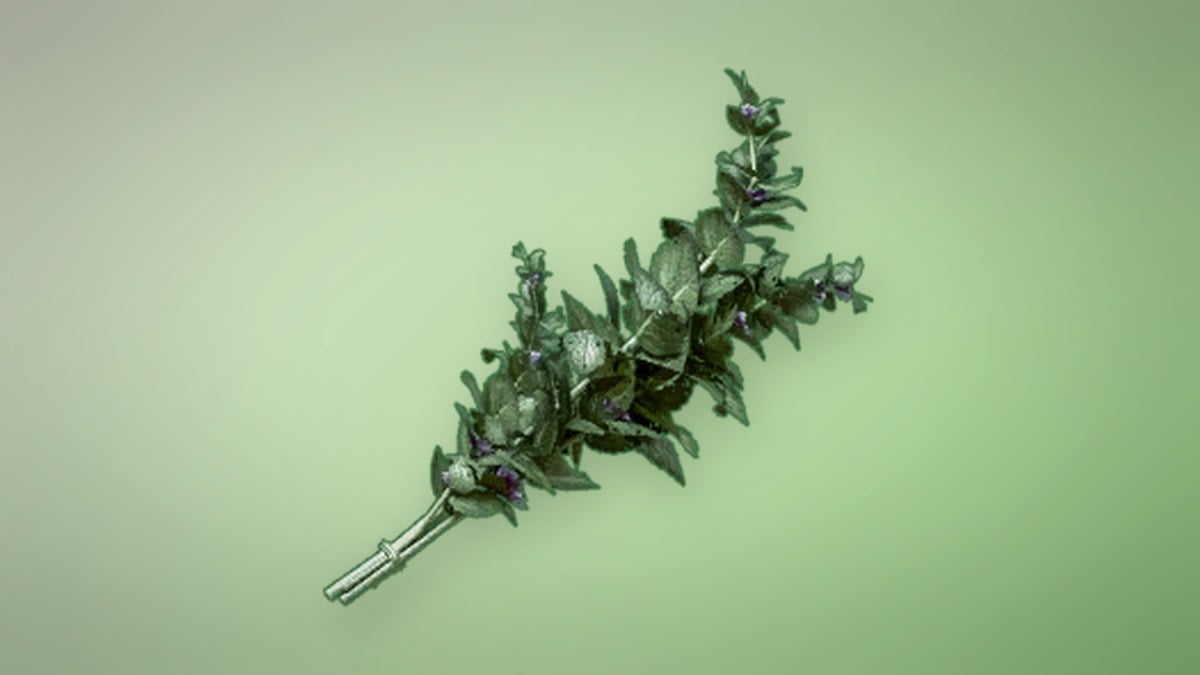
Improvised Tea and Improvised Coffee tie just below the Warming Dish (50; some cooked mixes come out at COLD RES. 60 with HUNGER 210) and are the two you will lean on early, because the Survivor and the Hunter each start with one. The Survivor opens with Tea in a quick slot; the Hunter opens with Coffee. Both are crafted in the inventory in three seconds, Tea from Herbs x5 and Coffee from Coffee Beans x5, and both recipes are known from the start. They separate on their second effect: Tea restores Health, Coffee restores Energy. Drinking the Tea at zero warmth and 58 Health pushes the meter to 45 and Health to 103 in one gulp.
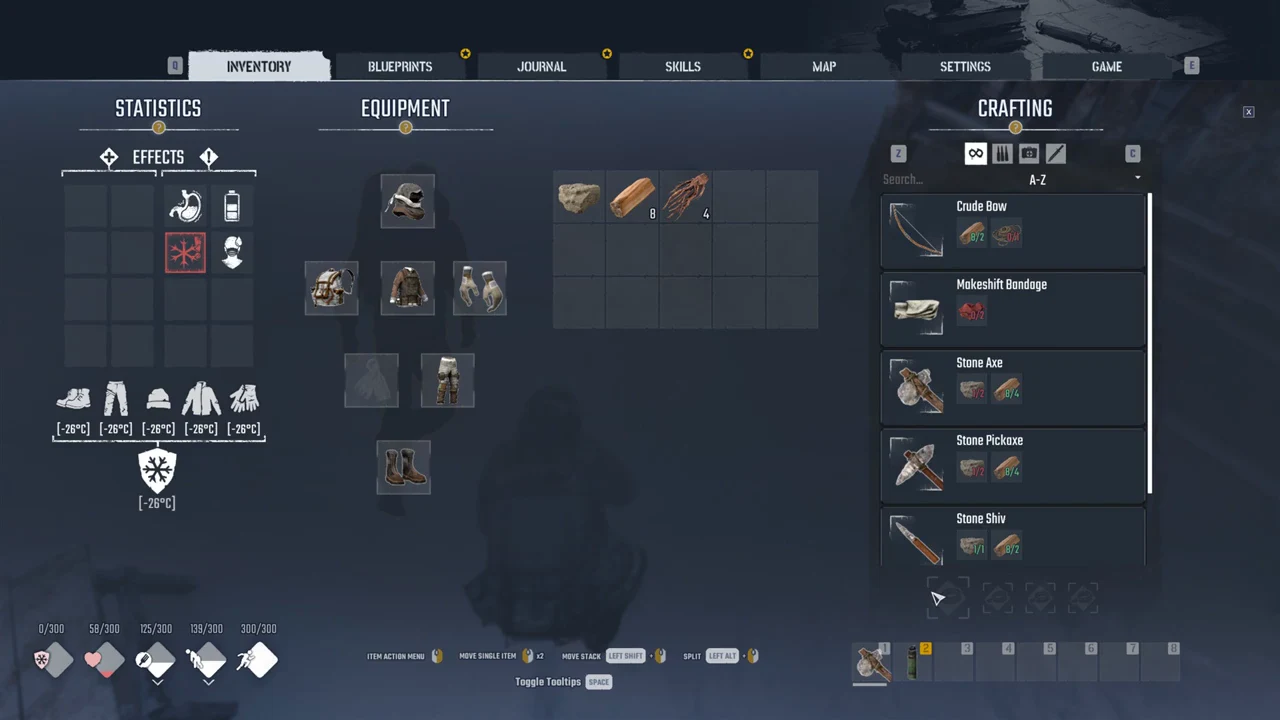
Coffee also hands you the Caffeinated effect, worth +10% Energy and -10% Stamina loss for 150 seconds, which is why it is worth saving for the moment you need to keep moving rather than drinking on sight.
The three cooked dishes at 30, Energy & Warming Dish, Health & Warming Dish and the Ultra Dish (H/W/E), each carry the same warmth as one another but stack different support stats on top. The Ultra Dish is the one that covers Hunger, Energy and Health together, and it drops as the reward for the quest Oh, Deer. All three are cooked with additives and sold by Eric Hirsch.
Spirits: Moonshine, Vodka and the one to never touch
Moonshine is the drink you will trip over most, found in Bags, Damaged Cars and Vans, Fridges, Frozen bodies, Insulated Crates, Military crates, Suitcases, Toolboxes and Lockers, and sold by Eric Hirsch, Sean and The Mule. It warms you a modest amount and also removes Parasites, Infected Wound and Nasty Wound, which makes it a two-in-one when you are both cold and infected. Vodka warms by the same amount and clears the same effects.
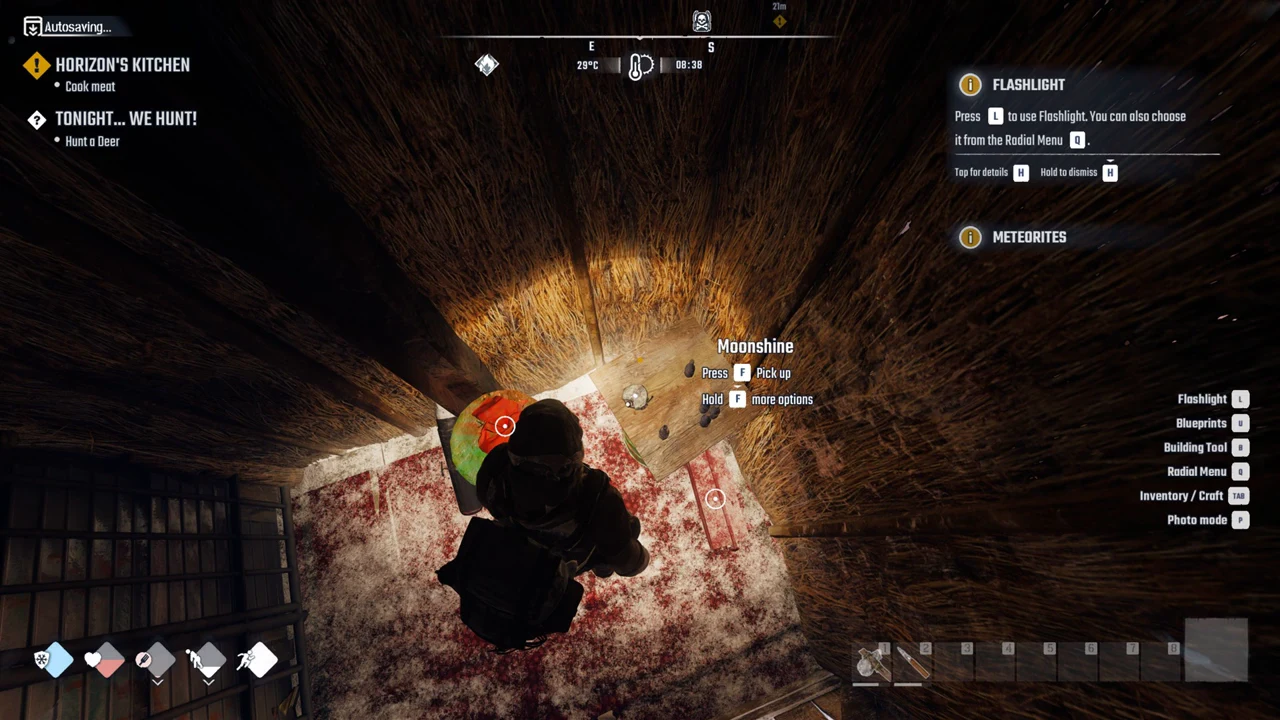
Alcohol and the Small Bottle of Vodka sit at the bottom of the useful range. They each add a little warmth and clear the same infection effects, so they are fine as a last resort but not worth carrying over the stronger spirits.
Ice Cream and the Ice Cream Box cool you rather than warm you, so they belong to the Hunger menu, not the cold one. Methyl Alcohol is the trap: it strips 150 Health, drains Stamina and Energy, and pulls warmth down as well. Its description reads “Wrong kind of alcohol. Burns and sells well, though.”
Never drink Methyl Alcohol to warm up. It damages Body Warmth and can take most of your Health with it in a single swallow.
The alcohol trade-off
Every spirit adds a drunk effect alongside its warmth, and those effects change how fast the meter moves afterwards. The downside is dizziness and loss of control; the upside is slower warmth drain.
- Lightheaded: Body Warmth Loss Rate -20%. Passes on its own with time.
- Drunk: Body Warmth Loss Rate -35%, Gain Rate +10%. Passes on its own.
- Wasted: Body Warmth Loss Rate -50%, Gain Rate +50%, with the occasional random ragdoll collapse.
Those numbers slow the drain while you are out in the cold, but the ragdoll risk on Wasted makes heavy drinking a poor plan during a fight or a climb.
The fastest refill is a fire, not a drink
A drink tops the meter once and then the cold keeps draining it. A heat source holds the meter up for as long as you stand near it. When the banner reads BONE-CHILLING COLD and the “Feels like” figure is below your clothing rating, a drink only buys you minutes. A fire gives the meter back entirely.
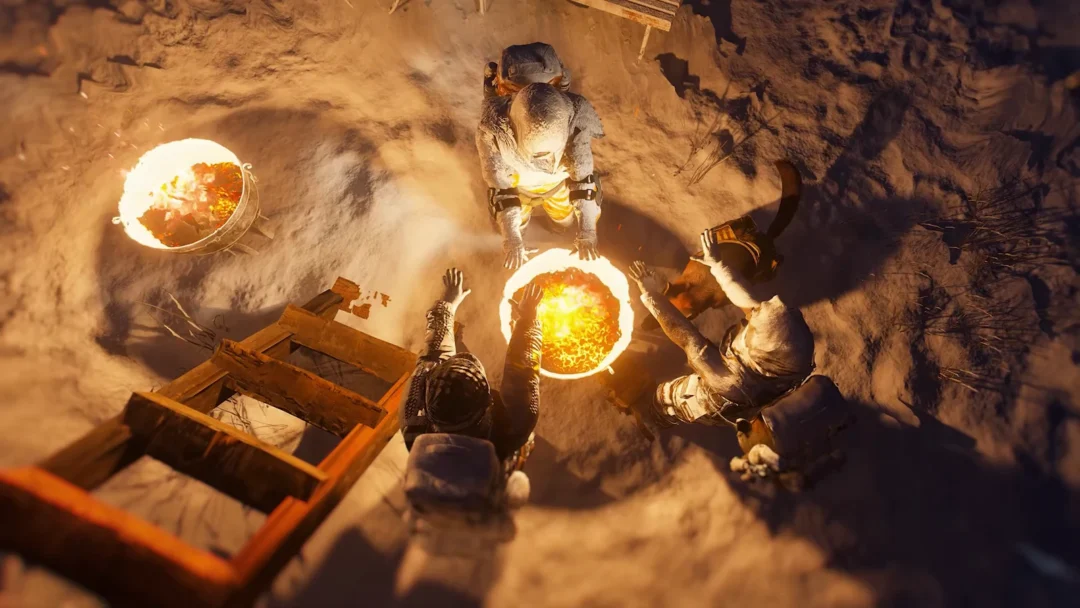
A Campfire, once lit, restores Body Warmth from 0 to 300 in far less than a minute. Stay close as the meter rises in big increments; beside the compass, a flame icon accompanies a warm 7°C reading. Indoors, warmth is even greater: the starting cabin registers -18°C to -19°C and takes Body Warmth from 0 to 300 without a fire, while Horizon’s bunkhouse shows 28°C to 31°C.
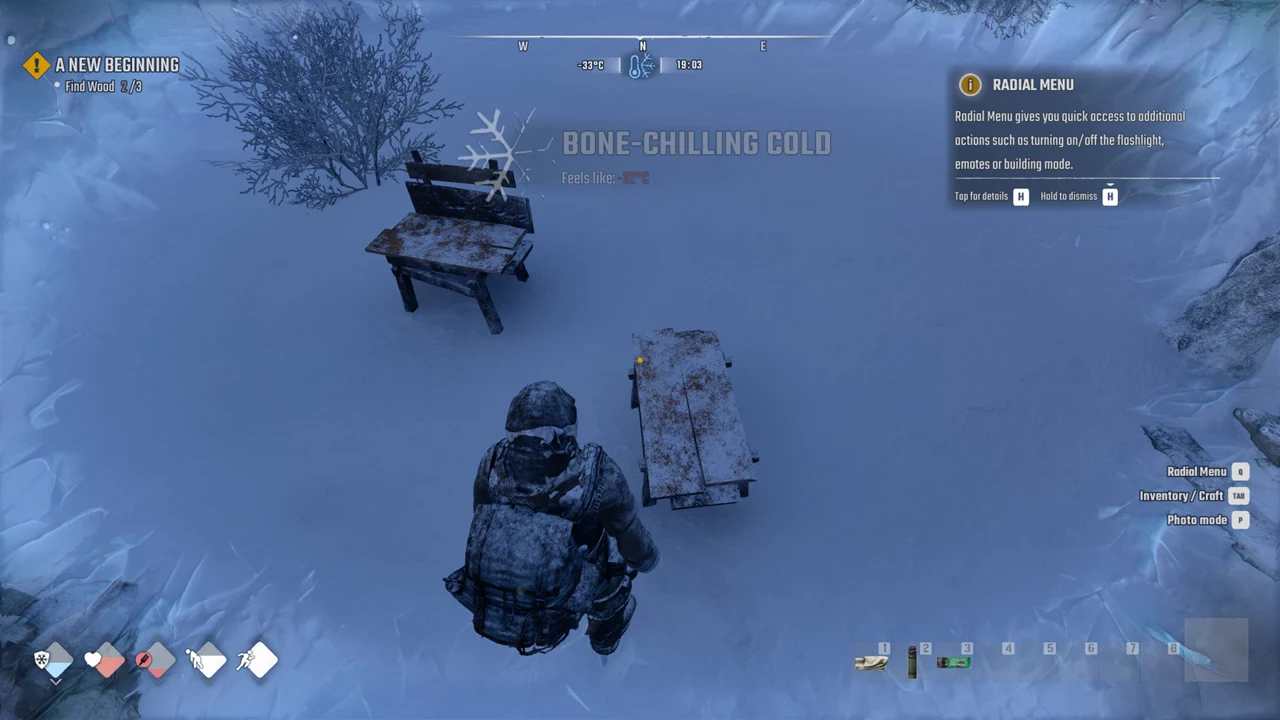
You will know it worked when the snowflake meter stops falling and fills back toward 300, and the compass readout flips from a sub-zero figure to a positive one with the flame icon beside it. Wall Torches, Standing Torches (2 Cloth and 1 Wood each) and the Barrel Brazier (2 Scrap) are the other heat sources in the building tree.
Makeshift Heater for when you cannot build
Where you cannot stop to build a Campfire, a carried heater earns its slot. The Makeshift Heater, once you have its recipe (it is on the Quest Recipes tab), crafts in the inventory from Cloth x2 and Processed Plastic x2 in eight seconds, sits in the Rig slot and has a durability bar of 100. Switched on, it applies the Heated effect, worth Body Warmth Gain Rate +100% and Loss Rate -50%.
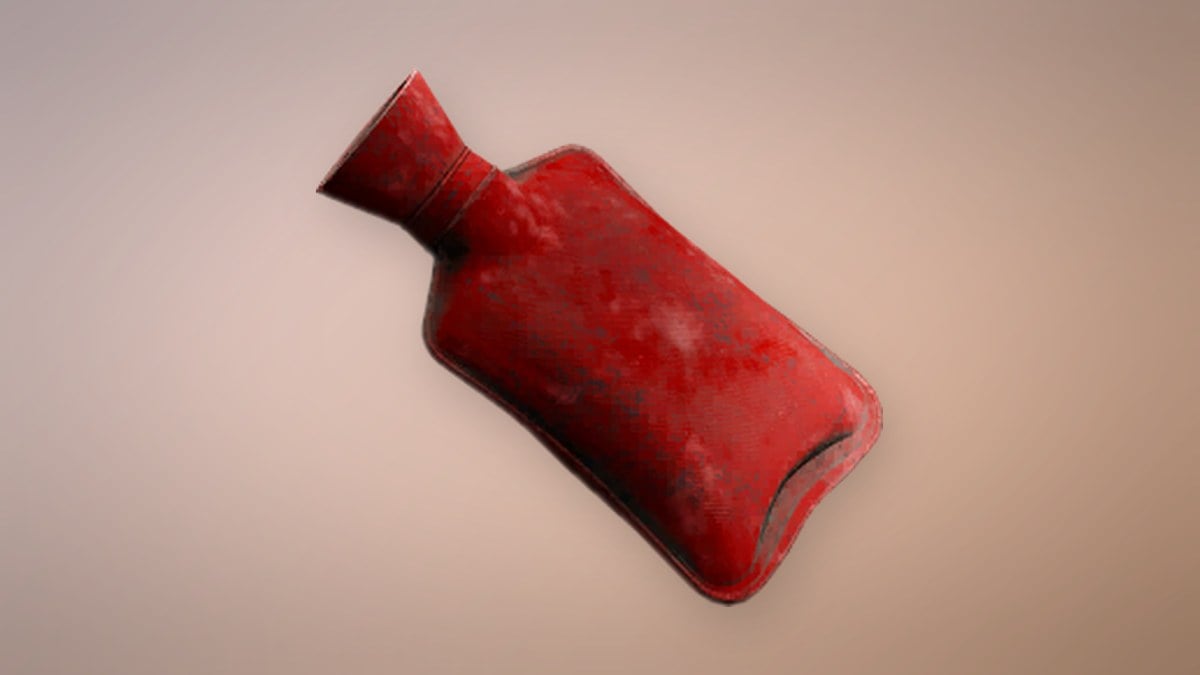
Heaters wear out as you use them, and the repair takes Cloth and Processed Plastic, so keep a small reserve of both. The first one is in the Medical Supply Box in Horizon’s kitchen, and Anna, Eric Hirsch and the Skinwalker all sell them. Check the durability bar before an exposed crossing rather than after the meter has already started falling.
Unlike a drink, clothing changes the temperature rating of its slot rather than filling the meter. COLD RES. is 26 on Survivor and Casual pieces, 29 on Moon Cult and Tribal pieces, and goes higher on later sets. Leave your winter gear equipped even after having a warming drink.
What to carry and when to drink it
- If dusk catches you outdoors and the cold banner appears, drink the Improvised Tea and head for the closest wall or shelter; keep a Moonshine in reserve.
- When you are preparing to sleep or work in cold conditions, start a fire. A drink restores the meter once, but the drain continues.
- Carrying Parasites: a Moonshine warms you and clears the infection, at the cost of the Lightheaded effect for a while.
- Save the Coffee for Energy. Its warmth matches the Tea, but it is one of the few early Energy items you have.
Two things worth settling before you head out: a drink does not keep warming over time, since the COLD RES. lands at once and the meter resumes draining in the cold, and no Hunger-only food carries a COLD RES. line at all. Eating fills your stomach, but it will not warm you. For that you want the Warming Dish in your pack, a Tea or Coffee in a quick slot, and a fire or heater waiting at the far end of the route.