The Experiment Victim’s Memory Flower in Phantom Blade Zero is split into three petals, and all of them are in the Mandate Encampment. You can collect every petal without fighting anyone.
Quick answer: Find Petals I and II in the scaffold cave beneath the Training Grounds. Petal III sits on the upper level of the large pavilion beside the Training Grounds Depths bell. Collect all three petals to raise maximum HP by 7%.
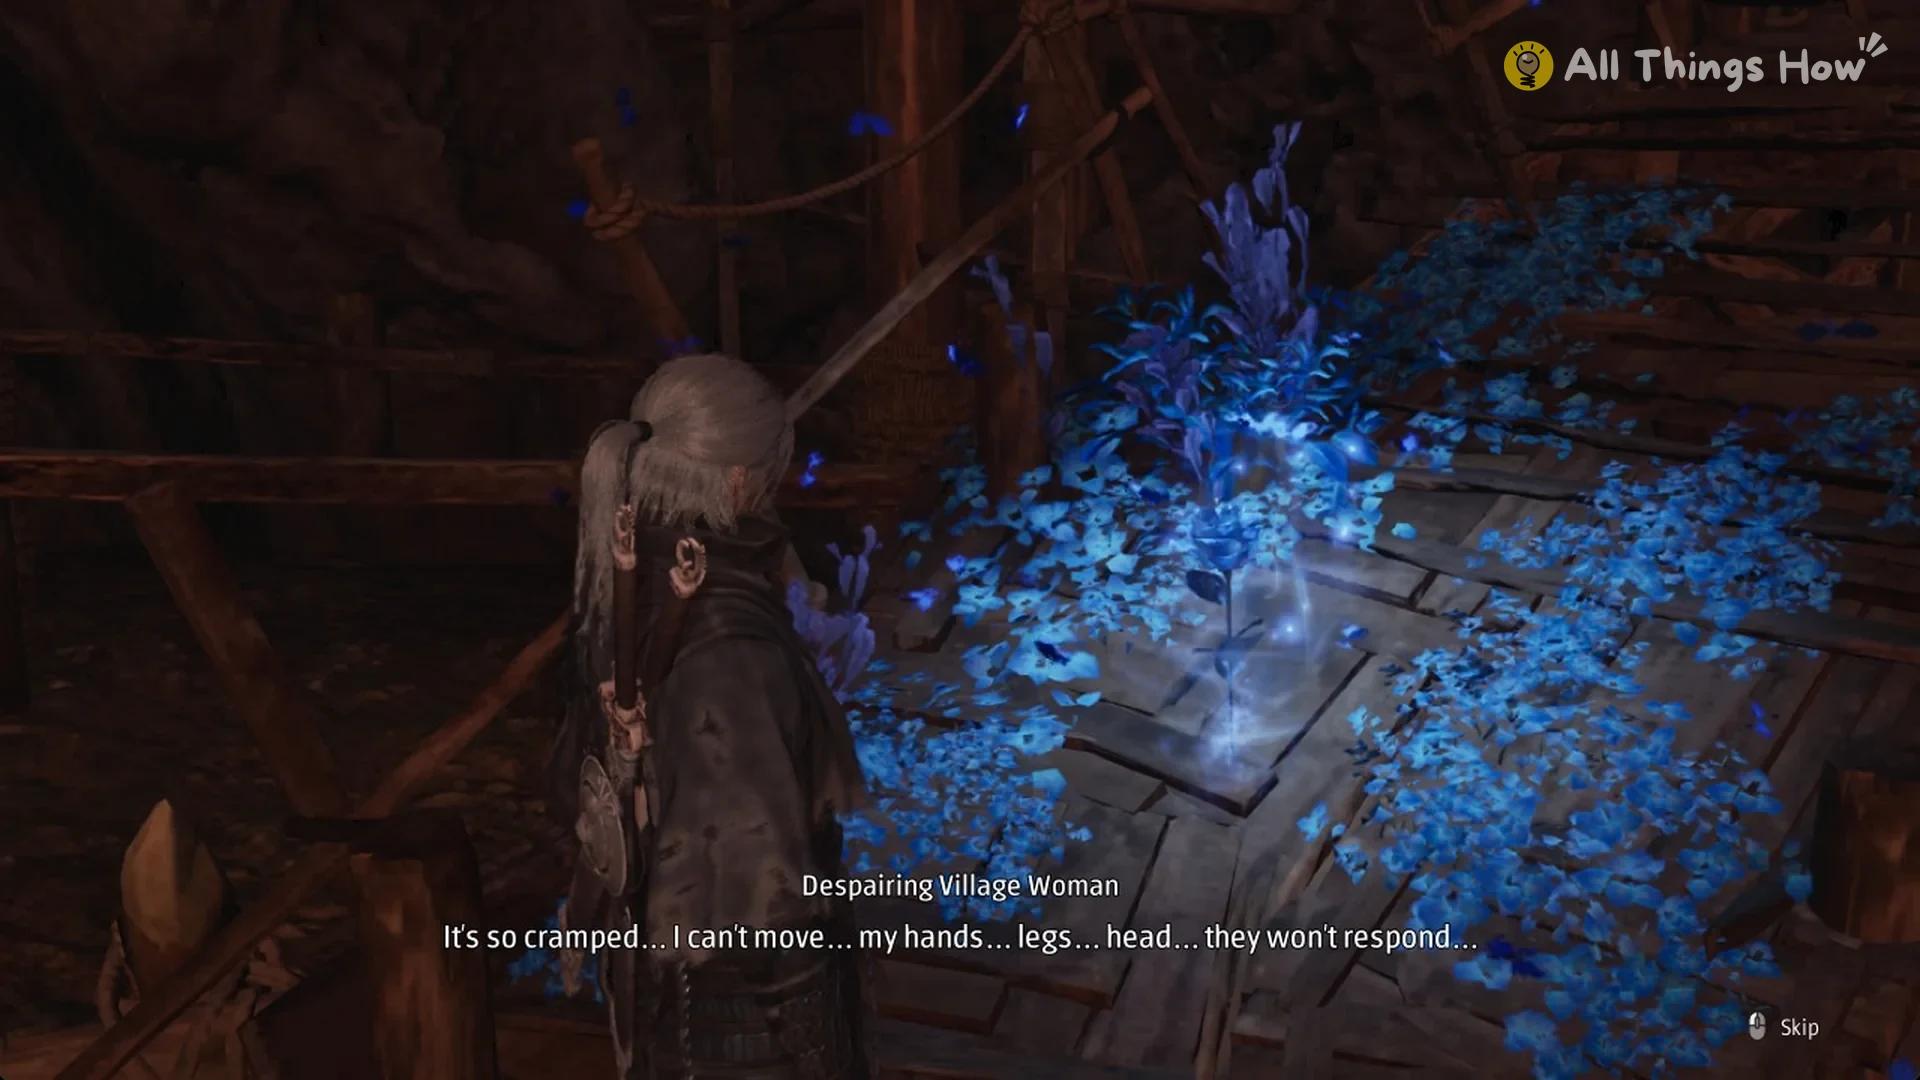
Petal I: Someone… Please, Save Me…
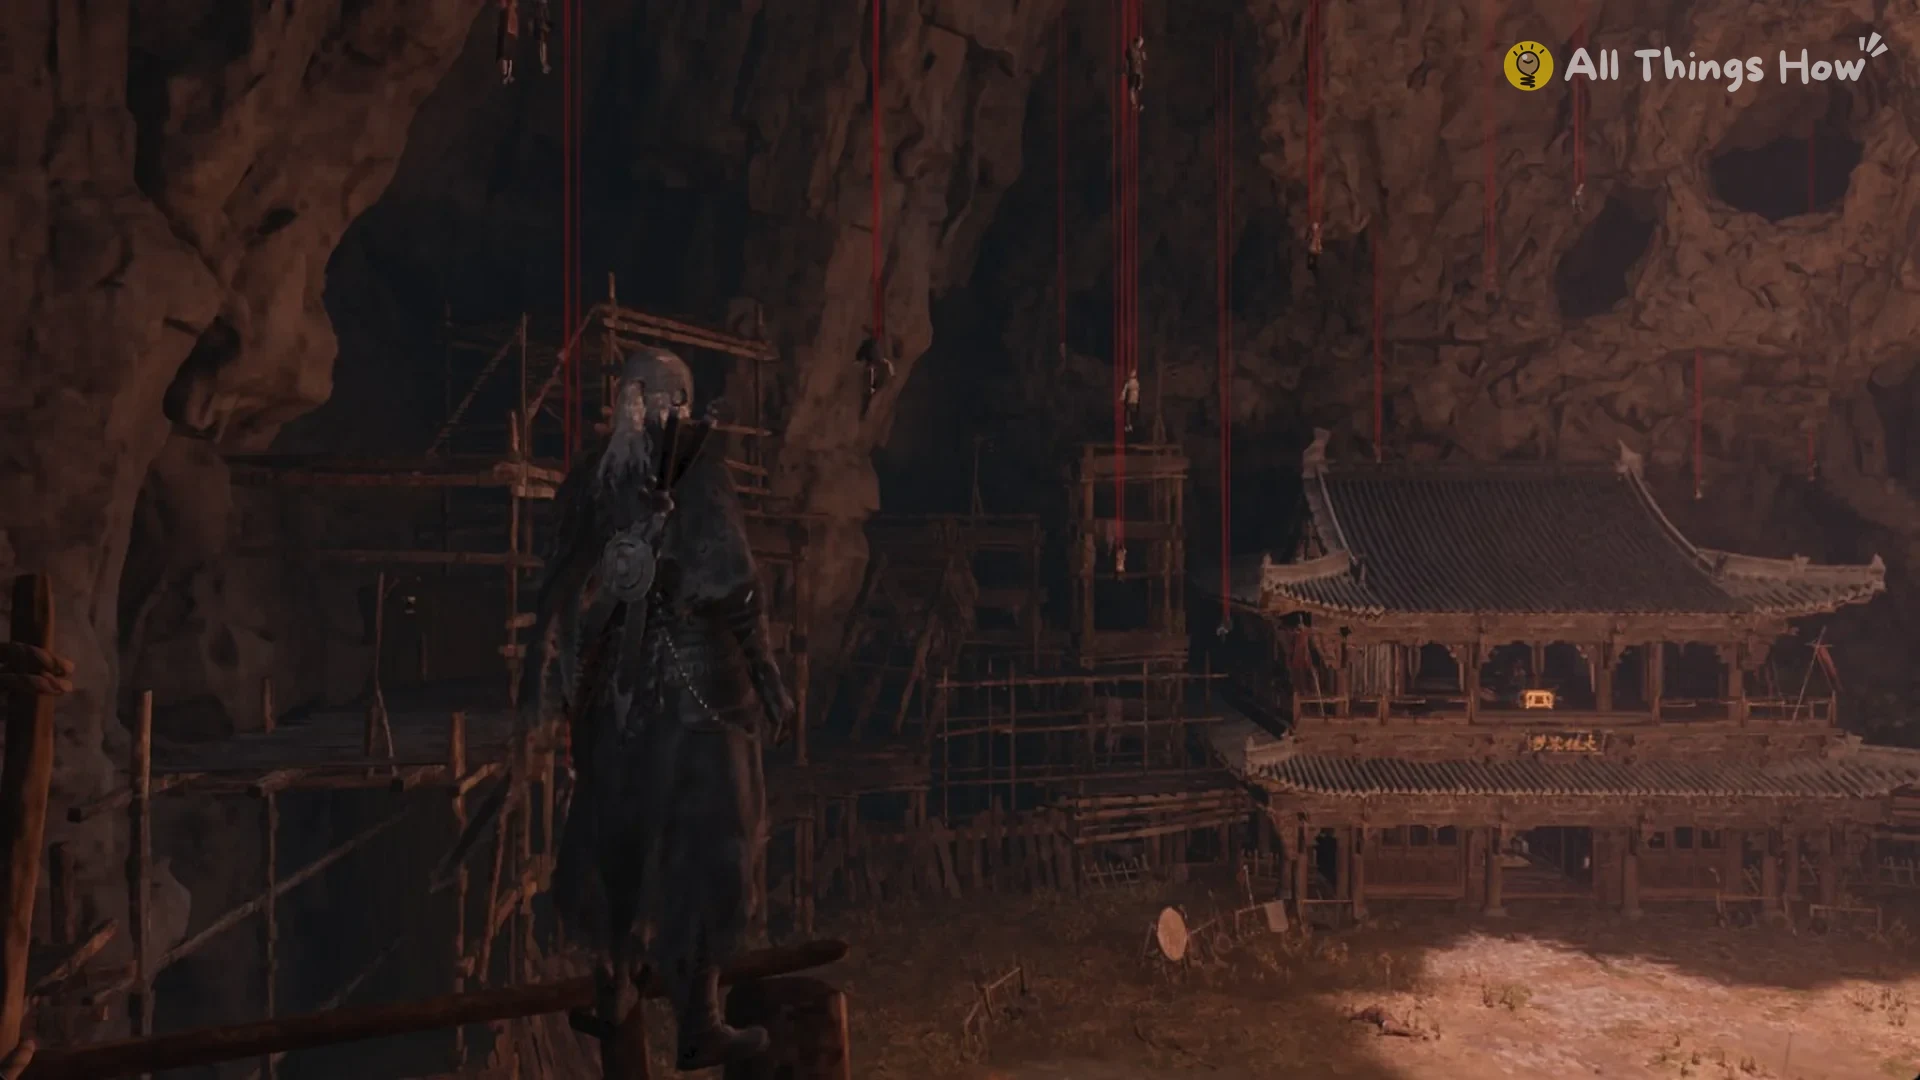
At the Mandate Encampment, use the Road to the Training Grounds bell, then descend the trail into the cave filled with timber scaffolding. The route includes a drop of about 9 m that costs no health. Once you reach the lowest scaffold deck, vault its railing to get down to the cave floor.
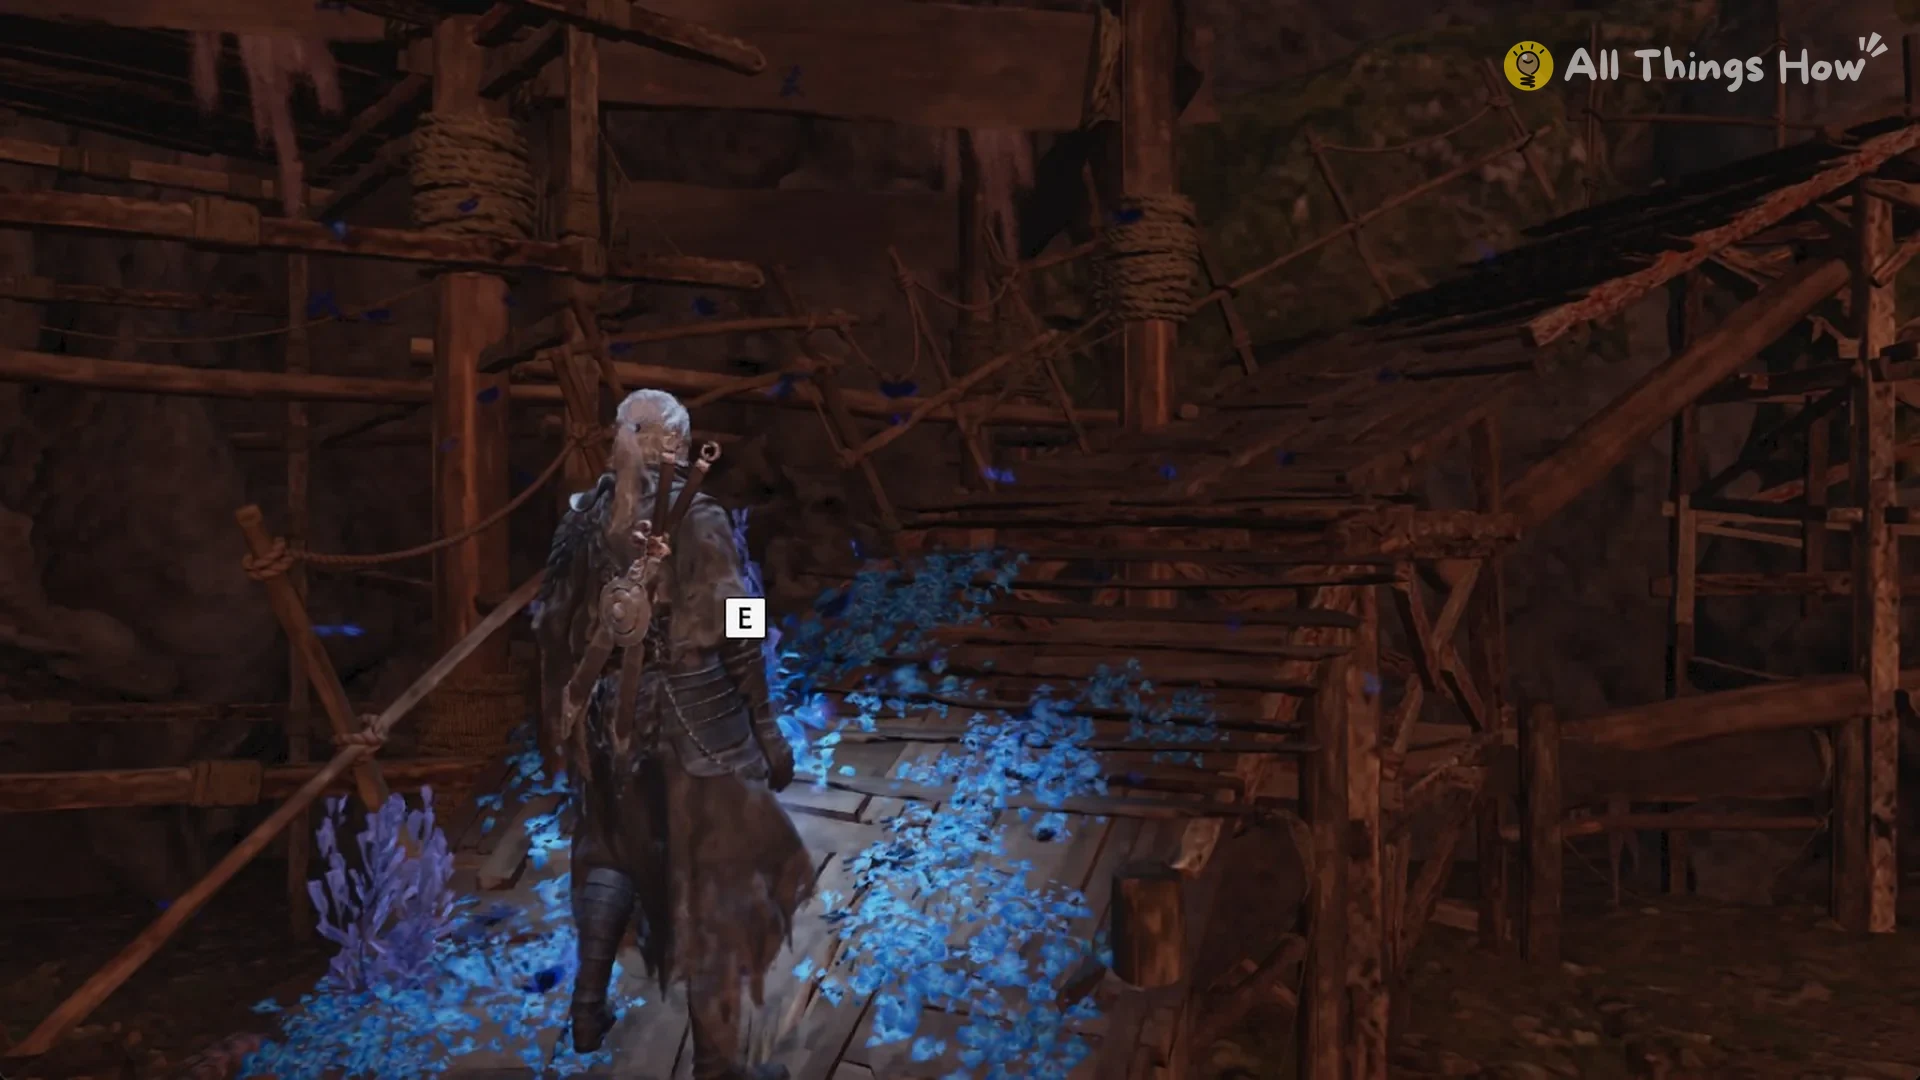
At the cave’s distant end, a small plank incline rises to the timber scaffold’s base, with the petal lying on its boards. No enemies are nearby, so approach and press E to collect it.
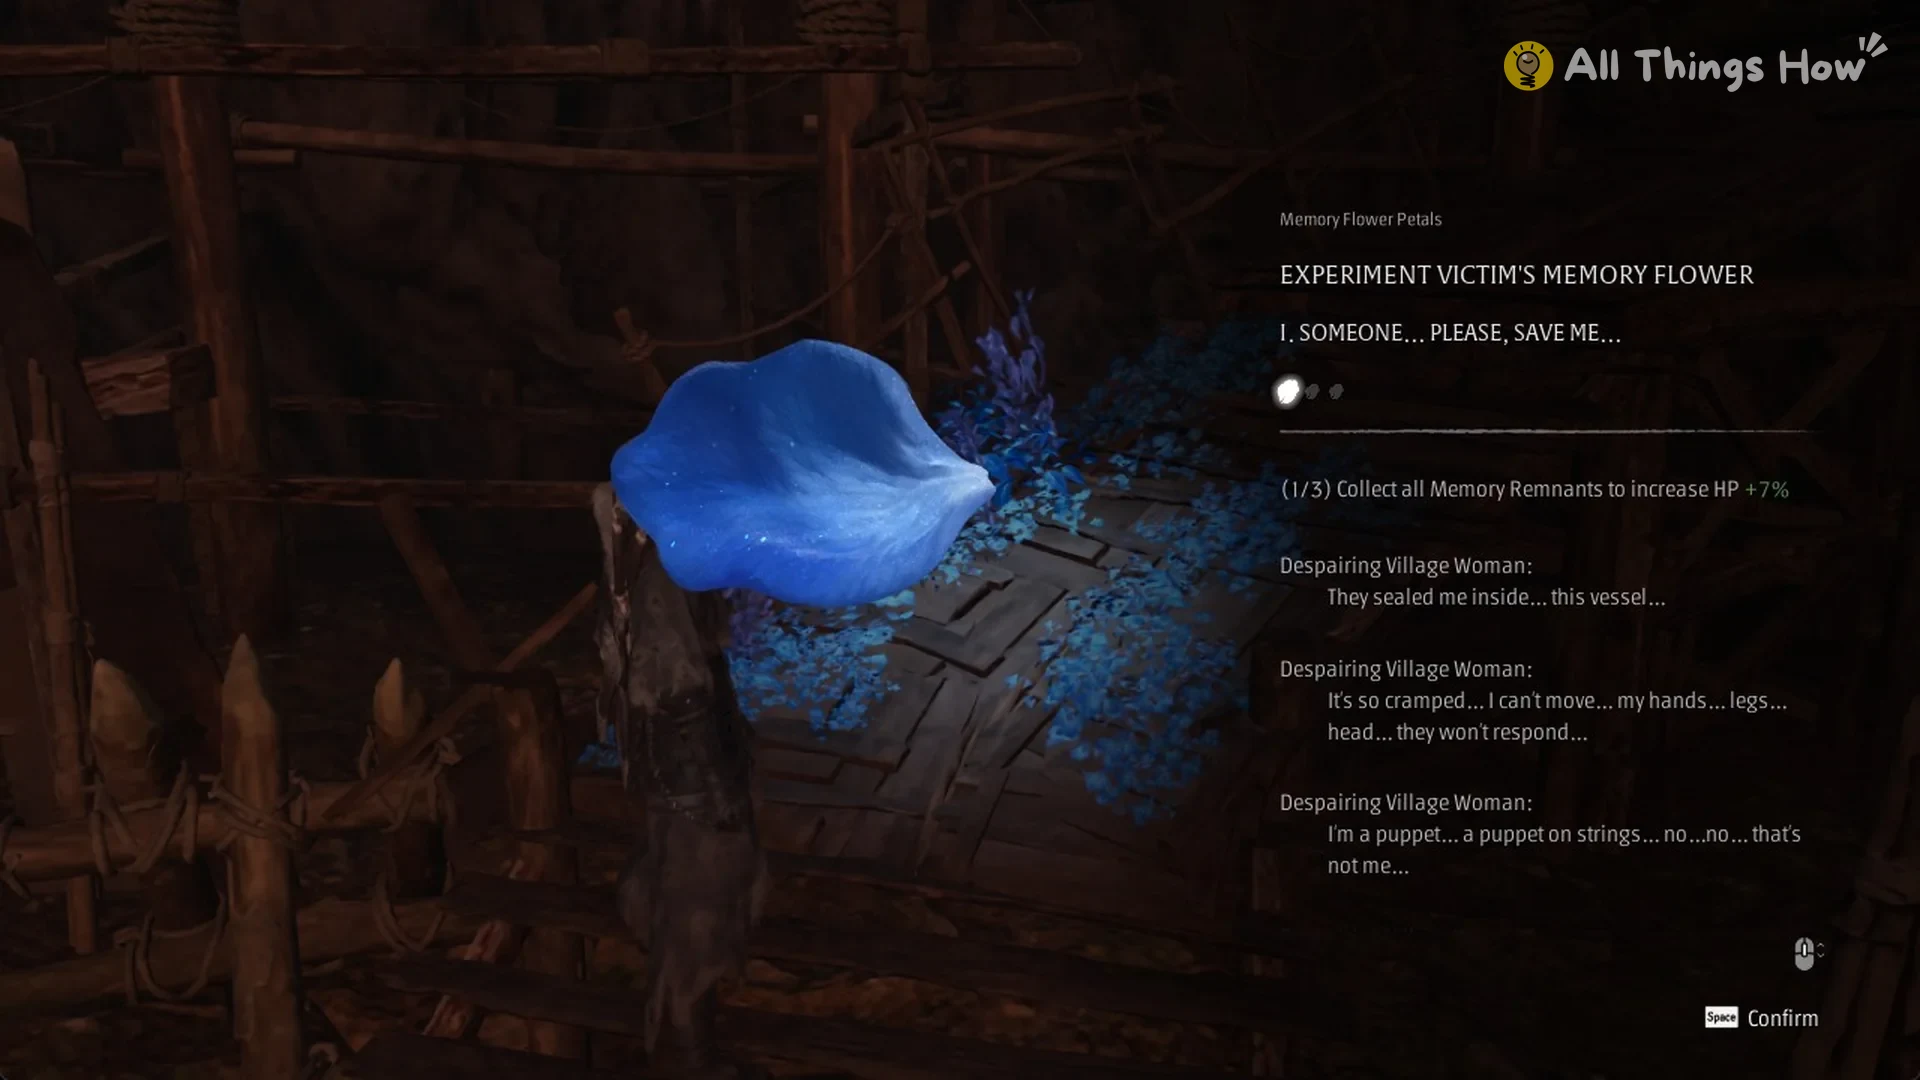
The speaker in this memory is the Despairing Village Woman. Her lines are “They sealed me inside… this vessel…” “It’s so cramped… I can’t move… my hands… legs… head… they won’t respond…” “I’m a puppet… a puppet on strings… no…no… that’s not me…” “Help me… someone… please help me… please…” The card bears the title “I. SOMEONE… PLEASE, SAVE ME…” and is marked (1/3).
Petal II: Kill… Kill!
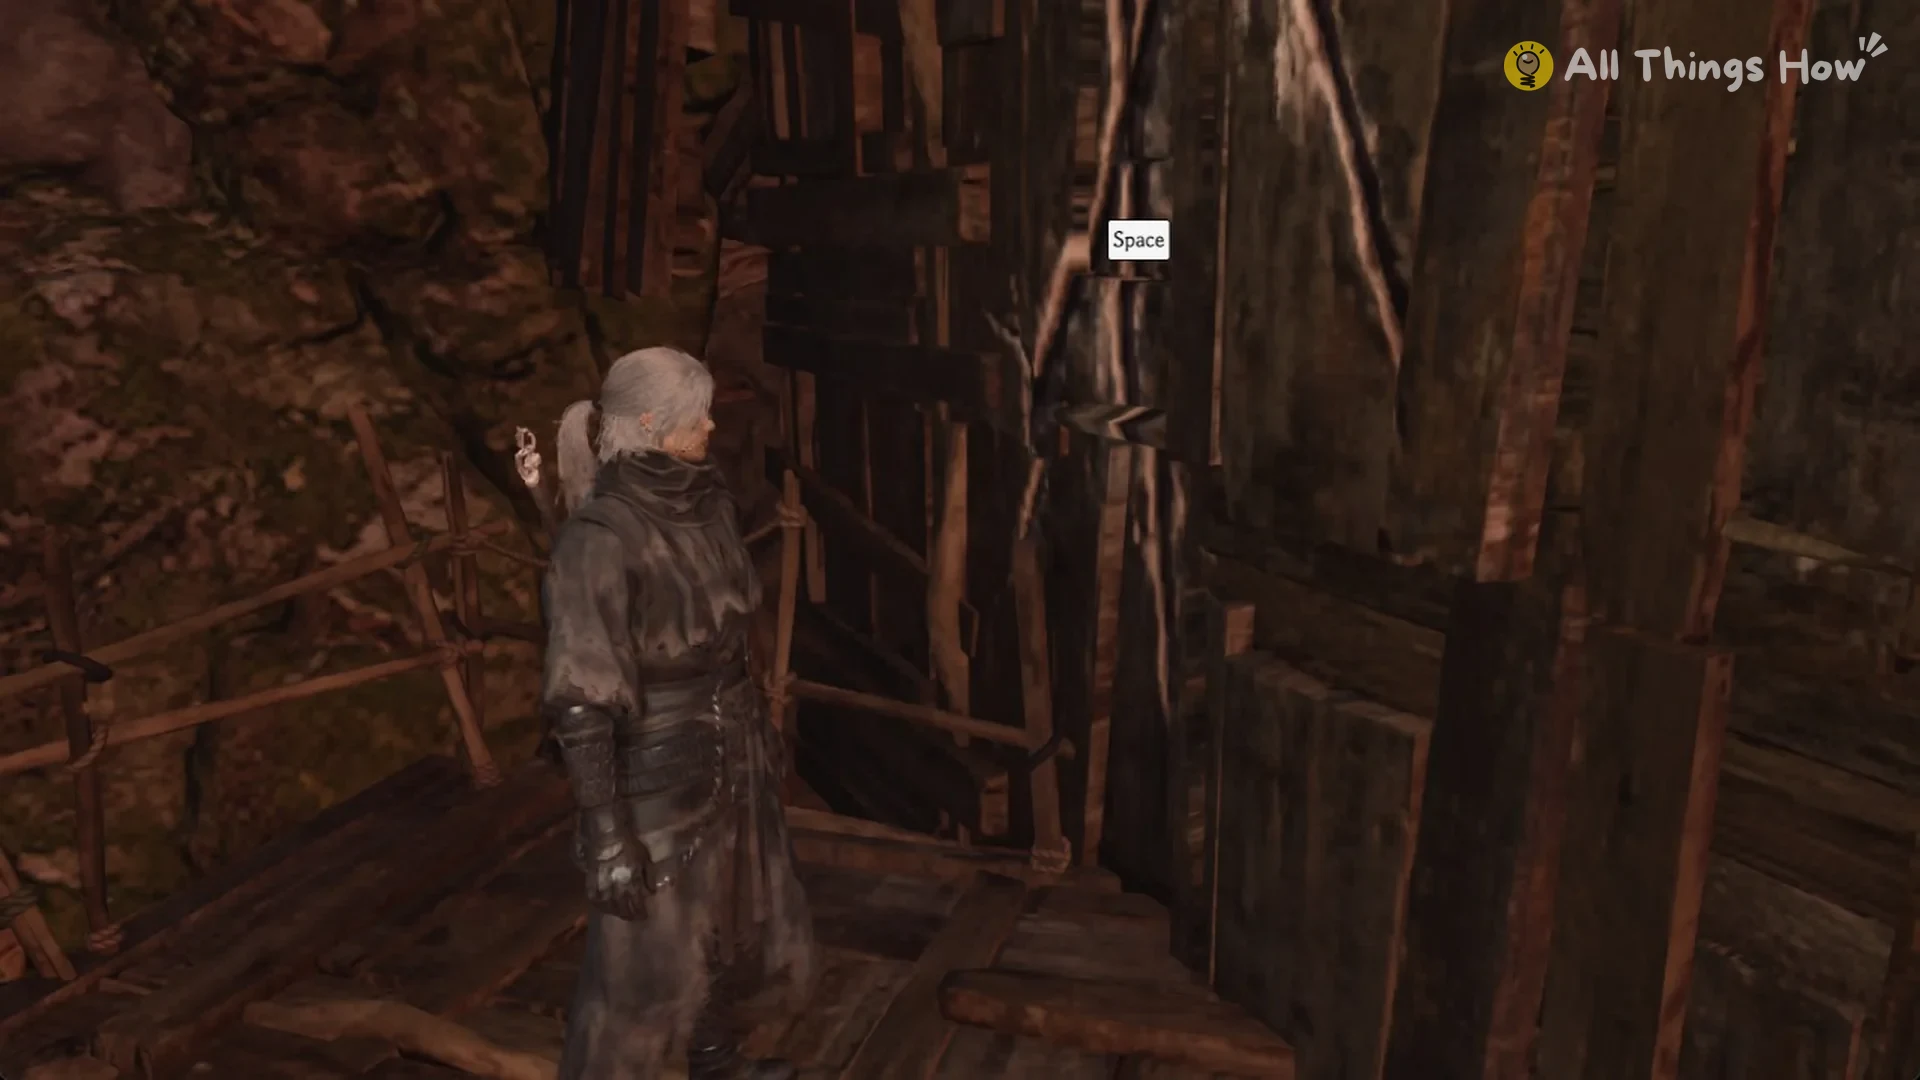
Begin at Petal I and ascend the scaffold ramps until you reach a tall plank barrier. A Space prompt appears near its top; sprint into the barrier and press Space to run up to the ridge. Start at Petal I, since the cave’s lower scaffold in the middle has no connection upward.
Follow the ridge path along the cave. It climbs steadily and has no jumps. It ends on the top floor of the tall timber scaffold tower at the other end of the cave. The petal is there, about 23 m from the Training Grounds bell. Press E to collect it.
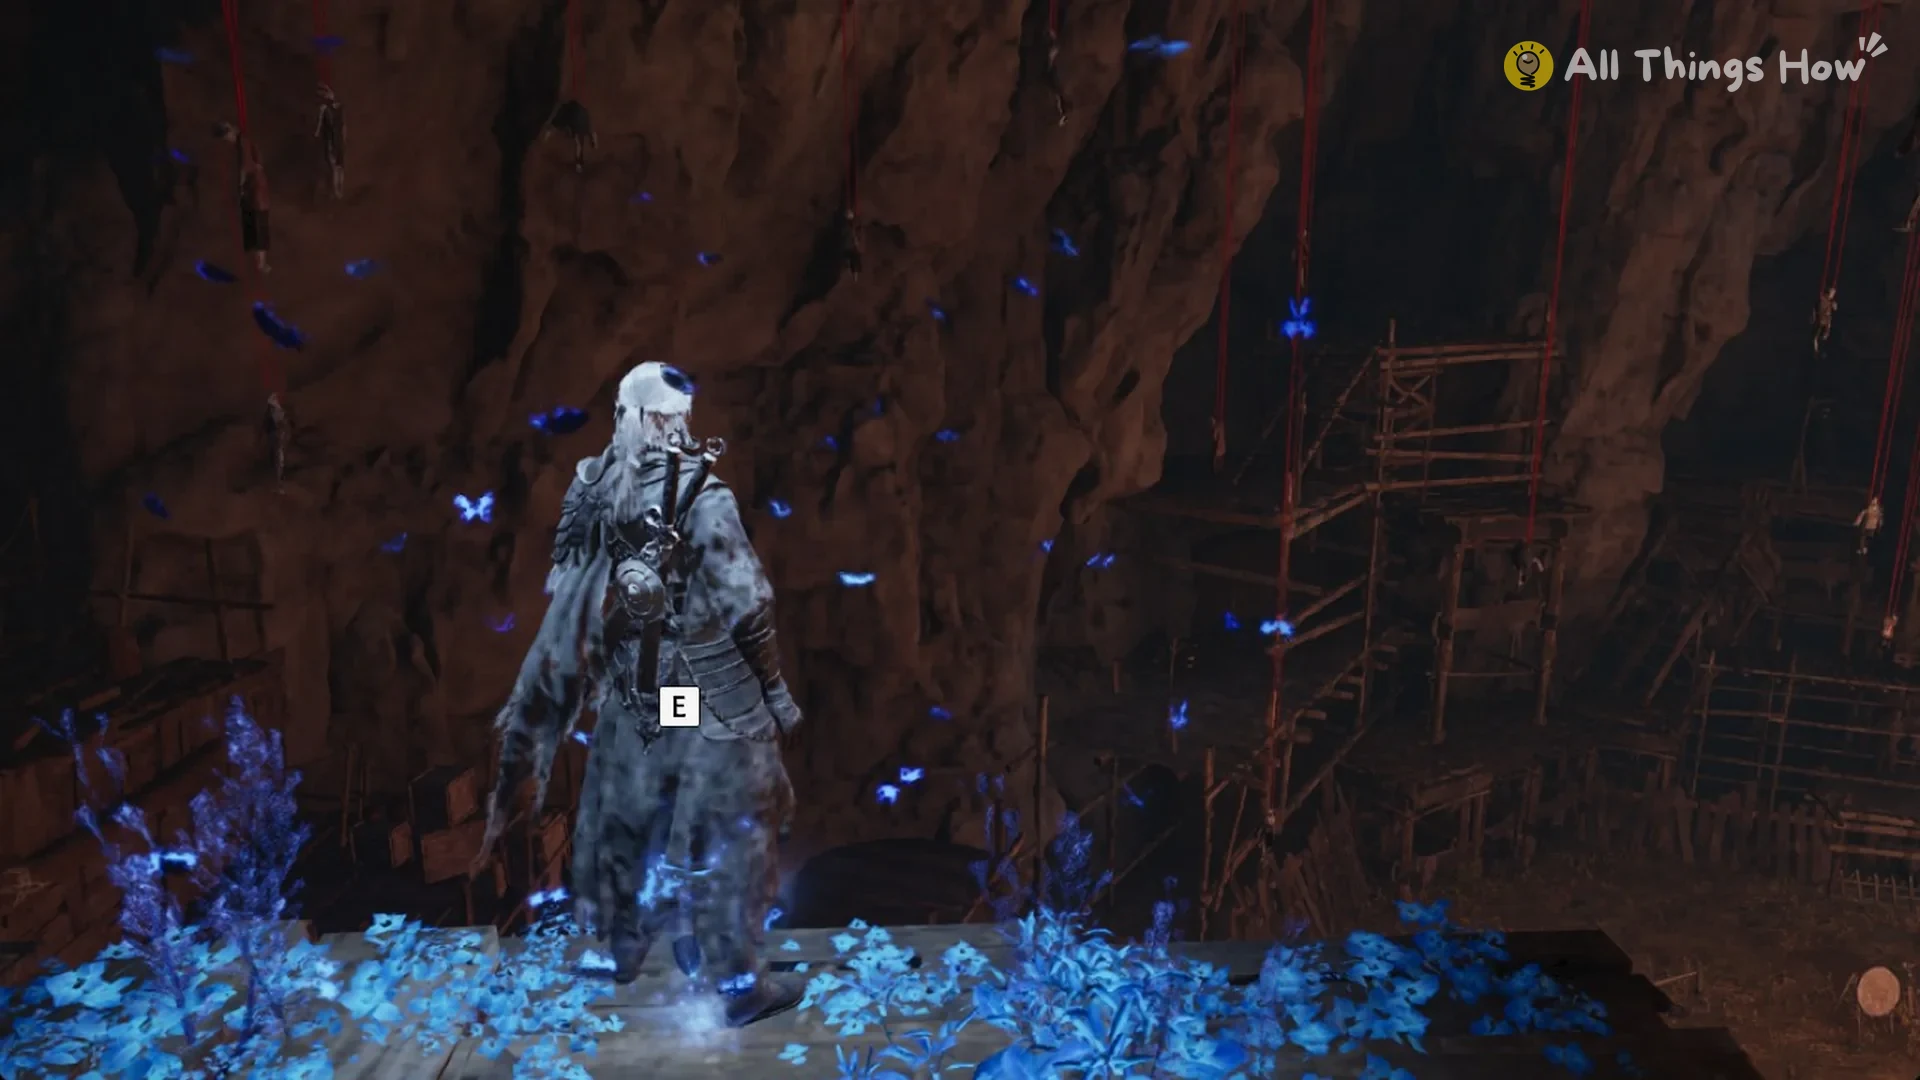
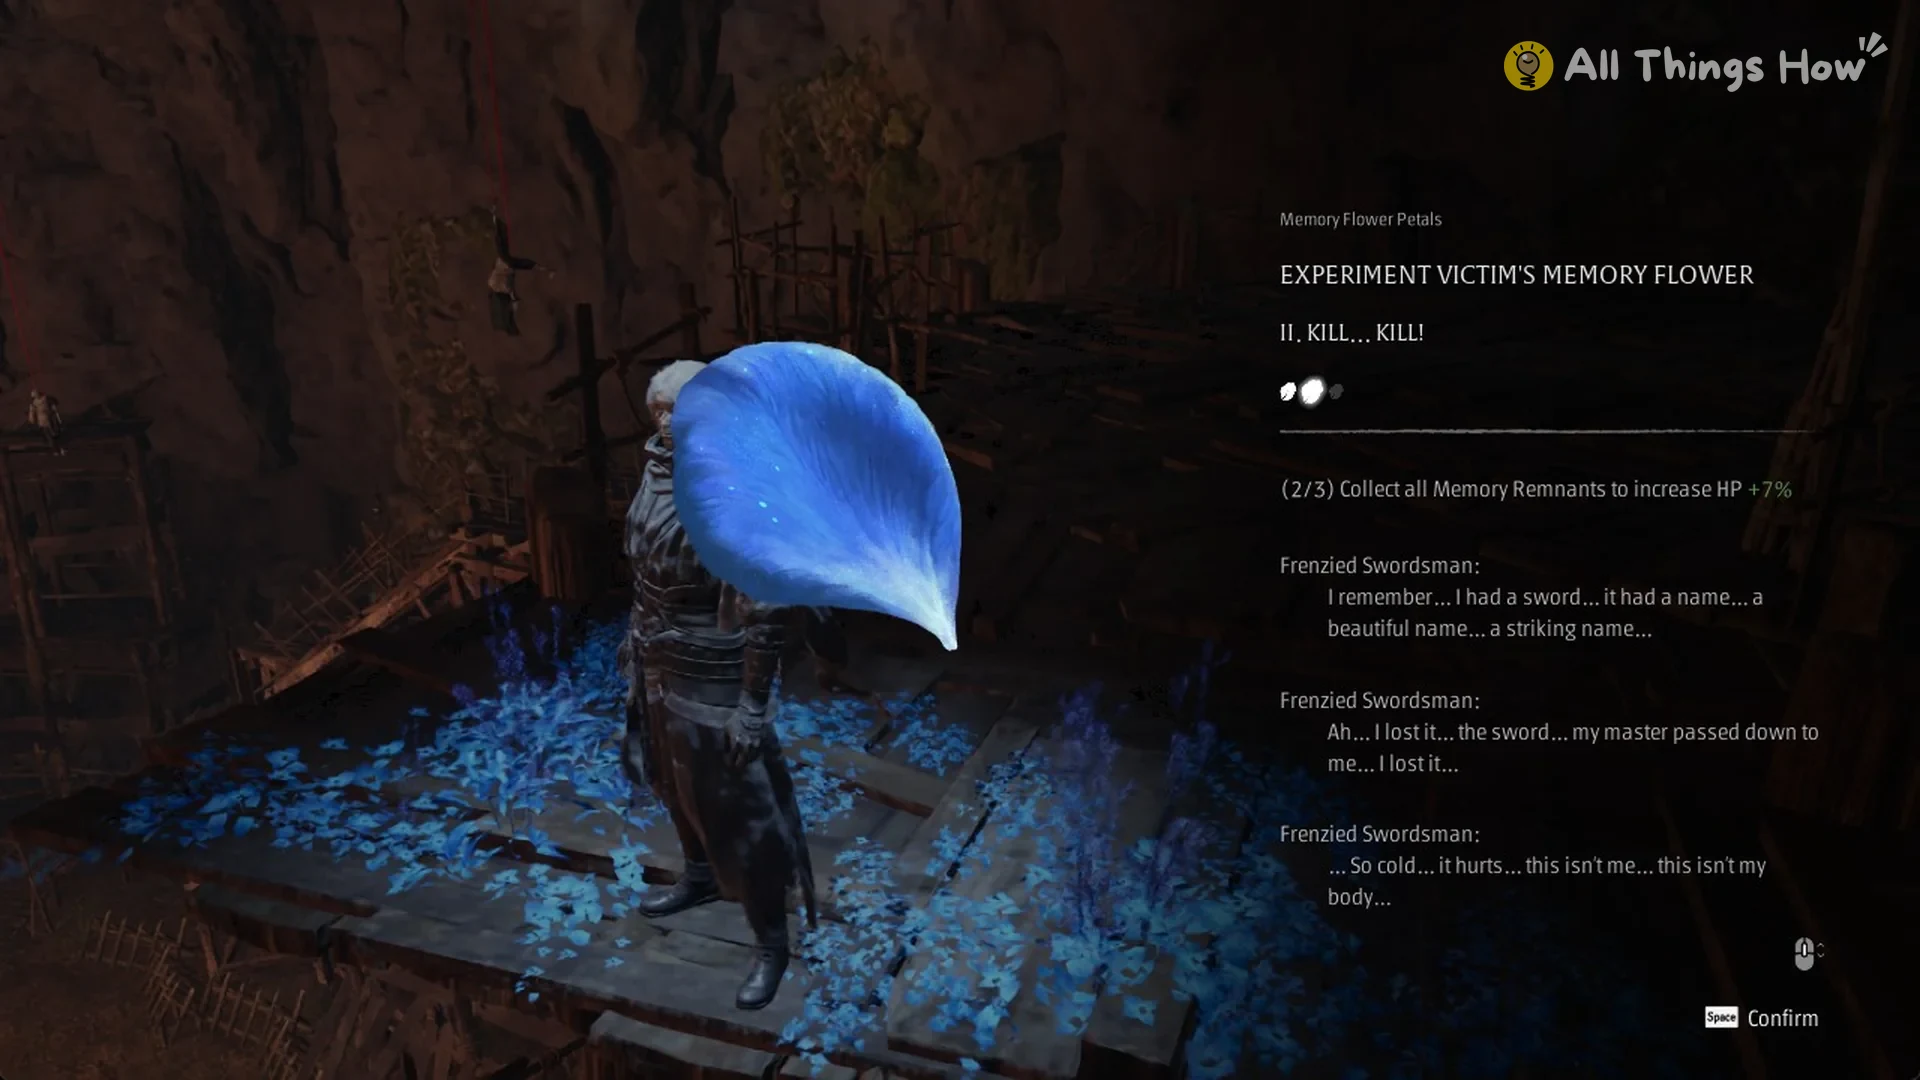
This memory belongs to the Frenzied Swordsman. His lines are “I remember… I had a sword… it had a name… a beautiful name… a striking name…” “Ah… I lost it… the sword… my master passed down to me… I lost it…” “…So cold… it hurts… this isn’t me… this isn’t my body…” The card is titled “II. KILL… KILL!” and shows (2/3).
Petal III: To Live? Or to Die?
At the bell named Training Grounds Depths, take the route leading to the big pavilion, then enter its ground hall.
Beyond the red string curtain, the hall’s rear corner holds a glowing book called The Herald, Unsent Letter. The wooden staircase stands right beside it. Collecting the book also awards about 4,800 Remnant Dust.
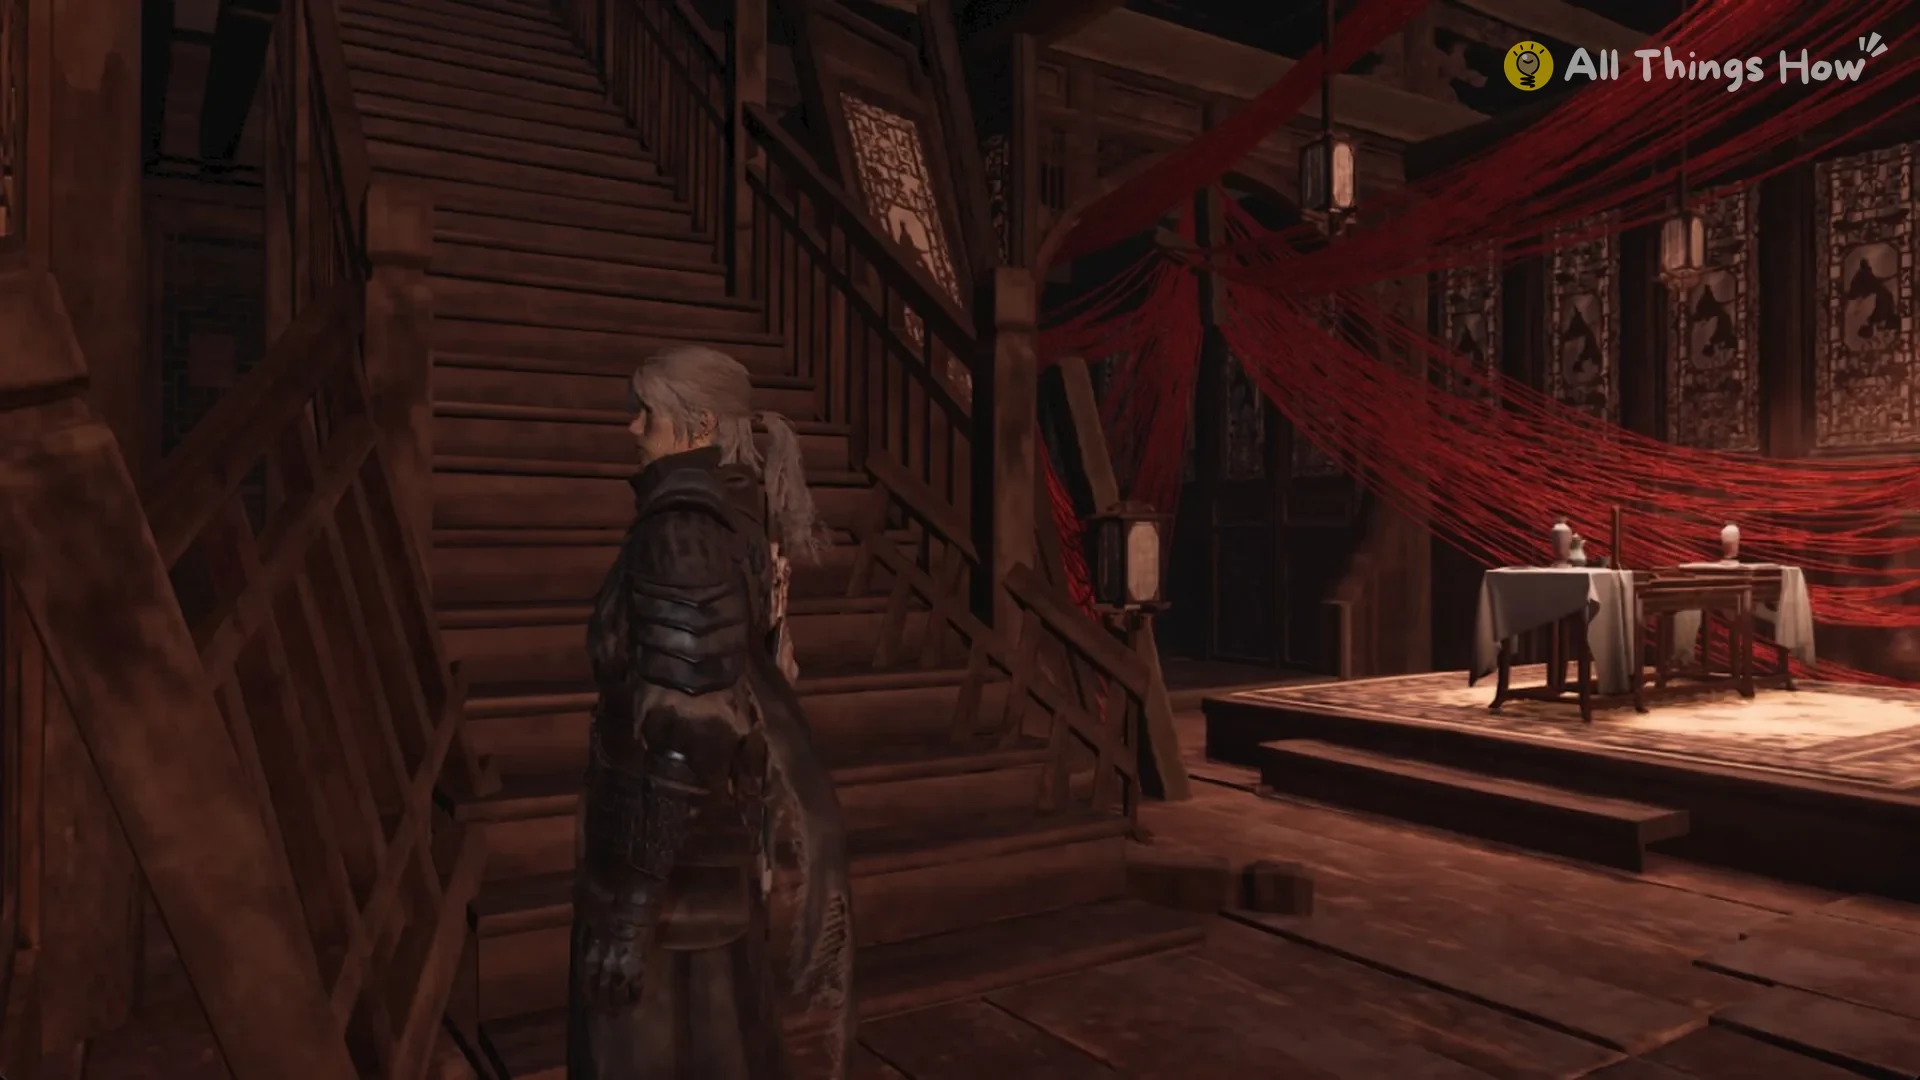
Go up the stairs, then continue through the carpeted gallery. A slumped body there carries another book, The Herald’s Experiment Notes, Vessel Zero, worth about 4,800 Remnant Dust as well. At the gallery’s far end, ascend the steps to the raised platform; the petal rests on the boards. Press E to collect it.
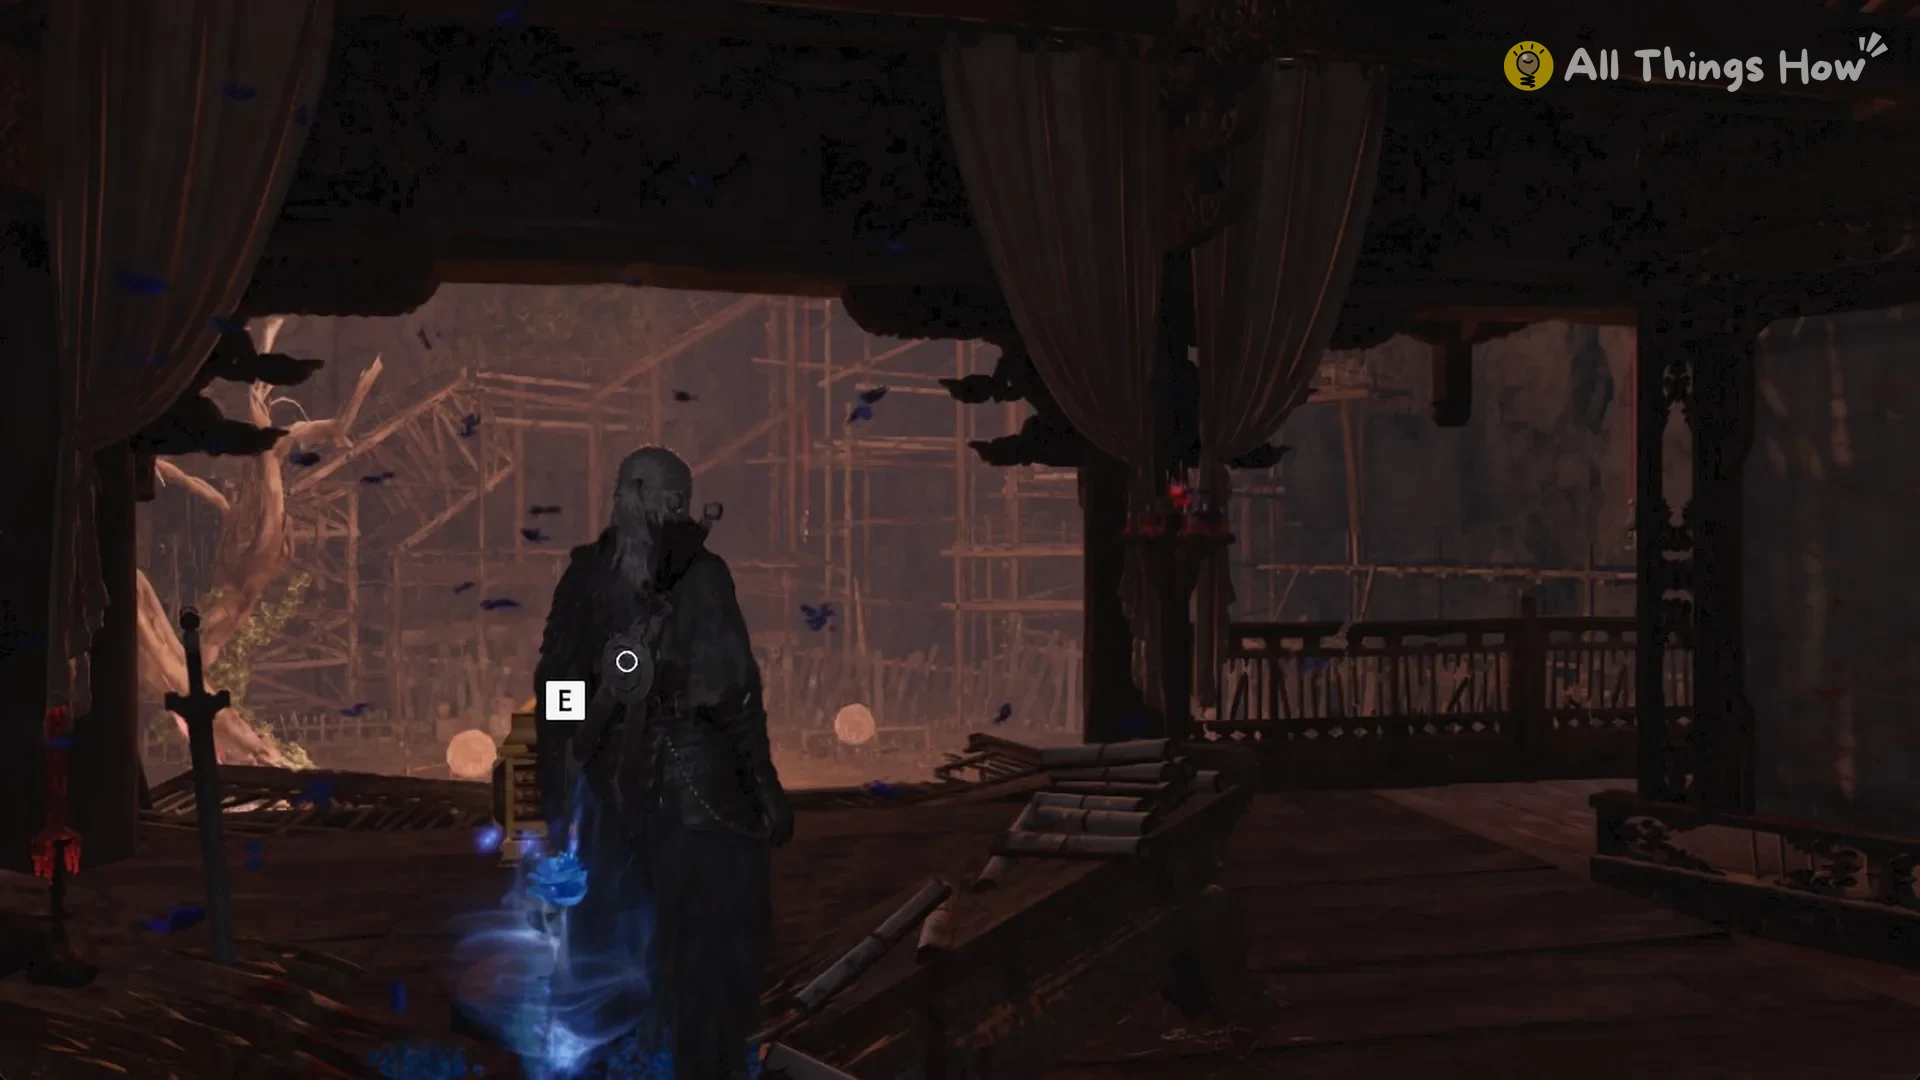
This memory has two voices, the Sect Leader Seeking Release and The Herald’s Voice. Their lines are “… Please… kill me… set me free! Set… me… free…” “What do you want… fame… wealth… power… even my disciples…” “Anything… anything at all… I’ll give you everything…” The card is titled “III. TO LIVE? OR TO DIE?” and shows (3/3).
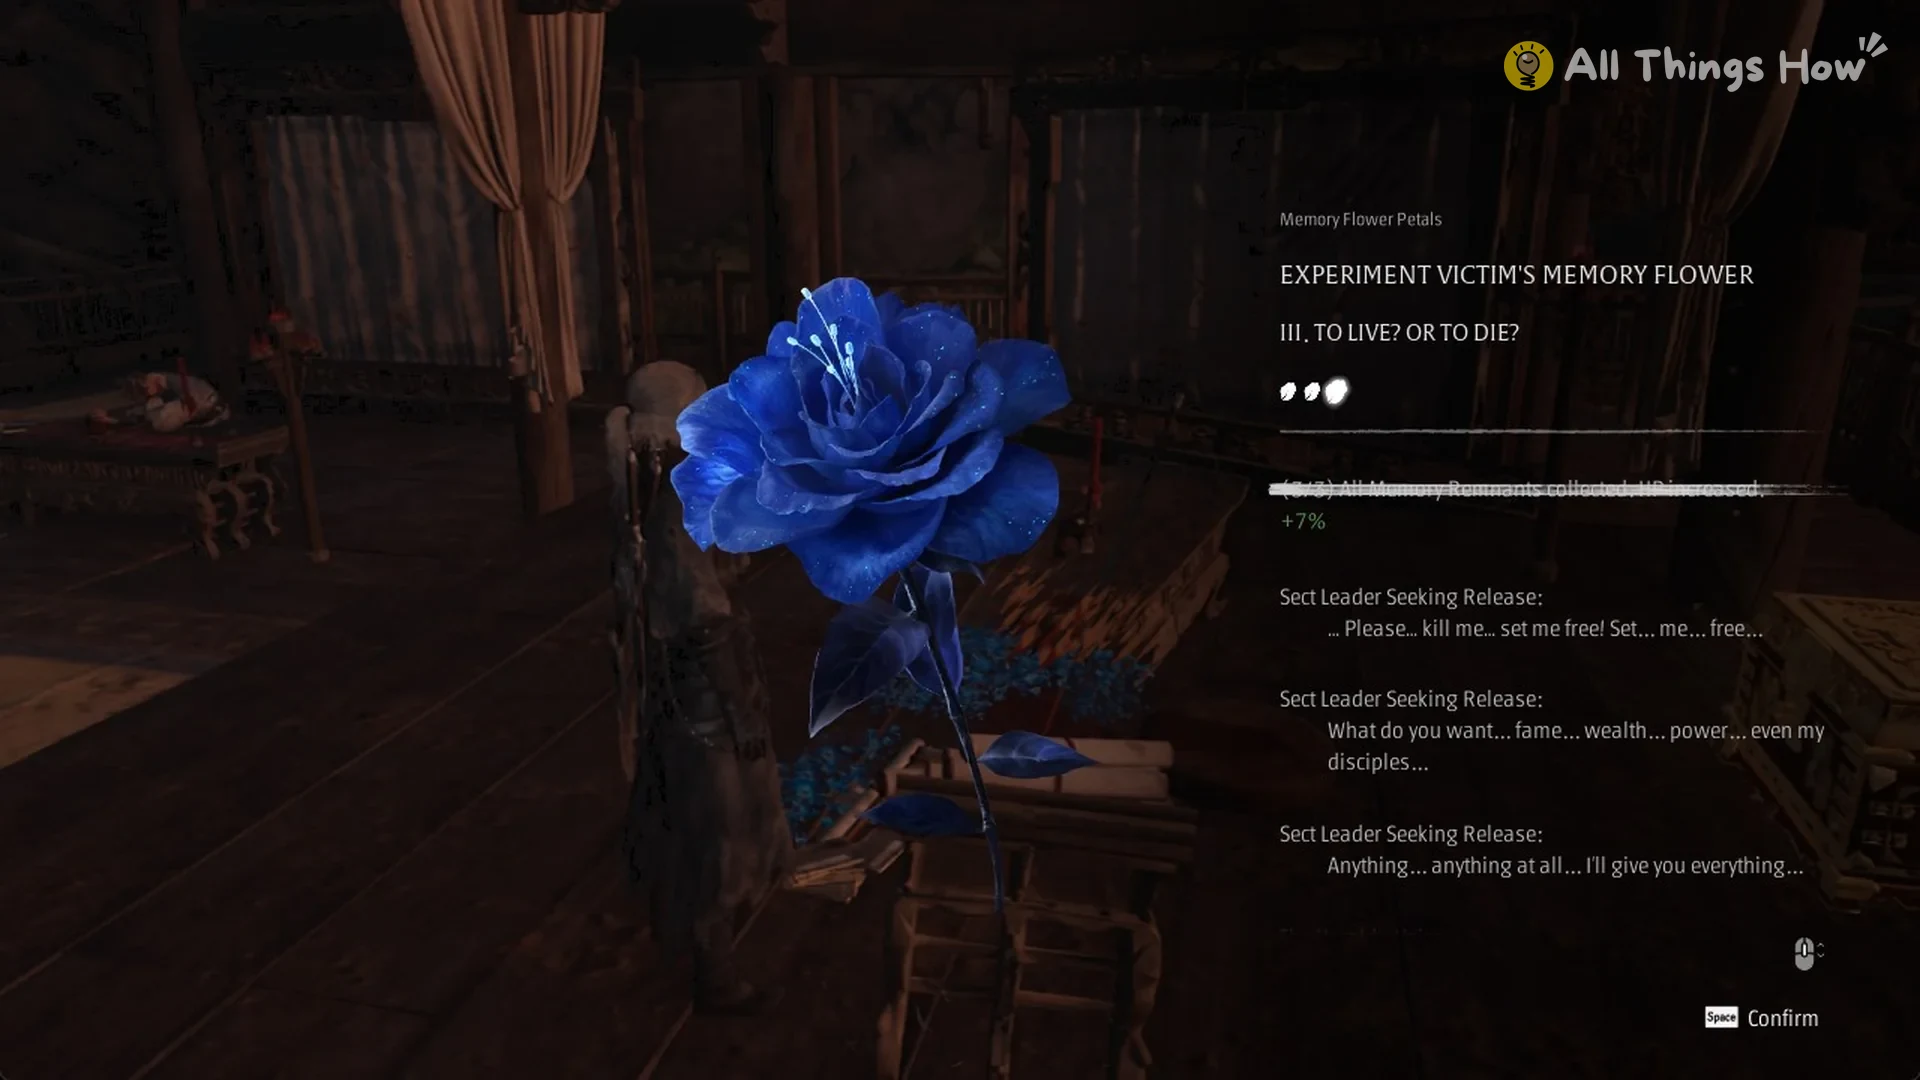
Experiment Victim’s Memory Flower reward
The final card verifies the full set. Its message is “(3/3) All Memory Remnants collected. HP increased. +7%”. Immediately afterward, maximum HP goes from 3,049 to 3,124.
Petals I and II are in the same scaffold cave, so collect them in that order in a single trip. Then Traverse to the Training Grounds Depths bell for Petal III. Be careful with the bells, because their names are similar. Road to the Training Grounds, Training Grounds, and Training Grounds Depths are three separate bells.