Challenge Mode is a curated custom difficulty in Phasmophobia with fixed rules and a fixed loadout you cannot change. Because you never bring your own gear, dying costs you nothing, which is why the mode is far more forgiving than its parameters suggest. The money is tied to the weekly task attached to it, not to surviving.
Quick answer: Correctly mark the ghost type in your journal on the exact map named by the current challenge, three separate times. You do not need to survive the hunt, finish optional objectives, or do the runs back to back. The third correct identification pays out $5,000 and 5,000 XP.
What counts as a Challenge Mode completion
Only one thing decides whether a run counts. The ghost type you selected in the journal must match the ghost that was actually there when the contract ends. Everything else — photos, bone, cursed possession objectives, escaping alive — is optional and pays extra cash, but it does not affect the weekly counter.
Dying does not void a run. If you mark the correct ghost and then get killed during a hunt, the contract still resolves with a correct identification and the counter still moves from 0/3 to 1/3. That makes the safest strategy simple. Get the ghost marked as early as you can, then treat everything after that as a bonus.
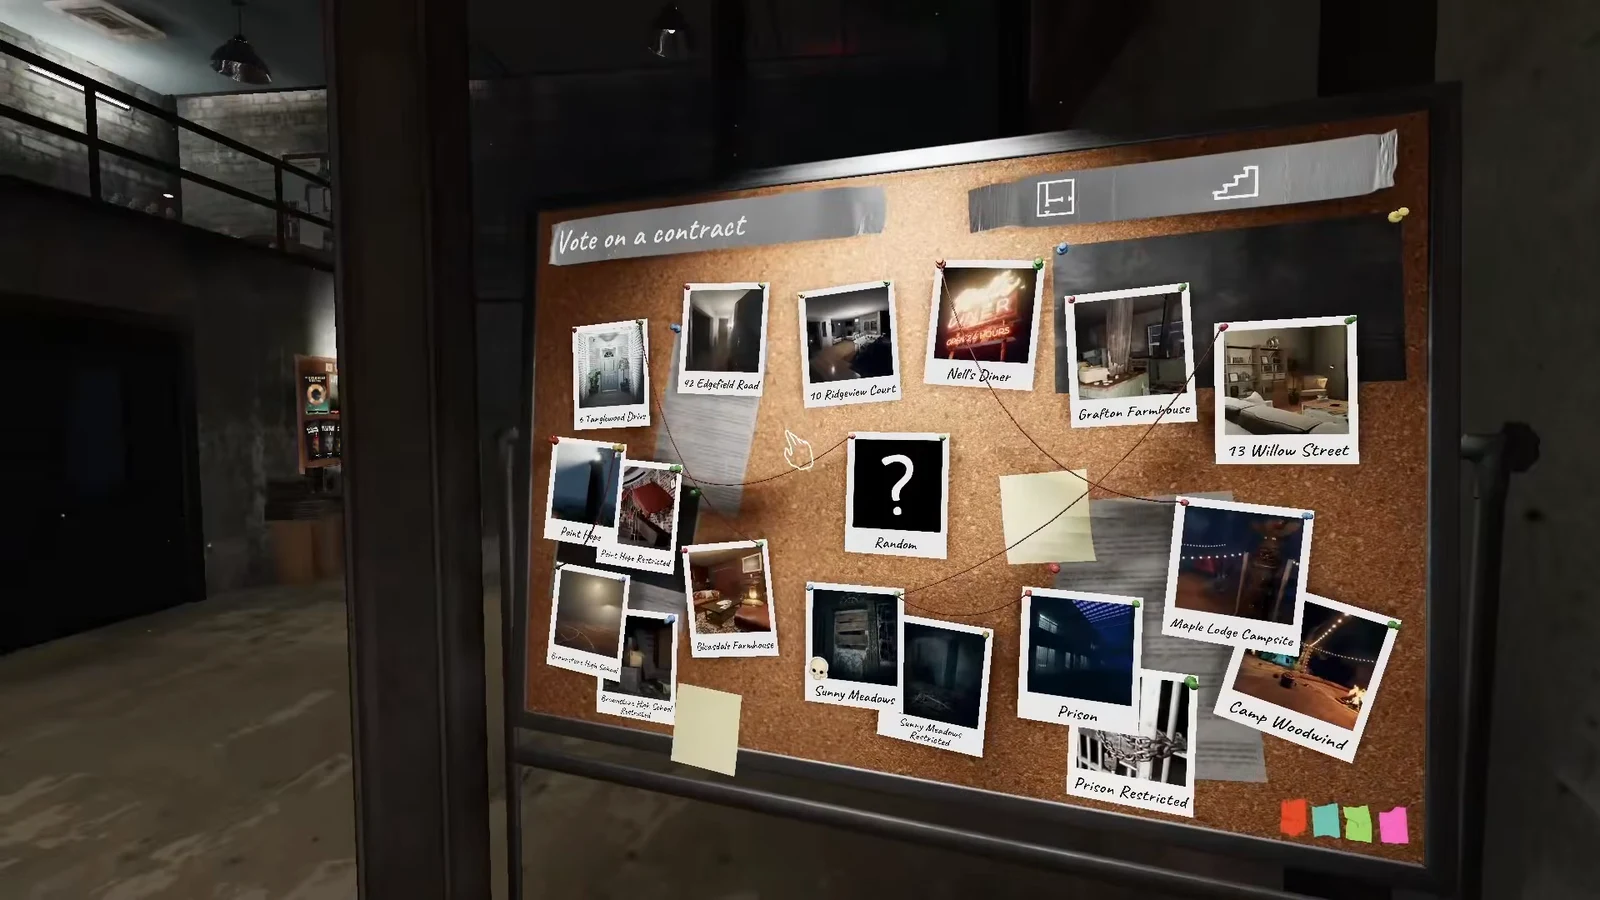
You can also play Challenge Mode as many times as you like on any map for fun, but only runs on the map named in the challenge description feed the weekly task.
How to run a Challenge Mode contract
How to confirm the run counted
The end-of-contract summary is the confirmation. It names the ghost that was present and shows whether your journal answer matched, along with the XP and cash earned for that run. Back in the lobby, the challenge board increments the counter, so 0/3 becomes 1/3 after a successful run.
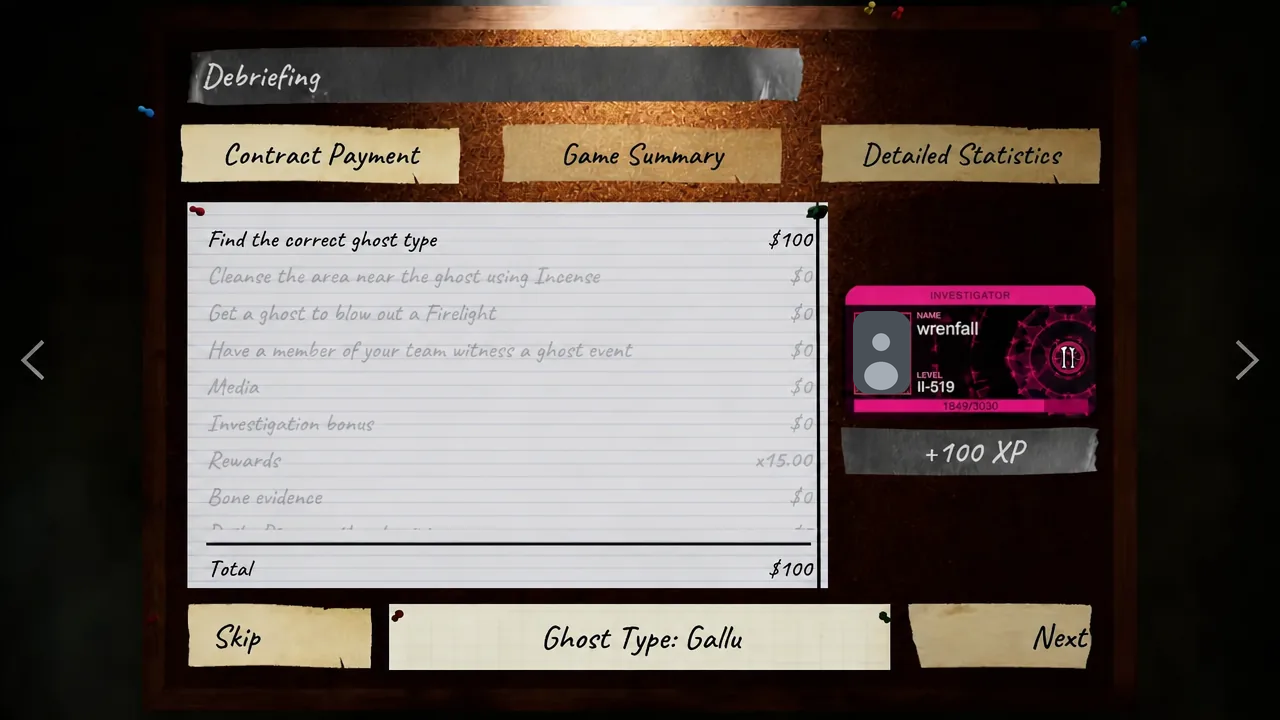
If the summary confirms the correct ghost but the counter has not moved, the run was almost certainly played on the wrong location.
Why Challenge Mode progress does not count
- The ghost type marked in the journal was wrong, or no ghost was marked at all.
- The contract was played on a different map than the one named in the challenge.
- The contract was played on a non-Challenge difficulty such as Professional or a custom setup.
- A Sunny Meadows challenge was run on Sunny Meadows (Restricted), or the reverse. The two do not count for each other.
- The three runs were not finished before the weekly reset, which wipes the counter back to zero.
Challenge Mode rewards and the 1x multiplier
Individual Challenge Mode contracts pay poorly. No matter how punishing the parameters are, the mode always uses a base reward multiplier of 1x, the same as Amateur. The payout that matters is the weekly task bonus, which lands once you hit the third completion.
| Element | Value |
|---|---|
| Runs required | 3 correct ghost identifications |
| Weekly task reward | $5,000 and 5,000 XP |
| In-run multiplier | 1x, regardless of difficulty |
| Equipment cost | Free, preset, and not lost on death |
| Survival requirement | None |
Note: Optional objectives, photo rewards, and bone pickups still stack on top of each run’s payout, so they are worth grabbing on easier challenges. They just never substitute for the ghost identification.
Weekly rotation and the current challenge
There are 26 standard challenges, and they rotate every Monday at midnight UTC. The challenge board in the lobby always shows a countdown to the next swap, which is the deadline for finishing all three runs.
The active challenge is Gotta Go Fast!, set at Prison. It is one of the harshest entries in the pool because you start at 0% sanity with no pill restoration and a disabled sanity monitor, hiding spots are removed entirely, and both you and the ghost move at 125% speed. The fuse box starts broken and most doors start open, on one of the largest and easiest maps to get lost in.
| Setting | Effect on the run |
|---|---|
| Starting sanity | 0%, with no pill restoration and no sanity monitor |
| Player and ghost speed | 125% for both, so speed is useless as an identifier |
| Hiding places | None, so hunts must be outrun or avoided |
| Fuse box | Broken for the whole contract |
| Doors | High chance of starting open |
| Loadout | Tier 1 only, with no incense and no crucifixes |
With no incense or crucifixes, there is nothing to stop or delay a hunt, so distance is the only defence. Sweep for the ghost room with the parabolic microphone and the EMF reader first, drop electronics and run the moment a hunt starts, then bring in only a writing book, a DOTS projector, or a spirit box. Salt and UV cost you time standing still in the ghost’s room, which is the most dangerous thing you can do here. Prison’s built-in camera system is also worth checking for ghost orbs without walking the halls.
Standard challenges and their required maps
| Challenge | Required map |
|---|---|
| Lights out! | 6 Tanglewood Drive |
| Déjà Vu | 6 Tanglewood Drive |
| Speedrun! | 6 Tanglewood Drive |
| Speed Demons | Maple Lodge Campsite |
| Detectives only | 42 Edgefield Road |
| Glow in the Dark | 42 Edgefield Road |
| Survival of the Fittest | 42 Edgefield Road |
| Hide and Seek: Seeker | Brownstone High School |
| Tag! You’re it! | Brownstone High School |
| Missed Delivery | Brownstone High School |
| Hide and Seek: Hide! | Point Hope |
| Paranormal Paparazzi | Point Hope |
| Frostbitten | Camp Woodwind |
| Slow and Steady | Camp Woodwind |
| Hide and Seek: Extreme | Camp Woodwind |
| Do as I Command | Sunny Meadows |
| Audio Only | Sunny Meadows |
| The Apocalypse Draws Near | Sunny Meadows |
| Tortoise and the Hare: Hare | Bleasdale Farmhouse |
| Technophilia | Bleasdale Farmhouse |
| Tortoise and the Hare: Tortoise | Grafton Farmhouse |
| No Evidence | Grafton Farmhouse |
| Sanity Survival | 10 Ridgeview Court |
| Primitive | 10 Ridgeview Court |
| Vulnerable | Willow Street |
| Gotta Go Fast! | Prison |
Treat each contract as a single question to answer rather than a survival test. Find the room, get the evidence that separates the likely ghosts, mark the journal, and leave. Three correct answers on the right map is the whole task, and the game hands you the gear to do it for free every time.