Stickers are the camera collectible in Hot Wheels Infinite Rush, and they are the only thing standing between you and the Postcards trophy. There are 40 of them stuck to walls, tunnels, containers and temple roofs across the archipelago, and none of them are picked up by simply driving over a marker. You have to photograph each one.
Quick answer: Drive to all 40 Sticker spots (10 on each of the four islands), open Photo Mode with the Sticker in frame, and take the shot. The 40th capture unlocks Postcards.
How Stickers are collected in Photo Mode
Each Sticker is a flat decal painted onto the world, usually on a building wall or the inside of a track structure. The game tells you when one is close by, which is your cue to stop, look around and find the decal before you switch to the camera. Frame it, take the picture, and the Sticker is banked.
Progress is tracked per island rather than as one long list, so the HUD counter reads something like WHEELSWOOD STICKER: 2/10 when you capture one. That per-island count is the fastest way to see which region you still owe photos to.
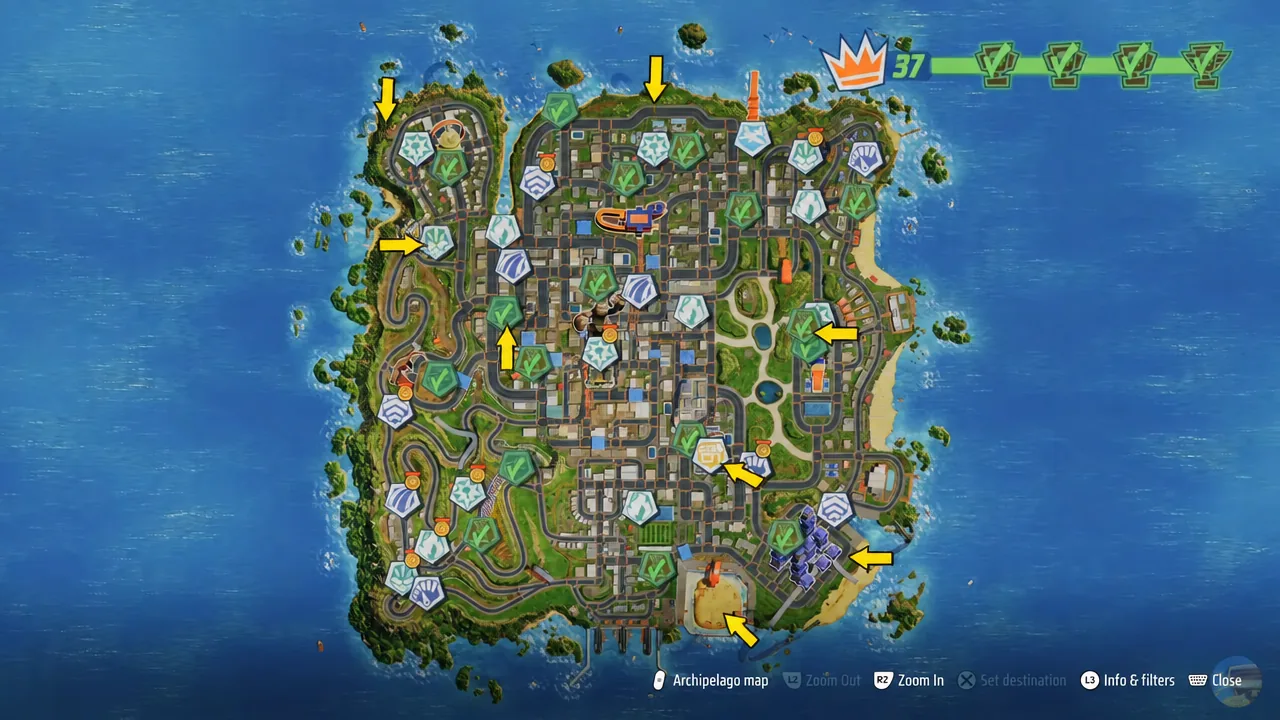
The Archipelago map is worth using between pickups. Setting a waypoint on the next cluster keeps you from circling the same neighbourhood twice, and the islands are large enough that guessing costs real time.
Note: the camera is also used for Tourist activities, so learning to line up a shot for Stickers carries over. Clearing the Tourist activity in Drifty Temples awards the 16 Angels vehicle.
Sticker split across the four islands
The 40 Stickers are divided evenly, 10 per island, so no region hides more than any other. Finishing one island completely before moving on keeps the counters clean.
| Island | Stickers | Numbering |
|---|---|---|
| Wheelswood | 10 | 1–10 |
| Tentacle Bay | 10 | 11–20 |
| Gearville | 10 | 21–30 |
| Drifty Temples | 10 | 31–40 |
Wheelswood Sticker locations (1–10)
Wheelswood is the city island, so most of its Stickers sit on street-level walls. Two of them are attached to track hardware rather than buildings, which is easy to miss when you are scanning rooftops.
| # | Where it is |
|---|---|
| 1 | On a building wall close to the garage |
| 2 | On a grey wall beside the shipping containers |
| 3 | On the side of the giant orange loop |
| 4 | On the front door of the Hot Wheels building |
| 5 | On a red brick wall near the fountain |
| 6 | High up on a wall along the city street |
| 7 | On a building wall next to a swimming pool |
| 8 | Underneath a bridge and overpass structure |
| 9 | Inside a blue tunnel, reached after a jump |
| 10 | On a building wall tucked behind trees |
Tentacle Bay Sticker locations (11–20)
The coastal island spreads its Stickers across resort buildings, the working waterfront and one oversized set piece. Sticker 19 is the outlier, sitting under the giant wooden dinosaur ribcage rather than on a flat wall.
| # | Where it is |
|---|---|
| 11 | On a yellow and blue villa wall |
| 12 | On a green warehouse wall |
| 13 | On the cinema building wall |
| 14 | On a hotel wall next to the pool |
| 15 | On a white villa wall |
| 16 | On a stone barn wall |
| 17 | On a blue shipping container by the mechanic shop |
| 18 | On a white building wall near the shore |
| 19 | Under the giant wooden dinosaur ribcage |
| 20 | On a building wall beside the Hot Wheels sign |
Gearville Sticker locations (21–30)
Gearville is the industrial island, and its Stickers lean on machinery and infrastructure. One is painted on the back of a giant orange excavator, another is inside a purple tunnel, and Sticker 25 sits on a wall carrying the words “Challenge Accepted”.
| # | Where it is |
|---|---|
| 21 | On a large building wall |
| 22 | On the back of the giant orange excavator |
| 23 | On a white wall near the yellow pipes |
| 24 | On a white warehouse wall beside a track |
| 25 | On the wall marked “Challenge Accepted” |
| 26 | Inside a purple tunnel structure |
| 27 | On a brick wall under the train track |
| 28 | On a blue wall inside the garage and factory |
| 29 | On a warehouse wall near the water tower |
| 30 | On a white building wall by a wooden fence |
Drifty Temples Sticker locations (31–40)
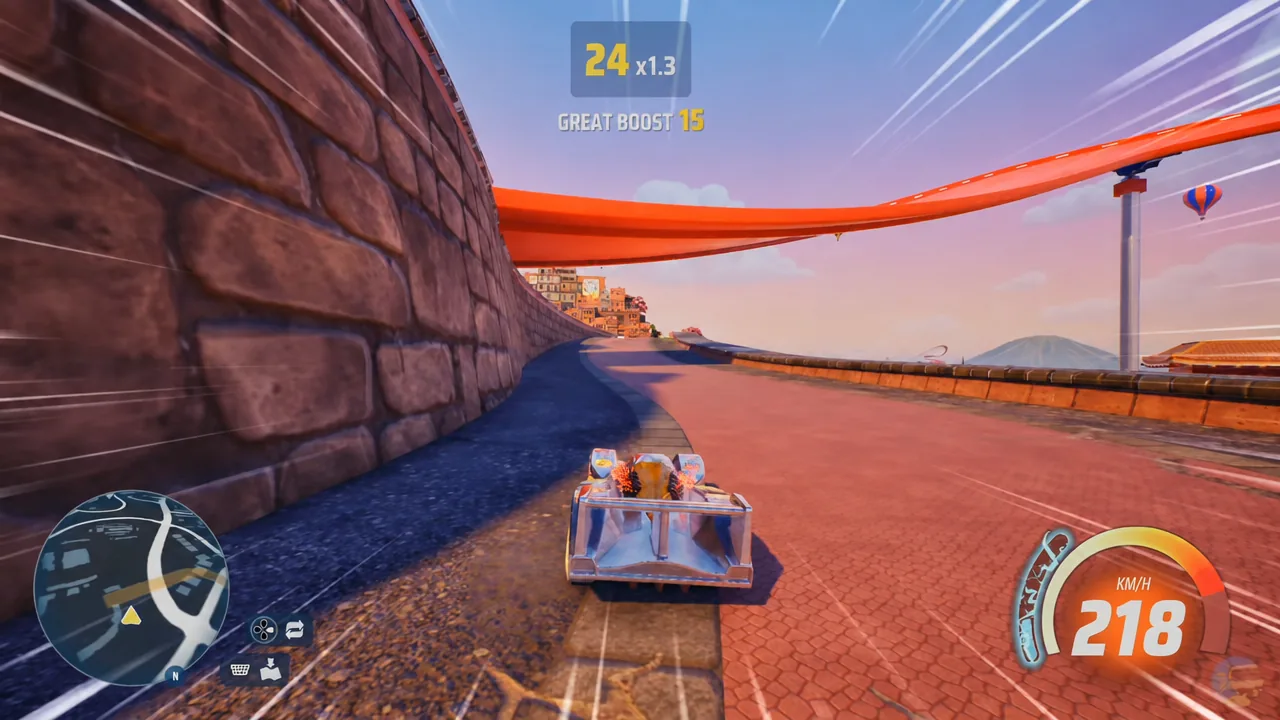
The final ten mix shopfronts with temple architecture, and a few are mounted high enough that you need a ramp or a boosted run to get a clean angle on them. Sticker 36 sits on a temple wall out over the water, and 37 is hidden under the red archway.
| # | Where it is |
|---|---|
| 31 | On a pink building wall marked “SAVE!” |
| 32 | On a green building wall |
| 33 | High up on a wall along a city street |
| 34 | On a tunnel wall |
| 35 | On a white building wall near a temple |
| 36 | On a temple wall out over the water |
| 37 | Under the red archway structure |
| 38 | High up on a white building wall |
| 39 | Under a temple roof structure |
| 40 | On a blue building wall |
Tip: while you are sweeping Drifty Temples, pick up the island’s Hot Wheels Logos on the same loop. Collecting all of them awards the Rodger Dodger.
Confirming the Postcards trophy unlocked
Each island counter should read 10/10 once you are done, and Postcards fires the moment the 40th photo is taken. On PlayStation 5 it appears in the game’s 51-trophy list, so it is also a required step toward the Infinite Rush platinum. Fewer than 5 percent of players have it, which mostly reflects how easy it is to leave two or three decals behind on a big island.
If the trophy has not popped, the usual cause is a Sticker you drove past without photographing. Proximity alone does nothing, so a decal you saw but never framed in Photo Mode still counts as missing. Check the island counters one at a time, then return only to the region that is short.
Worth keeping in mind that the wall-mounted Stickers high above street level are the most commonly skipped, since the camera has to be pointed upward rather than straight ahead. If a count is off by one on an island with tall buildings, that is the first place to look.