


Bosses are where the katanas, outfits, and ultimate moves in Project Slayers 2 come from. The fights themselves are rarely the problem. The problem is that half the roster sits behind a fake wall, a hole in the ground, a cave mouth tucked behind a waterfall, or a clock that only rolls over at night.
Quick answer: Every boss has a fixed spawn. Run Obanai down to Fujiko as one continuous lap with no fast travel, then treat Iceveil Valley as a second trip once you have the Emberheart Lantern.
All Project Slayers 2 boss locations and drops
The roster’s health totals are far apart: Obanai has 3,000 HP, whereas the Water Trainee Sabito mini-boss has only 600. As a result, a new character and a geared one can follow the same order at very different speeds.
| Boss | Location | Known drops |
|---|---|---|
| Obanai | Above Bamboo Grove | Serpent Haori, Serpent Katana, Serpent Mask |
| Zentaro (The Thunder King) | Below Obanai, near Hidden Mist | Thunder Haori, Thunder Katana |
| Sumari | Past Bamboo Grove, night only | Outfit, necklace, ultimate move |
| Yahari | Past Bamboo Grove, night only | Outfit, necklace, ultimate move |
| Water Trainee Sabito | Central path | Water Trainee Outfit, Ghost Warding Mask, Scarred Warding Mask |
| Giyu | By the bridge | — |
| Reaper | Past Giyu | Outfit, ultimate move |
| Daki | A cave beyond the red gate, beside the waterfall | Golden Kanzashi, Bulwark set |
| Gyutaro | Deeper in Daki’s cave | Blood Sickles, Circular Slashes |
| Sanemi | Along the main path | Wind-themed set |
| Shinobu | Further along from Sanemi | — |
| Rengoku | Across the suspension bridge | Flame Katana |
| Nezuko (Nezura) | Below Rengoku’s cliff | Bamboo Muzzle, Nezura’s Outfit, Missing Pyrokinesis |
| Gyomei | Near Hidden Mist Village | — |
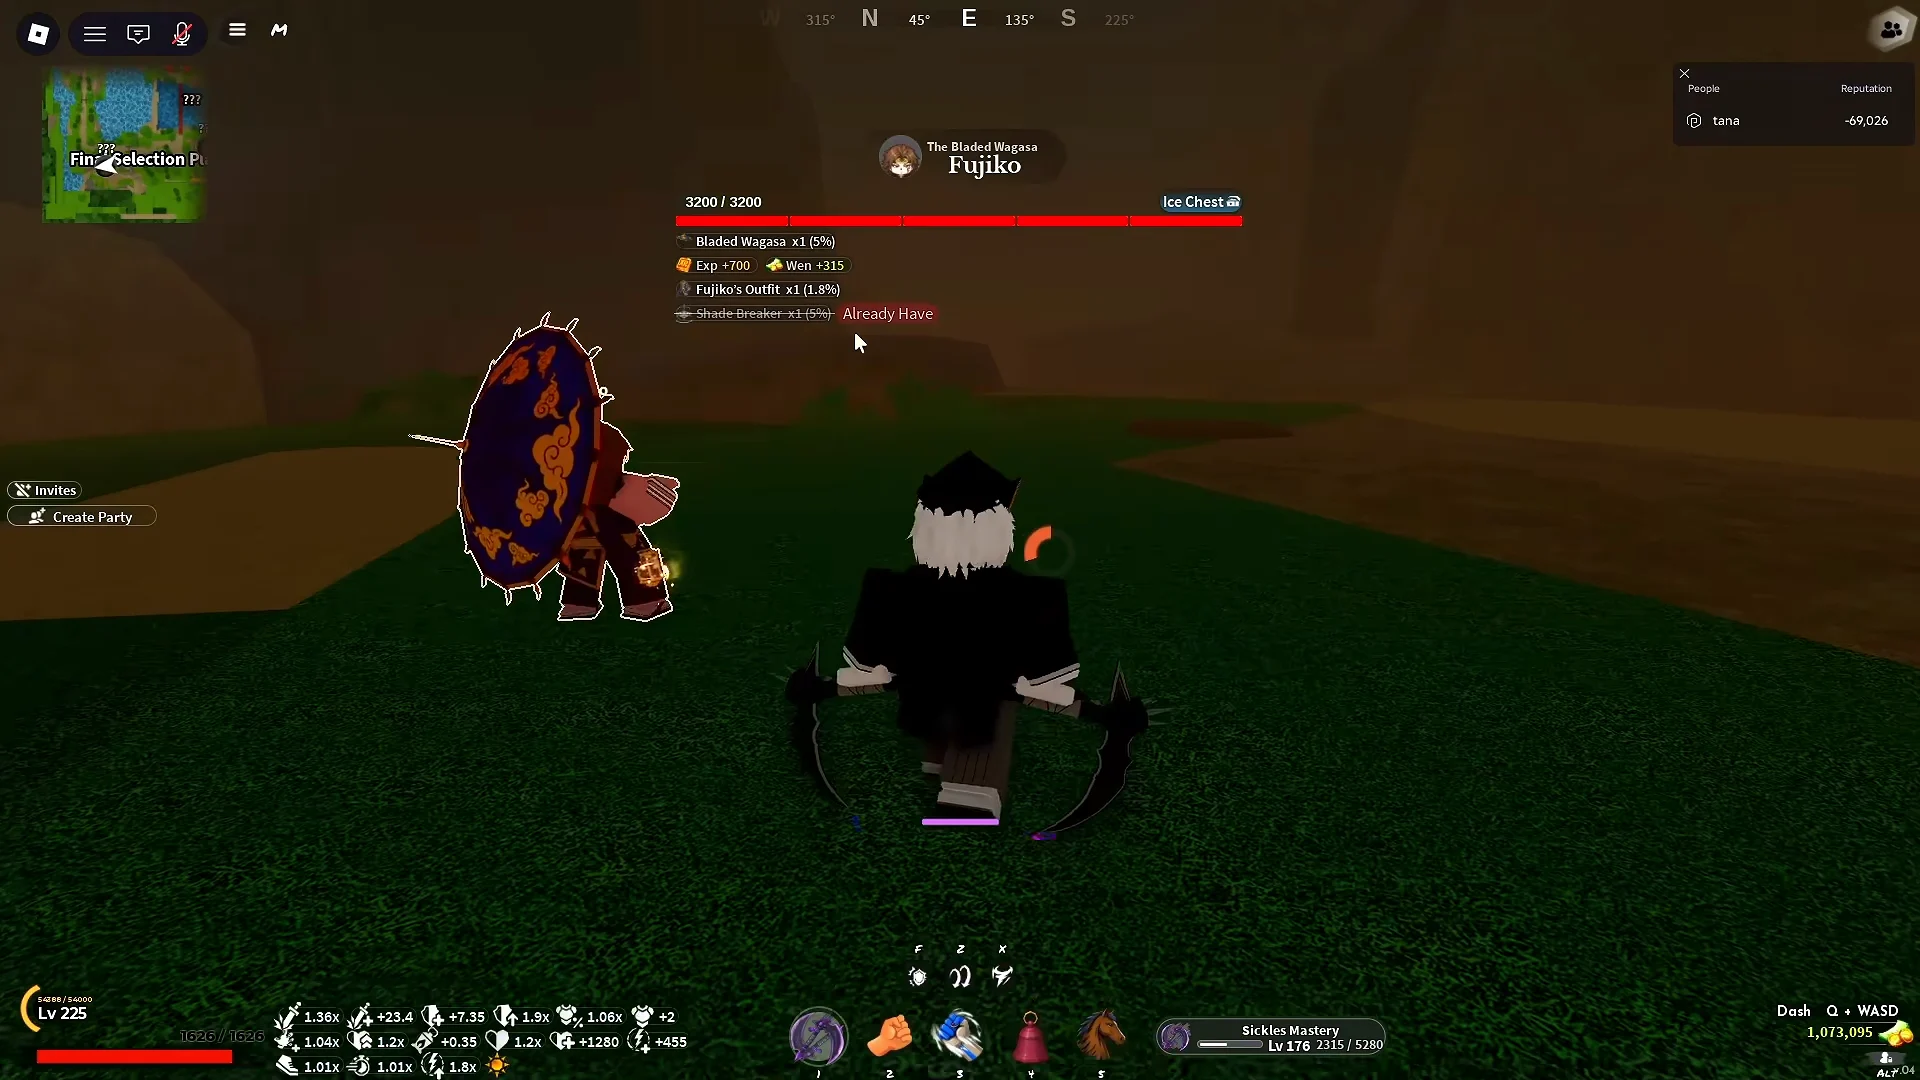
| Fujiko | Cave in the Final Selection Plains | Bladed Wagasa, Fujiko’s Outfit, Ice Chest |
| Yeti | Cave near Butterfly Estate, Iceveil Valley | — |
| Tengen (Tengai) | Snowy town near Frost Veil Shrine | — |
| Doma | By the torii gate past Tengen | Black Lotus Crown, War Fans |
| Akaza | Windy Peak, behind a fake wall | Top, bottom, Shockwave |
| Enmu | Dreamfall Hollow, past Mistfall Harbor | — |
Once his cosmetics are secured, keep Rengoku in rotation: his dropped Flame Katana can be upgraded to the Volcanic Katana, giving him lasting value on the route.
Bosses you cannot simply walk up to
Five encounters have a condition attached. Four hide behind concealed entrances, one needs gear before the region is survivable, and missing any of them is the usual reason a boss looks like it does not exist.
Akaza: the fake wall at Windy Peak
At Windy Peak, climb the cliff rather than riding around its base. Close to the summit is a pass-through wall; Akaza waits beyond it with his top, bottom, and Shockwave move.
Enmu: the drop in Dreamfall Hollow
Teleport to the Mistfall Harbor Shrine, move through the harbor, and continue into Dreamfall Hollow. His arena is underground, reached through a concealed opening in the ground rather than any visible door.
Daki and Gyutaro: one cave, two fights
The two bosses share the cave beyond the red gate. Daki is nearer the waterfall, while Gyutaro waits farther inside, letting you defeat them consecutively without leaving and coming back.
Fujiko: the secret cave in the Final Selection Plains
Fujiko is tucked inside a cave in the Final Selection Plains and nothing on the map points you toward her. She is the only source of the Bladed Wagasa, her outfit, and the Ice Chest.
Yeti: Emberheart Lantern and Frozen Heart
Cold damage continues throughout Iceveil Valley. Put on the Emberheart Lantern before teleporting there, or you may finish the trip before reaching the fight. The Yeti waits in a cave near Butterfly Estate, and using the Frozen Heart begins the encounter.
Sumari and Yahari: night-only spawns
Neither boss appears in daylight; both spawn just beyond Bamboo Grove along the outward route. Check the in-game clock before traveling, then return at night to receive their outfits, necklaces, and ultimate moves.
The one-lap central boss route
Most of the main roster is packed closely enough for a horse and a few shrine teleports to cover nearly all of it. The route below starts with the largest early health pool, ends at the hidden cave, and stays connected without fast travel interrupting it.
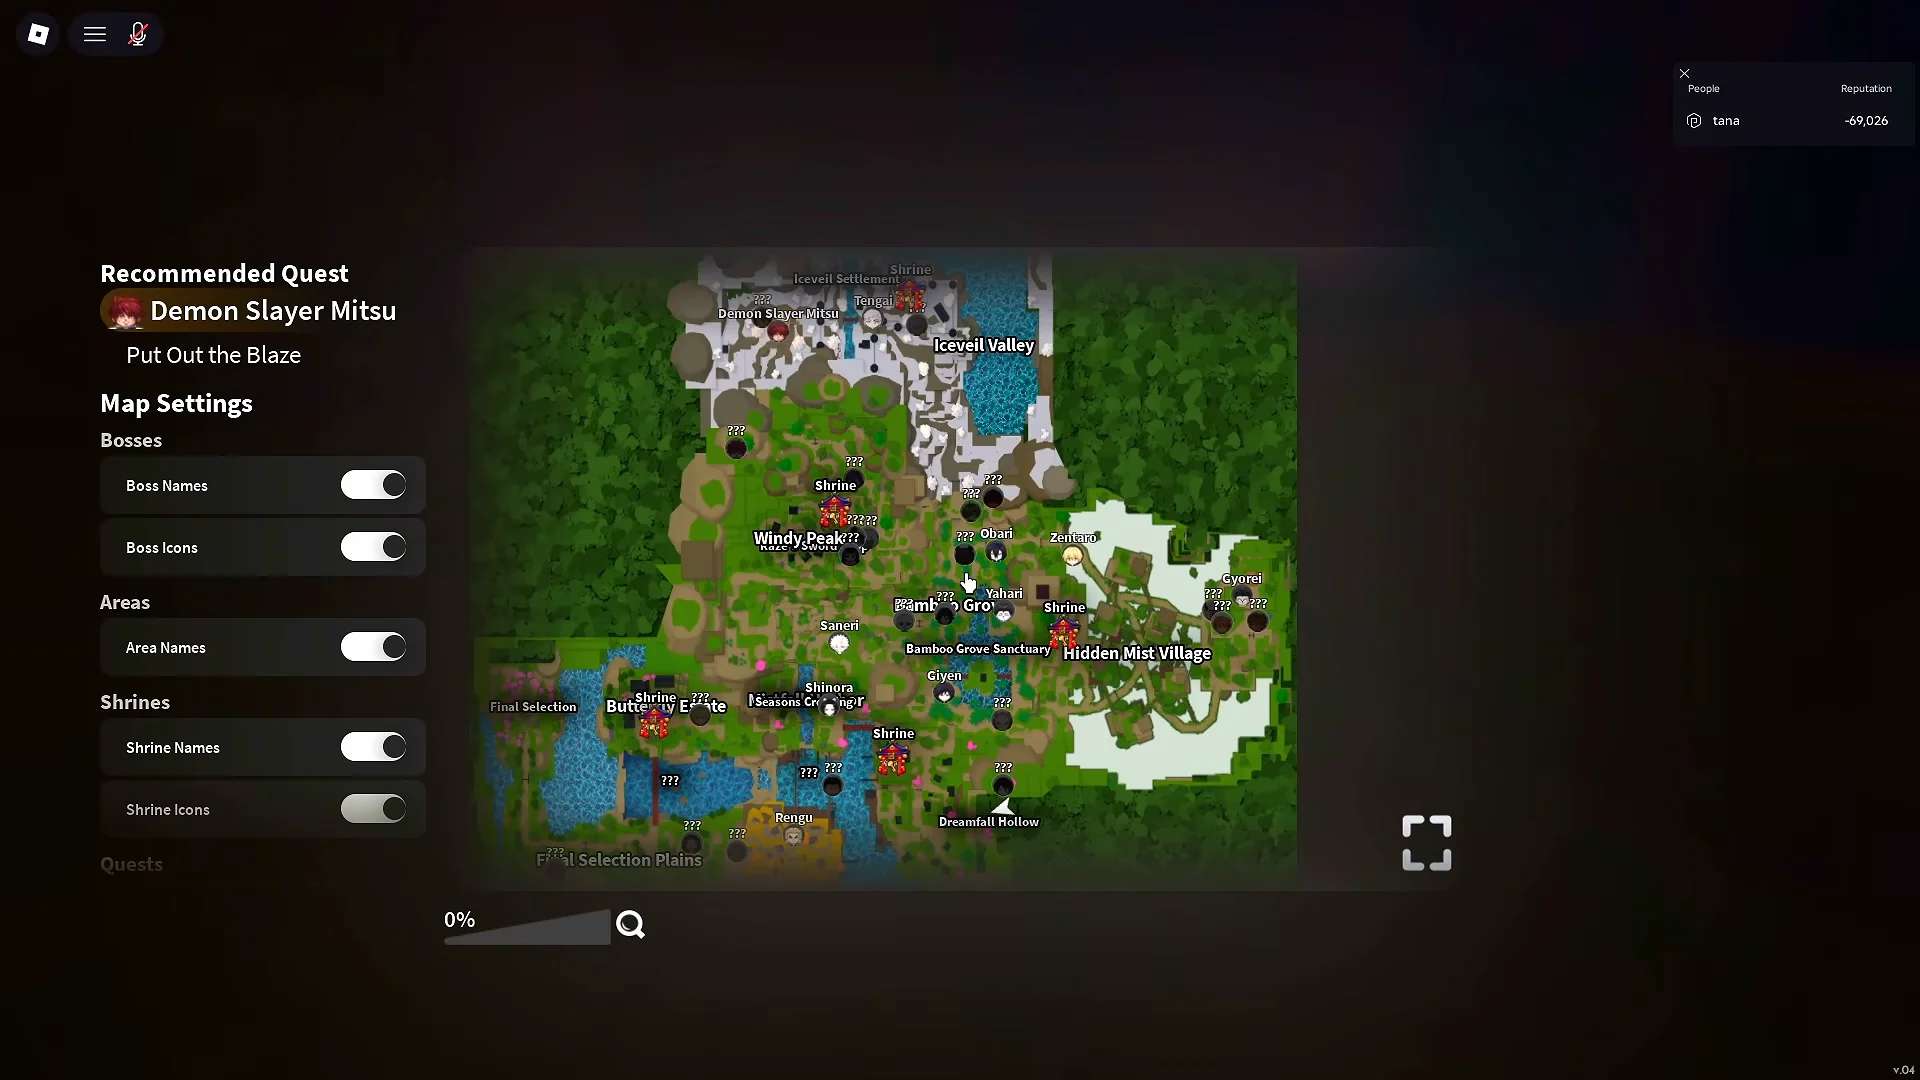
Mark the cave mouths and the red gate on your map the first time you find them. The route only stays fast if you are not re-hunting entrances on every reset.
Iceveil Valley and the snow region trip
Treat the snow bosses as a separate second circuit. A teleport to the Frost Veil Shrine takes you off the central route, and Iceveil Valley remains inaccessible until you have cold protection.
Once you are there, Tengen is a short walk from the shrine in the snowy town, and Doma is by the torii gate past him for the Black Lotus Crown and War Fans. Handle the Yeti separately, since it has its own entry condition rather than being a walk-up fight. Akaza at Windy Peak and Enmu in Dreamfall Hollow also fit better into this second pass than into the central lap.
How boss chests and rare rolls work
Each kill produces an item chest, with its tier determined by the boss’s strength. Cosmetics, katanas, and ultimate moves use additional independent rolls, so one run may yield only a chest while the next grants a complete outfit piece.
The chest’s post-kill reward screen is where you verify a rare item. Seeing nothing there means the roll failed, so repeat the circuit instead of searching the arena again.
During early access, boss names, entrances, and rewards continue to change. After a major update, check the map again rather than relying on an old spawn location.
Drop rates carried over from the original Project Slayers roster
The original game records its rates in detail, and many of its names and moves also appear here. Use it as the nearest benchmark for the grind’s real cost before settling in to farm a single boss.
| Boss | Location | HP | Drops |
|---|---|---|---|
| Zoku | Kiribating Village | 250 | Riyaku’s Necklace (20%) |
| Kaden | Ushumaru Village | 900 | Tier 1 Chest |
| Sabito | South of Abubu Cave | 900 | Sabito’s Mask (12%), Tier 1 |
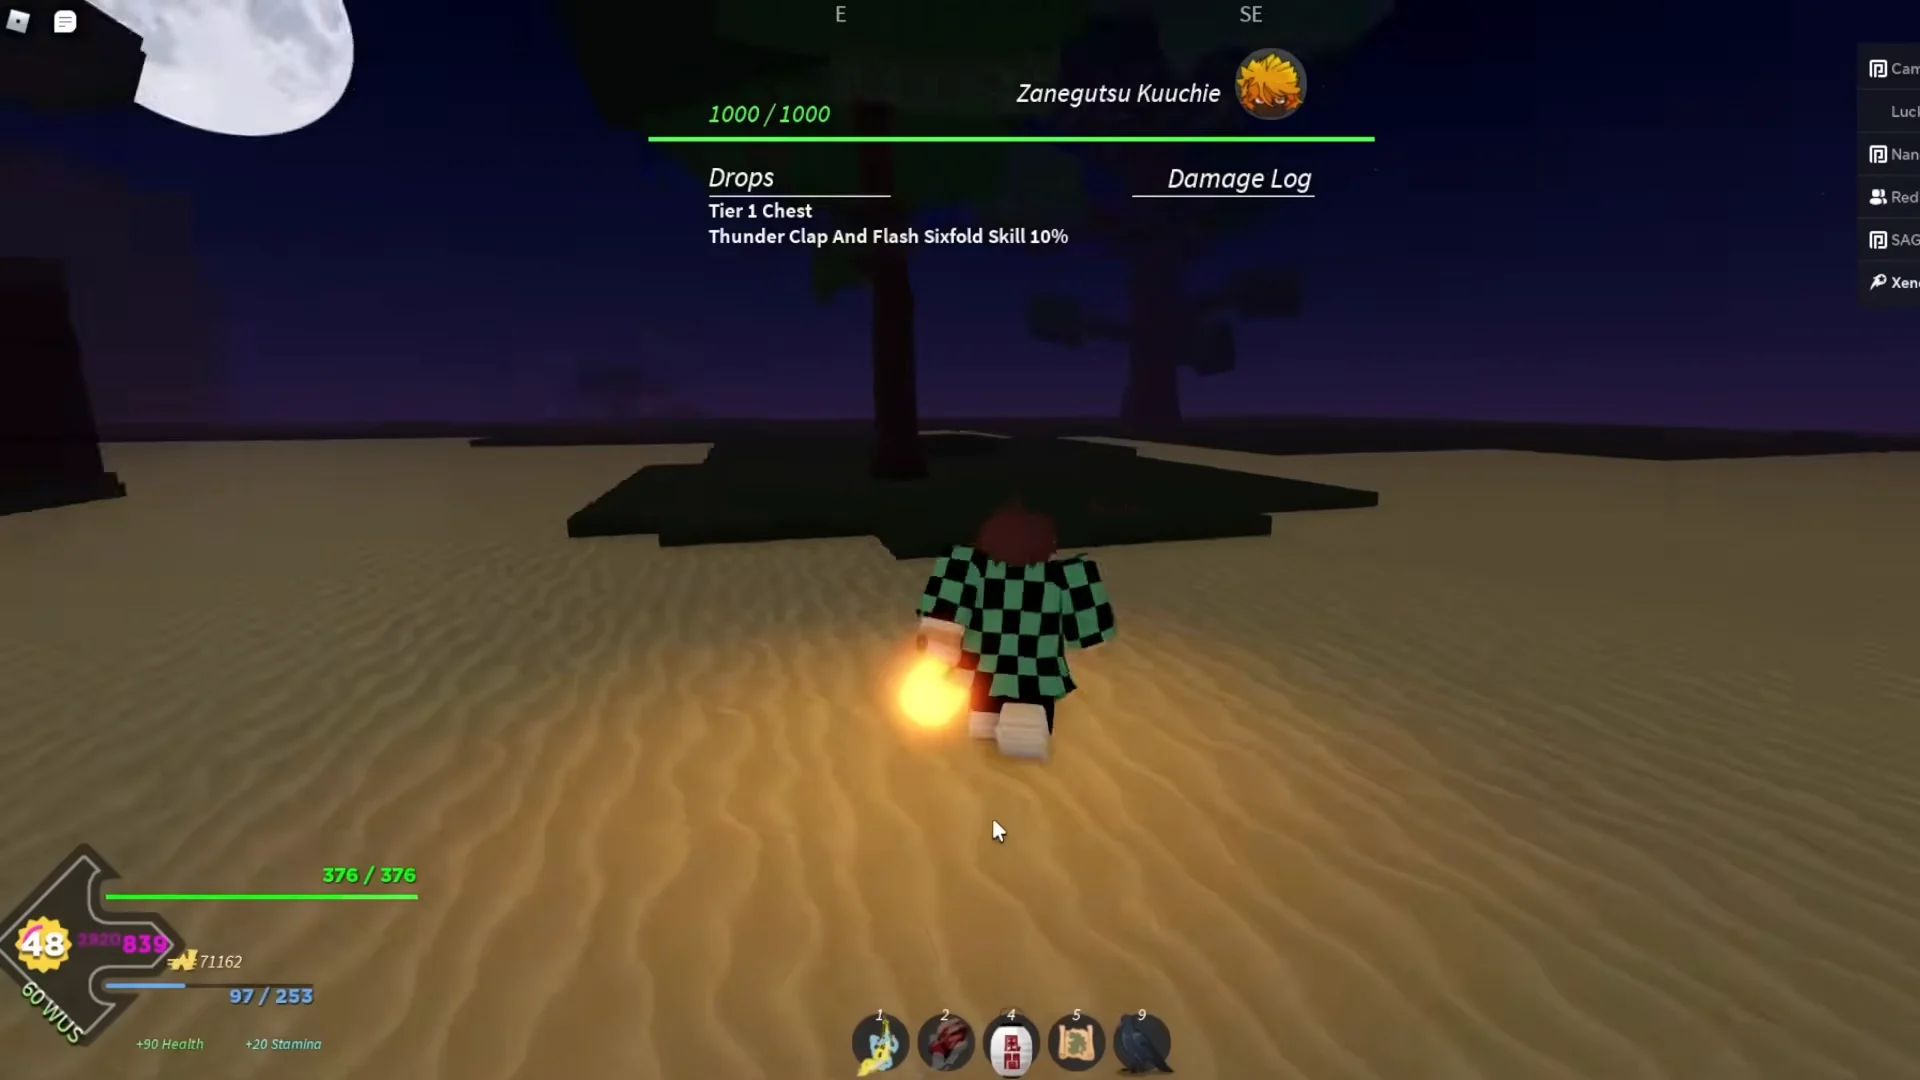
| Zanegutsu Kuuchie | Zapiwara Mountain | 1,000 | Thunderclap and Flash Sixfold (10%), Tier 1 |
| Slasher | Dangerous Woods | 1,400 | Speed Rush (10%), Tier 1 |
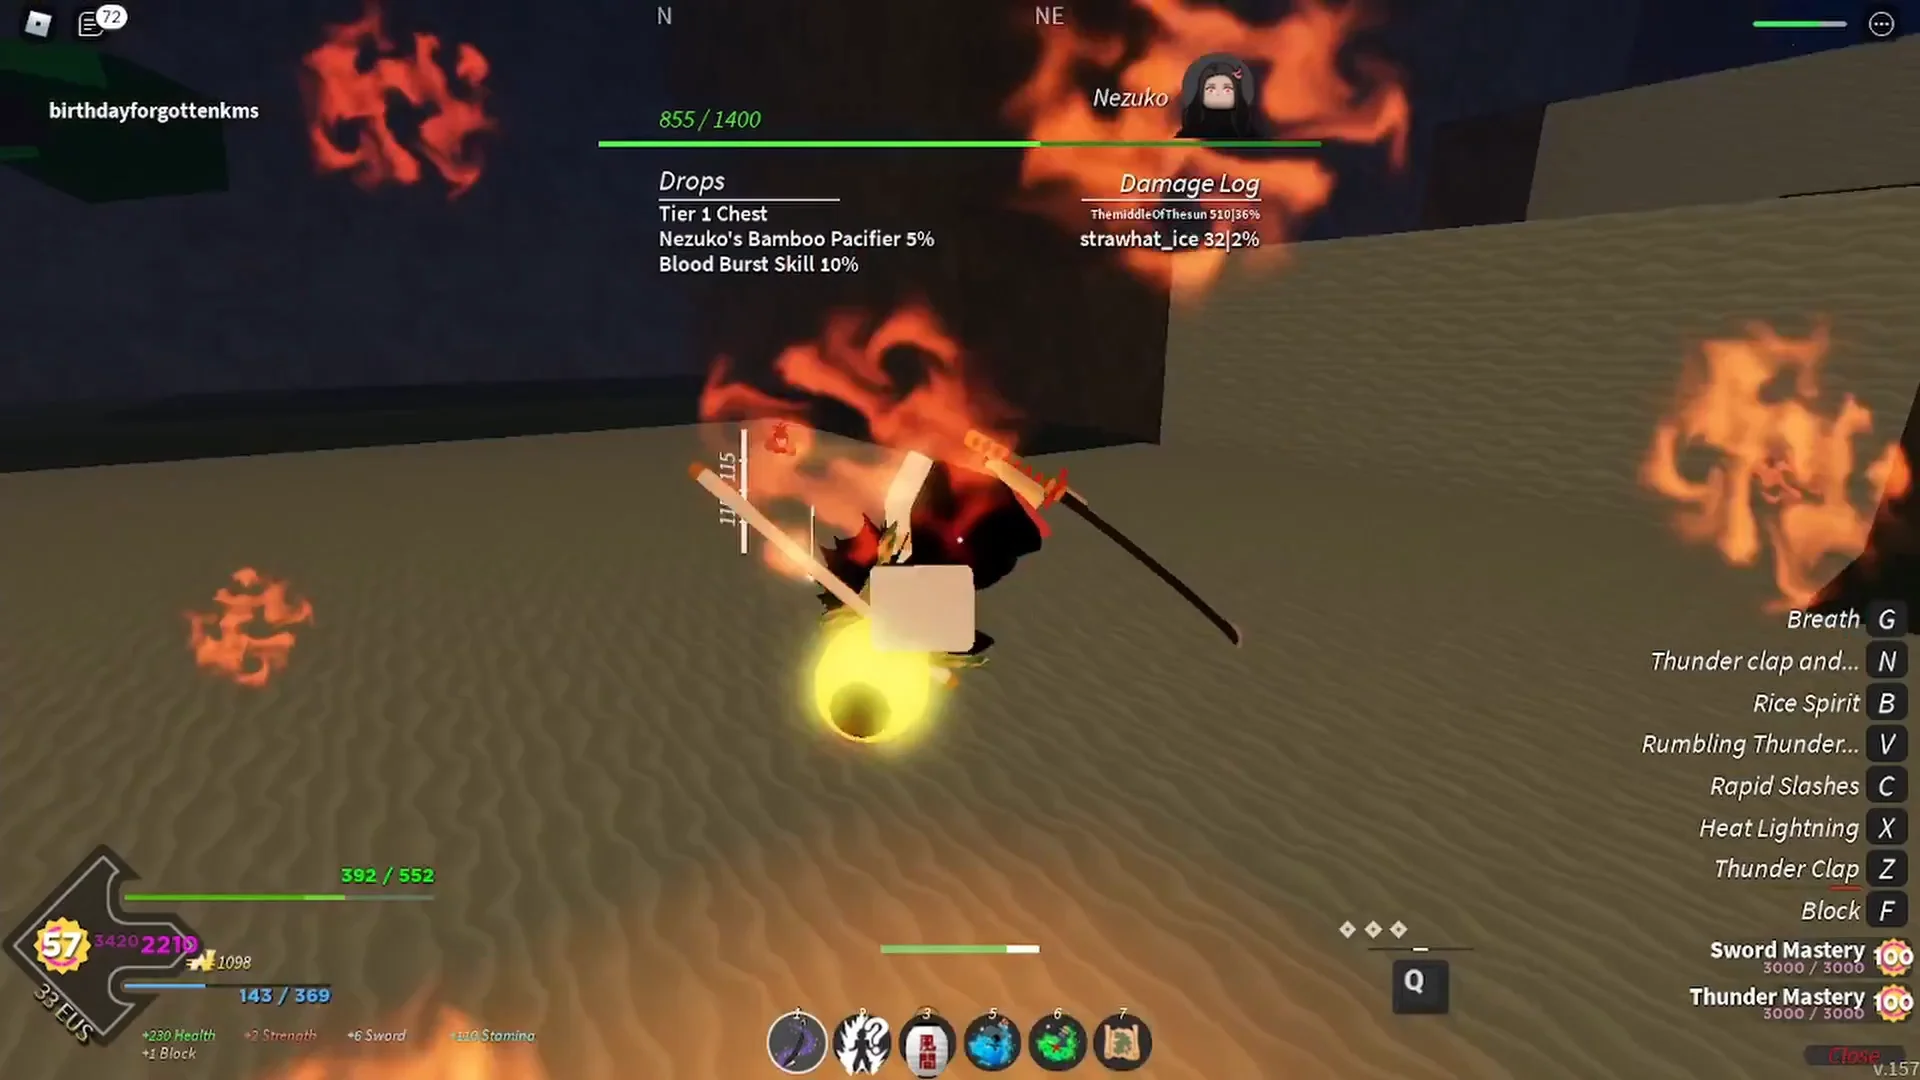
| Nezuko | Dangerous Woods | 1,400 | Blood Burst (10%), Bamboo Pacifier (5%), Tier 1 |
| Shiron | Butterfly Mansion | 1,500 | Caprice (10%), Tier 1 |
| Sanemi | Jingers Home | 1,500 | Idaten Typhoon (10%), Tier 1 |
| Yahaba | Ouwbayashi Home | 2,000 | Arrow Spikes (10%), Tier 2 |
| Susamaru | Ouwbayashi Home | 2,000 | Temari Meteor (10%), Tier 2 |
| Giyu | In front of Butterfly Mansion | 2,100 | Constant Flux (10%), Tier 2 |
Zoku is the easiest target in that group and the only one whose drop rate exceeds 20 percent, making him the usual opening kill for a new character. Kaden and the Nomay Bandit Boss provide only a chest, so neither is worth camping after completing the relevant quests.
Nezuko offers the strongest starter-map value because she has two distinct rare-drop rolls rather than one, while her health pool is considerably lower than the demon bosses at Ouwbayashi Home.
Zanegutsu Kuuchie sits on Zapiwara Mountain, which is a horse travel menu destination rather than somewhere you walk. Unlock that point before you start farming and you skip a long ride on every reset.
Find Sanemi beyond the Wind Trainer’s cottage in the open area reached by the stone steps. To activate a Hashira’s final-move roll, use the corresponding breathing style; for Idaten Typhoon, that means bringing Wind Breathing.
Ouwohana bosses and Tier 5 chests
| Boss | Location | HP | Drops |
|---|---|---|---|
| Rengoku | Rengoku’s Home | 3,500 | Purgatory (10%), Ore (10%), Tier 5 |
| Akeza | Akeza Cave | 3,500 | Annihilation Type (10%), Ore (10%), Tier 5 |
| Tengen | Near Sound Cave | 3,500 | String Performance (10%), Ore (10%), Tier 5 |
| Douma | Devourers Jaw | 3,000 | Bodhisattva (10%), Ore (10%), Tier 5 |
| Muichiro Tokito | Mist Trainer Location | 3,000 | Obscuring Clouds (10%), Tier 3 |
| Inosuke | Beast Cave | 3,000 | Devouring Rush (10%), Inosuke Pants (5%), Tier 3 |
| Enme | Near Frozen Lake | 3,000 | Flesh Monster (10%), Tier 3 |
| Swampy | Outskirts of Wop City | 2,700 | Swamp Domain (10%), Tier 3 |
| Snow Trainee | Snowy Place | 1,500 | Snowtide Vortex (6%), Tier 1 |
The four Tier 5 bosses each make two daily rolls with a 25 percent chance, which is why a daily clear is more worthwhile than a weekly one. Bosses below Tier 5 are primarily farms for moves, with their chests as a secondary benefit.
Bosses on the demon path and Evil Art Orbs
If you are running the demon route instead of the Slayer Corps, boss farming does double duty. Evil Art Orbs drop from bosses around the map, and those orbs are what let you roll a Blood Demon Art without spending Robux. Several bosses also hold the ultimate move tied to a specific art, which makes the route a progression tool rather than a loot chore.
- Hoyuzo, down in the Bamboo Grove ravine, drops Sickles and feeds the Sickles V2 upgrade.
- Yahari, at night past Bamboo Grove, unlocks the Arrow Demon Art moves.
- Sumari, past the red bridge, covers her outfit, necklace, and ultimate.
- Reaper, directly behind Sumari’s area, is the source of the Reaper gear.
- Akaza is the stop for Shockwave training and drops.
Getting there first means dropping to -40 reputation, which is fastest against the Mizunoto slayers between Seasons Crossing and Butterfly Estate at -9 each rather than civilians at -1. Find Muzan at night, most commonly in Mistfall Village, and the Muzan Chat prompt hands you the Bing Bell and opens his quest.
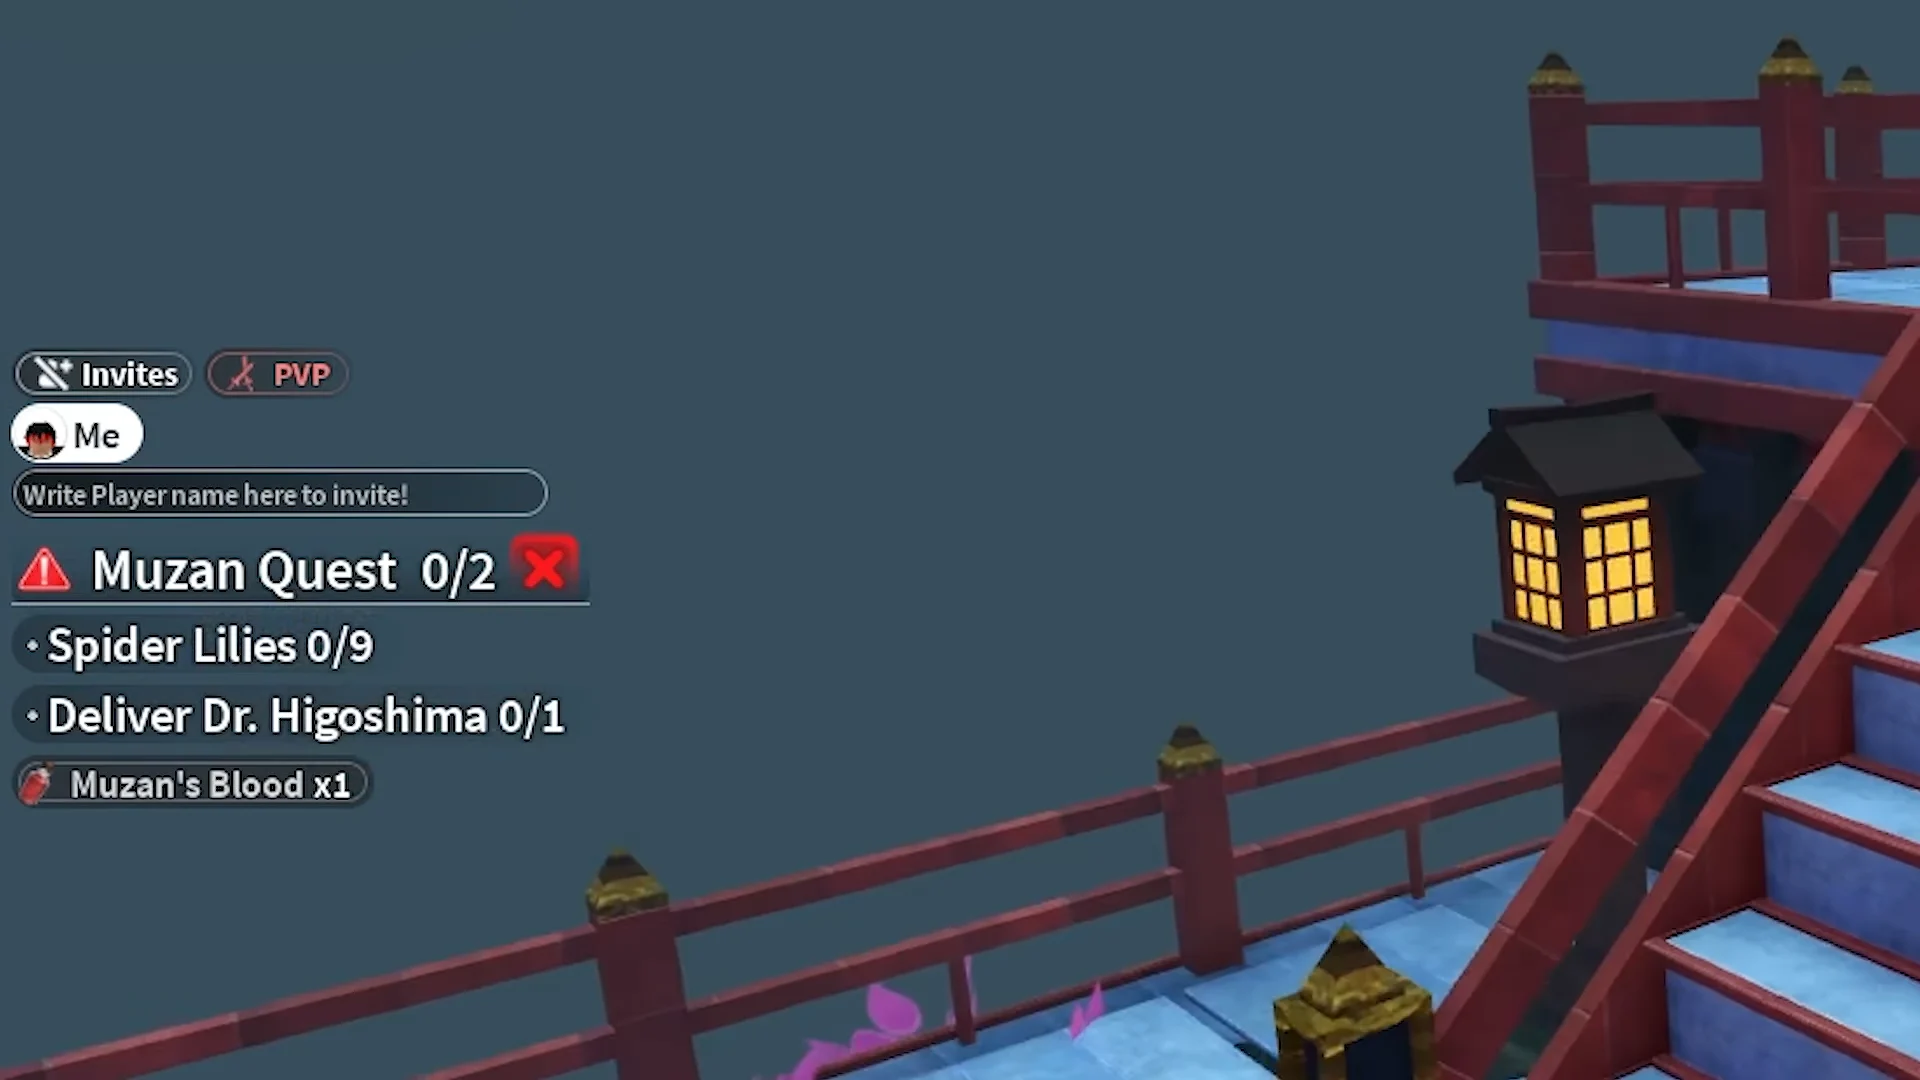
The quest asks for nine Spider Lilies, picked at night in Bamboo Grove, plus Dr. Higoshima captured near the cliffs by Hidden Mist Village. Complete both, drink Muzan’s Blood from your hotbar, and the Player Info screen flips to Demon with progression starting at level 1. Progress climbs through Strong Soul claims at +10 per soul rather than gourds.
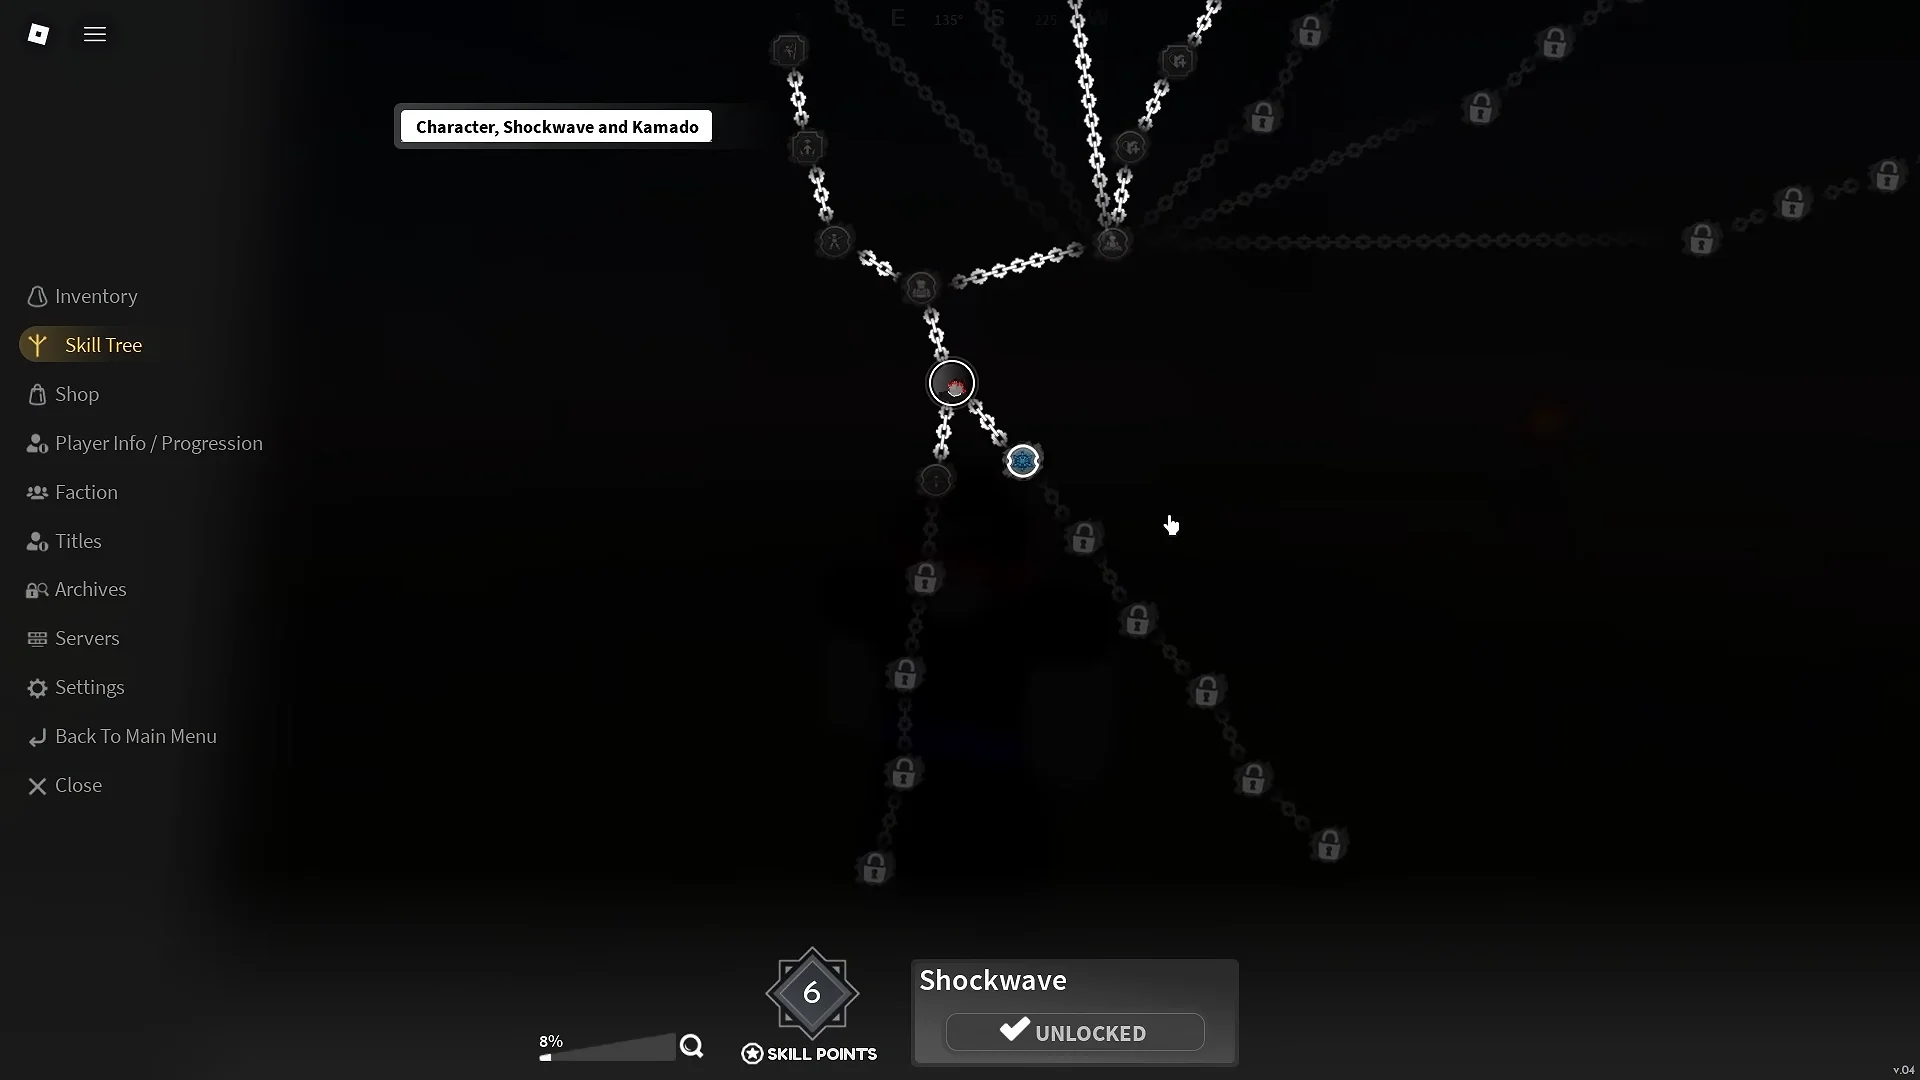
Rolling a Blood Demon Art costs three spins, and you start with five. Once the art lands, its branch appears in the skill tree and you buy the first node, then grind mastery for the rest.
Unless your clan grants sun immunity, buy the Black Amigasa straw hat from Elara in Mistfall Village for 10,000 Wen before you farm in daylight. Her stock rotates roughly every hour, so check back if it is missing.
From there the demon route leans on the same map. Wagwan at Bamboo Grove continues the chain at level 40, the Recommended Quest toggle on the map keeps the next objective marked, and at level 140 and above the bell starts delivering Muzan’s missions to hunt Hashiras.
Start with the central route and let the remaining locations branch from it. The stretch from Obanai through Fujiko forms one continuous loop; after equipping the Emberheart Lantern, handle the snow region on a separate clean run. Memorize the hidden entrances at Windy Peak, Dreamfall Hollow, and the Final Selection Plains, since the game does not reveal them.





