Most civilians in Halloween: The Game survive by staying quiet and staying gone. Rachel Calahan can do the opposite. Built around thrown objects and firearms, she punishes Michael Myers from across a street and drains his Bloodthirst while doing it, which is the closest thing the civilian team has to a real counter-attack.
Quick answer: Play Rachel Calahan, take Lethal Pitch and Deadshot as your first perk card picks, and only damage Michael with thrown items or guns so Full Moon strips his Bloodthirst.
Why Rachel Calahan is the right civilian for range damage
Rachel is a Civilian with a Resourcefulness score of 8 and a Capability score of 7, so she loots and works fast. What makes the build function, though, is Full Moon. Every point of damage you land and every down you score takes an extra chunk out of Michael’s Bloodthirst, which is the meter that feeds his speed and his jump attacks. Chipping him from a safe distance is not just annoying for the killer, it actively rolls back his power.
| Stat / Trait | Value or effect |
|---|---|
| Capability | 7 |
| Athleticism | 5 |
| Personality | 2 |
| Resourcefulness | 8 |
| Full Moon | Damaging and downing Michael causes 40% more damage to his Bloodthirst |
| Aura of Awareness | 15% larger personal Shape jump prevention radius |
| Sixth Sense | Hear Michael breathing in Shape jump up to 2 meters away |
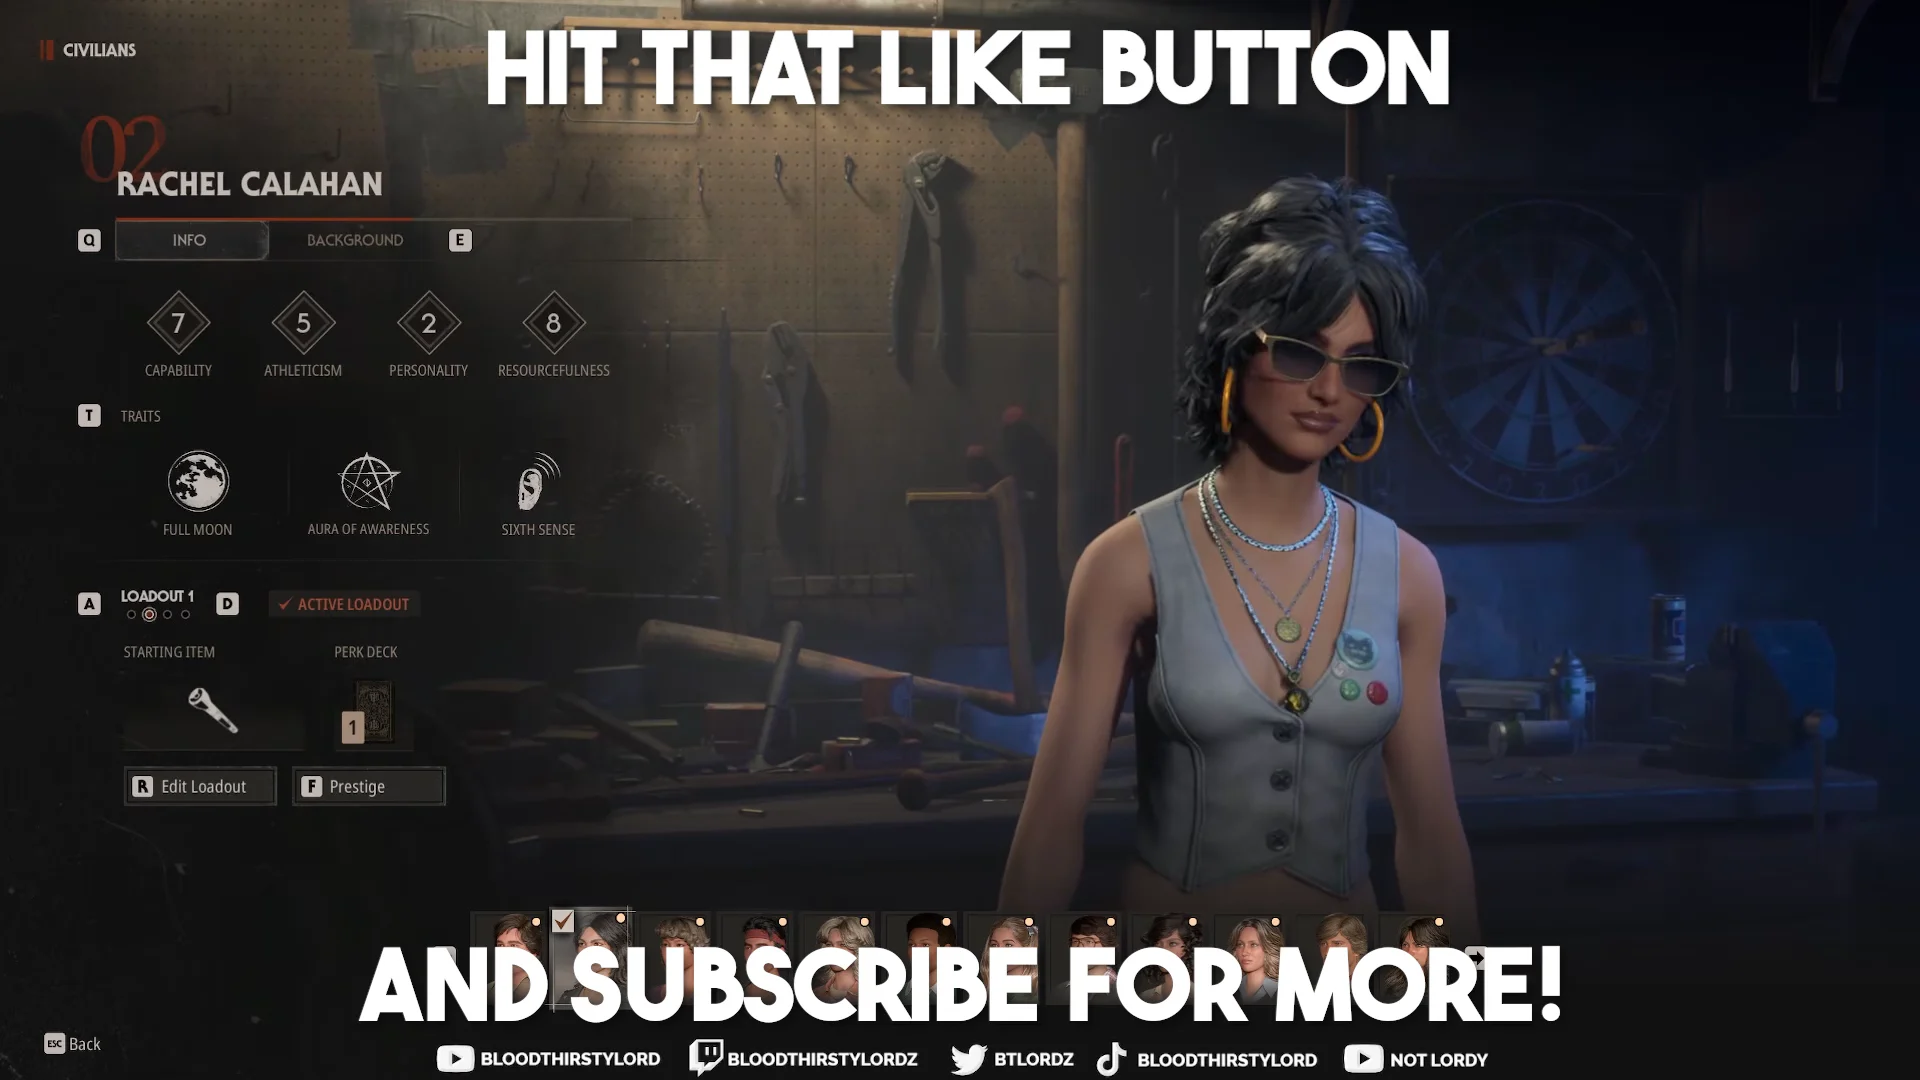
Her low Personality score of 2 is the trade-off. Talking residents into cooperating takes more work than it would for a persuasive character, so expect to lean on skill checks rather than charm.
Perk cards to take first: Lethal Pitch and Deadshot
Perk cards are offered mid-match, so the deck is a priority list, not a fixed loadout. Two cards carry the whole build. Lethal Pitch raises the damage of anything you throw, and Deadshot raises critical damage from ranged weapons — its card text lists a 25 percent crit bonus on the rare tier and a 40 percent damage figure on the stronger version. Take whichever of the two appears first, then grab the other.
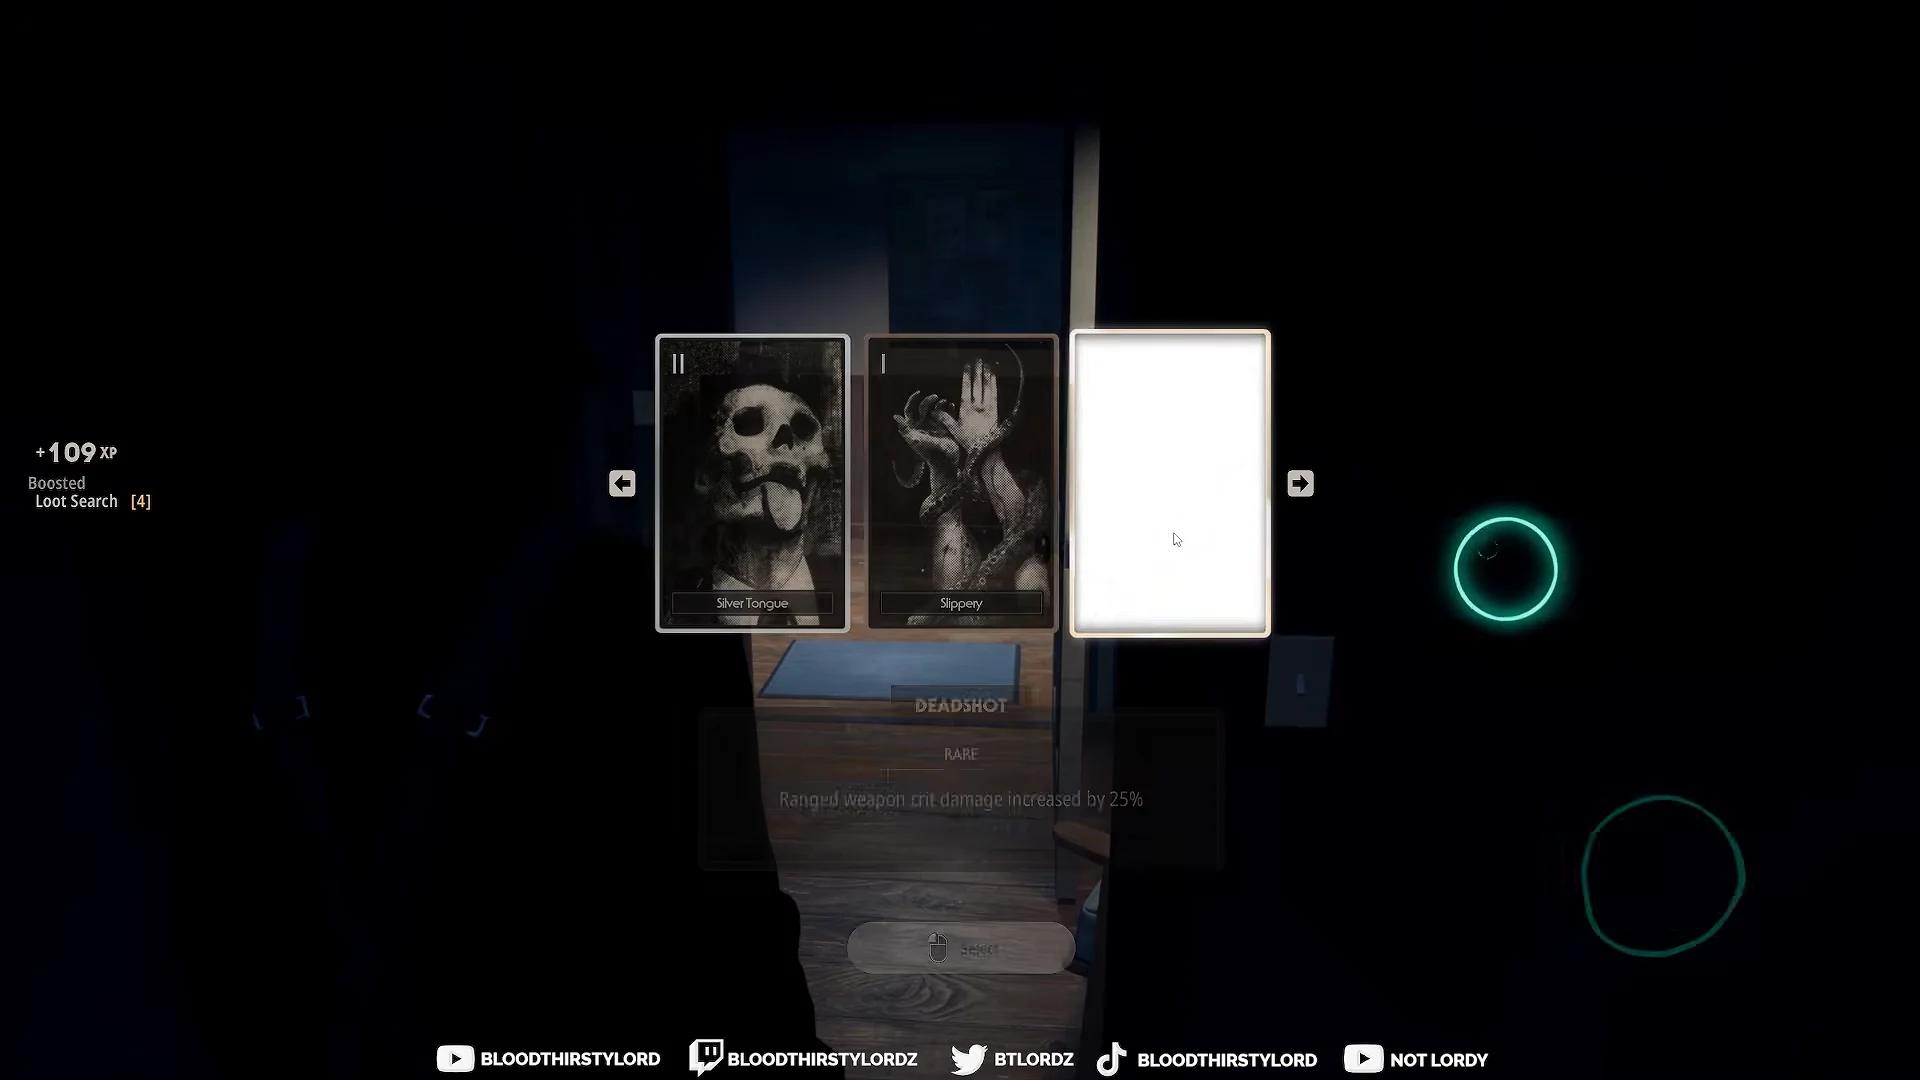
Everything else is support. These are the cards worth filling the rest of the deck with:
- Bullet Belt — helps stretch the ammo you do find.
- Thick Skin — 25% Sharp Damage resistance, which covers knives and axes.
- Hardened — 15% Blunt Damage resistance for the swings Thick Skin misses.
- Stubborn — move 20% faster while wounded, so a bad trade is survivable.
- Glass Walker — cuts window diving damage by 30% during escapes.
- Survival Rage — 10% more melee damage while Terrified, a fallback when the guns run dry.
Ranged weapons and throwables that hurt Michael
There are only three firearms in the game, and each one asks for a different distance. Everything else you throw is filler damage that still feeds Full Moon.
| Weapon | Best range | Key detail |
|---|---|---|
| Hunting Rifle (30-06) | Long | Headshot can instantly down Michael |
| Revolver | Close to mid | Six rounds, fastest fire rate, staggers per shot |
| 12 Gauge Shotgun | Point-blank | Heaviest burst, needs you to close the gap |
| Pitchfork | Mid | Melee weapon that can be thrown |
| Hatchet / Cleaver | Mid | Ranged attack option, easier to land as a civilian |
The scoped rifle is the centerpiece. Landing a headshot is enough to down Michael outright, which is why the build wants Deadshot active before you ever take the shot. The shotgun is the panic button, good for stunning him off a hatch you are halfway through opening.
Throwables are far easier to find, and Lethal Pitch makes them worth carrying. Rocks, baseballs, bolt cutters, tools, and firecrackers all count. After a fight, walk back over the street and pick your thrown items up again — they do not disappear.
How to run the build during a match
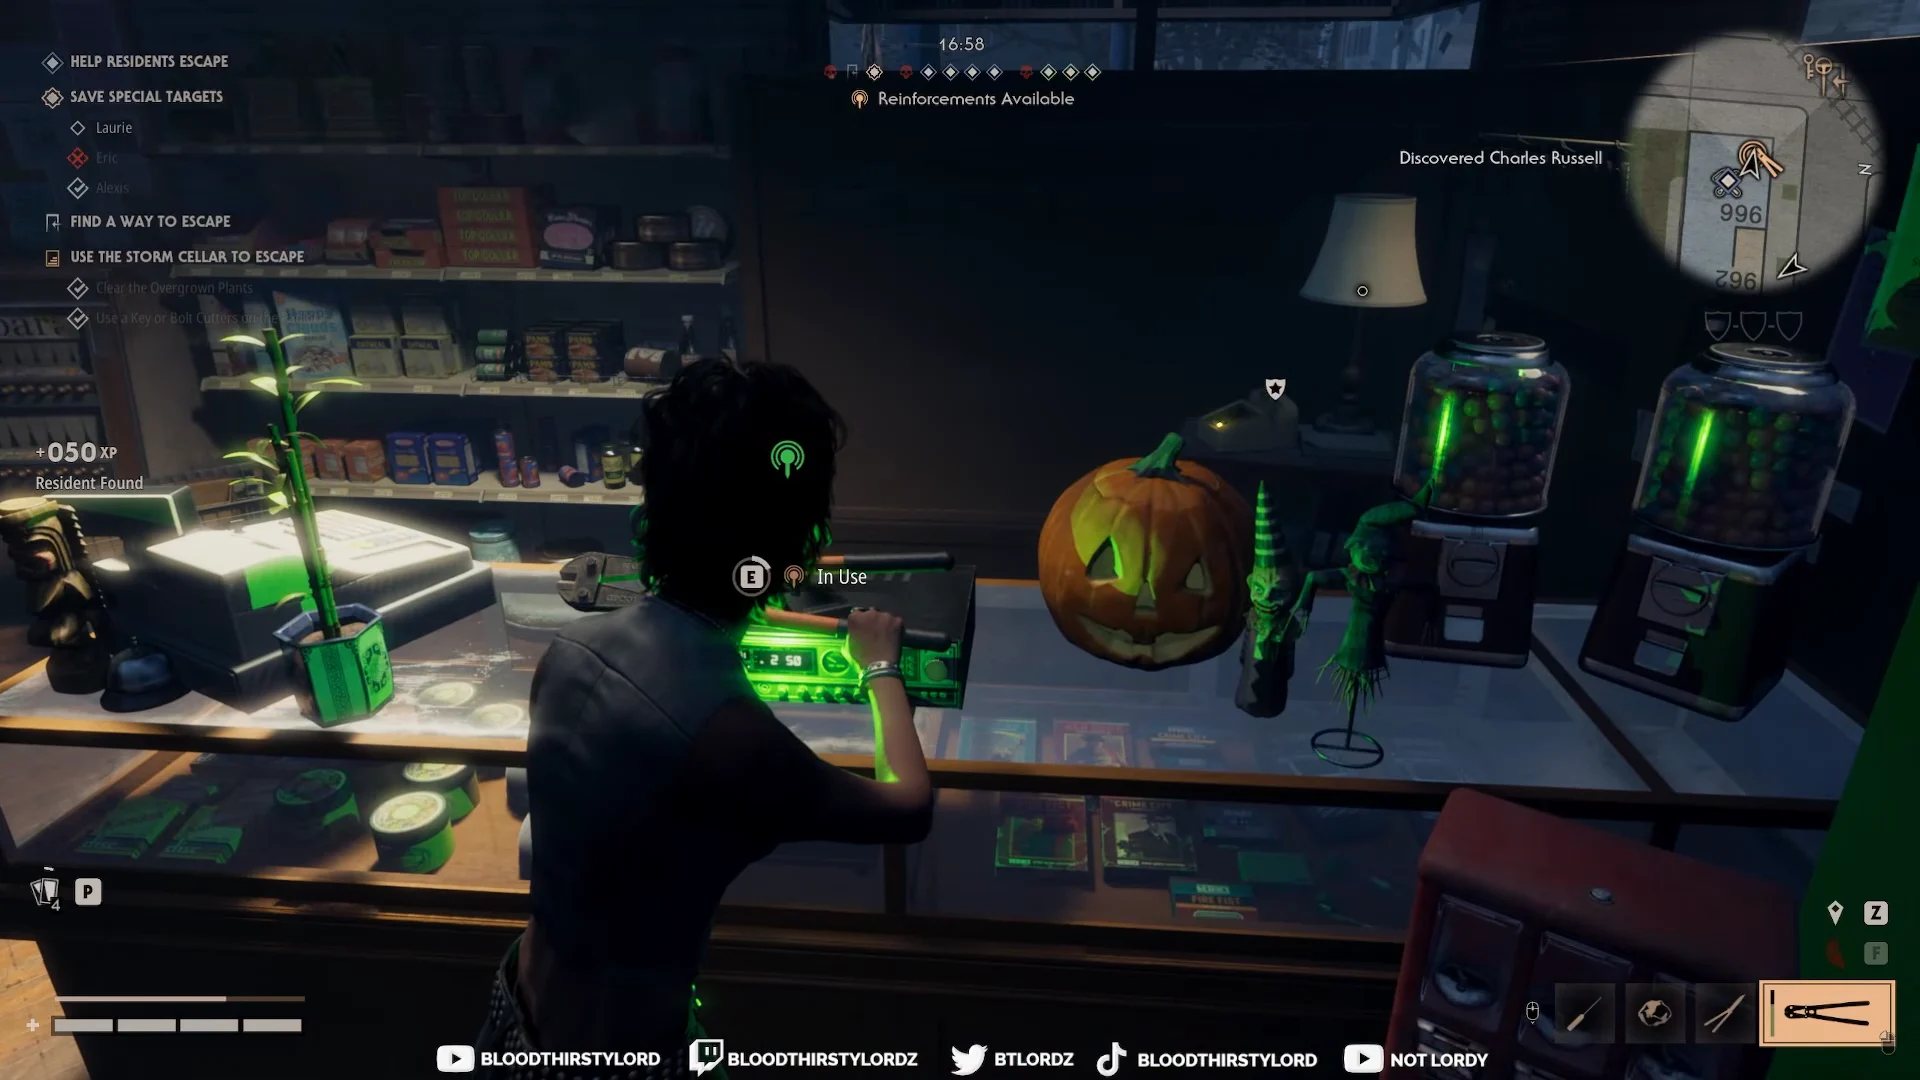
Sixth Sense lets you hear Michael breathing while he is in Shape jump within 2 meters. Treat that audio cue as a hard signal to break line of sight rather than a chance for one more throw.
Opening a storm cellar escape route
Storm cellars are the exits you control, and Rachel’s Resourcefulness makes prepping them fast. Open at least one early so residents have somewhere to run before Michael starts patrolling.
Ammo scarcity is the build’s hard limit
Rifle Cartridges and Shotgun Shells are scattered thinly across the map, and firearms themselves are rare. Once the magazine is empty, the build reverts to throwing rocks and swinging whatever melee weapon is in your hands — which is why the resistance and movement cards matter so much.
Do not spend rifle rounds on a Michael who is just walking past. Save them for the moment he commits to a grab on a teammate or a resident, when a stagger actually saves a life.
How to confirm the build worked
The in-match feedback is immediate. Every shot or throw that connects staggers Michael, and notification banners announce each resident who gets out — “SPECIAL TARGET BOB ESCAPED” and similar lines mean your extractions counted. “POLICE WAGON ARRIVED” confirms the radio call went through.
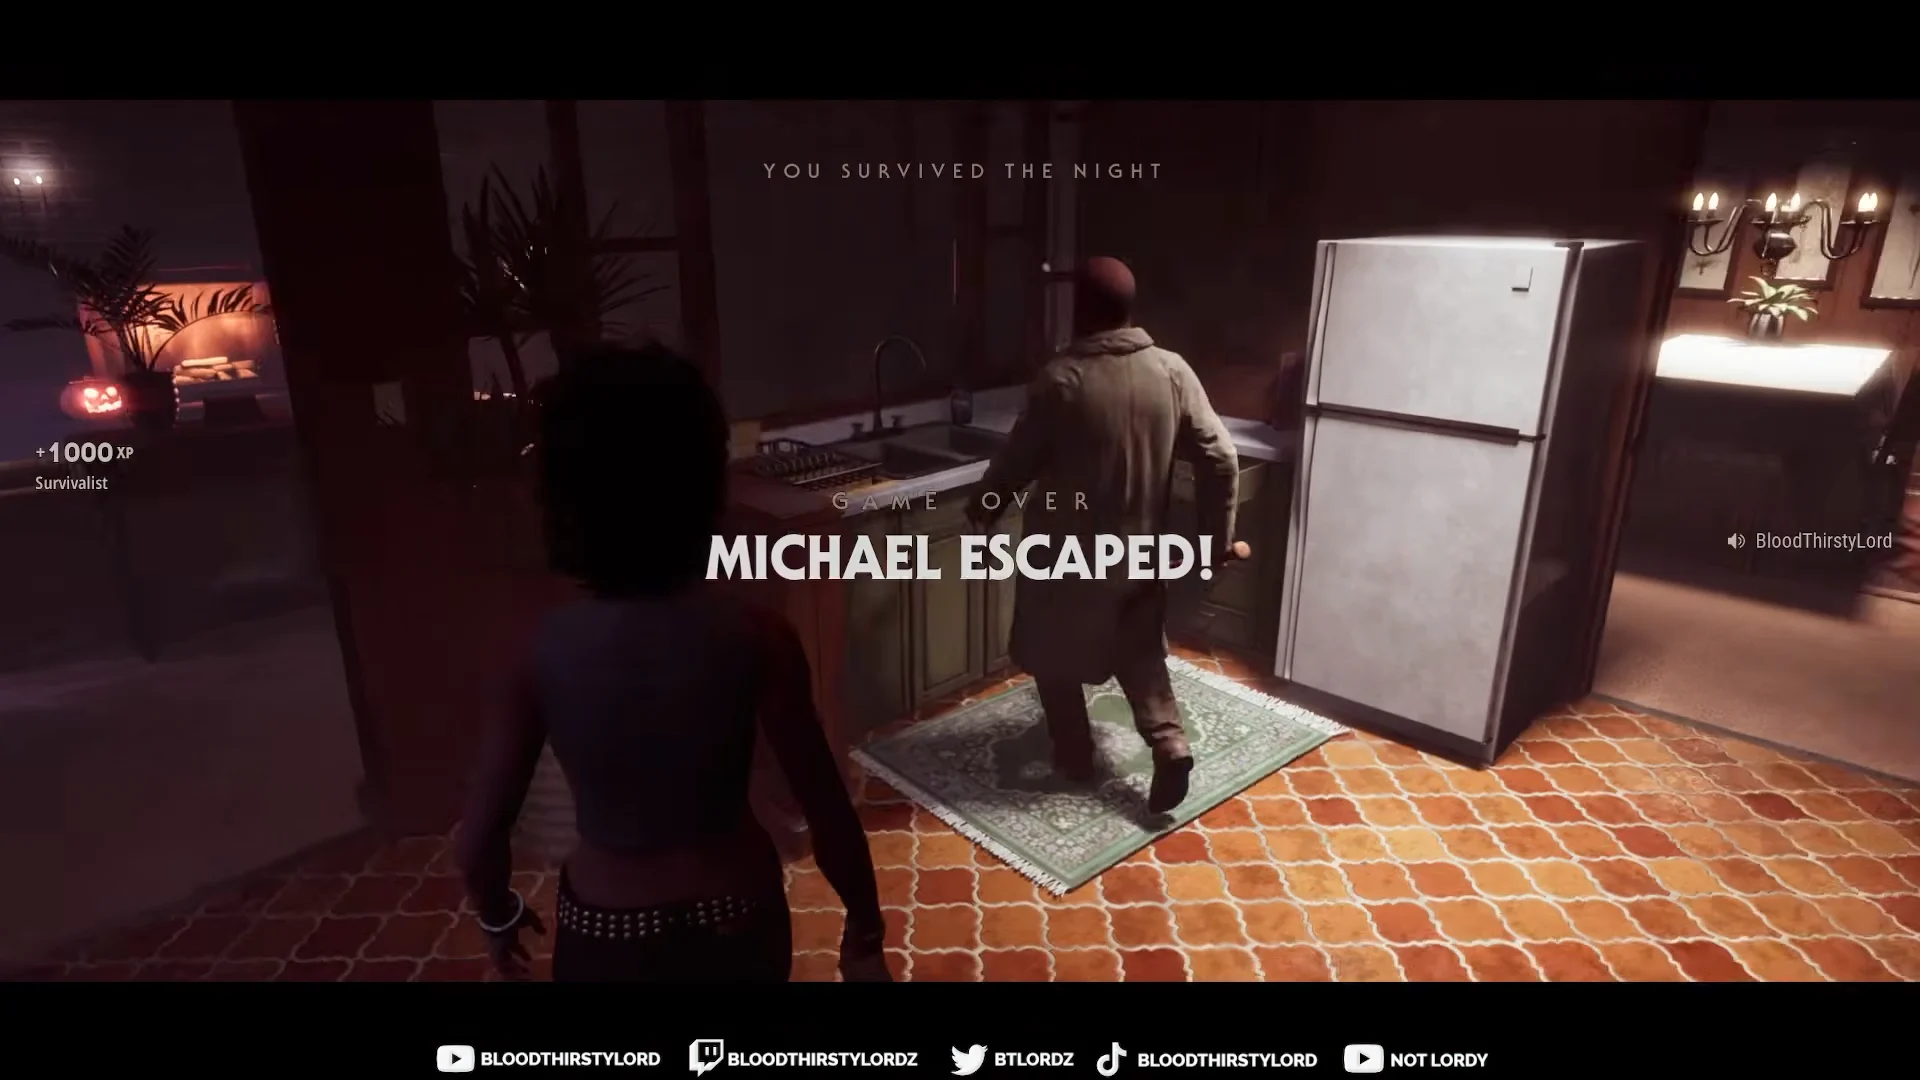
At the end of the night, the results screen is the final check. Driving Michael off the map produces “MICHAEL ESCAPED!” alongside “YOU SURVIVED THE NIGHT”, and a run where some residents made it out but not all lands on the “MINOR CIVILIAN VICTORY – SHAKEN BUT NOT BROKEN” ending. Dying yourself is not a total loss either, since the match continues and you can spectate teammates finishing the job.
Played properly, Rachel is less of a damage dealer and more of a pressure valve. Every rock, rifle round, and shotgun blast peels Bloodthirst off Michael and buys the rest of the lobby the seconds they need to crack open a cellar door — and that is usually what decides the night.