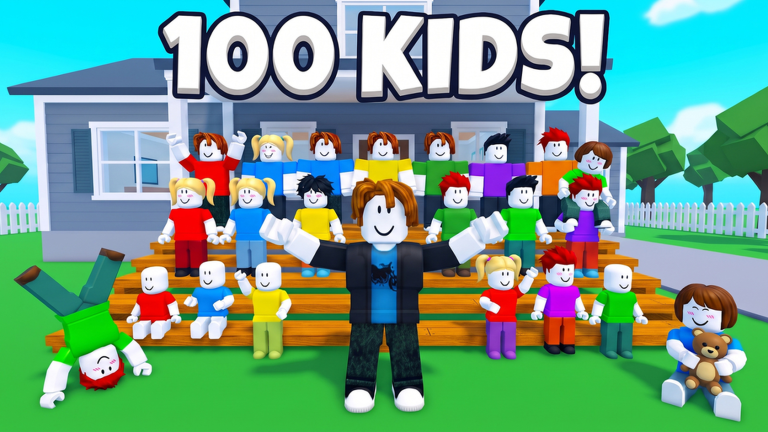
In Novkod X Level0Expert’s Roblox life sim, Raise The Biggest Family, you take in a child, bring them to your home, and look after them as they mature. Their growth continues even when you’re offline, making daily returns part of the experience. Your opening session is split into two stages: complete the adoption process, then get familiar with the crowded interface, which shows your cash, family size, and travel around town.
Quick answer: Obtain your approval letter, drive over to the adoption center, complete the interview, and take your child home. Then look after them by feeding and bathing them. Trips are timed; wait for one to finish or use Skip Time to bypass it.
How to adopt your first child in Raise The Biggest Family
Adoption is a fixed chain of steps. Each one opens the next, so do them in this order. Skipping ahead only means doubling back.
Family 1/3 once one child is part of your household.Traveling between locations: the drive screen and Skip Time
Every trip to the adoption center or a store uses the same transit screen. A blocky white pickup truck drives up a tree-lined road, seen from behind. A banner names where you are going. On a store run it reads “You are on your way to the Furniture Store!” A progress bar runs across the top, and a line of text shows the time left. For example, “0:12 To Furniture Store” means twelve seconds until you arrive.
You don’t steer during the drive. The truck keeps a steady speed until the timer hits zero. Background music and engine noise play the whole way. You may also hear sounds from home, like a baby giggling or a notification chime, which remind you that a family is waiting.
To finish a journey early, press the yellow Skip Time button at the center of the travel screen to end transit immediately. Alternatively, use Skip to Adopt in the upper-right corner to go directly to the adoption area, no matter where you were headed.
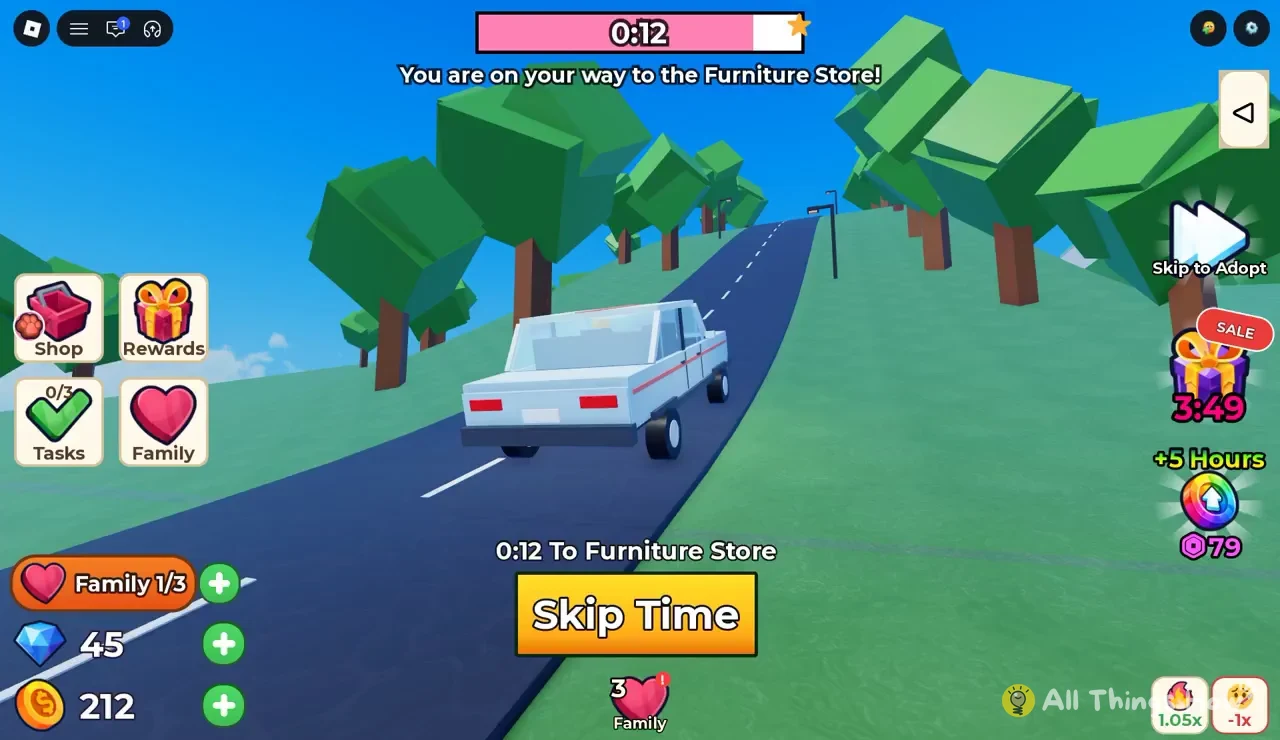
Short drives like the 12-second Furniture Store trip cost you almost nothing if you just wait. You give up only a few seconds by not pressing Skip Time.
Raise The Biggest Family HUD: what each counter and button tracks
The interface stays on screen even while you drive, so you can check your resources mid-trip. Here is where everything sits and what it shows.
| Element | Location | What it shows |
|---|---|---|
| Gold Coins | Left stat stack | Coin balance, with a green + button |
| Blue Gems | Left stat stack | Gem balance, with a green + button |
| Family 1/3 | Bottom-left | Children adopted vs. family slots |
| 3 Family | Lower center | Family indicator |
| Shop | Left menu | Store for purchases |
| Rewards | Left menu | Reward claims |
| Tasks 0/3 | Left menu | Tasks completed out of three |
| Family | Left menu | Your household |
| 1.05x (fire icon) | Lower right | Active boost multiplier |
| -1x (skull icon) | Lower right | Boost stat |
| Skip to Adopt | Upper right | Jump to the adoption area |
Coins and gems are your two currencies. The green + button next to each one is how you buy or get more. For a sense of scale, an account partway through the early game can hold 212 coins and 45 gems. That’s enough to start shopping at the Furniture Store, but not much more.
The Tasks counter is worth watching from day one. It starts at 0/3 and fills as you complete each task. Open the Tasks menu before you leave the house so your errands count toward it.
Paid boosts and the SALE box
Raise The Biggest Family is free to play, but a few paid shortcuts appear on screen from the start. You don’t need any of them to adopt a child or finish the care loop. Still, it helps to know what they are, so you don’t tap one by accident on a busy screen.
- +5 Hours: a timed boost priced at 79 Robux.
- SALE: a limited-time gift box with its own countdown timer, which can show something like 3:49 remaining.
- Green + buttons: next to coins and gems, these open ways to top up either currency.
The SALE timer counts down, so an offer you see in one session may be gone by the next. Before you spend Robux on anything, look at what the free loop already gives you: tasks, rewards, and the time your kids spend growing while you’re away.
Offline aging and why daily visits matter
Your children age while you’re logged out. This one mechanic shapes how you should play. Long sessions matter less than short daily ones. Log in, look after your kids, check your Tasks and Rewards, run any store trips you need, and log out. The next day there’s more to do because time kept moving.
Servers hold up to 18 players, so friends can share a server while they raise their own families. You know you’re on track when the family counter shows your child, the Tasks counter climbs from 0/3, and the transit screen starts to feel like a short break between chores rather than a wall.