
Windows 11 sometimes displays a “No Internet Access” or “No Internet, Secured” message even when the device appears connected to a Wi-Fi or Ethernet network. This issue disrupts Microsoft Store, Windows apps, and other services, while web browsing might still work. The root cause often involves DHCP configuration errors, network adapter problems, or system update bugs. Addressing this issue requires a series of targeted troubleshooting steps to restore full connectivity and system functionality.
Update Windows to the Latest Version
Windows 11 updates frequently resolve network-related bugs and compatibility problems. Outdated system versions, especially after major updates like 24H2, can trigger persistent connectivity errors or DHCP issues.
Step 1: Press Windows + I to open Settings.
Step 2: Navigate to Windows Update in the sidebar.
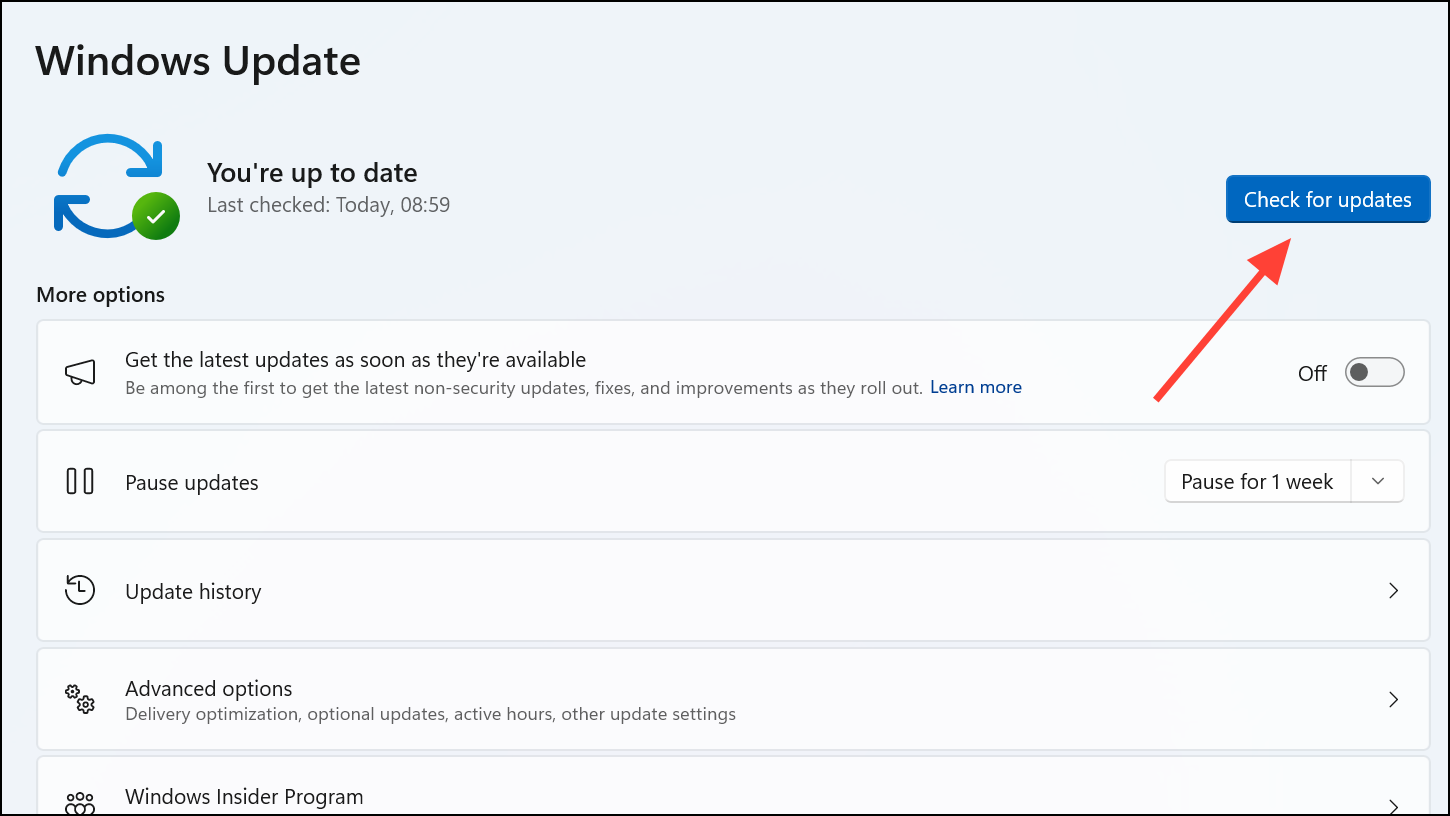
Step 3: Click Check for updates and install any available updates.
Step 4: Restart your device to apply changes.
Updating to the most recent feature release (such as moving from 21H2 or 23H2 to the latest supported version) often restores normal network status and allows Windows apps to recognize internet access.
Reset Network Settings
Network configuration errors or legacy settings can prevent Windows from properly detecting internet access. A full network reset clears adapter settings, reinstalls network drivers, and returns network parameters to default.
Step 1: Open Settings with Windows + I.
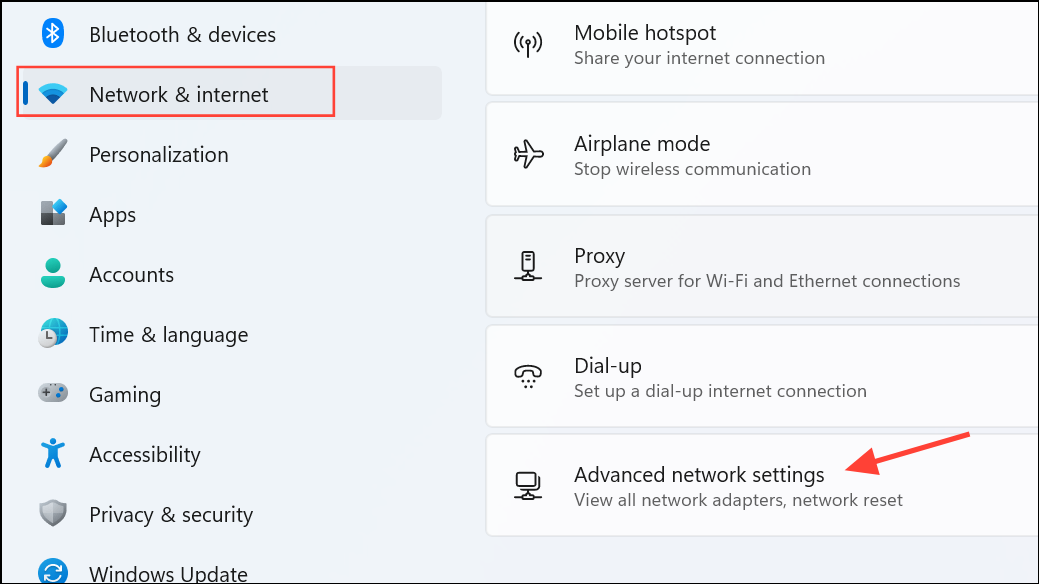
Step 2: Go to Network & internet > Advanced network settings.
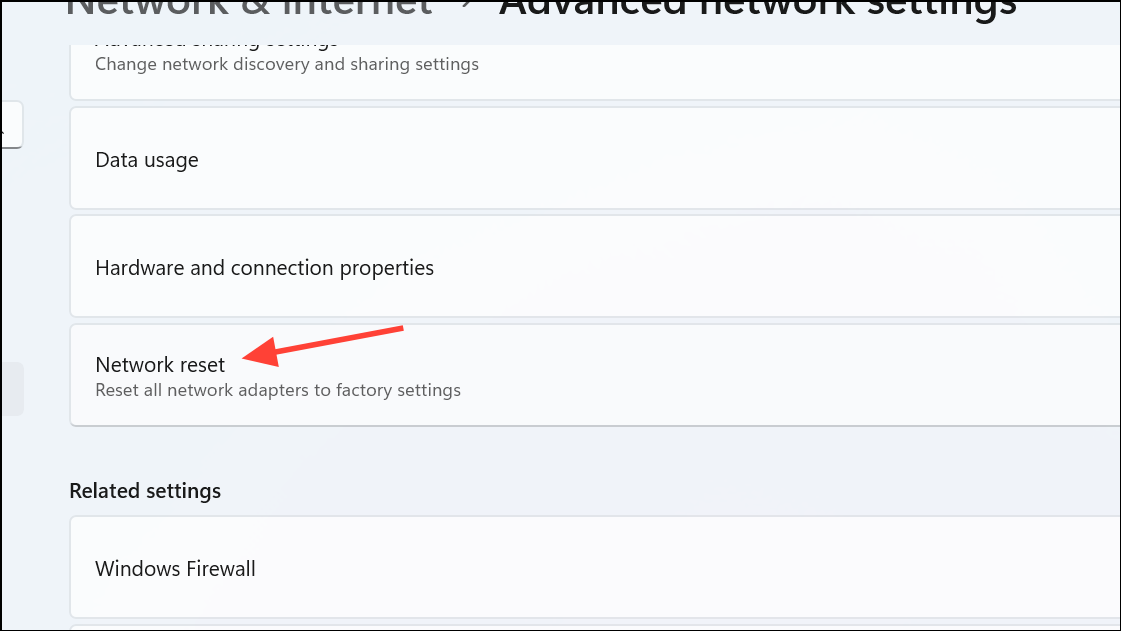
Step 3: Scroll down and select Network reset.
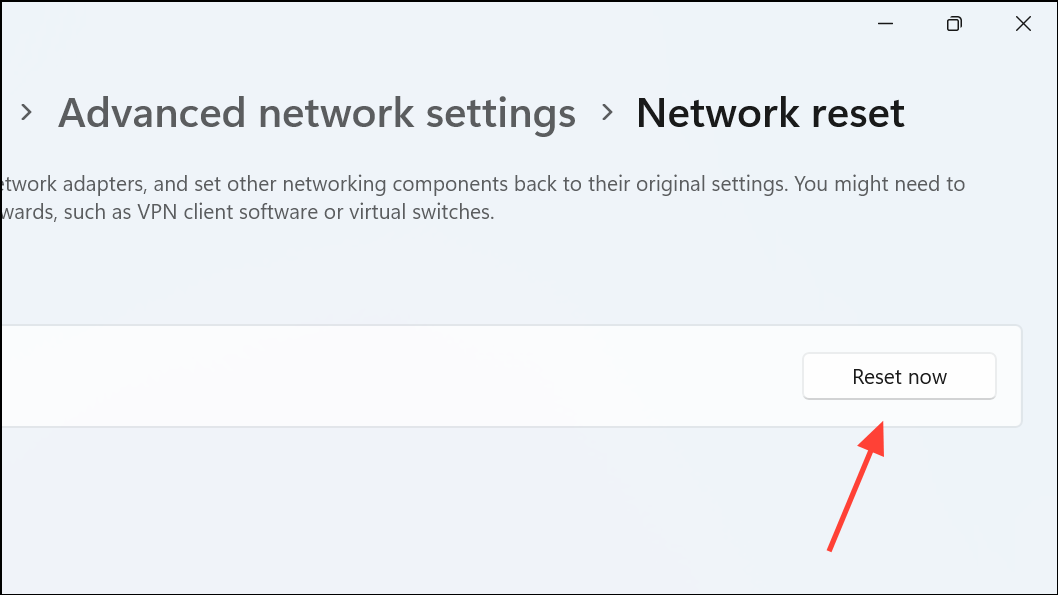
Step 4: Click Reset now and confirm your choice.
Step 5: Wait for your PC to restart automatically.
This process reinstalls all network adapters and clears out problematic configurations that may block internet detection.
Run Network Troubleshooter
Windows includes a built-in troubleshooter that scans for and attempts to fix common networking issues, including those that prevent the system from recognizing internet access.
Step 1: Press Windows + I to open Settings.
Step 2: Select System > Troubleshoot > Other troubleshooters.
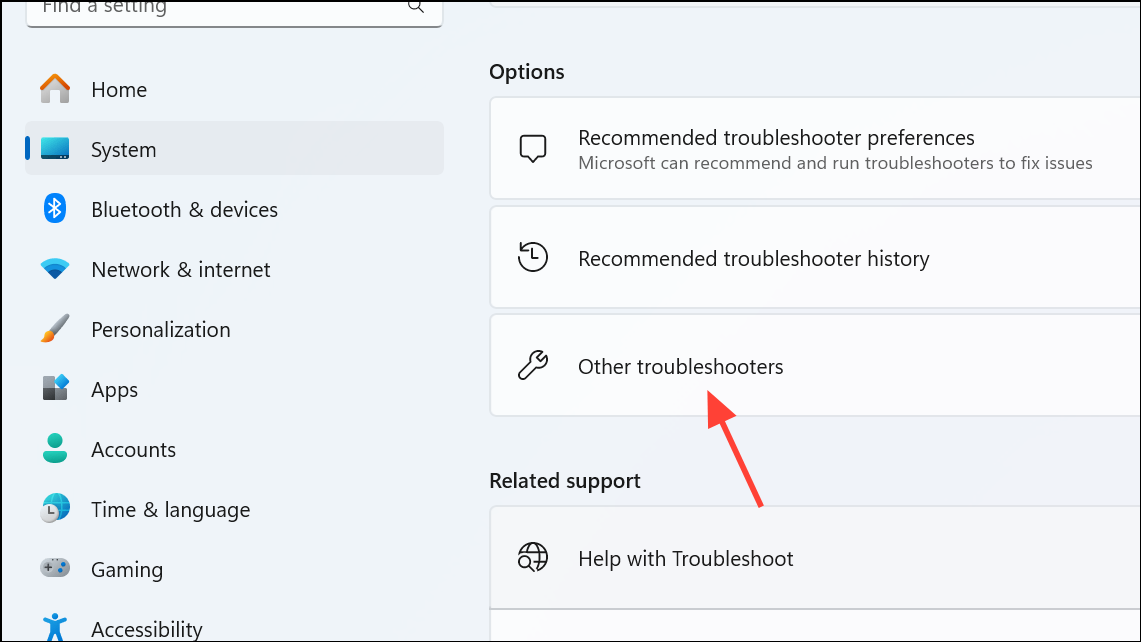
Step 3: Find Network and Internet or Internet Connections and click Run next to it.
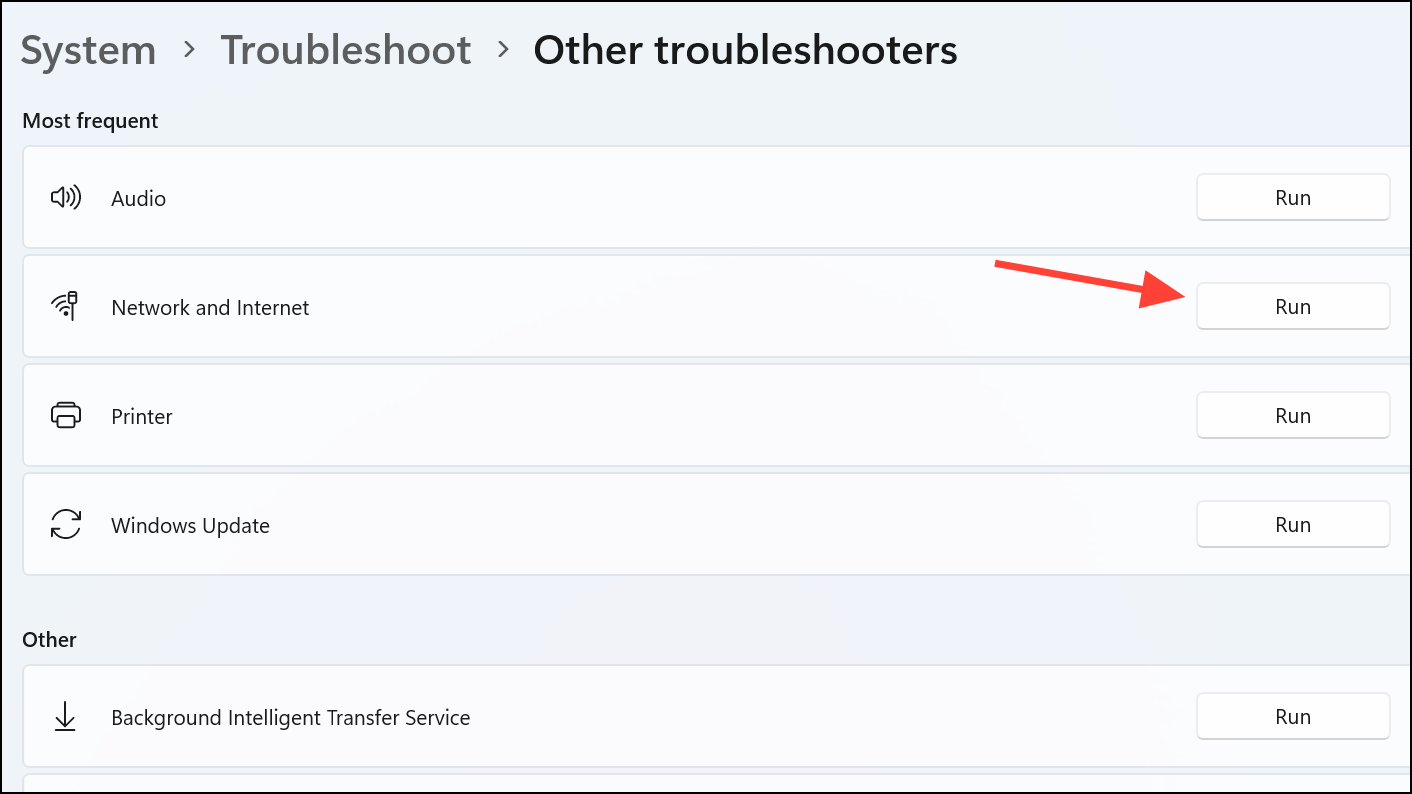
Step 4: Follow on-screen instructions and apply suggested fixes.
The troubleshooter identifies adapter errors, misconfigured settings, and other issues that may cause the “No Internet” indicator.
Update or Reinstall Network Adapter Drivers
Corrupted or outdated network drivers often cause connectivity problems, especially after system updates or hardware changes.
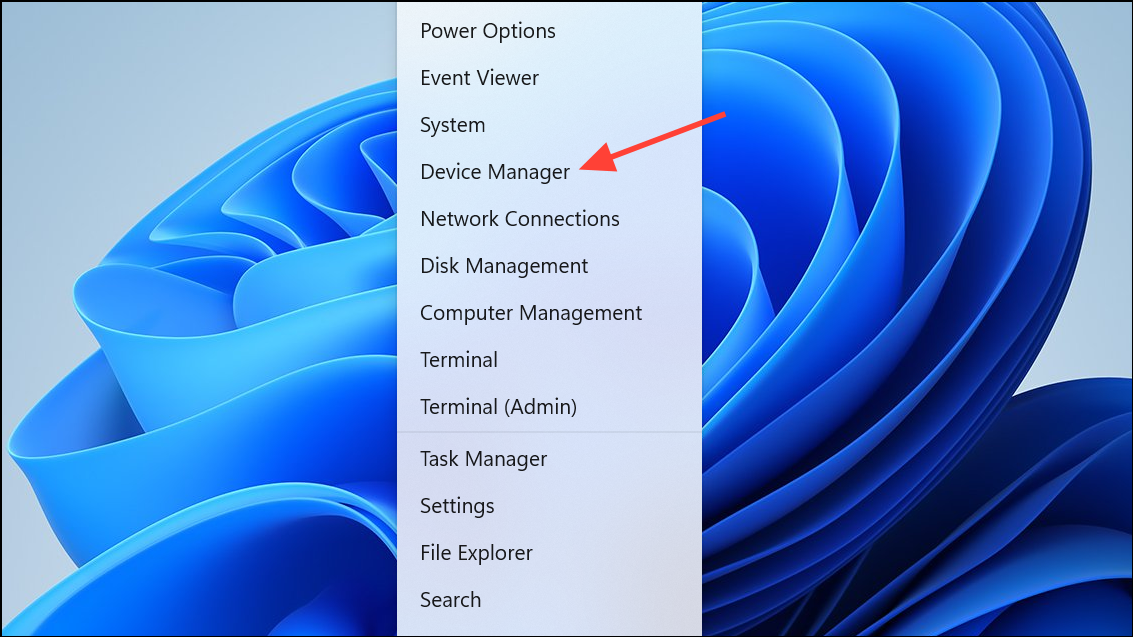
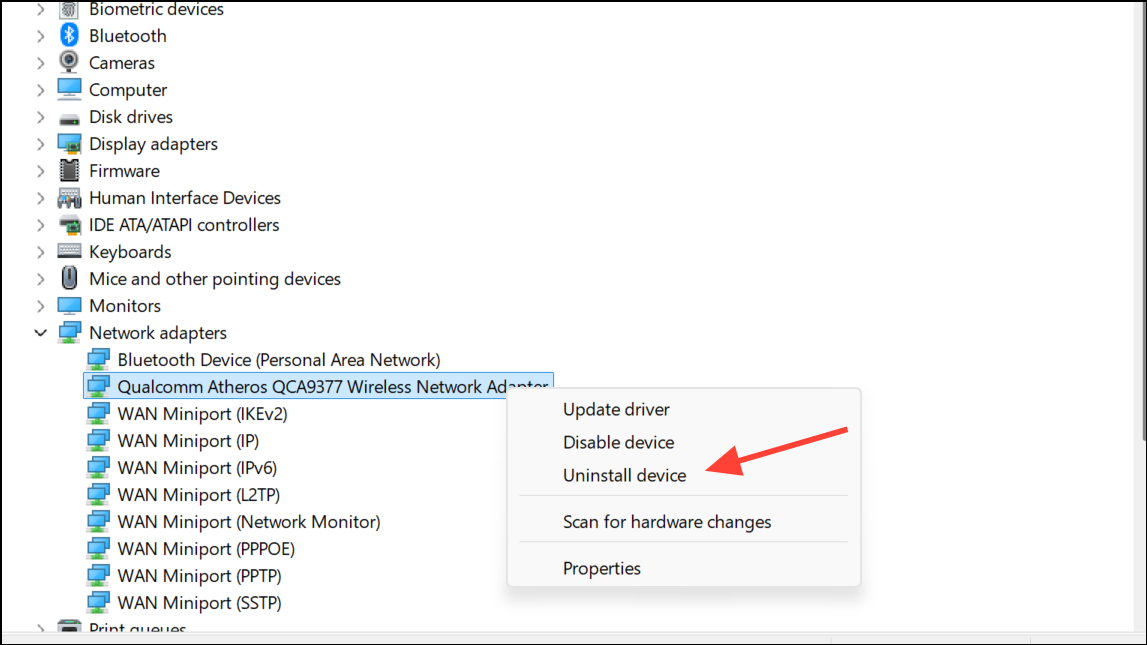
Step 1: Right-click the Start button and select Device Manager.
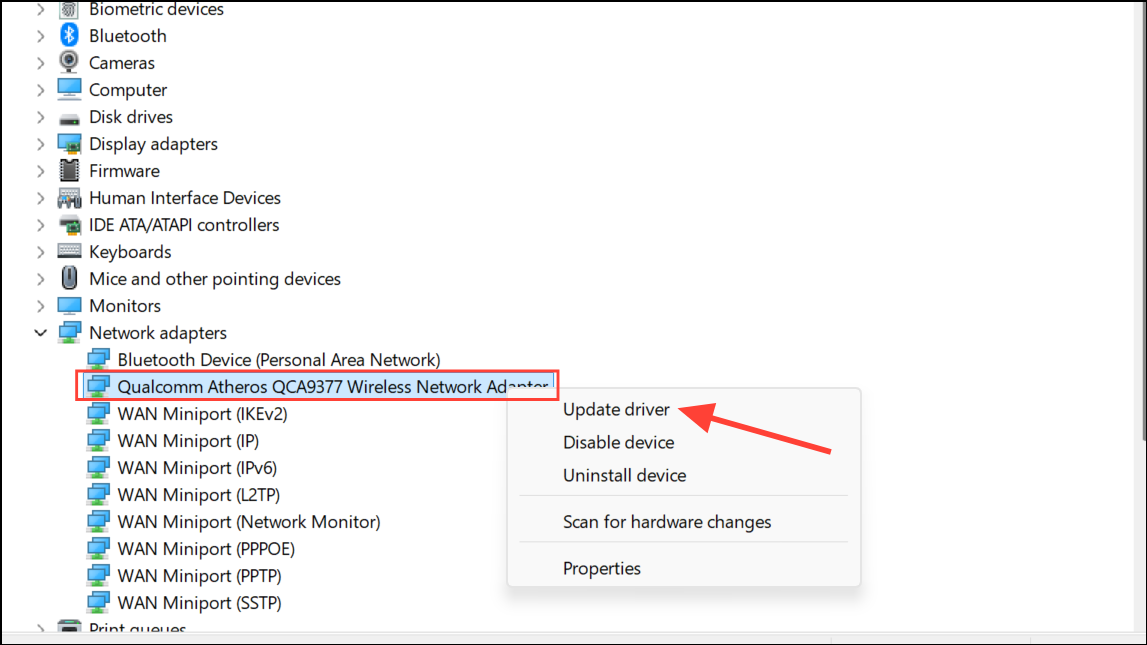
Step 2: Expand the Network adapters section.
Step 3: Right-click your Wi-Fi or Ethernet adapter and choose Update driver.
Step 4: Select Search automatically for drivers.

Step 5: If no updates are found, right-click the adapter again and select Uninstall device. Confirm and restart your PC. Windows will reinstall the latest compatible driver.
Up-to-date drivers improve network stability and help Windows accurately detect internet access.
Release and Renew IP Address, Flush DNS, and Reset TCP/IP Stack
Improper IP assignment or DNS cache corruption can prevent Windows from recognizing internet connectivity, even if the network is operational. Resetting these parameters often resolves the issue.
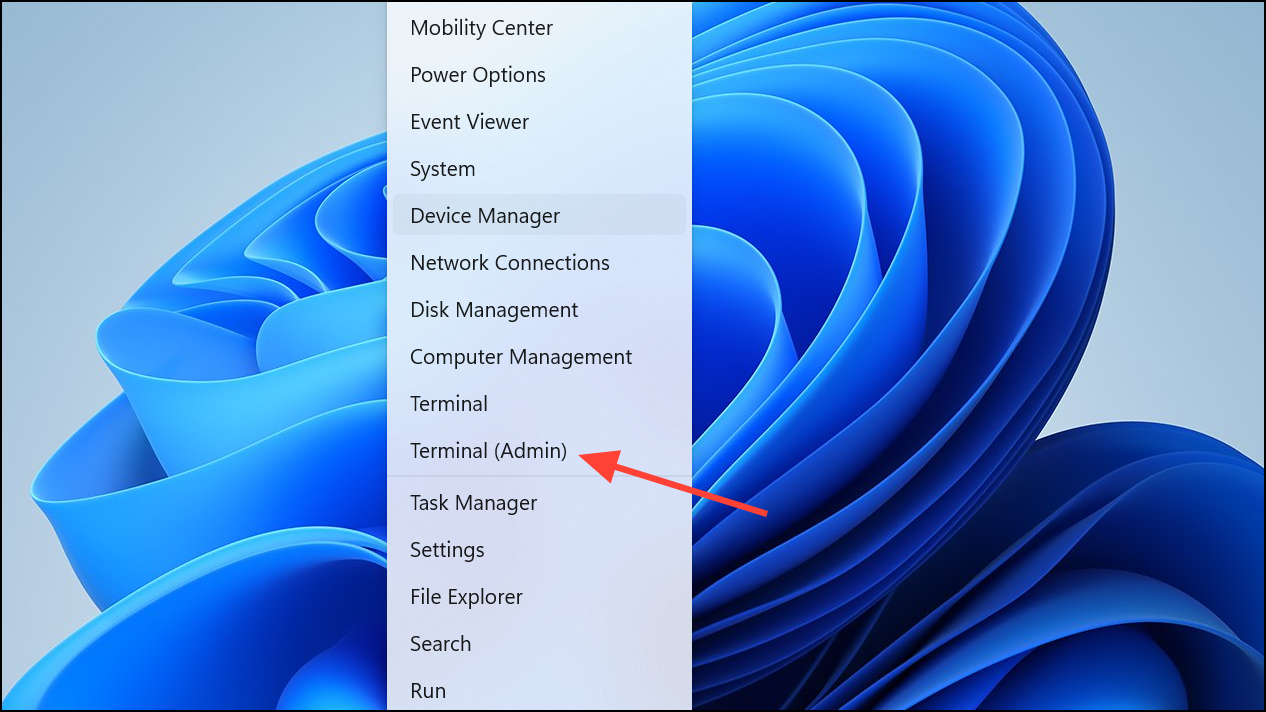
Step 1: Right-click Start and select Windows Terminal (Admin) or Command Prompt (Admin).
Step 2: Enter each of the following commands, pressing Enter after each:
netsh winsock reset
netsh int ip reset
ipconfig /release
ipconfig /renew
ipconfig /flushdns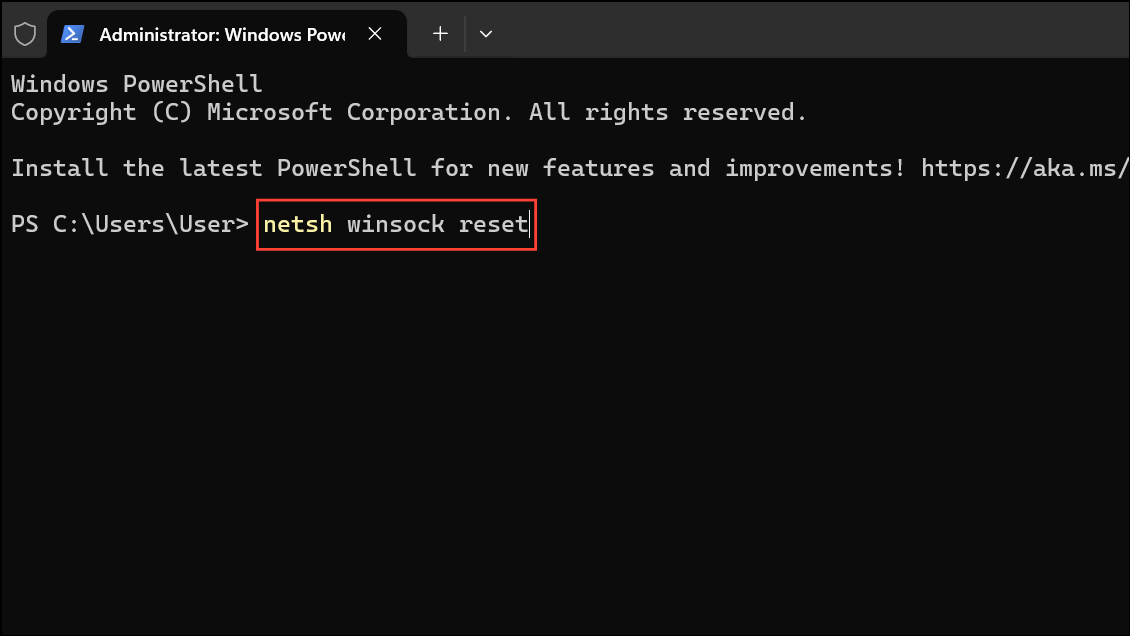
Step 3: Close the window and restart your computer.
This process resets the TCP/IP stack, renews your IP lease, and clears the DNS resolver cache, restoring proper network communication.
Configure DNS and Proxy Settings
Incorrect DNS or proxy settings can block certain apps and services from accessing the internet, even if browsing works. Setting DNS to a reliable public server and disabling unnecessary proxies can resolve connectivity detection issues.
Step 1: Go to Settings > Network & internet > Wi-Fi or Ethernet, then select your network.
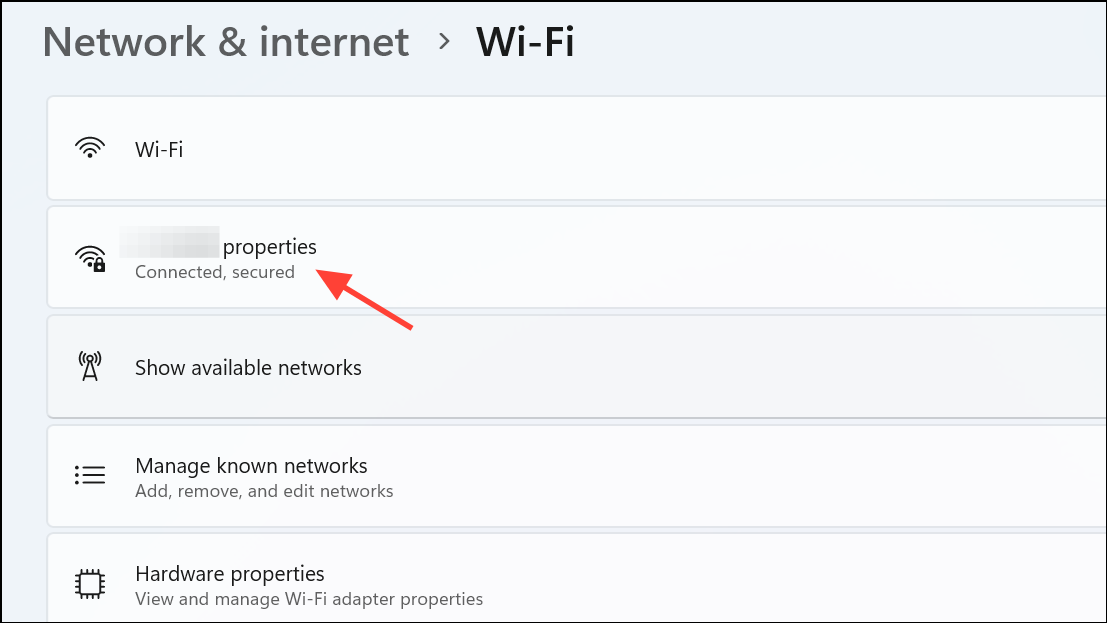
Step 2: Click Edit next to DNS server assignment. Set it to Manual and enter values such as 8.8.8.8 and 8.8.4.4 (Google Public DNS).

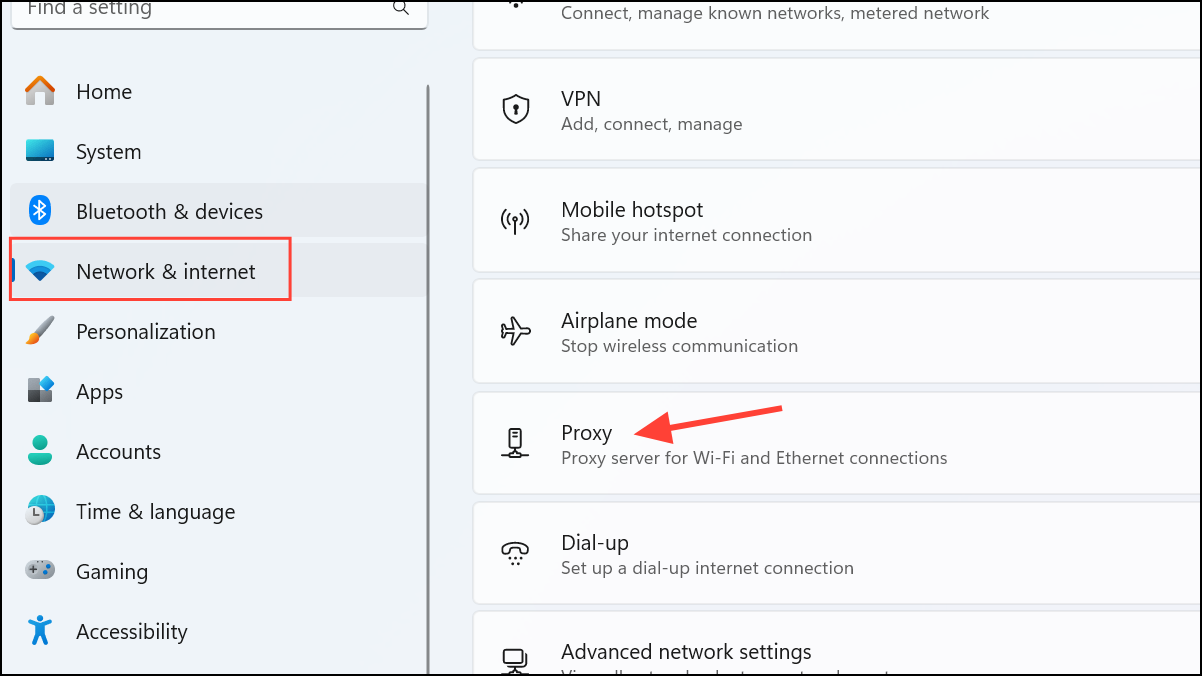
Step 3: For proxy settings, go to Settings > Network & internet > Proxy. Disable any manual proxy configurations unless specifically required by your network.
These adjustments ensure reliable name resolution and prevent proxy misconfigurations from interfering with connectivity.
Check DHCP and IP Address Assignment
Windows 11 may self-assign an APIPA address (169.254.x.x) if it fails to obtain an IP from the DHCP server, blocking internet access. This commonly occurs after certain updates or when DHCP options are duplicated on the network.
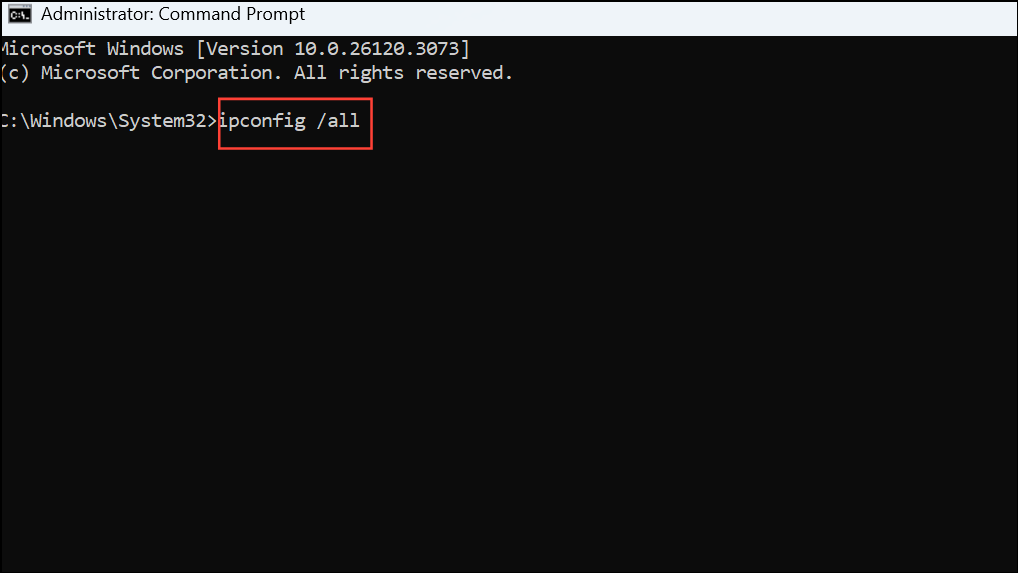
Step 1: Open Command Prompt and run ipconfig /all to check your assigned IP address.
Step 2: If you see an APIPA address, reboot your router and PC. If the issue persists, try manually assigning a static IP address within your router’s DHCP range (consult your router documentation for details).
Step 3: Ensure DHCP is enabled on your router and that your device is set to obtain an IP address automatically.
Proper DHCP assignment restores network routing and allows Windows to detect internet connectivity.
Disable VPN, Firewall, or Third-Party Security Tools
VPNs, firewalls, and some antivirus programs may interfere with Windows’ ability to verify internet access, especially after updates or configuration changes.
Step 1: Temporarily disable your VPN or disconnect from the secure tunnel.
Step 2: Open your antivirus or firewall software and turn off network filtering or shields.
Step 3: Check if the “No Internet” status changes. If it does, re-enable your security tools and add exceptions for Windows networking services as needed.
This step helps rule out software conflicts that block system-level connectivity checks.
Perform a Clean Boot
Background programs and services may conflict with networking components, causing Windows to misreport internet status. A clean boot starts Windows with only essential services.
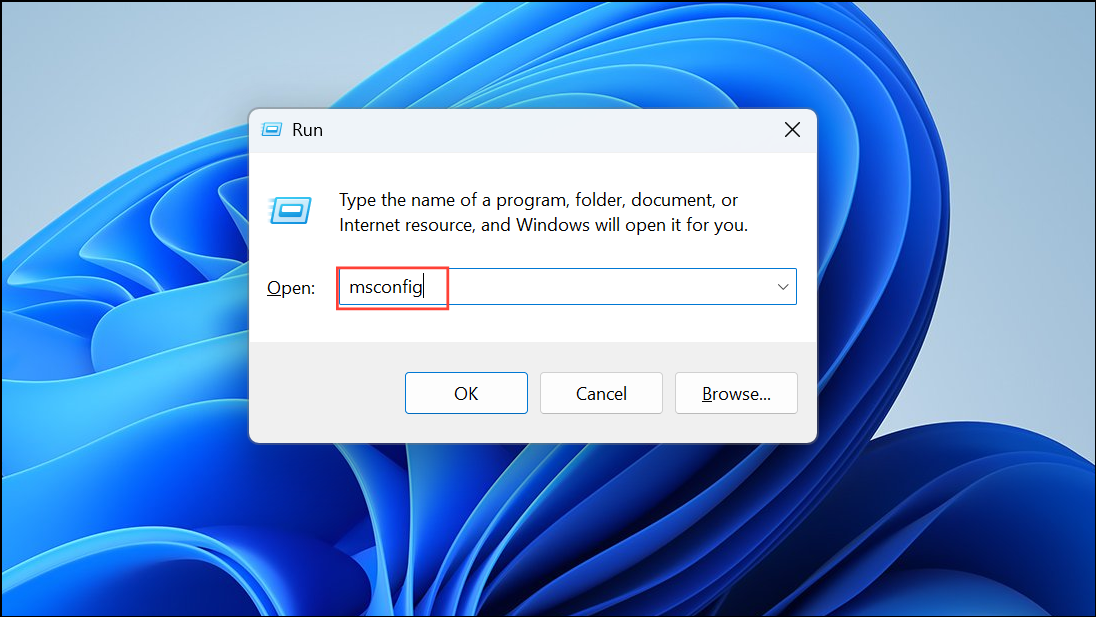
Step 1: Press Windows + R, type msconfig, and press Enter.
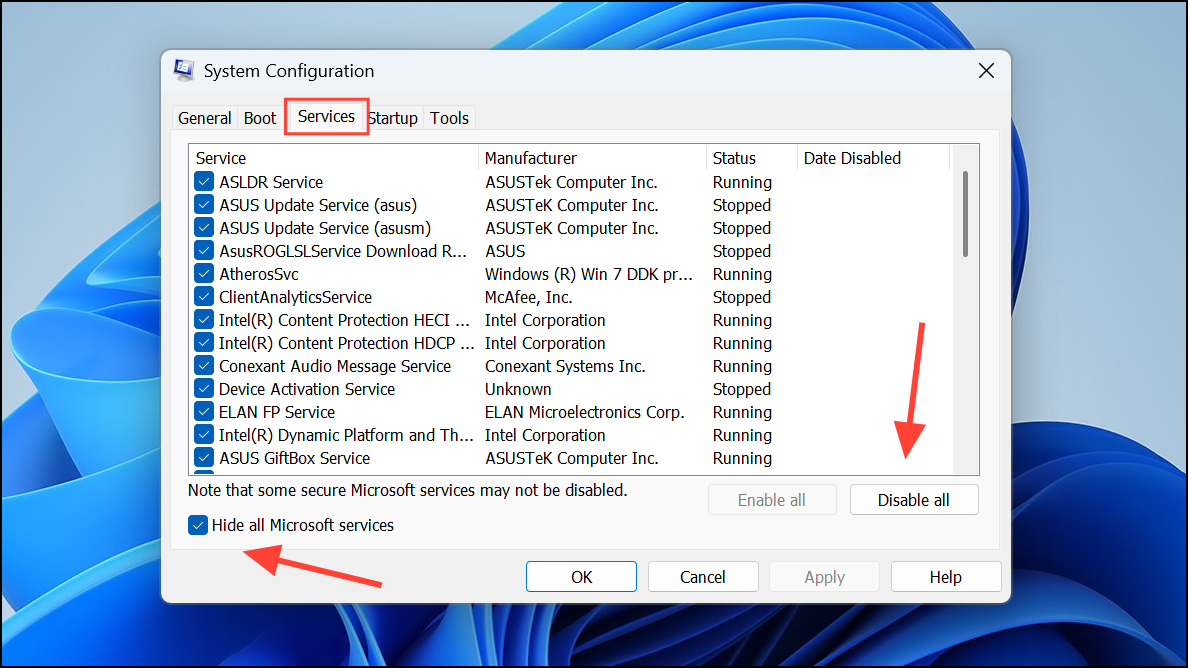
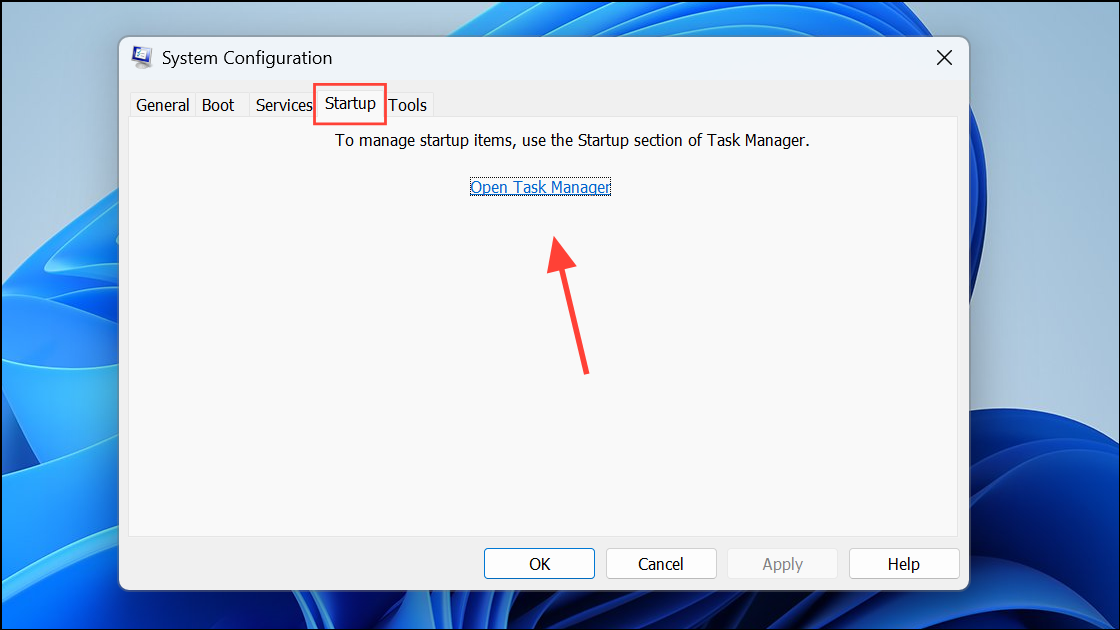
Step 2: In the System Configuration window, go to the Services tab, check Hide all Microsoft services, then click Disable all.
Step 3: Switch to the Startup tab and click Open Task Manager. Disable all startup items by right-clicking them and selecting Disable.
Step 4: Restart your PC and check if the network status improves.
If the problem resolves, re-enable services and startup items one at a time to identify the culprit.
Advanced: Registry and Service Tweaks for Persistent Issues
On rare occasions, registry misconfigurations or disabled network services disrupt Windows’ connectivity detection. Adjusting these settings may help if all other methods fail.
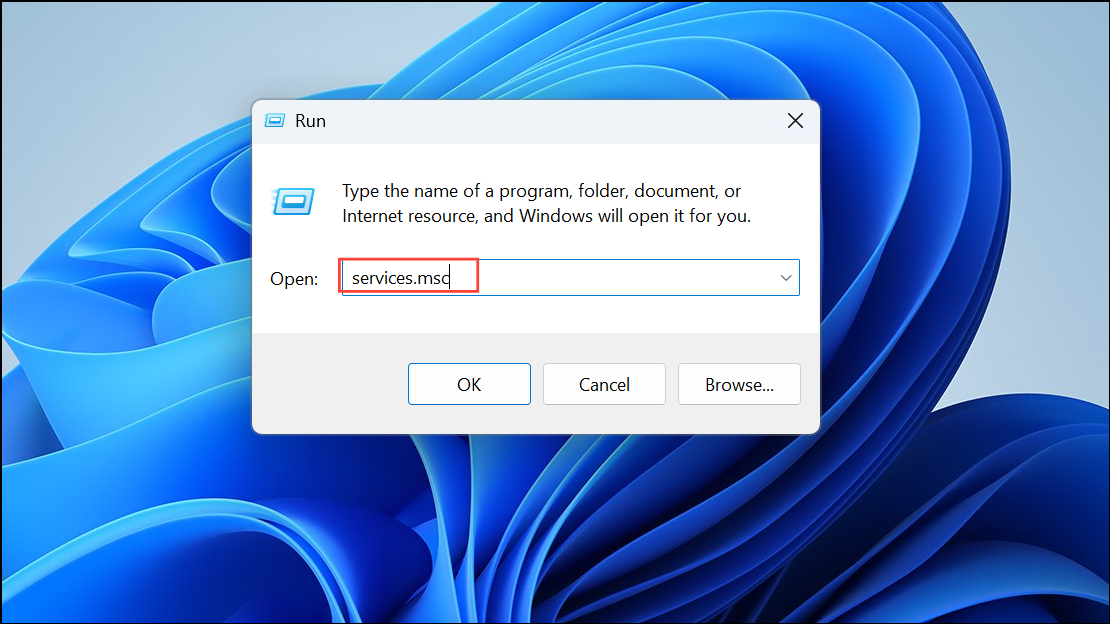
Step 1: Press Windows + R, type services.msc, and press Enter.
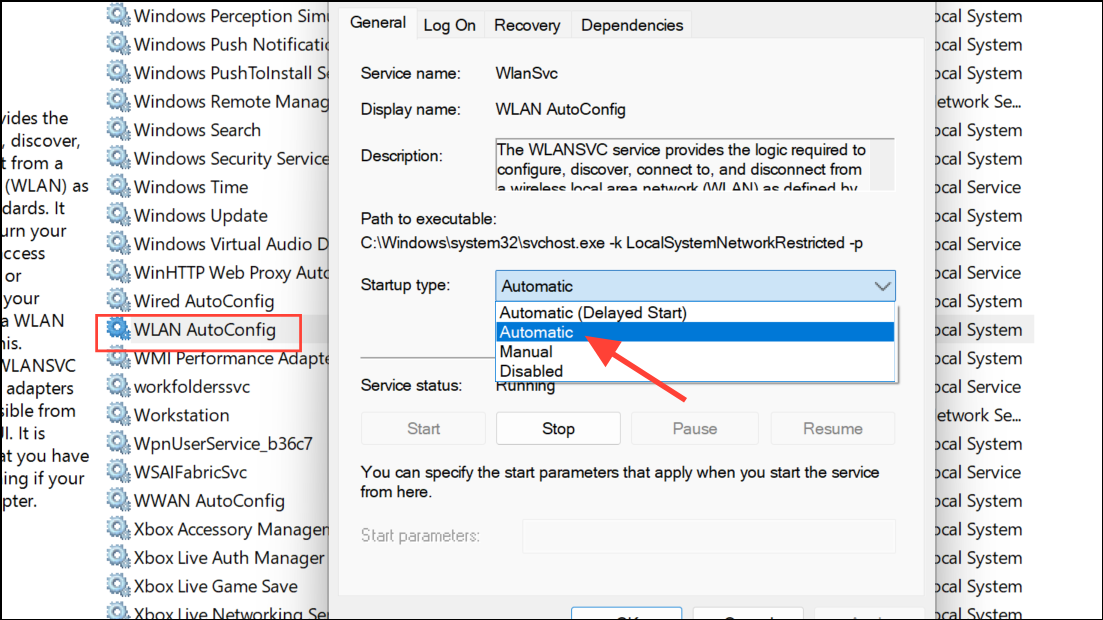
Step 2: Locate WLAN AutoConfig and WWAN AutoConfig. Right-click each, choose Properties, and set Startup type to Automatic. Start the services if they are stopped.
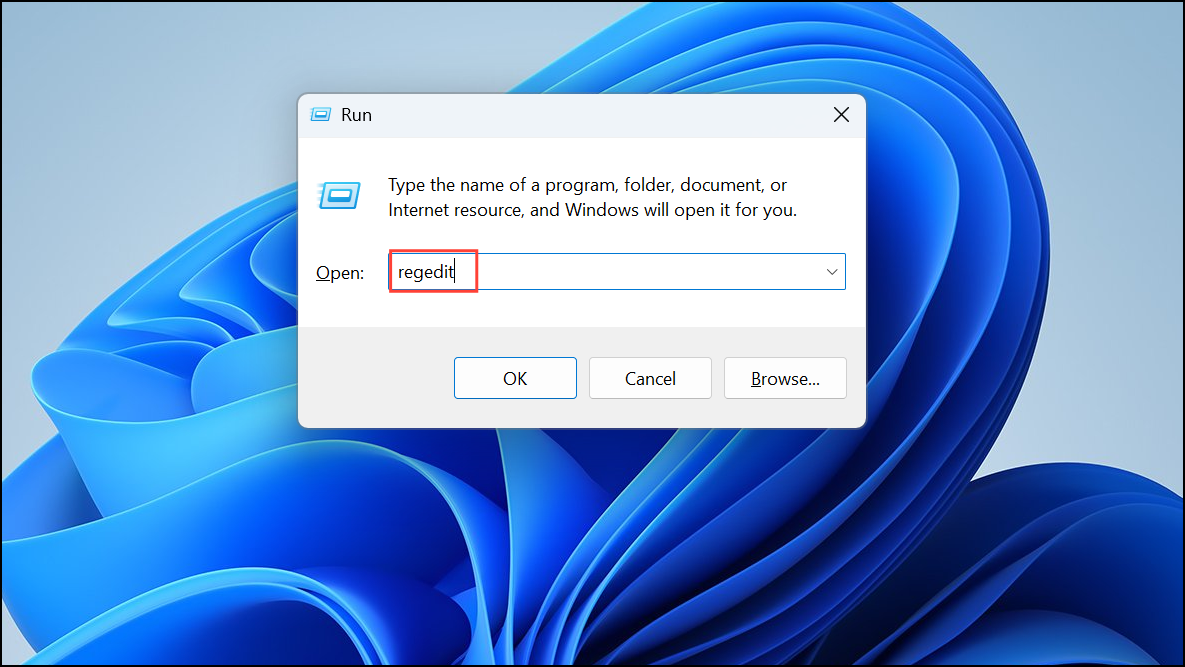
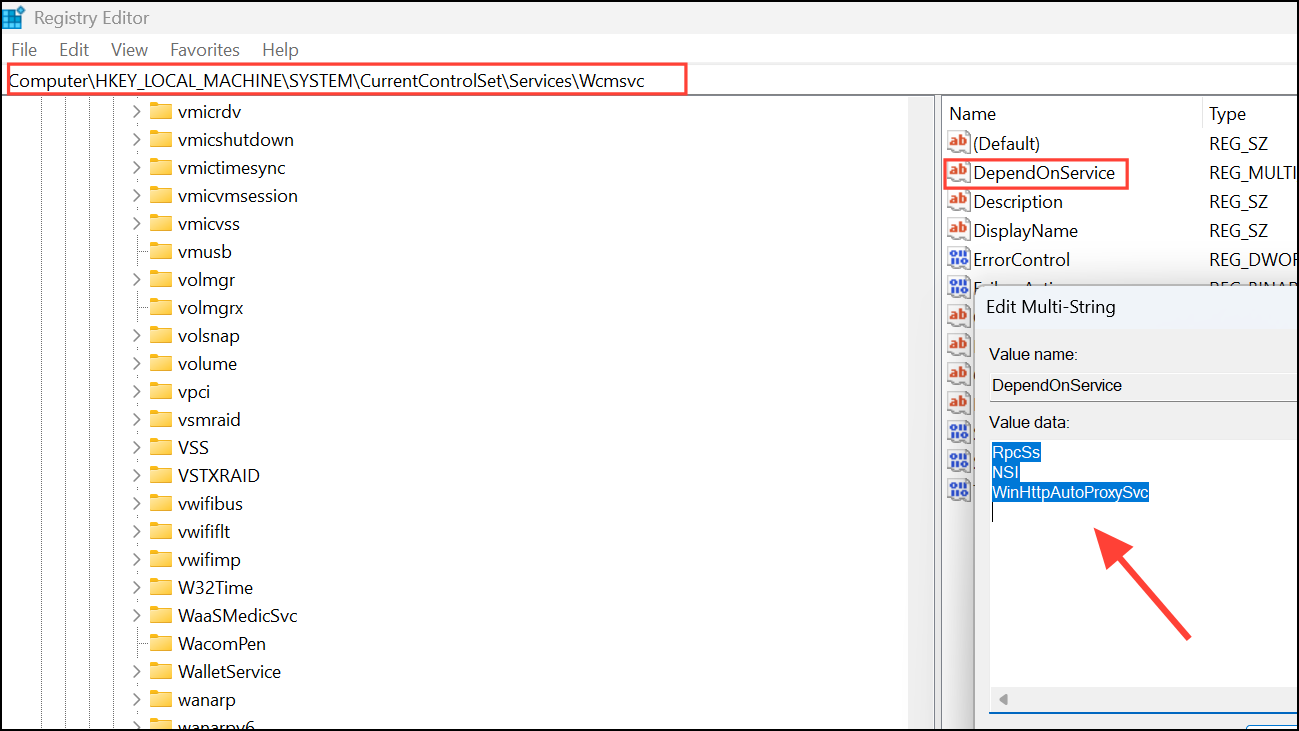
Step 3: To adjust related registry keys, open Registry Editor (type regedit in the Start menu).
Step 4: Navigate to HKLM\System\CurrentControlSet\Services\WcmSvc. Check the DependOnService value and remove references to WinHTTPAutoProxySvc if present. Restart networking services afterward.
These steps are advanced and should be attempted only if standard troubleshooting fails, as incorrect registry edits can destabilize your system.
Resolving the “No Internet Access” message on Windows 11 usually restores full app functionality and system updates. If problems persist after these methods, consider rolling back to a previous Windows version or consulting your hardware manufacturer for further assistance.