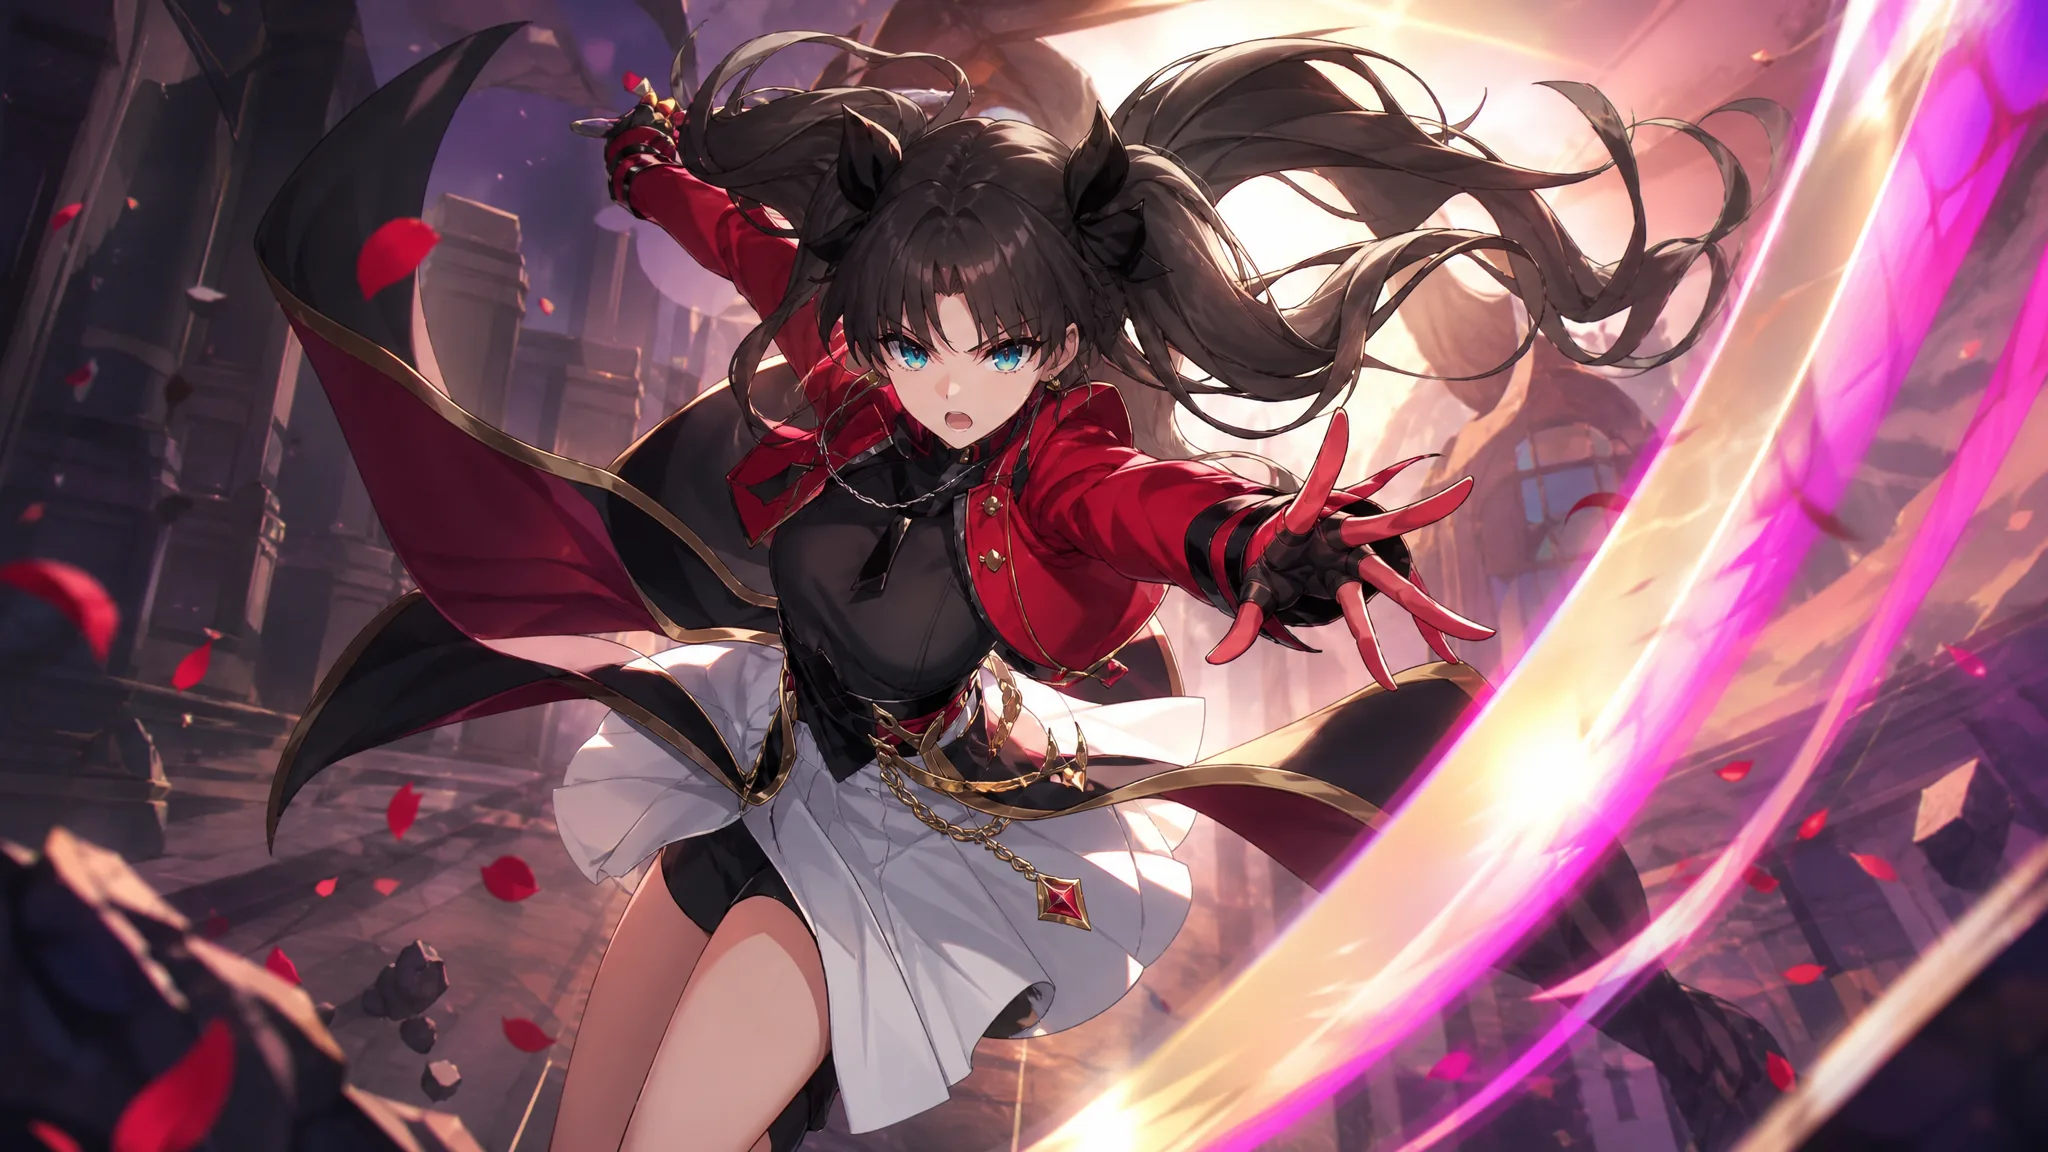
Rin Tohsaka is a 5-star Quantum unit on the Path of Erudition, and she plays nothing like a standard AoE carry. Her whole engine runs on Gem Energy, a private resource she stacks whenever your team spends or recovers Skill Points. The faster your team cycles SP, the more Gem Energy she banks, and the harder her enhanced Skill hits. Build her to abuse that loop and she becomes one of the highest single-action damage dealers in the game.
Quick answer: Equip Flickering Stars, run the 4-piece Genius of Brilliant Stars set with a Tengoku@Livestream ornament, use CRIT Rate / ATK% / Quantum DMG main stats, and pair her with Archer plus Sparkle and a sustain like Huohuo.
Her banner is set to go live on July 24, 2026 alongside Honkai: Star Rail version 4.4 as the second Fate/stay night collaboration character.
Rin Tohsaka at a snapshot
| Attribute | Detail |
|---|---|
| Rarity | 5-Star Limited |
| Element | Quantum |
| Path | Erudition |
| Energy cost | 160 |
| Role | Main DPS / Sub-DPS |
| Base ATK (Lv. 80) | 698 |
| Base SPD | 102 |
Best Light Cones for Rin Tohsaka
Flickering Stars is her signature and the clear best-in-slot. It hands her a big chunk of CRIT Rate and Skill DMG, and once any ally spends 4 or more Skill Points in a single turn, she gains Radiant Crown. While that buff is up, the whole team ignores part of the enemy’s DEF and her own hits ignore even more. Her enhanced Skill triggers this every time it fires, so the effect is nearly permanent in a real fight.
| Light Cone | Tier | Why it works |
|---|---|---|
| Flickering Stars | Best in slot | CRIT Rate plus Skill DMG, and Radiant Crown grants team-wide DEF ignore that also feeds Archer. |
| Into the Unreachable Veil | Premium alternative | CRIT Rate and a large Skill/Ultimate DMG boost after her Ultimate, plus 1 refunded Skill Point on high-energy Ultimates. |
| Eternal Calculus | Free 5-star | Stacking ATK% and some SPD in multi-target fights, and it comes from Herta’s Store without pulling. |
| Today Is Another Peaceful Day | 4-star option | A steady DMG boost that scales off her 160 max Energy. |
Note: the DEF ignore from Radiant Crown stacks on top of the DEF ignore from her own trace, pushing her personal shred to one of the highest values any single character can reach.
Best relics and Planar Ornaments
Genius of Brilliant Stars is the strongest cavern set. The 2-piece adds Quantum DMG, and the 4-piece ignores enemy DEF, with an extra chunk against Quantum-weak targets. As a Quantum unit who naturally leans into Quantum weakness, she gets full value from both halves. Scholar Lost in Erudition is the fallback and closes the gap on enemies that are not Quantum weak, since she fires her Skill right after her Ultimate.
| Set | Bonus |
|---|---|
| Genius of Brilliant Stars (best) | 2pc: +10% Quantum DMG. 4pc: ignores 10% DEF, plus another 10% against Quantum-weak enemies. |
| Scholar Lost in Erudition (alt) | 2pc: +8% CRIT Rate. 4pc: +20% Skill and Ultimate DMG, plus bonus Skill DMG after her Ultimate. |
For the ornament, Tengoku@Livestream fits her rhythm best. It gives flat CRIT DMG and adds a much larger CRIT DMG buff whenever 3 or more Skill Points are consumed in a single turn. Her enhanced Skill eats SP as part of the cast, so that condition triggers on its own almost every rotation. Rutilant Arena is a reasonable substitute if your CRIT Rate is already above 70%.
| Ornament | Bonus |
|---|---|
| Tengoku@Livestream (best) | 2pc: +16% CRIT DMG, plus +32% CRIT DMG when 3+ SP are spent in one turn. |
| Rutilant Arena (alt) | 2pc: +8% CRIT Rate, plus +20% Basic ATK and Skill DMG once CRIT Rate hits 70%. |
Main stats and stat targets
| Slot | Main stat |
|---|---|
| Body | CRIT Rate |
| Feet | ATK% (SPD if you need a breakpoint) |
| Planar Sphere | Quantum DMG Boost |
| Link Rope | ATK% |
For substats, prioritize CRIT DMG and CRIT Rate together, then ATK%, then SPD. Her talent throws out a huge CRIT DMG buff every time Skill Points move, and that buff runs almost continuously in a well-built team, so the CRIT DMG you bring in multiplies hard during her burst.
| Stat | Target |
|---|---|
| CRIT Rate | 70% minimum (push toward 80%+ with Tengoku) |
| CRIT DMG | Stack as high as possible; no hard cap |
| ATK | 2,500+ |
| SPD | 134+, and faster than Sparkle in Archer teams |
Trace priority
Level in the order Talent, Skill, Ultimate, Basic ATK. The Talent decides whether her enhanced Skill activates at all and controls her CRIT DMG scaling, so it comes first. The Skill sets the multipliers on that enhanced state, which is where nearly all her damage lives. The Ultimate acts as a burst and an energy battery, and the Basic ATK is filler you use only when you are out of Skill Points.
How her Gem Energy loop works
Rin starts every fight with 20 Gem Energy from her Talent, Gem Magecraft. From there, each time any ally consumes or recovers a Skill Point she gains 1 Gem Energy, and the same trigger refreshes a strong CRIT DMG buff on her for 2 turns. Once she holds 15 or more Gem Energy, or the team has 7 or more Skill Points, her Skill upgrades into Second Magic Experiment.
That enhanced Skill first hits every enemy, then spends Gem Energy to fire extra bounce hits at random targets, up to 33 times. If you cast it with more than 2 Skill Points on the bar, she burns them down to 2 and converts each spent point into 2 more Gem Energy before the bounces begin. Because of that conversion, cast the enhanced Skill when your SP pool is low rather than full, especially in an Archer team where those points are better spent on Archer’s shots.
Her Ultimate deals heavy Quantum damage, refunds 1 Skill Point to the team, and applies an increased-damage-taken debuff to all enemies for 3 turns. Her trace also grants 12 Gem Energy on Ultimate, feeding straight back into her next enhanced cast.
Tip: use her Technique, Conversion Charge, before the fight to enter combat with extra Gem Energy, which can hand you an enhanced Skill on turn one.
Best Rin Tohsaka teams
Archer is the anchor of her best team, and treating him as fixed is the correct call for most players. His trace raises the team’s Skill Point cap by 2, and both he and Rin gain 150% ATK plus DEF ignore just for sharing the field. When his Skill leaves the team at 3 or fewer Skill Points, Rin and Archer fire a joint AoE attack that also refunds 4 Skill Points, which immediately regenerates Gem Energy for Rin. Without Archer, that joint attack simply does not exist.
| Slot | Character | Job |
|---|---|---|
| Carry | Archer | Main DPS and SP burner |
| Sub-DPS | Rin Tohsaka | AoE bounces, buffs, DEF shred |
| Support | Sparkle | SP battery, action advance, CRIT DMG |
| Sustain | Huohuo (or Lingsha / Dan Heng • Permansor Terrae) | Healing plus energy regen for her 160 cost |
Sparkle is close to mandatory in this shell. Her Ultimate restores a large batch of Skill Points, lets the team bank overflow above the cap, and keeps the SP engine running between Archer’s shots. Drop her and the team’s Skill Point economy stalls. If you prefer to run Rin as a hypercarry instead, keep Sparkle, add a Quantum support or an SP-positive unit, and finish with a healer like Huohuo.
Eidolons and where to stop
Paired with Archer, Rin does not need vertical investment to perform, so E0S0 or E0S1 is the cost-efficient stopping point. Her signature is the bigger upgrade for most players because it lifts her personal damage and hands DEF ignore to the whole team. If you want to keep spending, E2S1 is the next meaningful target, since her E1 and E2 both raise her damage output. Players building her as a main DPS get more out of E1 specifically.
Build her around the Gem Energy loop and she rewards that setup with enormous burst turns, but she asks for a specific supporting cast. Lock in Archer and Sparkle first, feed her CRIT stats and ATK on a Genius of Brilliant Stars plus Tengoku@Livestream frame, and let the Skill Point cycle do the rest.