The clinic in Animal Hospital looks plain on a first walk-through, but every room has a job. Some are where you spawn and watch the cameras, some are where you treat patients, and a few hide minigames that decide whether a patient lives or dies. Knowing exactly what each space is for cuts down the back-and-forth and keeps your shifts moving.
Quick answer: The hospital has three zones. The Check-In Room is your spawn and control center, the Medical Wing (Rooms 1-5) handles standard diagnoses, and the Emergency Wing (Rooms 6-8) holds the X-Ray, Heart Monitor, and Surgery minigames. The Lobby and Staff Only Room round out the map for waiting patients and the in-shift shop.
| Location | What it is for |
|---|---|
| Check-In Room | Player spawn and security hub |
| Lobby | Main waiting area for patients |
| Staff Only Room | Restricted area with the shop |
| Medical Wing (Rooms 1-5) | Standard diagnosis rooms |
| Room 6 – X-Ray Room | Bone scan plus a sequence minigame |
| Room 7 – Heart Monitor Room | Vital checks with a clicking minigame |
| Room 8 – Surgery Room | Emergency surgery minigame |
Check-In Room: your spawn point and control center
Every shift starts in the Check-In Room. This is where you load in when the game opens, which makes it the single most important spot in the building. You can spot it by the dark green carpet with a darker border, and most of your run revolves around the tools packed into this room.
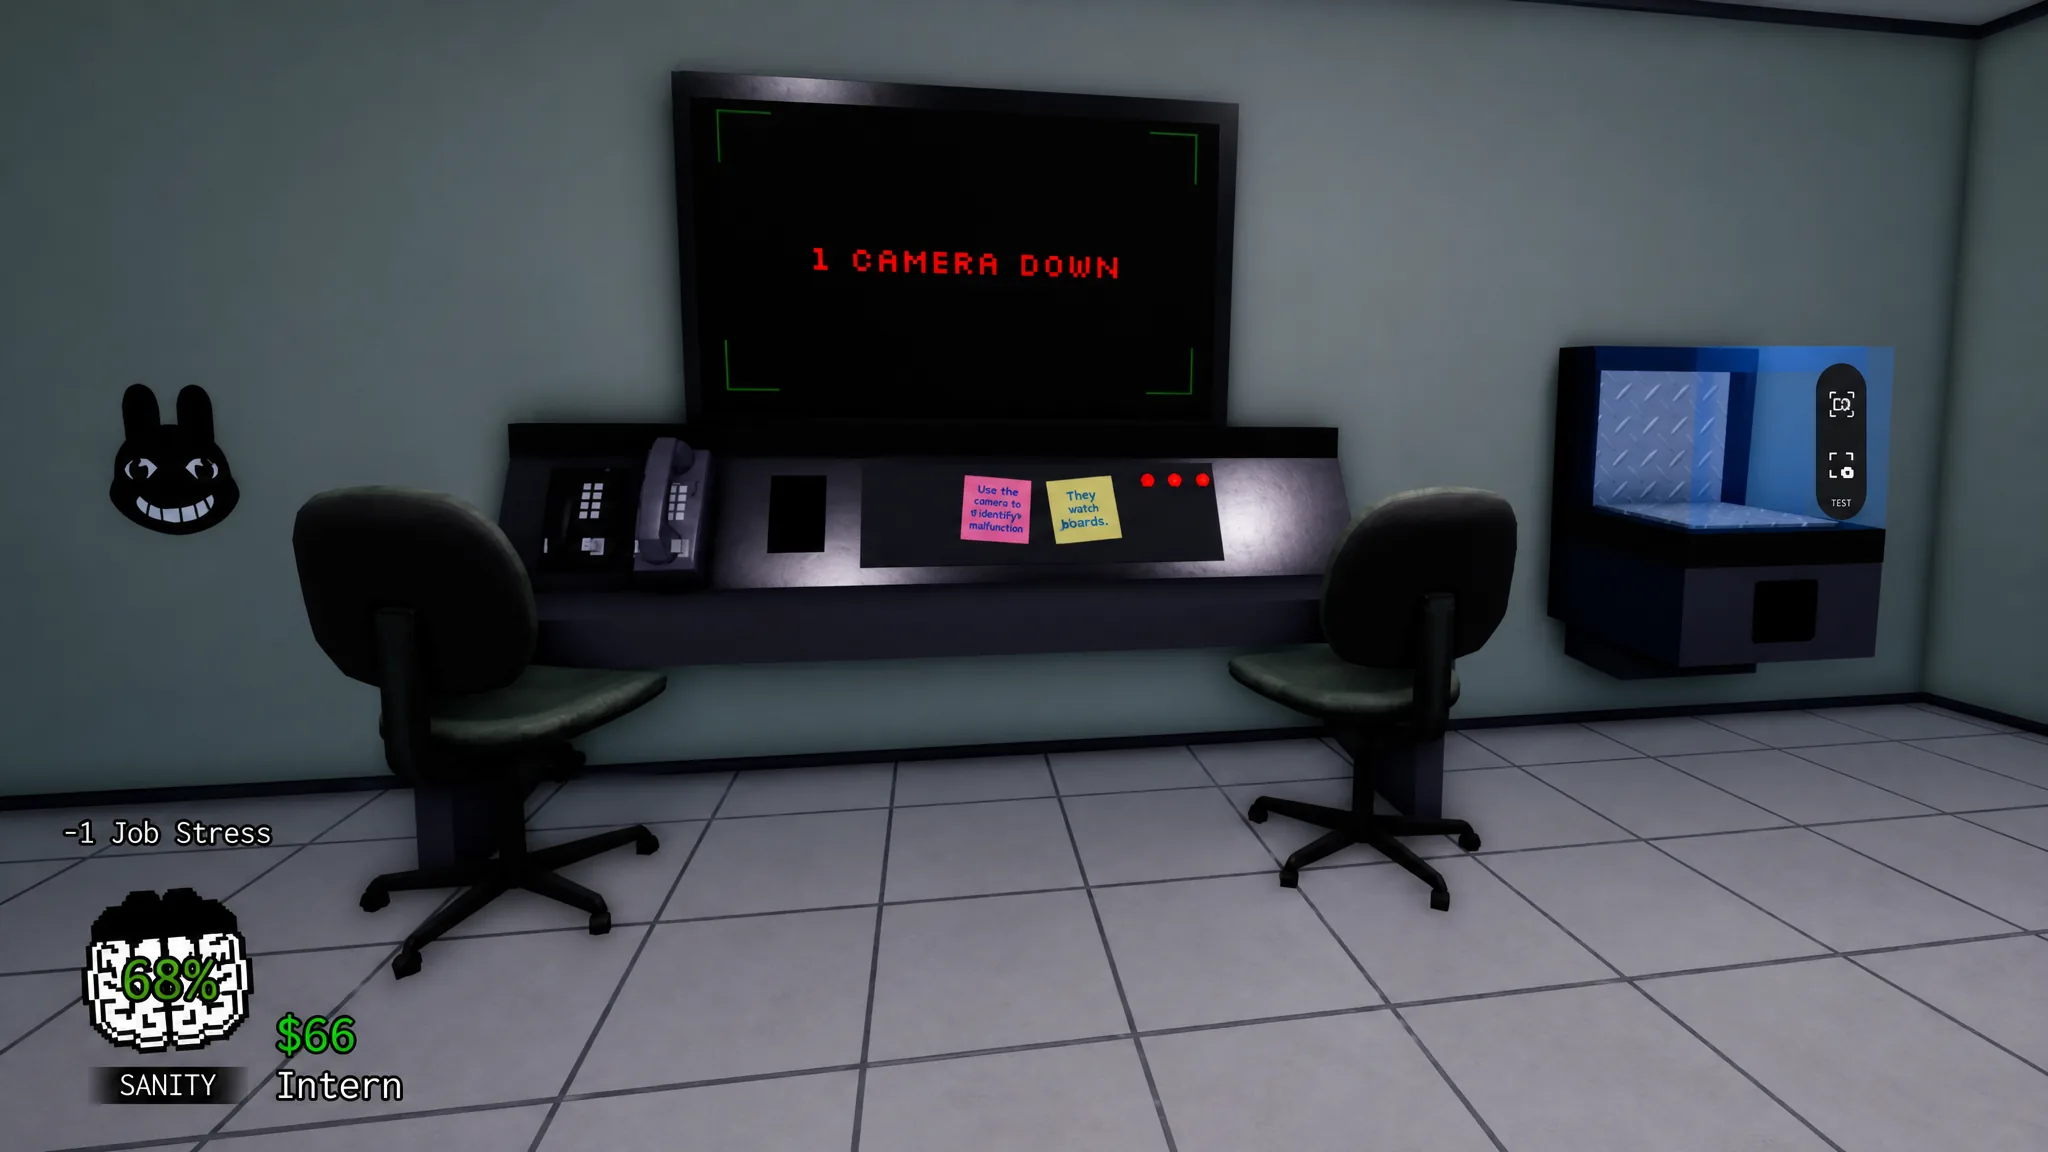
Security monitor and cameras
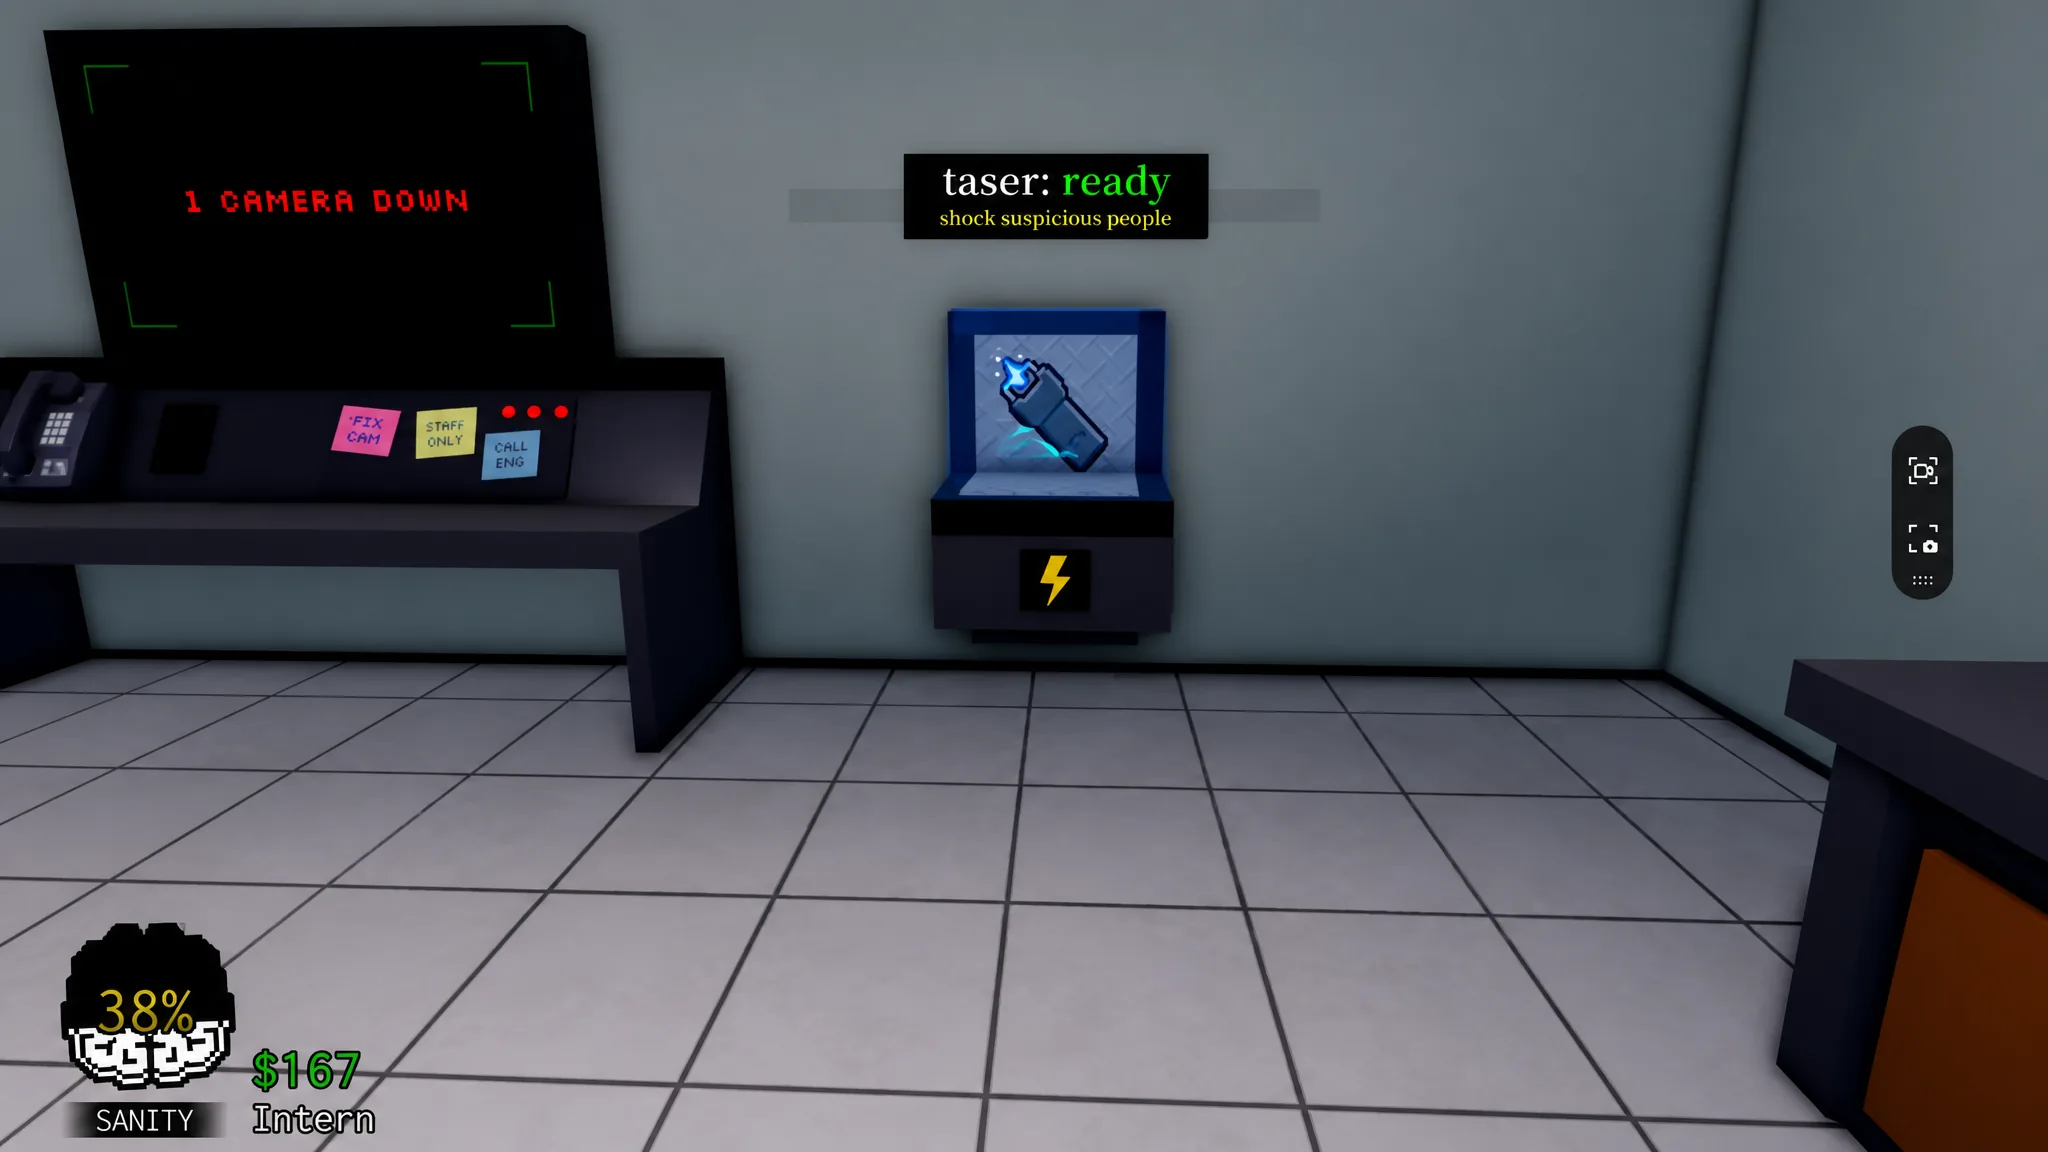
The centerpiece is the security monitor, which manages the cameras you use to catch anomalies. The screen tells you the status of your camera feeds at a quick read, so you always know whether your detection net is intact. You unlock the cameras and the shutters during the Second Shift, so the monitor only becomes useful from that point on.
| Camera status | Display message |
|---|---|
| Cameras locked | CAMS OFFLINE |
| All cameras working | ALL CAMS OPERATIONAL |
| One camera broken | 1 CAMERA DOWN |
| Multiple cameras broken | X CAMERAS DOWN |
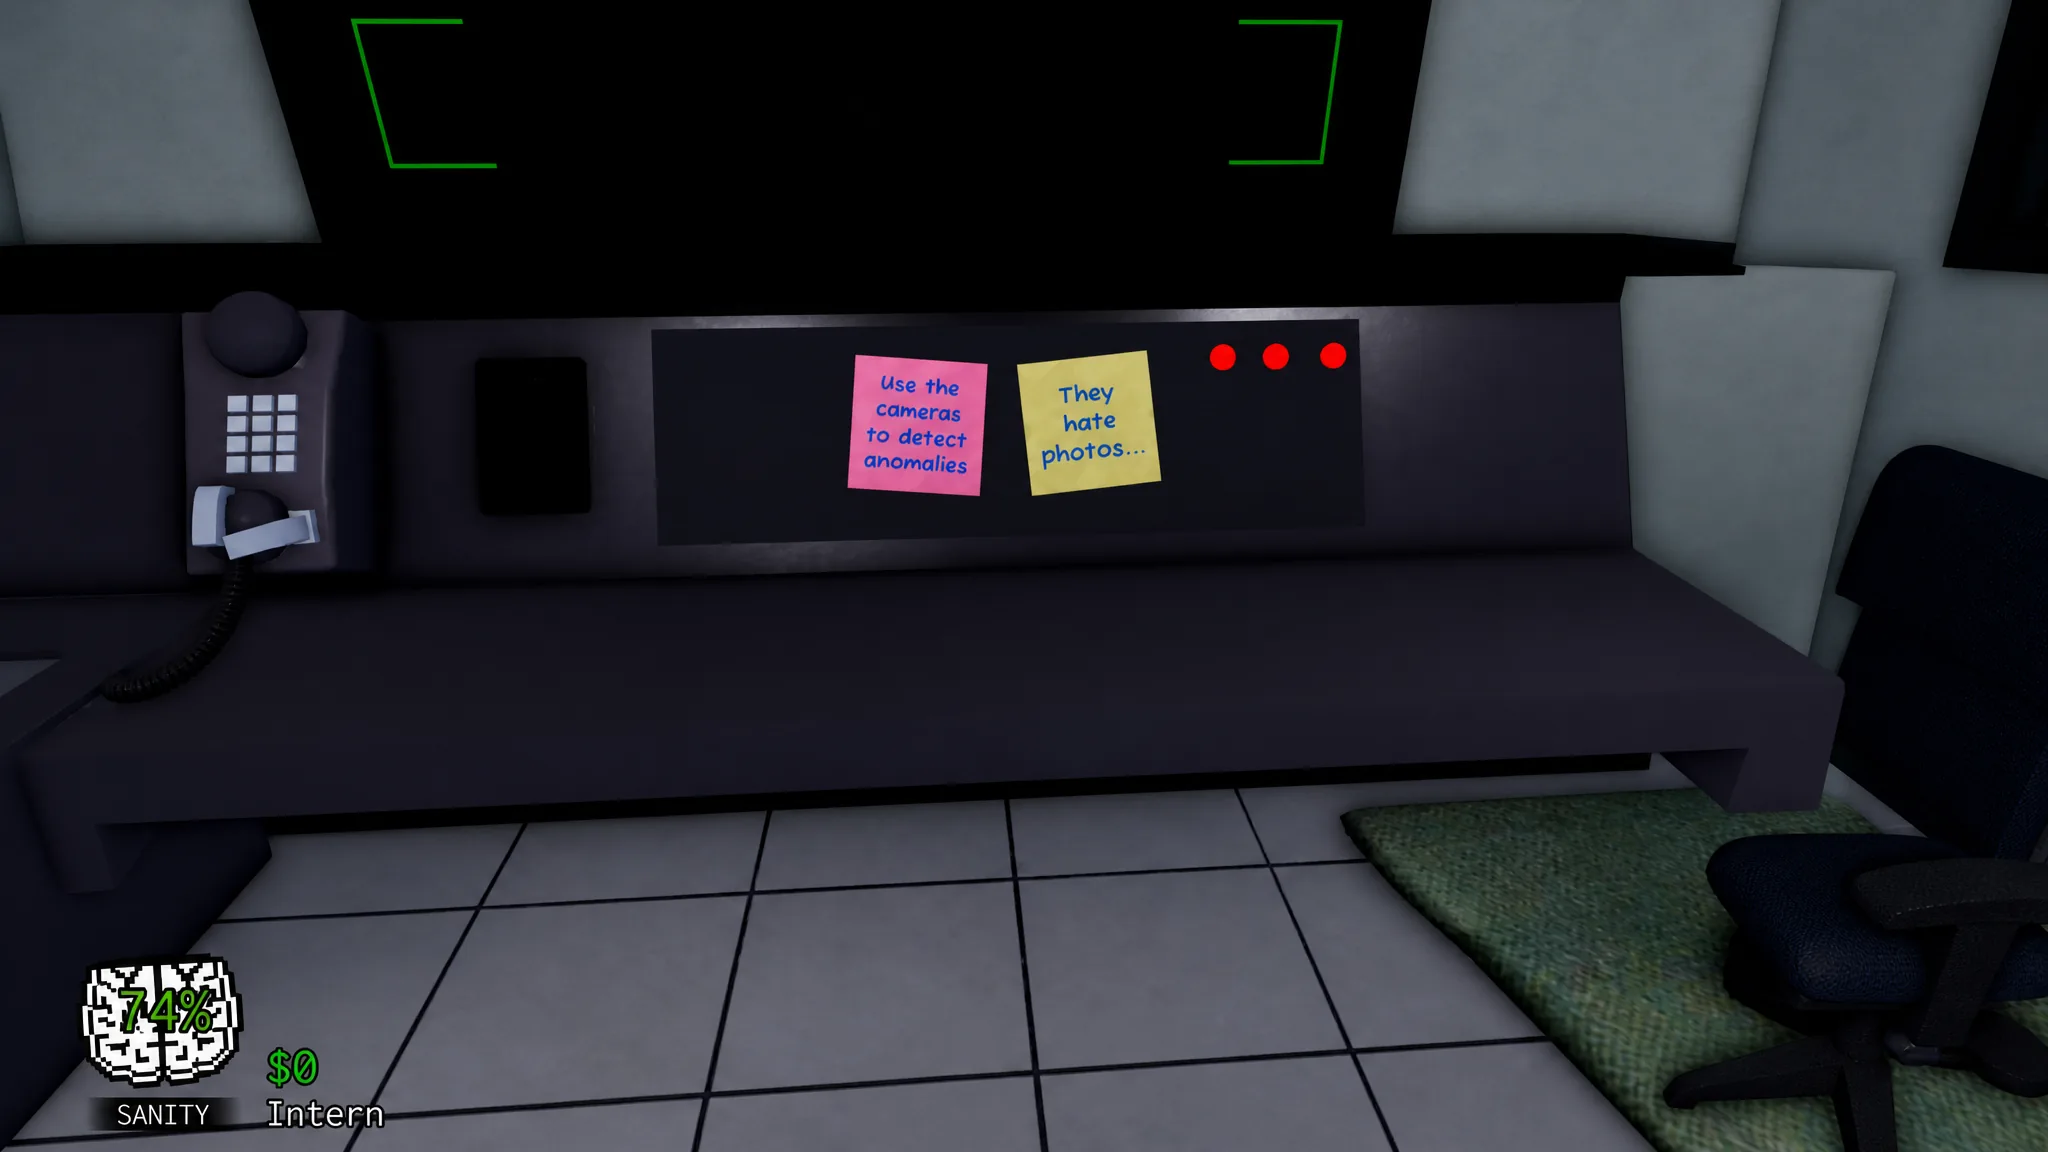
Helpful notes
Two sticky notes sit next to the monitor, and they double as early hints. One reads “Use the cameras to detect anomalies,” and the other warns “They hate photos…” Both point straight at the detection systems you lean on later, so they are worth reading on your first shift.
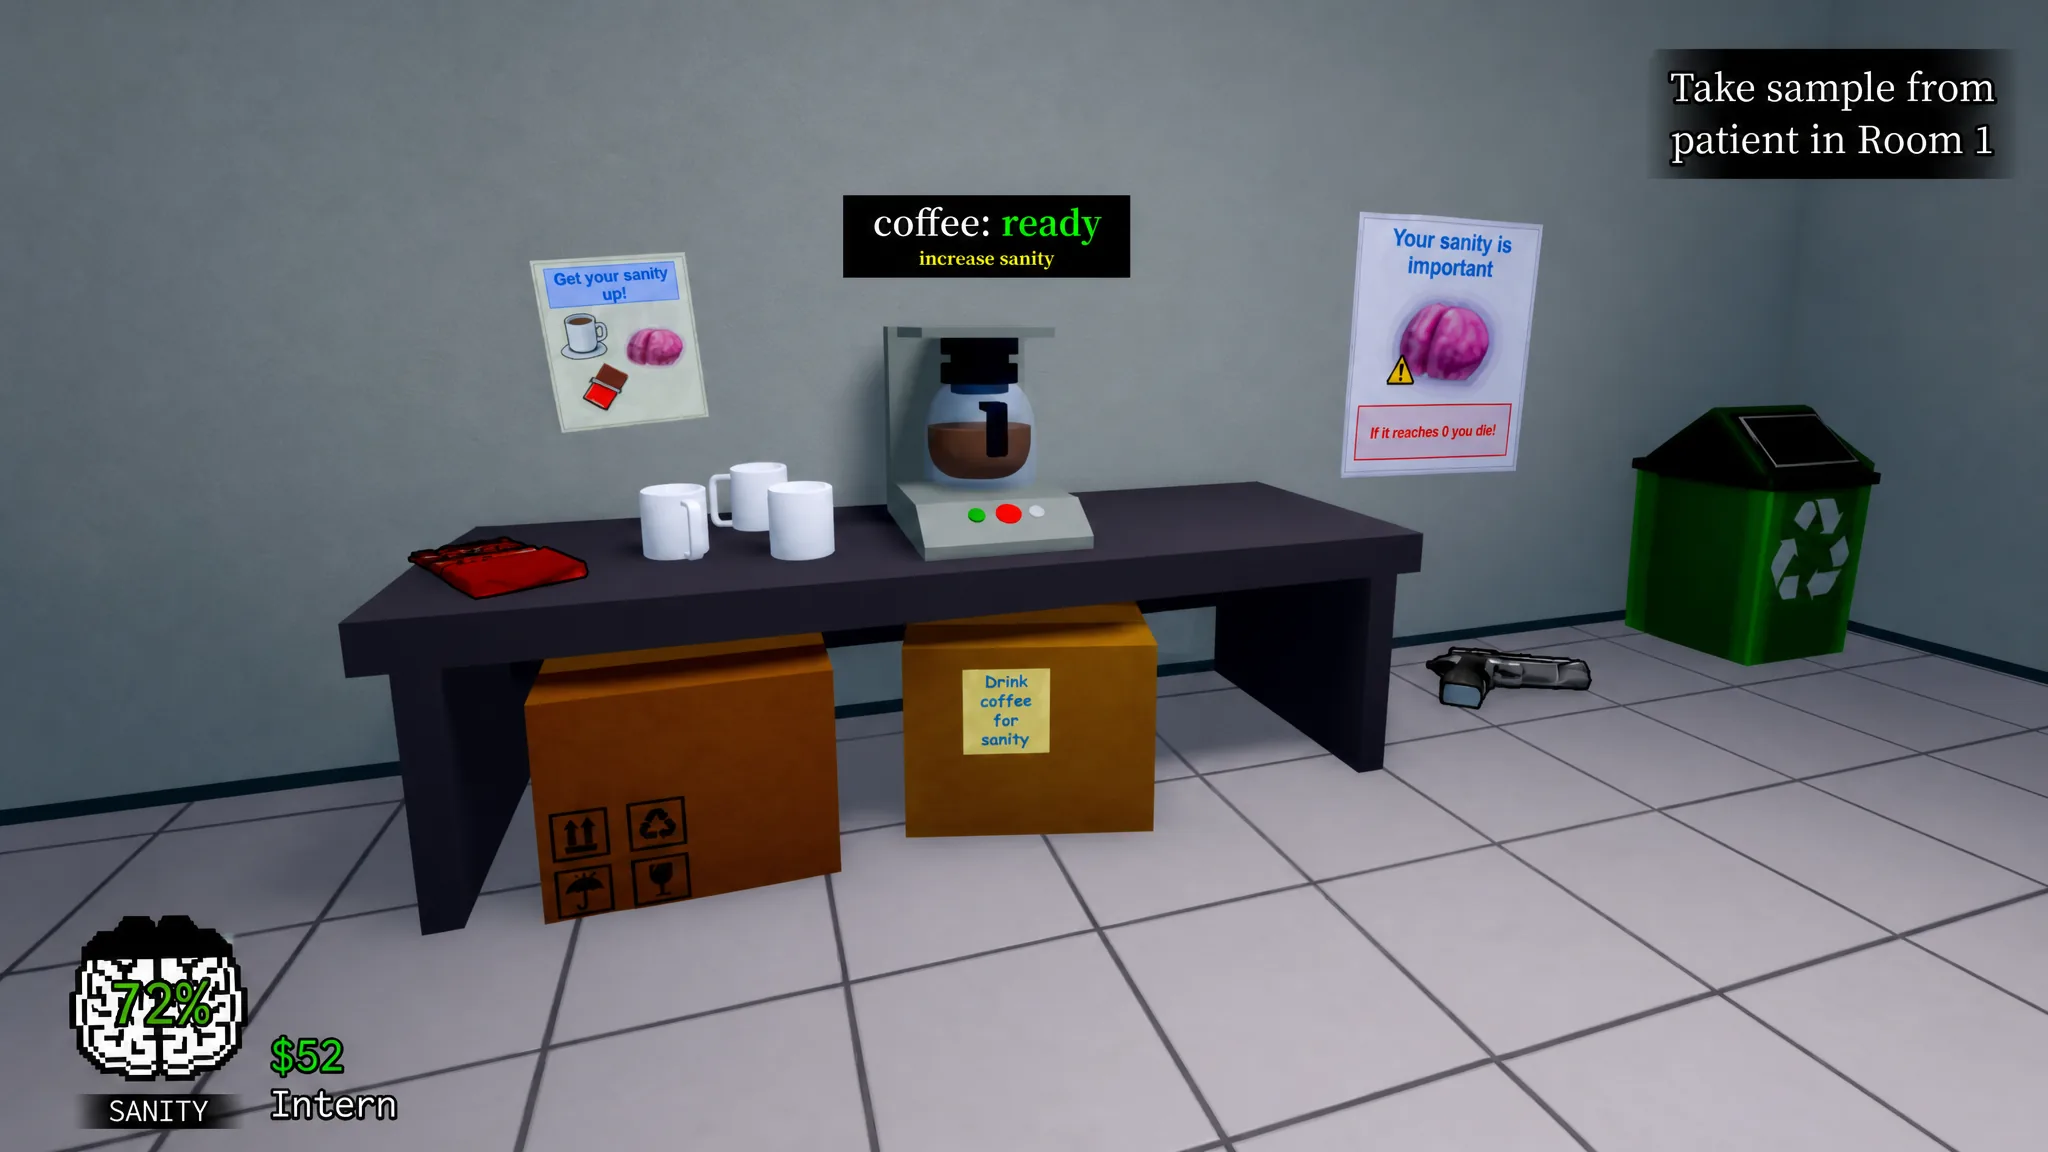
Coffee station
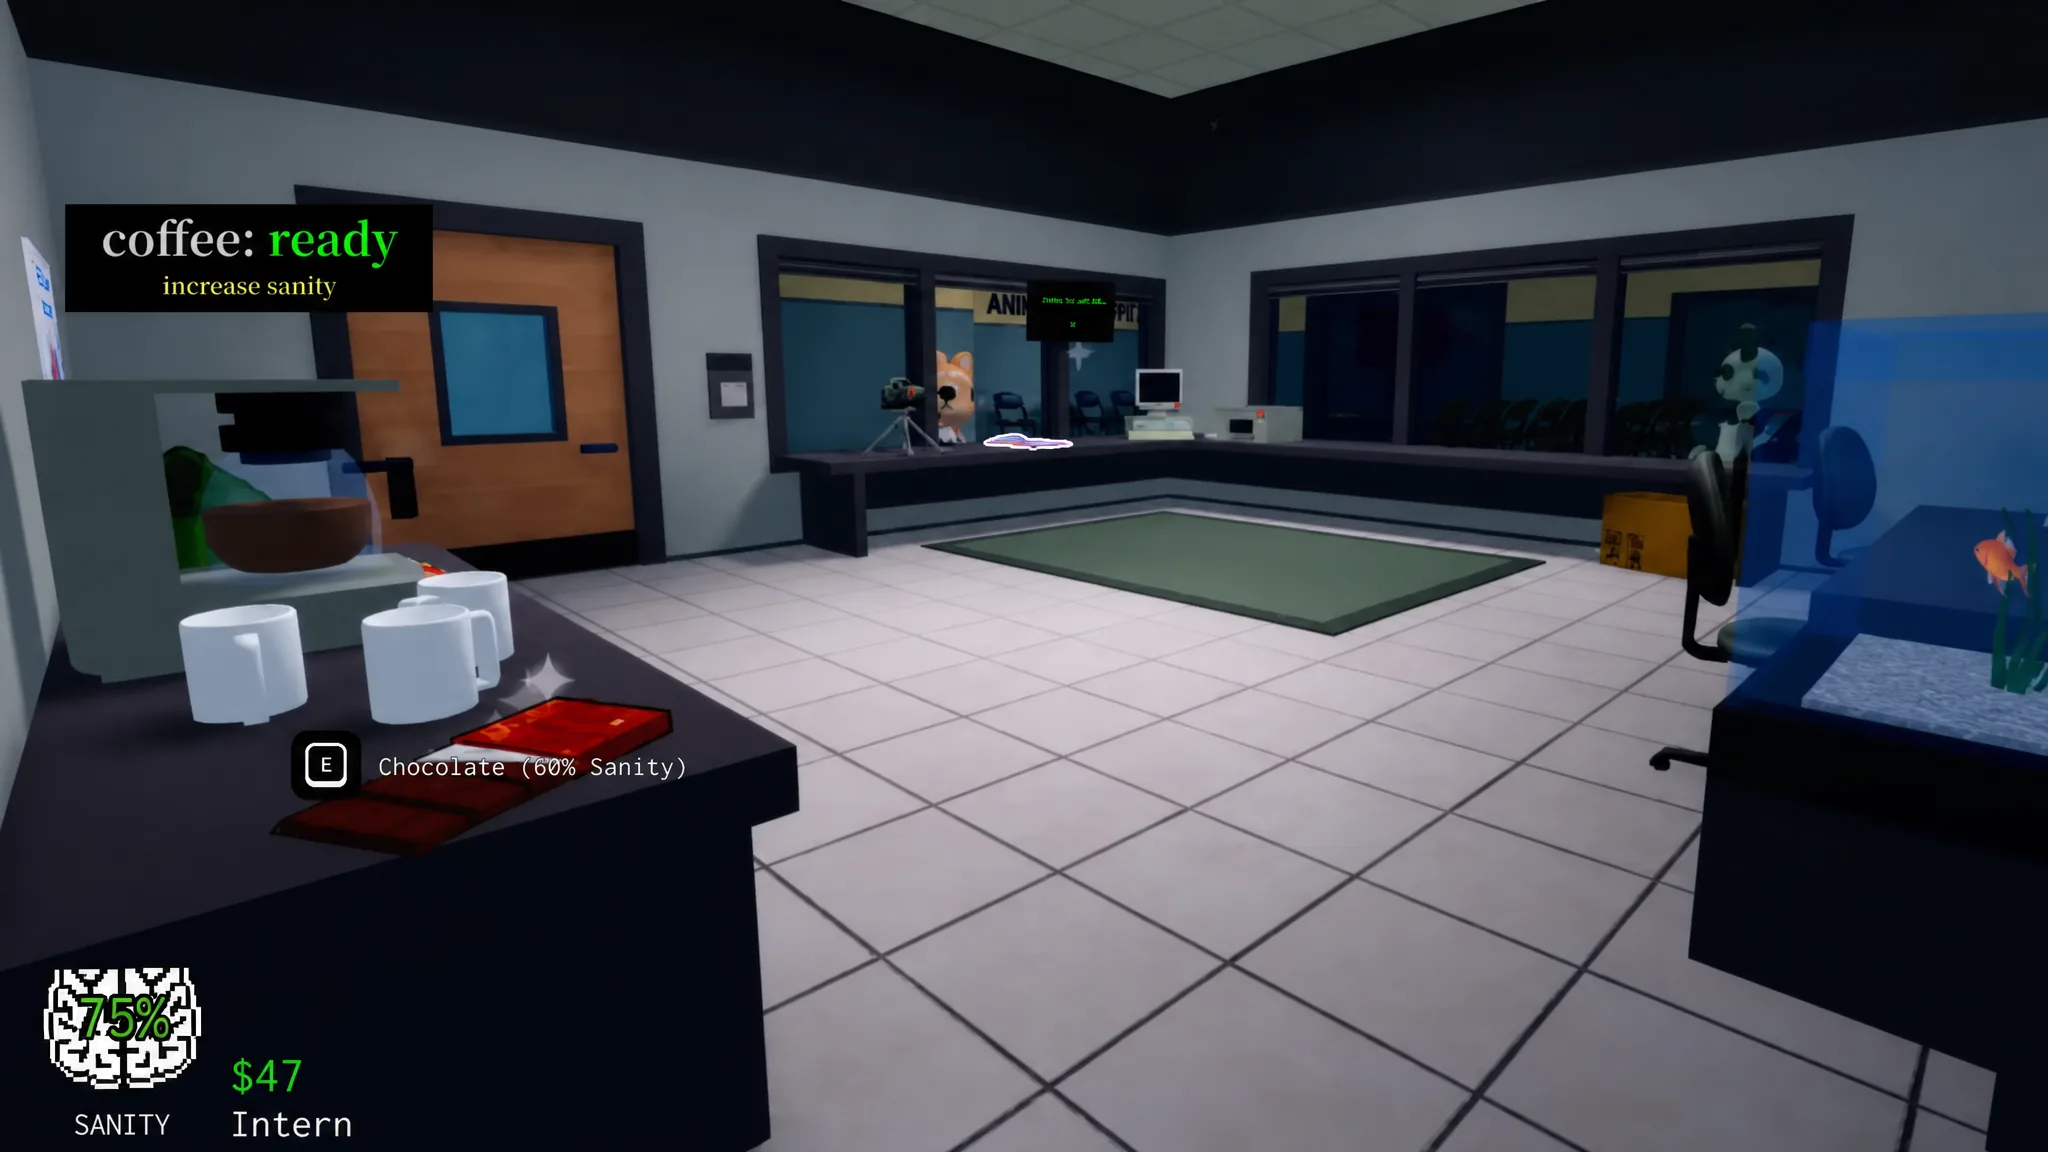
The right side of the room holds the coffee station, your main way to restore Sanity. It has a coffee machine and three empty mugs, and brewing carries a 180-second cooldown, so you cannot spam it. A Chocolate Bar is also stocked here, and eating it restores 60% Sanity, which makes it a strong backup when coffee is on cooldown.
Equipment area
As you climb through later shifts, more tools appear in the equipment area. These give you ways to fight back when an anomaly slips past check-in and turns hostile inside the building.
| Item | Purpose |
|---|---|
| Taser | Shocks anomalies |
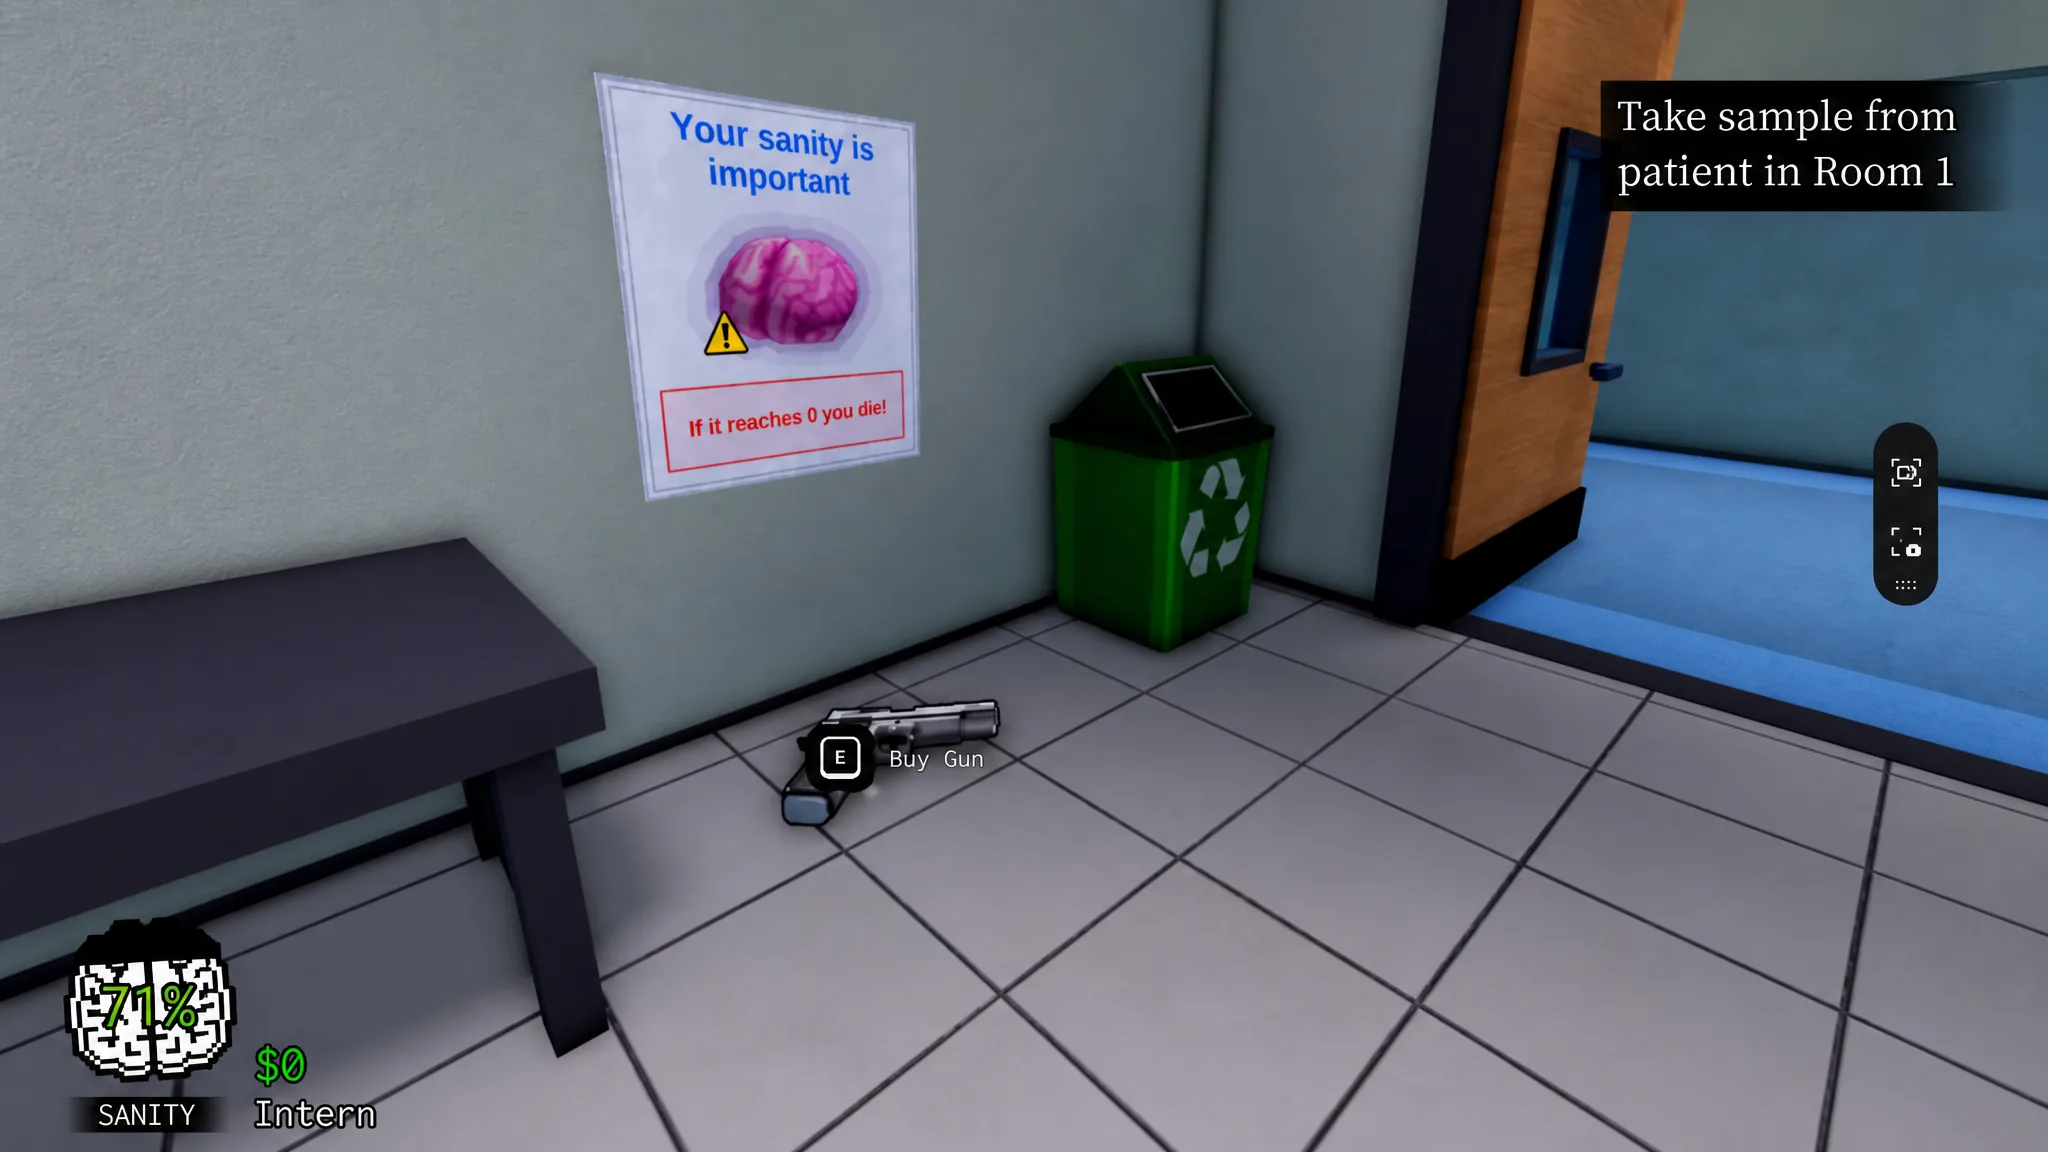
| Gun | Premium weapon with 20 ammo |
| Trash Bin | Disposes of unwanted items |
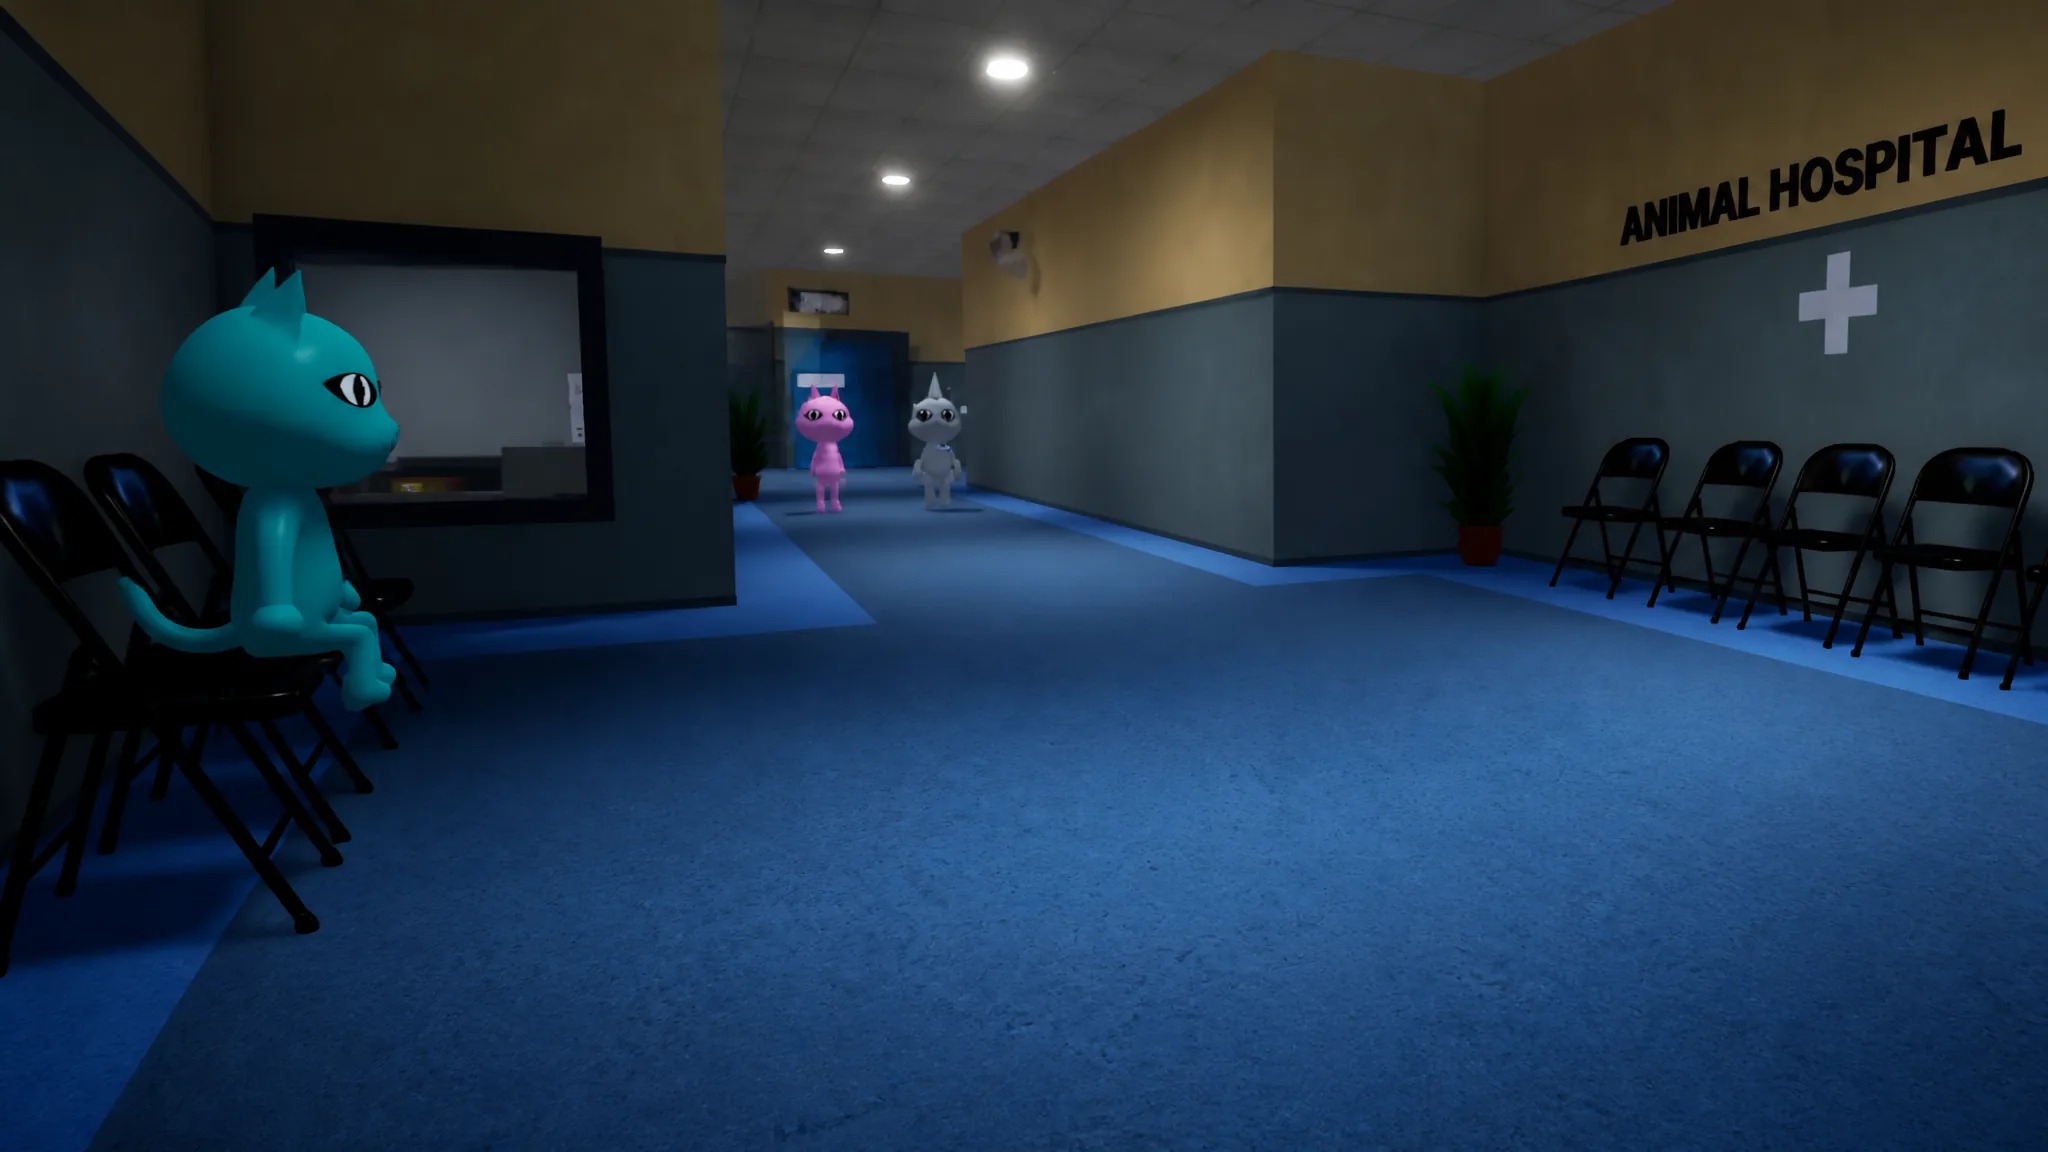
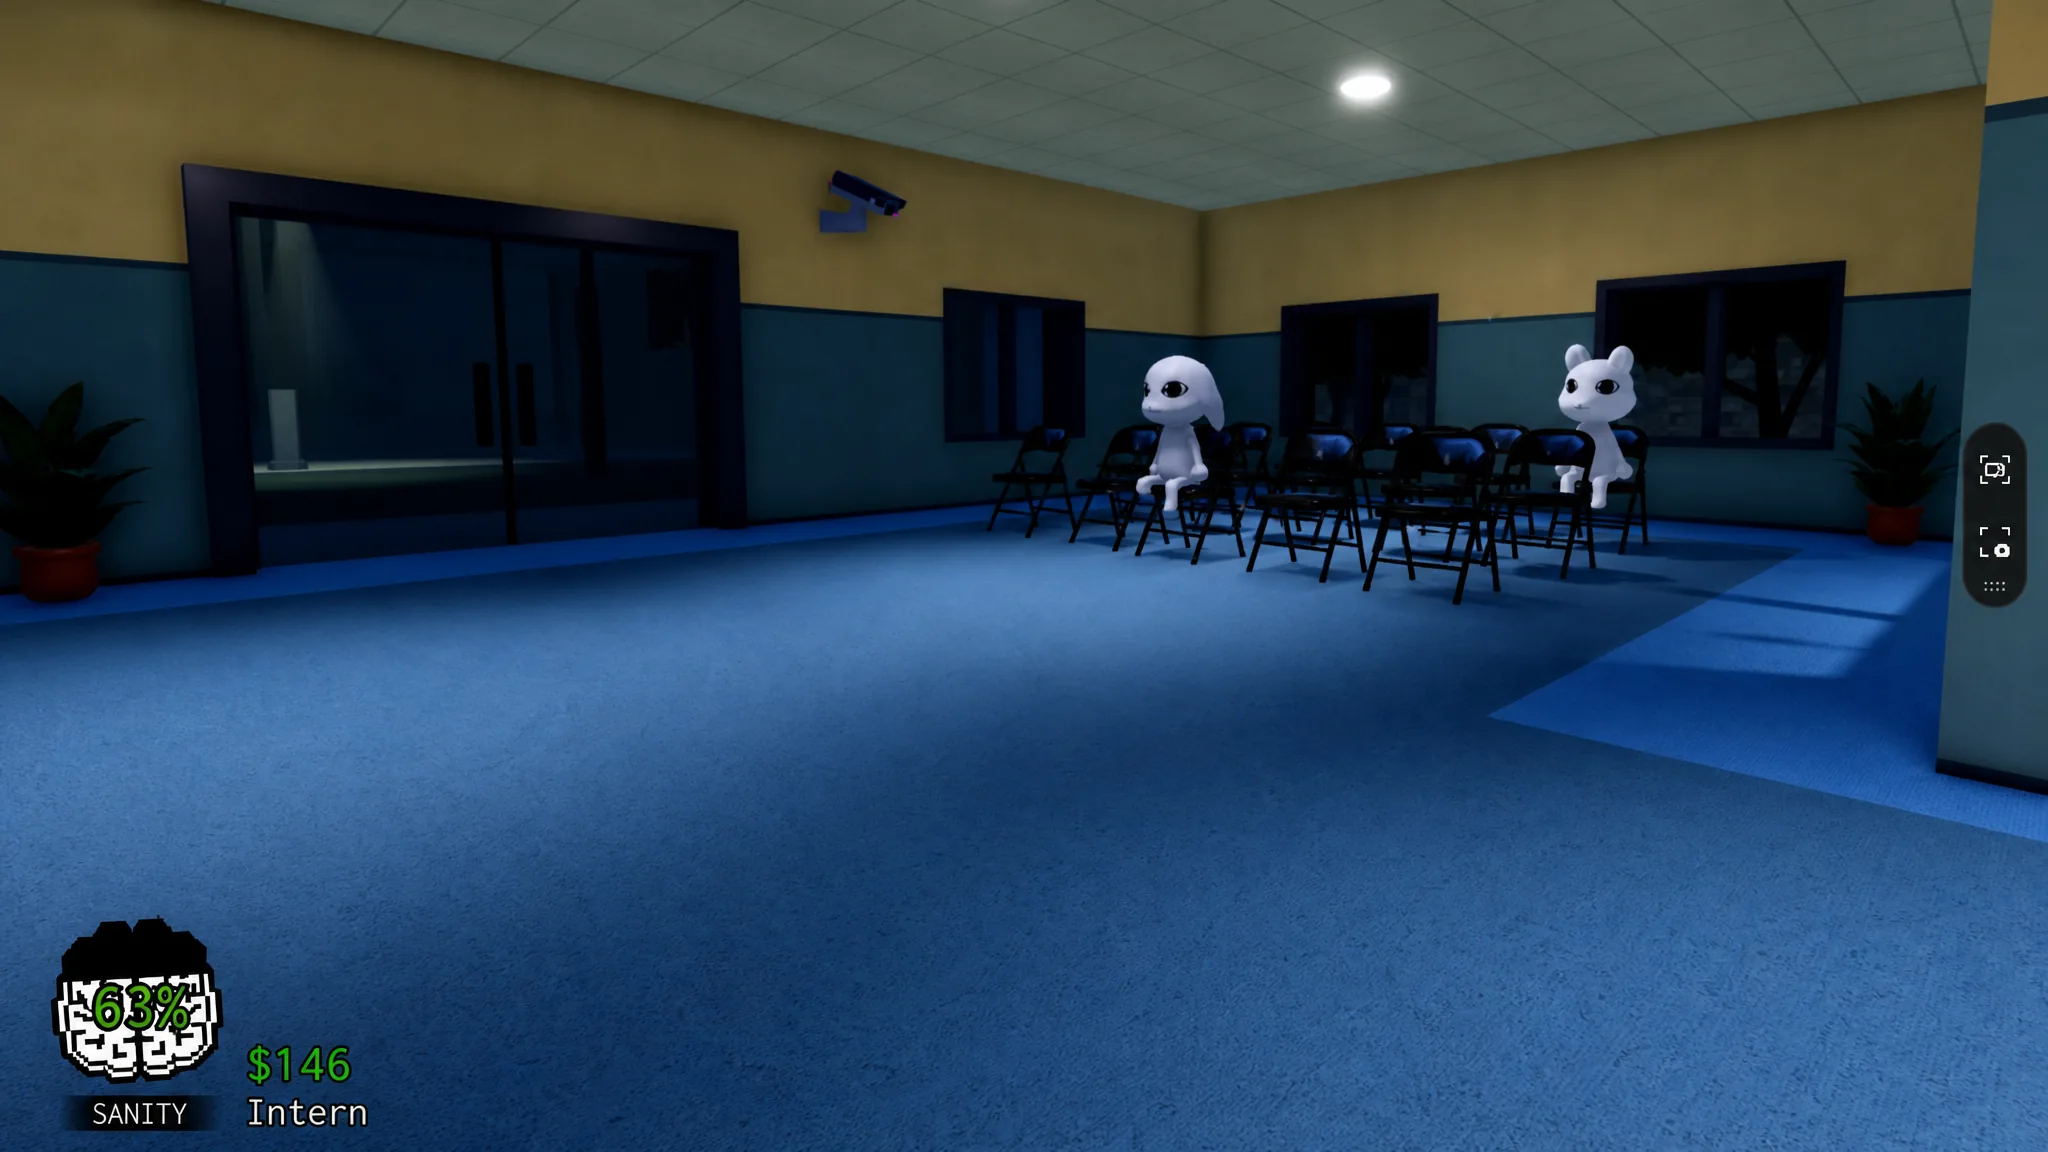
Lobby: the patient waiting area
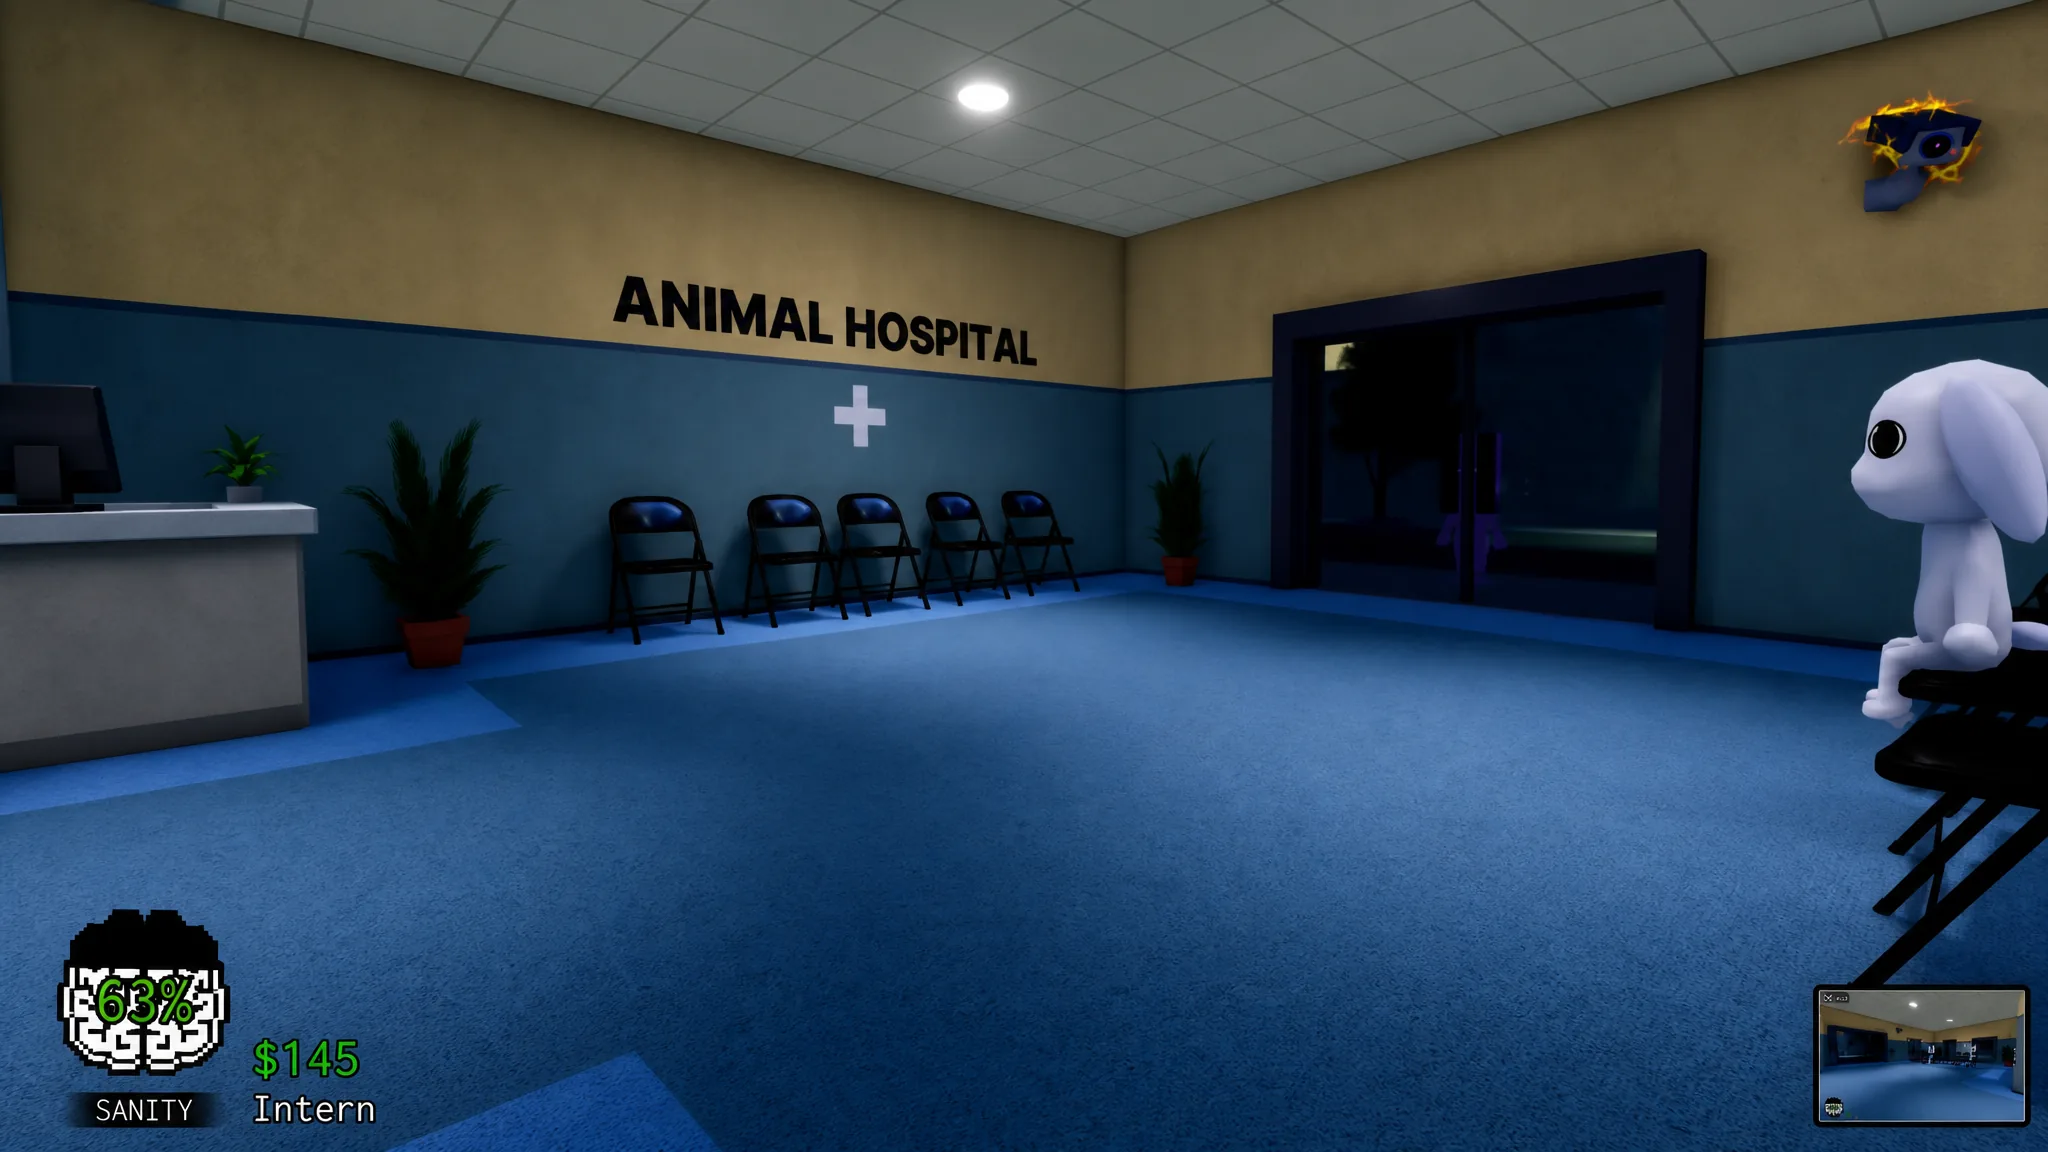
The Lobby is the first major space patients reach when they enter. It splits into two seating sections, with three rows of five chairs on the right and a row of five chairs on the left, plus decorative plant pots scattered around. A large “Animal Hospital” sign hangs in the room with a white medical cross under it.
Windows here let in some light and soften the otherwise tense mood. There is little to actually interact with in the Lobby, so treat it as the holding area for incoming patients rather than a place to spend time.
Staff Only Room: the in-shift shop
The Staff Only Room is restricted to hospital personnel and houses the shop. The shop opens at the start of each shift and stays available for a limited window, so you want to visit it early before it closes.
The stock is randomized every time the shop opens, so what you can buy changes from shift to shift. That randomness is exactly why an early stop here matters, especially when you are stocking up for harder shifts ahead.
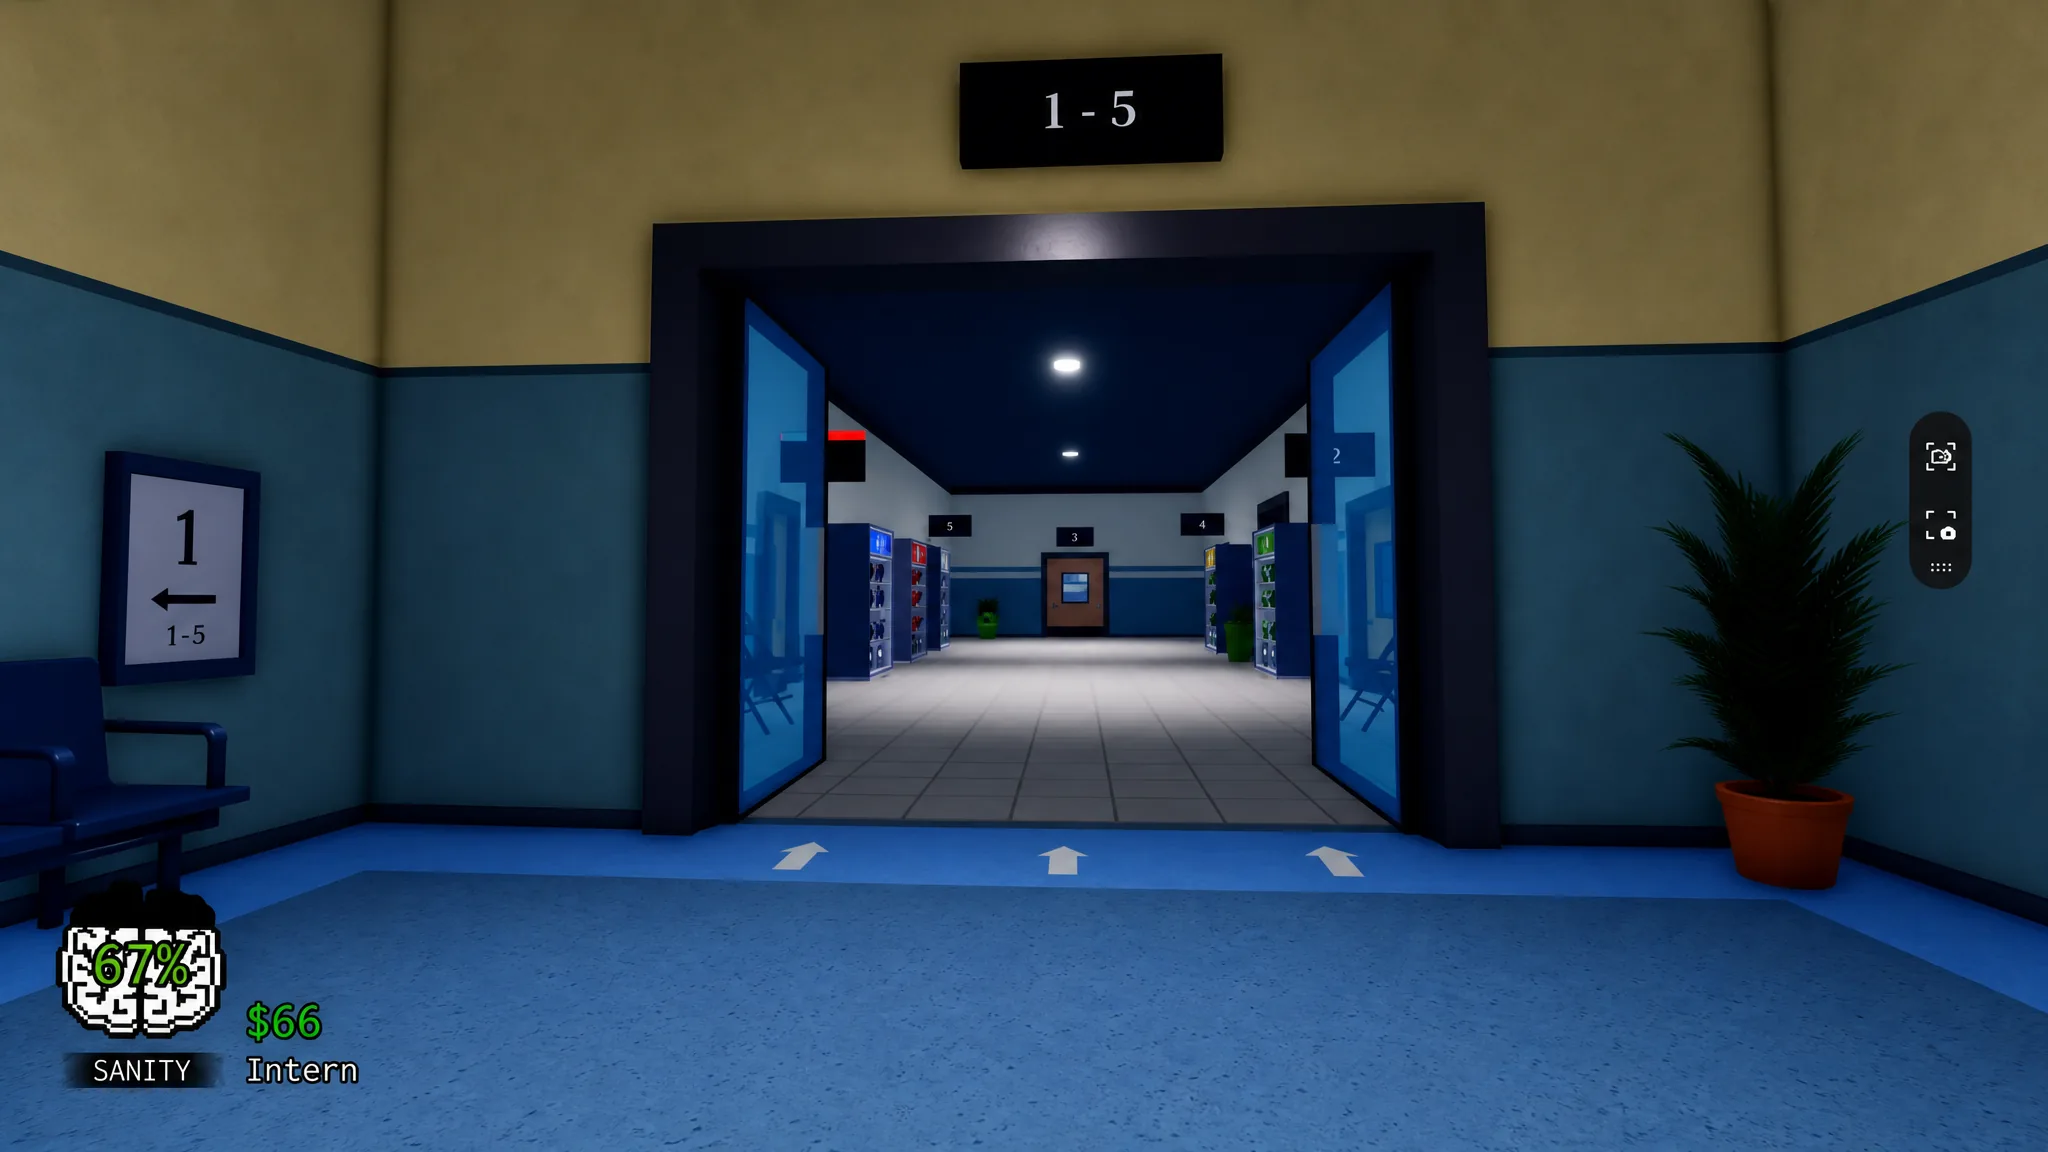
Medical Wing (Rooms 1-5): standard diagnoses
The Medical Wing runs along the right side of the main hallway and contains Rooms 1 through 5. This is where most patients get diagnosed through DNA extraction, DNA analysis, and diagnosis processing.
These rooms are far simpler than the Emergency Wing because they skip the minigames entirely. If you are still learning the game, you will spend most of your time here. The DNA analysis step takes about 10 seconds, so it is a good moment to step out and handle something else nearby. Just remember that giving a patient the wrong treatment item kills them and costs you points.
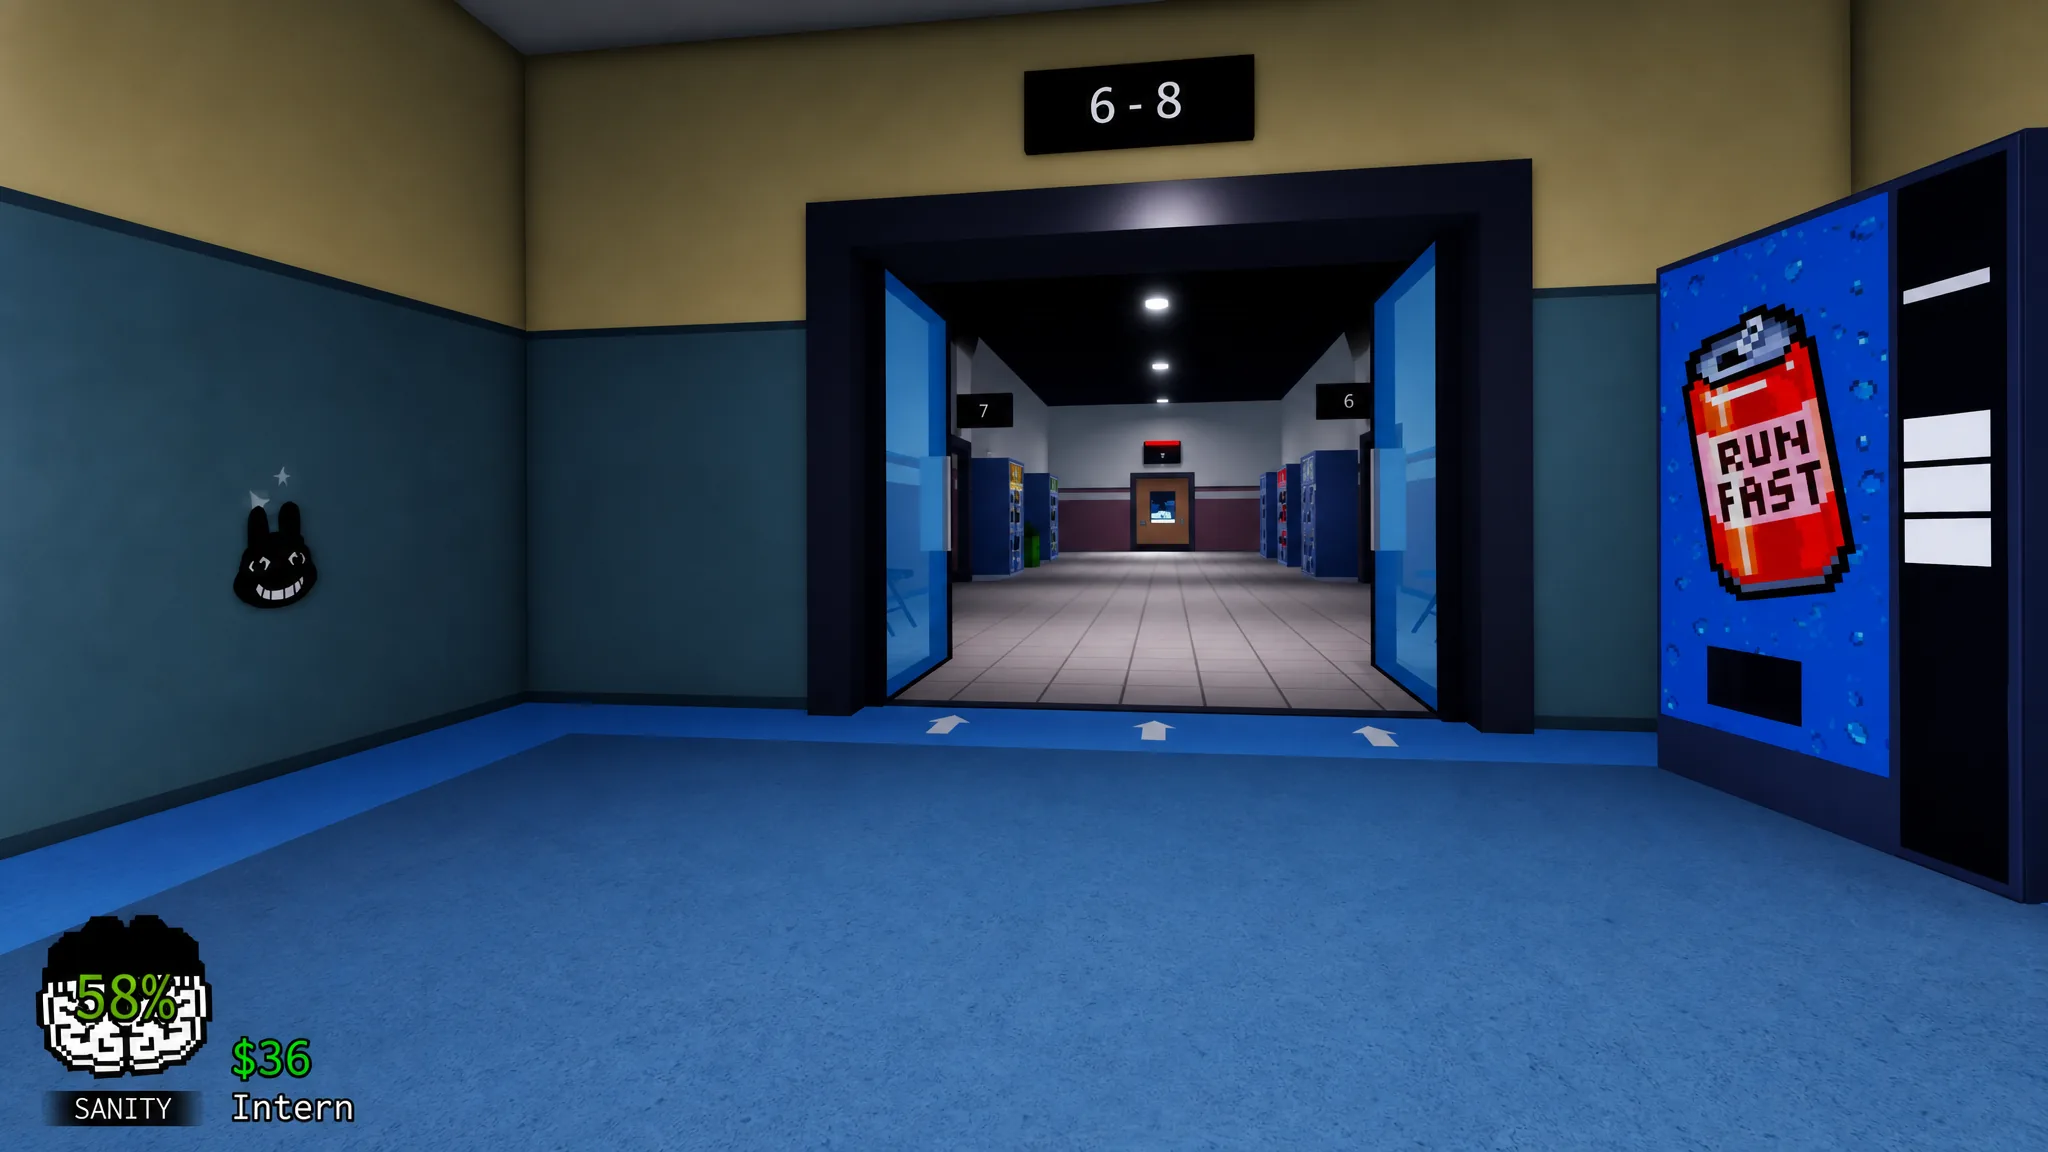
Emergency Wing (Rooms 6-8): the minigame rooms
The Emergency Wing sits on the left side of the hospital near the office. Unlike the Medical Wing, each room here forces you through a minigame before you can finish treatment. The rooms are tougher, but they keep shifts from feeling repetitive.
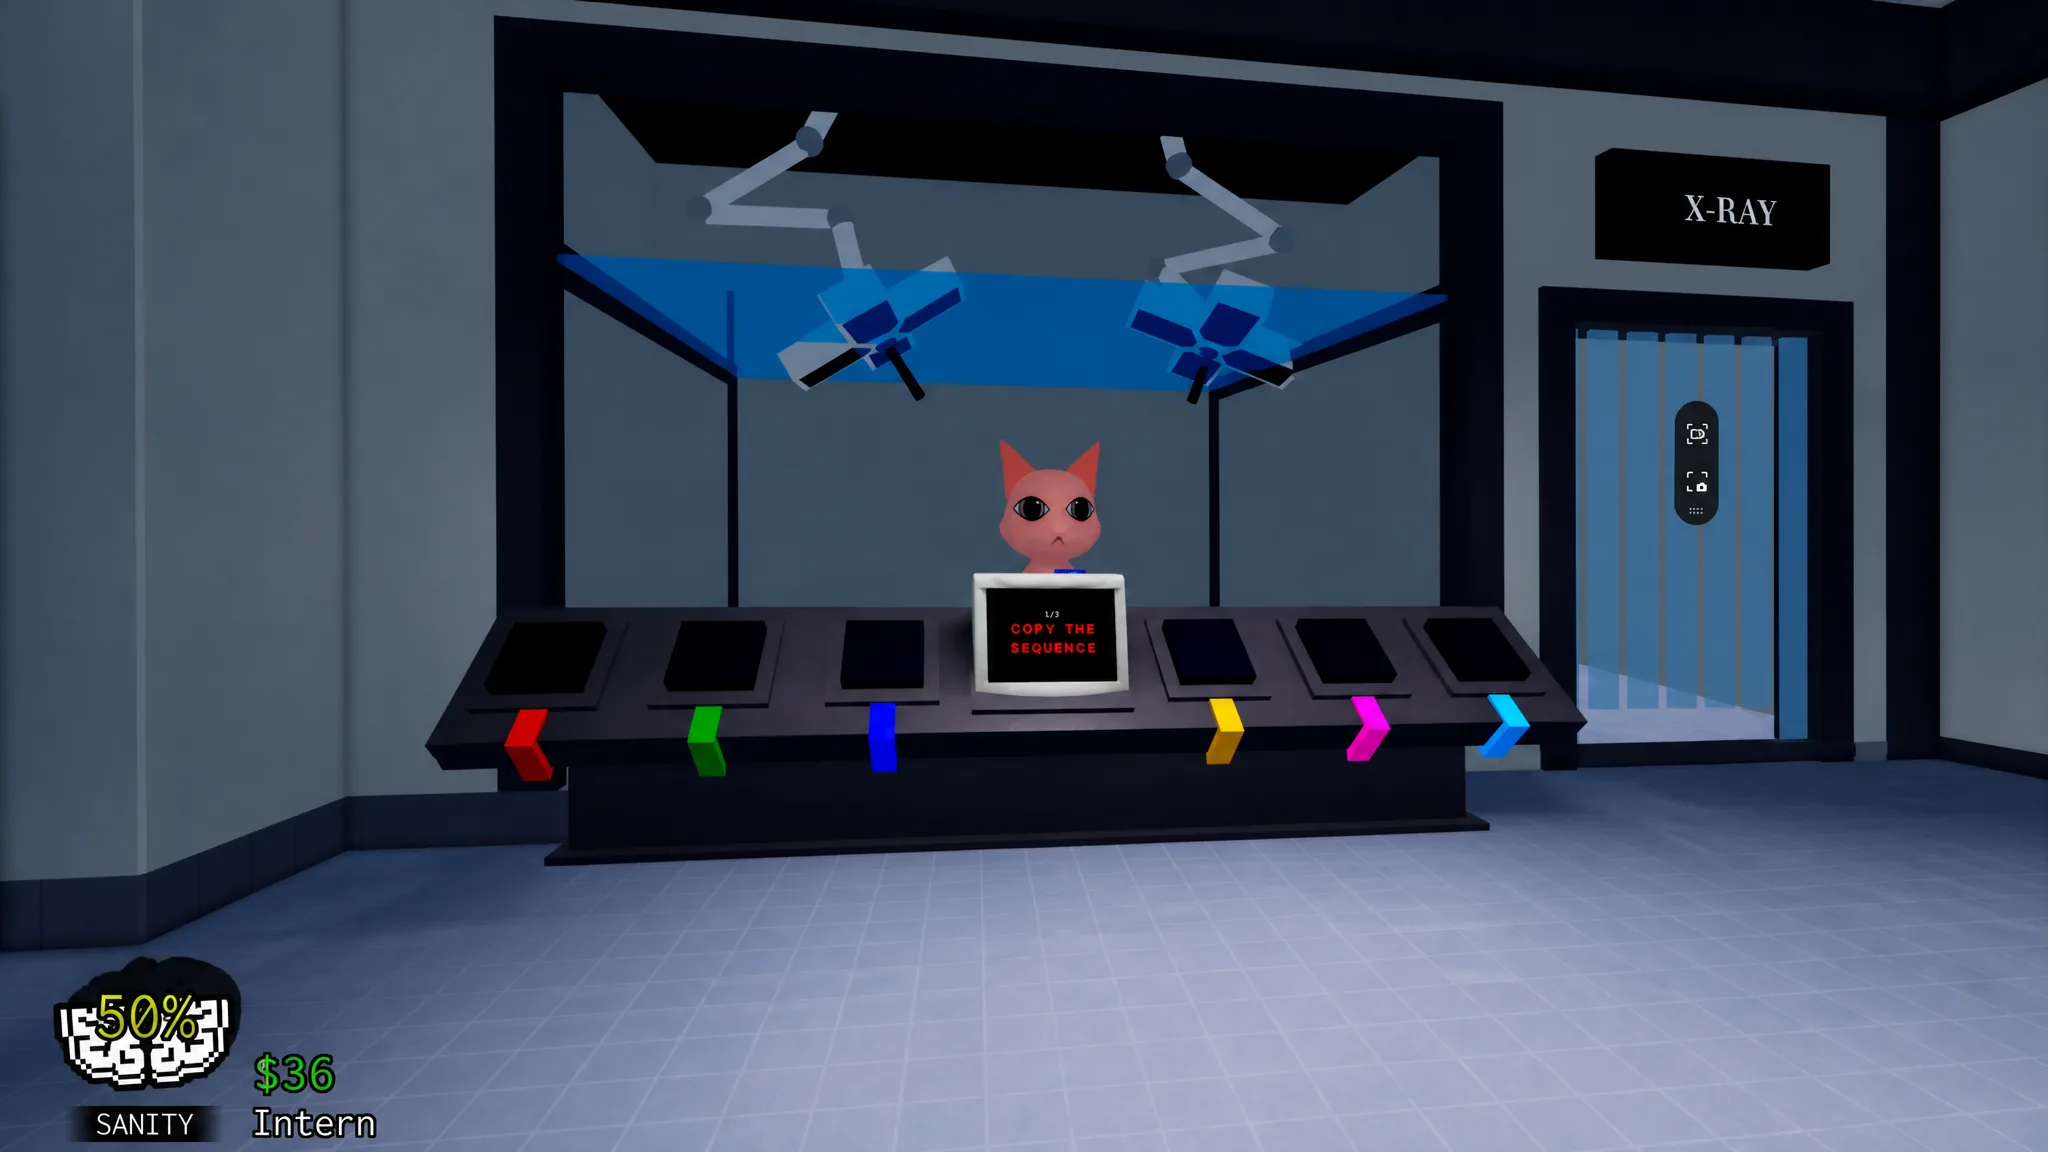
Room 6 – X-Ray Room
The X-Ray Room is usually the first advanced room you meet. It runs a memory “copy the sequence” challenge where the game flashes four colors in order and you repeat them. One wrong input resets the sequence and generates a new pattern, so you start over. Once you nail it, the patient gets an X-ray scan whose color matches the final color in your sequence, and then you administer treatment items just like a standard room.
Room 7 – Heart Monitor Room
Room 7 is built around patient vitals and a reaction-based clicking challenge. You click the correct buttons to push the heart rate percentage up to 100%, and if you stop clicking the percentage slowly drains. Red skull buttons mixed into the layout cut your progress when clicked, but they will not kill the patient. Hit 100% and the vitals lock in so you can finish the diagnosis.
Room 8 – Surgery Room
The Surgery Room is the most intense space in the building, and it focuses on emergency treatment rather than diagnosis. You get 45 seconds, but the timer only starts after you administer the IV Drop, so there is no pressure until you begin. Every tool spawns in a random spot each run, which is what makes surgery so frantic.
This room also unlocks treatments you will not see anywhere else, including Organ Transplant, Organ Treatment, Scalpel, Scissors, and Antibiotics. Because those treatments are assigned at random during the procedure, the Surgery Room does not hand out the standard diagnoses found in the other rooms. As a small touch, the track playing during the minigame is “Clinical Trial” by Anselm Kreuzer and Andreas Suttner.
Once you map these zones in your head, the clinic stops feeling like a maze. Treat the Check-In Room as home base, clear simple cases in Rooms 1-5, and save your focus for the Emergency Wing where one missed input can end a patient. Learning where everything sits is the quietest way to make every shift smoother.