

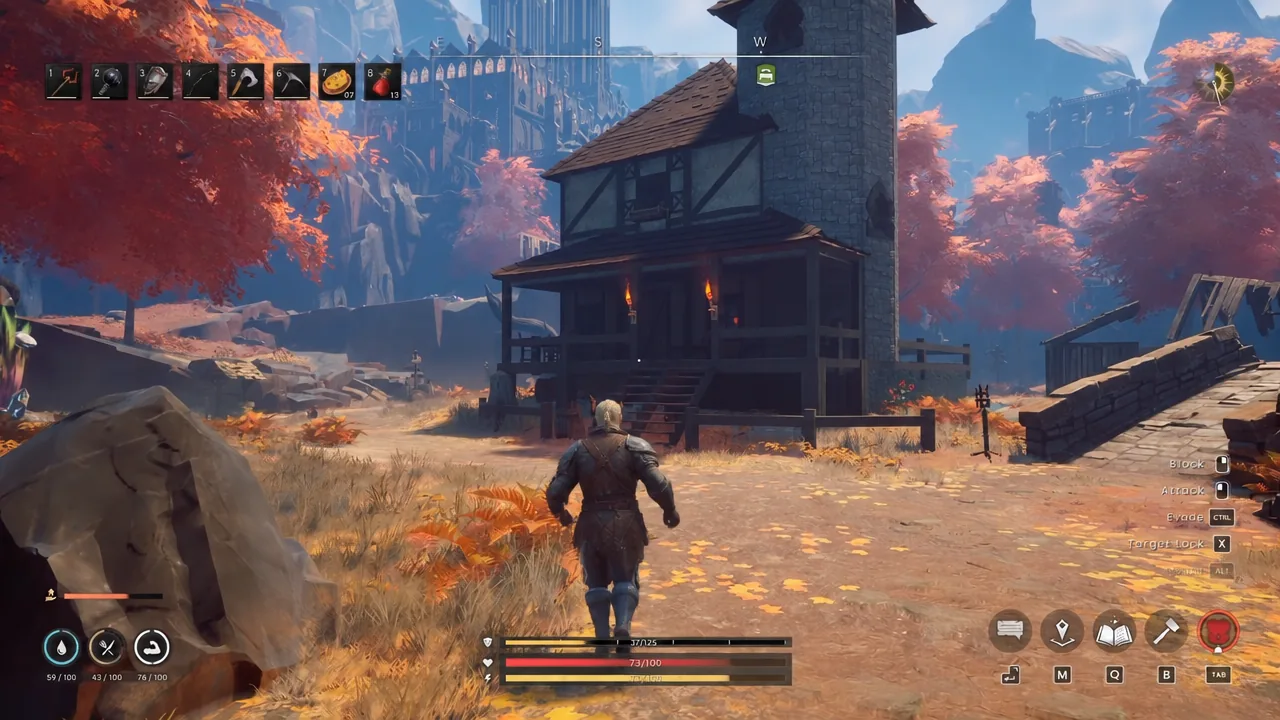
RuneScape: Dragonwilds drops you onto the continent of Ashenfall with stone tools, three draining survival bars and no shops to buy your way out of trouble. Version 1.0 arrived on 15 September 2026 for PC, PlayStation 5, Xbox Series X/S and Nintendo Switch 2, and it keeps RuneScape’s skill grind while wrapping it in a survival crafting loop where everything you wear, eat and drink is something you made yourself.
Quick answer: Start the Dragon Slayer quest with the Wise Old Man, build an enclosed base with a claimed bed, keep all three survival meters high, and upgrade your armour before entering any new region.
Hydration, Sustenance and Rest: what each meter does
Three bars sit in the bottom left of the screen, and none of them kill you outright in a fight. They quietly decide how fast you recover between swings, which is what actually gets new players killed.
| Meter | What it controls | When it runs low |
|---|---|---|
| Hydration | Stamina recovery speed | Stamina crawls back, so dodging and blocking stop being options |
| Sustenance | Natural health regeneration | At zero, health drains to 1 on normal difficulty, and can kill on hard |
| Rest | Overall performance | Maximum stamina and carry weight drop as the bar empties |
Keeping all three in the top quarter is the difference between recovering mid-fight and standing there with an empty stamina bar. Rest is the most forgiving of the three and can sit around half full before penalties kick in, but Hydration and Sustenance should be topped up before you leave the base, not after you get ambushed.
Your character drinks constantly in the early game, so build your first base next to a water source. Collecting dirty water and boiling it is far less painful when the river is a few steps from your cooking fire.
Follow the Dragon Slayer quest before you wander
Ashenfall does not push its story on you, which is exactly why so many players drift off, build a hut in the woods and stall out. Work through the opening objectives until you meet the Wise Old Man in Bramblemead Village. Talking to him starts Dragon Slayer, the main questline that walks you through shelters, hunting, crafting and preparing for tougher enemies, and eventually points you at General Velgar, the first major dragon fight.
Each quest step sends you somewhere new with resources and enemies you have not seen yet, which is the fastest way to unlock better gear. Check your Journal regularly, since it tracks both the main objectives and any side quests you have picked up along the way. Explore the area around each objective rather than sprinting into a higher-level region you are not geared for.
Your first base, the bed, and the Cosiness buff
The Wise Old Man asks you to build a shelter in Bramblemead Village, and it is a sensible spot for a permanent base. You only need room for a bed, some storage and a handful of crafting stations. Seal it properly with walls, a roof and a door, then place and claim a bed inside.
That claimed bed does two jobs. It sets your respawn point, and a fully enclosed base grants Cosiness, which slows the decay of all three survival meters. The buff sticks with you for roughly four minutes after you walk out the door, so it is worth leaving from inside your house rather than logging out in a field.
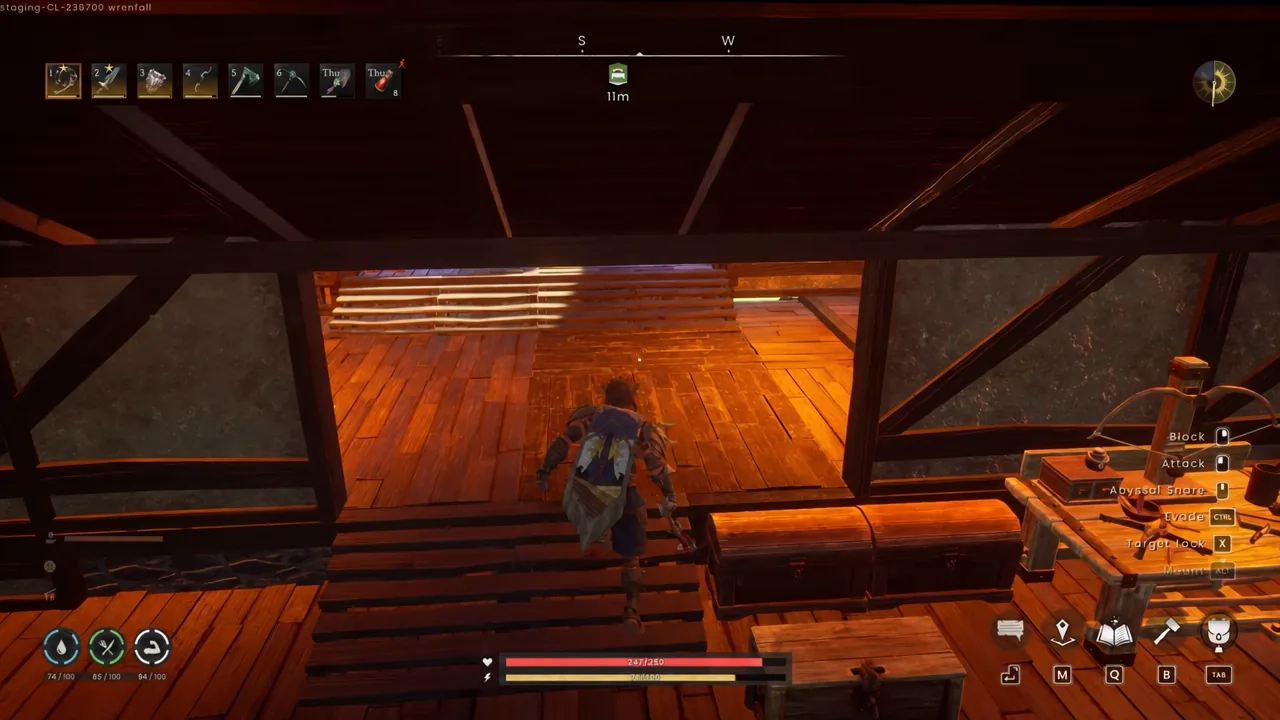
Start with a Crafting Table and a campfire, then add the stations the main quest asks for. Processing stations come next, and each one unlocks a different branch of gear.
| Station | What it handles |
|---|---|
| Grindstone | Turning raw stone into usable material |
| Furnace | Smelting bars and glass |
| Spinning Wheel | Coarse Thread, needed for a bow |
| Tannery | Animal Hide into Leather |
| Blacksmith’s Bench | Tools and melee weapons |
| Fletching Bench | Ranged weapons and ammunition |
| Armour Bench | Armour sets |
| Mystic Forge | Staves and advanced upgrades |
Stations chew through stacks slowly, so building a second Grindstone once you have the space and materials cuts a lot of standing around. Check which bench produces your next upgrade before you go out gathering, otherwise you come home with the wrong pile of rocks.
Pick up every new material to unlock recipes
Recipes are not bought or researched. They open up three ways: by picking up a material you have never held before, by building a new crafting station, and by finding plans in chests and vestiges scattered around the map. That first one is the reason you should grab one of everything, including the items that look worthless.
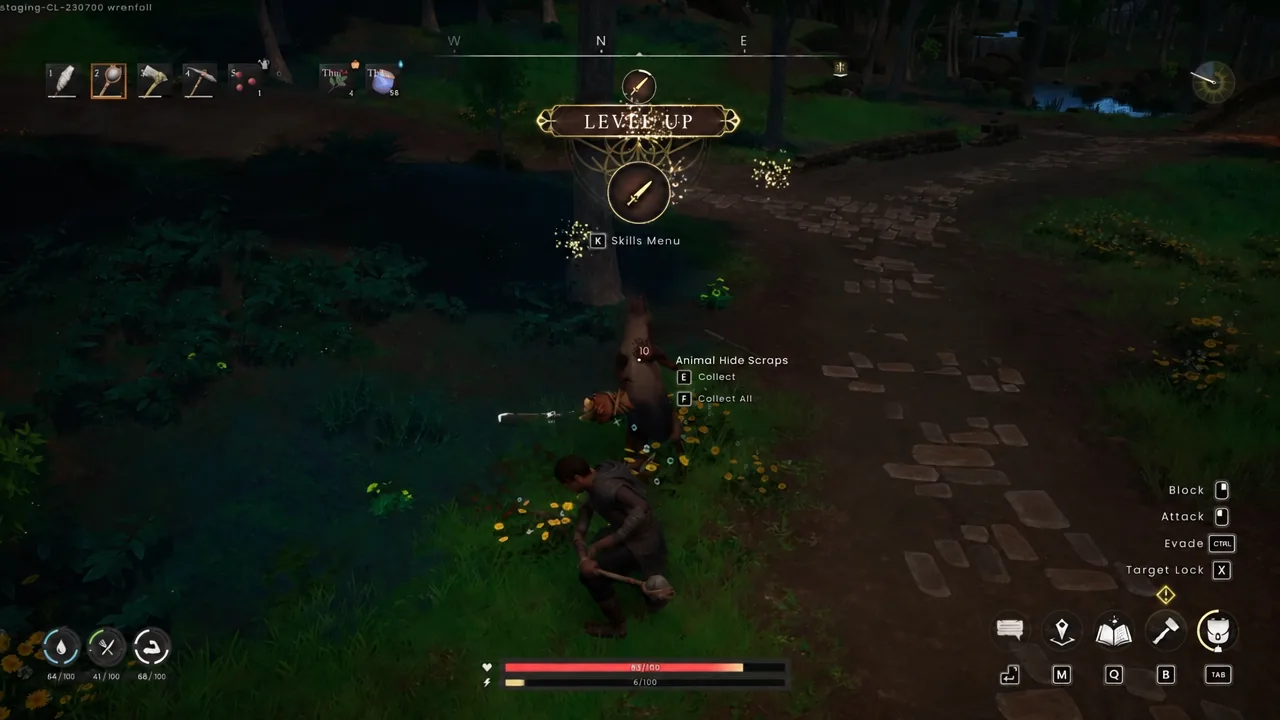
Processing counts too. Turning logs into planks, hide into leather, or ore into bars often reveals the next tier of items you need. The early materials worth hoarding are Ash Logs, Stone, Flax, Rune Essence, Animal Bone, Animal Hide and anything edible. Flax matters more than it looks, because thread feeds into a lot of early crafting, including your first bow.
Chests around the world and inside dungeons respawn on a regular cycle, so mark the ones you find on your map and loop back through them for free blueprints and supplies.
Which skills to train first
Skills rise by doing the matching activity, and each level unlocks passive bonuses, recipes, equipment and spells. You do not need to stop and grind any of them. Questing while gathering and fighting covers most of what you need, but a few are worth deliberately feeding.
- Woodcutting and Mining — logs, stone and ore are the bottleneck for almost every upgrade.
- Artisan — gates your crafting and gear progression at specialised stations.
- Cooking — turns raw ingredients into meals that heal and grant buffs.
- Attack, Ranged and Magic — melee is reliable up close, while bows and staves let you fight from safety.
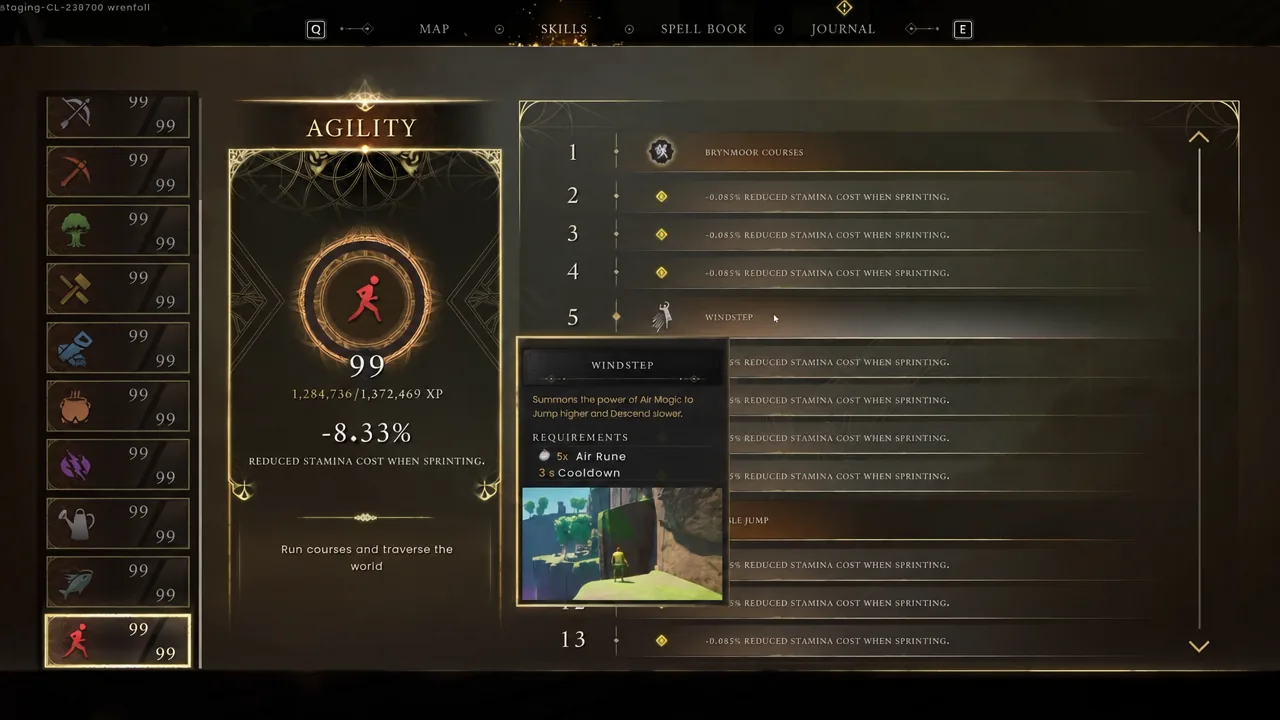
- Agility — levels passively as you run around, reducing sprint stamina costs and unlocking movement abilities.
- Farming — a steady supply of crops removes the constant scavenging for food.
Farming and cooking together are the quietest power spike in the early game. Plant, water and harvest crops at your base, then cook them into meals that restore Sustenance and Hydration, heal you, and apply temporary buffs such as Grounded, Relentless Ranger and Focused Agility depending on the dish.
Rune Essence, the Rune Altar and Skill Spells
Magic in Dragonwilds runs on Anima and Rune Essence. Essence is mined from nodes on the ground, and the rocks floating above those nodes can be knocked down with a single arrow or a staff attack, then mined like the rest. Anima is siphoned from vents you hold the interact key on.
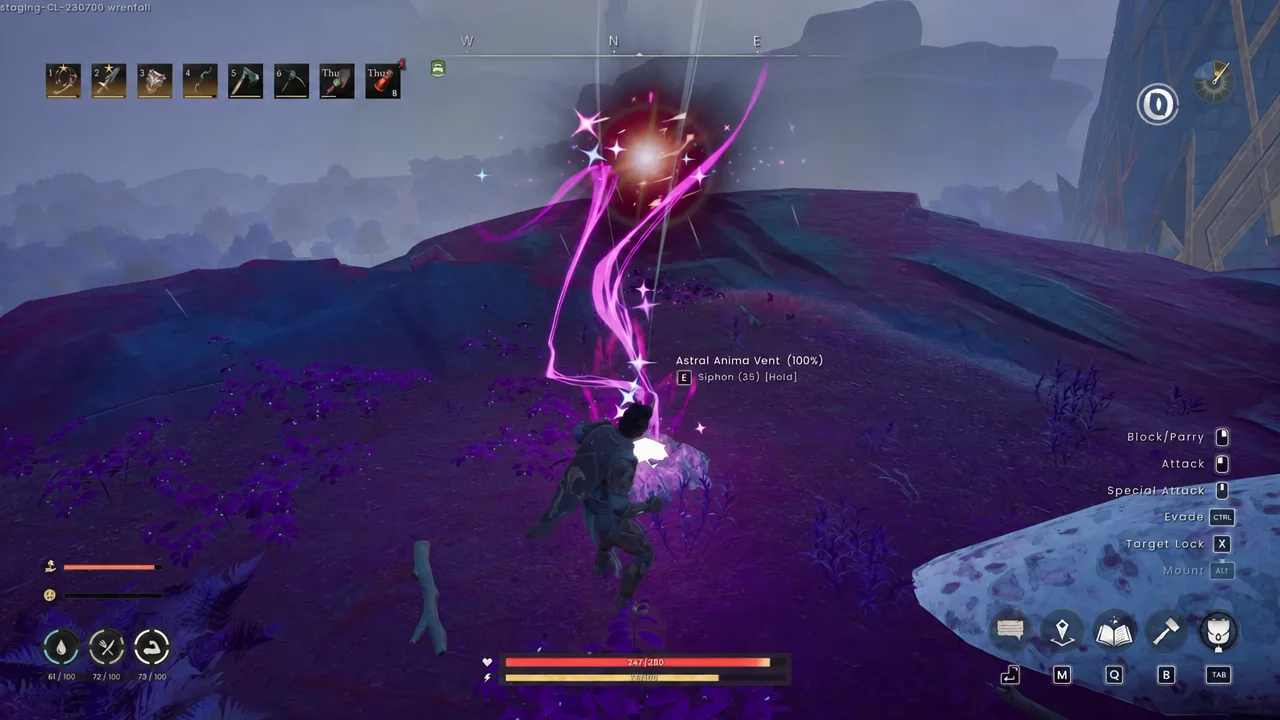
Collecting Rune Essence for the first time unlocks the Rune Altar, which crafts seven rune types including Air, Water, Fire, Earth, Law, Nature and Astral. Build one at your base and get into the habit of converting essence in bulk every time you come home, because every spell you cast burns through stacks of it.
Skill Spells are the payoff. They unlock as individual skills level up, and they change how fast you gather and travel rather than just adding damage.
- Windstep (Agility) — crosses gaps, scales terrain and gets you out of trouble.
- Axtral Projection (Woodcutting) — fells a line of trees at once.
- Splinter — breaks stacks of logs apart instantly.
- Rocksplosion (Mining) — destroys ore deposits without swinging a pickaxe.
- Superheat — speeds up crafting stations that use fire, on a short cooldown.
- Tempest Shield — a defensive barrier for melee fights.
Spells have to be assigned to the Spell Wheel before you can cast them, and the Skills menu shows each one’s requirements and effects. Some gathering spells also need the matching tool equipped, so Axtral Projection will not fire if your logging axe is sitting in a chest.
Power Level: the number that decides where you can go
Your Power Level comes entirely from equipped armour. Mixed pieces are averaged and then rounded down, so one strong chestpiece paired with three rags leaves you weaker than the chestpiece suggests. Zones carry their own power levels, and an enemy with a skull icon next to its name is two or more levels above you.
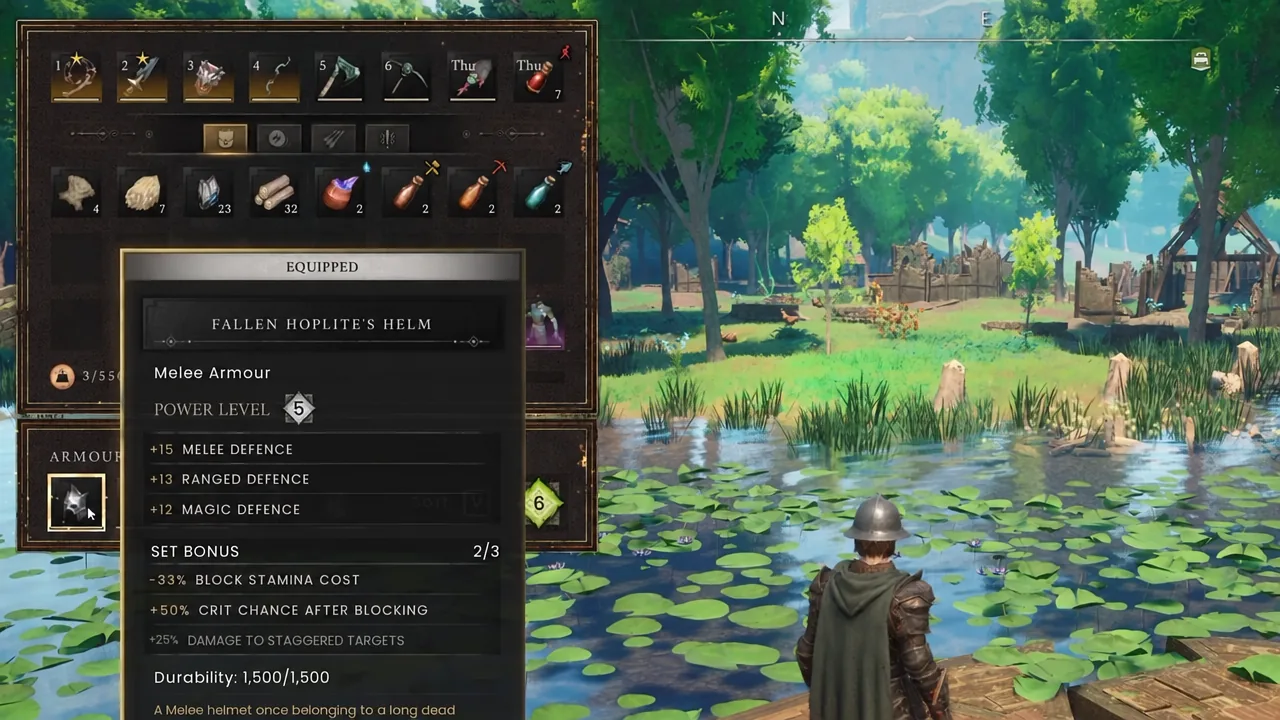
Check that number before crossing into a new region. If ordinary enemies are shrugging off your hits or dropping you in a couple of swings, the answer is a full armour upgrade, not a better strategy.
Combat, stamina and swapping your staff element
Every attack, block, dodge and sprint spends stamina, and an empty bar means you cannot defend yourself. Fight in short bursts of two or three swings, back off, and let the bar refill while you read the enemy’s animations. Weapons have combos of varying length, so there is room to adjust to what you are fighting.
A bow is the safest early answer to most problems. Shots come out quickly without draining much stamina, hits stagger enemies, and you can pull a single target away from a group instead of fighting all of them. Build the Spinning Wheel for Coarse Thread first, since you need it to craft one.
The Battlestaff is powered by whichever rune you assign to it, and it defaults to Air. Right-click a Fire Rune in your inventory and equip it to switch elements. Air gives you a charged shot that knocks a group down, while Fire adds long-range fireballs and a cone of flame that works well on packed enemies. Enemies also carry elemental weaknesses and resistances, so it is worth testing both.
Deep water slows your movement and stops you from dodging entirely. Find higher ground before engaging anything while you are wading through a swamp or a flooded dungeon room.
Healing with food and raising max health with Sanguine Urns
Food is your healing. Healing potions have been removed, though stat-boosting potions are still around, so cooked meals are what you carry into a fight. Fish tend to give the strongest direct healing, while other dishes trade some of that for buffs. You can eat to heal even on a full Sustenance bar, but there is a short cooldown between bites, so back out of melee range before you start chewing.
Permanent health comes from Sanguine Urns, also called Constitution Shrines, scattered across every region. Each one adds 10 HP, and collecting all of them takes you to 280. Sweeping a region for urns before moving on is one of the few genuinely permanent upgrades in the game.
Dying, gravestones and why Lodestones come first
When you die, everything you were carrying goes into a gravestone where you fell, and you respawn at your claimed bed. Recovering it is straightforward the first few times and genuinely dangerous later, which is why a backup kit at home matters. Keep a spare weapon, a bow with arrows, clean water and cooked food in a chest so you are never running back naked.
Difficulty changes the stakes. On Hard, dying again before you recover a gravestone destroys its contents, and you also lose the skill XP earned since your last level up in that skill.
Lodestones are the fast travel network, and finding or building one should be the first thing you do in a new zone. You can craft your own from 1 Vault Core, 32 Stone and 20 Rune Essence, with Vault Cores found inside Dragonkin Vaults. Two sit in each vault, they respawn over time, and most of the enemies disappear once a vault is cleared, so returning to an old one to restock is low risk. Fast travelling also consumes Law Runes, which is another reason to keep the Rune Altar busy.
A Vault Core weighs 50 on its own, so hauling a spare Lodestone kit everywhere costs you real inventory space. Decide per trip whether the safety net is worth the weight.
Once you have a Lodestone network running, a second and third base in later regions becomes worthwhile. Each one gives you somewhere to sleep, store loot and repair gear without a long trek home, and it turns a death deep in unfamiliar territory from a lost evening into a short detour. Everything else on Ashenfall follows from that loop of quest, gather, upgrade, and push one region further.





