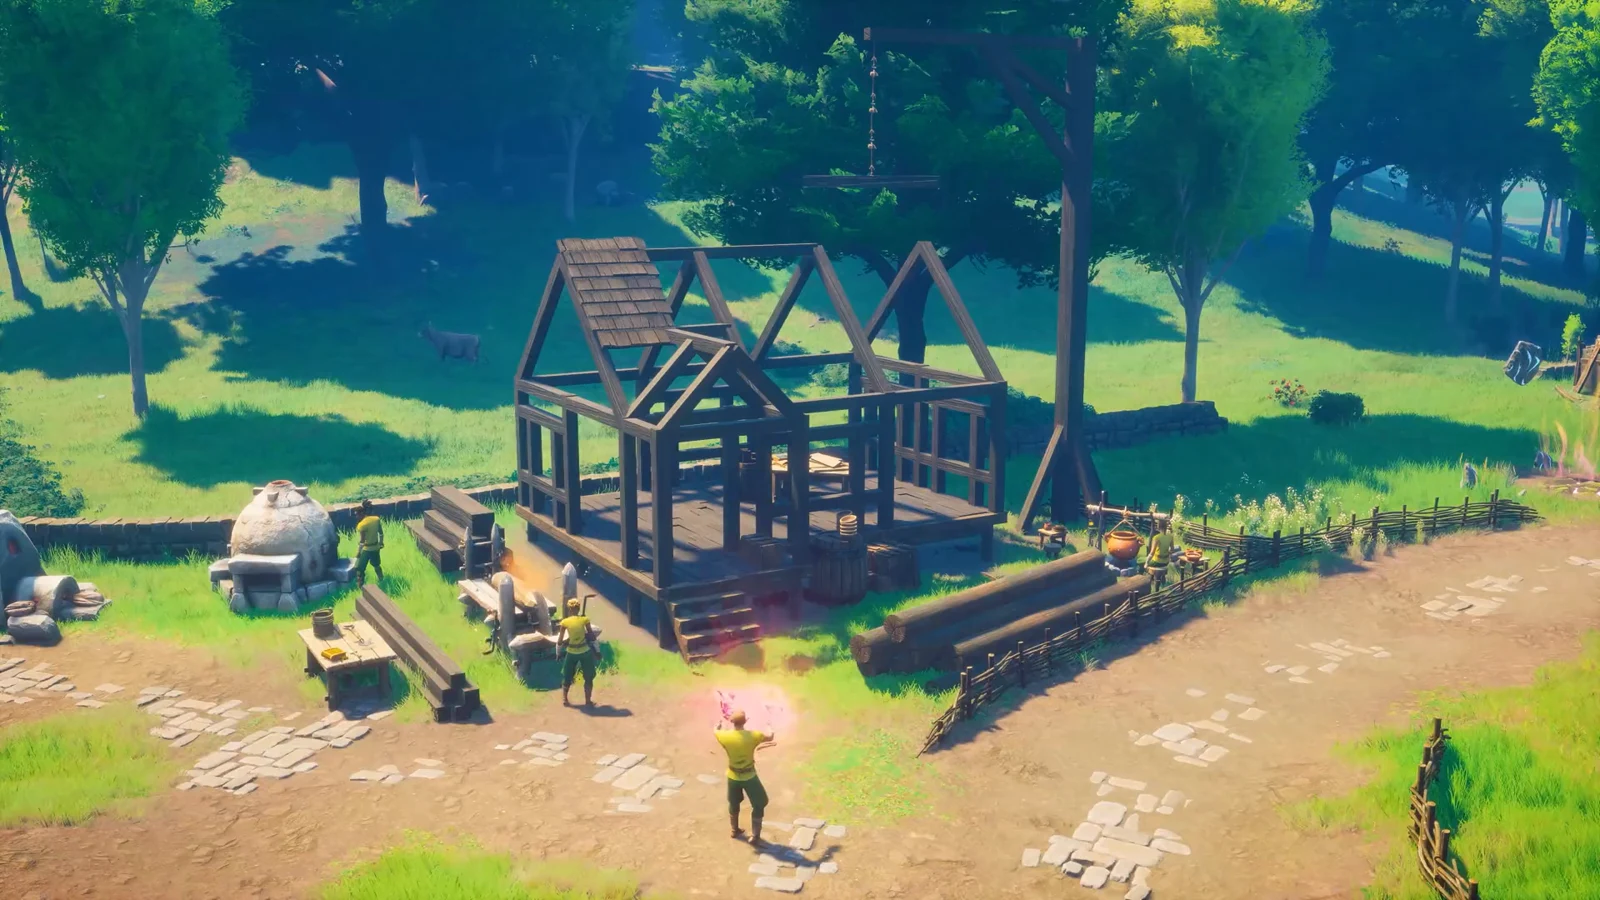
Walls in RuneScape Dragonwilds do not fail because you ran out of materials. They fail because the piece you are placing sits too far from the nearest point where your structure touches the terrain. Once that budget runs out, the preview slides from green to yellow to orange and finally to a red Unstable warning that blocks placement entirely, and walls you already built start showing as weakened.
Quick answer: Toggle Repair Mode with T to spot yellow and red walls, then run a Vertical Thick Beam from a ground-level foundation up the wall’s corner until the wall turns green.
Why walls turn yellow, orange, or unstable
Stability is a single number measured as the combined horizontal and vertical distance between a piece and its anchor point. An anchor point is any structural piece that sits directly in the terrain. Foundations give the strongest anchor, beams are next, and walls or stairs used as anchors give noticeably less. Every wall you place carries that stability outward and downward until it runs out.
| Colour | Meaning | What to do |
|---|---|---|
| Green | Full support, 100% | Nothing; safe to build outward |
| Yellow | Losing stability | Add a grounded beam soon |
| Orange | Near the limit | Re-anchor before extending |
| Red (Unstable) | No stability left | Cannot place; shorten the path |
Open-concept layouts suffer the most. High ceilings and long outer runs with few enclosed walls push every piece further from the ground, so a base that looks solid can be sitting entirely on yellow and orange components.
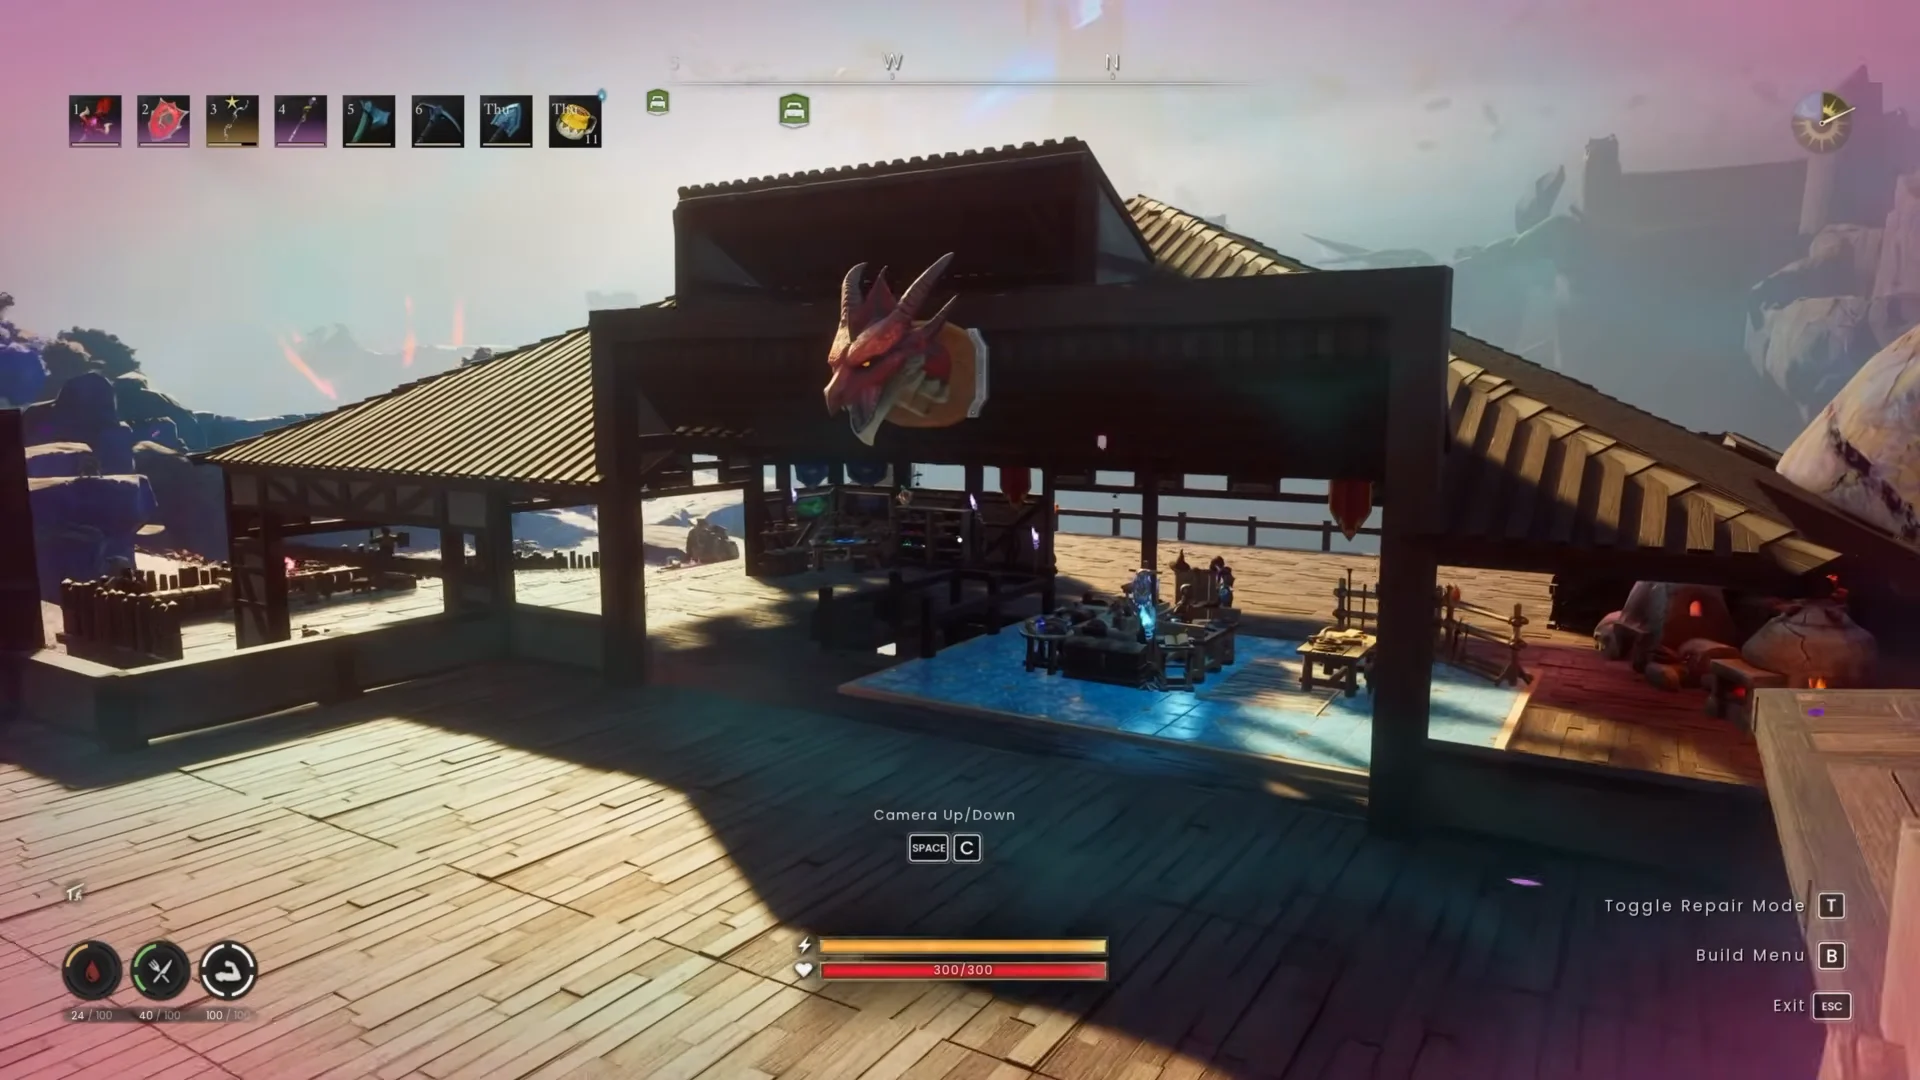
Higher building sets raise the ceiling on all of this. Cabin pieces have the lowest tolerance, with Cottage, Castle, and Kharidian sets each supporting longer vertical and horizontal reaches from the same anchor.
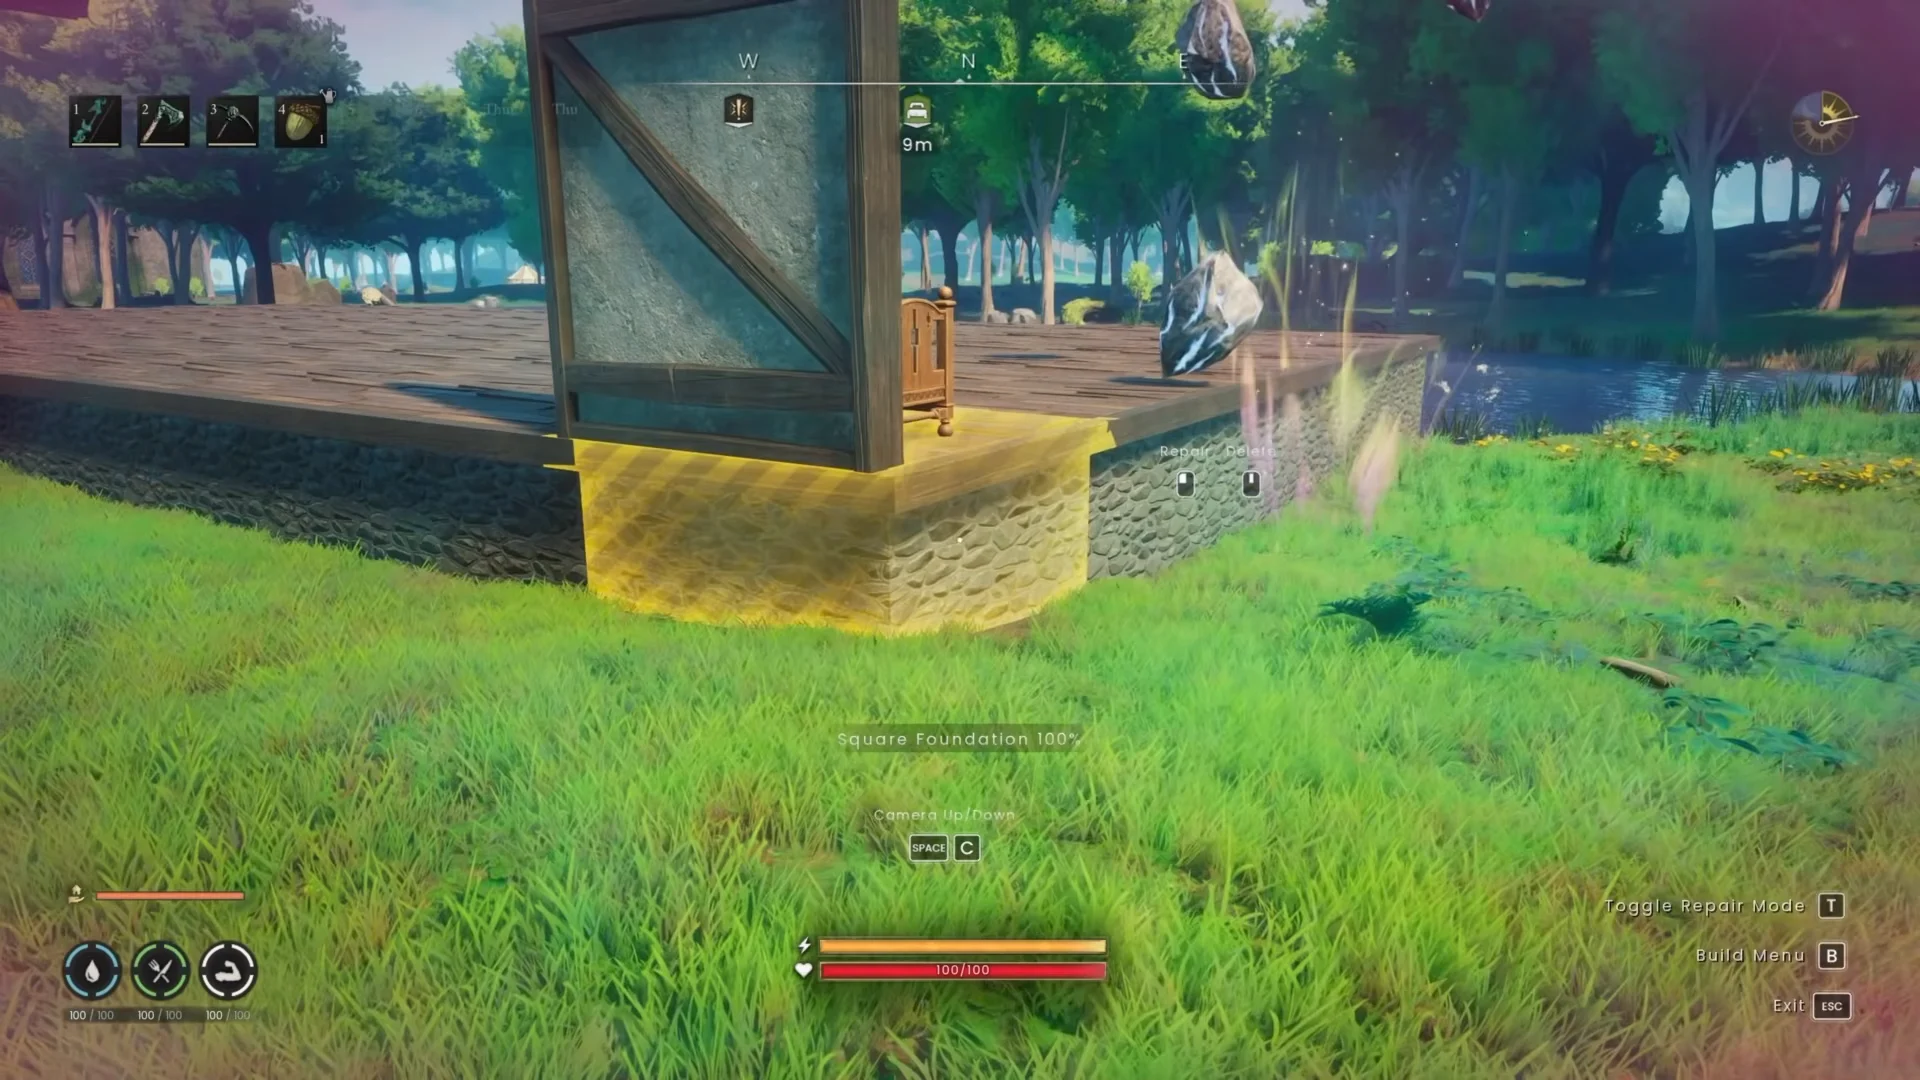
Find the weak walls with Repair Mode
B and press T to switch Repair Mode on. The screen confirms with a Repair Mode ON readout, and every placed piece is outlined by its current stability colour rather than its health.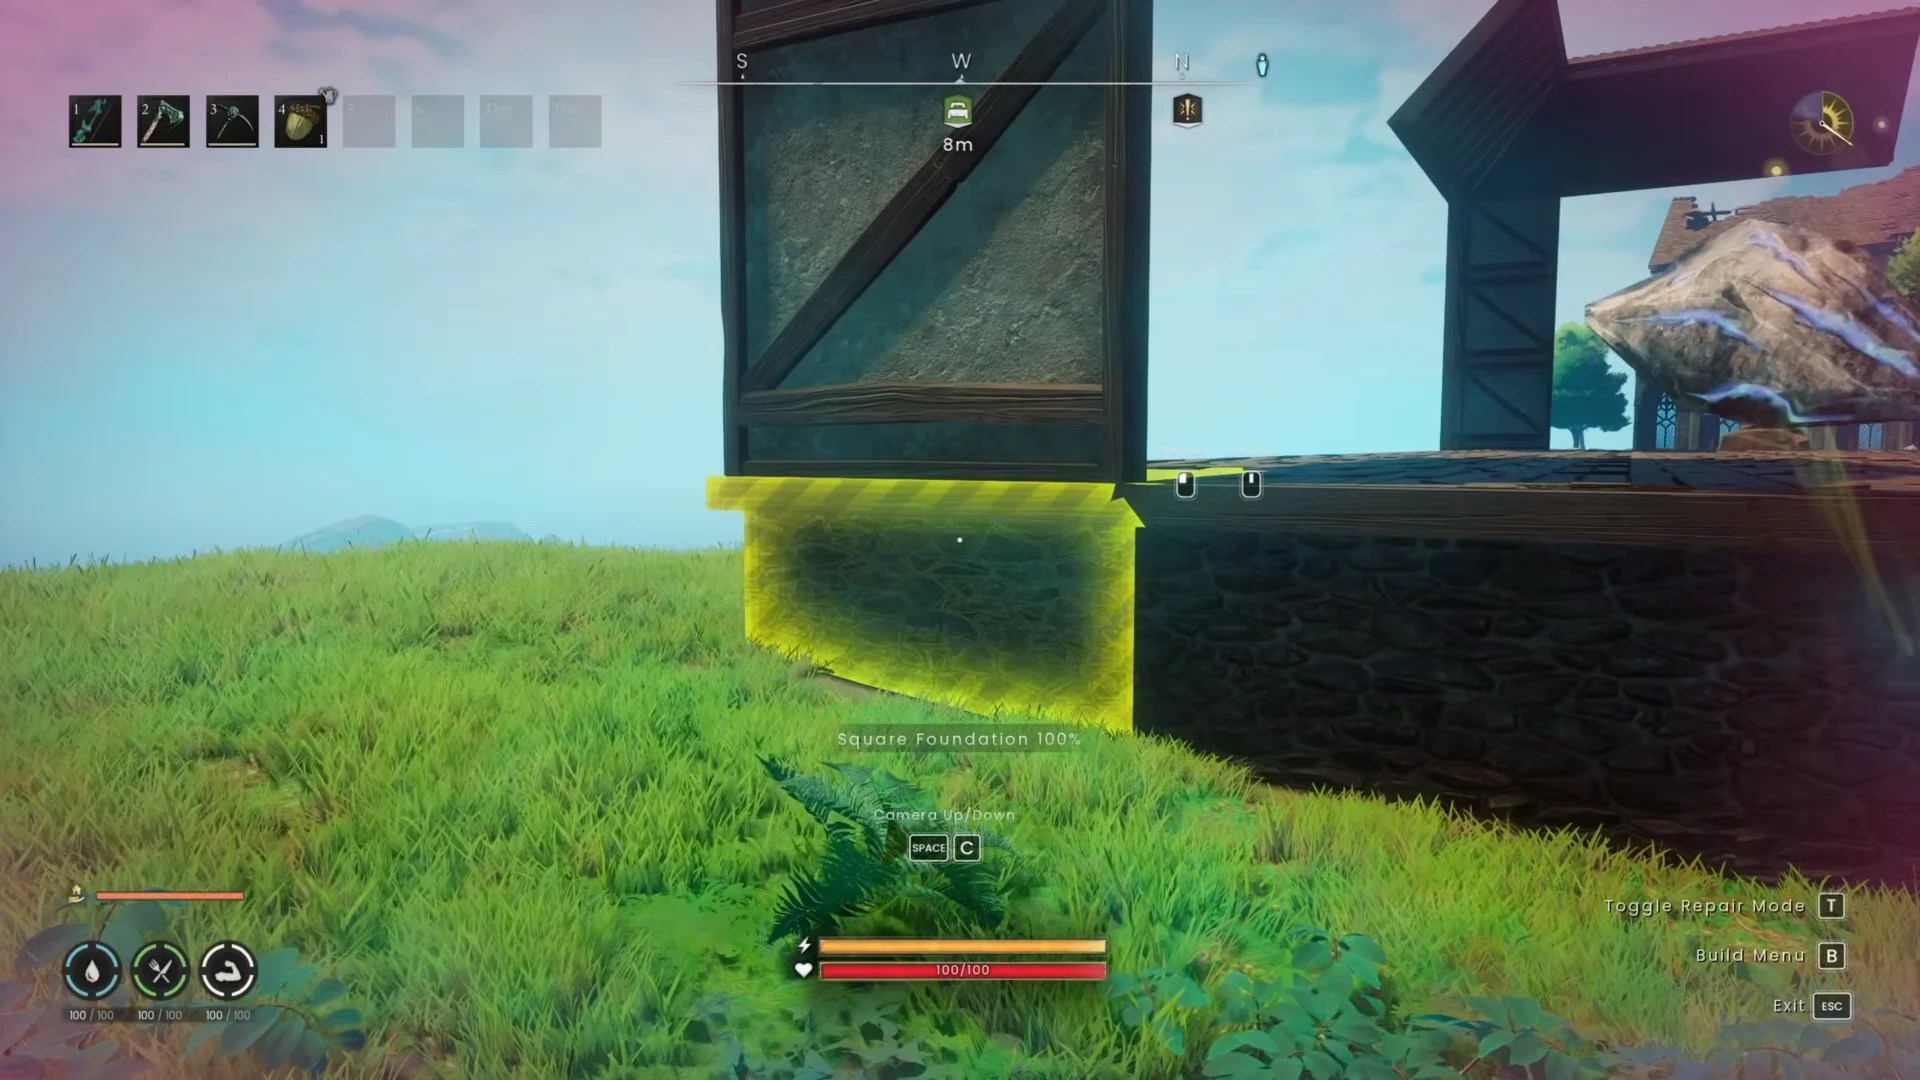
Do not plan the repair entirely in Ghost Mode (R). Ghost pieces do not report real stability, so a layout that looks fine as a ghost can still refuse to build. Put the actual framing down and read its colours.
Reinforce yellow walls with Vertical Thick Beams
Internal ceiling beams added purely for looks do nothing here. Only beams that run from the terrain up through the structure change the stability calculation.
Walls on slopes: Stack Square Foundations into the ground
Bases built across uneven terrain are the hardest case. If the floor beneath your walls rests on pillars rather than on foundations touching the earth, there is no true anchor under that section, and no amount of extra beams above will fix it.
The same rule applies on flat ground. Floor tiles that are not touching the earth provide no support, which is why a base built from tiles alone will refuse the last wall or roof piece on one side while the other side finishes cleanly.
Angled beams must end on a grounded vertical
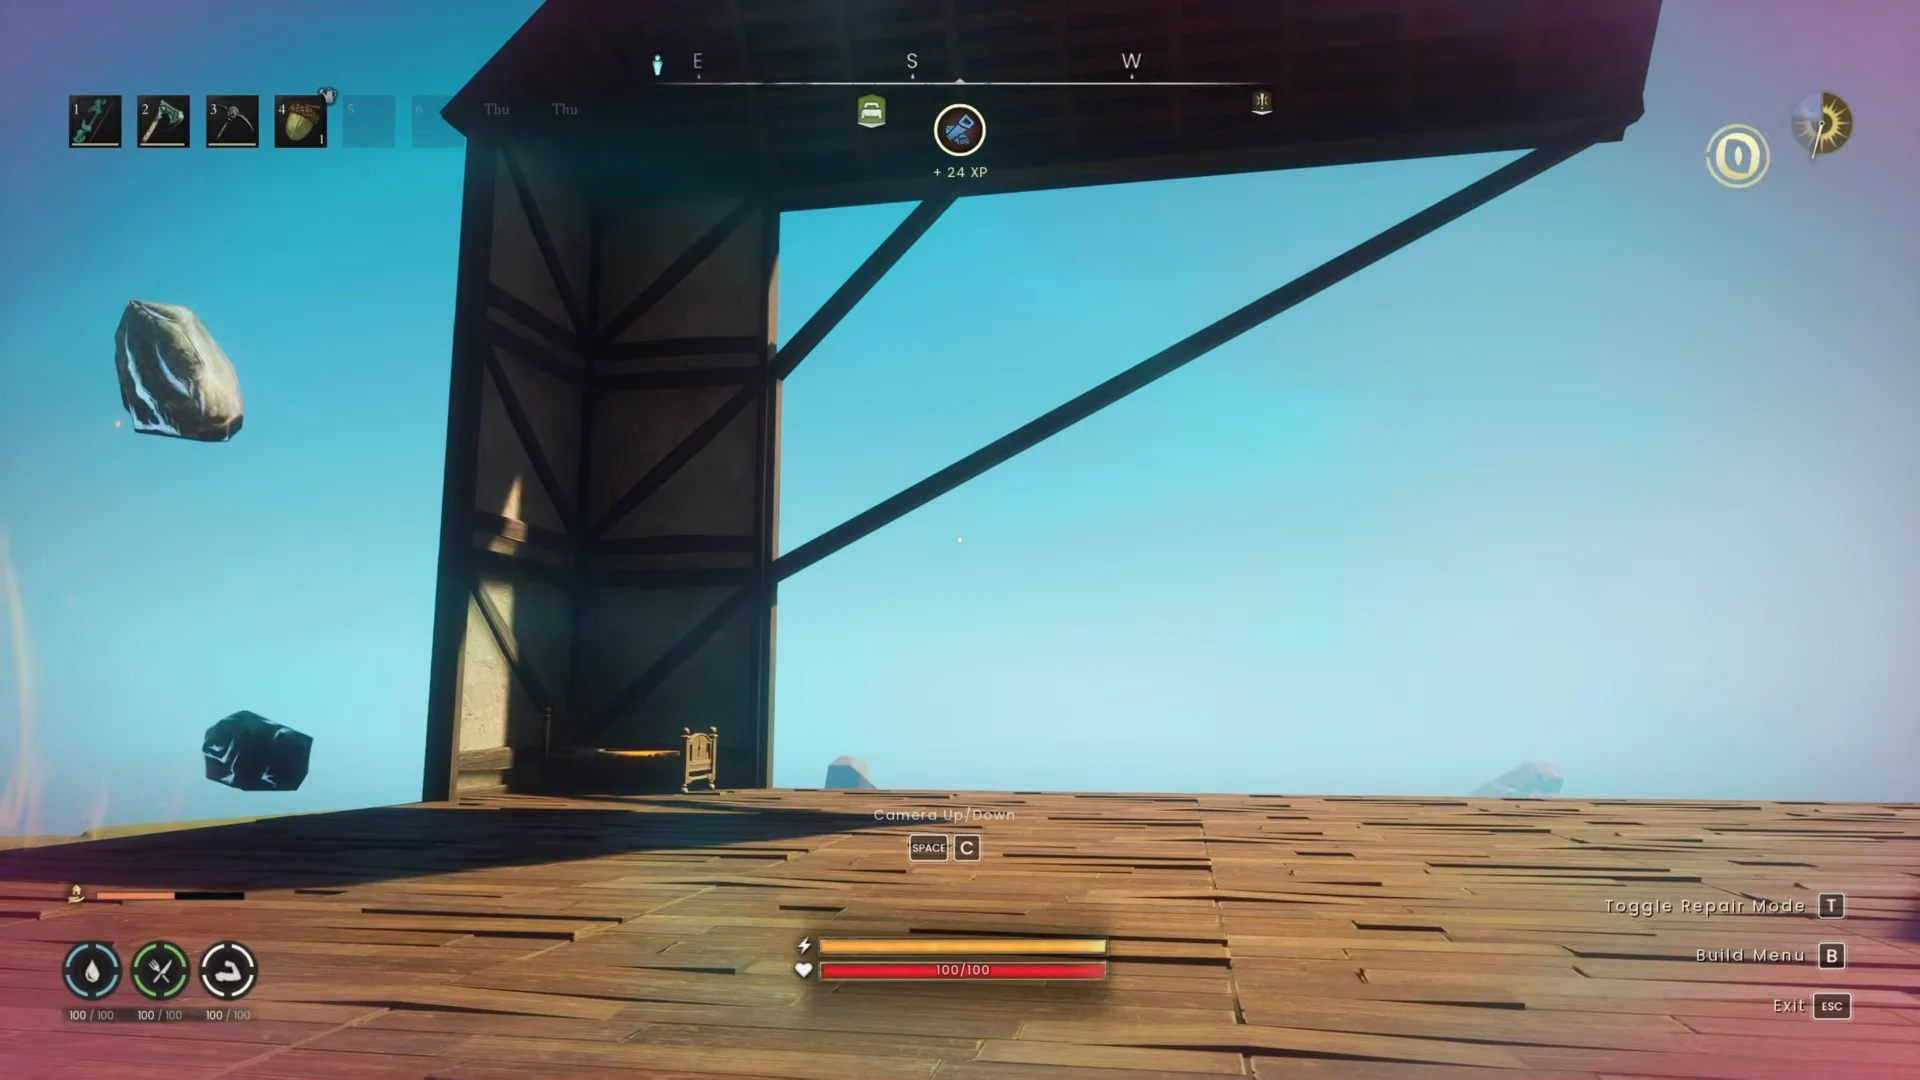
When a wall or gap sits out beyond where a straight vertical beam can reach, angled beams shorten the path instead. A 30°, 45°, or 60° Thin Beam cuts diagonally across the structure and effectively creates a new, closer anchor for whatever you place next.
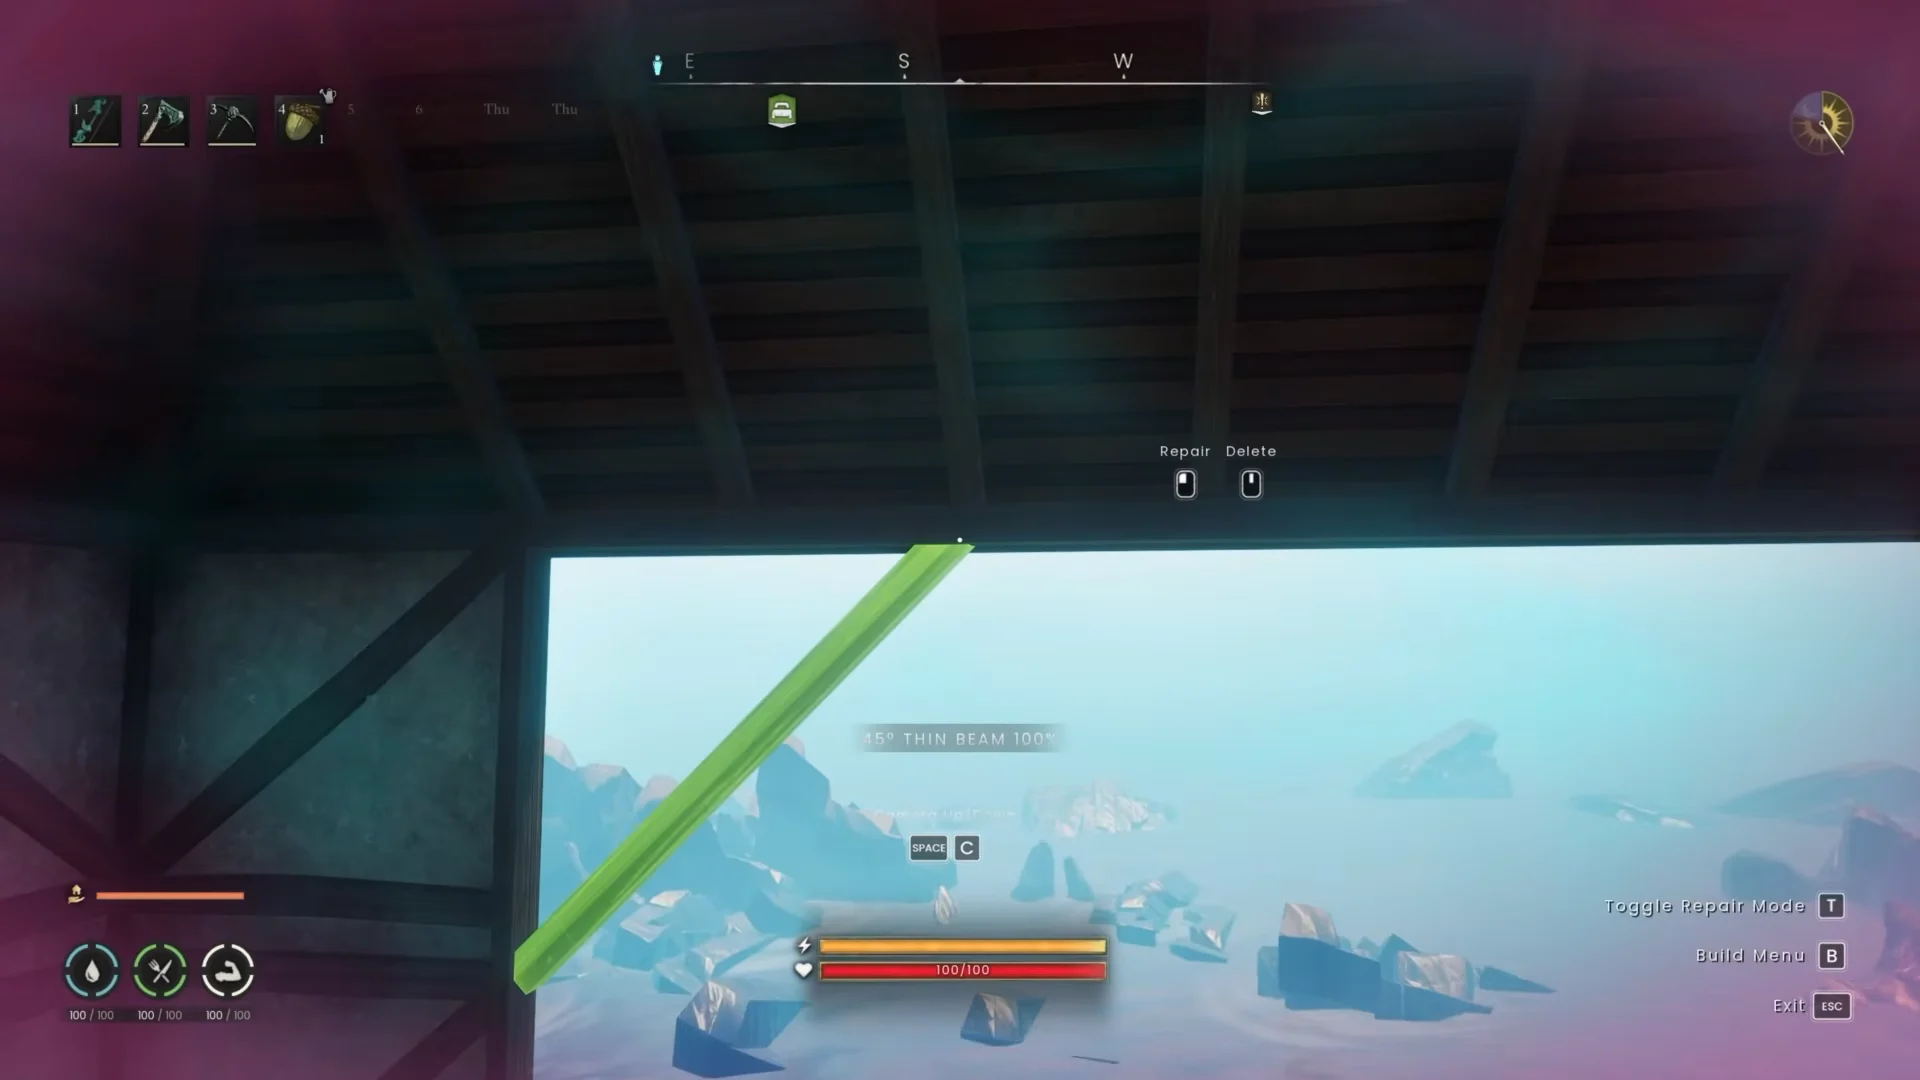
The catch is where the diagonal lands. An angled beam that terminates in mid-air passes no stability along. It has to meet a vertical support that is itself rooted in the terrain, otherwise the piece you are trying to reach stays red.
The rule to build by
Stability comes from the combined horizontal and vertical distance to the anchor. That single rule determines everything else. When a wall has low stability, use a grounded beam to bring the anchor nearer, or place another anchor below it by building a foundation.
- Frame with beams first so you can see the support path.
- Start every support leg in the terrain, never on a tile.
- Use foundations, not pillars, under anything raised.
- Add extra ground anchors for redundancy on large builds.
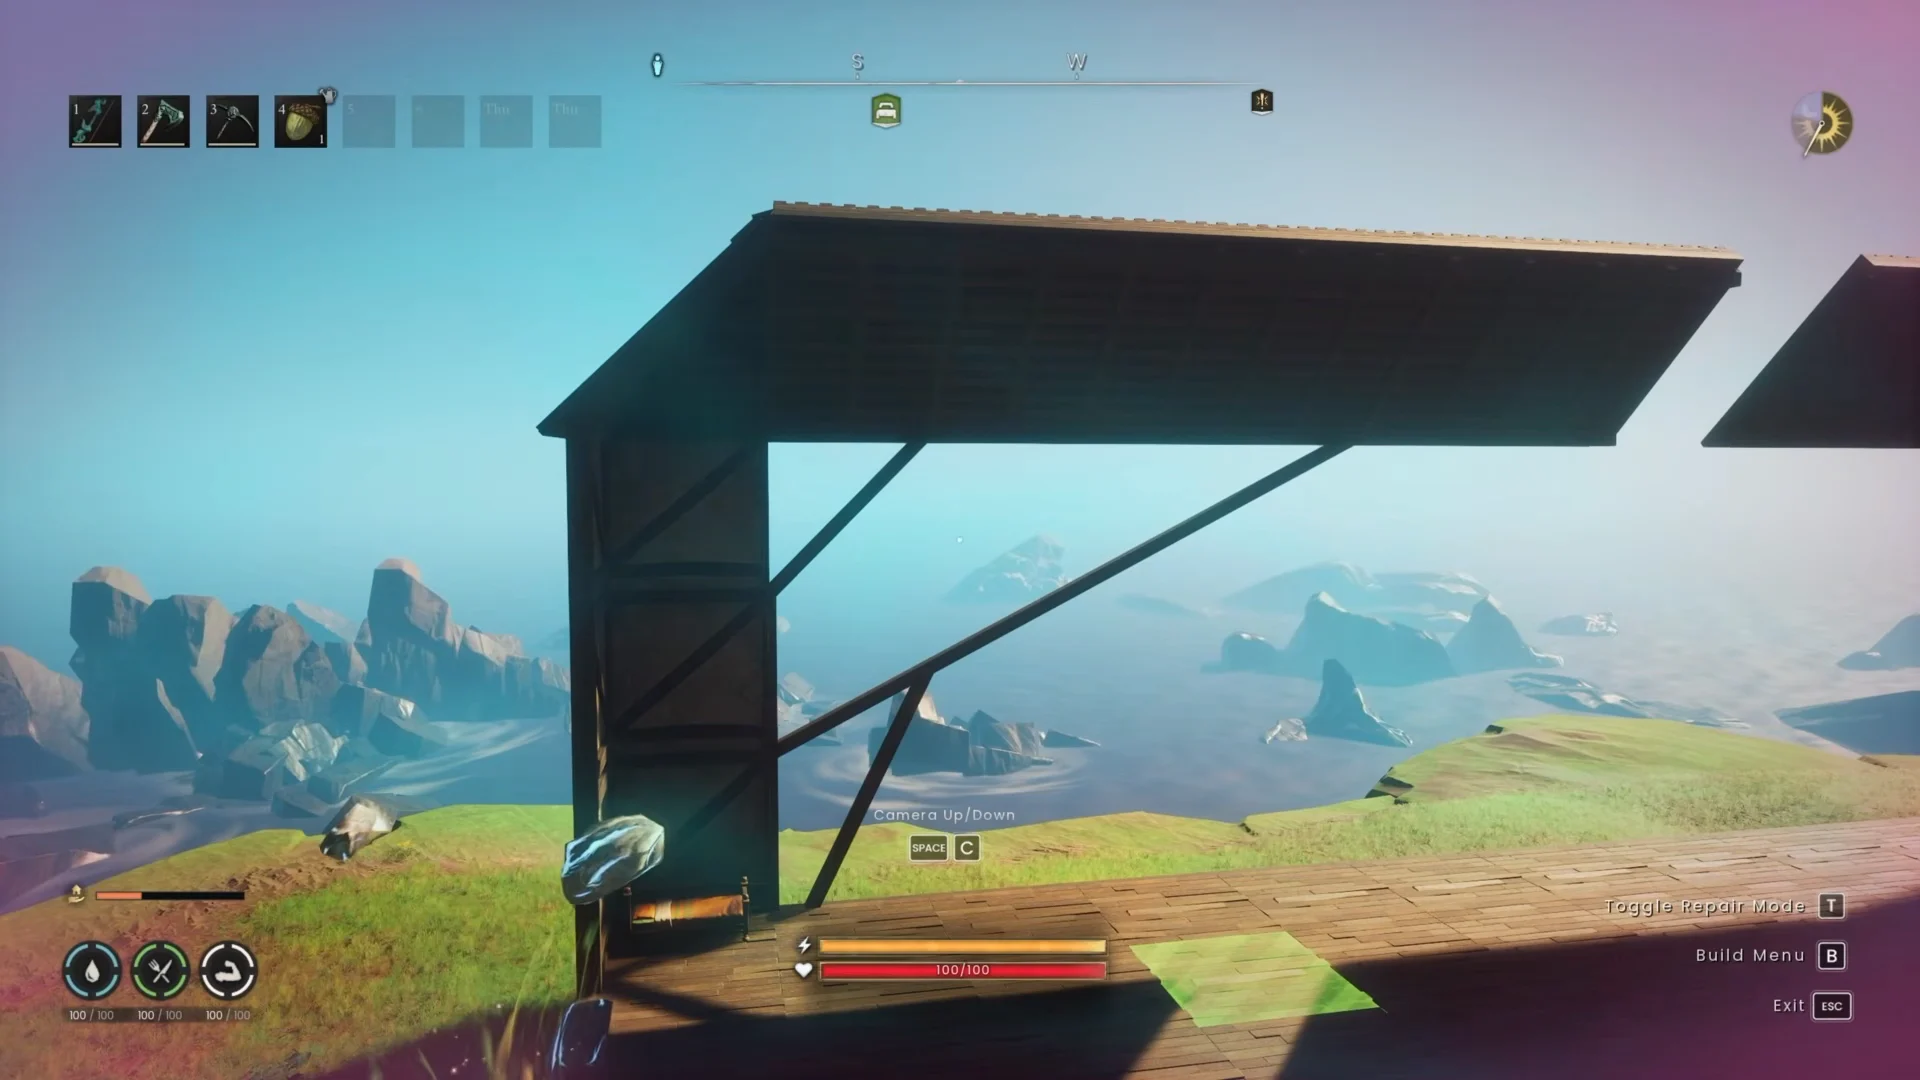
Once the framing under a wall reads green in Repair Mode, the wall itself stops being the weak link, and the pieces you could not place before will snap in on the first try. Get the anchors right at ground level and the rest of the base stops fighting you.