Extracting is the only way to keep what you collect in Sand: Raiders of Sophie. You scavenge the desert in a giant mech called a Trampler, but logging off or simply leaving does not save your haul. You have to reach a radio tower, call in a dropship, and live long enough to be lifted out. The moment you start that call, a bright green flare marks your position for every nearby player, which makes extraction the most dangerous part of any run.
Quick answer: Drive your Trampler into a designated extraction zone, park on flat ground near the radio tower, climb the tower, and interact with the radio to call for evacuation. Survive the roughly 90-second timer until the ship picks up your Trampler and drops a zipline, then grab the rope to extract yourself.
Where extraction zones appear on the map
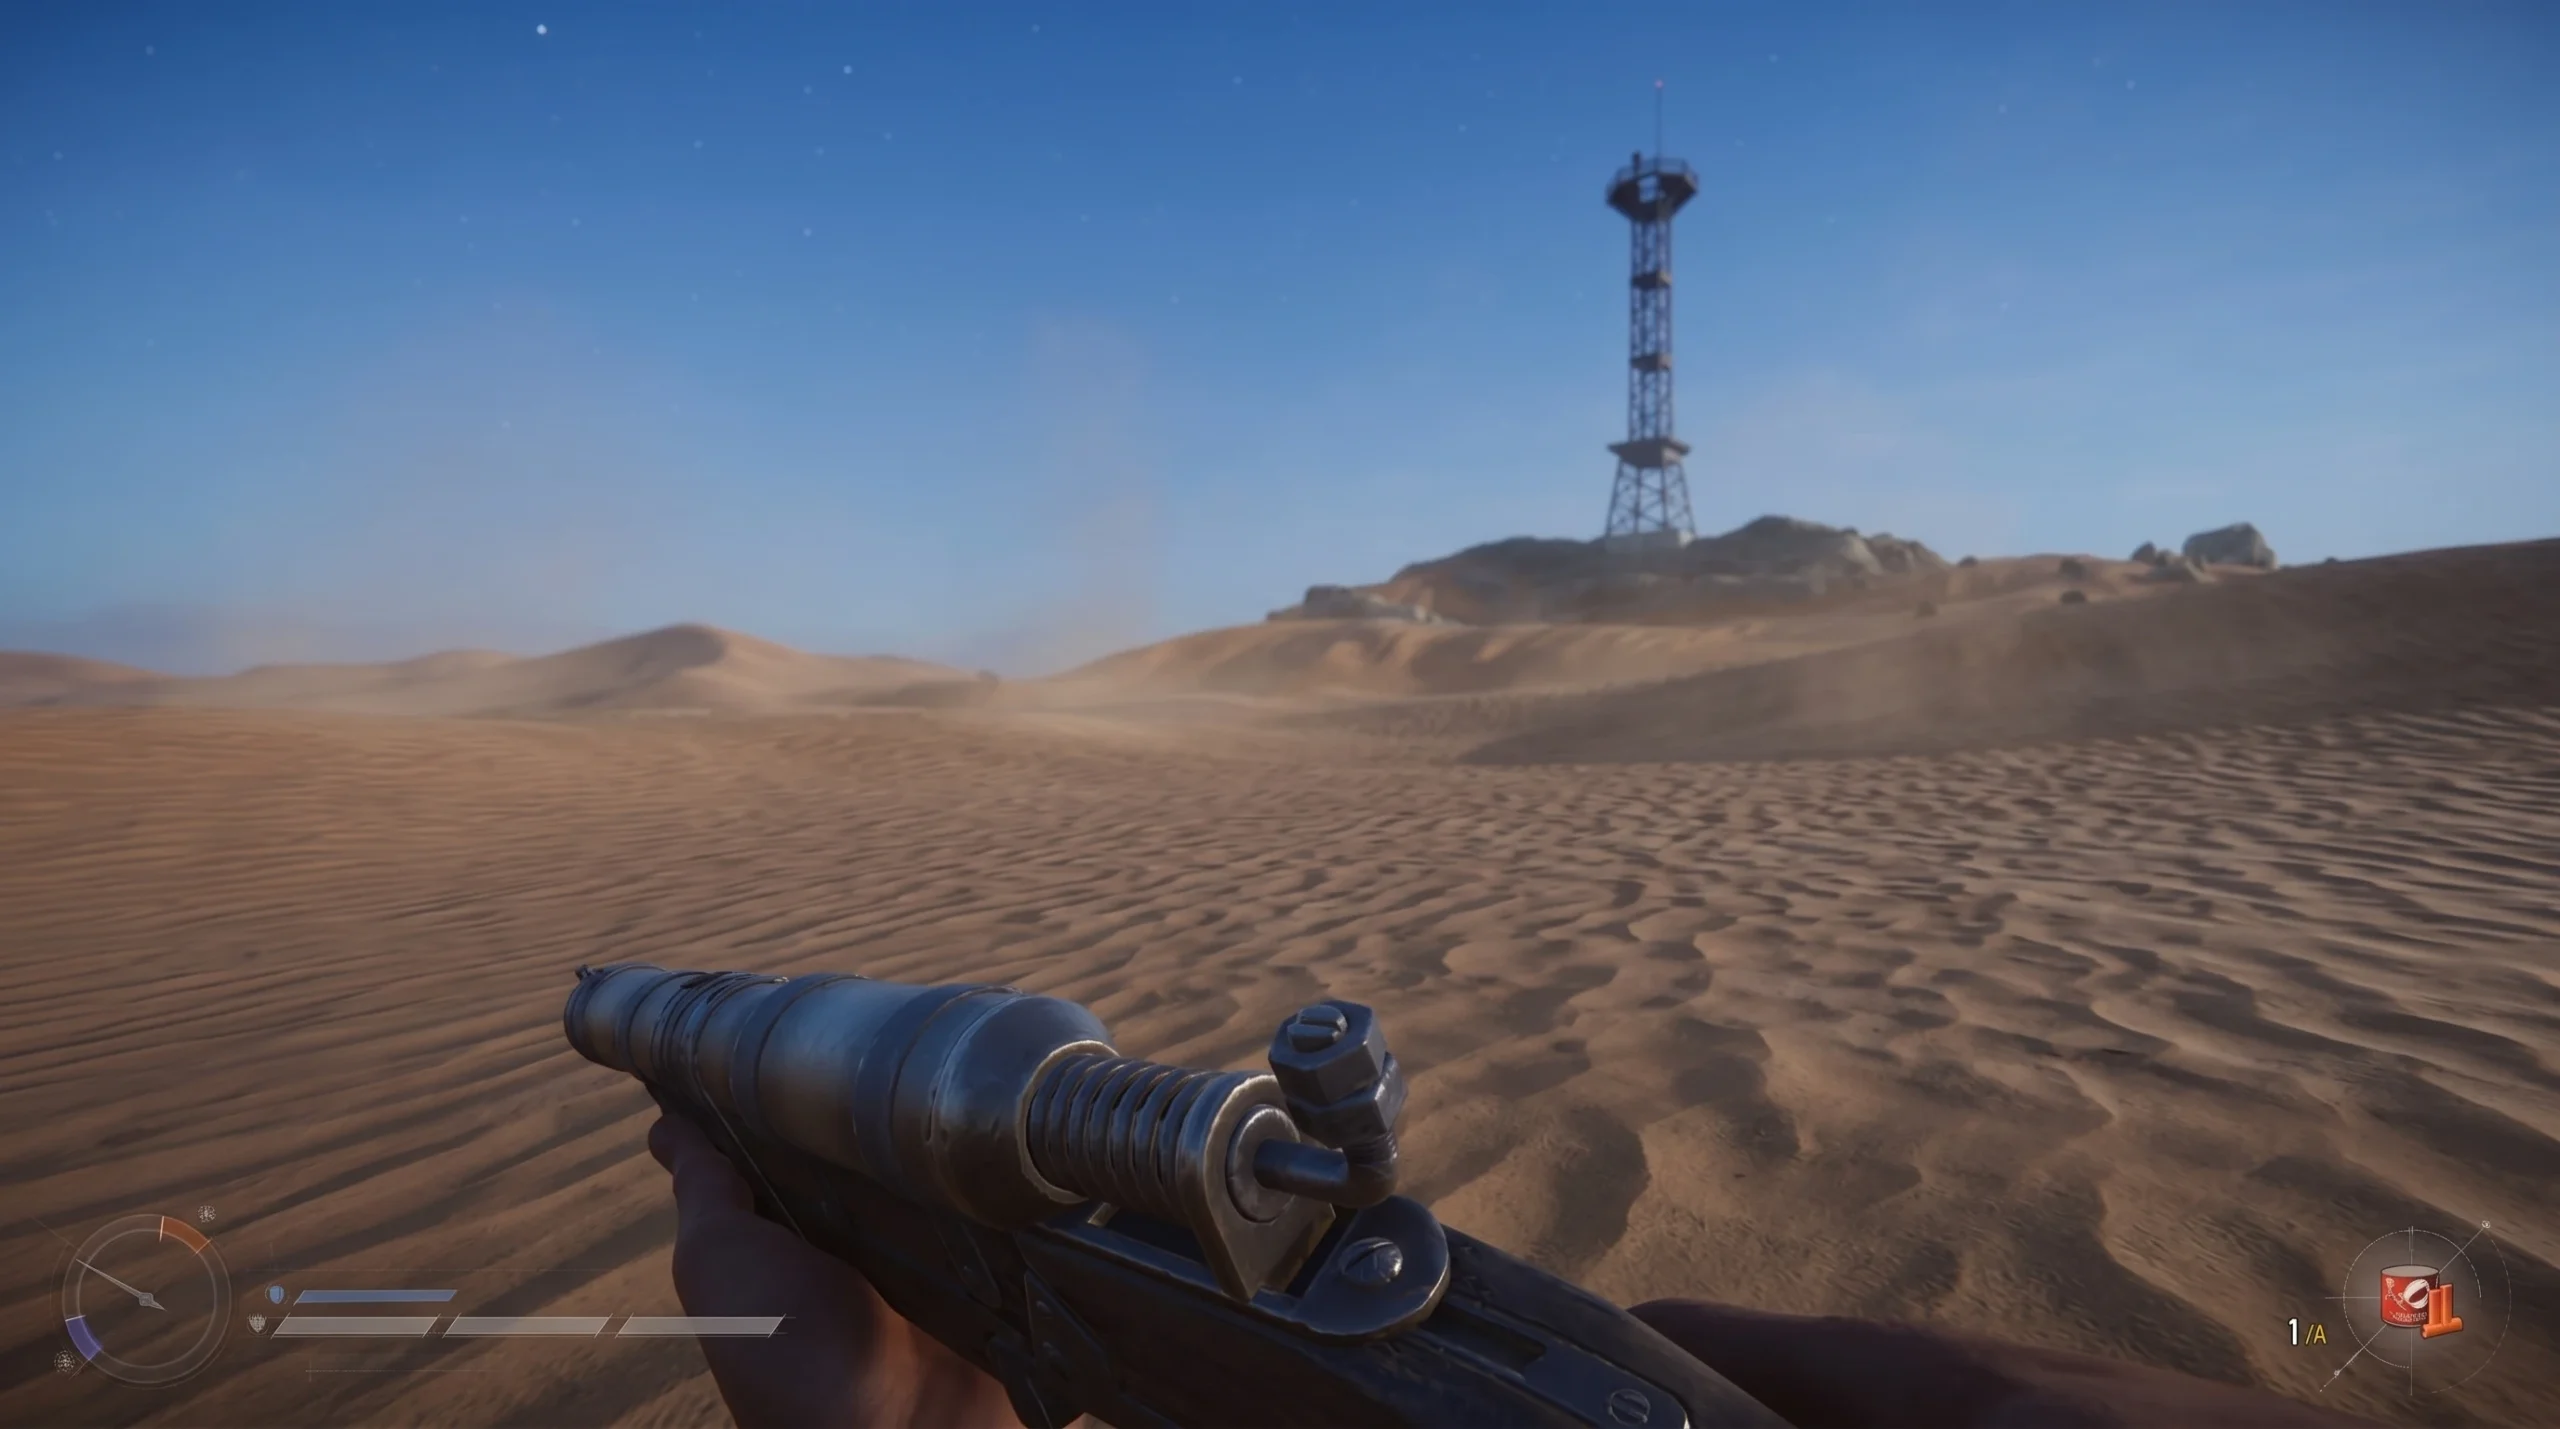
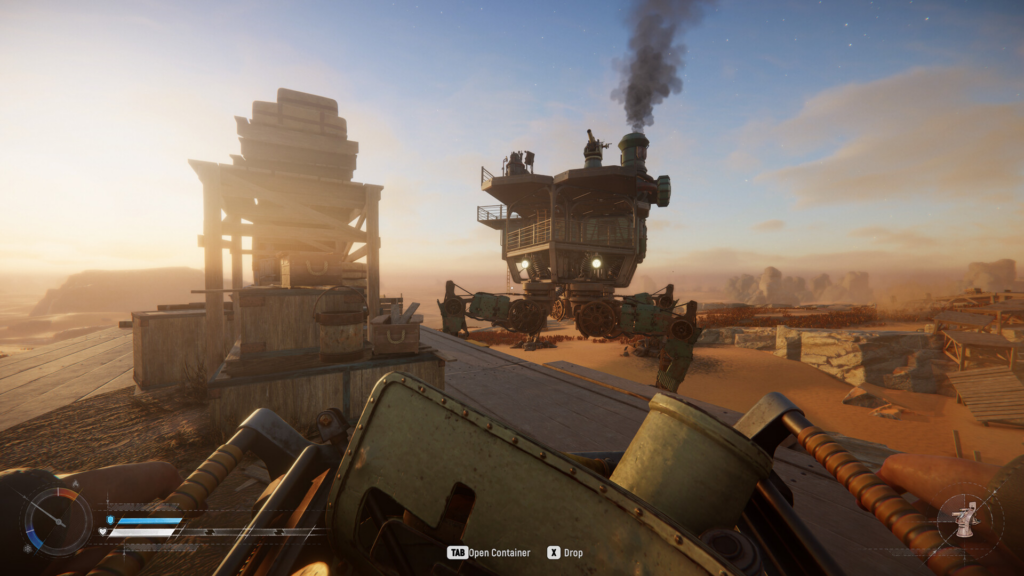
Extraction zones are not labeled with large text. Look on your personal map and the map next to your cockpit for door icons, which read as large white circles with a door-and-arrow symbol. There are several spread across the map at any time. Get within about 200 meters of one and a waypoint will guide you to a very tall radio tower, usually sitting on a pile of boulders.
Whether a zone is usable depends on the mode you are playing.
| Mode | Extraction availability |
|---|---|
| Storm Dive | Zones work only while the closing storm ring hasn’t passed them. Once the ring shrinks over a zone, it becomes inaccessible and you must find another. |
| Voyage | Zones are always available, and their spawn points are randomized. |
Do not waste time hunting for exits the moment you drop in. The icons stay hidden at the start of a match and only activate after the sandstorm contracts a few times. If your map looks empty, keep scavenging and wait for the storm to tighten.
How to call the dropship and extract
Note: Only one Trampler can extract at a zone at a time. If another player is already there, keep your distance and wait your turn, then roll in once they leave.
How to know the extraction worked
Two signs confirm success. First, the dropship physically flies over your mech and lifts the Trampler when the main timer hits zero. Second, you must grab the dropped zipline and get pulled into the ship. Until that rope animation finishes, you are still vulnerable, and a kill at this point means you lose everything you were carrying. The run only counts as a successful expedition once you are aboard.
Why the radio button is greyed out
If you reach the radio and the “Call For Evacuation” prompt is locked, one of a few exact conditions is the cause.
- Your Trampler is parked outside the pickup zone or is out of range. Reposition it inside the marked area.
- You parked on uneven or rocky ground. Move to level terrain.
- The sandstorm has not contracted enough yet. The call stays locked until the storm shrinks, so keep scavenging and try again later.
If the radio call goes through but no ship appears, that is normal. The extractor is not instant and takes about 90 seconds to reach your green smoke. Hold your ground and wait out the full timer.
What cargo extracts and what gets left behind
Storage placement decides what you keep. Anything loose on the deck floor is lost forever, so every item must be secured before the ship arrives.
| Storage location | Extracts? |
|---|---|
| Boxes on storage racks or shelves outside the deck quarters | Yes |
| Bedroom refrigerators (in the current Demo) | Yes |
| Your personal character inventory | Yes |
| A single box carried in your hands | Yes |
| Loaded turret ammo | Yes, automatically |
| Items left loose on the deck floor | No, lost permanently |
Everything you bring home is used back at the hangar to upgrade gear, build new Tramplers, and unlock customizations.
High-value loot worth extracting
Some valuables convert straight into crowns when you extract, while others act as a safety net or unlock progression.
| Item | Value or use on extraction |
|---|---|
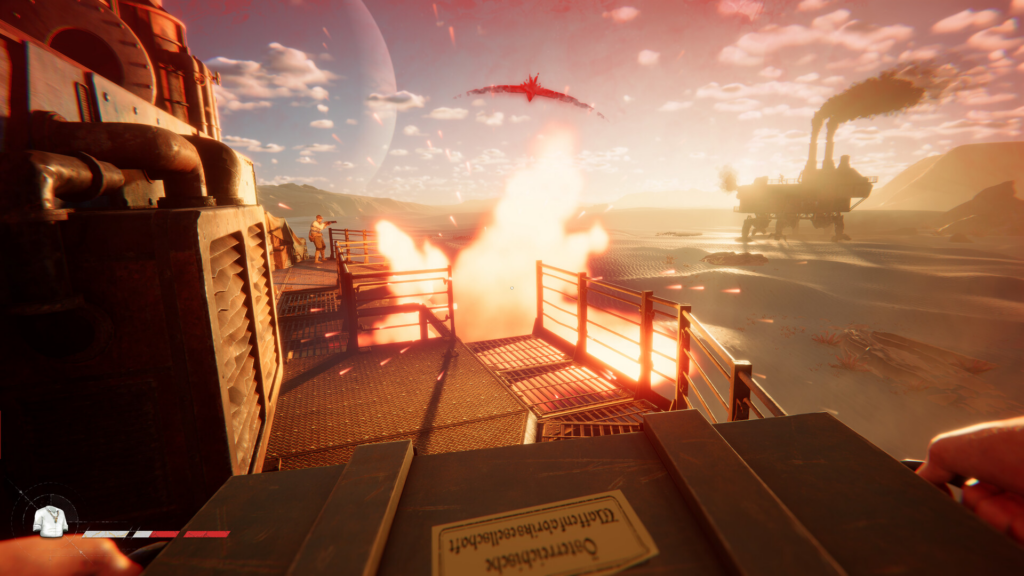
| Chardonnay and documents | Automatically convert to crowns |
| Orange scrap metal mechanical parts | Let you rebuild a basic Trampler after a loss |
| Black Boxes (from destroyed enemy Tramplers) | Sell for 500 crowns and help unlock the tech tree |
| Player radio beacon boxes (green box icons on the map) | Extract within the required window for 2,000 crowns |
Always grab the orange scrap metal even on a light run. Those parts guarantee you can rebuild a basic Trampler later, so a wipe never leaves you stranded.
How to extract on foot after losing your Trampler
Losing your mech does not end the run. You can still extract without a Trampler parked in the zone. Sneak to an active extraction site, climb the tower, and make the radio call as normal. You still have to survive the same wait for the ship to arrive.
The trade-off is your haul. Without deck storage, you escape only with what is in your personal character inventory plus a single box held in your hands. Everything else is gone.
Staying alive during the call
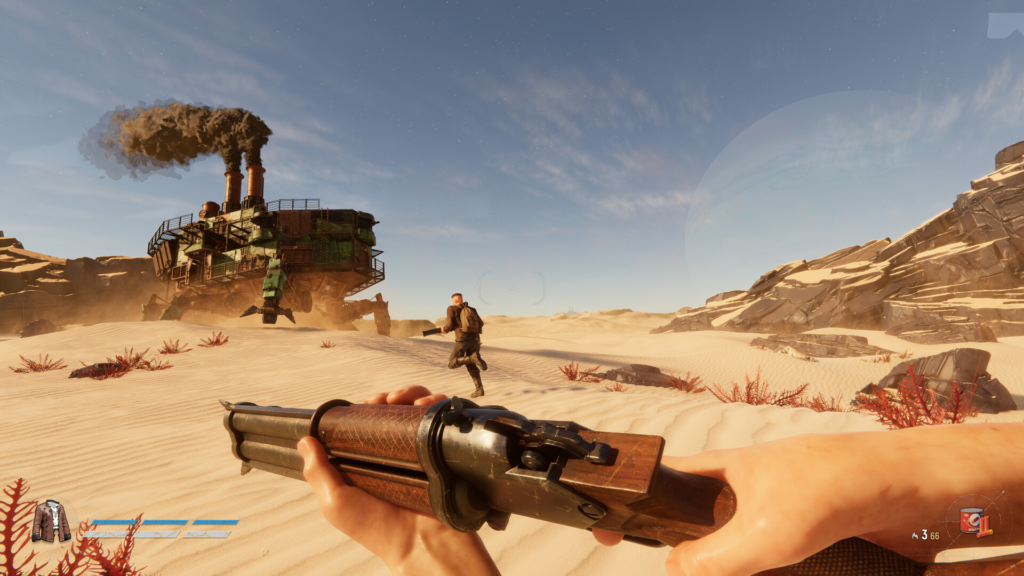
The green smoke advertises your intentions, so the area needs to be clear before you commit. Scout with binoculars and circle the zone at least once to confirm no players are hiding in the ruins or sitting with their mechs powered down nearby. After you start the countdown, the top of the tower doubles as a lookout for spotting hostile Tramplers in open terrain.
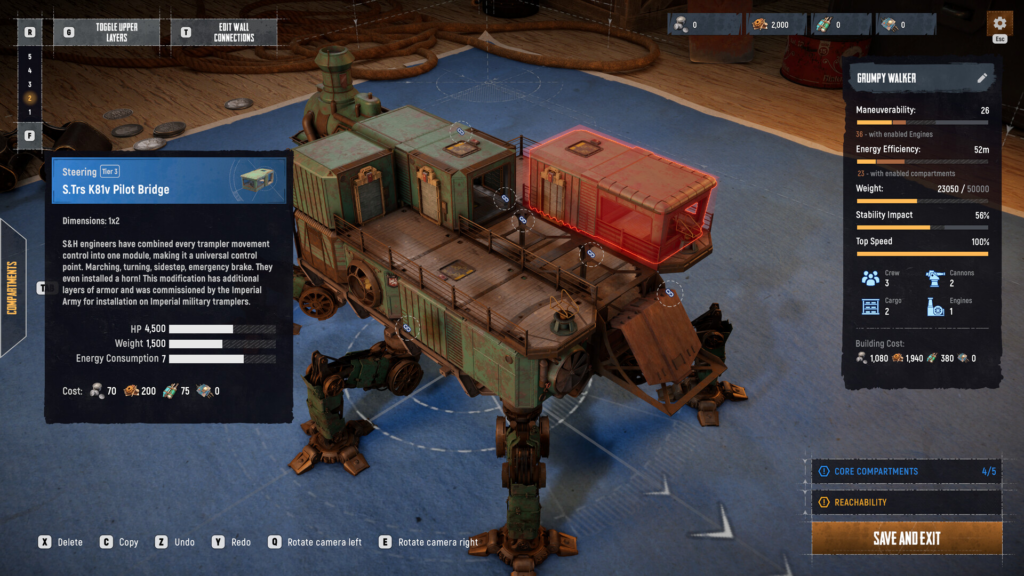
Keeping the Trampler in Halt mode instead of fully off means it can move the instant someone rushes the smoke. If you are playing with others, send one person to start the call while a teammate mans the mech and watches for threats.
If an enemy walker closes in, firing a green flare into the air signals you are friendly. A matching flare back usually means they do not intend to attack. If they keep advancing, face them head-on so you never expose your side to a broadside, and focus cannon fire on the legs to cripple their movement. You can also target their guns or the pilot’s wheel. If the fight turns against you, leave the zone, find another tower, or deal with the walker before restarting the call rather than waiting as a sitting target.