
Running low on disk space can block Windows updates, slow down your system, and limit your ability to store new files. Windows 11 includes built-in compression features that allow you to shrink the size of files, folders, or even entire drives, freeing up valuable storage without deleting important data. These built-in options use the NTFS file system's compression capability, which lets you access compressed files as usual while automatically saving space in the background. Below, you'll find detailed steps for the most effective compression methods available in Windows 11.
Compressing Files and Folders Using NTFS Compression
NTFS compression works directly on files or folders, reducing their size on disk while keeping them accessible as normal. This approach is ideal for archiving infrequently used documents or freeing up space quickly without moving data elsewhere.
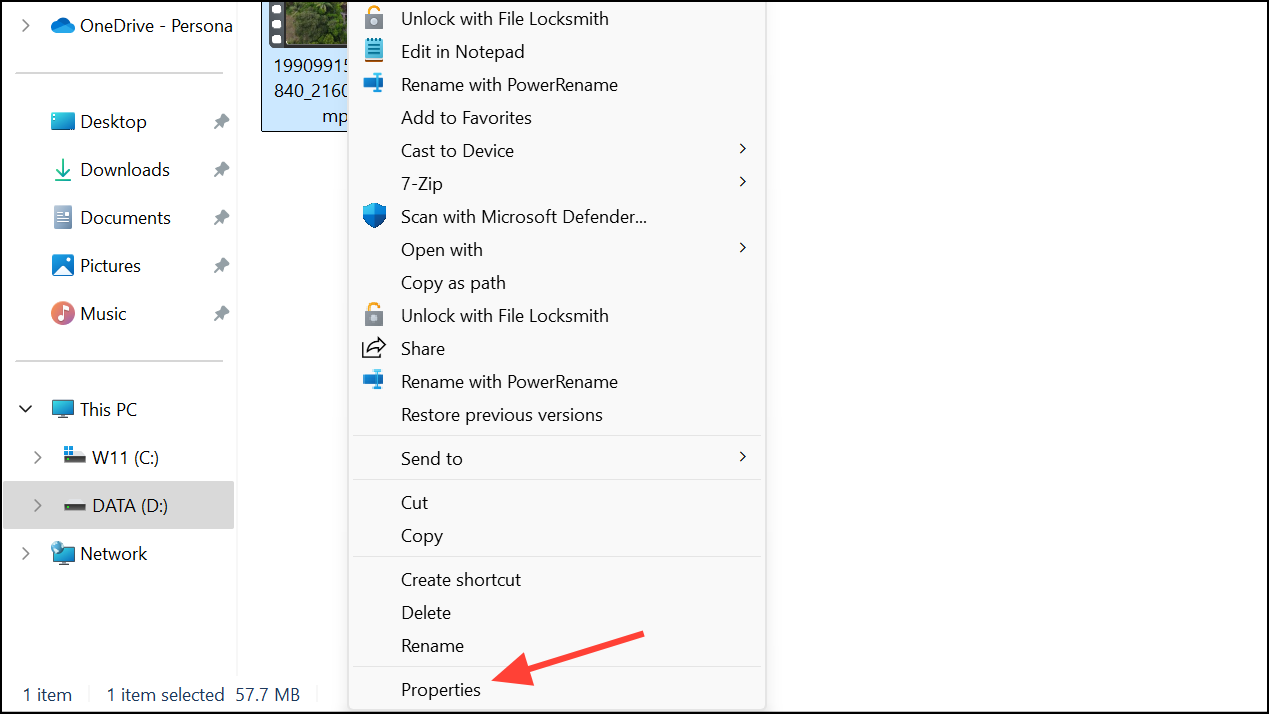
Step 1: Open File Explorer and navigate to the file or folder you want to compress. Right-click the item and select Properties.
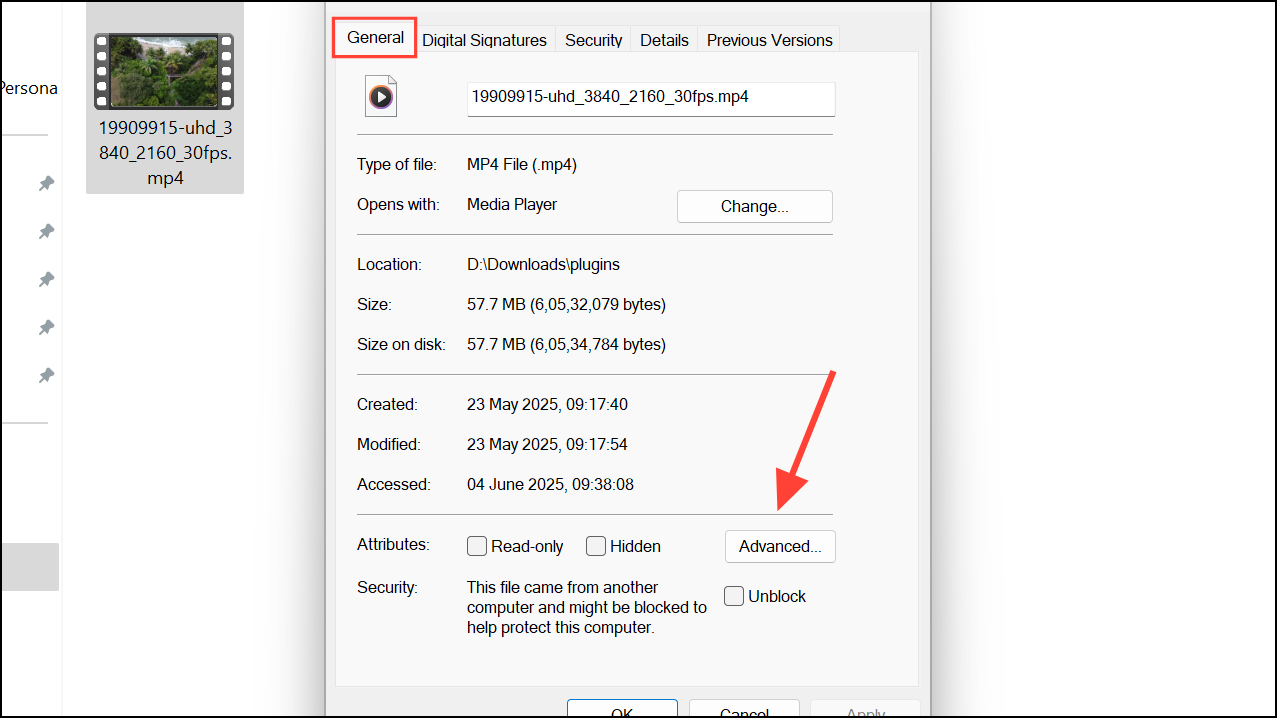
Step 2: In the Properties window, ensure you are on the General tab. Click the Advanced button near the bottom.
Step 3: In the Advanced Attributes window, check the box labeled Compress contents to save disk space. Click OK to close the Advanced window.

Step 4: Back in the Properties window, click Apply. If you selected a folder, you'll be prompted to apply changes to only the folder or to the folder, subfolders, and files. For maximum space savings, choose Apply changes to this folder, subfolders and files and click OK.
Step 5: Click OK again to close the Properties window. Windows will now compress the selected files or folders. Compressed items display double blue arrows on their icons.
To reverse compression, repeat these steps and uncheck Compress contents to save disk space.
Compressing an Entire Drive
Compressing a whole drive can free up significant space, especially if you have large amounts of data that aren't accessed frequently. This method applies NTFS compression to all files and folders on the selected drive, but it may slightly slow file access, especially on older hardware. Only NTFS-formatted drives support this feature.
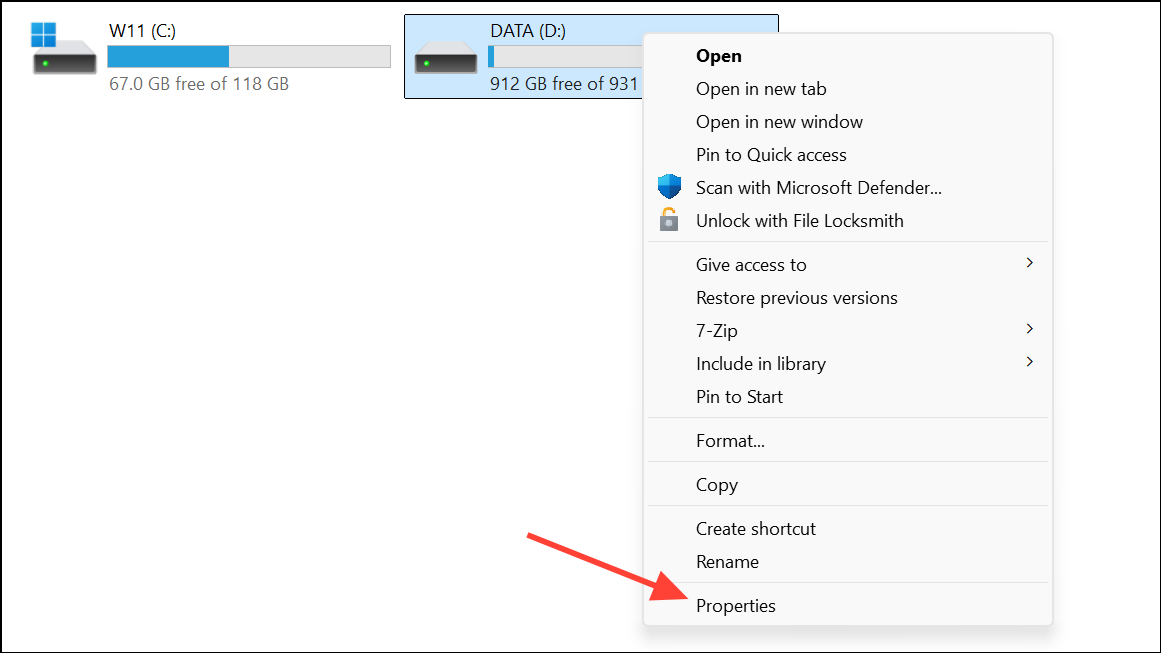
Step 1: In File Explorer, select This PC and right-click the drive you want to compress (e.g., D:\). Choose Properties.
Step 2: On the General tab, check the box for Compress this drive to save disk space.
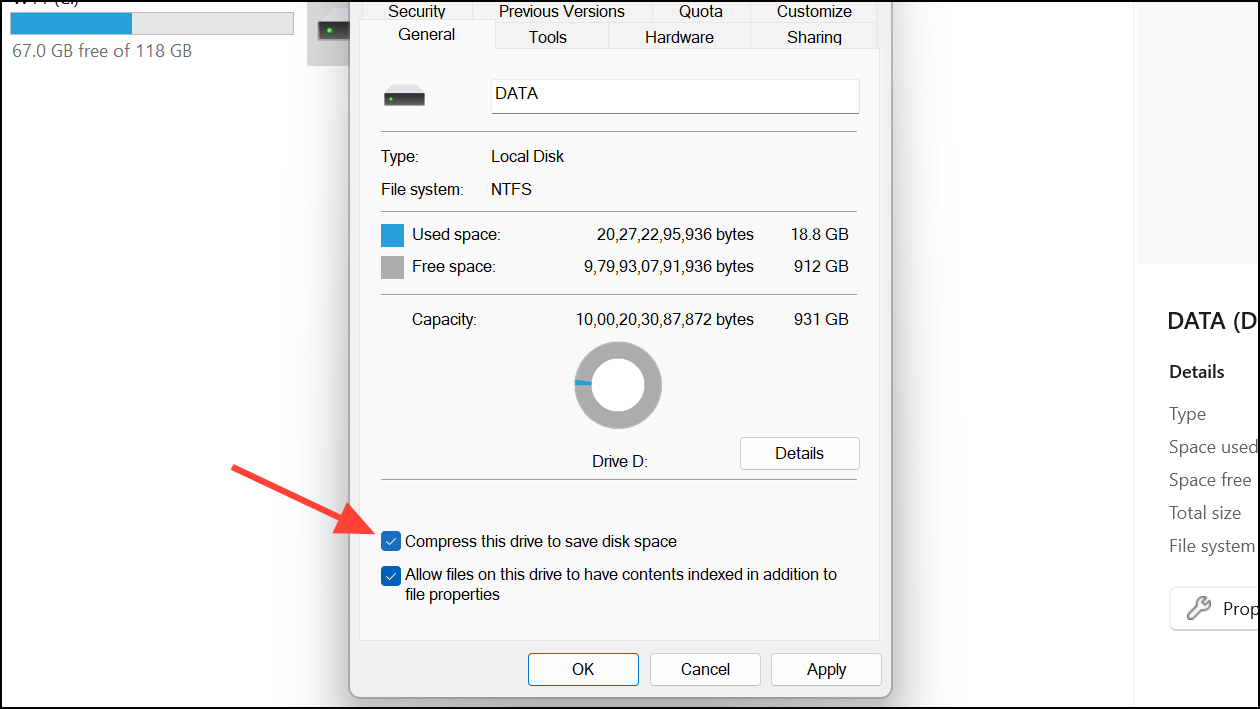
Step 3: Click Apply. A dialog will appear asking if you want to apply changes to the drive only or to the drive, subfolders, and files. Select Apply changes to drive (drive letter), subfolders and files for complete compression, then click OK.
Step 4: Click OK to close the Properties window. The system will begin compressing the drive. The time required depends on drive size and speed.
Compressing Files and Folders Using Command Prompt
For advanced users or batch processing, the Command Prompt provides a flexible way to compress files, folders, or entire directory trees using the compact command.
Step 1: Open the Start menu, type cmd, right-click Command Prompt, and select Run as administrator.

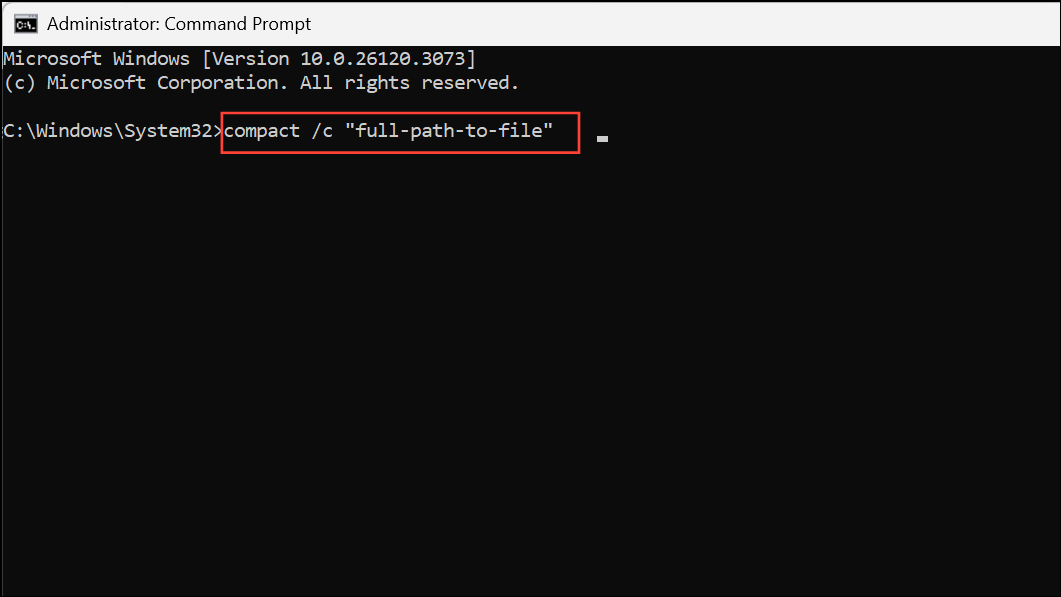
Step 2: To compress a single file, enter:
compact /c "full-path-to-file"
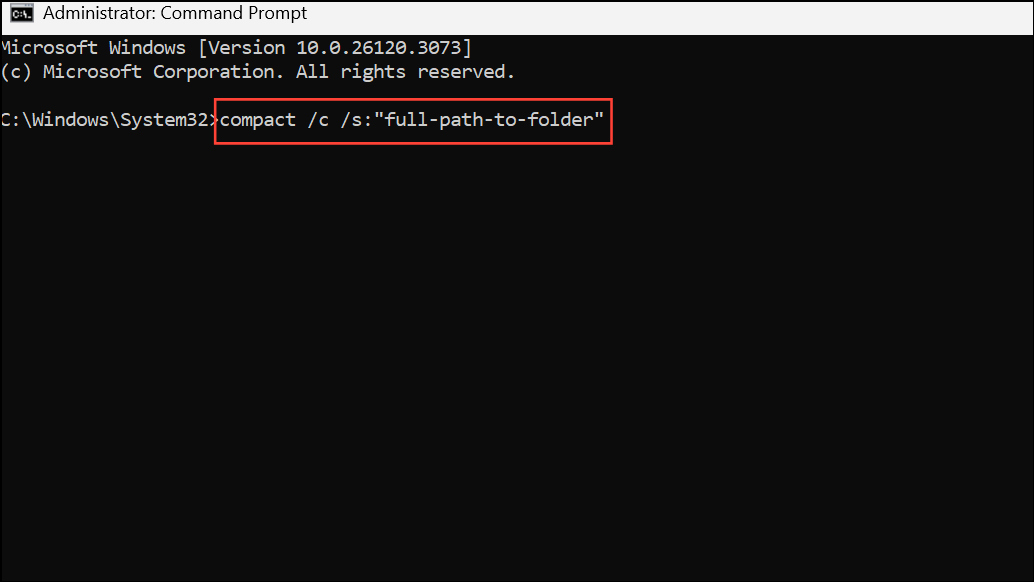
To compress all files and subfolders within a folder, use:
compact /c /s:"full-path-to-folder"
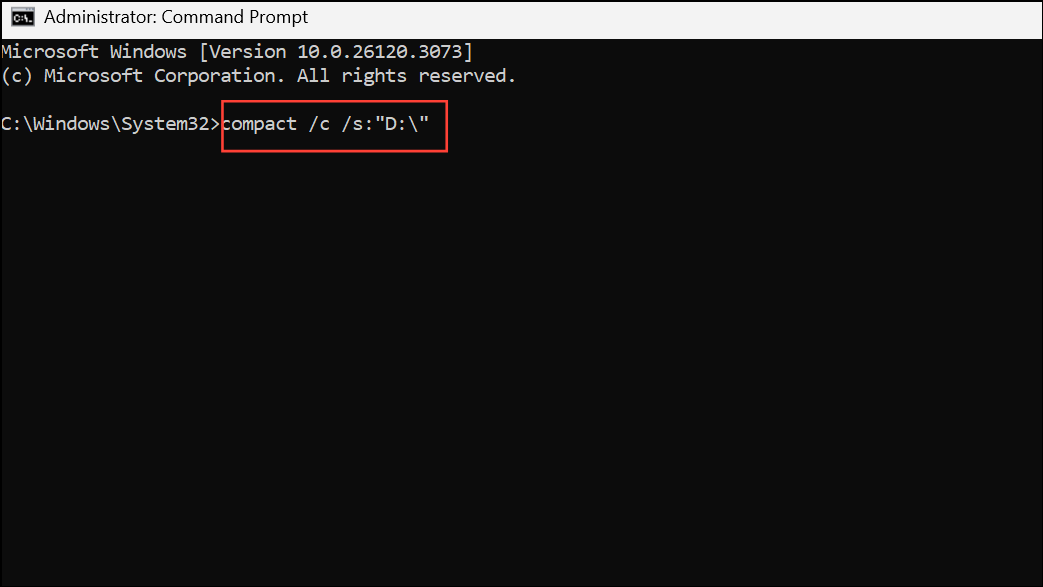
To compress an entire drive, run:
compact /c /s:"D:\"
Step 3: Wait for the command to finish processing. You can check the results by viewing the folder or file properties in File Explorer.
To decompress, replace /c with /u in the commands above.
compact command also allows specifying algorithms for higher compression ratios, such as /exe:lzx for maximum compression, though this increases CPU usage.Creating Compressed Archives (ZIP, 7z, TAR) via Right-Click
For sharing or archiving multiple files, compressing them into a single ZIP, 7z, or TAR archive is convenient. Windows 11 provides quick access to these formats from the right-click context menu.
Step 1: Select the files or folders you want to compress. Right-click and hover over Compress to... in the context menu.
Step 2: Choose your preferred format: ZIP File, 7z File, or TAR File. A new compressed file will appear in the same location, containing your selected items.
For more control, such as compression level or method, select Additional options to open the archive wizard and adjust settings as needed.
Points to Consider and Limitations
- NTFS compression saves space but may slightly slow file access, especially on older or low-powered systems.
- Compressing already compressed file types (like
.mp3,.mp4,.zip) yields minimal space savings. - NTFS compression and encryption cannot be applied simultaneously. For security, use BitLocker or another encryption method.
- Compression is available only on NTFS-formatted drives. FAT32 and exFAT do not support this feature.
- System folders and drives should generally not be compressed to avoid performance or boot issues.
Applying NTFS compression in Windows 11 offers a practical way to reclaim disk space without deleting files. Choose the method that best fits your needs, and regularly review your storage to keep your system running smoothly.