Scarlet Proof is the artifact set Version 7.0 built for Stellar-Swirl damage dealers, and it is the piece that pushes an Anemo carry like Xiao to a flat 100% Crit Rate without burning a Crit Rate circlet or a Crit Rate weapon. The catch is that half of the set’s power only exists if your team can actually convert Cryo Swirl into Stellar-Swirl in the first place.
Quick answer: Farm Scarlet Proof only if your party contains a Cryo Stellar Linchpin — Odette, Sandrone, or the Cryo Traveler. Without one of them, Cryo Swirl never becomes Stellar-Swirl, and the four-piece bonus (16% Crit Rate plus a 40% Stellar-Swirl damage bonus) never turns on.
Scarlet Proof set bonuses and what they actually do
Scarlet Proof is one of two artifact sets added with Snezhnaya, alongside the support-oriented Heart of the Furnace. It is positioned as the carry set for Stellar-Swirl, and its value is concentrated almost entirely in the four-piece.
| Bonus | Effect |
|---|---|
| 2-piece | 18% ATK — generic, and the main reason the set underperforms on Elemental Mastery builds |
| 4-piece | 16% Crit Rate and a 40% Stellar-Swirl damage bonus, tied to triggering the reaction |
That 16% Crit Rate is the headline. On a character already running a Crit DMG circlet and a Crit Rate weapon substat, it is usually the last chunk needed to reach exactly 100% Crit Rate, which frees every artifact substat roll afterwards to go into Crit DMG instead. The 40% Stellar-Swirl bonus stacks on top of the reaction damage itself, not on your normal attacks.
Note: the 18% ATK two-piece is dead weight for Elemental Mastery-focused drivers such as Mizuki, where mixed 80 EM two-piece combinations, four-piece Gilded Dreams, or even Viridescent Venerer end up within touching distance on total damage. Scarlet Proof is at its best on a carry whose personal damage scales with ATK and Crit — which is exactly what Xiao is.
Why 100% Crit Rate matters for Stellar-Swirl reaction damage
Stellar-Swirl breaks the old reaction rule that reaction damage cannot crit and only cares about the triggering character’s Elemental Mastery. Both the Stellar-Swirl hit and the Stellar Vortex explosion can crit, and both pull from the Elemental Mastery and Crit stats of every character who contributed an element to the reaction.
Contributors are sorted and weighted, so the top contributor dominates the calculation. The Crit Multiplier used in each slot is 1 + Crit Rate × (1 + Crit DMG).
| Contributor slot | Weight applied to EM × Crit Multiplier |
|---|---|
| 1st | 0.6 |
| 2nd | 0.3 |
| 3rd | 0.05 |
| 4th | 0.05 |
Because Crit Rate feeds directly into that multiplier, a carry sitting at 100% Crit Rate and high Crit DMG raises the whole team’s Stellar-Swirl and Vortex output, not just their own attack strings. This is the same principle behind Lunar-Charged and Lunar-Crystallize, though the numbers differ.
How the Stellar Vortex levels and detonates
Triggering Stellar-Swirl deals a small amount of Anemo damage in a tight area and, if none already exists, spawns a Stellar Vortex at the enemy’s position. The Vortex sits inert for three seconds, then explodes for Cryo damage across its area. Every additional Stellar-Swirl during that window raises its level.
| Vortex level | What changes |
|---|---|
| 1–2 | Base explosion, worth slightly under three Stellar-Swirl instances in Cryo damage |
| 3 | Grows in size and deals 50% more damage, roughly four Stellar-Swirls |
| 4–5 | Damage unchanged from level 3; only the area keeps expanding |
| 6 | Detonates immediately with the widest area, same damage as level 3 |
Chasing level 6 is rarely worth it, since it needs five extra Swirls inside about 3.5 seconds and pays no damage increase. The next Vortex always spawns at level 1 regardless of how the last one ended. Every trigger also refreshes the Radiance: Stellar-Swirl state for eight seconds, which is the condition most Stellar-Swirl talent effects check before they fire.
You can confirm the reaction is live two ways in combat: the Vortex visibly spawns and grows on the target, and a High Jump becomes available after it detonates. If neither happens, your Cryo Swirls are still ordinary Swirls and no linchpin character is in the party.
The 100% Crit Rate Xiao build that cleared Stygian Onslaught
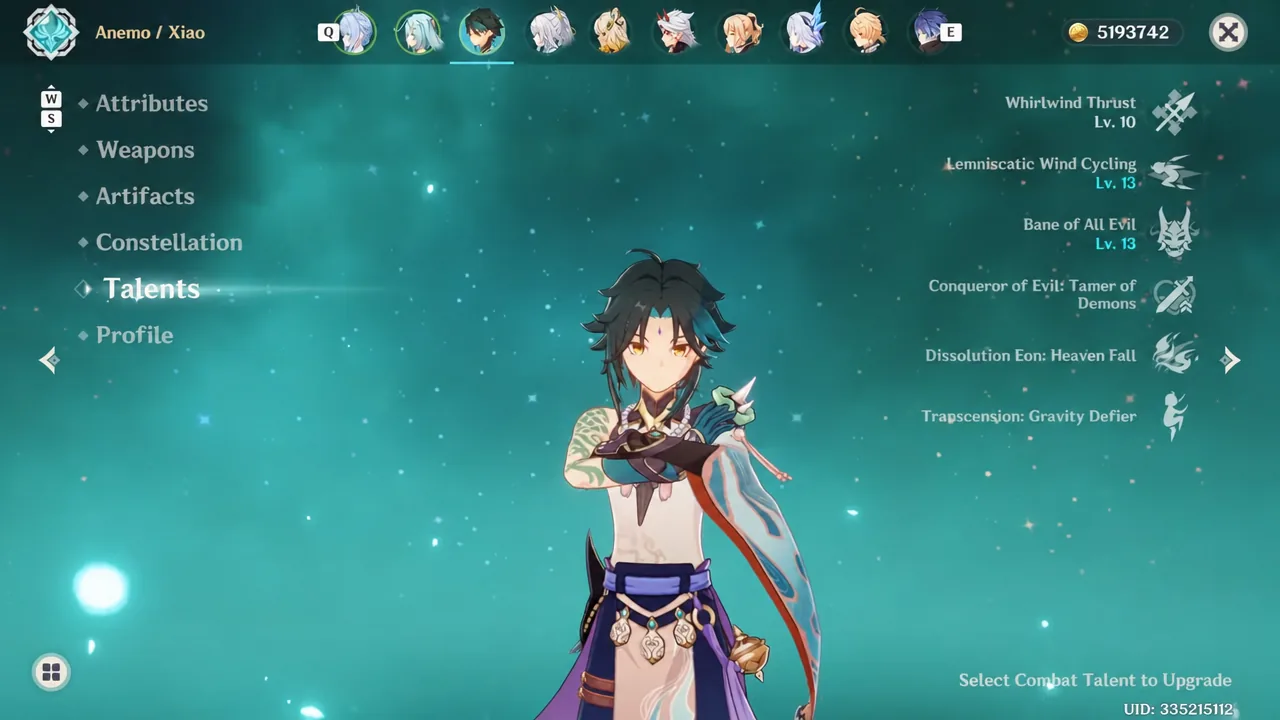
A fully finished version of this setup runs Xiao at C6 with an R5 Staff of Homa and talents at 10/13/13, wearing four-piece Scarlet Proof. The stat line lands on 100.0% Crit Rate and 251.4% Crit DMG with 2,514 ATK — the kind of split you can only reach comfortably once the set is handing you 16% Crit Rate for free.
Xiao himself cannot enable Stellar-Swirl. The party covers that with Odette at C6, holding the Whitelake Frostfeather sword, who supplies off-field Cryo and converts Cryo Swirl into Stellar-Swirl for the team.

Faruzan at C6 handles the Anemo buffing and RES shred, running Elegy for the End so the Elemental Mastery share reaches the rest of the party. Xianyun rounds it out at C0 with Crane’s Echoing Call for the plunge damage bonus, and the remaining artifact sets in play across the team are Heart of the Furnace, Tenacity of the Millelith, and Noblesse Oblige.

| Character | Key stats |
|---|---|
| Xiao (C6) | 25,340 HP / 2,514 ATK / 960 DEF / 100.0% Crit Rate / 251.4% Crit DMG |
| Odette (C6) | 21,477 HP / 2,539 ATK / 1,576 DEF / 76.0% Crit Rate / 212.0% Crit DMG |
| Faruzan (C6) | 19,667 HP / 1,782 ATK / 741 DEF / 54.0% Crit Rate / 99.0% Crit DMG / 280.1% ER |
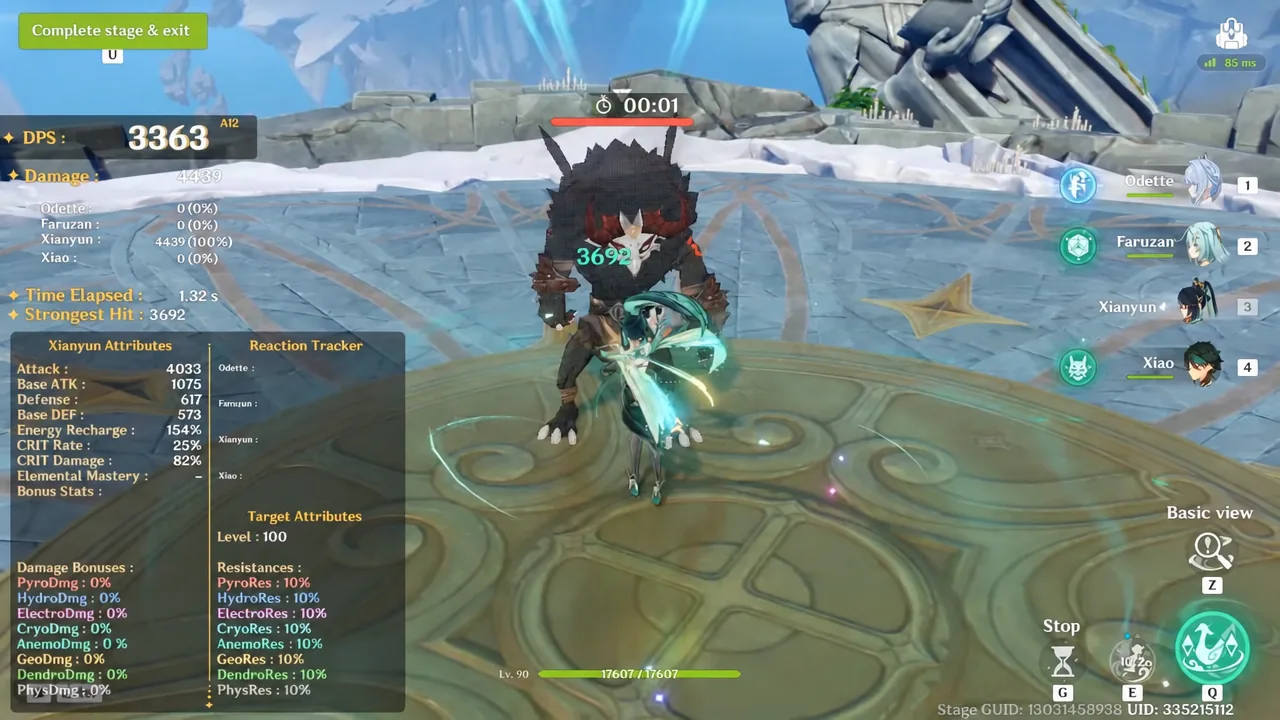
| Xianyun (C0) | 17,607 HP / 3,818 ATK / 857 DEF |
Against Chimeric Winged Lion: Power Overwhelming at Level 105 in Stygian Onslaught: Battle of the Starburst on Fearless difficulty, that team finished the fight in 78 seconds. On a training dummy, Xiao’s plunge attacks landed above 187,000 damage per hit.
When Scarlet Proof is worth the resin
The set rewards a specific profile: an on-field damage dealer who already scales with ATK and Crit, paired with a Cryo linchpin so the Stellar-Swirl portion is live for most of the rotation. Xiao fits that description cleanly, since his plunge damage benefits from the ATK two-piece and his own Crit stats feed the shared Vortex calculation as the top contributor.
If your Stellar-Swirl driver instead stacks over 1,000 Elemental Mastery, the two-piece is largely wasted and you are farming a brand-new domain from zero for a marginal gain. In that case, existing Elemental Mastery sets or Viridescent Venerer will get you close enough while you keep the resin elsewhere. Sustained triggers matter more than any single set — the Vortex scales with how many Stellar-Swirls your team can pack into each three-second window, so off-field Cryo and Anemo uptime is doing as much work as the artifacts.