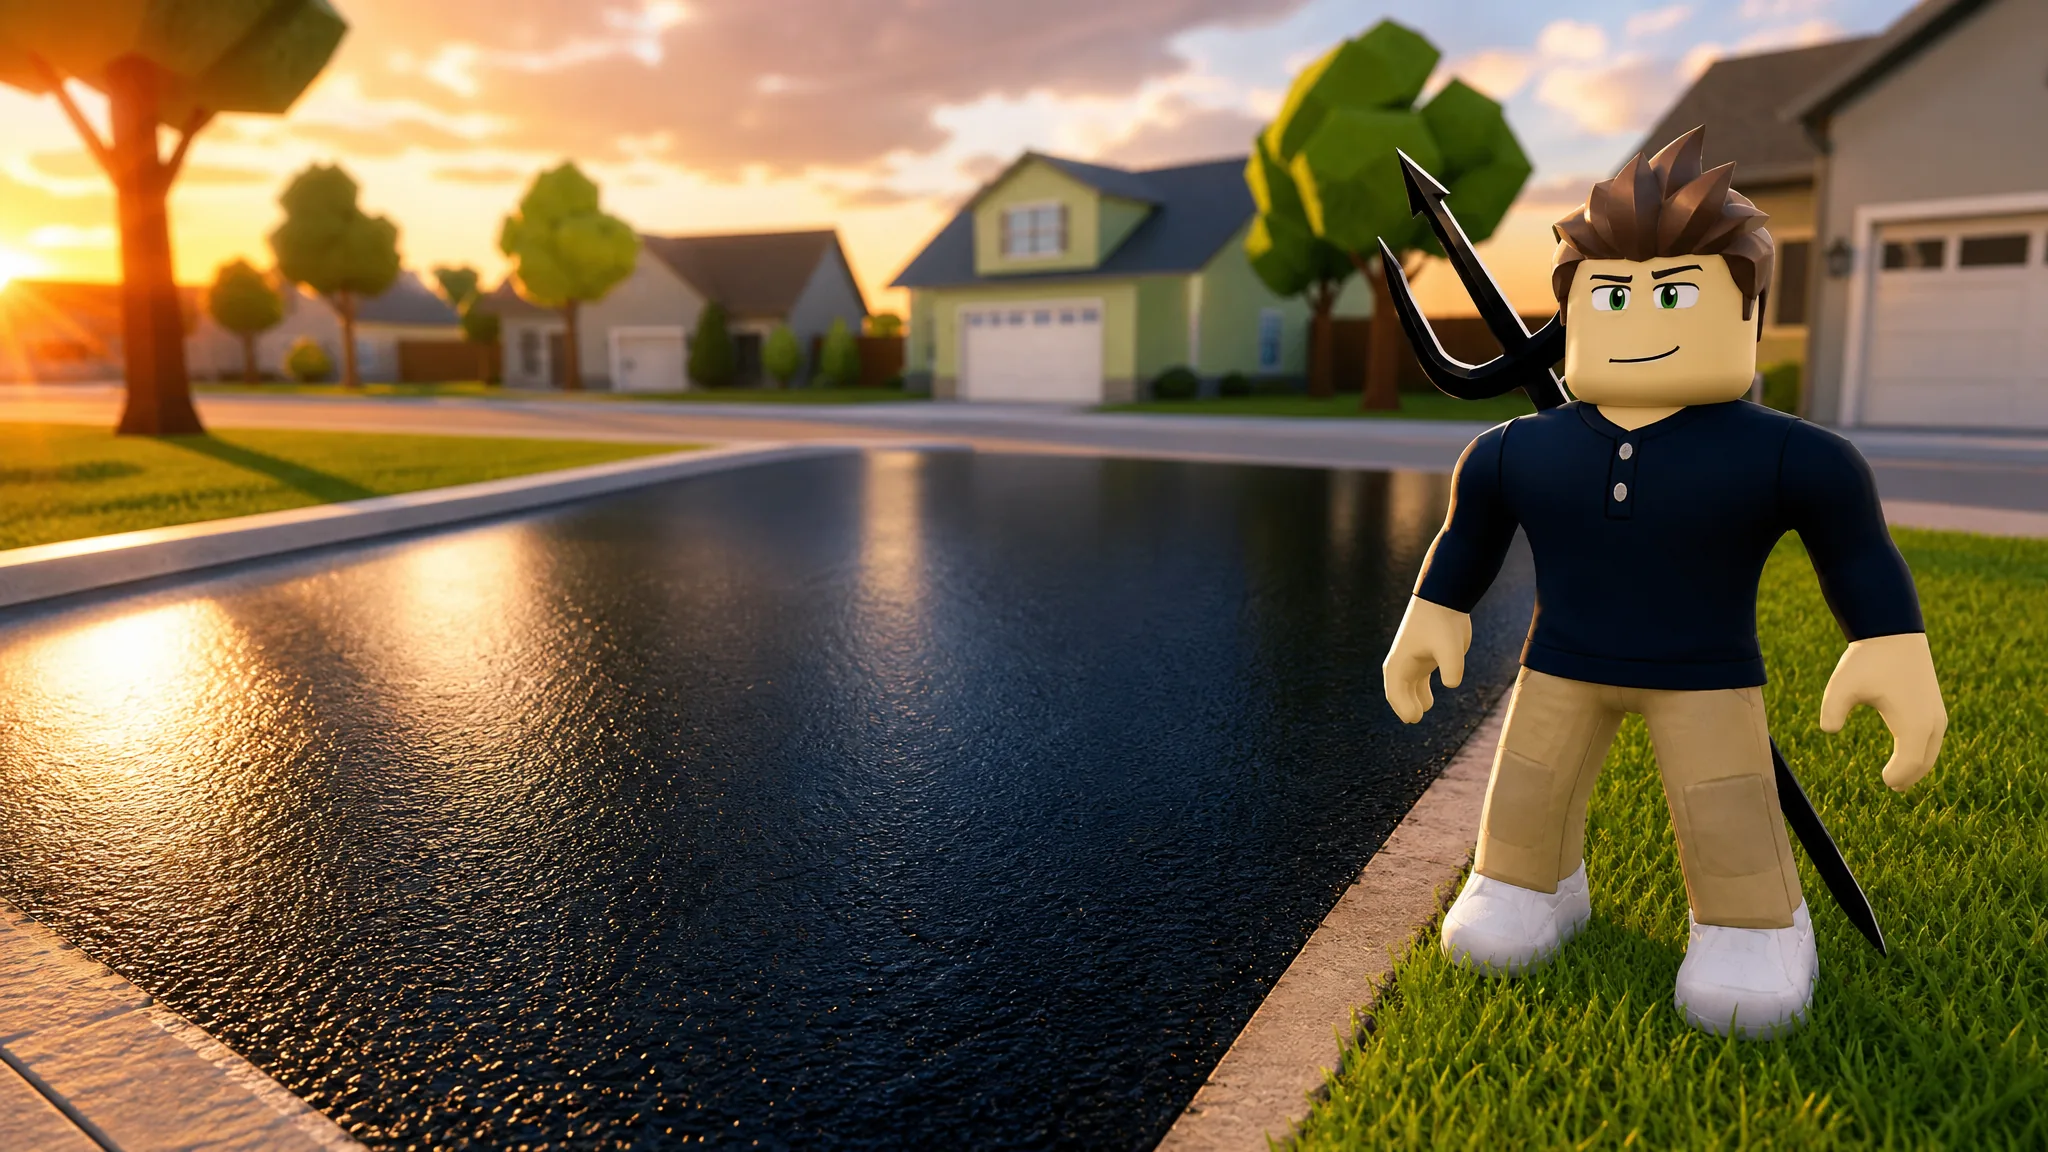
Seal a Driveway is a Roblox simulator built around one simple job. You pour black sealer onto residential driveways and pathways, spread it flat until the surface reads 100% sealed, and collect cash for finishing each address. The catch is capacity. Your bucket empties fast, so most of your time is spent balancing sealing runs against trips back to the Depot Yard to refill and buy better gear.
Quick answer: Equip the Bucket, pour a puddle on the bare pavement, switch to the Squeegee, and walk over the puddle to spread it. Keep pouring and spreading until the job hits 100% sealed, refilling at the Depot Yard whenever the bucket runs dry. The first pathway at 114 Maple Drive pays $1,598 on completion.
The core sealing loop
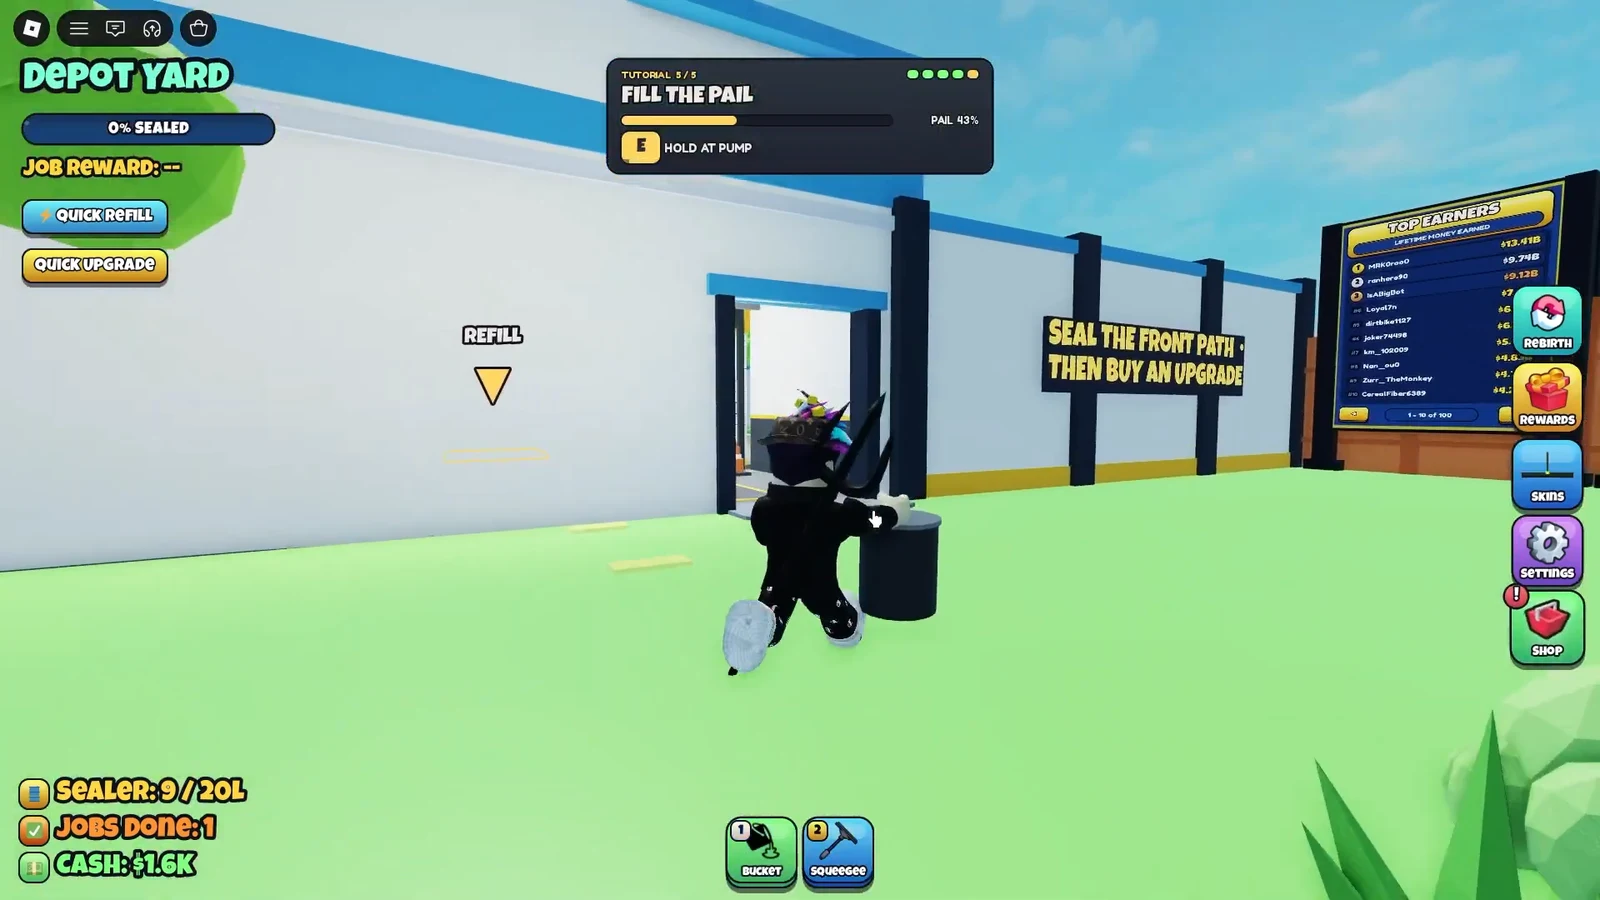
Every job follows the same rhythm. You alternate between two tools, the Bucket and the Squeegee, and you repeat that swap until the whole surface is coated. The tutorial teaches this at 114 Maple Drive with the “Pour It All Out” task before handing you full jobs.
Refilling sealer at the Depot Yard
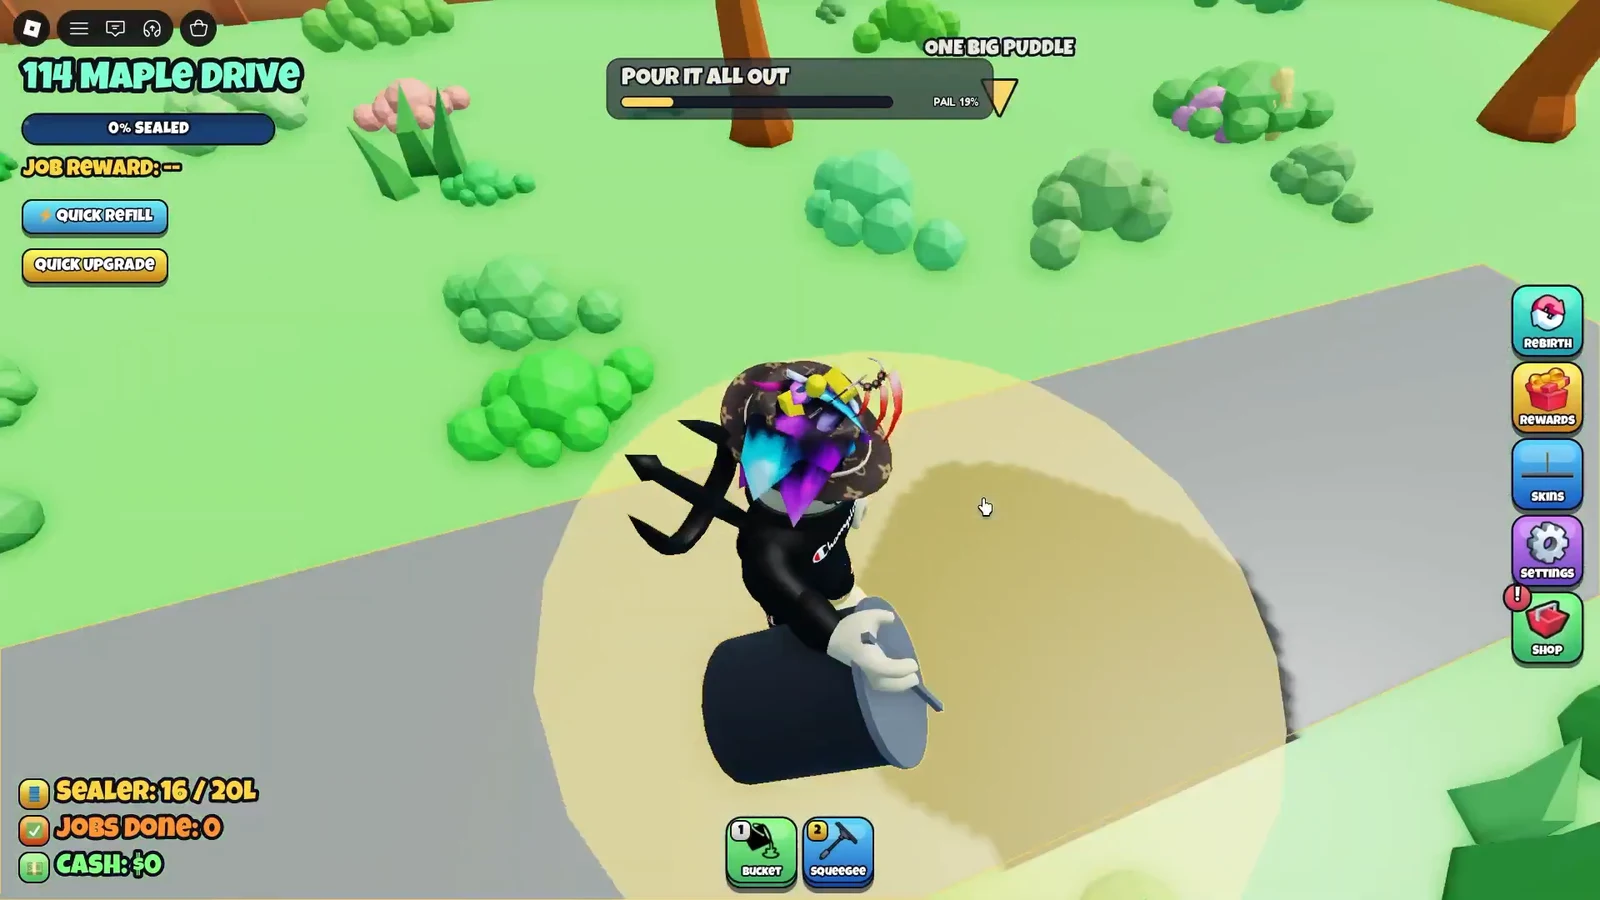
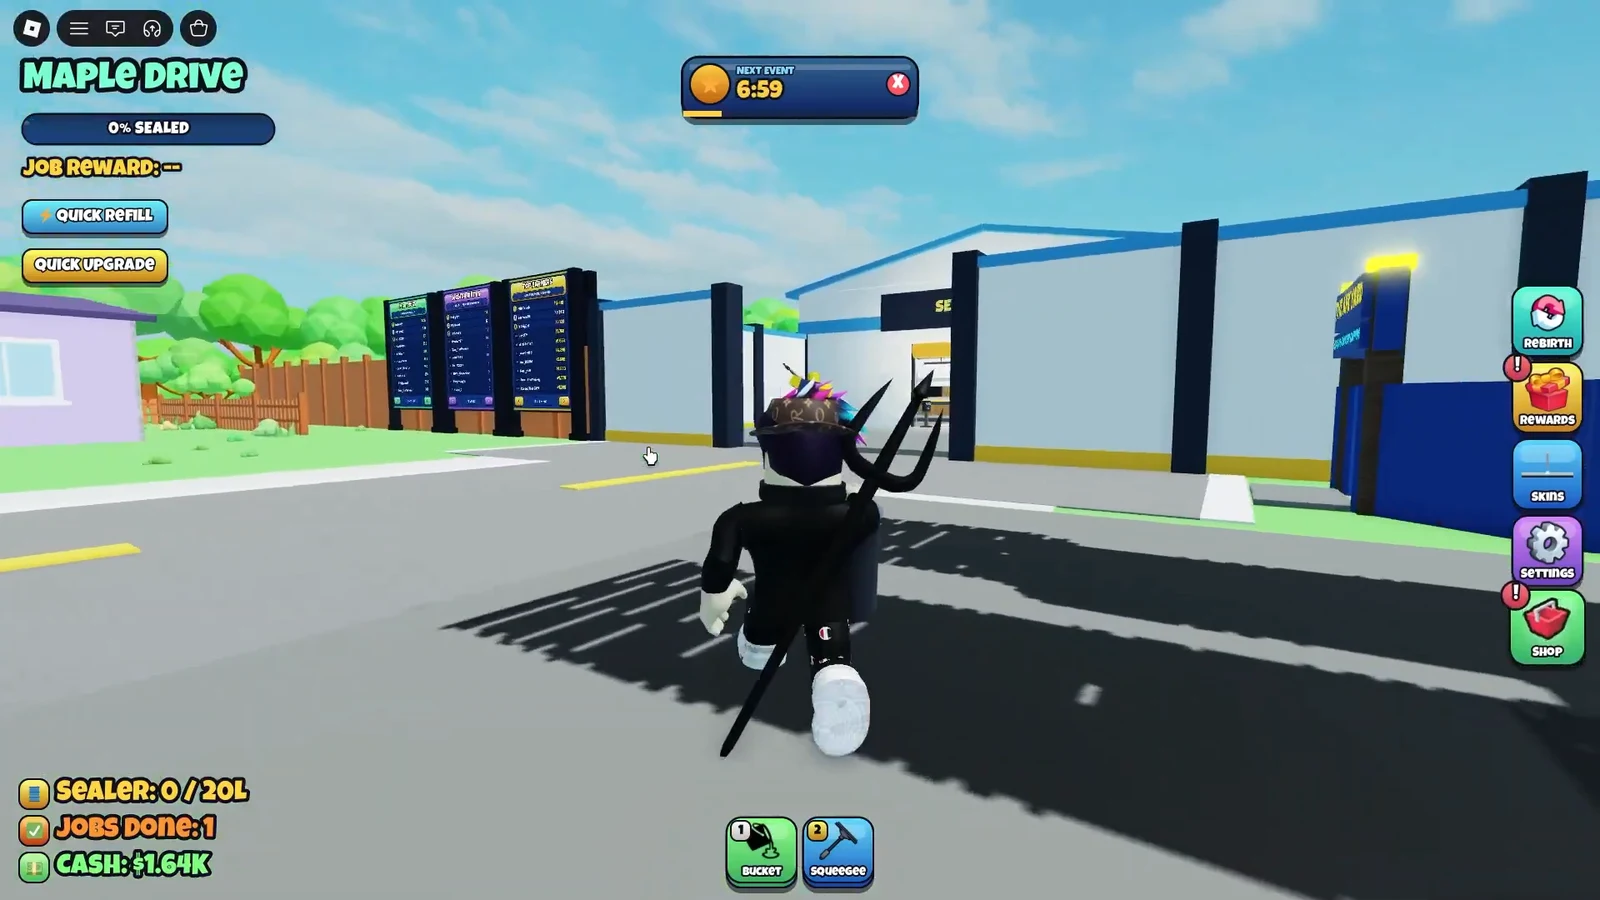
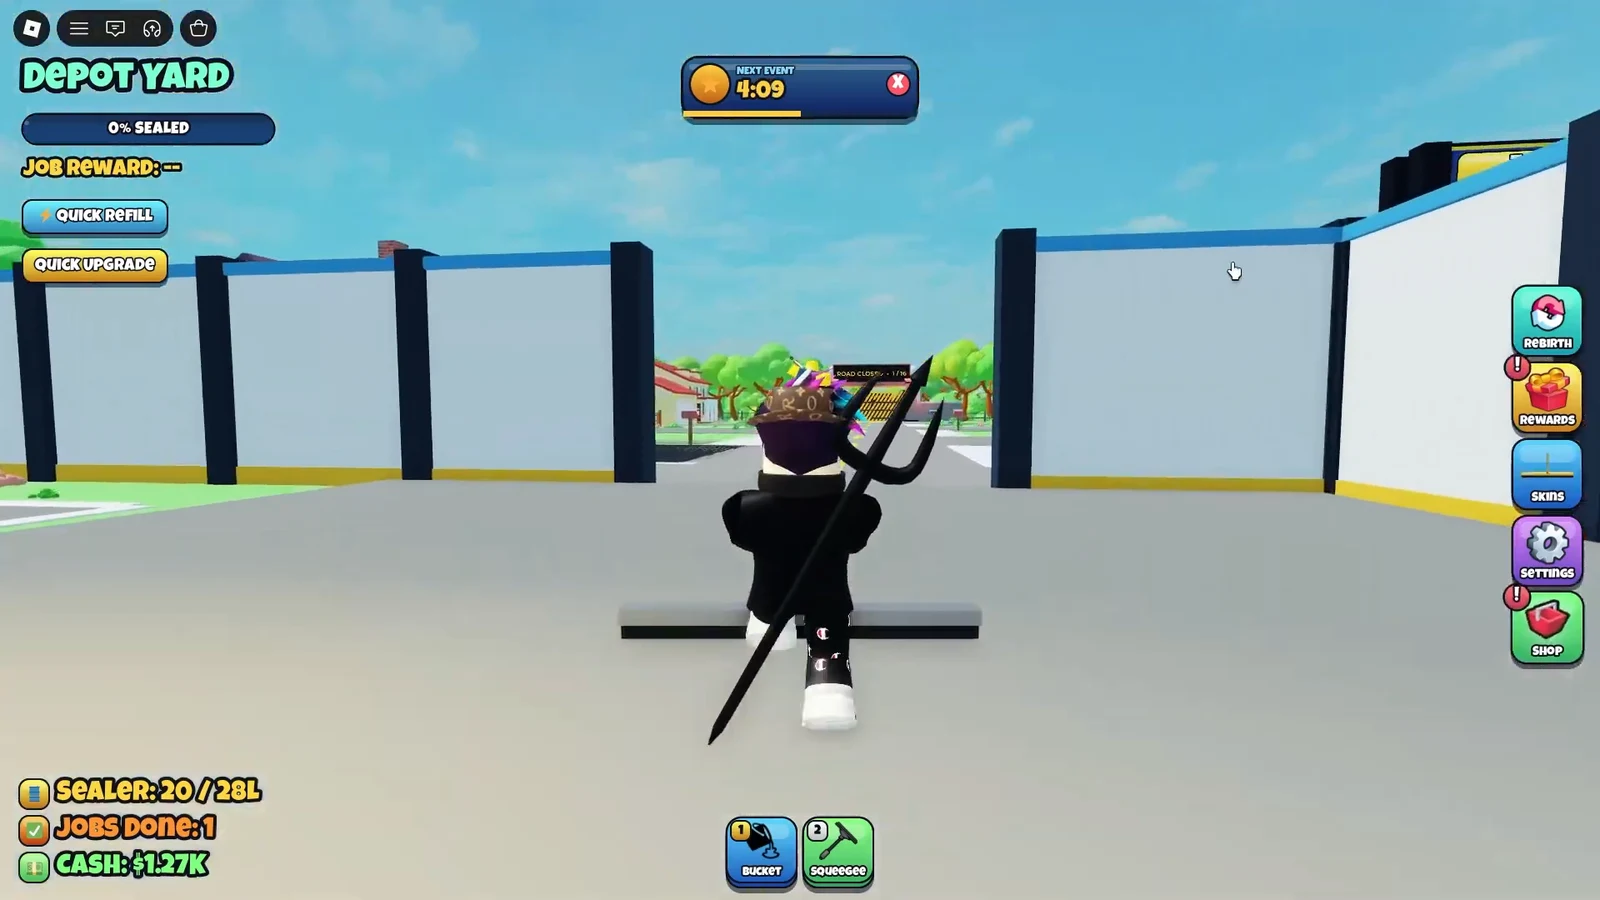
Your bucket holds a limited amount of sealer, so larger driveways cannot be finished in a single pass. When the bucket empties mid-job, sealing stops until you top it up. The refill point is the “Sealer Supply Refill Here” station at the Depot Yard.
To refill, stand at the pump and hold E while the pail fills. Once it is full, walk back to the exact address you were working and pick up where the percentage left off. Larger jobs demand several of these round trips.
The 110 Maple Drive driveway shows how often this happens on bigger jobs. Sealer runs out at roughly 23%, again near 76%, and once more around 95%, forcing three separate returns to the pump before the surface is fully coated.
Upgrades and what they cost
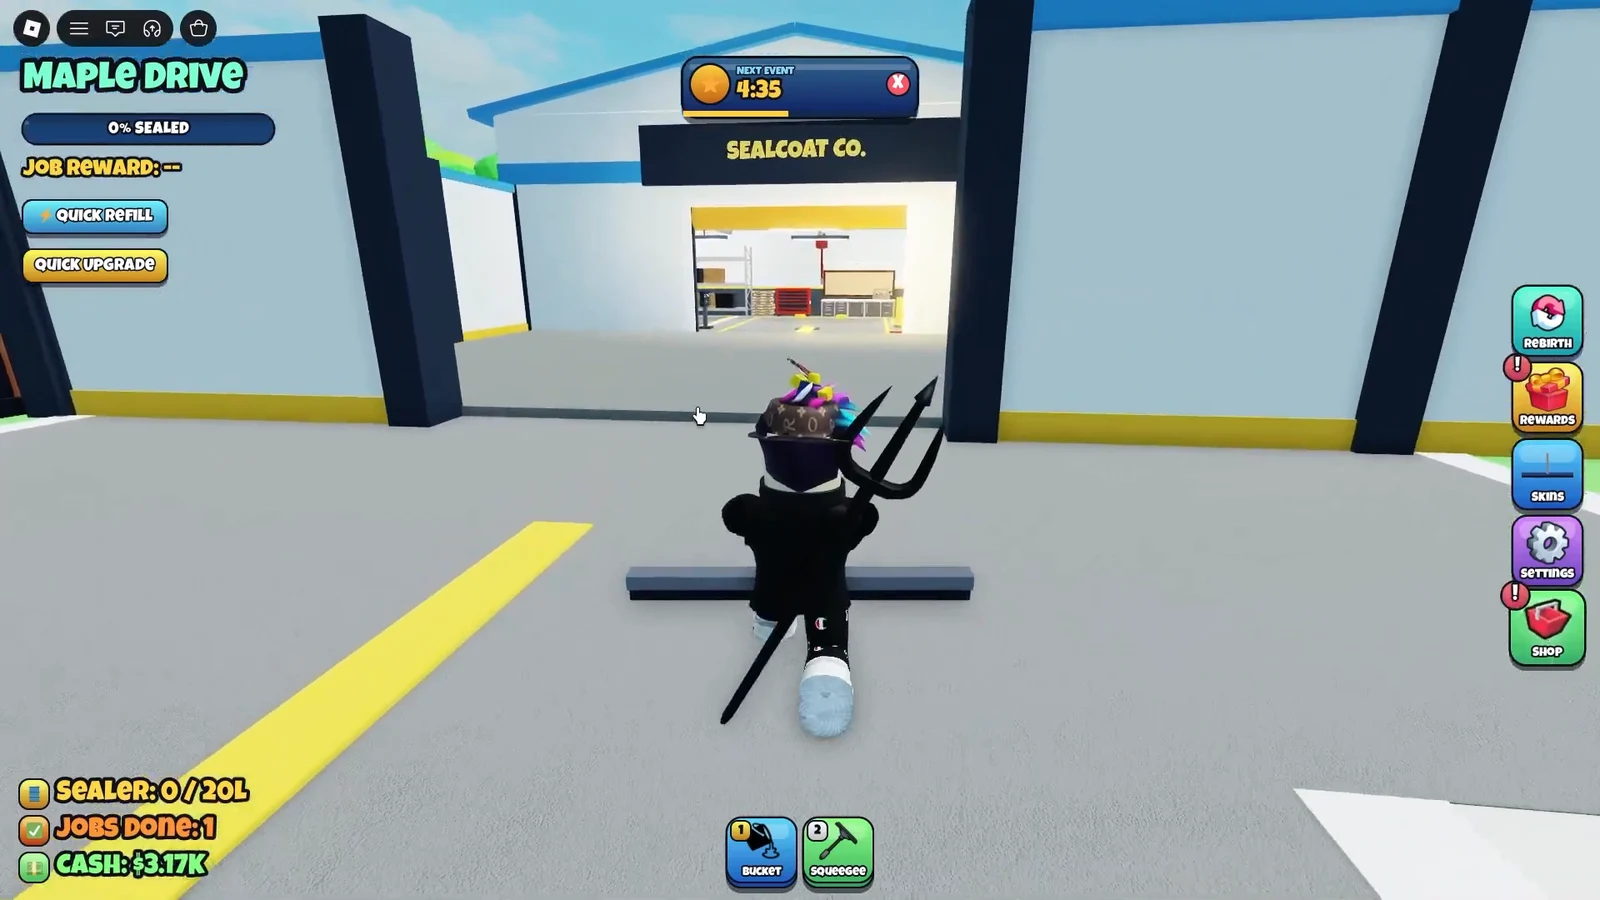
Cash earned from jobs is spent at the Depot Yard’s Supply Counter. Upgrades attack the two biggest slowdowns in the game, small bucket capacity and slow refills, while others speed up sealing itself. Each purchase raises your output per trip, which cuts the number of walks back to the pump.
| Upgrade | What it changes |
|---|---|
| Bucket Capacity | Holds more sealer per fill, fewer refills |
| Refill Speed | Fills the pail faster at the pump |
| Squeegee Length | Spreads a wider area per pass |
| Pour Volume | Puts down more sealer per pour |
| Walk Speed | Moves you between jobs and the yard faster |
| Truck Squeegee | Additional squeegee equipment |
Costs climb with each level. The prices seen while progressing through the early Maple Drive jobs are listed below.
| Upgrade level | Cost |
|---|---|
| Squeegee Length Lv 2 | $1.2K |
| Bucket Capacity Lv 2 | $1.52K |
| Refill Speed Lv 2 | $1.3K |
| Squeegee Length Lv 3 | $1.44K |
| Pour Volume Lv 2 | $1.05K |
| Refill Speed Lv 3 | $1.43K |
Tip: Bucket Capacity and Refill Speed give the most time back on large driveways, since together they shrink both the amount of walking and the wait at the pump.
Quests and bonus cash
Finishing jobs also advances active quests, which pay bonus cash on top of the job reward. The “Killed Out” quest, for example, returns $1.2K when completed. You claim these payouts back at the Depot Yard, usually at the same time you buy your next round of upgrades.
Job progression on Maple Drive
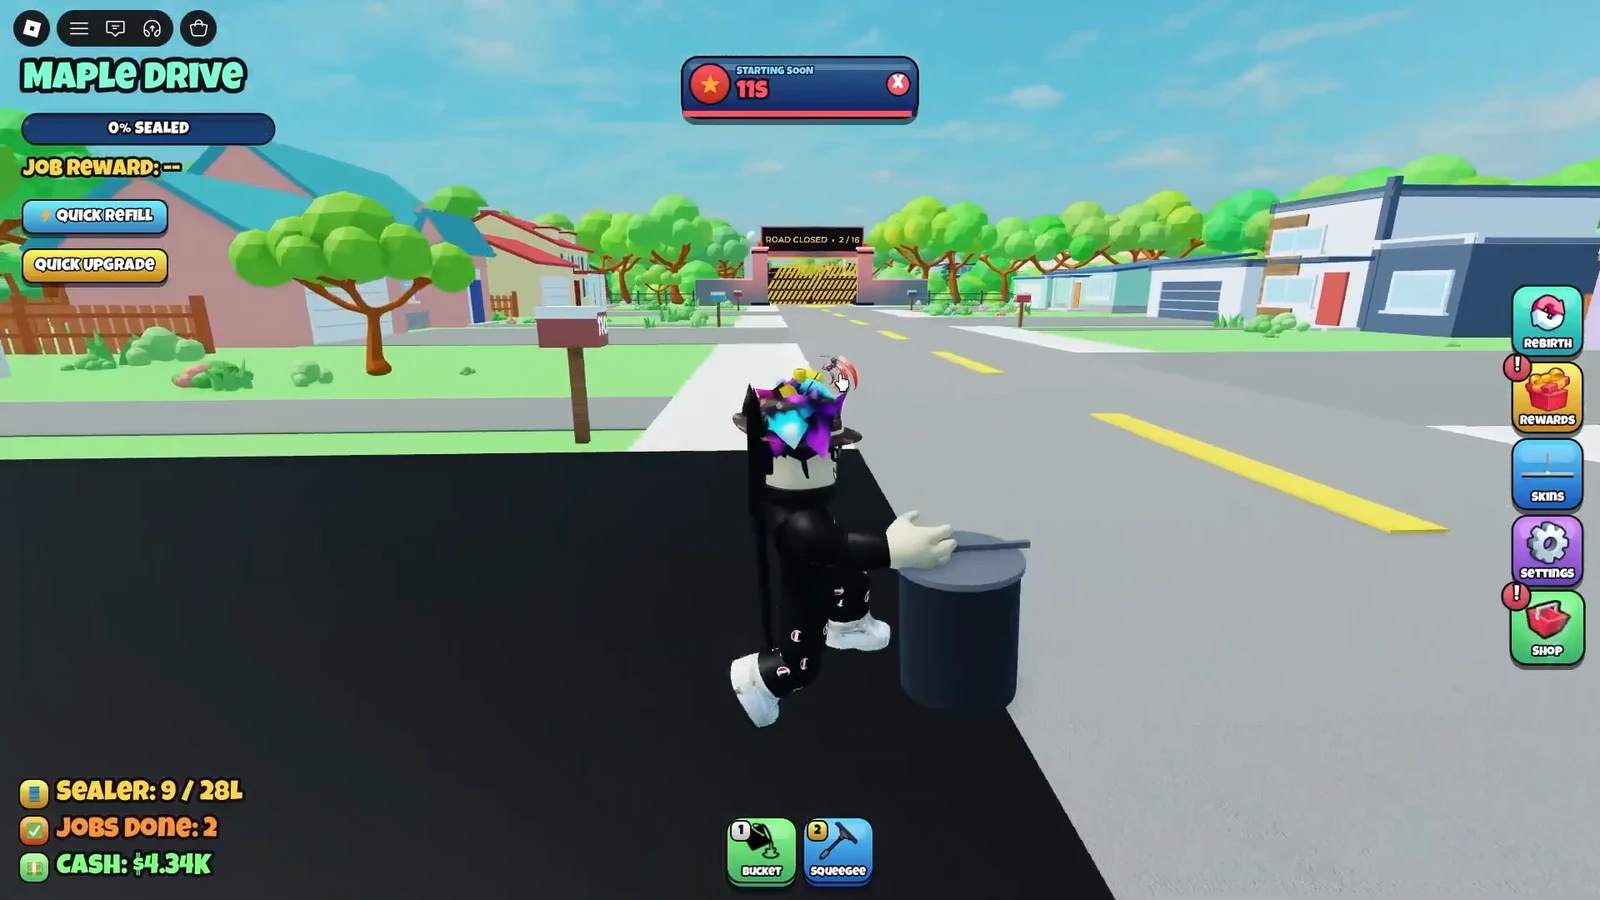
Work moves address by address, with each new driveway larger than the last. The tutorial pathway at 114 Maple Drive is small and finishes in one bucket. The 110 Maple Drive job is far bigger and needs several refills. After completing it, 112 Maple Drive opens as the next job.
| Address | Notes |
|---|---|
| 114 Maple Drive | Tutorial pathway, pays $1,598 |
| 110 Maple Drive | Large driveway, needs multiple refills |
| 112 Maple Drive | Next job after 110 is finished |
The pattern never really changes as you move up the street. Bigger surfaces mean more pours, more spreading, and more pump trips, so every upgrade you buy pays off by making the next, larger address quicker to seal. Keep the loop tight, coat each driveway to 100%, and roll the earnings straight back into capacity and refill speed to keep the jobs moving.