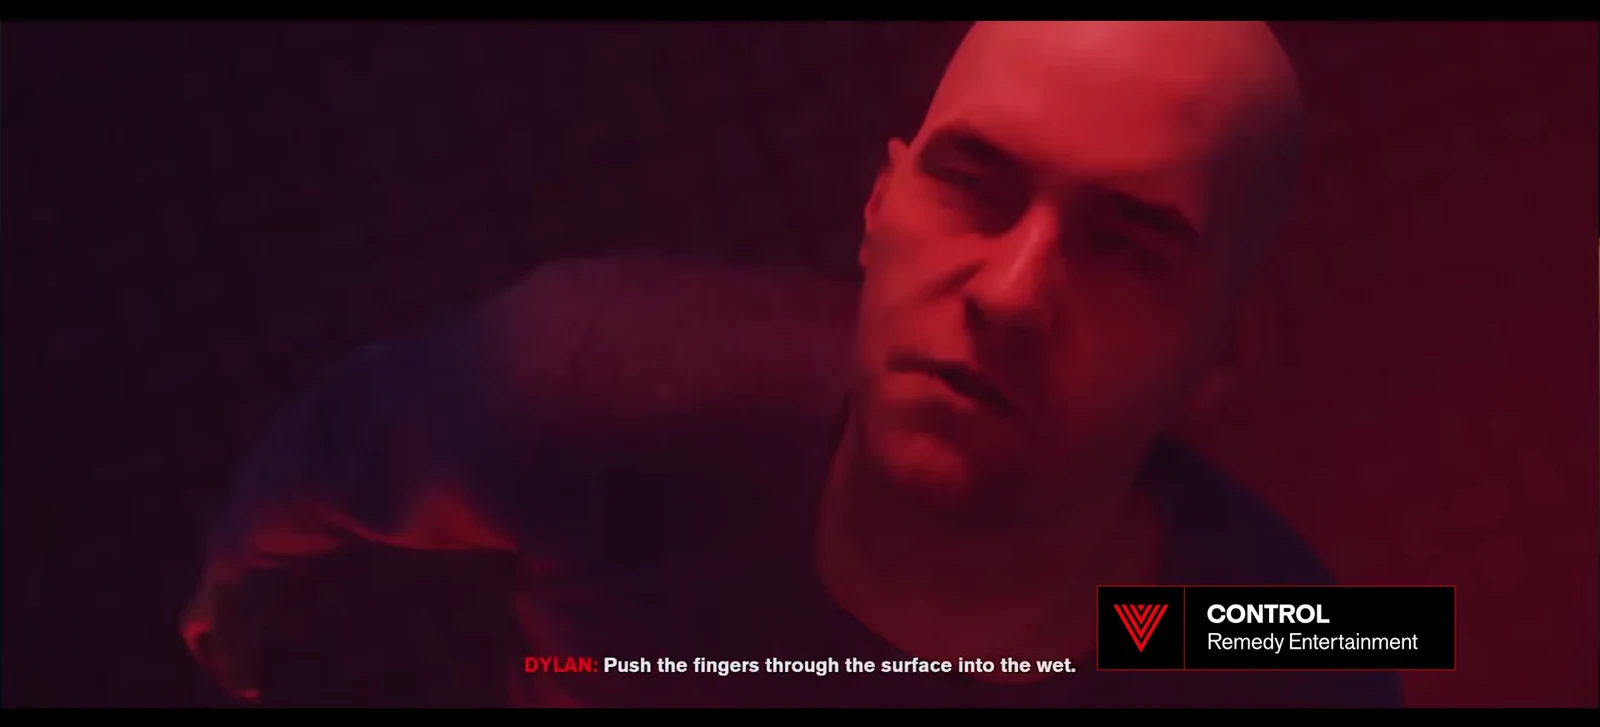
Control Resonant’s main-quest lineup reaches its tenth entry with Sever the Hedron Links; the objective becomes available once The Hedron Link is complete. After Dylan wrecks the initial link, two more slam into the Patterned city suspended over the Oldest House. Both are inside the Unknown. Access requires opening routes across the floating islands, followed by two separate boss fights.
Quick answer: Take Roof Access from the Oldest House to the Unknown, finish Pope’s Research to build every Gravity Well, then defeat the Hedron Factor near the Patterned Evac Building and the Hedron Proxy near the Patterned Field Office.
Return to the Unknown and finish Pope’s Research first
The quest starts at the Oldest House in Downtown. Take the elevator one floor above Pope and choose Roof Access, which drops you at the rooftop entrance you used earlier to reach the Unknown. Both Hedron Links stay out of reach until you clear the Pope’s Research side mission, so that comes before anything else.
In Pope’s Research, track down research balloons scattered throughout the Unknown. Each one gives you a Probe Relay, and you need to deploy eight Probe Relays altogether. A deployed relay forms a Gravity Well that propels you to the next floating island. Continue placing relays and using the wells until all areas are accessible, and the main quest advances automatically.
Upon arrival, activate the Oldest House Rooftop point for fast travel at the door on your left. This cuts time from every return trip, and the first research balloon is close by.
Before you take on combat, max out the Drill or Crush secondary Aberrant forms. They are highly effective against Hedron-type enemies and bosses, while Raw-type damage barely dents them.
Sever the first link near the Patterned Evac Building
| Phase | What to do |
|---|---|
| Phase 1 | Take down the single elite Hedron-type enemies the boss sends at Dylan. |
| Phase 2 | Kill minor Hedron enemies while dodging mines; use Reach to hop between platforms fast. |
| Phase 3 | Same approach, but the boss turns aggressive with more minions, elites, and mines. Clear the smaller enemies until you can execute the boss. |
Defeating the Hedron Factor severs the first link and grants these rewards:
- Hedron Sequence – Apex Document
- 700+ Source
- 3x Ordered Image
- 2x Patterned Thought
Head to the Gap right after this fight for an extra encounter with The Board.
Sever the second link near the Patterned Field Office
Finish any urgent quests before cutting the second link. Severing it starts a large chunk of story that locks you out of the open world for a while. It is not a point of no return, but you have to complete that sequence before you can roam freely again.
| Phase | What to do |
|---|---|
| Phase 1 | One elite Hedron slams the ground; time a perfect dodge before striking back, or hit it in mid-air. |
| Phase 2 | The boss detaches more elite Hedrons to attack from several sides; finish one before turning to the next. |
| Phase 3 | Every elite releases and attacks from all directions. Stay mobile with Reach, pick openings, and take them out one by one, then execute the boss. |
Beating the Hedron Proxy cuts the final link and drops these rewards:
- 1x Living Shard
- 600+ Source
- 2x Patterned Thought
- 2x Ordered Image
- Hedron Vector – Apex Document
How to confirm the quest is complete
Defeat the Hedron Factor and the Hedron Proxy to sever every Hedron Link and mark Sever the Hedron Links complete in your quest log. Dylan is then drawn directly into the next major story sequence; no manual action is needed to finish the quest.