Shape Mines are placeable motion detectors carried by the killer in Halloween’s multiplayer mode. Drop one on the ground and it sits there invisibly to you until something walks into its radius, at which point the game marks the victim and hits them with a jump scare. The ability turns map control into a passive job, since a mine on an exit keeps watching that exit while you are three houses away.
Quick answer: Place Shape Mines on cellar doors, escape hatches, and gates. Anyone who trips one is outlined in red through walls and flagged with a red diamond on your mini-map.
What happens when a resident trips a Shape Mine
A tripped mine does three things at once, and all three matter. The victim gets scared and stumbles, which costs them a second or two of movement. They light up in red and stay visible to you through walls. And the mine’s position appears on your mini-map as a red diamond, so you know exactly which part of the map just went loud.
- Jump scare on the victim, leaving them briefly exposed
- Red outline visible through walls and floors
- Red diamond marker on the mini-map at the mine’s location
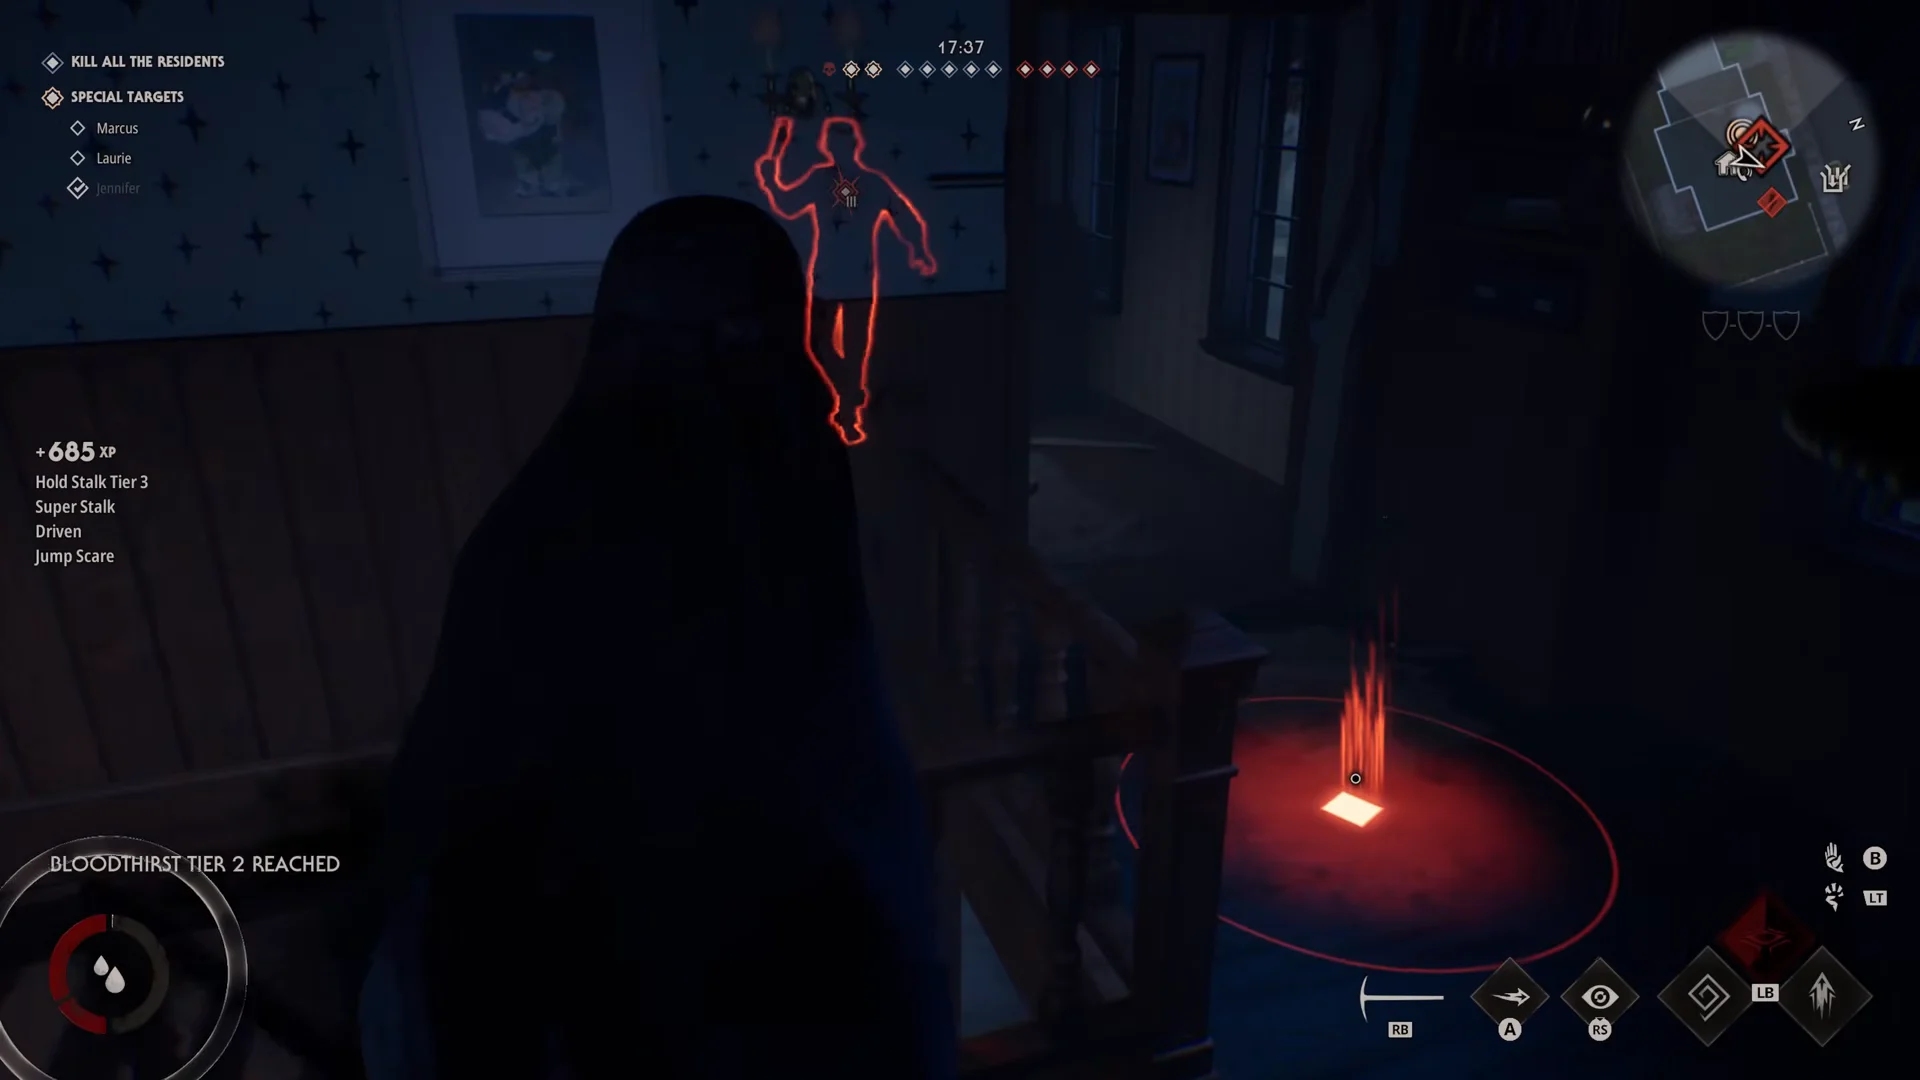
The tracking is what makes the ability worth the slot. You do not have to be near the trap to benefit from it, and a survivor who trips one has effectively announced their route to you.
Where to place Shape Mines on the map
You can keep several mines live at once, in practice somewhere in the range of four to six across a map like Haddonfield Town Center or Orange Grove Estates. Spend them on chokepoints rather than open ground.
Escape exits: cellar doors, hatches, and gates
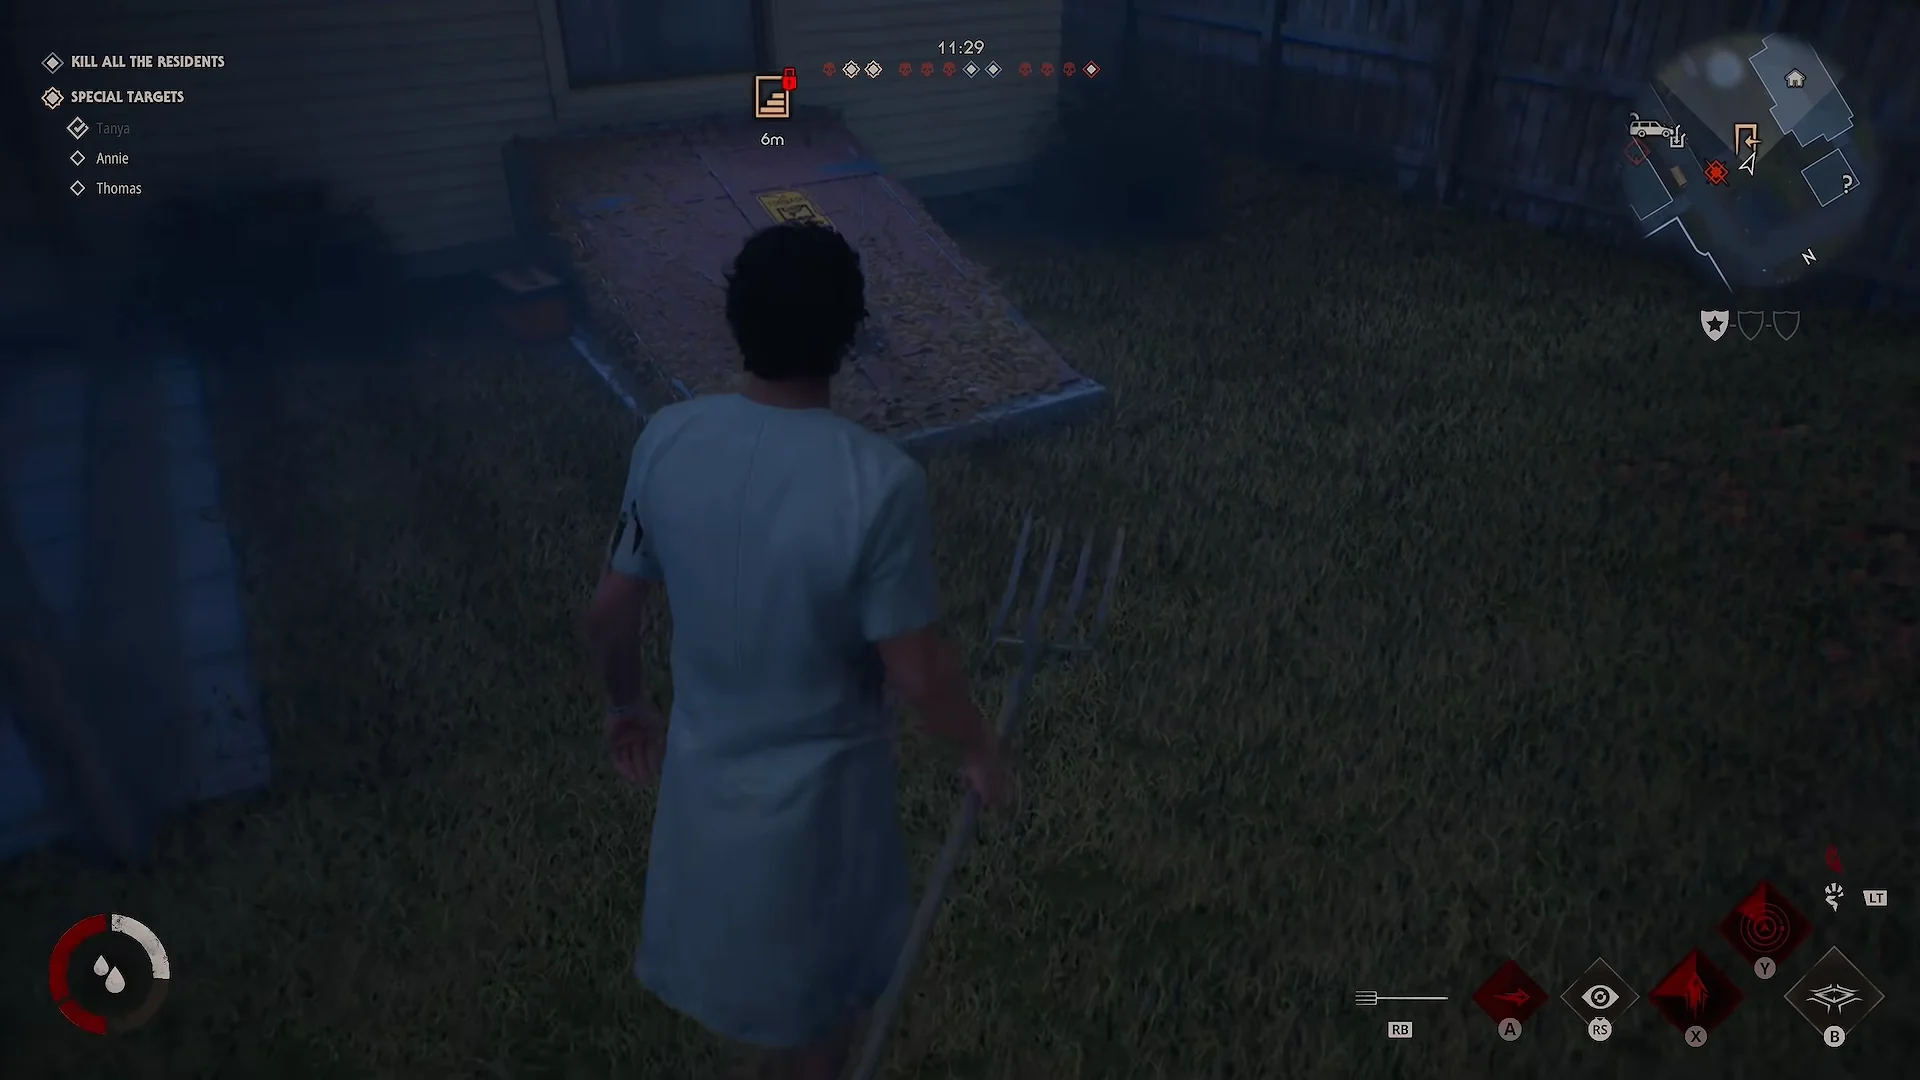
This is the highest-value use. Drop a mine directly on top of a cellar door, a storm shelter hatch, or an exit gate and you get an alarm on every escape attempt in the match. Residents have to reach those points to get out, so the trap is never wasted, and you get the warning early enough to cut them off.
Doorways and hallways inside houses
A mine in a hallway or across a doorway effectively locks a resident inside a room. They can still walk through it, but doing so tells you where they are and slows them down. Stairs work the same way, since anyone hiding upstairs has only one way down.
Loop spots and parked cars
Survivors buy time by circling obstacles. Place a mine on the far side of a car or a similar loop and the resident runs into it mid-chase, stumbles from the scare, and gives you the grab you were not going to get by chasing them in circles.
Mines pair well with breaking fuse boxes. Cutting the lights and covering the exits pushes residents into the routes you have already trapped.
Bloodthirst tiers and Shape Mine detection radius
The detection radius of a Shape Mine is not fixed. It scales with your Bloodthirst level, which you raise by stalking residents. At the lowest tier the mine only covers the ground right around it; at Bloodthirst Tier 3 the circle is at its largest and covers a whole doorway approach or a chunk of a yard.
| Bloodthirst tier | Mine detection radius |
|---|---|
| Tier 1 | Smallest circle, near-contact only |
| Tier 2 | Wider circle |
| Tier 3 | Maximum size |
Because of that scaling, mines placed early are weaker than mines placed late. If you have a spare trap and you are sitting at Tier 1, it is usually better to stalk first and place afterward. Stalking a downed resident is a fast way to push the meter up.
Turning a tripped mine into a kill
The alert only pays off if you close the distance fast. Shifting into the house where the mine went off drops you next to the marked resident while they are still recovering from the scare, which is usually enough for a grab and an execution.
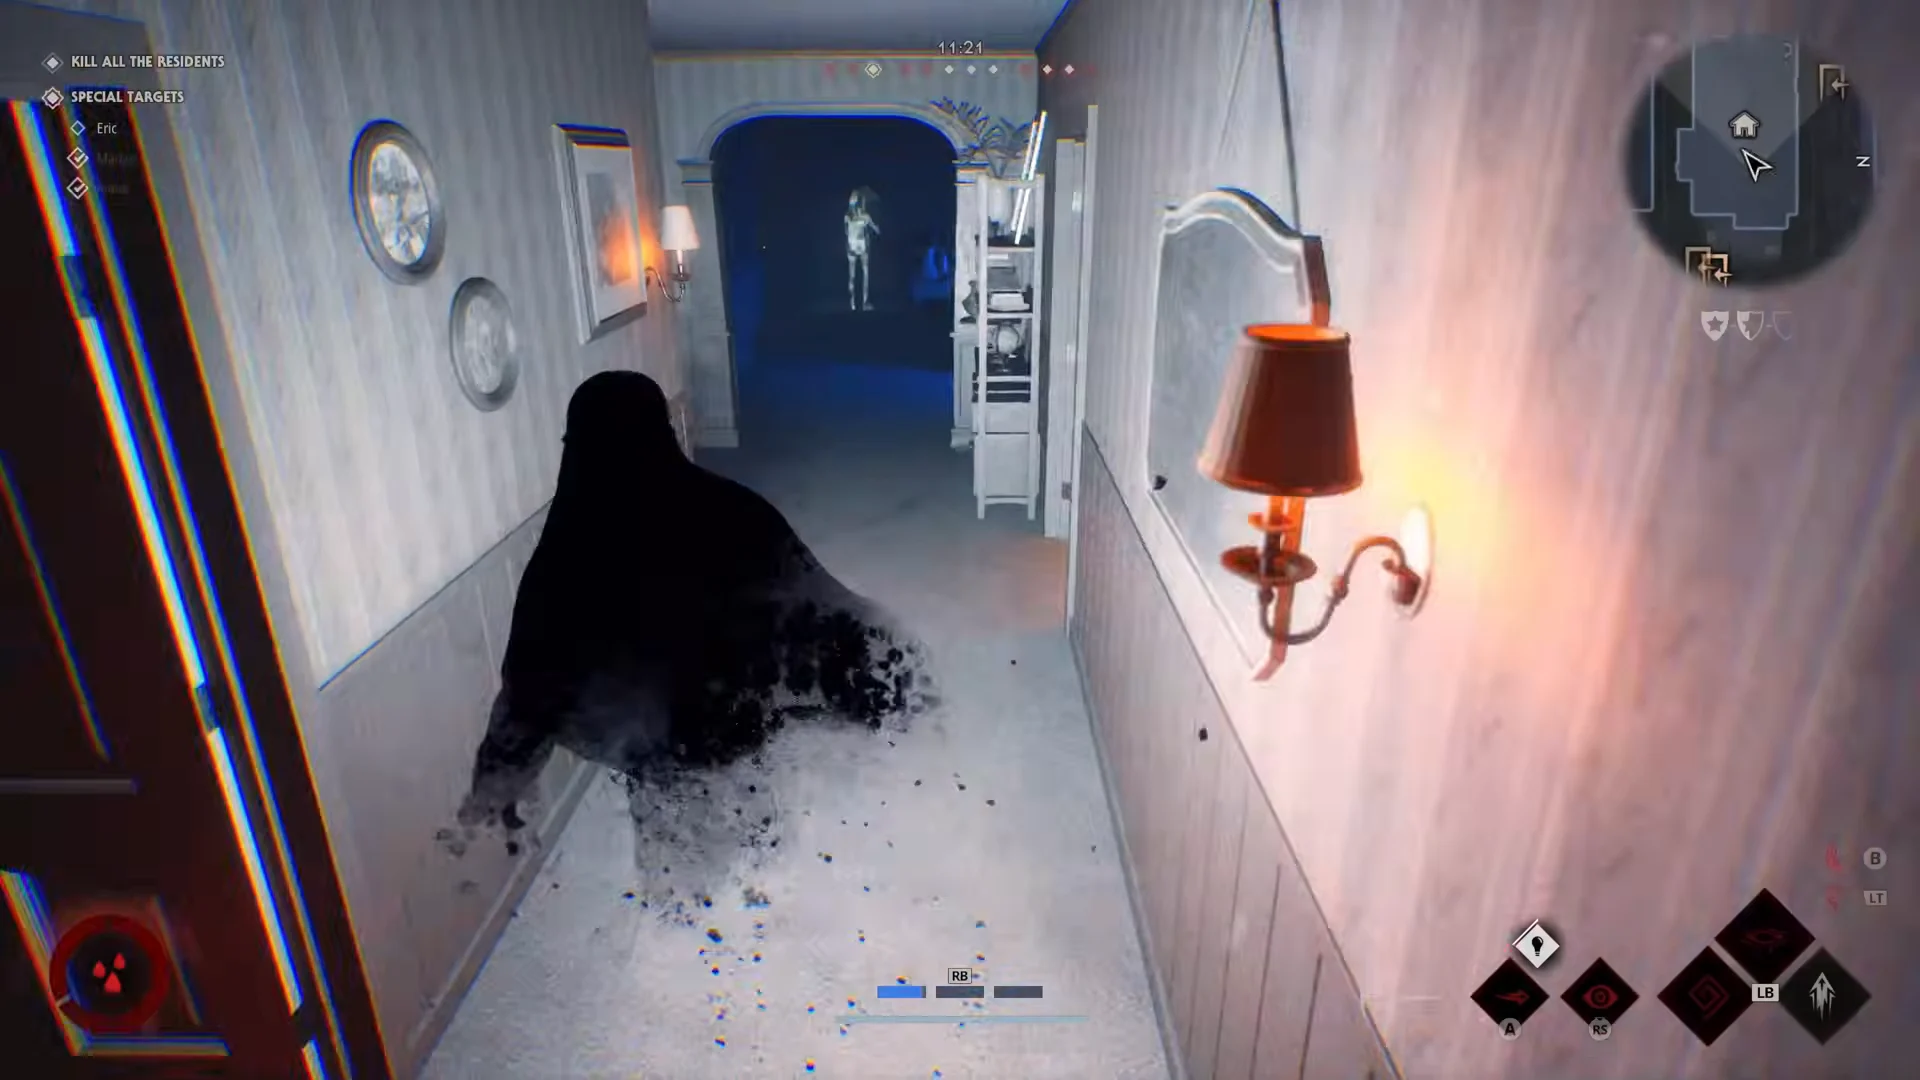
If they reach a hiding spot first, that is not a dead end. You can pull residents straight out of cars and closets for an instant execution, so a red outline that stops moving inside a vehicle is still a kill.
Keeping mines useful late in a match
As residents die, the survivors left alive stop wandering and head for the exits, so your trapped cellar doors and hatches start doing most of the work. Re-check the mini-map between chases rather than patrolling blind.
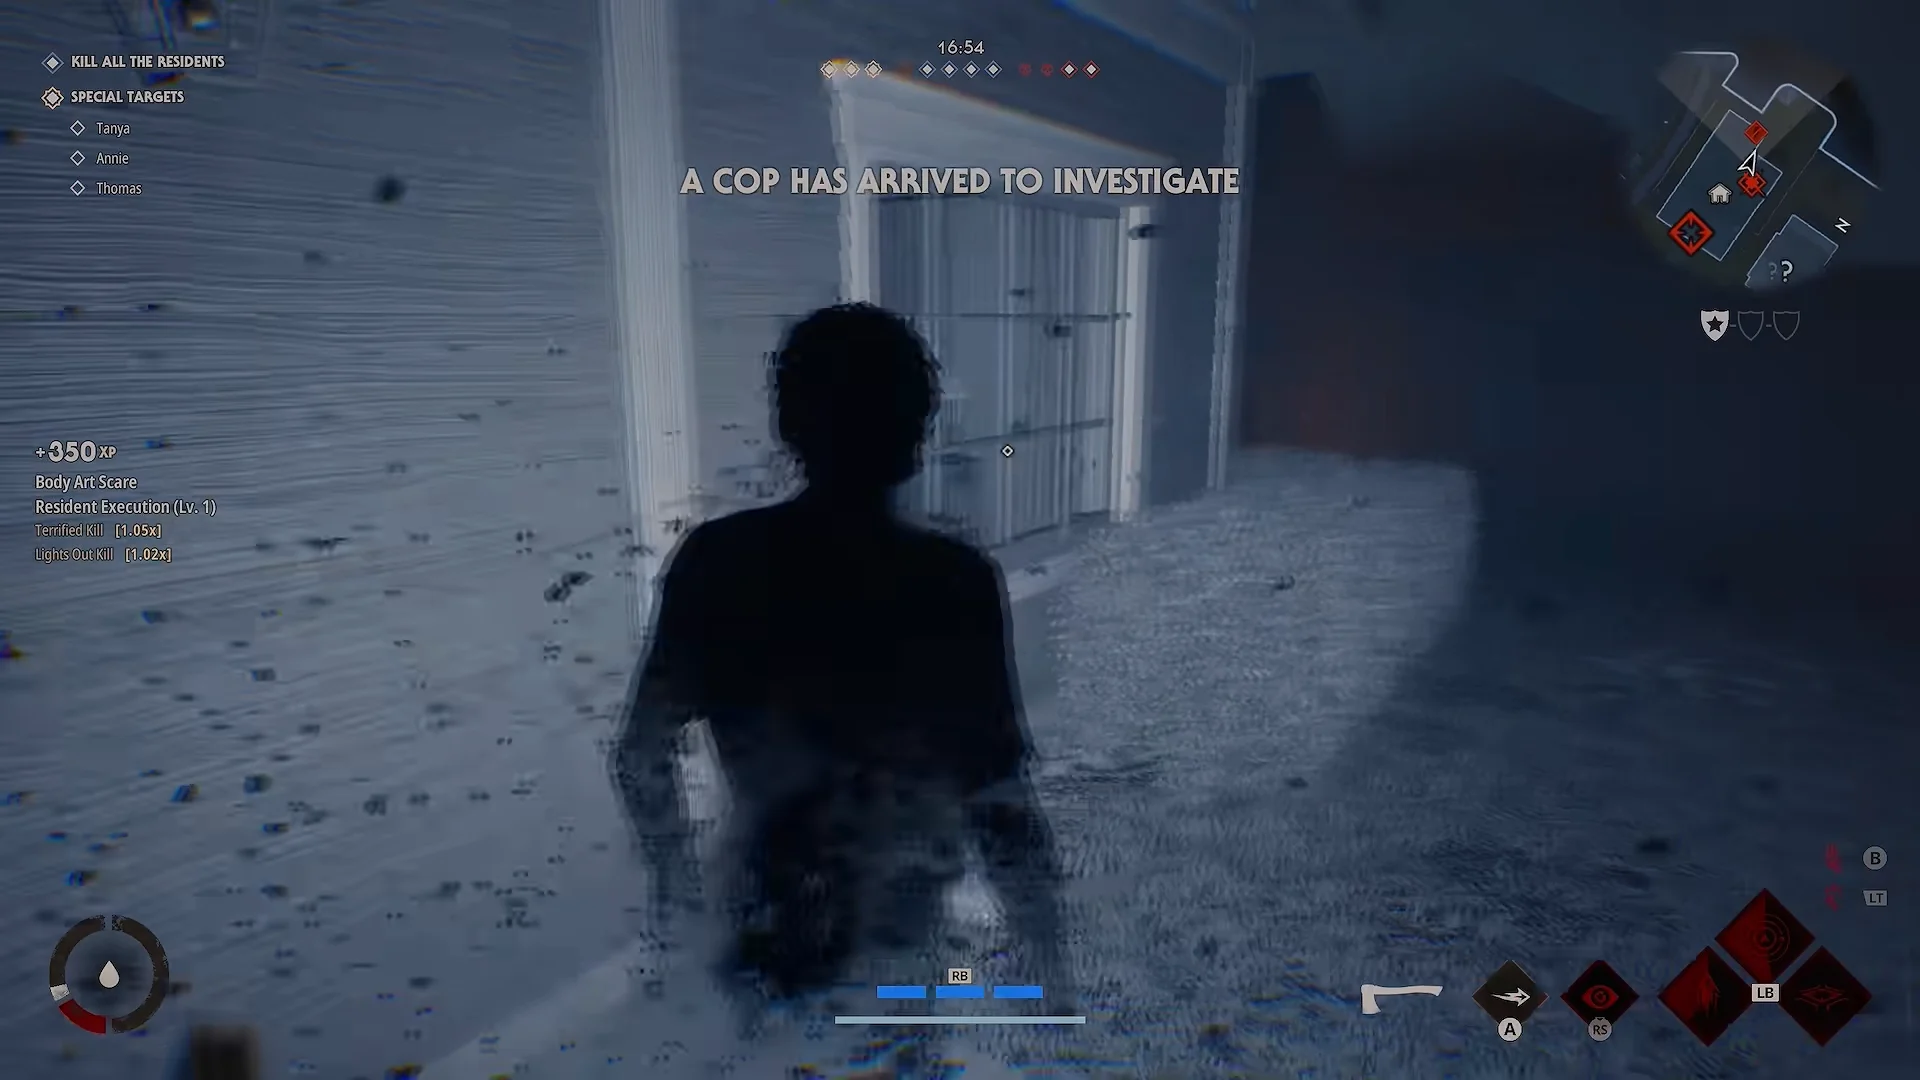
Police are the other pressure. Once the on-screen prompt reads A COP HAS ARRIVED TO INVESTIGATE, you are dealing with an armed threat on the street while your traps keep reporting from the edges of the map, and gunfire can knock you into a downed state mid-pursuit.
How to confirm a Shape Mine is active
Two on-screen cues tell you the system is working. The prompt SHAPE MINES READY TO USE confirms you have a charge available to place, and it reappears as the ability comes back up. After that, a successful trap is confirmed by the red diamond on the mini-map paired with a resident outlined in red. If you see the outline but no diamond, the target was spotted by stalking rather than by a mine.
Played that way, the ability is less about the jump scare and more about information. Cover the exits, raise Bloodthirst so the circles are large, and let the map tell you where everyone is instead of guessing.