Silent Hill Townfall contains seven Resource Containers secured by separate Lock Box Keys. These compact blue metal boxes stock useful ammunition and consumables for the later chapters, but the game does not point them out. Look for each key near its matching container, most often in a room nearby or on a different level of the same building.
Quick answer: Simon’s chapters are the only ones with these seven key-and-container sets. Find every key and open every box to earn the Resourceful achievement. Your progress carries over between playthroughs, so completing them all in one run is unnecessary.
How Lock Box Keys work
Each Lock Box Key is a single-use consumable. Once you open a container with it, the key disappears, so a single key can never open more than one box. That is why all seven keys are needed to open all seven containers.
- Keys and containers appear only in Simon’s sections. Zoe’s and Richard’s chapters have none to find.
- The achievement counts opened containers, not keys picked up, so open each box right away.
- Your collection carries across playthroughs, so a missed box can be grabbed on a later run.
All seven key and container locations
| No. | Part | Key location | Container location |
|---|---|---|---|
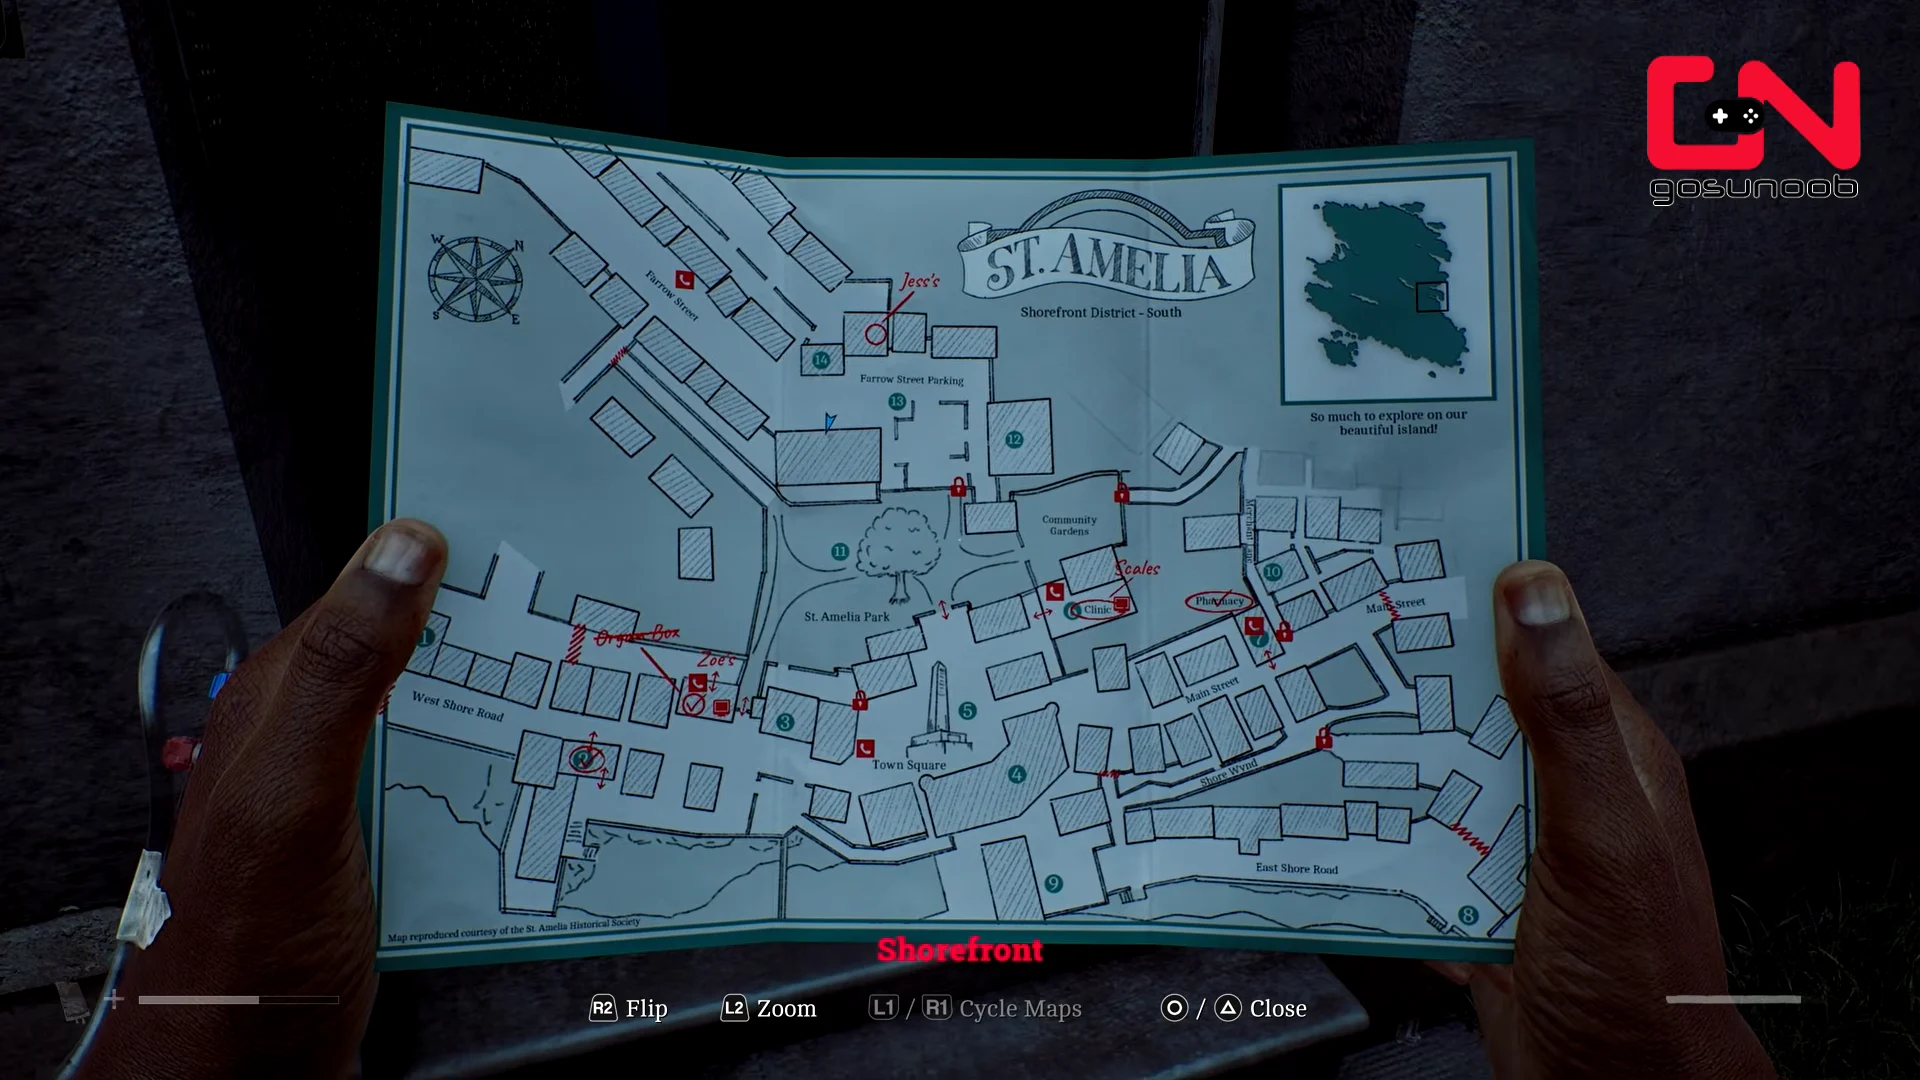
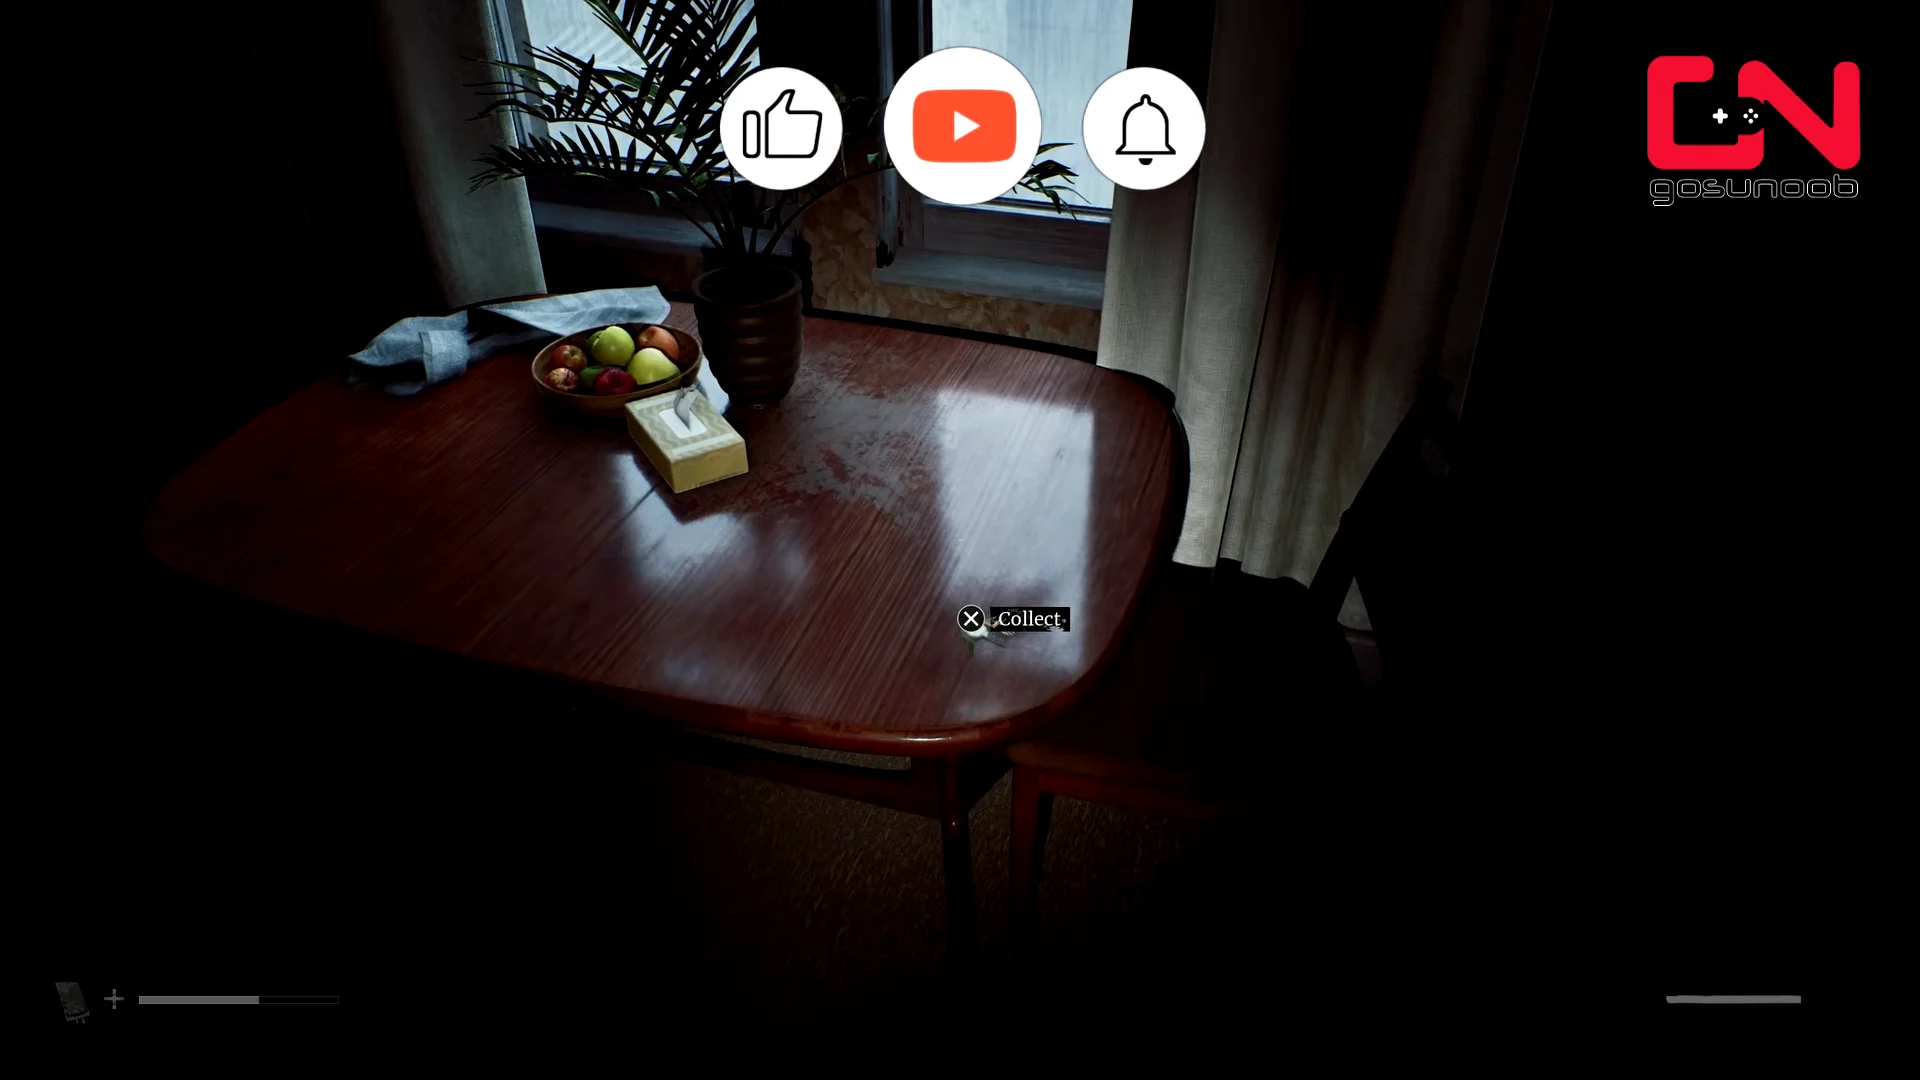
| #1 | Part 1: Arrival | Jess’s House kitchen drawer | Apartment 0/1 living room, across from Jess’s House |
| #2 | Part 2: Zoe | Apartment 1/1 bed, past the scaffolding | Fourth-floor landing table, same building |
| #3 | Part 3: The Patient | Room 11 key cabinet, Ward W | Room 01 floor, Ward S |
| #4 | Part 4: Clara Woods | Post Office cash register, Atlas Way | Apartment kitchen counter, northeast of Atlas Square |
| #5 | Part 4: Clara Woods | Laundromat washing machine, behind the Post Office | CEG Employee Lockers back office desk |
| #6 | Part 6: Simon | West room counter, upstairs in SWDP | Control Room, beside the camera panel |
| #7 | Part 6: Simon | Room 047 counter, lower floor | Room 621 table, in the valve room |
Part 1: Arrival – first key and container
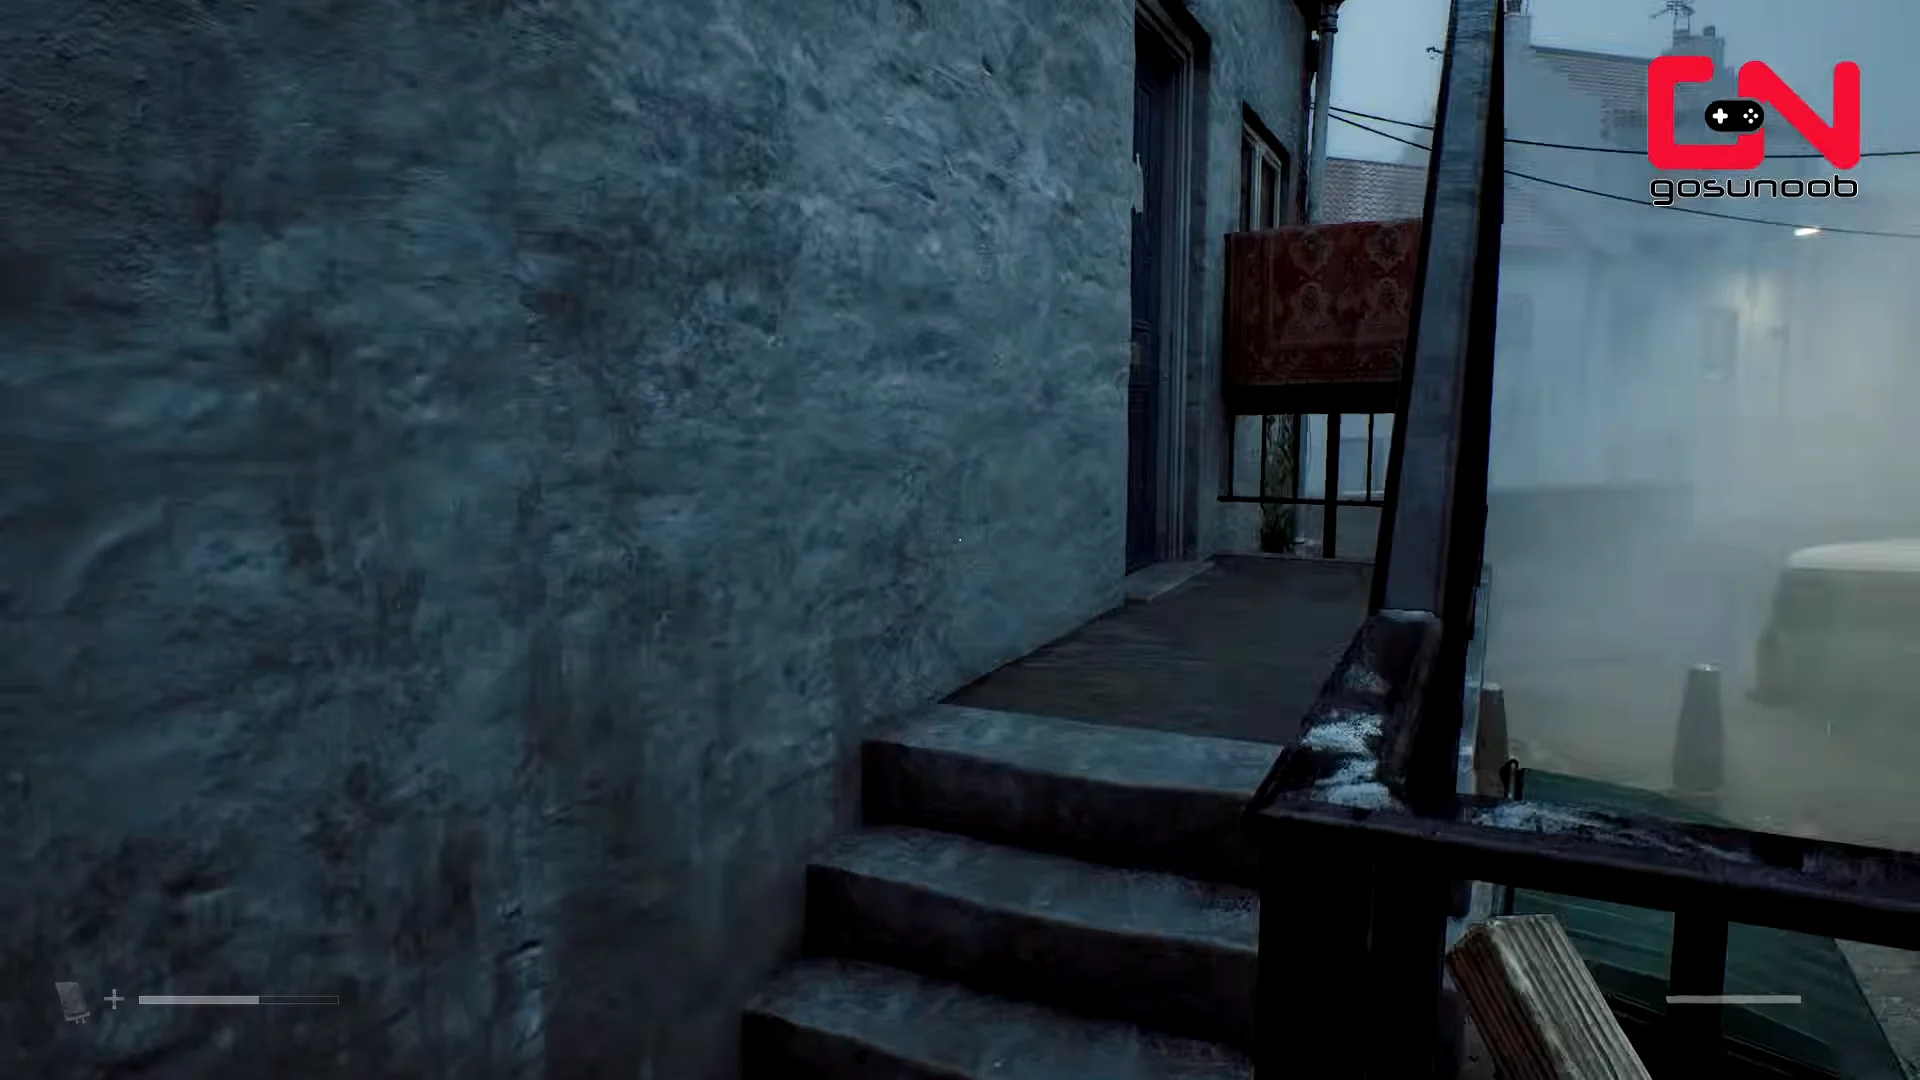
The first pair is in the Shorefront District. Before you can reach the key inside Jess’s House, you need the door key that gets you in, and that means a short detour to a neighboring building.
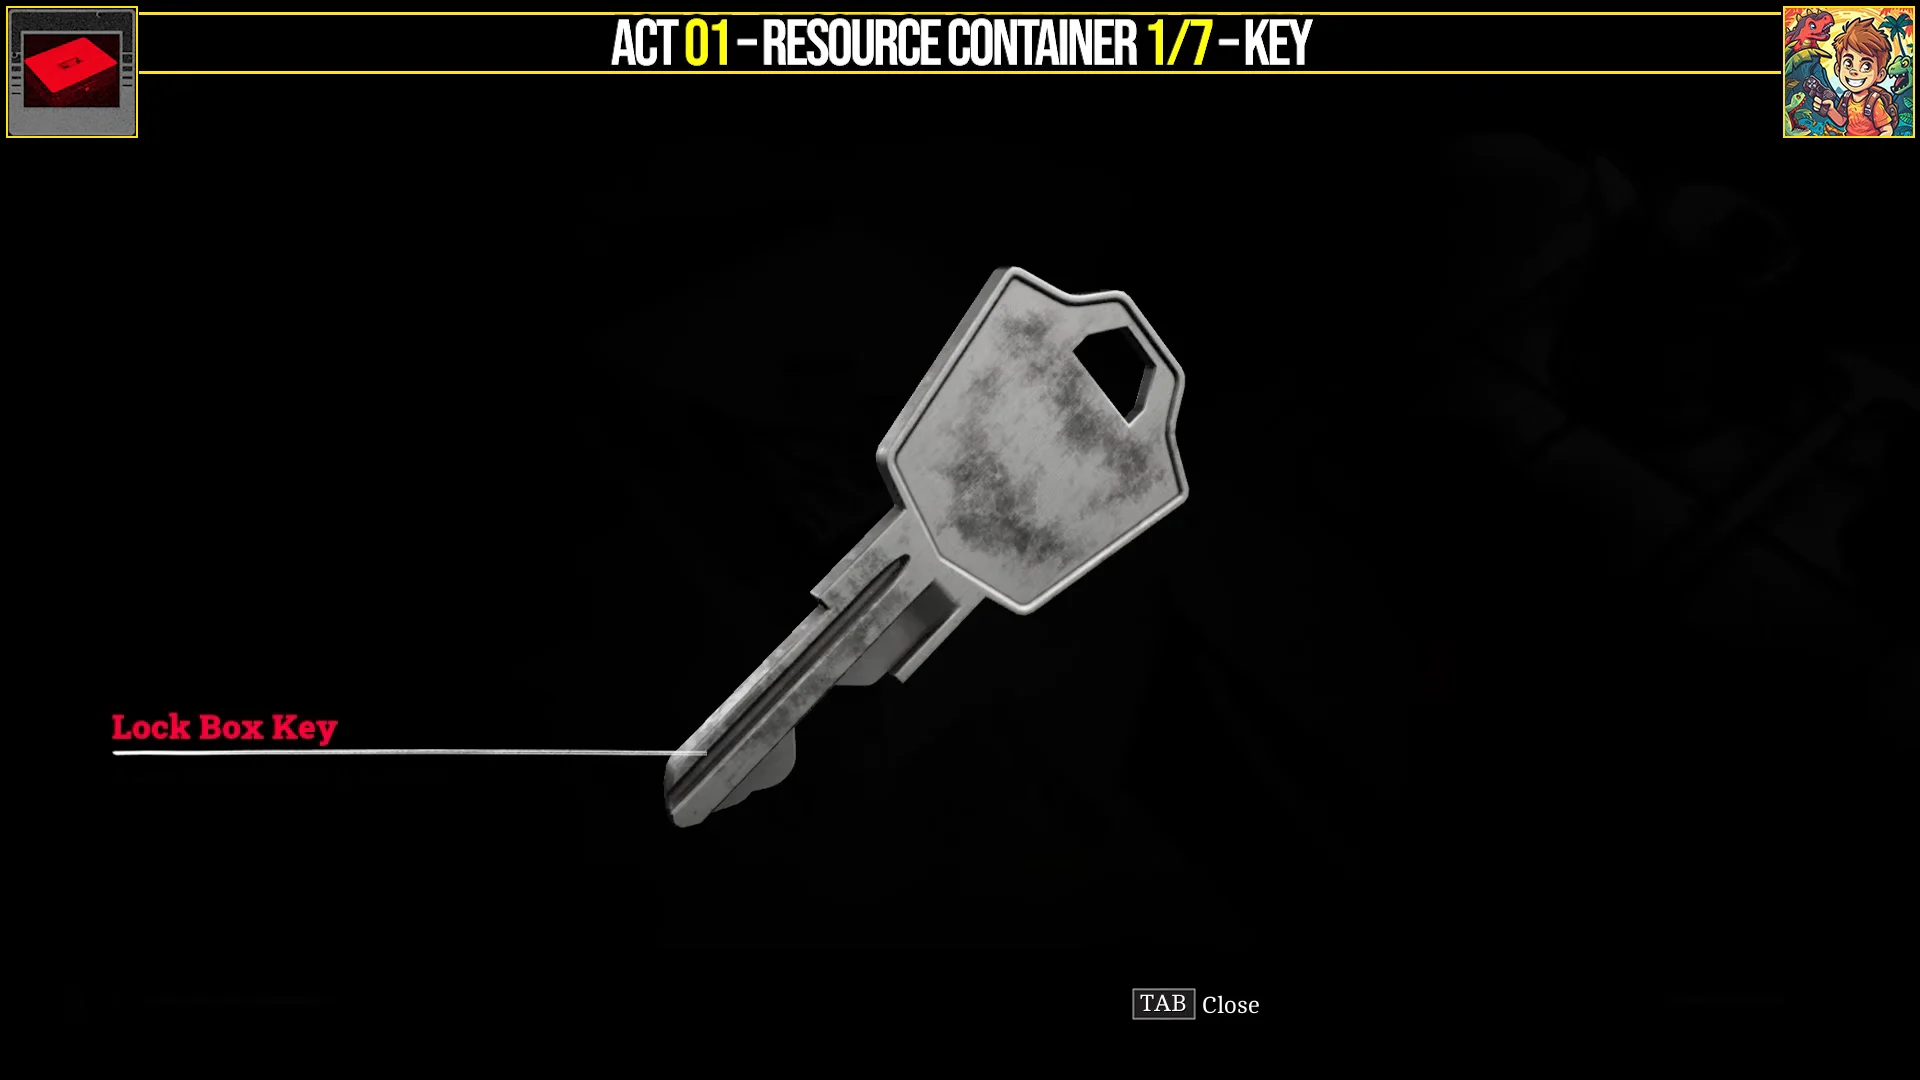
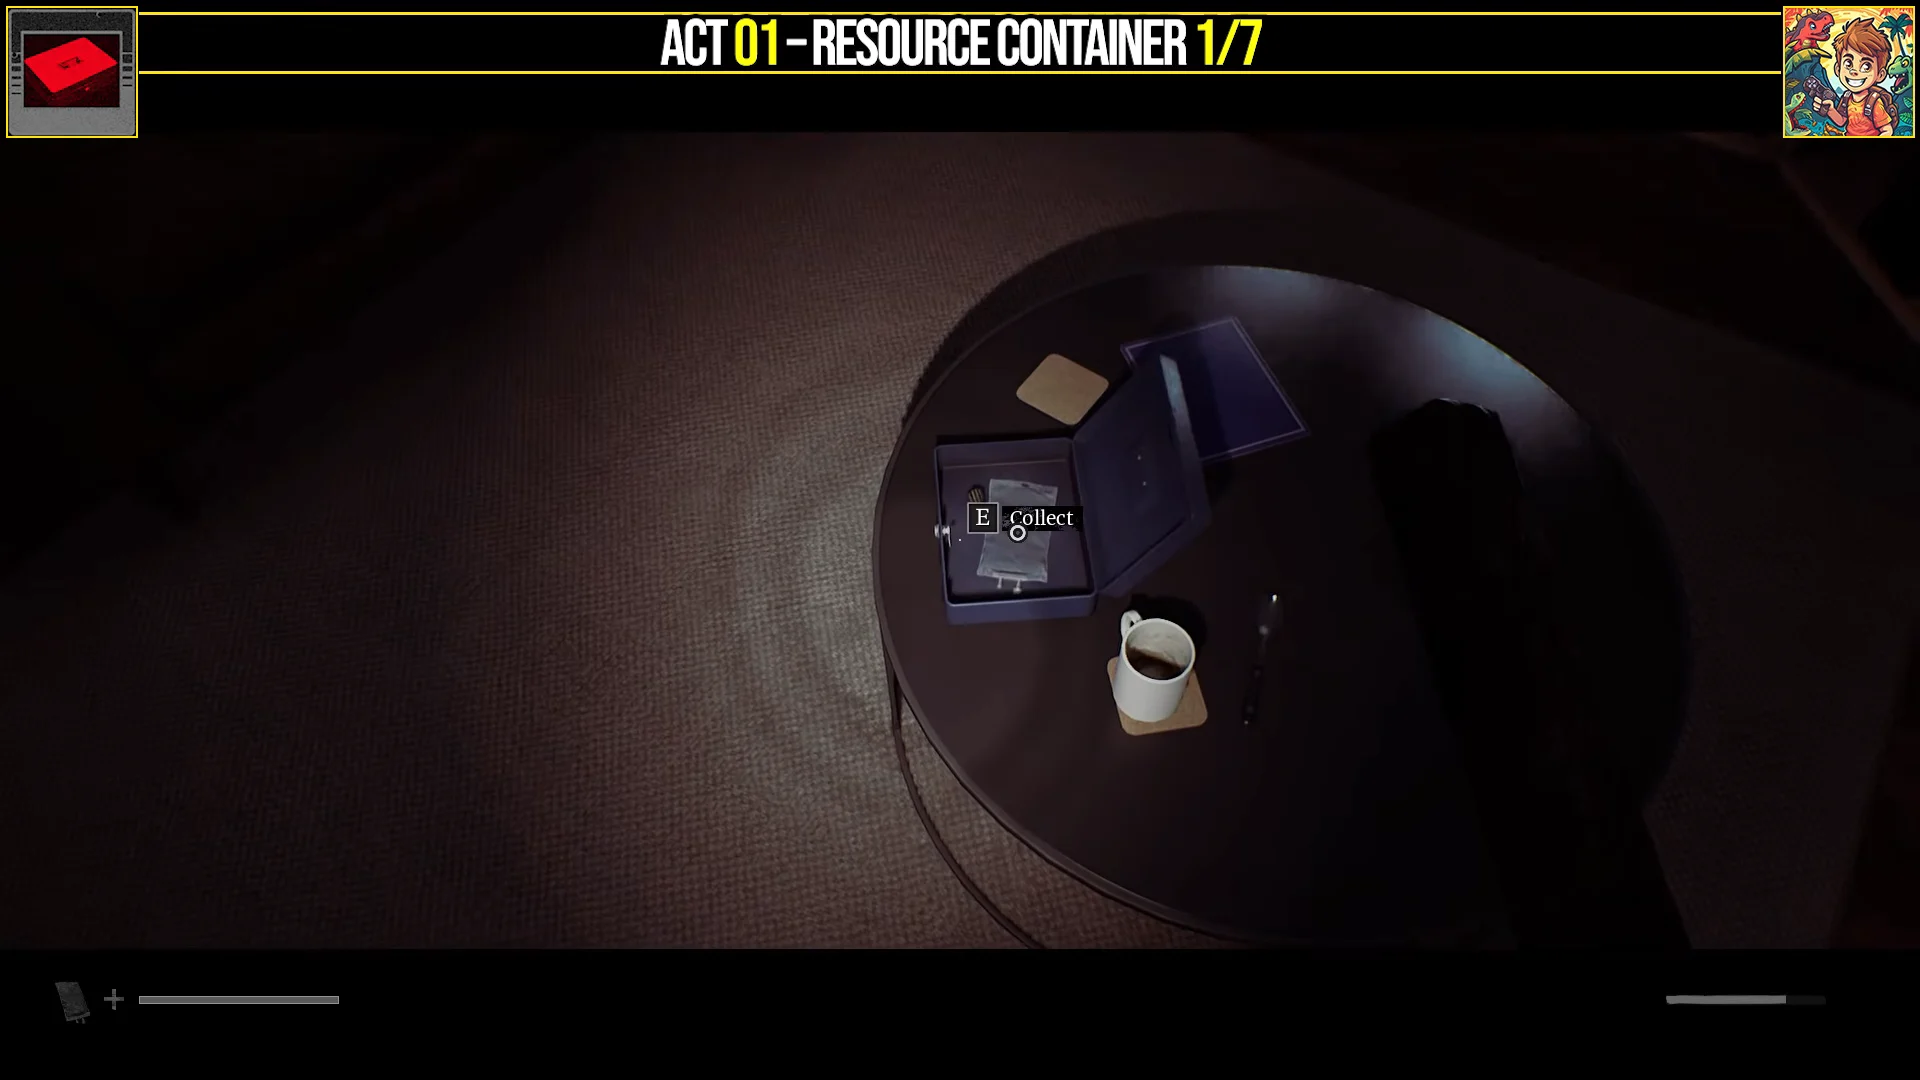
Combine the IV Fluid with the Empty IV Bag in your inventory to craft a Filled IV Bag, which auto-revives Simon and restores a little health if equipped when the worst happens.
Part 2: Zoe – second key and container
As Simon, find this pair in the altered Shorefront – North, south of the Medical Centre. Travel through the apartment building, exit through a window onto the scaffolding, then cross over to the next part of the complex.
Go up to floor two and enter Apartment 1/1. An enemy is inside; the key is on the bed.
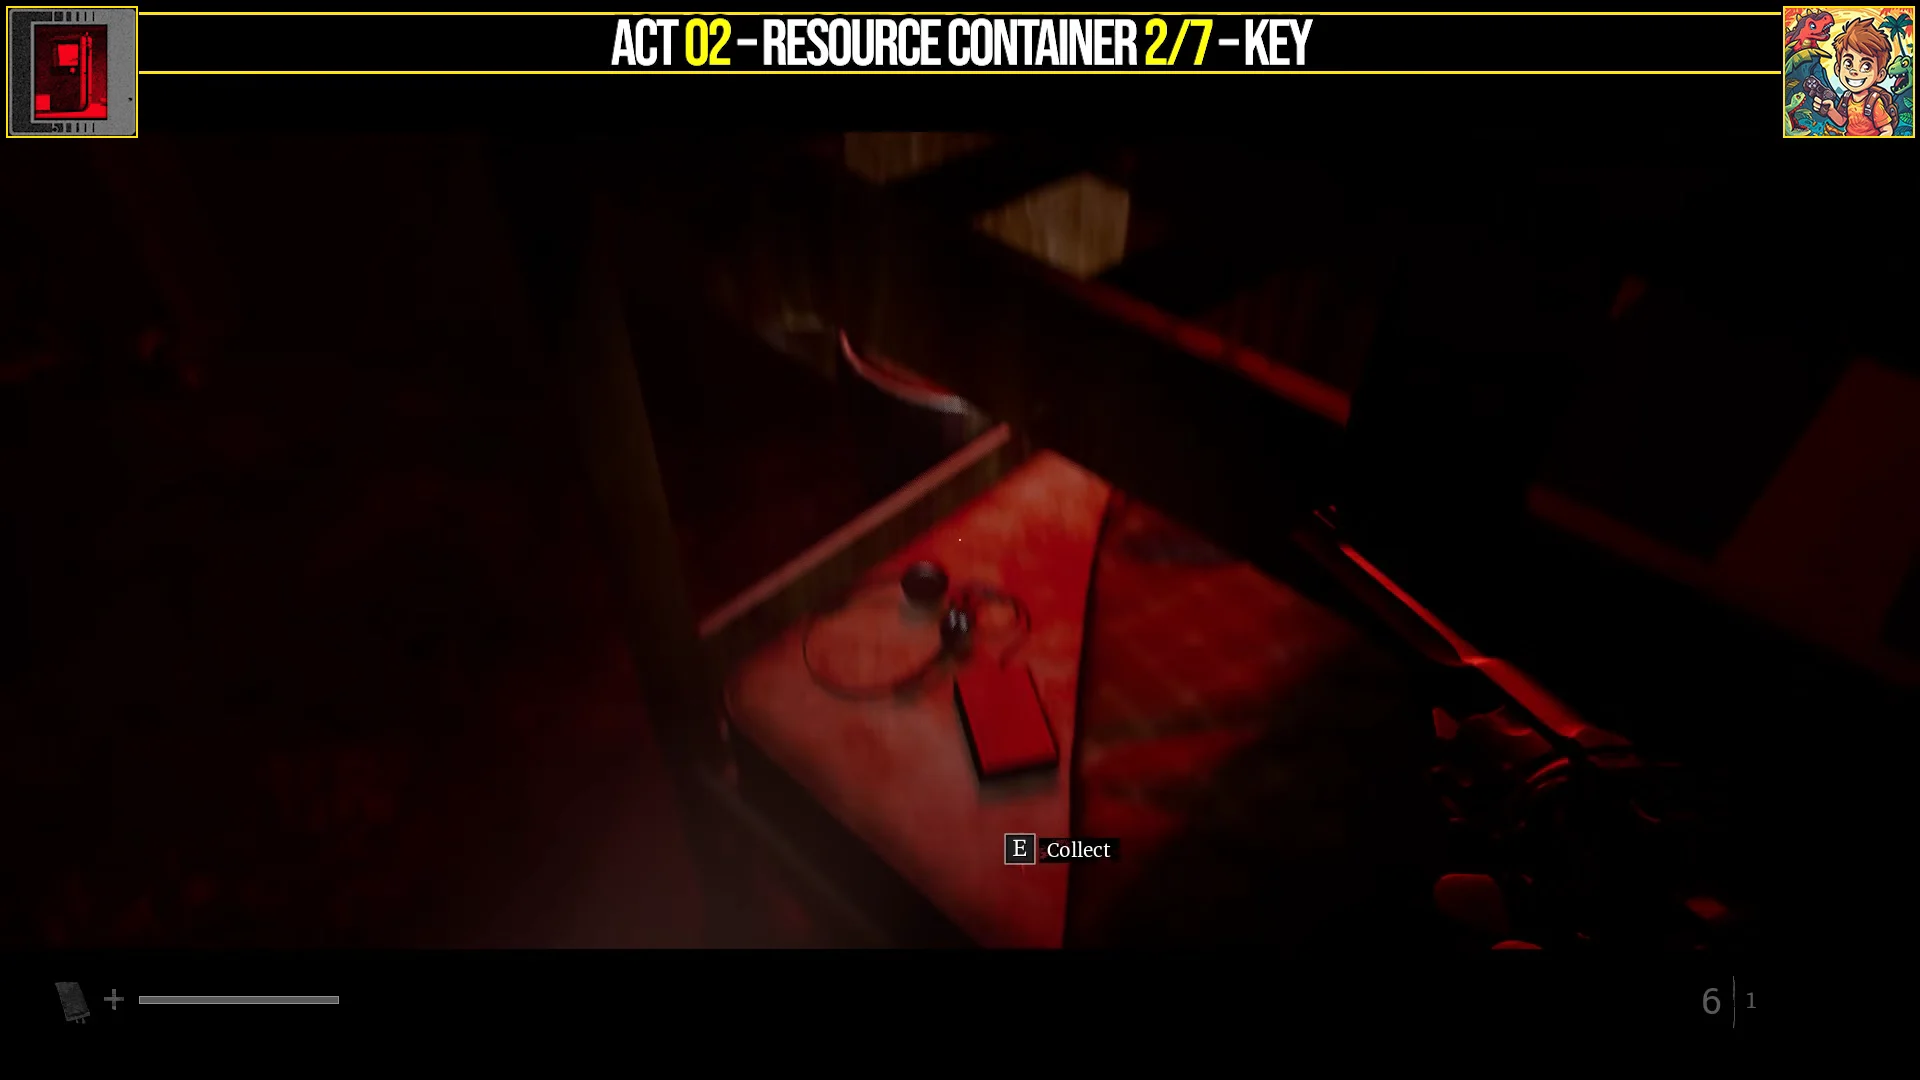
In that building, continue upward to the fourth floor. On the landing, a small table holds the container, which has Alcohol and 1 Pistol Round.
Part 3: The Patient – third key and container
In the altered Medical Centre, reach Ward W and go into Room 11. Look to the wall-mounted key cabinet for the key.
Go to Ward S and enter Room 01. First retrieve the blood bag from the floor below; you need it before this door will open. The floor container holds Antibiotics and 2 Pistol Rounds.
Part 4: Clara Woods – fourth and fifth keys
Two keys and their containers are tucked away in this chapter. Search the optional buildings around Clara Woods Estate before advancing the story; this area makes it particularly easy to miss a cache.
Key and container #4
At ground level, follow Atlas Way into the Post Office, the room with the story telephone. Use the cash register at the front to collect the fourth key.
Then enter the apartment building northeast of Atlas Square, on the left of the phone booth. Stay on the ground floor and reach the kitchen at the far end. The box on the counter holds an Empty IV Bag and 2 Pistol Rounds.
Key and container #5
Once you have the Bolt Cutters, return to the Post Office and take the back exit into the alley. Cut the lock on the gate and continue to the laundromat at the alley’s end. Turn left; the key rests on a washing machine.
The matching container is in the CEG Employee Lockers building. Head into the back office with the phone and open the box on the desk for 2 Pistol Rounds and IV Fluid.
Part 6: Simon – sixth and seventh keys
The last two key-and-container pairs are found in the altered SWDP, close to the game’s conclusion. To reach the final container, you’ll need the control-room Remote Systems Control (ROC) console, whose three-digit IDs open doors.
Key and container #6
On SWDP’s main floor, ascend the southern stairs and enter the room to the west. The sixth key is on a counter next to a console coated in dried cement.
Enter the Control Room with the Access Card and check beside the camera control panel on its right. Inside the box are a Shotgun Round, a Flare Cartridge, and Antibiotics.
Key and container #7
Head downstairs and operate the console to unlock Room 047 in the area’s northwest corner. Inside, the last key is on a counter.
Operate the console once more to open Room 621, a long room lined with valves in the eastern section. Go down and enter; the final container is on a table near the entrance and holds Antibiotics and a Shotgun Round.
Confirming the Resourceful achievement
Only opening a container adds to your total; passing one by or collecting its key will not count. Open the seventh box in Room 621 to trigger the Resourceful trophy. If it fails to appear, find the unopened box and open it—keys by themselves do not advance the tally.