Beating Silent Hill: Townfall in under four hours earns the Fleeting Visit achievement, and the four-hour window is far more forgiving than it sounds once you already know the route. The trick is to run everywhere, kill anything that blocks a doorway, and never stop to solve a puzzle you can already answer. Below is the full path through all six parts, with the exact codes, phone numbers, and puzzle orders that keep you moving from objective to objective.
Quick answer: Run it on a New Game Plus save, set the difficulty to Story Mode, carry the Axe or Pistol-3000, enable the Detailed timer, skip optional documents, and clear all six parts to unlock Fleeting Visit.

Set up New Game Plus before you start the run
Attempt Fleeting Visit only on a New Game Plus save. Finishing the game once first lets you enjoy the story without rushing, and it unlocks the weapons that make a speedrun trivial. Set the difficulty to Story Mode, which lowers both the number of enemies and their health, so most of them die in a single hit and can barely dent you.
Choose either of these weapons. The Axe is in a shed east of Shore Wynd during Part 1; it has unlimited durability and kills nearly every enemy in one hit, except the Weight. The Pistol-3000 offers unlimited ammunition, ranged kills, and enough power to take down even the Weight, but you can only get it after completing the Sci-Fi ending. To find it, go east of Shore Wynd to the Shorefront and look for a garage glowing an eerie green. With either weapon, you can battle through rooms rather than sneak past enemies. Killing without restraint generally points you toward the Abandoned ending, but that ending has no effect on the achievement.
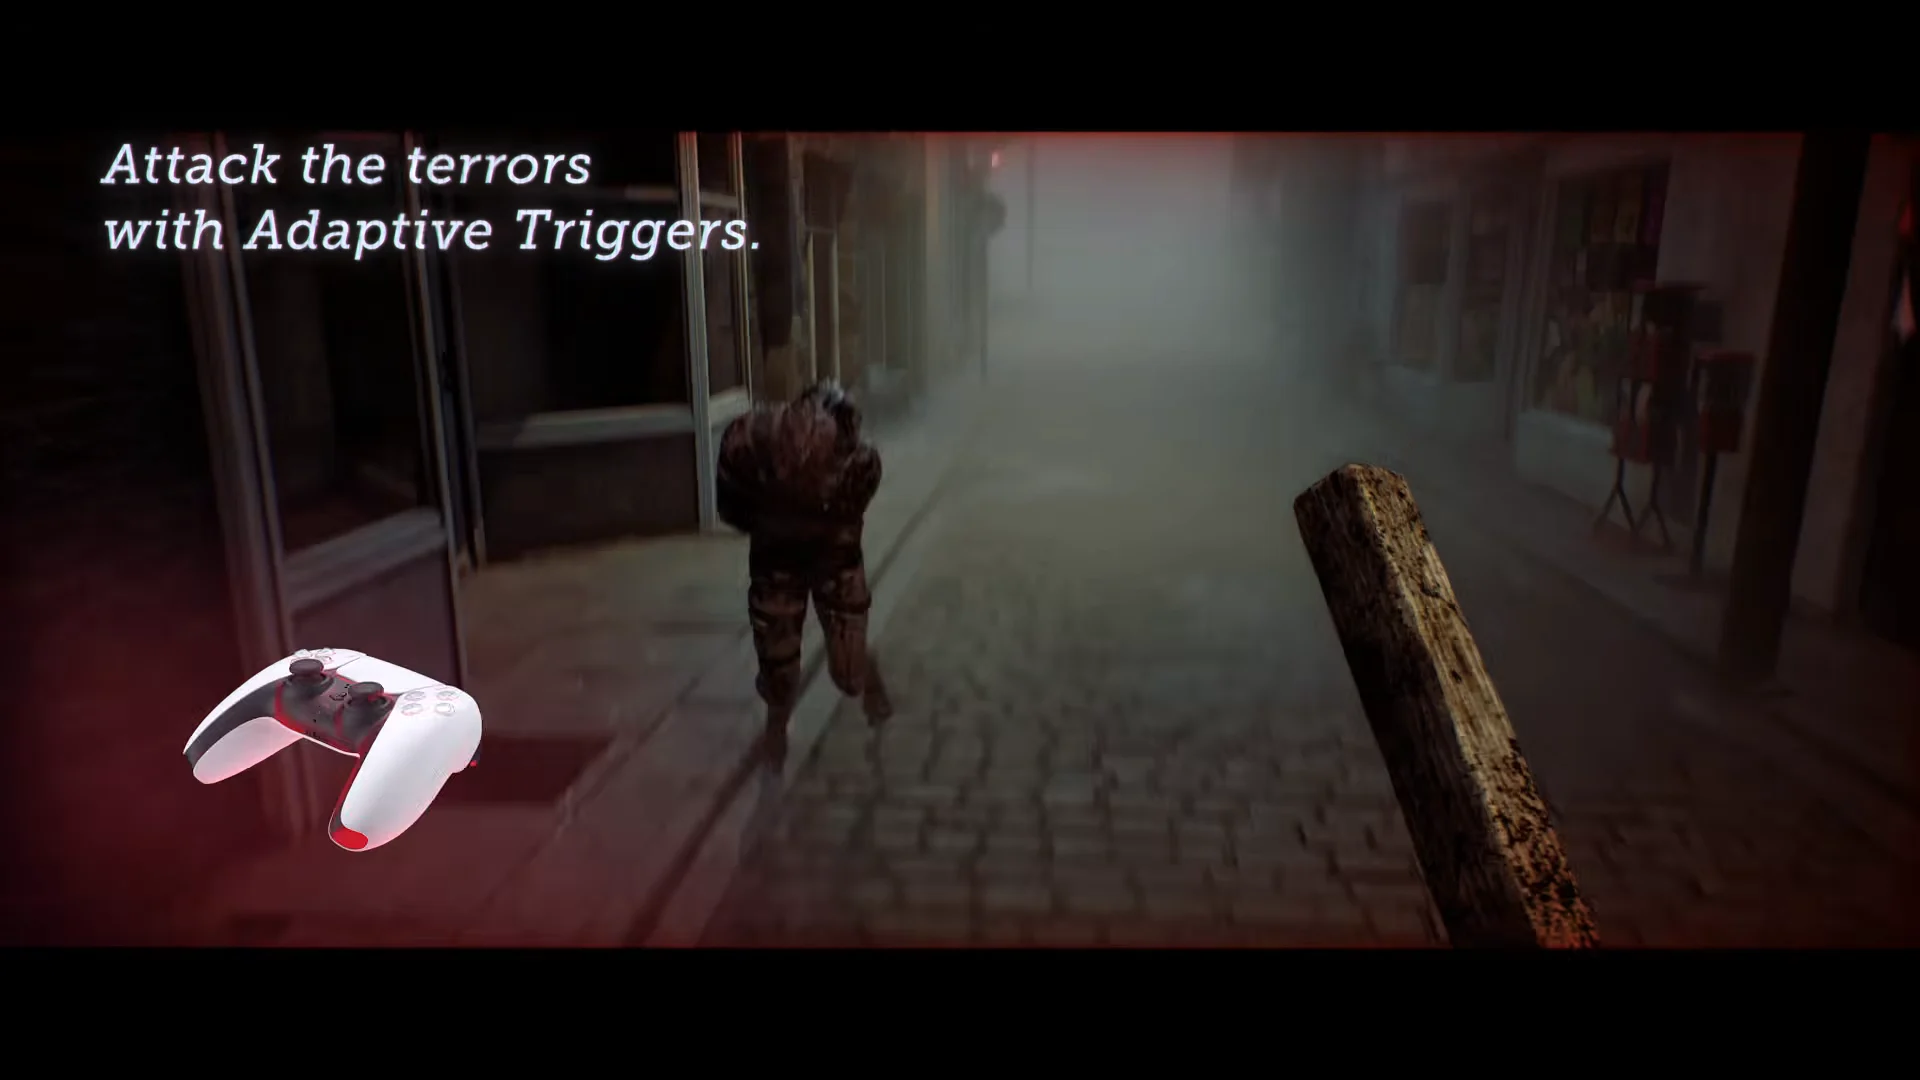
Turn on the run timer so you can pace yourself. Open Options, select Game Options, scroll to Show Time Played, and set it to Detailed. A clock then appears in the top-right corner showing both your total time and your time in the current section. Pausing the game also pauses this timer, so if you forget a puzzle answer, pause, look it up, and resume without losing run time.
You do not need an optimized run. Splitting four hours across the six parts leaves a comfortable buffer for mistakes.
| Part | Target time |
|---|---|
| Part 1: Arrival | 30 minutes |
| Part 2: Zoe | 30 minutes |
| Part 3: The Patient | 45 minutes |
| Part 4: Clara Woods | 45 minutes |
| Part 5: Richard | 20 minutes |
| Part 6: Simon | 40 minutes |
Those targets add up to three hours and thirty minutes, leaving a full half-hour of safety margin before the cut-off.
Part 1: Arrival
Move through town to the map, then at the phone booth call 100 to reach A Different Place. Cross the red area, exit into the Haldane Hotel, pick up the CRT TV, and set the door wheel to 18 January 1996. Loot the Room 204 Key and leave.
Go to Zoe’s House and collect the Flashlight in the kitchen and the batteries in the upstairs bedroom; combine the two items. In the upstairs bathroom, pick up the Human Organ for Transplant Card and the sticker from the floor. Crawl through the space near the stairs, read the paper, then open the metal door. Head to Peters Newsagent in the Shorefront District South, take the prepaid card from the register, and bring it back to use in the crawlspace panel, restoring power. At Zoe’s living-room computer, turn it on and read the second email. Finally, use code 956 133 to unlock the Medical Box in the kitchen and take Zoe’s Lanyard.
Use the Lanyard to enter the Family Clinic and take the Scalpel from the First Aid kit on the desk. Go to the Pharmacy and open the locker with code 6539 to get the Medical Prescription Dosage. Use the Scalpel on the rusty gate into St. Amelia Park, then enter the apartment building south of building 14, climb to Apartment 1/2, and take the keys. Use the Back Door Key at Jess’s House, grab the Stethoscope off the bedroom bed, and return to the Clinic.
At the Clinic scales, place the items in this order to finish Part 1:
- Left: Broken Stethoscope
- Middle: Prescription Dosage Error Notice
- Right: Zoe’s Lanyard
Part 2: Zoe
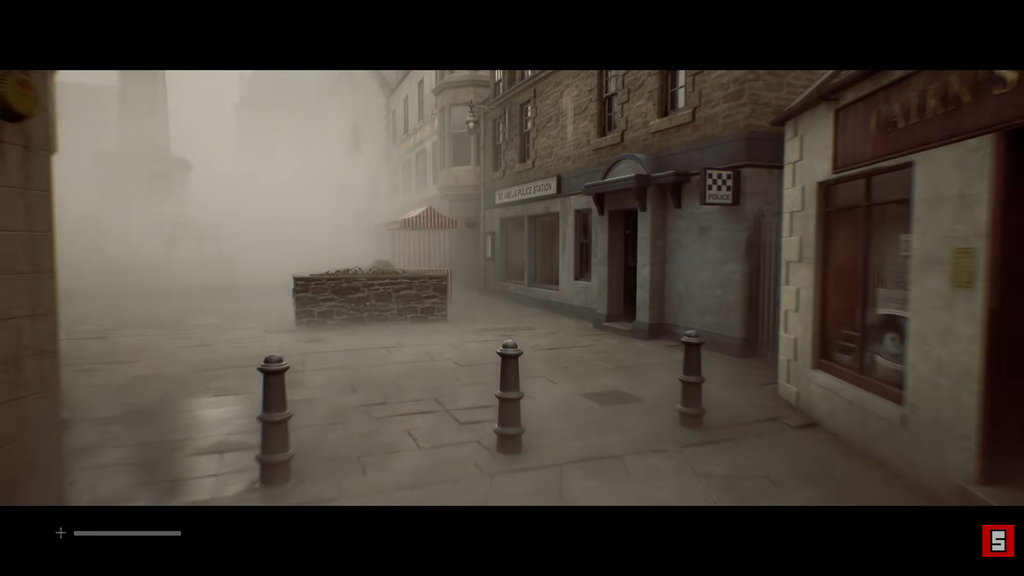
Go to the Community Gardens and open the shed with code 1993, the year on the Jane Chalmers flower bed. Take the Community Garden Key, unlock the gate, and reach Mr. Stewart’s House. The front is locked, so enter through the back door. Trigger the bathroom cutscene, then leave immediately for the Medical Center.
Check the note at the security booth, then go down the street to the phone booth and call 496 0556. At the prompt, enter 3, 2, 2, 1. Open the garage door in the rear parking lot; after that, press the desk button beside the phone to unlock the side gate. You will be back in control of Simon. Go to the Town Square, interact with the package, and choose Yes to take the Gun. The town will shift into its red state, a necessary step for progression. Return to the Medical Center and view Zoe’s cutscene to begin Part 3.
Part 3: The Patient
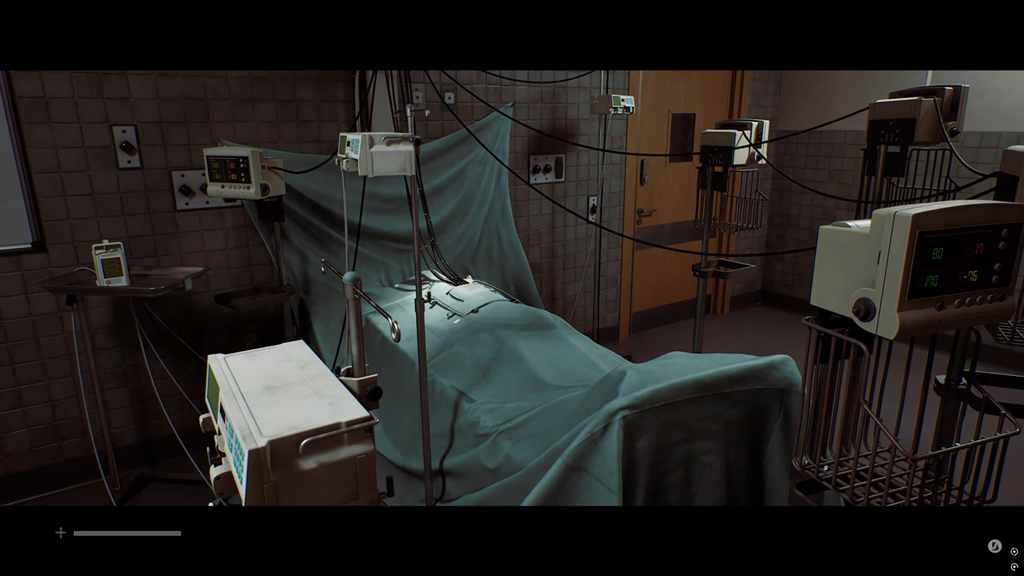
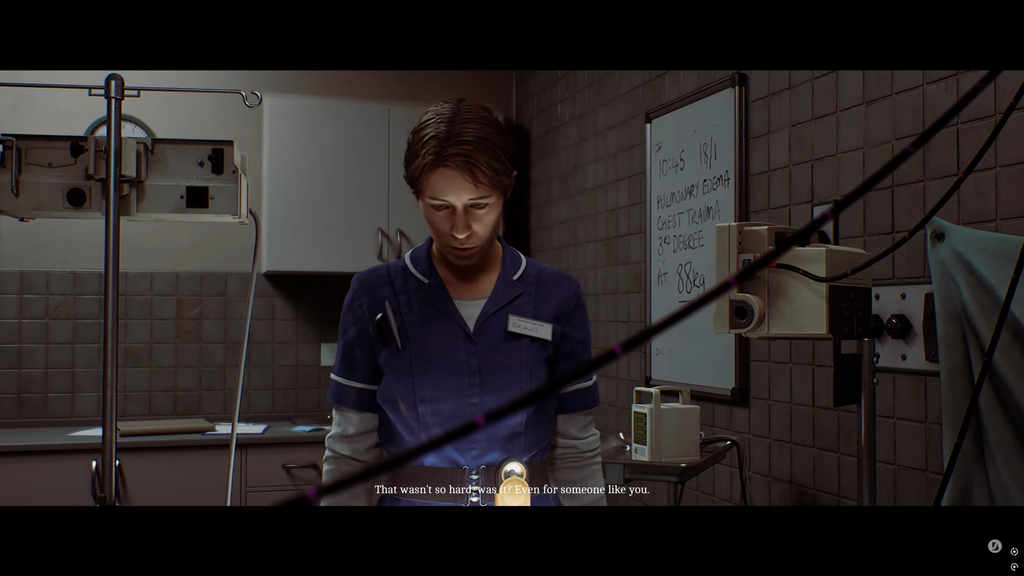
Back as Zoe, enter Surgery and take the map from the left wall near the dry-erase board. When Dr. Glenn demands the monitor readings, enter them like this:
- Right monitor at the foot of the bed (green): 70, 40 for Blood Pressure
- Bottom of the far-right monitor (yellow): 160 for Pulse
- Far-left monitor, top (red): 80 for SpO2%
Open the door on your right with code 7103 (it also arrives on the pager) and complete the X-Ray puzzle. Turn on the computer, align the camera with the patient’s Skull, then at the scanner panel flip Power, set SITE to Skull, kV to 3, mA to 7, Time to 1, and press the green button. Align with the Chest next, then set SITE to Chest, kV to 7, mA to 3, Time to 1.2, and press green again. Print both X-Rays and place them on the medical board on the right.
Find the three drugs and save the patient
Collect all three medications, killing anything in your way. Tensobromide is in the Pharmacy Store inside the Green Medical Kit. Dextracyclate sits in the Infusion Machine in Chapman Ward First Floor, Bay 6. Hydroxalene is in the Records Room, which you unlock with code 2605. Return to Surgery and set the drug rates as follows, then press Ready Pump for each:
- Dextracyclate: Set Rate 15
- Hydroxalene: Set Rate 7
- Tensobromide: Set Rate 8
Call 5353 on the nearby phone to open the basement elevator. Head down to the Storage Room at the end of the hall, squeeze through the gap, and take the Intubation Kit. Back in Surgery, intubate by moving the cursor to the point flashing red and gently holding R2 at each pressure point: right of center, southwest of center, and just north of center.
Blood Bags in the underground ward
You take control of Simon in the dark ward, where the Pistol-3000 clears the Weight and the Others with ease. Find a map on an upper-floor counter, then track down the Blood Bags. Grab the Alan Duncan bag through the vent past the right hallway, and pick up Zoe’s Patient List by the tape player to mark every room on your map. Use that bag on the transfusion machine at the end of the left hallway (marked S.W.) and flip the switch to open the door.
Continue collecting the rest. The Sara Watson bag is near the bed in Room 05. For Lesley Greer, take the Ward W Master Key from Room 04, open Room 13, climb the ladder to Room 12, then feed that bag into the right hallway machine to open the right side. On the right, use Room 02’s elevator button to drop the Matthew Clark bag, then crawl the vent north of Room 06 to reach the lower area, where the George McEwan bag and Ward P Master Key wait. Open Room 03 with the Ward P key to claim the Matthew Clark bag, then turn the valves in Rooms 05 and 10 to reopen the gateway to the main room.
At the transfusion station, place the bags in this order:
- First spot, left: Sara Watson
- Second spot, left: Matthew Clark
- Right spot: George McEwan
Press the wall transfusion button, then rotate the dials so the O-, O+, and A+ lines reach the center at T.F., H.M., and S.W. respectively. Skip the cutscene to begin Part 4.
Part 4: Clara Woods
Grab the map on the white-and-blue sign up the road, then go to the CEG Employee Lockers building. Open the back-office locker with code 772 to get the 5 South Brae Key. Before leaving, take the Barcode by the desk scanner, scan it, and open locker 75 with code 184 for the Flare Gun. Head to the upper area and enter 5 South Brae after passing through Atlas Square.
At 5 South Brae, take the Disk Case Key from the upstairs bedroom drawer and use it to open the disk case in the computer room. Since one disk is broken, go to Atlas Computers and open a disk case there to get the Disk Repair. Return to 5 South Brae, insert the Fisk-A-Disk! Software, then insert Disk 2 when asked and select Repair Volume. Next, insert Disks 1, 2, and 3 in sequence to Unzip the RAM, then print MANUAL.EML. Unlock the box on your right with code 956 to get a Barcode. Scan it at the CEG lockers, then enter code 575 at locker 17 to collect the Boltcutters, which also serve as the first gate part.
Leave the CEG building, go to the northeast corner of the lot, climb the stairs, and cut the path open with the Boltcutters. Enter 6 North Brae through the back door, read the note in an upstairs bedroom, and open the table lockbox with code 736 for the next Barcode.
5 Upper Brae tape puzzle
Head to the Overpass and go south to 5 Upper Brae. Read the “The Code Today” clue on the table first, then work through the tapes:
- Play the tape in the deck, then remove it when it finishes.
- Open the black box in the end bedroom for Tape: Yesterday and play it to rewind time.
- Open the living-room box for Tape: Tomorrow, read “The Code Before” in the kitchen, then play Tape: Tomorrow.
- Take the Code off the green-and-white pillow in the living room.
- Grab Tape: Do Not Play from the kitchen box, play it upstairs, then take the Back Door Key from the kitchen counter.
- Play Tape: Today, go outside with the Back Door Key, and take the Ammonite Disk from the table in the only open house.
- Return, play Tape: Yesterday, insert the Ammonite Disk in the computer, and read the Current Count file.
- Play Tape: Today, then unlock the lockbox using code 129.
That gives you the last Barcode. Scan both at the CEG lockers: the North Brae code opens locker 204 with 917, and the Upper Brae code opens locker 94 with 490. Combine the mechanical pieces into the Constructed Mechanical Device.
Use the device at the end of Atlas Way to enter CEG HQ. Skip the longer Security Key route and open the Security Room with code 4895. Use the computer on the left, enter Employee ID 00007820518, and print the Access Card to reach the elevator and finish Part 4.
Part 5: Richard
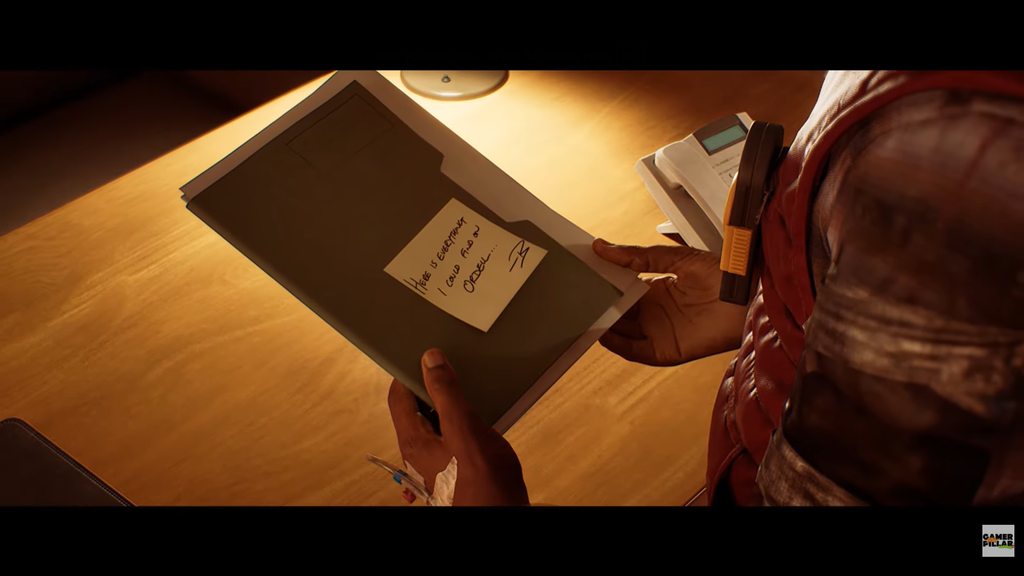
Use the nearby security booth to open the gate into the main parking area. Open the metal garage door on the large brick building and take the Generator Key from the manager’s office. Plug it into the Generator, flip the far-right switch on the back, then pull the front lever to power it. Ride the service elevator up to the CEG 2nd floor, and grab the map next to a corpse in the stairwell on the way to the 3rd floor.
Follow the map to the 5th floor Boardroom and take the Access Card. Go back to the 3rd floor and use it to enter Public Relations. Upstairs in the Media Department, take the Media Department Storeroom Key from a corpse on the west side, then open the General Storage Cabinet in the southeast room for the Projector Bulb. Leave PR, open the Finance Department keypad with code 2709, and take the Projector Lens from the CFO’s desk.
Return to the Boardroom, install both projector parts, and operate the projector to open the slide drawer. Pick up the Maintenance Key from the table, go through the Maintenance Room to reach the first floor, then collect the slides in the Mezzanine Meeting Room on your left. Return to the Boardroom and arrange the slides in this sequence: D, F, B, C, E, A. You will get the CEO Access Card and complete Part 5.
Part 6: Simon
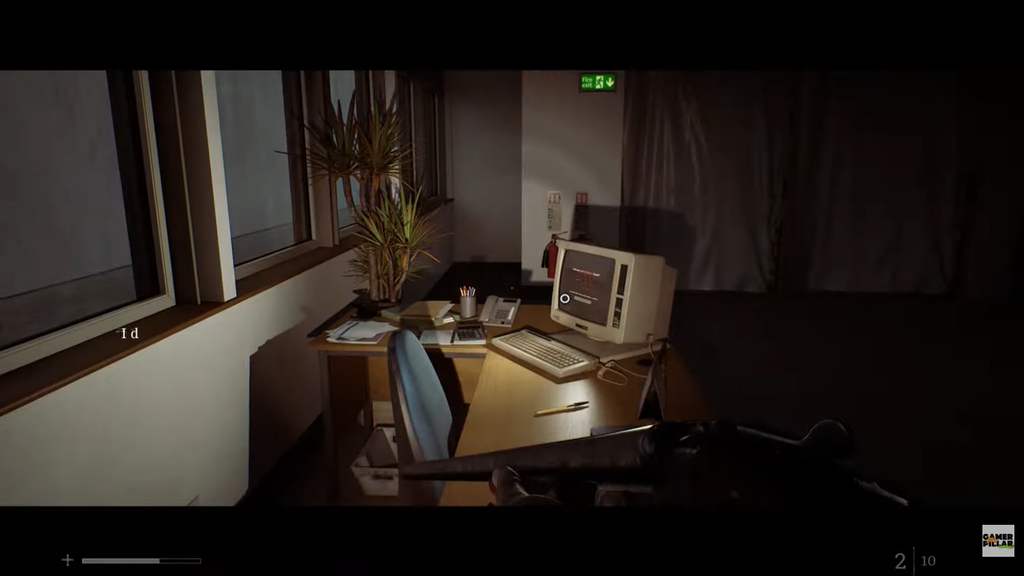
Read the paper on the desk where you land. Ride the elevator to floor two and take the Controller Key from the box beside the red valve. Carry it to the first-floor console and insert it; enter A5D7 and press OK. Then, at the console’s right side, input E3E3 and press OK. Adjust the pipes until they form a connection from top to bottom:
- 1st Floor: rotate left twice
- 2nd Floor: rotate left once
- 3rd Floor: rotate left twice
- 4th Floor: rotate left twice
At ground level, select Gas Flow, followed by Flow Test. When the lights turn green, choose Ignite. Enter the dark area, crouch beneath the yellow light, crawl through the passage on the left, and descend the ladder. Navigate the first pipe maze in this order: Right, Left, Left, Right, Straight, Right. Climb back out, then make your way through the shorter second maze: Right, Left, Right, Straight, Right, Left, Right, Left.
You already hold this area’s map. Turn on the generator in the bottom-right to power the elevator, ride to the first floor, and take the JOE Key from the computer room. Open the JOE room in the map’s bottom-right, squeeze through the hole, and take the Access Card from the counter. Go back to the main area and up the central stairs to reach the Control Room panel.
Control Room and AUX Room sequence
Flip both switches to power the panel, then enter the first two command sets:
- Open (Column 1, Row 1), Valve (Column 3, Row 2), 245, Enter
- Start (Column 1, Row 2), Filter (Column 4, Row 3), 130, Enter
Open the locker on your right with code 0825 for the AUX Key. Ride the elevator down and enter the AUX Room across from the JOE Room. Open the cupboard for the AUX Disk, insert it, and flip the wall switches so every line matches the computer readout. The order does not matter as long as the directions are correct and all three lights turn green.
Return to the Control Room panel and enter the next three command sets:
- Flush (Column 2, Row 2), Auxiliary (Column 4, Row 4), 246, Enter
- Stop (Column 1, Row 4), Regulator (Column 3, Row 4), 781, Enter
- Unlock (Column 2, Row 4), Door (Column 3, Row 1), 592, Enter
Go down and turn Valve F, which is marked on your map, then quickly return upstairs. Secure both doors with their locks and take the Clamp Release Procedure from the printer.
The final Clamp Release panel
Move to the panel across from the one you have been using and set it up like this:
- Both Balance dials to Intermediate
- Both Notify switches On
- Run Off set to Disengaged
- Clamp Connection pad: D71
- Only the 1st, 3rd, and 6th Report switches On
- Pressure Control to Set (all the way down)
- Intubate Flow to None (all the way down)
- Battery One to B, Battery Two to C
Press Release, head downstairs, and turn the red Valve. All that remains is the final boss, which the Pistol-3000 makes a non-issue.
Deal with the enemies in this final area before you turn Valve F. Getting swarmed on the way back to the panel is the easiest way to lose precious minutes here.
If your run timer read under four hours when the credits roll, Fleeting Visit pops in the trophy and achievement list. Since a well-prepared player can finish in roughly two hours, the four-hour cut-off leaves plenty of room to check a code, take a wrong turn, or fight through a stubborn room and still come in well under the wire.