Part 5: Richard drops you inside the CEG Tower with several maintenance doors sealed shut, and the key that opens them stays out of reach until you fix the Boardroom projector. Once it works, the Maintenance Key unlocks a route through the tower that ends with the Projector Slides you need for the main objective.
Quick answer: Install the Projector Bulb and Projector Lens in the Boardroom projector on Floor 5 to make the Maintenance Key appear on Richard’s body, then take the Maintenance Room ladders down to the Mezzanine Meeting Room to collect the Projector Slides.
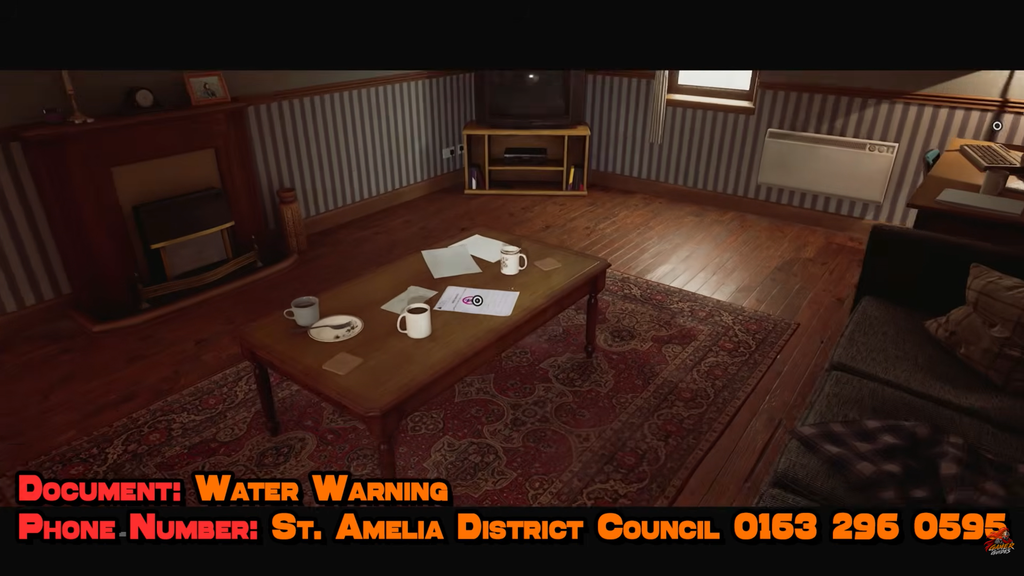
What you need before the Maintenance Key appears
The CEG Maintenance Key does not exist in the world until the Boardroom projector is running. Repairing it is the trigger, so you have to gather both components first.
- The Projector Bulb
- The Projector Lens
- Access to the Boardroom on Floor 5
Fit both parts into the projector inside the Boardroom. The room then changes, and Richard’s body appears seated in a chair with a hand held out, presenting the Maintenance Key. Take it from him.
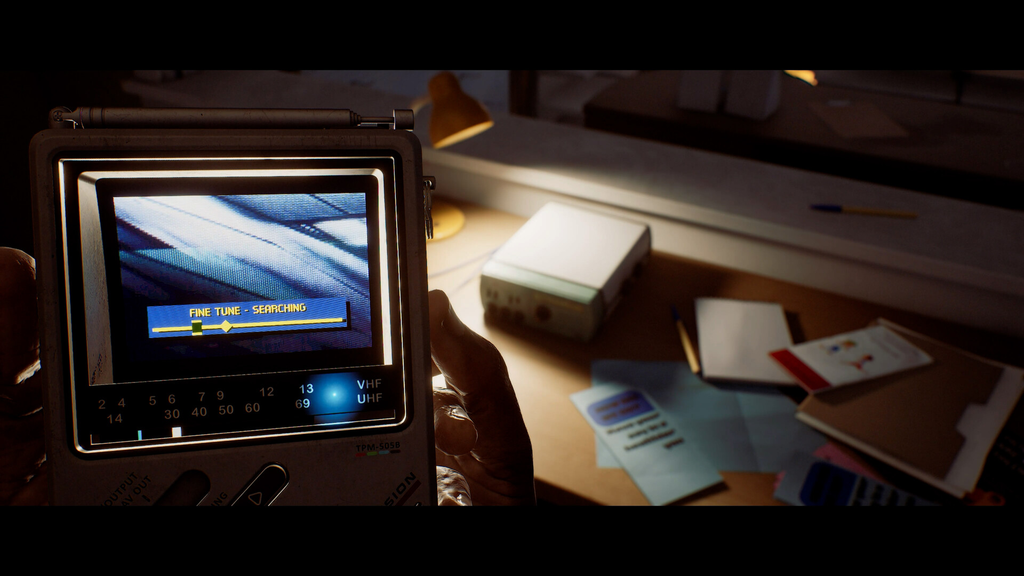
Route to the Projector Slides on the Mezzanine
With the Maintenance Key in hand, you can drop down through the tower’s service levels and work your way to the Meeting Room where the Projector Slides are held. Follow the path in order.
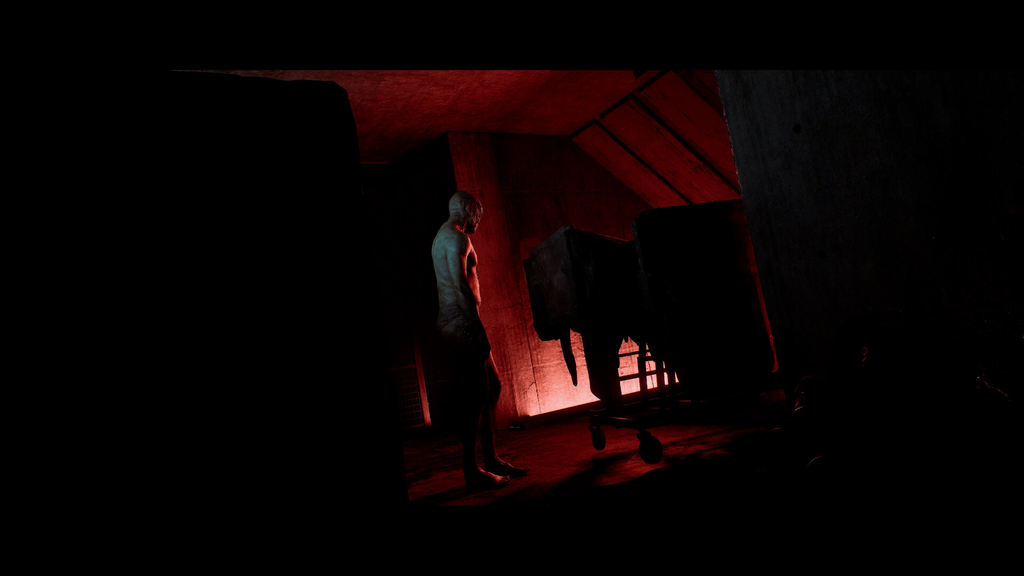
Getting back to Floor 5 safely
Grabbing the slides triggers a fresh wave of Widows breaking into the building, so keep your Shotgun ready. The enemies do not follow you up to Floor 5, which makes reaching it your priority rather than clearing every room.
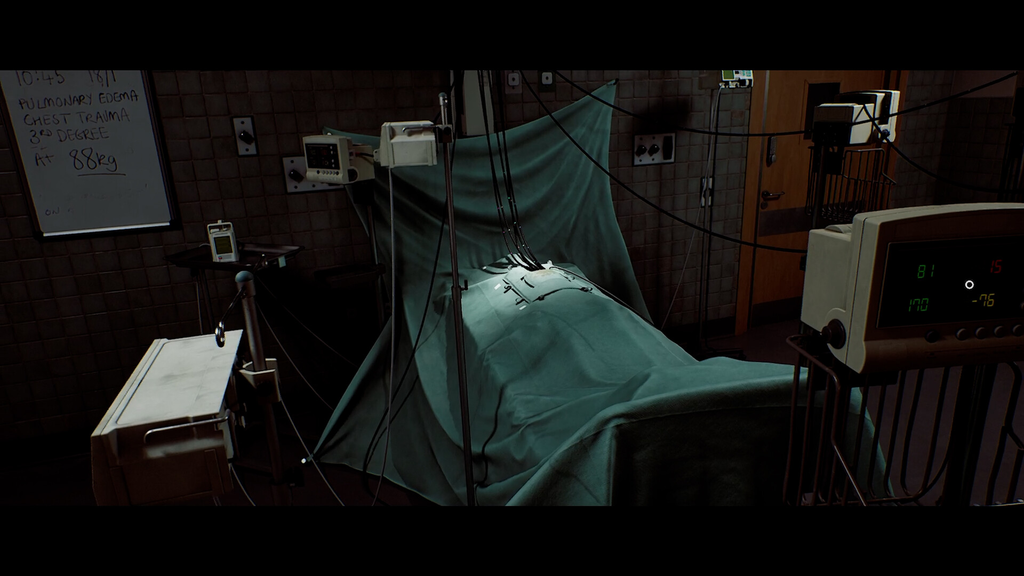
How to confirm both items are in hand
You know the sequence worked when two things happen. Repairing the projector changes the Boardroom and places the Maintenance Key on Richard, and the previously locked maintenance doors open once the key is in your inventory. Back on Floor 5 with the Projector Slides, the Boardroom presents a projector puzzle that asks you to arrange the slides in order, which is the next step of the main objective.
Do not skip the return trip to Floor 5 to fight the Widows head-on. The route up through the maintenance ladders is the safe path, since the Widows will not chase you onto the top floor.