In Silent Hill: Townfall, Strange Postcards are among the hardest collectibles to locate. St. Amelia hides 15 cards in places such as behind bins, inside sheds, in bedroom drawers, and on counters far from the main story route. Find the complete set and log each card in the Documents menu to earn the Blur Your Eyes trophy. The postcards also contribute to the optional Sci-fi ending.
Quick answer: There are 15 Strange Postcards across Parts 1, 2, 3, 4, and 6, and recording all of them in the Documents menu unlocks Blur Your Eyes. Part 5 contains none.
Rules that govern the whole hunt
A handful of fixed conditions shape every pickup. Learn them before you start so you don’t lose a card to a one-way door.
- Only Simon can collect postcards. Zoe cannot pick any up.
- Part 5 has zero postcards, so you never need to search it.
- Each card you grab is logged in Documents, where you can track your total.
- Collected items remain registered in later runs, including New Game Plus.
- The postcards are connected to the Sci-fi ending, but you can reach it without finding all 15.
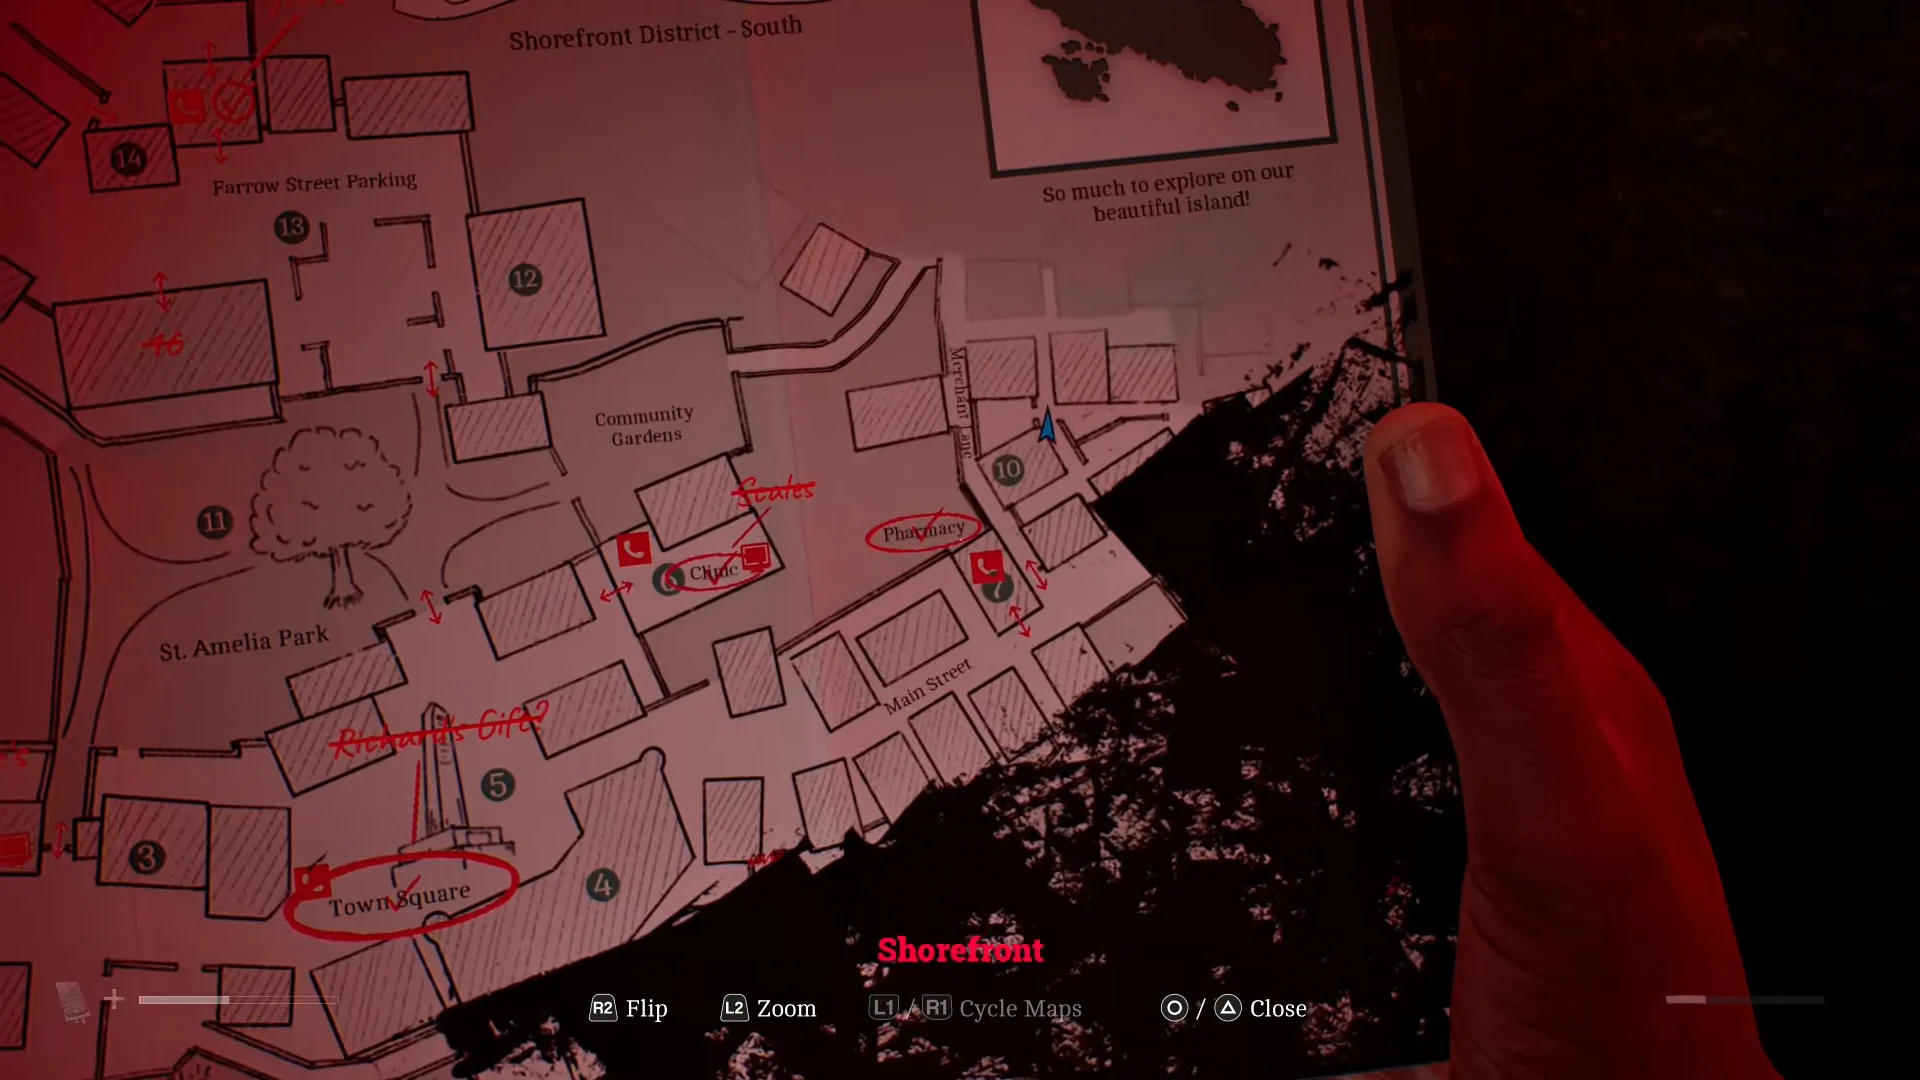
Keep the hand-drawn St. Amelia map visible while exploring. Its shop and building numbers make on-screen directions such as “behind building 3” easy to identify.
All 15 Strange Postcard locations
| Card | Part | Location |
|---|---|---|
| 1 | 1 | Video Star counter, Shorefront District South |
| 2 | 1 | Alley behind building 3, St. Amelia Park |
| 3 | 1 | West-end wall on Farrow Street |
| 4 | 1 | Bedroom in Building 16, Apartment 1/2 |
| 5 | 2 | Foot of the alley stairs, The Wynds |
| 6 | 2 | Last garden shed near the Medical Centre |
| 7 | 3 | X-ray room counter (code 7103) |
| 8 | 3 | Table in W Ward Room 06 |
| 9 | 3 | Wall cabinet in P Area Room 08 |
| 10 | 4 | Garden shed off the body-covered street |
| 11 | 4 | Dresser drawer in Flat 1B |
| 12 | 4 | Shop opposite Atlas Computers |
| 13 | 4 | Dead end east along Upper Brae |
| 14 | 4 | Shed behind 5 Upper Brae |
| 15 | 6 | Dead-end branch of the pipe maze |
Part 1: Shorefront, St. Amelia Park, and Farrow Street
Card 1 — Video Star. Leave the Newsagents you visit for Zoe’s Power Card puzzle through the front door and turn left. Follow the road west to the far edge of Shorefront District South. Video Star sits beside Zoe’s house, its windows covered in closing-down signs. The postcard is on the wooden counter next to the register at the back.
Card 2 — St. Amelia Park. Once the park opens, enter through the southern gate and turn left. Head south through the gap in the wall into the narrow alley behind building 3. The card rests on the cobbles beside a large black bin and a red container, near a locked white door.
Card 3 — Farrow Street. Exit the park at its north side and make your way to Farrow Street. Starting at the phone box, walk west past the parked cars to the road’s end, where a tall concrete wall is cracked. The postcard is fixed to the wall about as high as your eyes. The poorly lit corner makes it easy to miss.
Card 4 — Building 16. Across from Jess’s house, enter Building 16 and climb to the second floor. Go into Apartment 1/2, then find the child’s bedroom in the southeast corner. Beside an abandoned backpack, the card is on the floor at the bed’s foot.
Part 2 (Chapter 6): The Wynds and the Medical Centre
The Medical Centre stretch of Part 2 is where the two cards labeled on screen as Strange Postcard – Chapter 6 – 01/02 and 02/02 appear. These are Postcard 5 and Postcard 6 in your inventory. Both need a short detour from the main route, and one shares its area with an enemy.
Postcard 5 — The Wynds
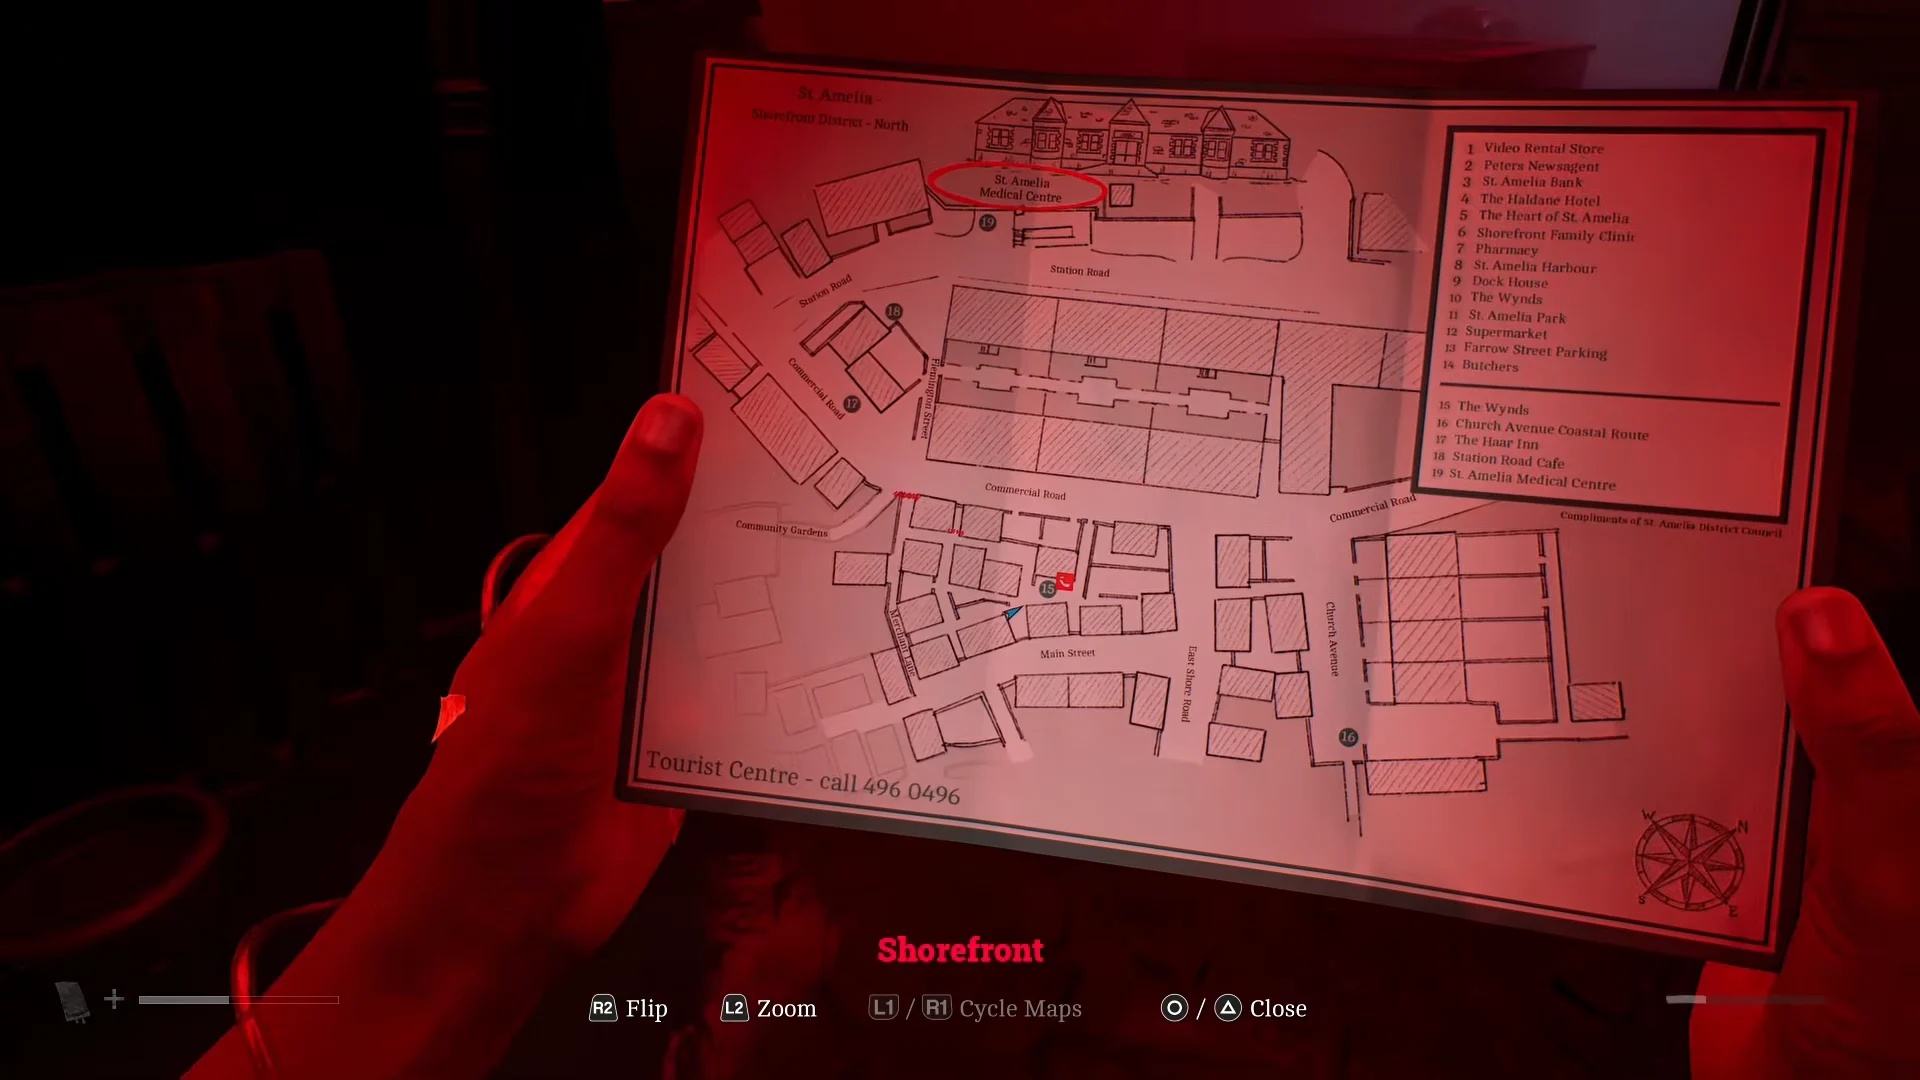
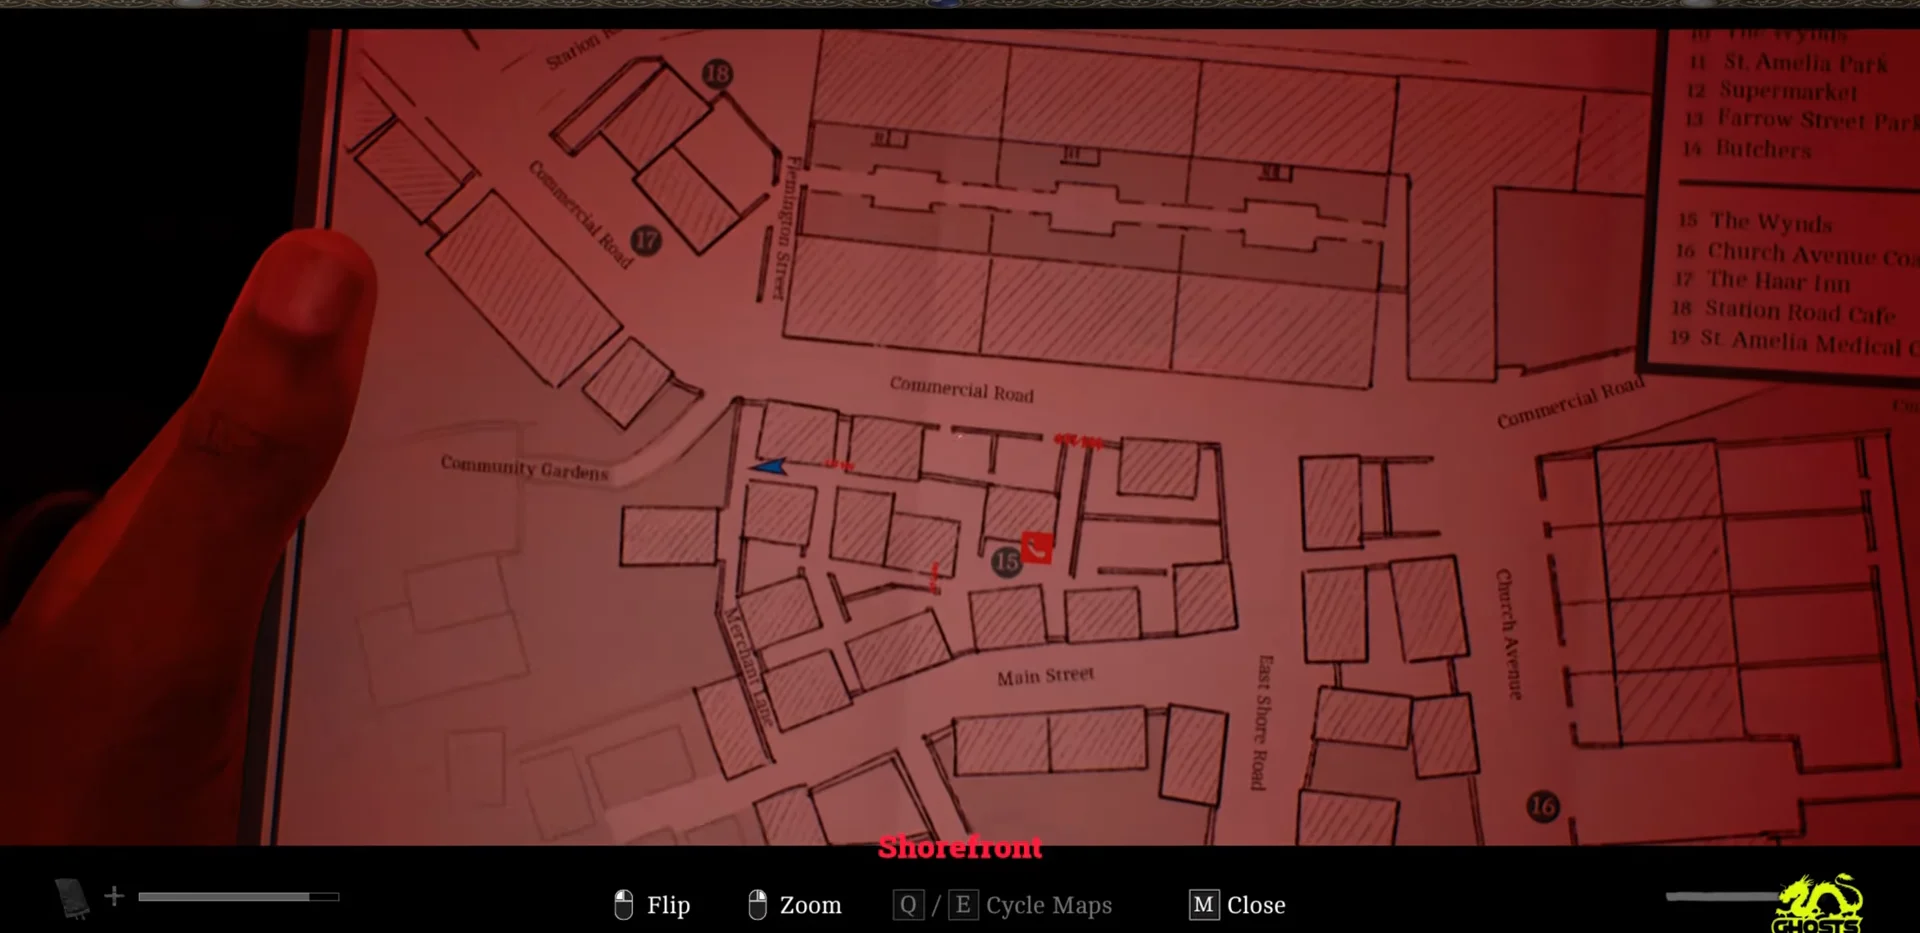
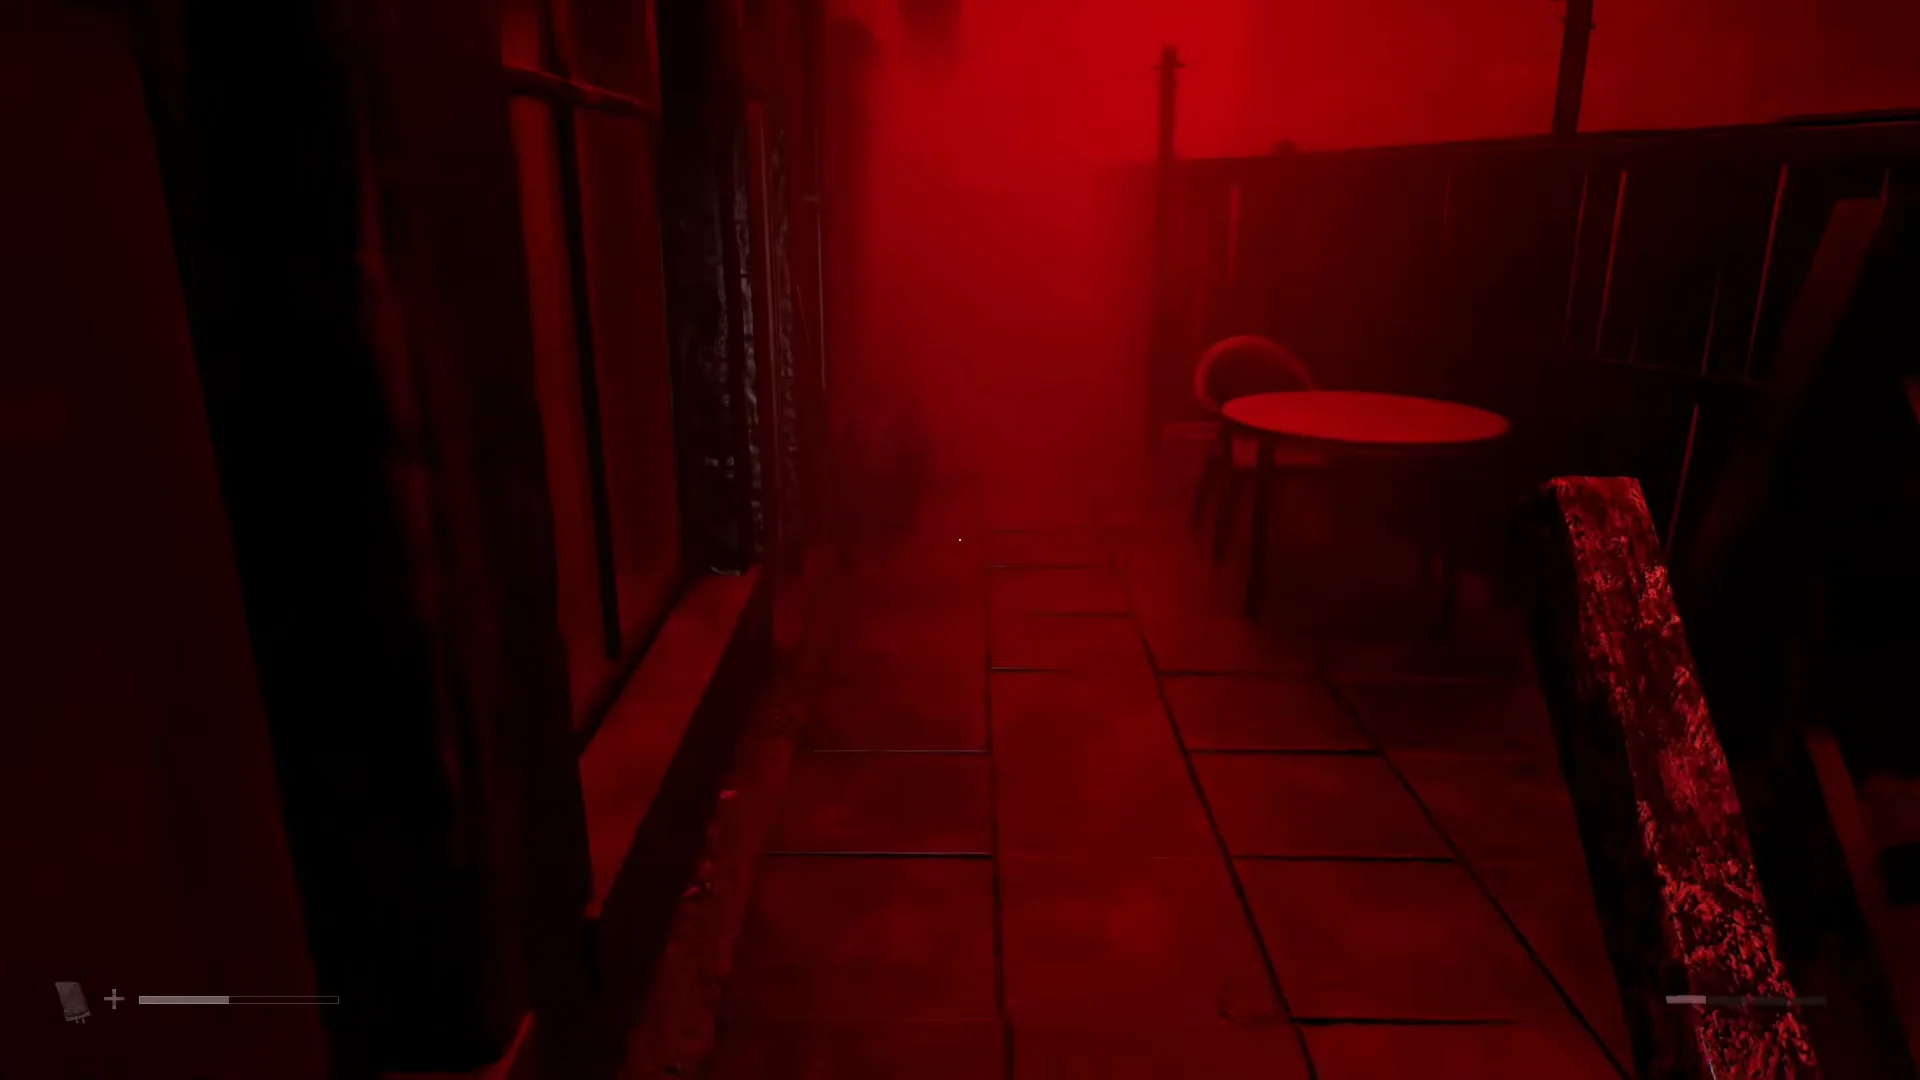
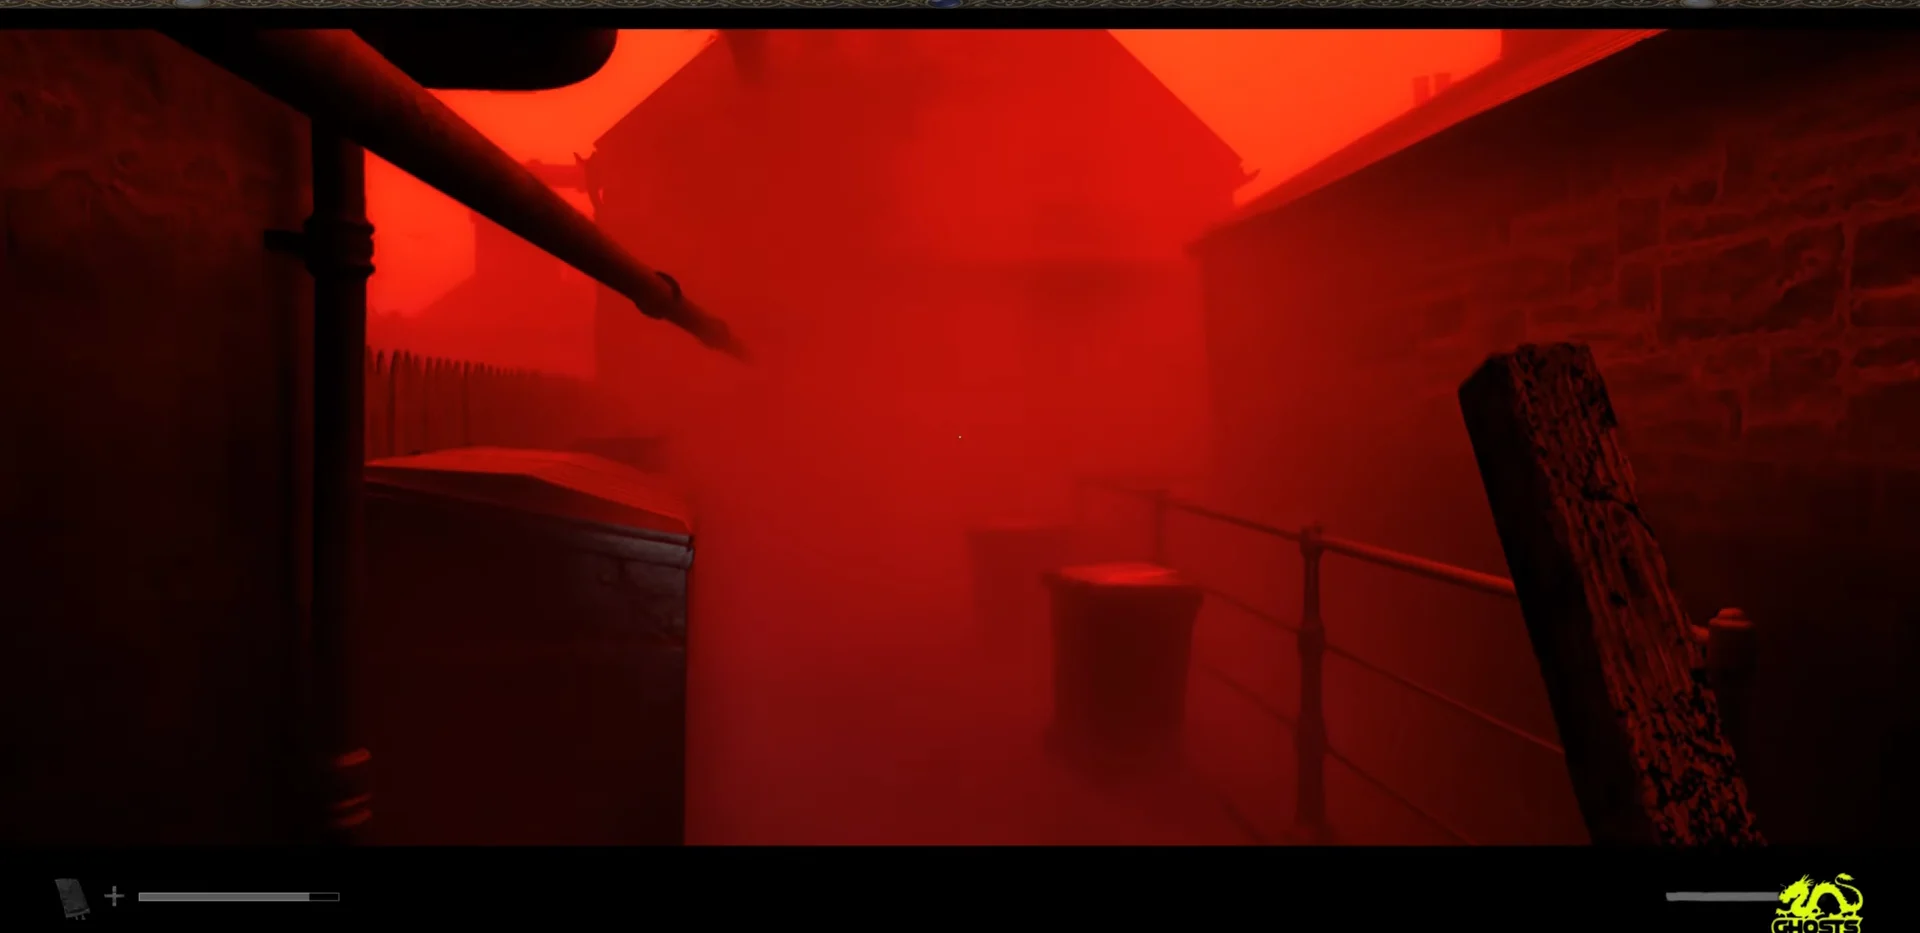
E to pick up Strange Postcard – 5. A short textured pattern appears on screen as the card is added to your inventory.An axe-faced enemy patrols around the steps. Either fight it or sneak by before going down.
Postcard 6 — Garden shed near the Medical Centre
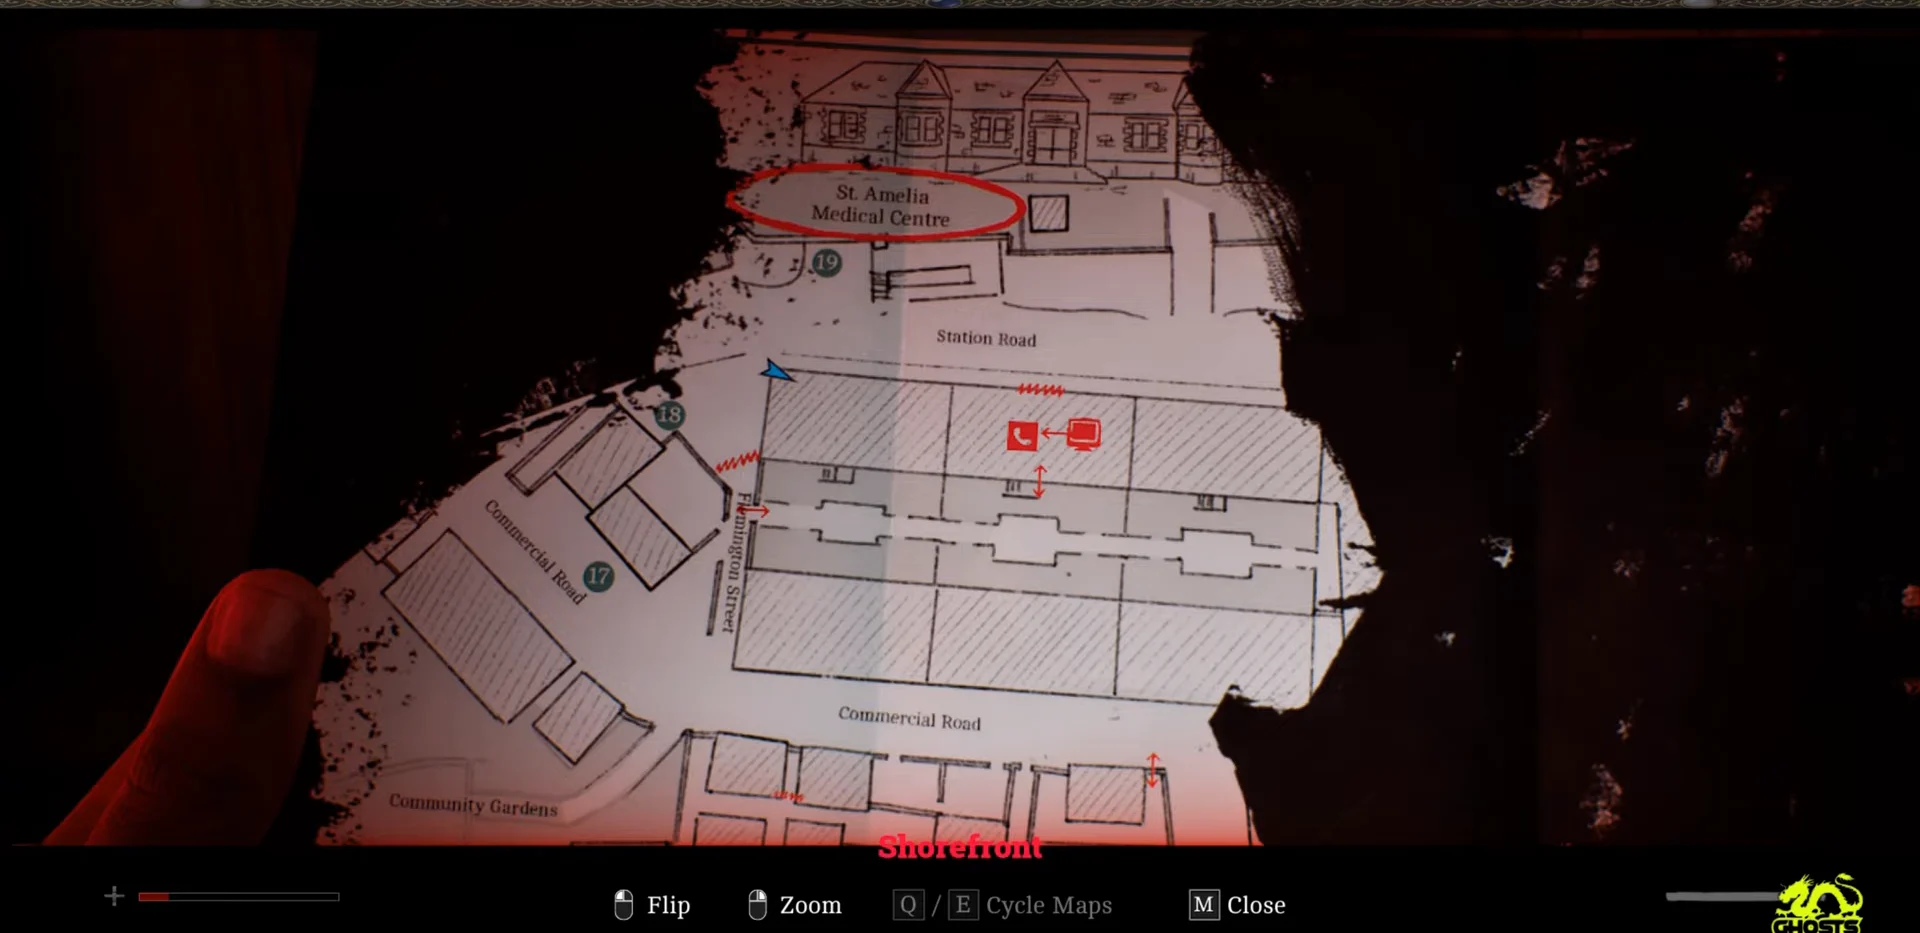
E to open its cabinet, then press E once more to take Strange Postcard – 6 from the shelf.Part 3: The altered Medical Centre
Part 3 moves quickly, but the distorted Medical Centre contains three cards. Pick them up while working through the wards; make sure to get the final one before story progress seals it off.
Card 7 — X-ray room. After control of Simon returns in the Surgery, find the X-ray room to the elevator shaft’s right. Unlock it by entering 7103 on the keypad. The card is on a desk toward the back.
Card 8 — Ward W Room 06. While gathering blood bags through Ward SW and Ward DP, pick up the Ward W Master Key at W05. Use it to open Room 06 in Ward W. The card is on the metal table inside.
Card 9 — P Area Room 08. Room 08 in the P Area opens after you operate both valves upstairs and collect the MC and GM blood bags. Follow the red-lit corridor to the gated room and open the grey wall-mounted medicine cabinet.
Take Card 9 before you exit D.P. Ward. You cannot return once it locks, so completing the set afterward means starting a new playthrough.
Part 4: Clara Woods Estate
Part 4 holds the most postcards, with five spread across the estate. Grab the Clara Woods Estate Map leaflet from the large information billboard early so the numbered buildings line up with these directions.
Card 10 — Garden shed off the body-covered street. The part opens on a corpse-strewn road, with some bodies still moving. At the fork, take the right branch and leave the main route on your left. Past the body hanging from the streetlight, slip through the opening between the buildings, follow the alley past the wheelie bins, then go through the two gates into the rear garden. Open the wooden shed and take the card off the shelf.
Card 11 — Flat 1B. Make your way to the upper level of the estate and enter House No. 1 to locate Flat 1B. Go into the bedroom at the end of the hallway and open the dresser drawer.
Entering the bedroom for Card 11 triggers an enemy immediately, so have a weapon ready before you step in.
Card 12 — Shop opposite Atlas Computers. On the lower level, find the shop beside House No. 1, across from Atlas Computers. Break the window to the right of the door and climb in. The card is on a round table beside a lamp.
Card 13 — Upper Brae dead end. On your way to the Upper Braes, retrieve the Bolt Cutters from Locker 17, then cross over toward North Brae. Follow Upper Brae east to the street’s end. Pick up the card from the pavement alongside a metal storage container.
Card 14 — Shed behind 5 Upper Brae. At 5 Upper Brae, load Tape: Tomorrow into the player to solve the tape puzzle and get the 5 Upper Brae Back Door Key. Go downstairs, unlock the back exit, and take the alley to the shed. Crouch through its entrance and pick the card up from the table.
Part 6: The pipe maze under CEG Headquarters
Card 15 — Dead-end branch of the pipe maze. During the Escape objective, Simon works through the pipes below the altered CEG Headquarters. Climb the short stairs, go through the door into the ventilation passage, and continue into the pipework. Turn right at the first junction and left at the four-way one, then follow the passage to its end. The final postcard is on the floor there.
An enemy rushes down this branch, so approach with your weapon drawn.
Unlocking Blur Your Eyes
Once Card 15 is logged in Documents, the Blur Your Eyes trophy should unlock immediately; it is the final card. If it doesn’t, check the numbered entries in the Documents menu against the list above to identify the missing one.
Postcards you’ve collected remain credited in later playthroughs and do not respawn in New Game Plus, so a full replay isn’t necessary. Begin a new game, return only to the one or two locations you missed, and log the final card to unlock the trophy.