

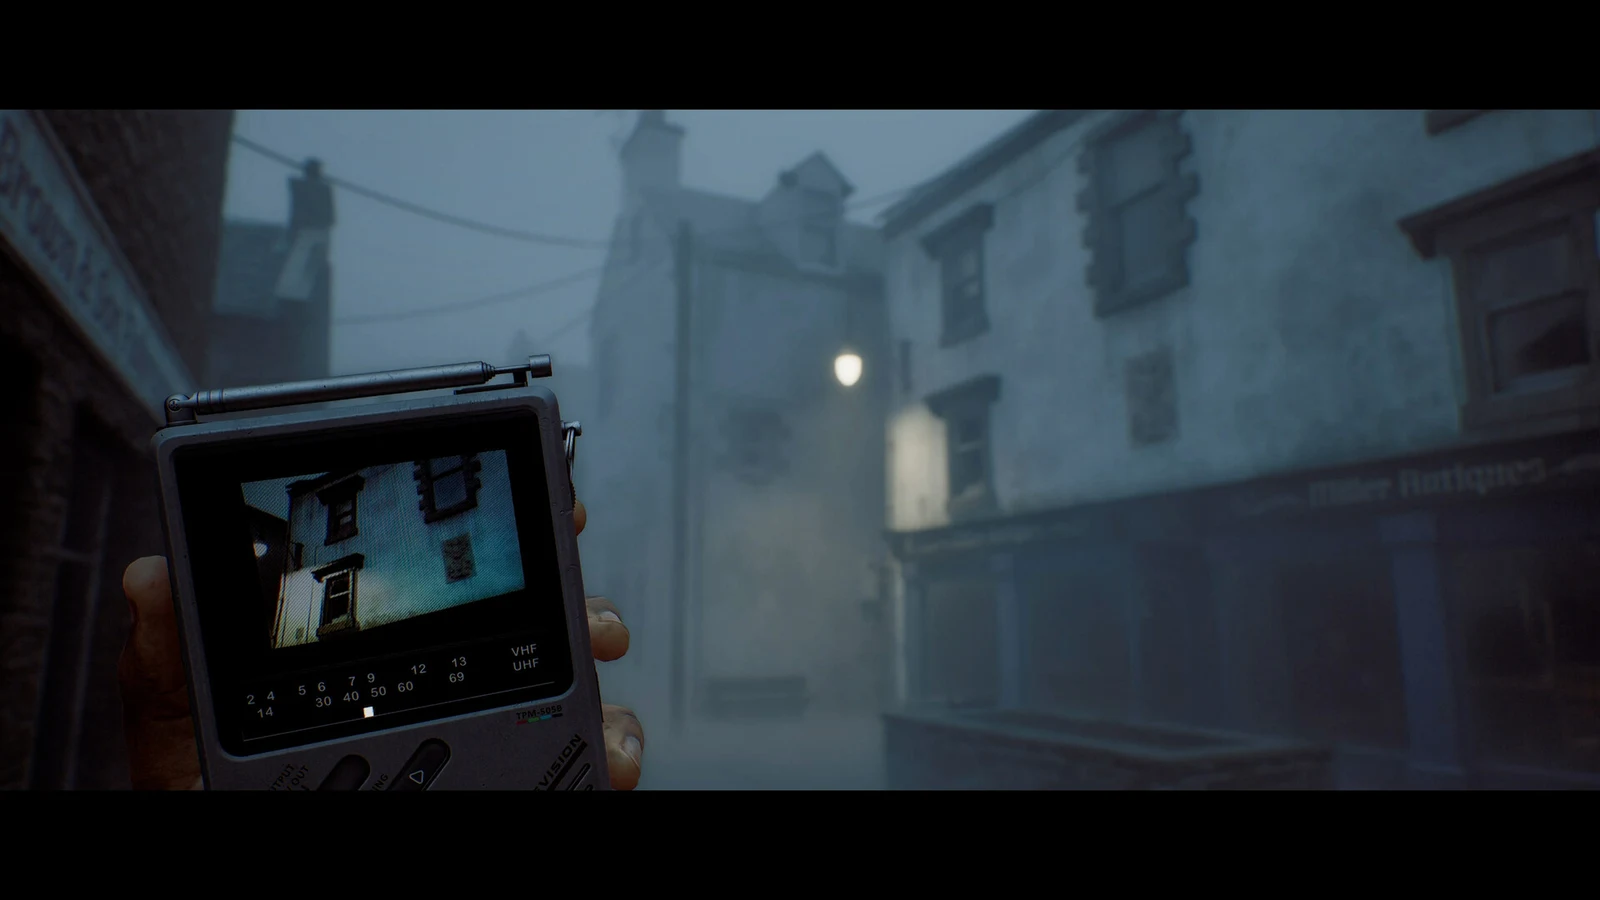
SILENT HILL: Townfall opens with a male voice telling Simon to come back to the town and put things right, and from that point the game hands you almost nothing. There are no objective markers in St. Amelia. Progress comes from tuning a handheld CRT receiver, following the signal on foot through the fog, and searching houses for the one item that unblocks the next door.
Quick answer: Tune the pocket monitor to each signal, clear Zoe’s house at 2A West Shore Lane for the flashlight, batteries and transplant card, then follow the map west toward St. Amelia Medical Centre.
How the pocket monitor (CRTV) works
The handheld CRT tuner is the closest thing SILENT HILL: Townfall has to the series’ pocket radio, and it does two jobs. Scanning frequencies until a broadcast locks in shows you an image — a person, a building exterior — that tells you where to walk next. Holding it up also reads nearby creatures as static and waveforms, so you can track something through a closed door before you open it.

The catch is that the game is first person and the device sits in Simon’s hands. Looking at the screen means looking down, which costs you the street in front of you. Two specific channels come up in the early red fog sections, Channel 63 after leaving the clinic and Channel 25 in the tenement apartment upstairs.
Your first fixed landmark is the town square monument, an obelisk plastered in protest signs reading “Whatever heart this town had has stopped” and “A crime on our community.” The square is worth remembering — a wooden lockbox in that plaza holds the revolver later on.

Zoe’s house walkthrough: flashlight, batteries and the transplant card
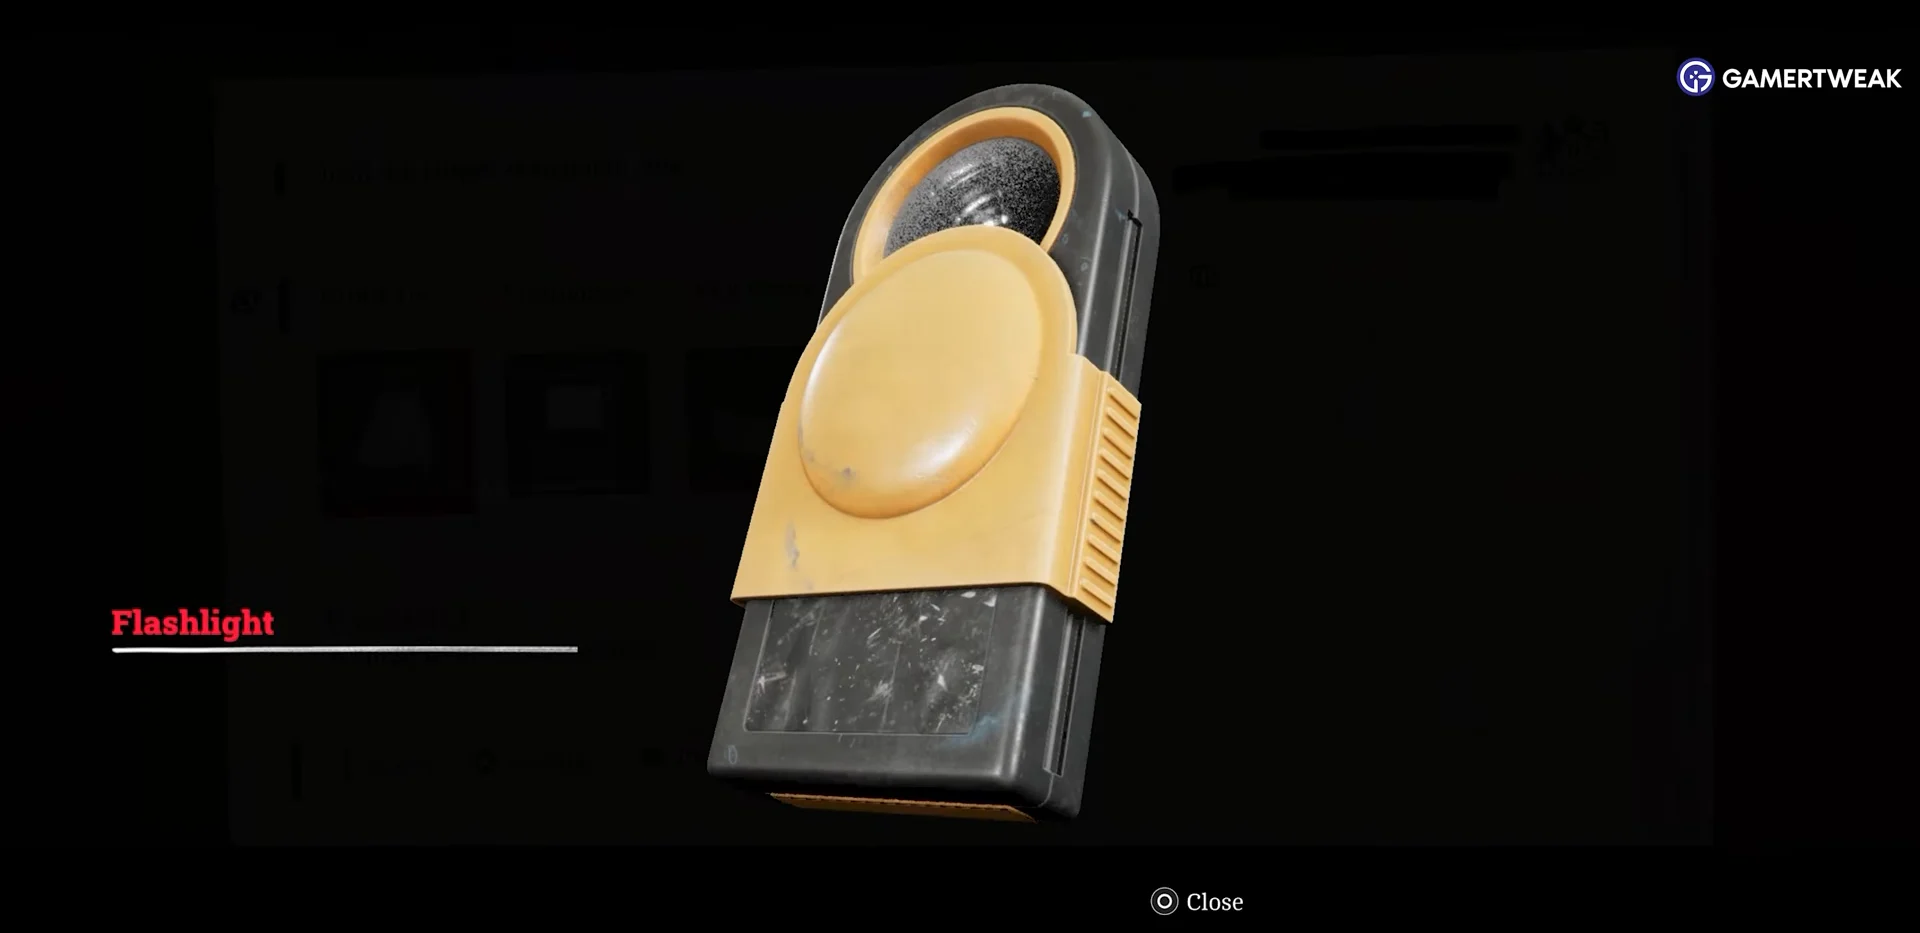
The house also hides an Emergency Boil Water Notice on the living room coffee table, Zoe’s email “Coming Back” from Jessica White on the study computer, and a hallway phone you can use to dial 0163 296 0595 for a St. Amelia District Council recording.
Peters Newsagent: power card, plank and the first creature
Out in the alleyway, a metal gate gives you the first clear look at one of the town’s creatures — a humanoid shape bound in straps, thrashing on the other side. You cannot reach it, and it is not a fight yet.
Peters Newsagent has a note taped to the front window asking for deliveries at the back door, so walk around the building. Inside the darkened shop there are three things worth taking: a handwritten note titled “Leaving the Island,” a wooden plank that works as a melee weapon, and a £5 Prepaid Power Card in the cash register, which is what the Chapman Energy Group meter wants.
Unlock the rear exit and check the monitor before stepping out — static means something is close. The first real fight is a bound creature on the cobbled street, and the plank puts it down. Shortly after, alarms sound and the streets flood with deep red fog. That shift is when the revolver and the scalpel start mattering.
Jane’s shed code 1993 and the Community Garden Key
Mr. Stewart’s house at 10 Church Avenue
Follow the map to 10 Church Avenue. Knocking gets no answer, so go around the back and let yourself in through the sliding glass door. The St. Amelia Herald newspaper on the dining table is the first pickup inside.
The notepad beside the landline lists Nurse Ellis’s number, 496 0103. Dial it on the phone to send a page, then play the answering machine on the small side table to hear Zoe’s recorded message. Before leaving, take Mr. Stewart’s Key out of the washing machine, pick up the First Aid Kit, and switch on the radios in the kitchen and bedroom.
On the way out through the red-tinged fog, collect the bottles and bricks lying in the alleys. They are throwables, and one of them is what gets you through the medical centre’s front gate.
Getting into St. Amelia Medical Centre
Red fog streets: revolver, scalpel doors and the tenement
After the clinic, Simon steps back into misty red streets with the pocket TV in hand and tunes it to Channel 63. Head for the monument plaza and open the wooden lockbox there for the revolver. Pistol Rounds turn up in wooden boxes on patio tables, one behind boarded-up archway planks you tear down and another on a restaurant patio with picnic benches.
Several doors along this stretch are sealed beneath fleshy membranes. Use the scalpel to cut through them: one membrane covers a maintenance hatch in a rusted metal gate, while another blocks apartment door 2/2 in the tenement. Cut each one down the middle, and the door will open normally.
Threats here come in three shapes: creatures charging between dumpsters, a tall faceless thing with a split head that grabs you at close range, and wandering enemies you can slip past by watching their waveform on the monitor. A red-lit phone booth in the alleys acts as a save point and directory. Elsewhere, a dead end near a pair of boots holds Strange Postcard 5.
Inside the tenement, read the Scaffold Notice to Residents on the wooden door, take the Handwritten Note from the apartment table, and set the CRTV to Channel 25. The vintage computer holds Note.txt from Mrs. McKenzie to the Pictures Editor. Switch on the printer in the next room first, then print Photo1.jpg and Photo2.jpg and collect the pages from the tray. The upper rooms contain the Lock Box Key and more pistol rounds.
Key items and where to find them
| Item | Location | Use |
|---|---|---|
| Flashlight | Kitchen drawer, Zoe’s house | Needs AA Batteries |
| AA Batteries (x2) | Bedroom nightstand drawer | Combine with flashlight |
| Human Organ for Transplant card | Bath mat, upstairs bathroom | Story item |
| Wooden plank | Peters Newsagent | Melee weapon |
| £5 Prepaid Power Card | Newsagent cash register | Electric meter credit |
| Community Garden Key | Shelf in Jane’s shed | Opens garden gate |
| Mr. Stewart’s Key | Washing machine, 10 Church Avenue | Unlocks door |
| Revolver | Lockbox, monument plaza | Ranged weapon |
| Pistol Rounds | Wooden boxes on patio tables | Revolver ammo |
| Lock Box Key | Upper rooms, tenement | Opens lock box |
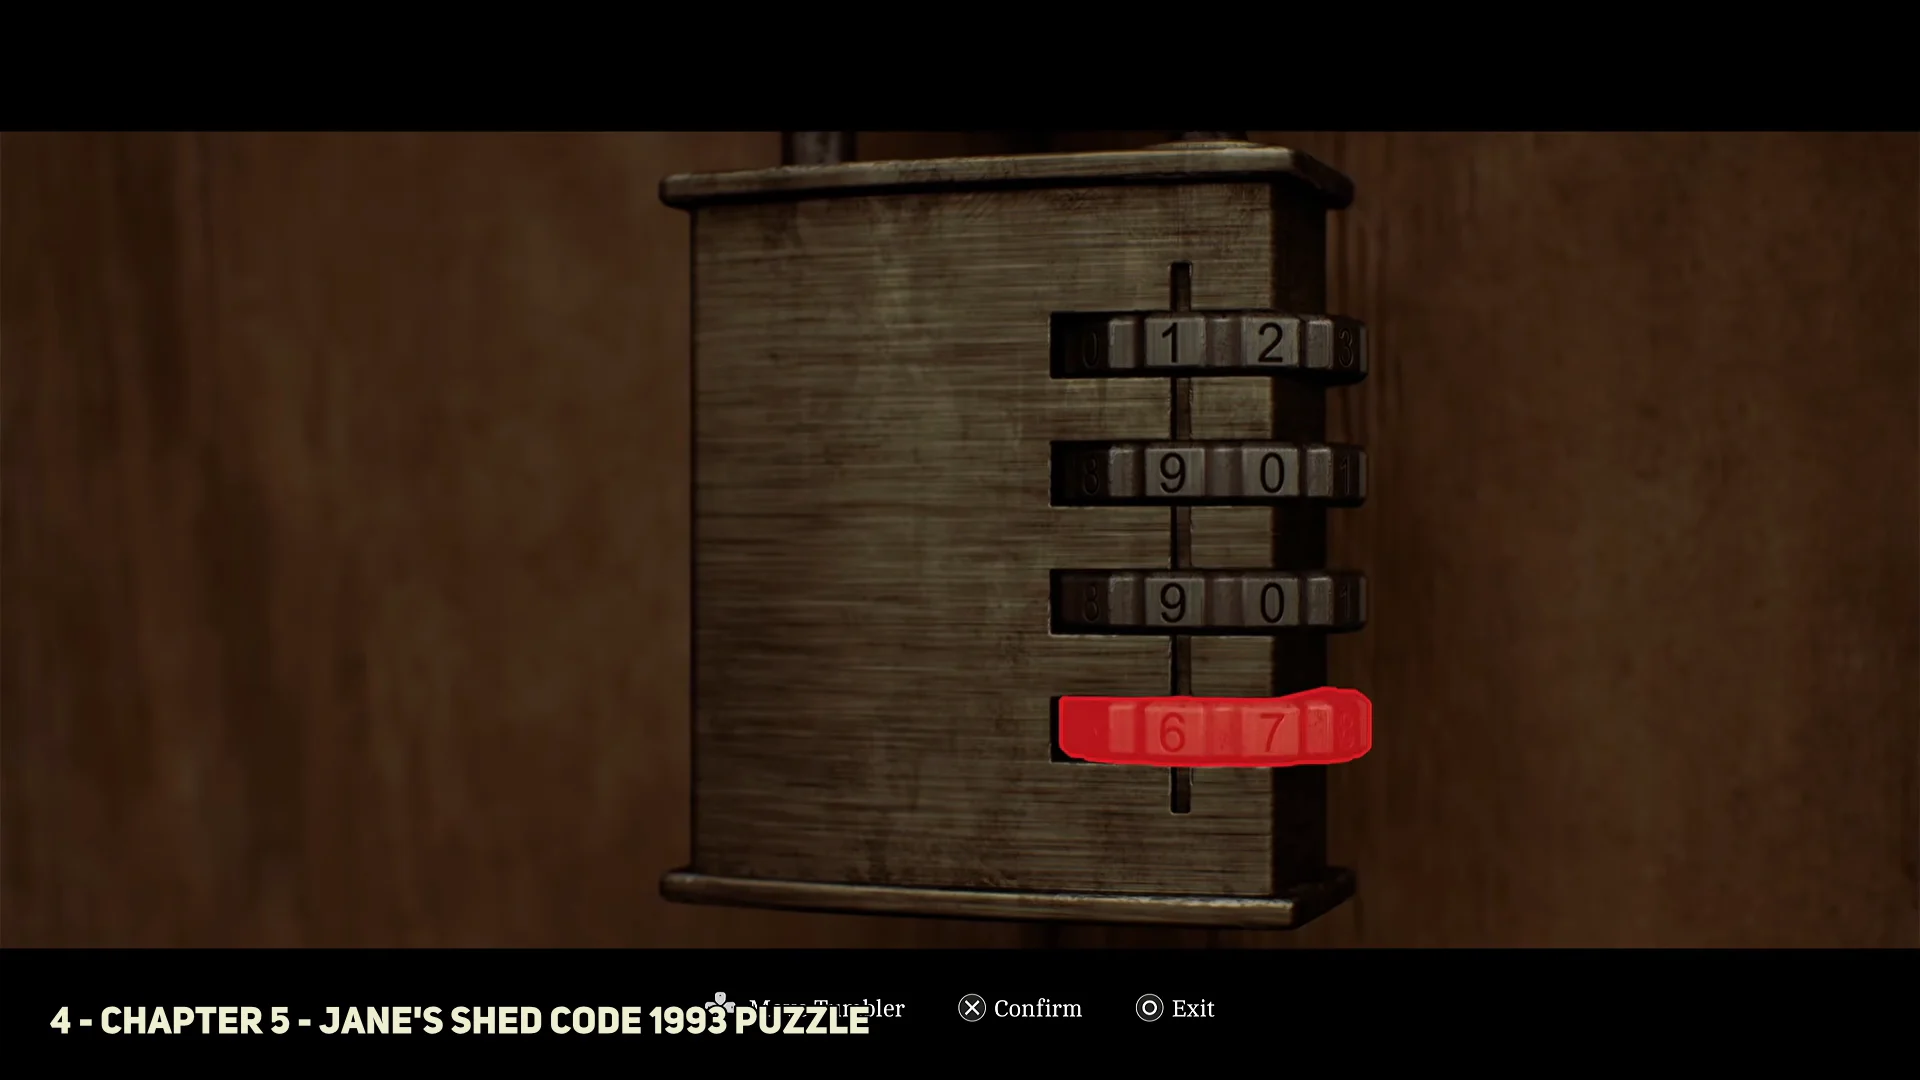
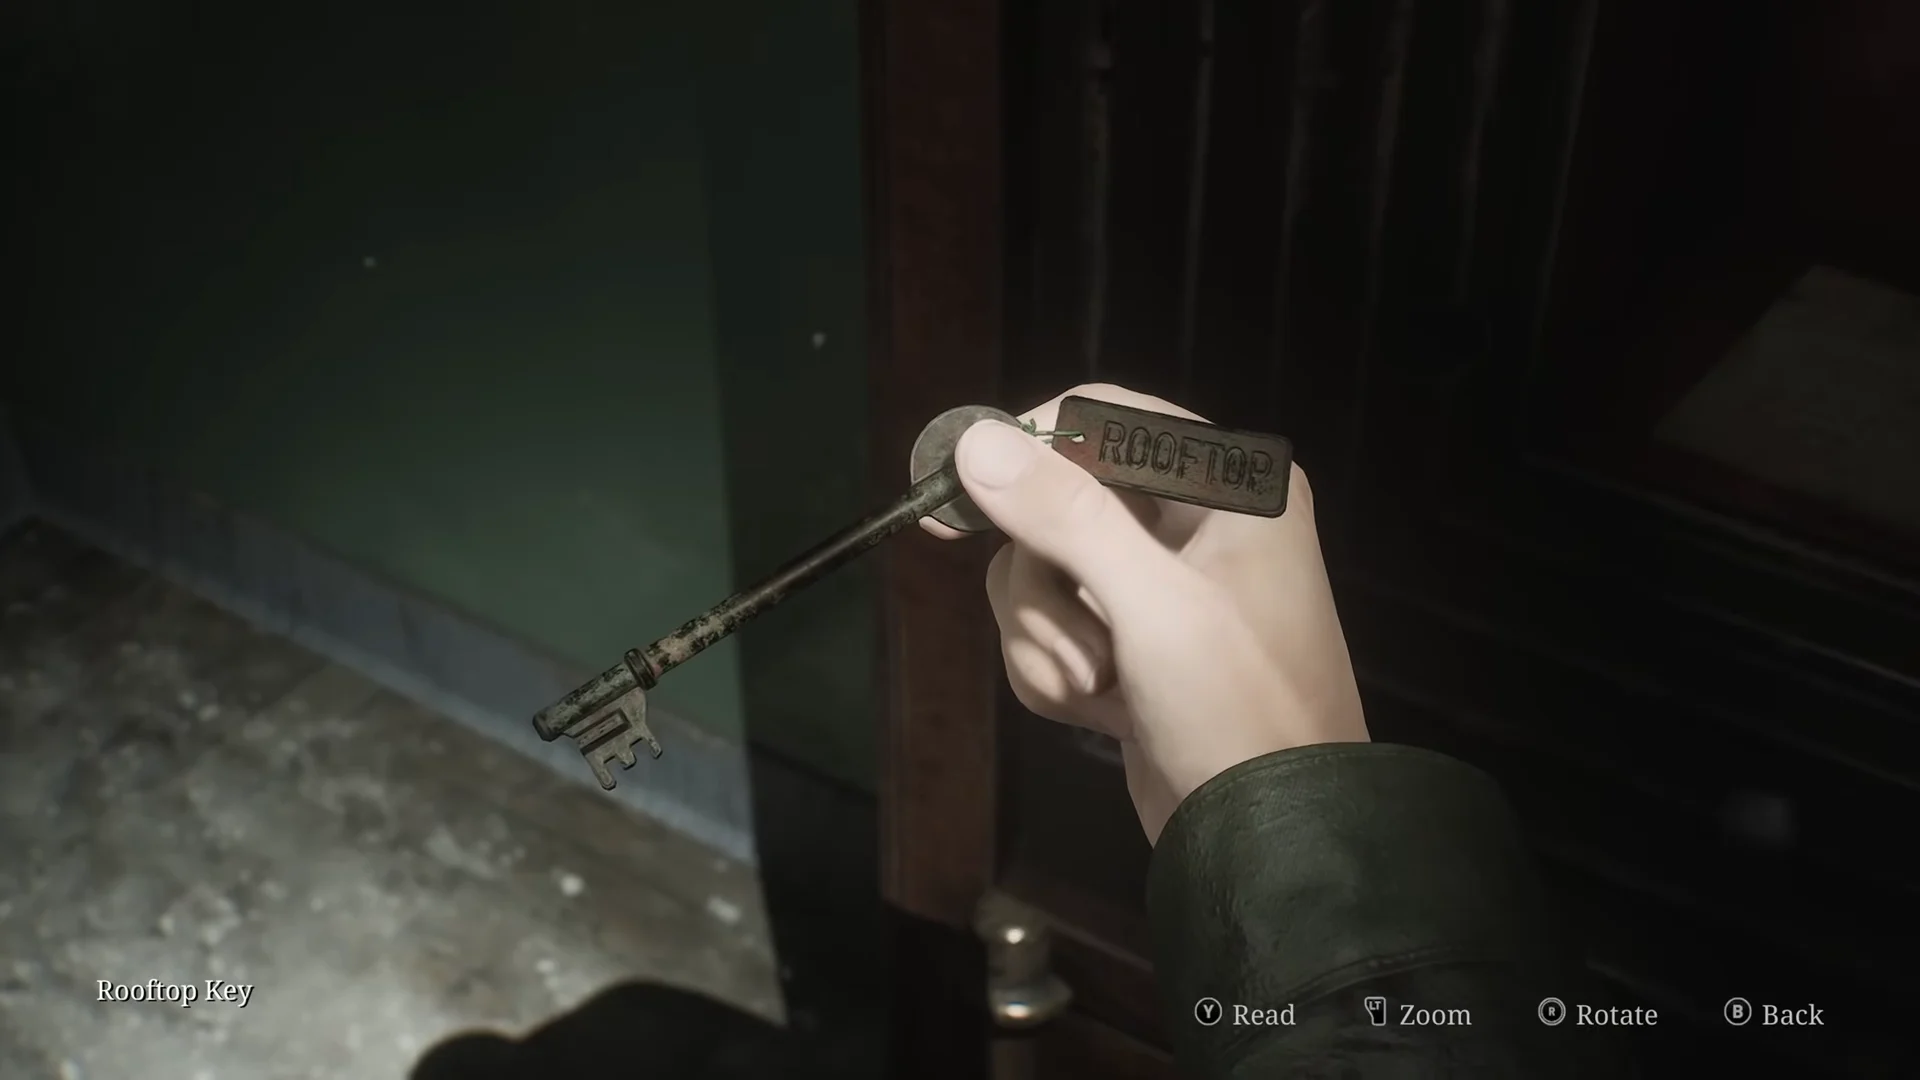
Alcohol appears twice in the early hours, once in a backyard garden shed and once behind the 1993 padlock, and a First Aid Kit sits in Mr. Stewart’s house. The scalpel is what opens every flesh-covered door, so do not leave it behind.
All phone numbers, codes and CRTV channels
| Code or number | Where it comes from | Result |
|---|---|---|
| 0163 296 0595 | Hallway phone, Zoe’s house | Council recorded message |
| 1993 | Jane Chalmers’ garden plaque | Opens Jane’s shed padlock |
| 496 0103 | Notepad, Mr. Stewart’s phone | Pages Nurse Ellis |
| 496 0556 (3, 2, 2, 1) | Medical Security Note | Clears Dr. Glenn’s triage line |
| Channel 63 | CRTV, after the clinic | Points to next signal |
| Channel 25 | CRTV, tenement apartment | Points to next signal |
St. Amelia rewards slow, room-by-room searching more than fast movement, and almost every locked object in the opening hours has its answer written down somewhere nearby — on a plaque, a notepad, a window notice or a printed letter. Read everything you pick up, keep the monitor tuned before you round a corner, and save your revolver rounds for the creatures blocking a door you have to walk through.





