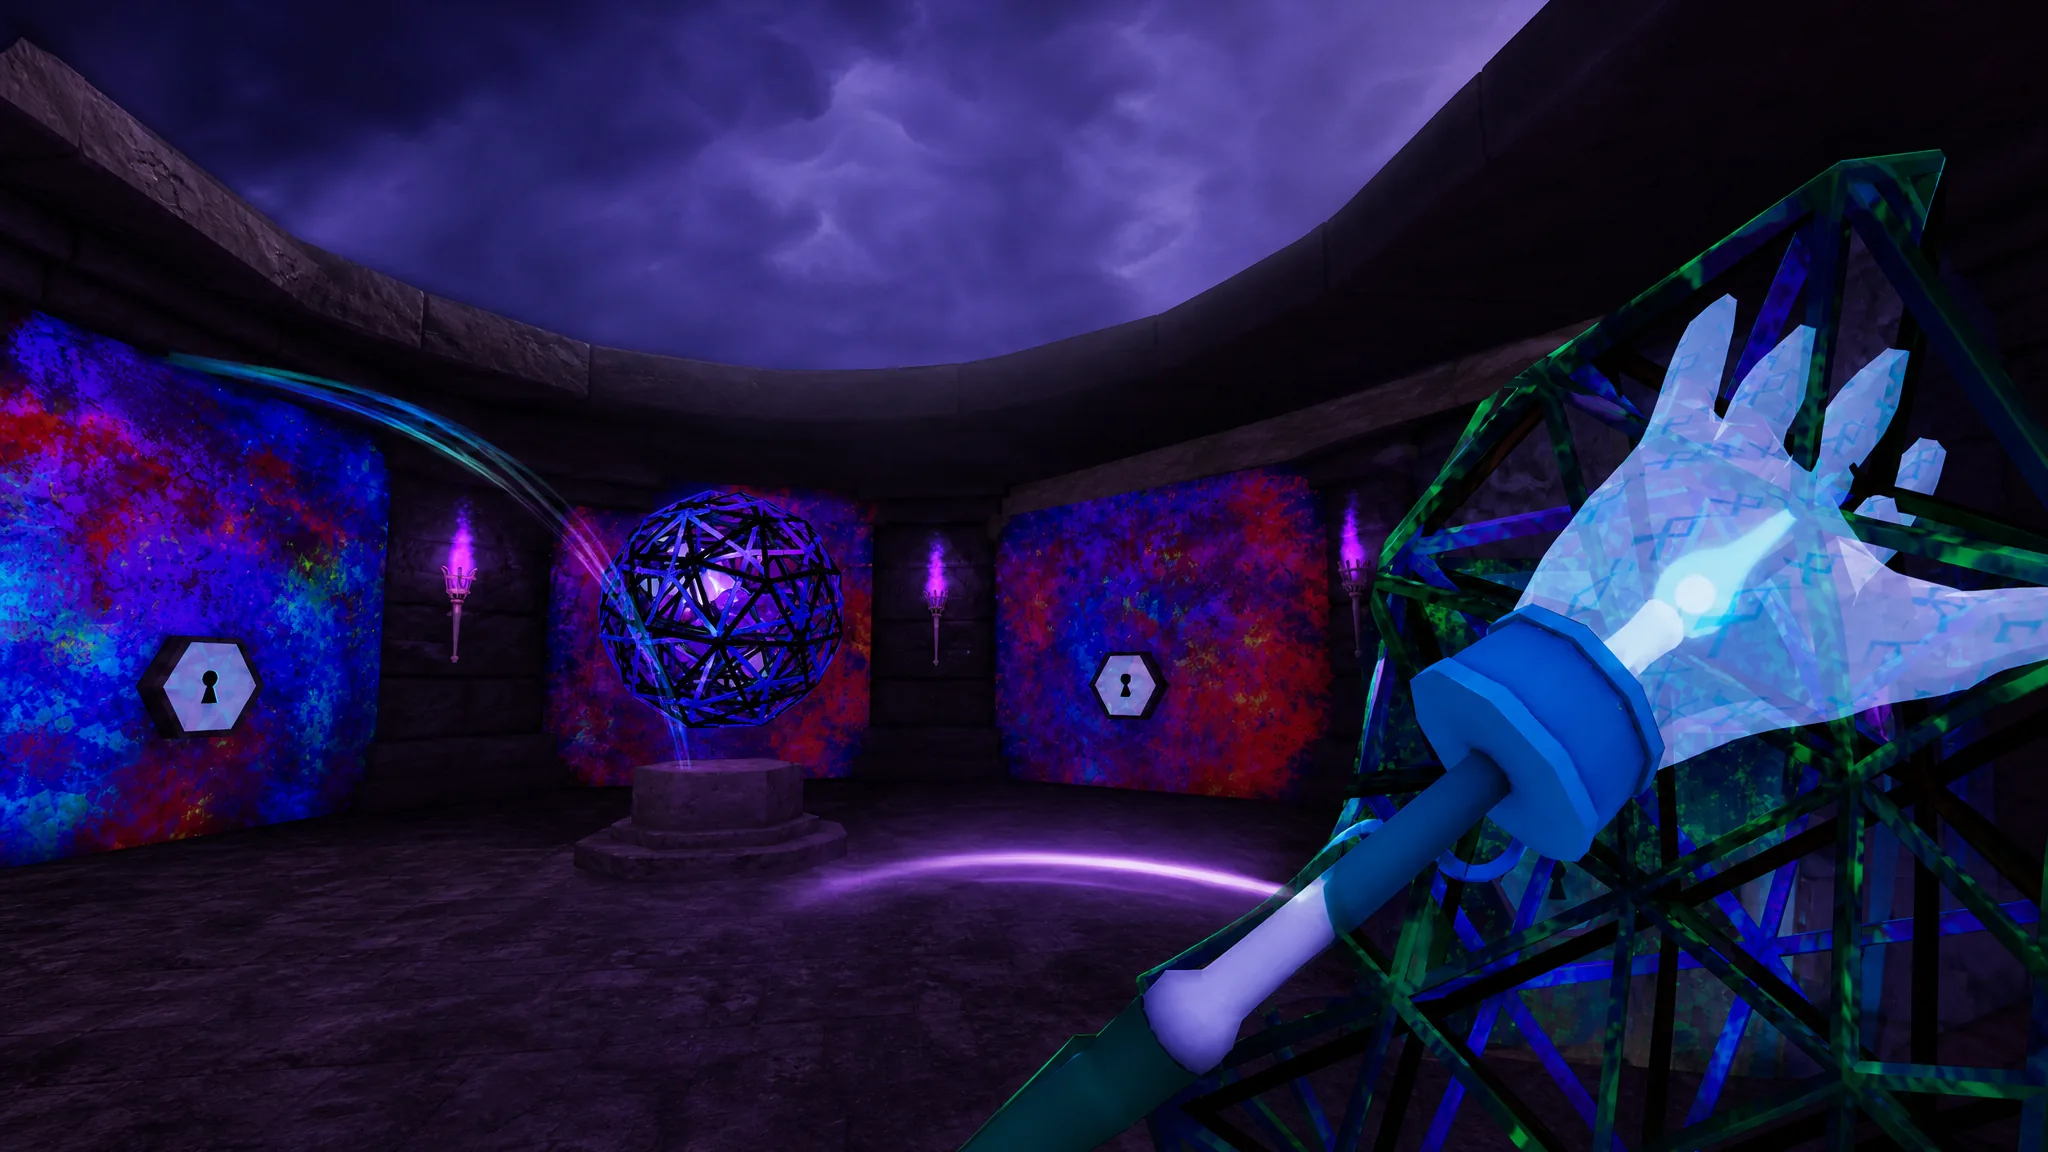
The Pim Boss encounter drops you into a dark dungeon maze where progress depends on collecting five colored keys, dodging traps, and staying frozen whenever Pim’s face appears. Beating it opens the cage in the center of the hub and hands you the Marewarder Glove, which feeds into the longer path toward the Static Glove.
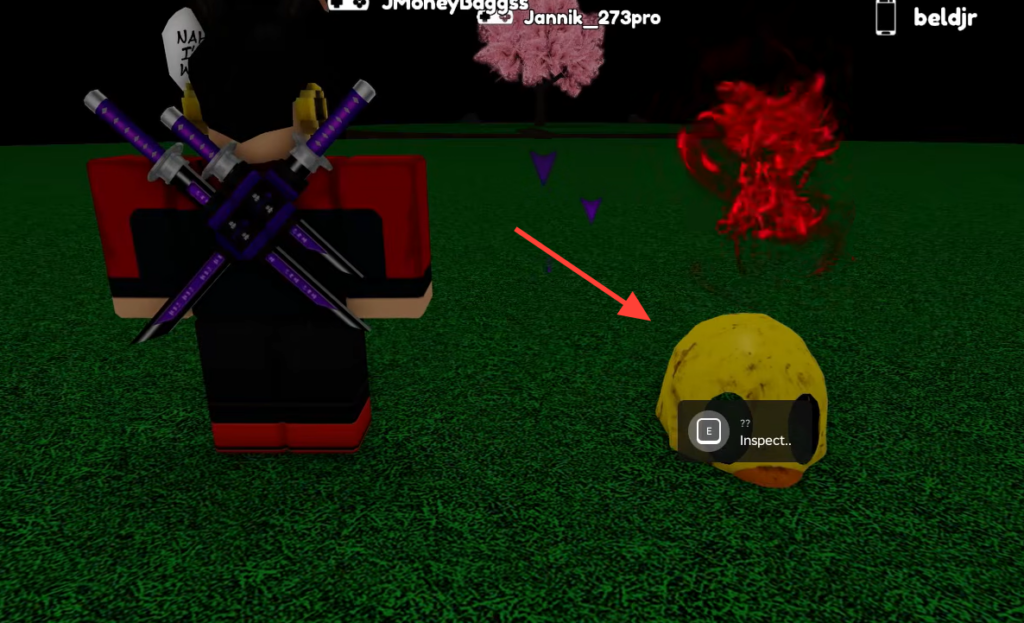
Quick answer: In a public server, interact with the half-buried duck at the center of the main map to enter the dungeon, spin the central turnwheel to reach each room, and collect the Ruby, Fiery, Seer, Rune, and Silver keys. Unlocking all five doors opens the central cage for the Marewarder Glove.

How to start the Pim Boss fight
You must be in a normal, public game mode. The keys do not spawn in private servers, so the quest cannot be completed there. Launch Slap Battles on Roblox and load into a standard arena.
Doors you unlock stay unlocked. You can leave and rejoin without losing your progress on any door you have already opened.
How the turnwheel controls the dungeon
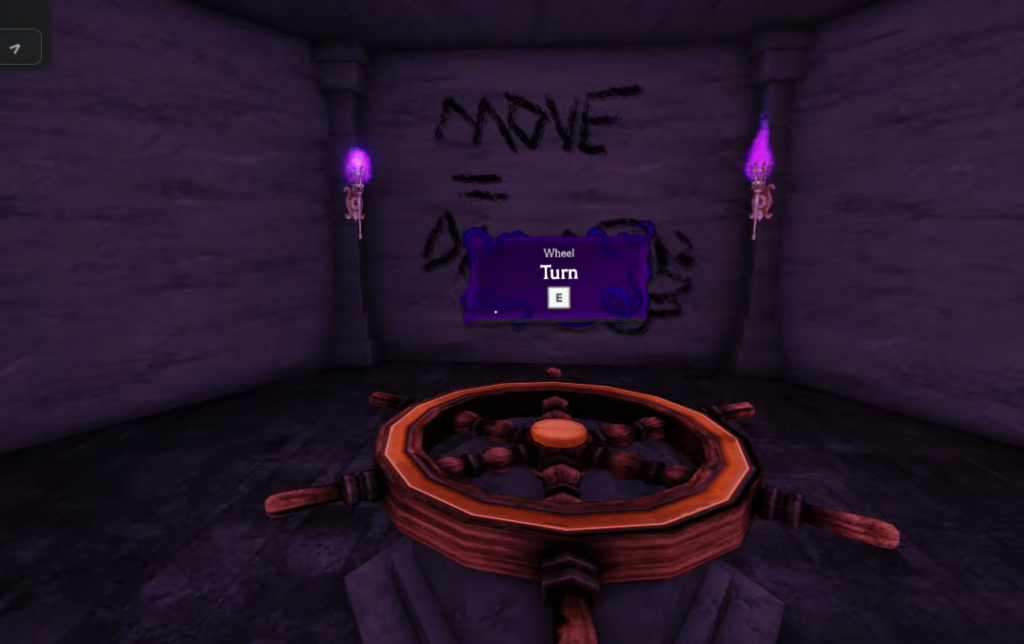
The central turnwheel is the heart of the quest. Every spin changes which door opens next, so a single spin sends you to a different challenge room. You return to this main turnwheel again and again to reach each key area.
One branch leads to a second wheel inside the blue room. That inner wheel opens four of its own rooms and is where several keys and passkey numbers are hidden. To keep the two straight, treat the wheel in the hub as the main turnwheel and the one down the blue room as the blue room turnwheel.
Freeze the moment Pim appears
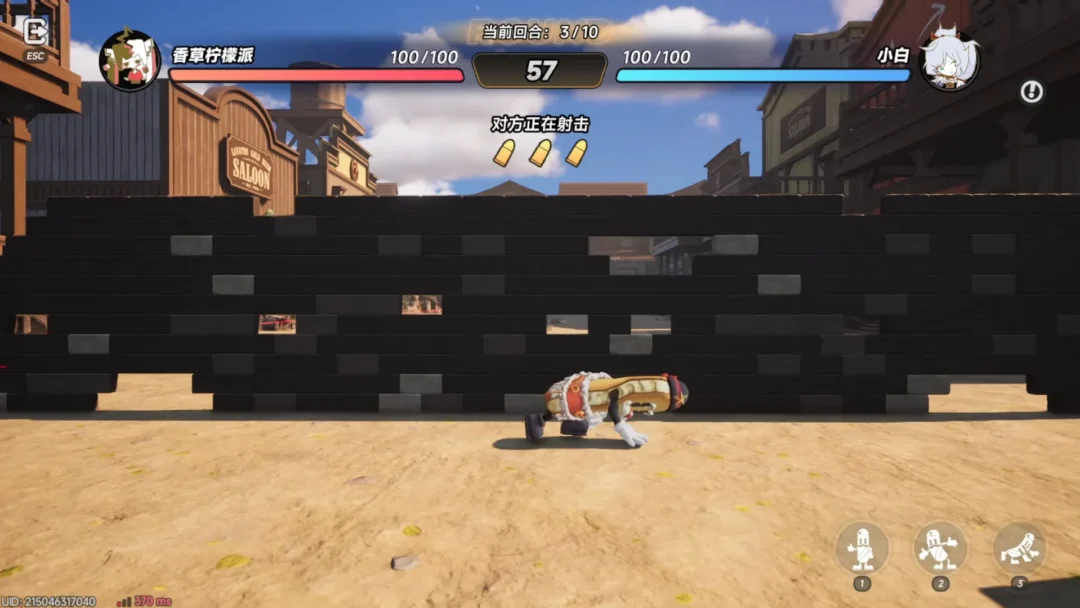
Pim’s face can flash onto your screen at any point in the dungeon. When it does, stop moving completely. Any walking or jumping while Pim is watching fails the attempt and sends you back to the start of the challenge, which is exactly what the “MOVE = DIE” graffiti warns about.
Wait until Pim disappears before you move again. This rule applies everywhere, including inside the final maze, so stay ready to freeze mid-run.
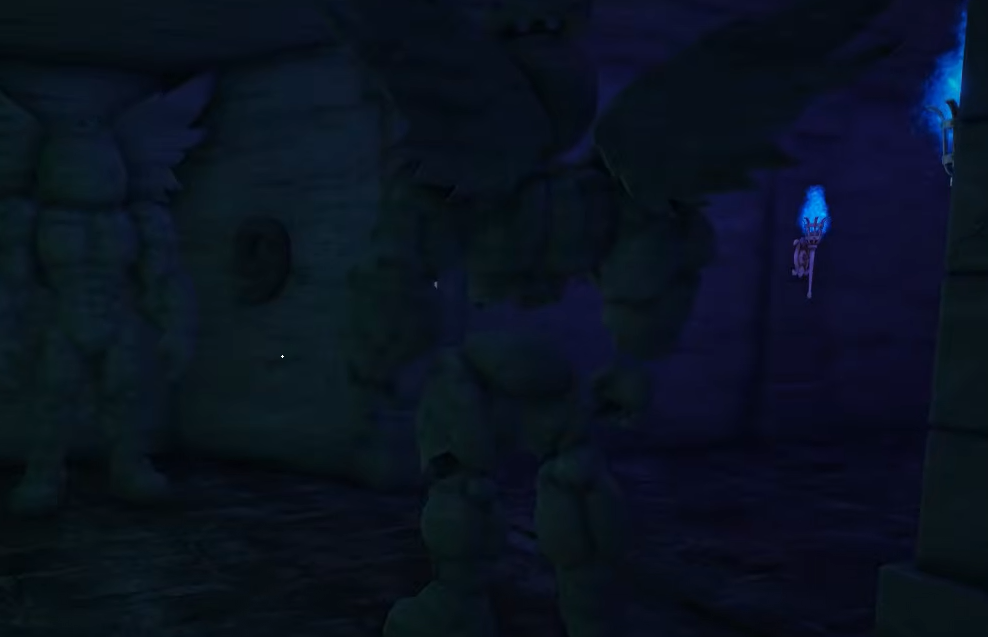
A second hazard is the moving statues. They shift toward you whenever you look away, so keep your camera pointed at them and avoid the floor traps while you pass.
All five keys and where they are
| Key | Location summary |
|---|---|
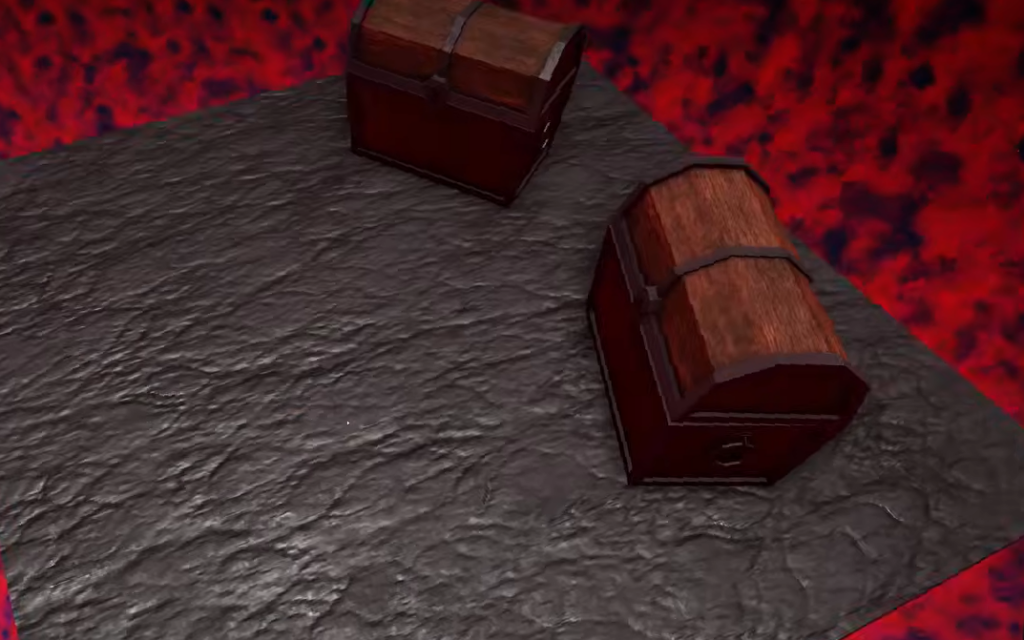
| Ruby Key | Red portal obby with disappearing platforms; five chests at the end |
| Fiery Key | Eye room, then the Dungeon room tile puzzle solved with the Dungeon Map |
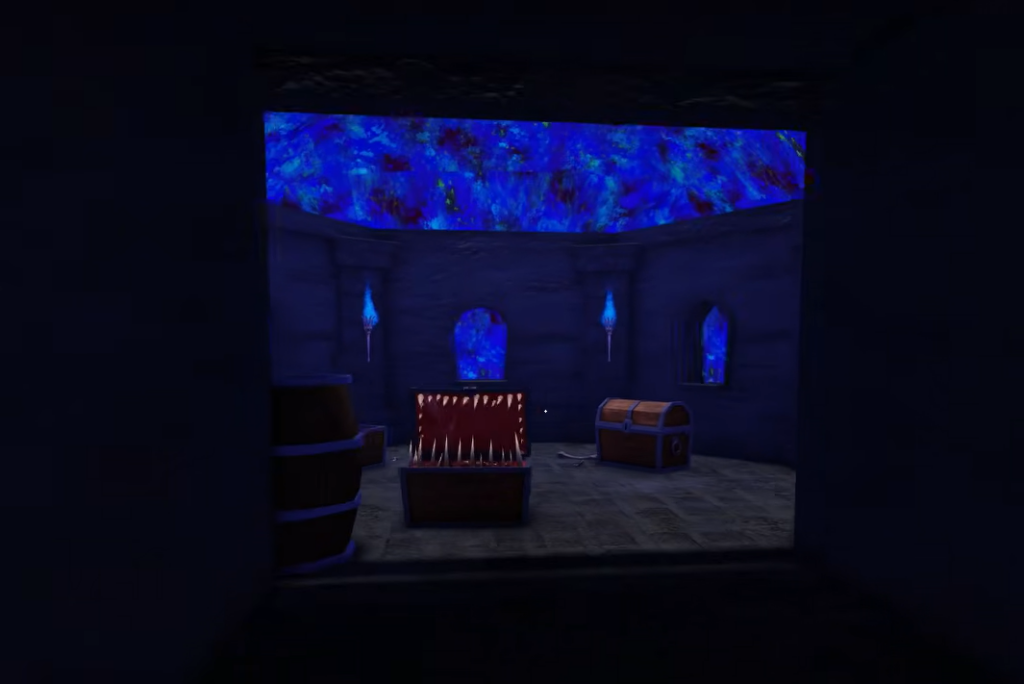
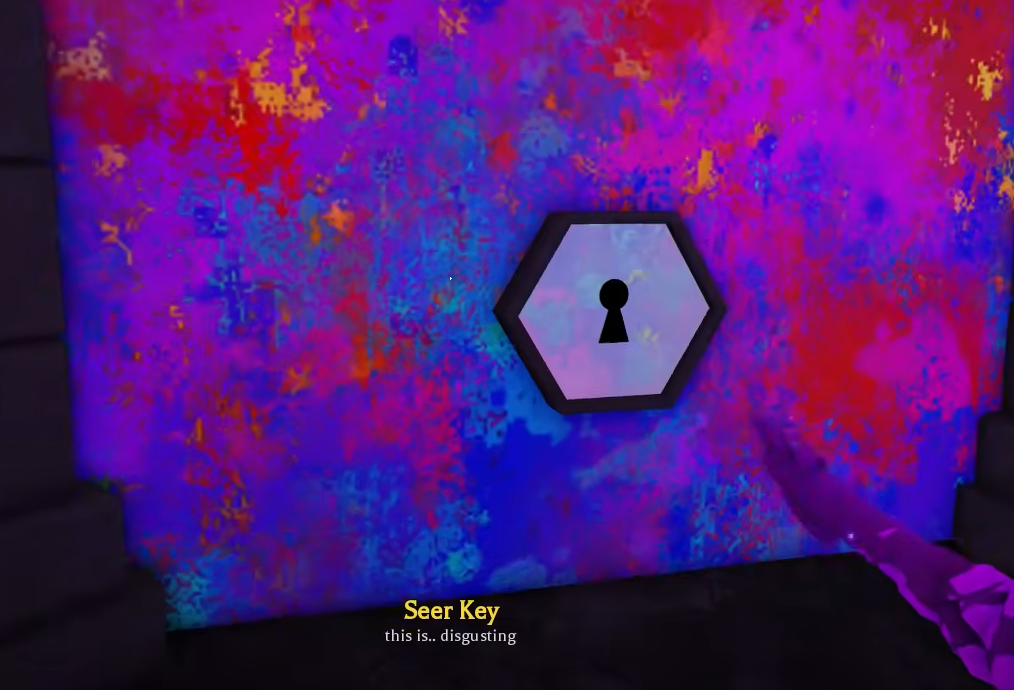
| Seer Key | Blue room turnwheel passage, up a ladder through a hatch to four chests |
| Rune Key | Green room number columns, opened with a four-digit passkey found on walls |
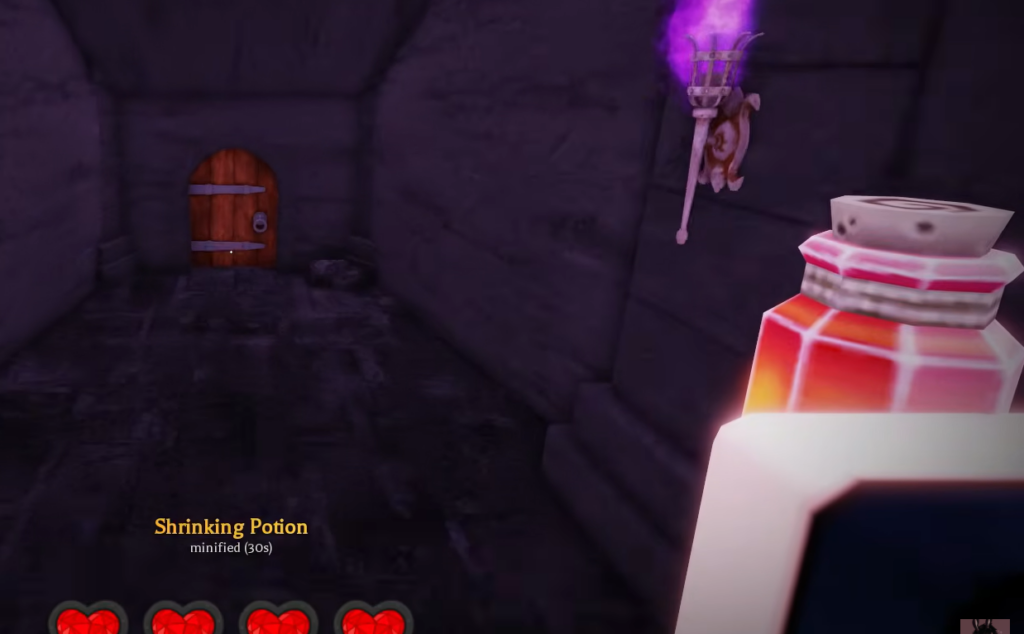
| Silver Key | Small door reached with the Shrinking Potion above the eye hallway |
Ruby Key: the red portal obby
Fiery Key: the Dungeon Map tile puzzle
Seer Key: the lever and the hatch
Rune Key: the four-digit passkey
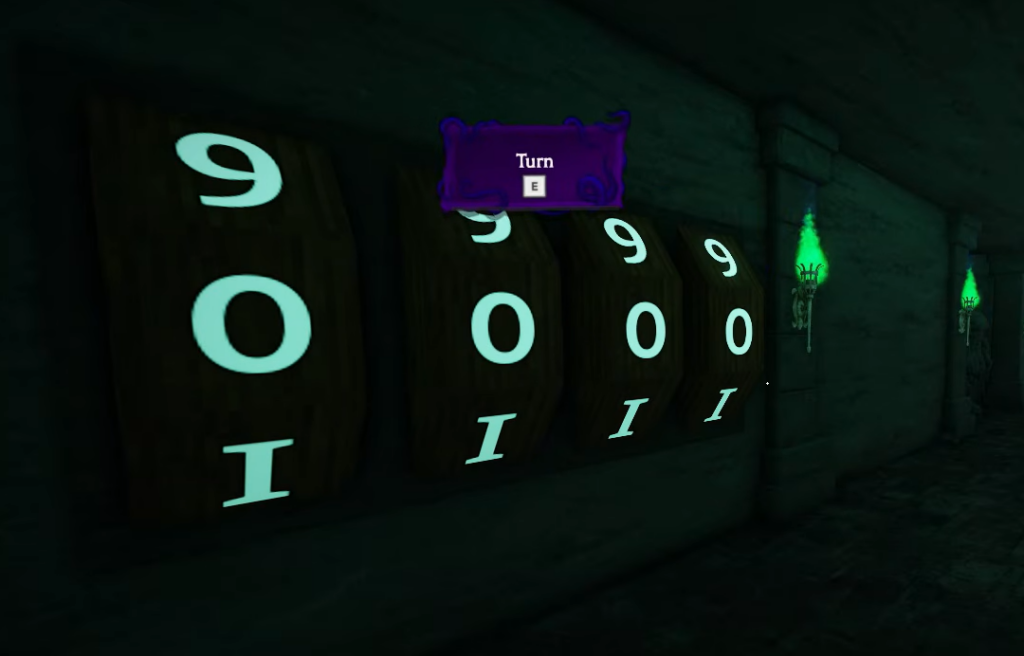
The Rune Key sits behind a secret door in the green room that only opens once you enter a four-number passkey. Each number is written on a wall inside one of the four sections the blue room turnwheel leads to.
| Passkey digit | Where to read it |
|---|---|
| Number 1 | Turn the blue room turnwheel once; on the left, opposite the eye creature |
| Number 2 | Turn once more; the Seer lever hallway, on the right-side wall |
| Number 3 | Turn twice; the room with the ladder to the Seer Key, on the right-side wall |
| Number 4 | Turn once more; the final room, on the wall above the chests |
Silver Key: use the Shrinking Potion
Potions and items you collect along the way
Chests throughout the dungeon hold consumables that unlock certain rooms or keep you alive. Health regenerates slowly on its own, so save potions for hard sections rather than minor scrapes.
| Item | Use |
|---|---|
| Health Potion | Restores lost health; hold for longer or riskier rooms |
| Shrinking Potion | Shrinks you to fit through tight spaces like the Silver Key door |
| Speed Potion | Temporarily raises movement speed |
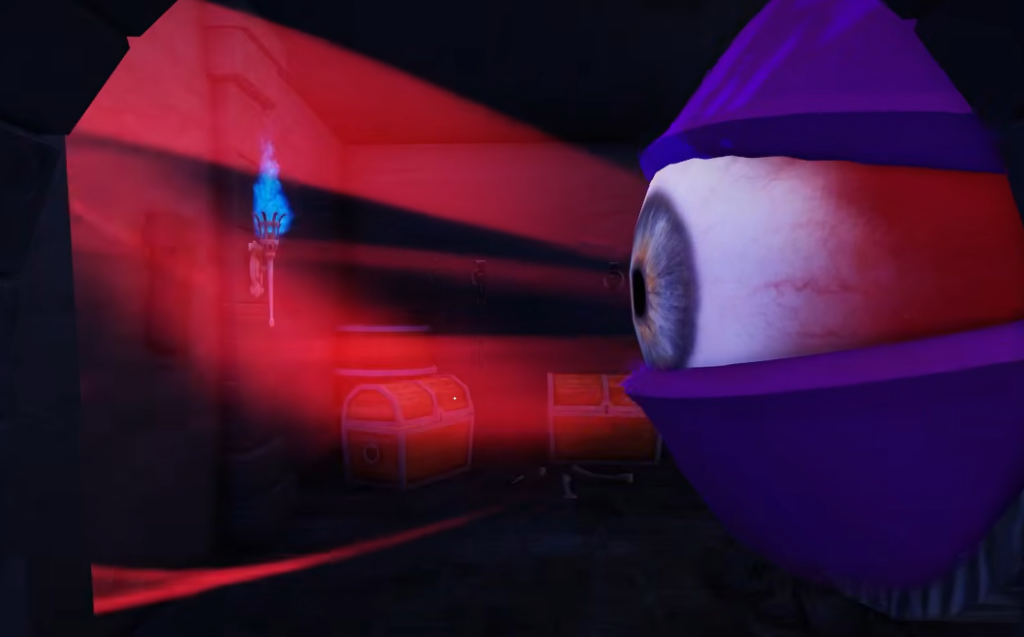
| Poison Potion | Thrown at giant laser eyes to disable them for a short time |
| Dungeon Map | Shows the safe tile route in the Dungeon room |
How to claim the Marewarder Glove
Once all five keys are in hand, return to the hub and use each one on its matching lock. Opening the last of the five doors opens the central cage, letting you take the glove reward inside. That reward is your marker that the run is complete, and it continues the path toward the Static Glove.
Because unlocked doors save, you do not need to finish every key in one session. If you disconnect, rejoin a public server and pick up from the doors you have already opened.
Why the run keeps resetting
A few specific mistakes send you back or drain your health. Knowing them makes each attempt faster.
- Moving while Pim’s face is on screen, which fails the challenge instantly.
- Playing in a private server, where keys such as the Ruby Key will not spawn.
- Opening mimic chests with teeth without an escape jump ready.
- Letting the moving statues close in by turning your camera away from them.
- Stepping on the wrong tile in the Dungeon room instead of following the Dungeon Map.
Work through the keys in an order that suits your inventory, freeze on sight of Pim, and keep at least one Health Potion for the eye and maze sections. Do that and the central cage opens on your Marewarder run without a full restart.