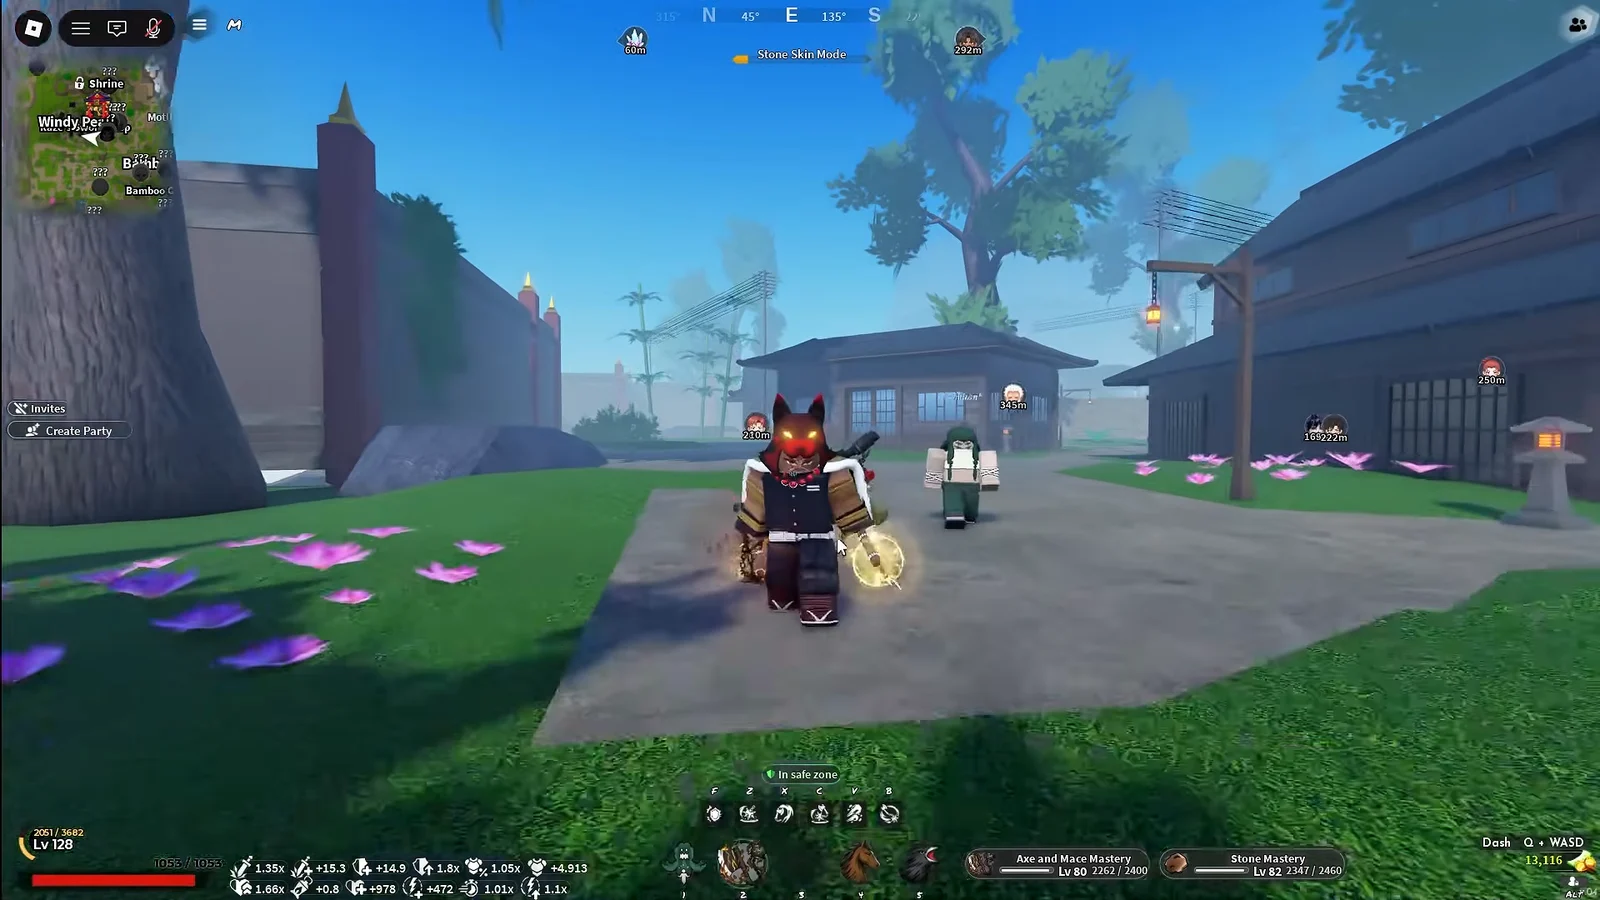
Slayers 2 hides its eight breathing styles behind eight separate trainers, and none of them are marked with a glowing arrow. Some stand on a cliff you can walk up. Others sit on a rooftop, at the top of a rock pillar, or on the far side of an underwater tunnel that will drown you if you dawdle. The trainer is only half the job, too, because every style charges its own toll in levels, Demon Horns, Beast Cores, or Wen before the training questline will even start.
Quick answer: Every breathing style requires Level 25 plus its own materials. Find the trainer, check the cost, farm what is missing, then complete the training tasks and beat the matching trainee.
All eight breathing trainers in Slayers 2
Here is the full roster, with the trainer name, the area they stand in, and what they ask for.
| Breathing | Trainer | Location | Requirements |
|---|---|---|---|
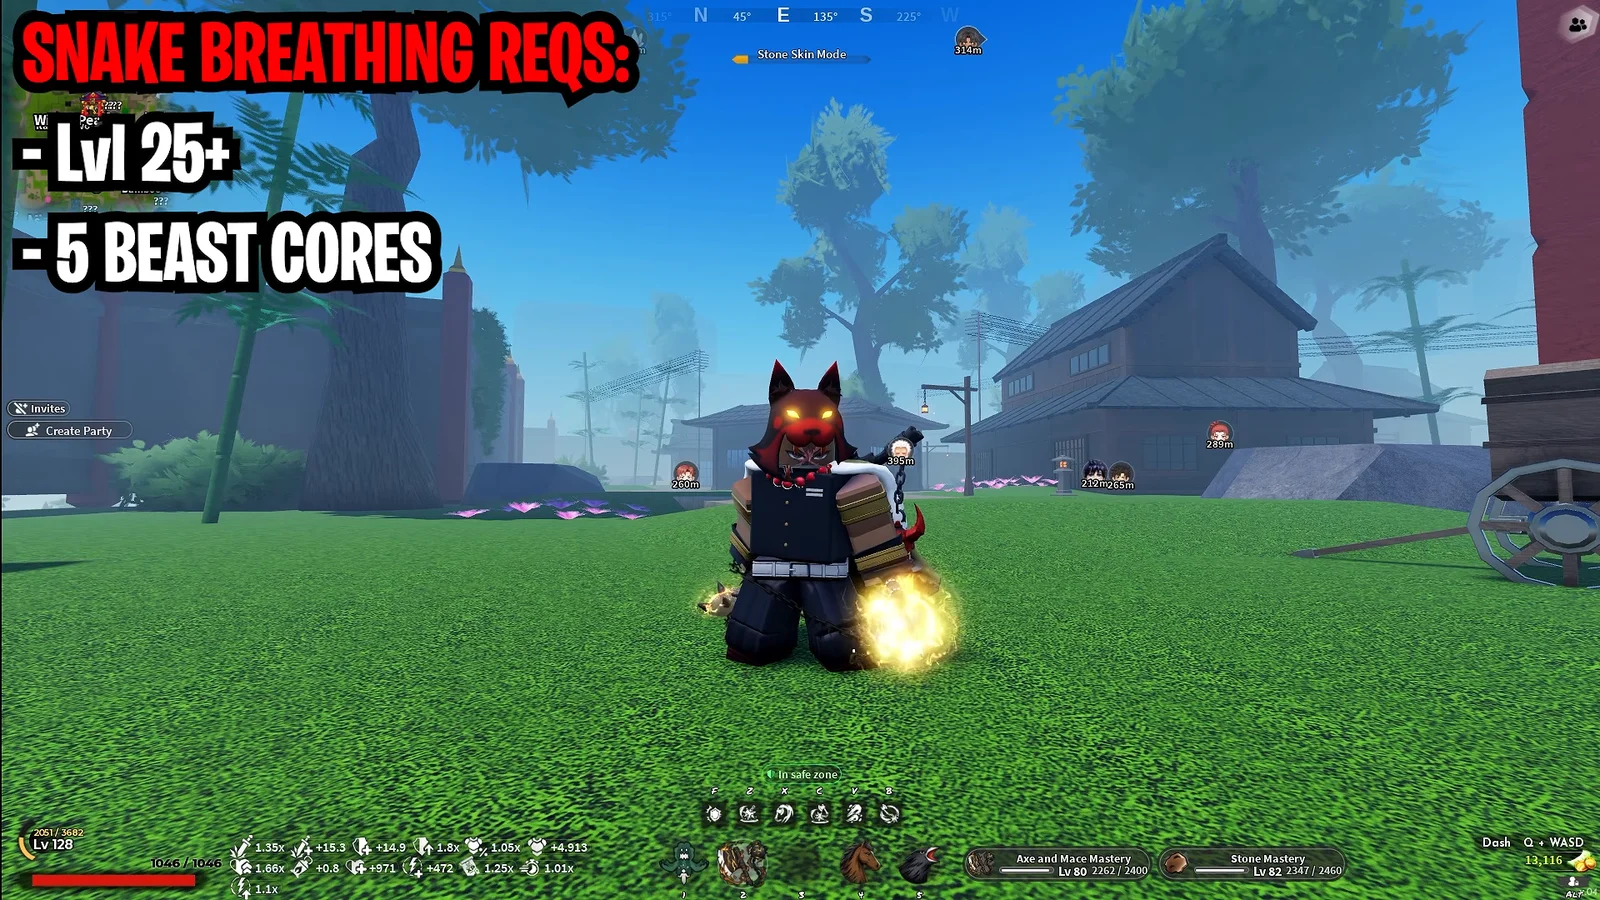
| Serpent | Obari | Cliff above the starting area | Lvl 25, 20 Demon Horns, 5 Beast Cores |
| Insect | Shinora | Butterfly Estate, main building | Lvl 25 |
| Flame | Rengu | House past the red bridge, Mistfall | Lvl 25, 10 Demon Horns |
| Thunder | Zentaro | Mountain summit near Bamboo Grove | Lvl 25, 10 Demon Horns, Wall Climb |
| Stone | Gyorei | Temple on the lower mountain path | Lvl 25, 5 Beast Cores, Axe and Mace |
| Sound | Tengai | High cliffs, Iceveil Valley | Lvl 25, 10 Demon Horns, Wall Climb |
| Wind | Saneri | Ice platform in the snow region | Lvl 25, 50 Demon Horns |
| Water | Urokodaki | Underwater room near Bamboo Grove | Lvl 25, 5,000 Wen, 30 Demon Horns |
Standing next to a trainer does not give you the style. Each one opens a questline you have to finish, and the cost shown in their dialogue is the version that counts.
What to unlock before you start walking
Three of these routes are vertical, one is underwater, and two run through a freezing biome. Sorting out movement first saves a lot of wasted travel.
- Level 25 — the shared entry point for every breathing style.
- Wall Climb — bought from the skill tree. Thunder and Sound are effectively closed without it.
- Double jump — makes the cliff and tree-trunk climbs far less fiddly.
- Axe and Mace — dropped by the Stone Trainee, and required to actually use Stone Breathing.
- A Frozen Lantern — Iceveil Valley deals cold damage while you cross it.
You can visit a trainer before you can afford them. Walking the route once, reading the cost, and farming afterwards beats farming the wrong material for an hour.
Where to farm Demon Horns and Beast Cores
Demon Horns are the main currency here, and the drop rate depends entirely on which demon you kill. Hoyuzo Subordinates in the cave near the Mother Bear area drop one horn each. High Demons up in Iceveil Valley drop two, which halves the grind for the expensive styles. The Bamboo Grove cave and the open fields at night are also reliable horn spawns.
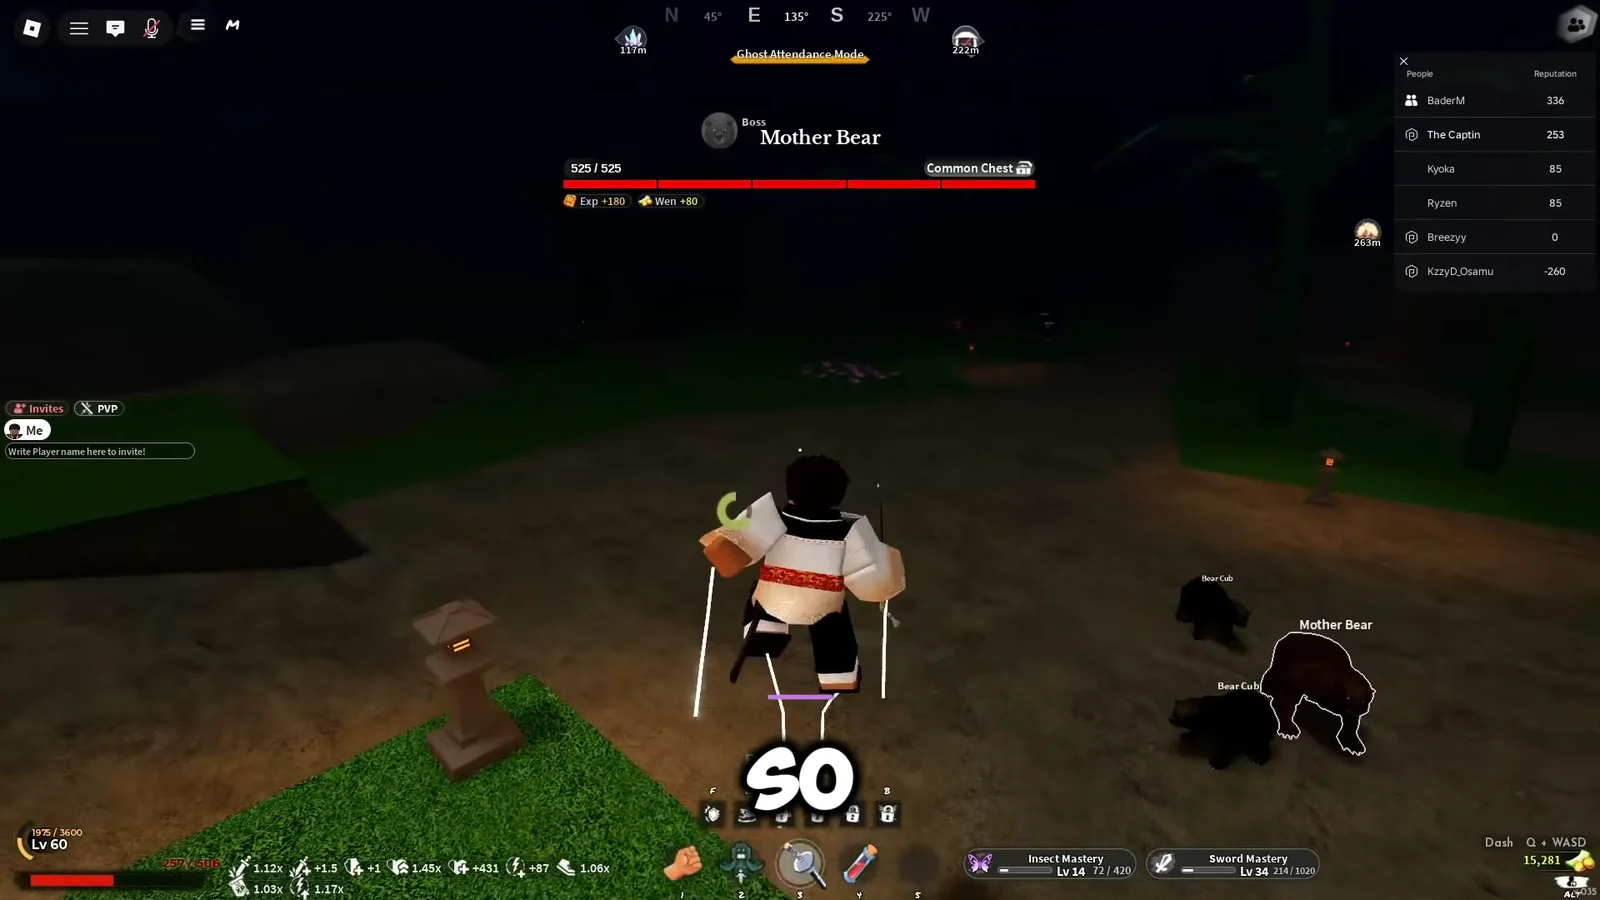
Defeat Beast Born Demons around Mistfall Village and the Harbor area to collect Beast Cores. Serpent needs five and Stone needs five, so a brief route will generally do. For Wen, first bring Ginzo’s Jewelry Box back from his home in the Village Hidden in the Mist, then sell loot to him at Mistfall Harbor.
Trainer routes, region by region
Bamboo Grove and the starting cliffs: Serpent, Thunder and Water
Obari is the closest trainer to spawn. Leave the beginner village, follow the cliffside path past the first NPCs, and climb the tiered stone ledges and trees above the open fields. He waits in an alcove tucked against the mountain wall, so pull your camera out once you reach the top.
Zentaro is much higher up. From the bamboo village bridge, cross the river, pass the Obari boss area, and start scaling the huge rock pillars and tree trunks. The route ends on a flat mountain plateau where he stands alone. This is the climb that fails without Wall Climb.
Urokodaki is the one people walk straight past. Head out of Bamboo Grove toward the water and look below the cliff for a small wooden house on an island. Just outside the structure there is a concealed hole filled with water. Drop in, swim the tunnel, and climb up into the hidden room on the other side.
You can drown in that passage. Keep swimming forward instead of stopping to look around.
The mountain temple: Stone Breathing
Gyorei shares the early part of the Thunder route. From the bear area, follow the path up past the Torii gate, but take the lower branch rather than climbing the mountain face. He stands out front of a temple-style training building near the Hidden Mist Village. The Stone Trainee patrols this same stretch, and killing it is how you get the Axe and Mace the style needs.

Iceveil Valley: Sound and Wind
Both snow trainers start from the same gates leading into the valley. For Tengai, push through the snow town and up the mountain peak, using dashes and wall climbs to get up the tall walls during the blizzard. He is on a high cliff platform, pressed into a corner against the rock.
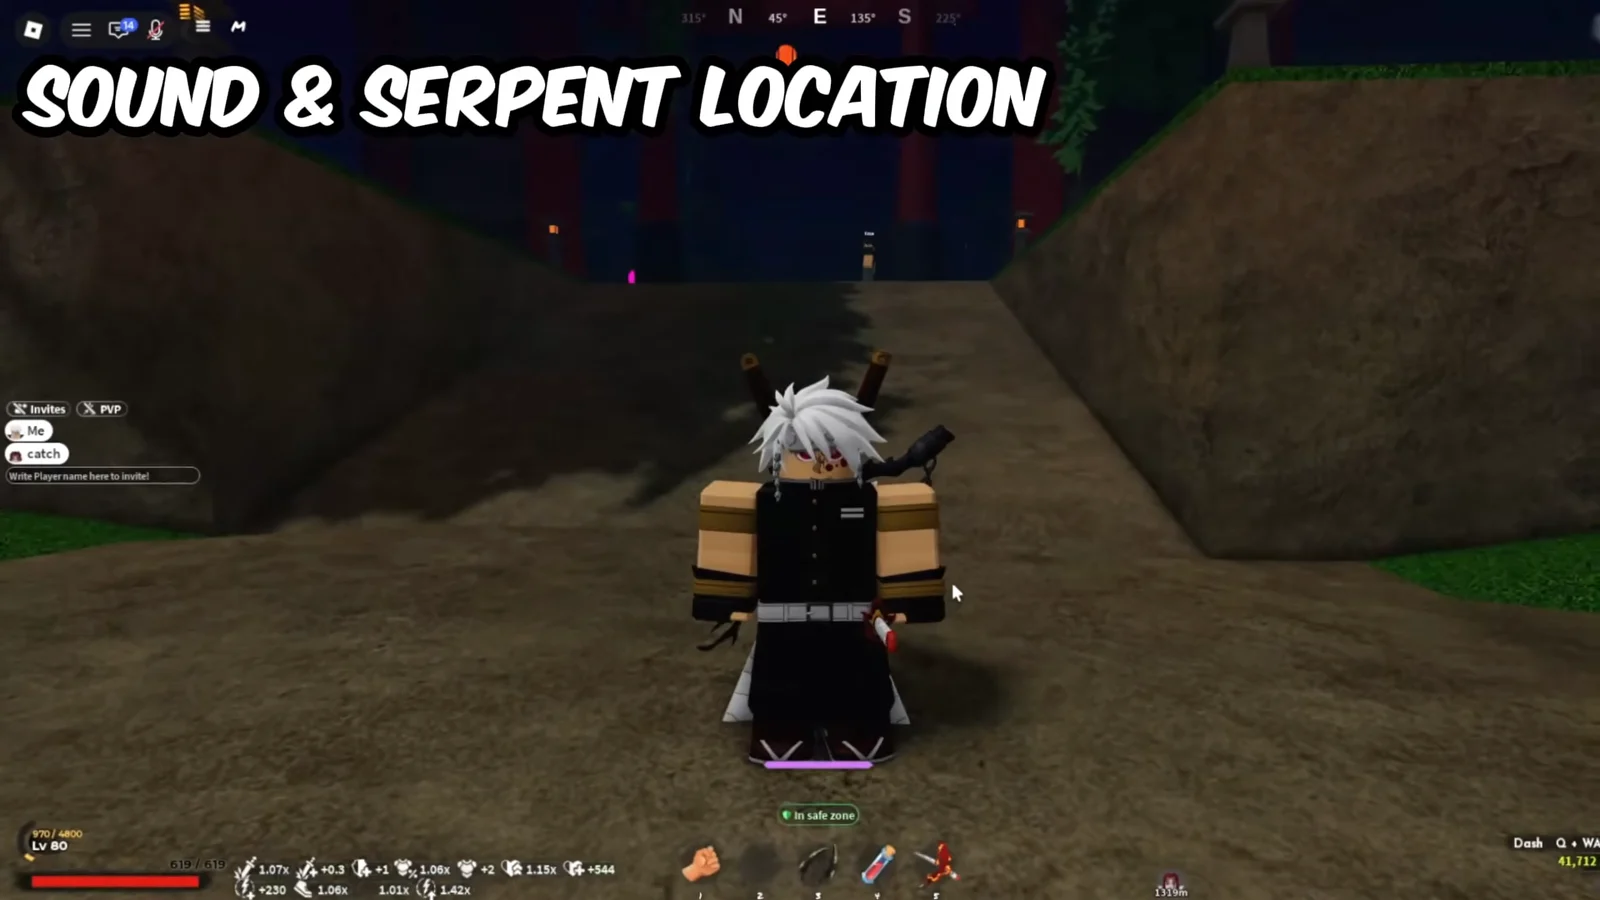
Saneri is below and easier to reach. From the bear area, follow the snowy route until it reaches frozen water, then glide or descend onto the ice. Find him on a platform at the water’s center, close to a waterfall ledge. Wind costs the most at 50 Demon Horns, so locate Saneri before you begin farming.
Butterfly Estate and Mistfall Harbor: Insect and Flame
Shinora is at the Butterfly Estate, reached by leaving Beginner Village, following the stone paths and grassy hills, and dropping down a cliff marked by several large boulders. Once inside the grounds, go past the Insect Trainee and look up and behind the main building. She stands on the walkway under the purple trees, which is why people miss her at ground level.
Rengu sits above Mistfall. Run from Bamboo Grove toward Mistfall Harbor, cross the suspension bridges and the water, then climb the cliffs past the Rengu boss area and the long red bridge. He is on the small rooftop ledge behind the main wooden house.

Finishing the training and confirming the unlock
M and go to the Skill Tree. If the unlock worked, the style’s moves appear there and you can buy them with Skill Points. Nothing is equipped automatically, so spend the points before heading back out.What each breathing style gives you
Once the Skill Tree is open, each style ends in a heavy finisher plus a handful of mid-tier moves worth pointing out.
| Breathing | Finisher | Notable move |
|---|---|---|
| Serpent | Slithering Serpent | Coil Choke (block break) |
| Sound | String Performance | Exploding Beads |
| Stone | Arcs of Justice | Stone Wall |
| Thunder | Flaming Thunder God | God Speed |
| Wind | Idaten Typhoon | Rising Dust Storm |
| Water | Dead Calm | Constant Flux |
| Insect | True Flutter | Hundred-Legged Zigzag |
| Flame | Purgatory | Flame Tiger |
Serpent is the most practical first pick. Its trainer is minutes from spawn, its cost is the mildest of the paid styles, and Coil Choke plus the Slithering Serpent finisher clear farming mobs quickly enough to fund the expensive unlocks later. Stone is the odd one out because the Axe and Mace drop gates the whole style, and Wind is worth saving for last given the horn bill.
With a style locked in, the next wall is Final Selection, which opens at level 45. The route runs from Mistfall Harbor toward the Butterfly Estate, south across the long bridge to the Final Selection Plains, then northeast to the trial entrance, so the same landmarks you learned chasing trainers will get you there.