

The demon path in Slayers 2 is not something you stumble into. The game hides it behind a reputation requirement, a night-only NPC, and a two-part quest that can stall for a full in-game day if you show up at the wrong time. Once you know the order of operations, the whole run takes one focused session.
Quick answer: Drop your reputation to at least -40 by killing slayers or civilians, find Muzan at night, use his Biwa Bell, then finish his Spider Lily and Dr. Higoshima quest to earn Muzan’s Blood.
Prerequisites before you start the demon path
Becoming a demon replaces the slayer route that normally ends with Final Selection, so there is no reason to grind toward that event if demons are your goal. What you do need is a character that can survive a fight and climb a cliff.
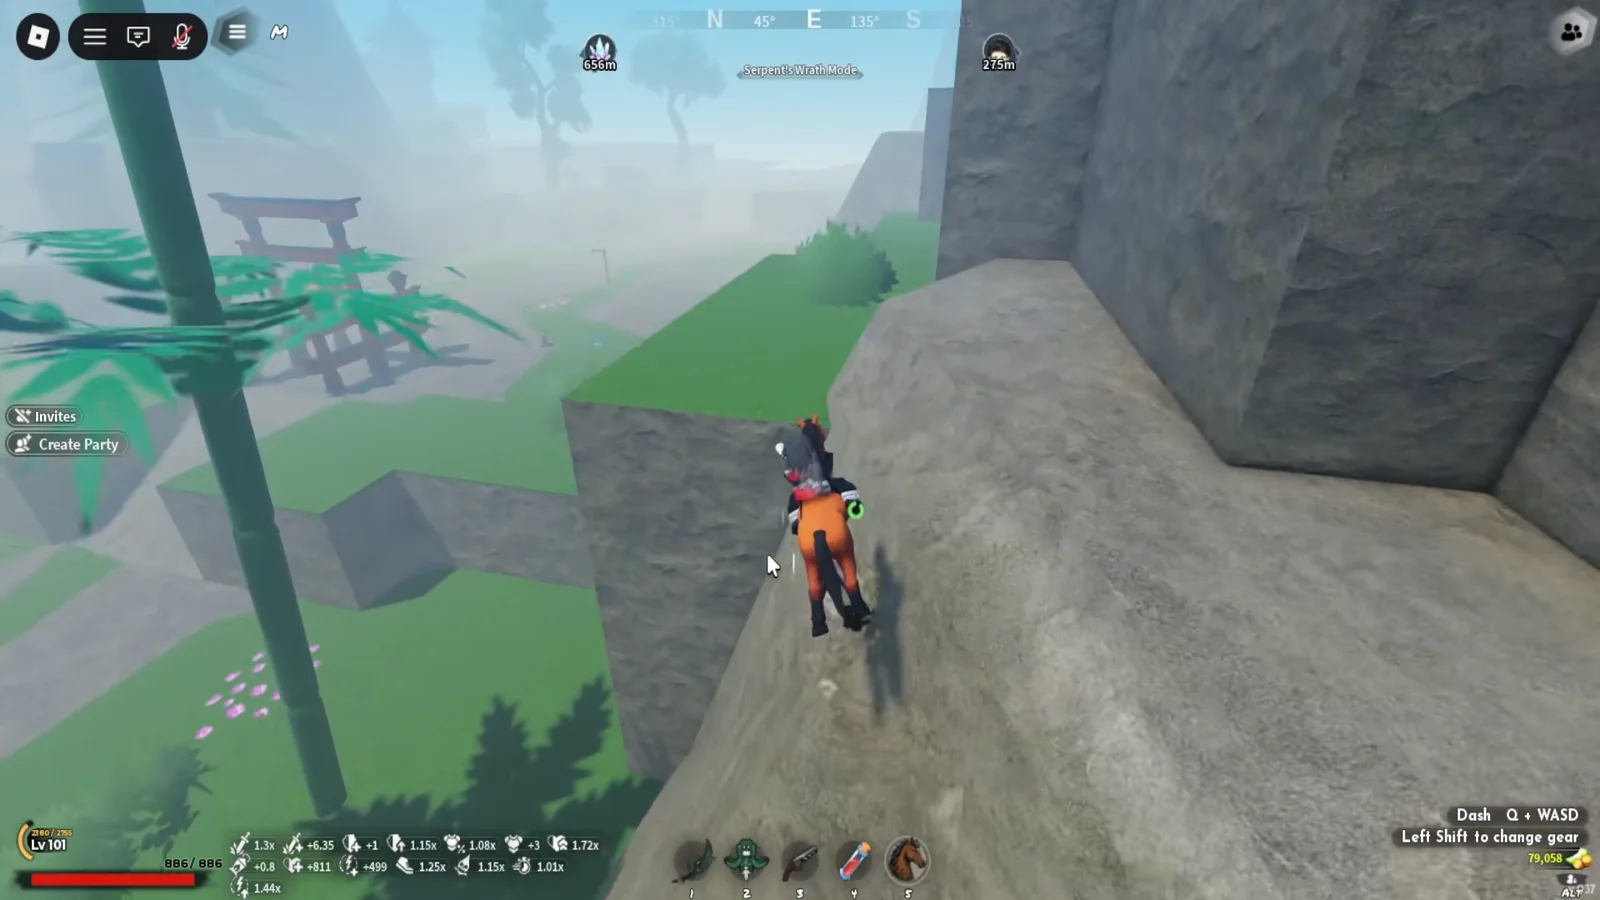
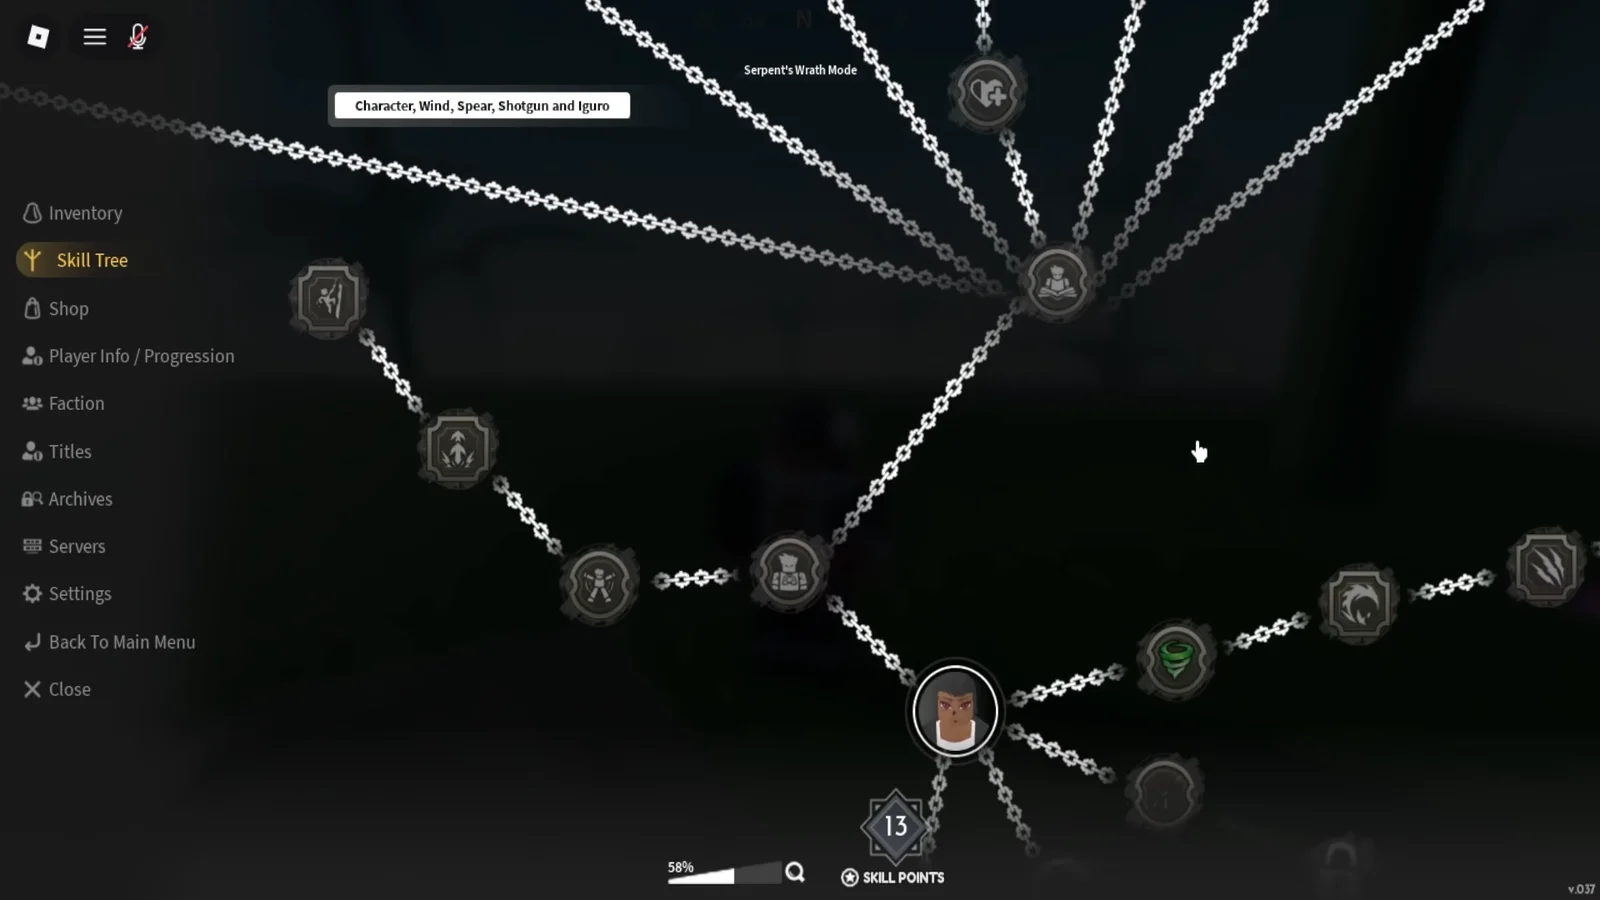
- Wall Climb and Double Jump unlocked in the Skill Tree, under the movement branch.
- Enough combat power to beat slayer NPCs repeatedly without dying.
- Your spawn point set at the Bamboo Grove closest to where you plan to grind.
- Free inventory space for quest items.
- Patience for nighttime, since two of the objectives only work after dark.
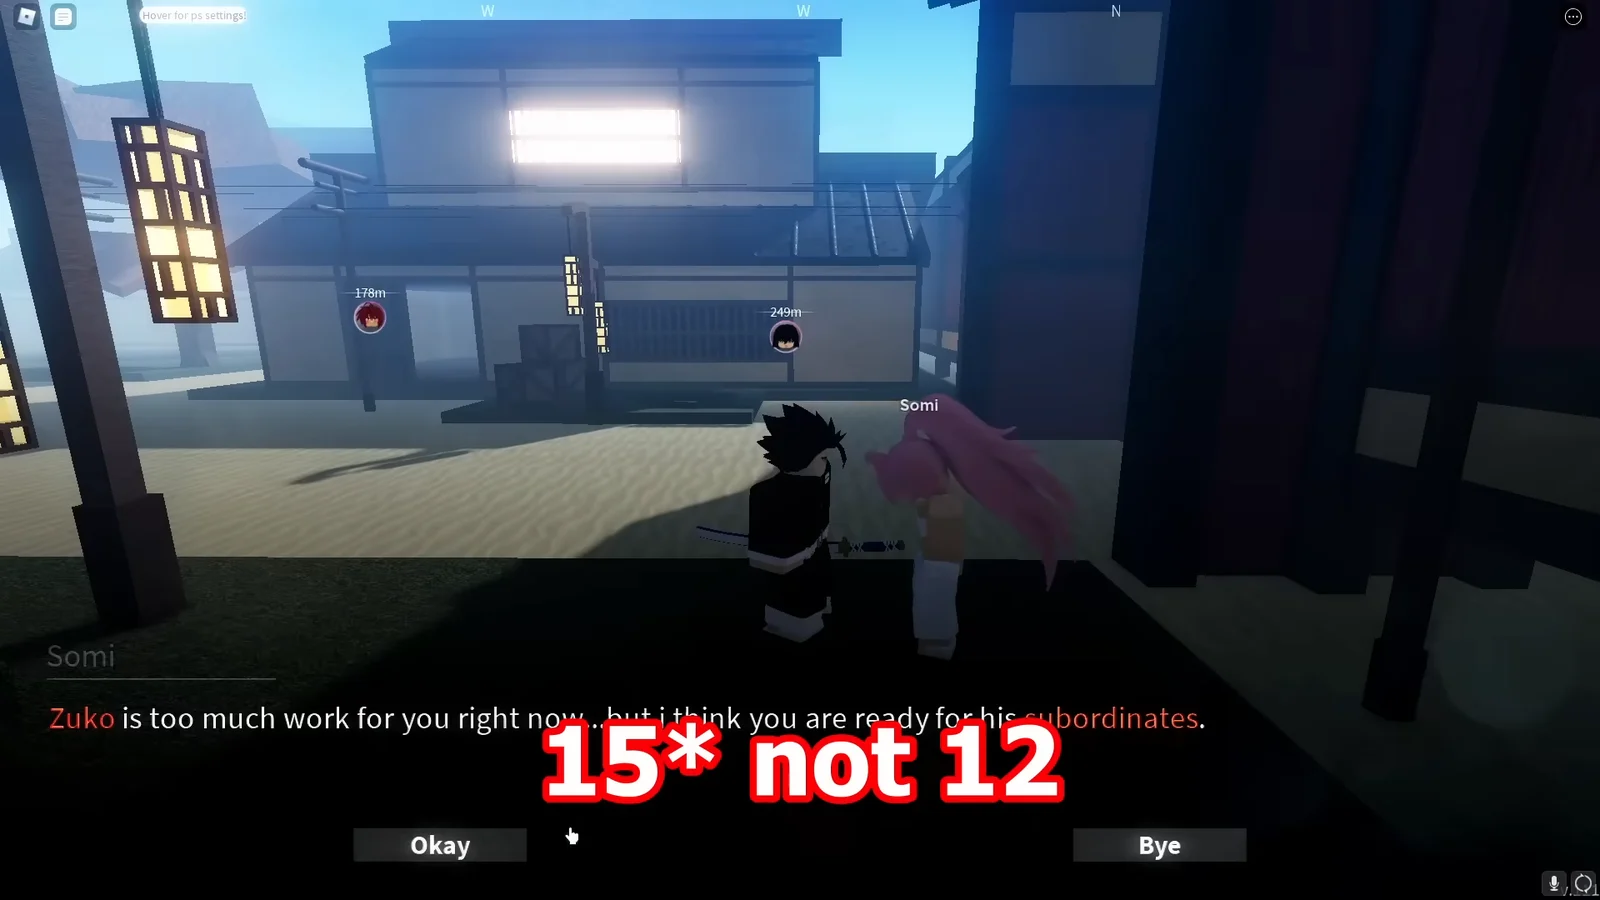
If your character is still fragile, clear quests from Somi in Kiribating Village first. That chain carries a new account to roughly level 15, which is enough to trade blows with the slayer NPCs you will be farming for reputation.
Reputation requirement: how far negative you need to go
Muzan will not acknowledge a character with neutral or positive standing. The demon option appears once your reputation sits at -40 or lower, and pushing a little past that, to around -45, removes any doubt. Going further negative causes no problem, so there is no reason to stop the moment you cross the line.
- Killing a slayer NPC at Mistfall Harbor subtracts 9 reputation per kill, so five kills clear the requirement.
- Slayers in the snow region west of the bear area work the same way if the harbor is crowded.
- Civilians are the fallback when slayers hit too hard for your level.
- Check the reputation number in your menu between kills rather than counting them.
Muzan spawn locations and how to find him
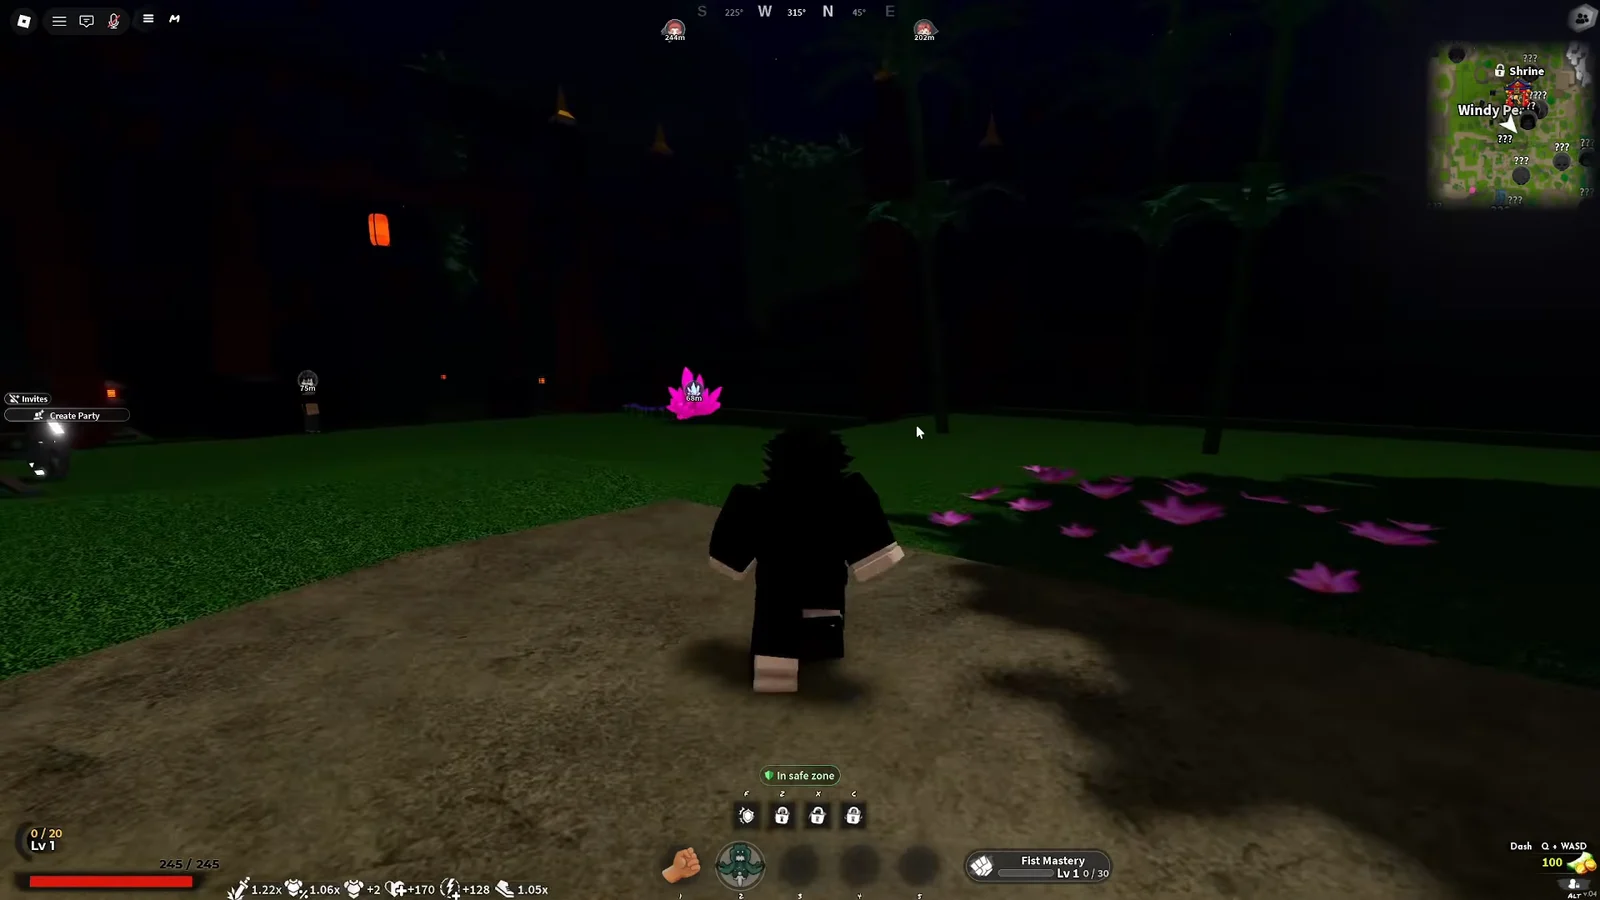
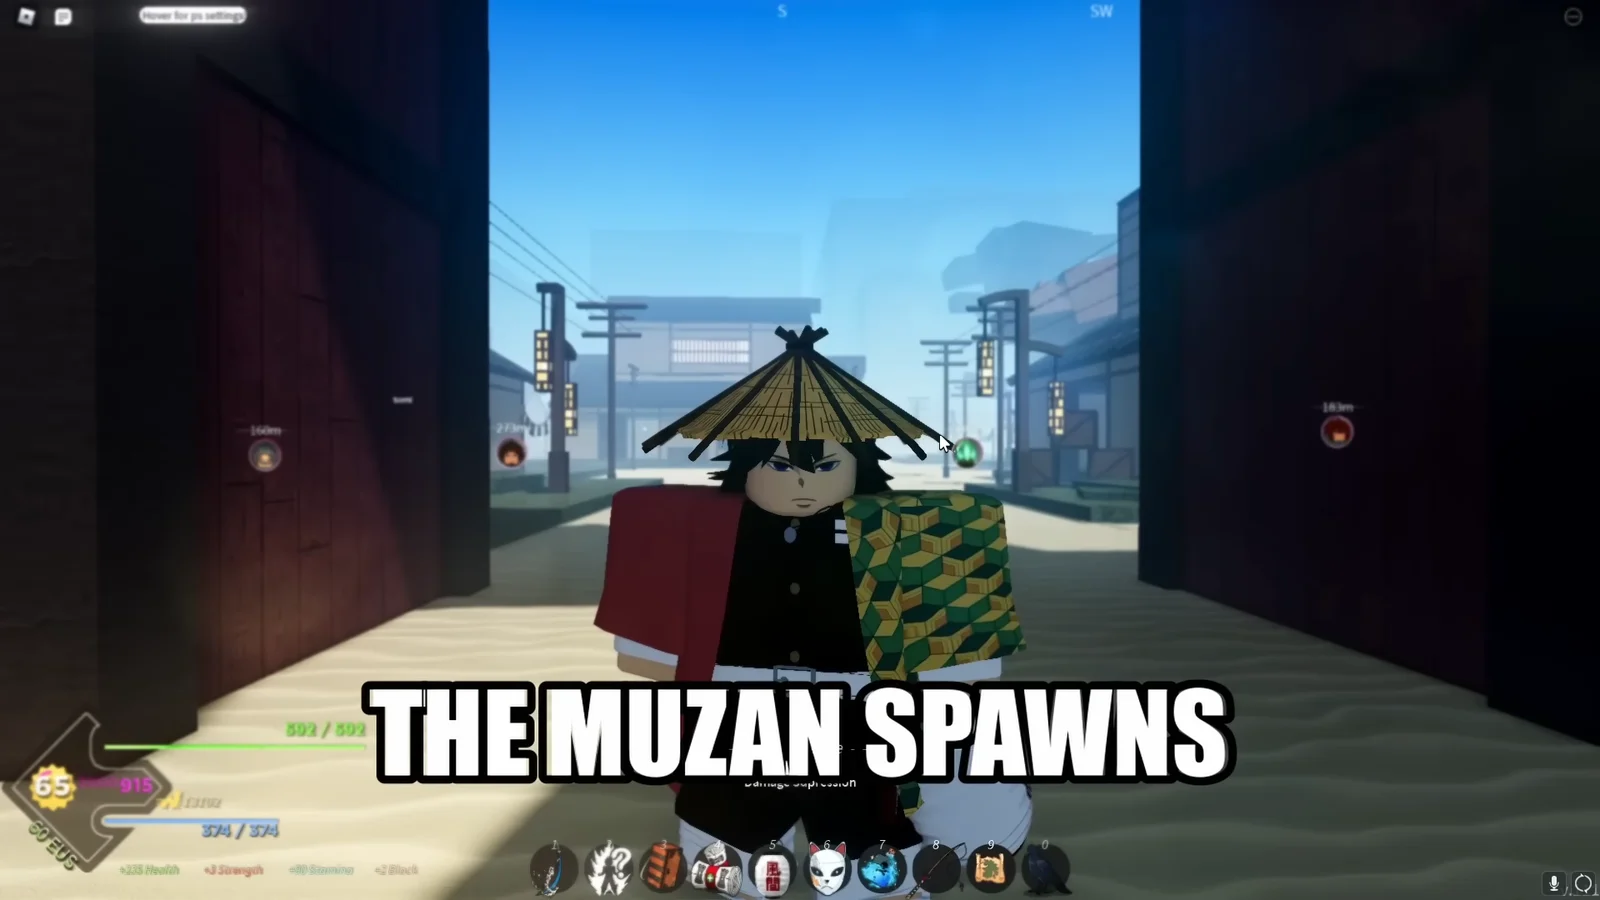
Muzan rotates between a handful of points on the map and shows up at night. He is not guaranteed in every server, so rejoining is often faster than sweeping the whole map twice.
| Spawn point | Where it is | Notes |
|---|---|---|
| Mistfall Harbor | Bottom-right of the map, near the beginner village | Most common; easiest to reach |
| Hidden Mist Village | Inside the mist area | Enter the mist to reach the village |
| Iceveil Valley | Snow region | Check the village area |
| Wilderness path | West of Kiribating Village, by the large tree | Near the red bridge route |
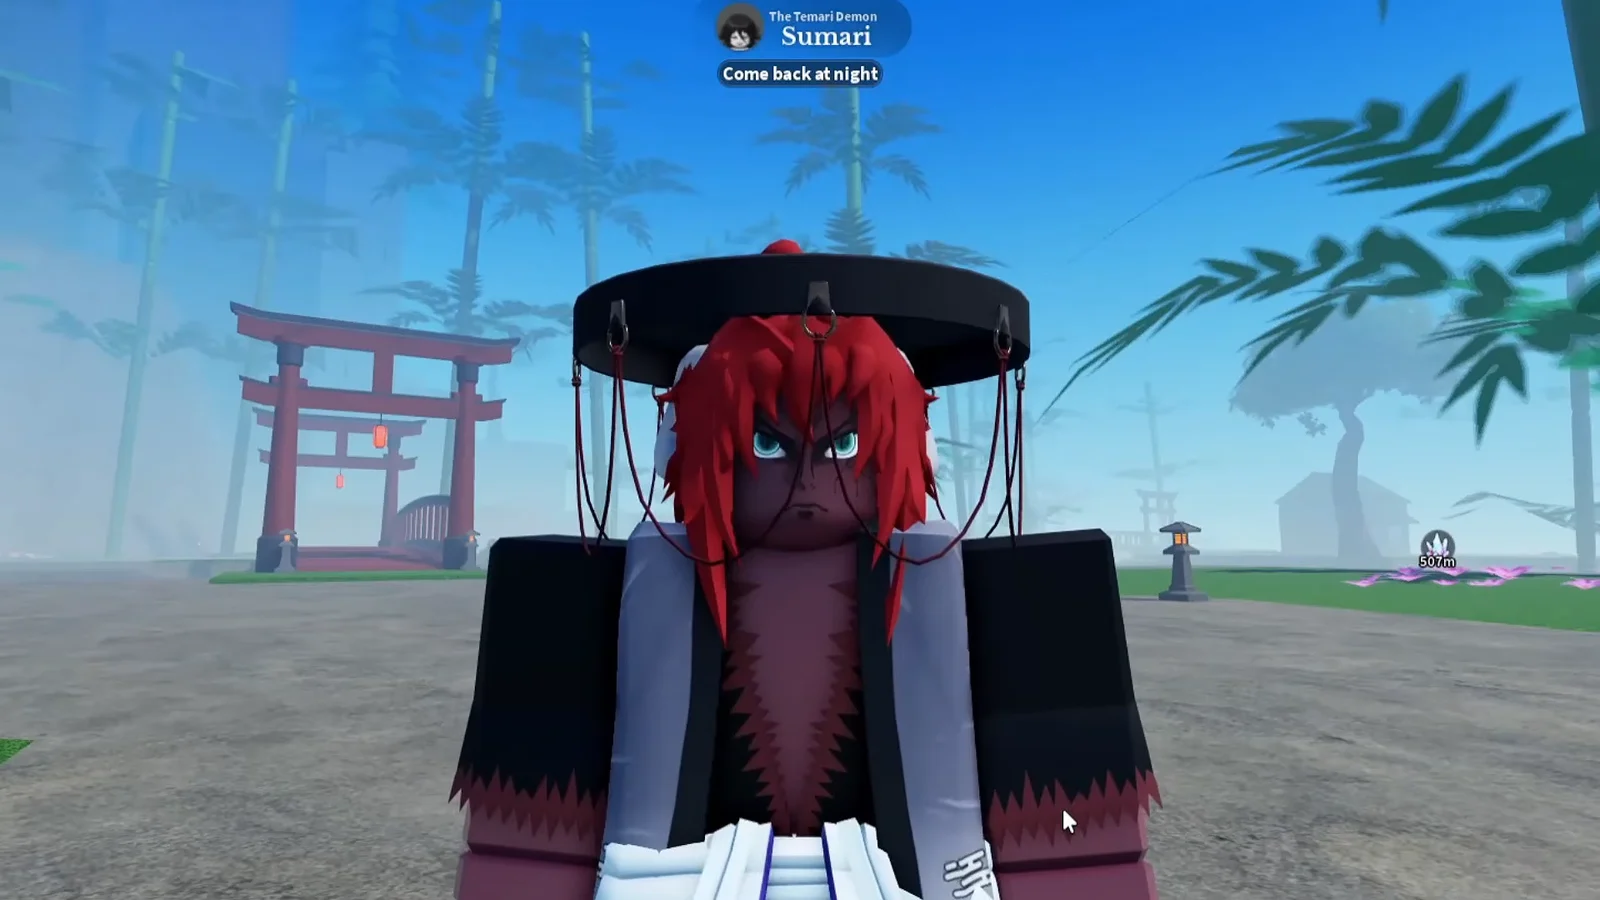
The wilderness spawn is the one people miss. Run west out of Kiribating Village, follow the path past the red bridge, and check the open ground around the large tree before writing the server off.
First open the minimap and click within it to pin your destination. Between villages, maintain your heading with the compass displayed along the screen’s upper edge.
Muzan’s quest: Spider Lilies and Dr. Higoshima
Where Spider Lilies spawn
Spider Lilies only appear at night. During the day the spawn points sit empty, which is why the collection half of the quest feels broken to players who start in daylight.
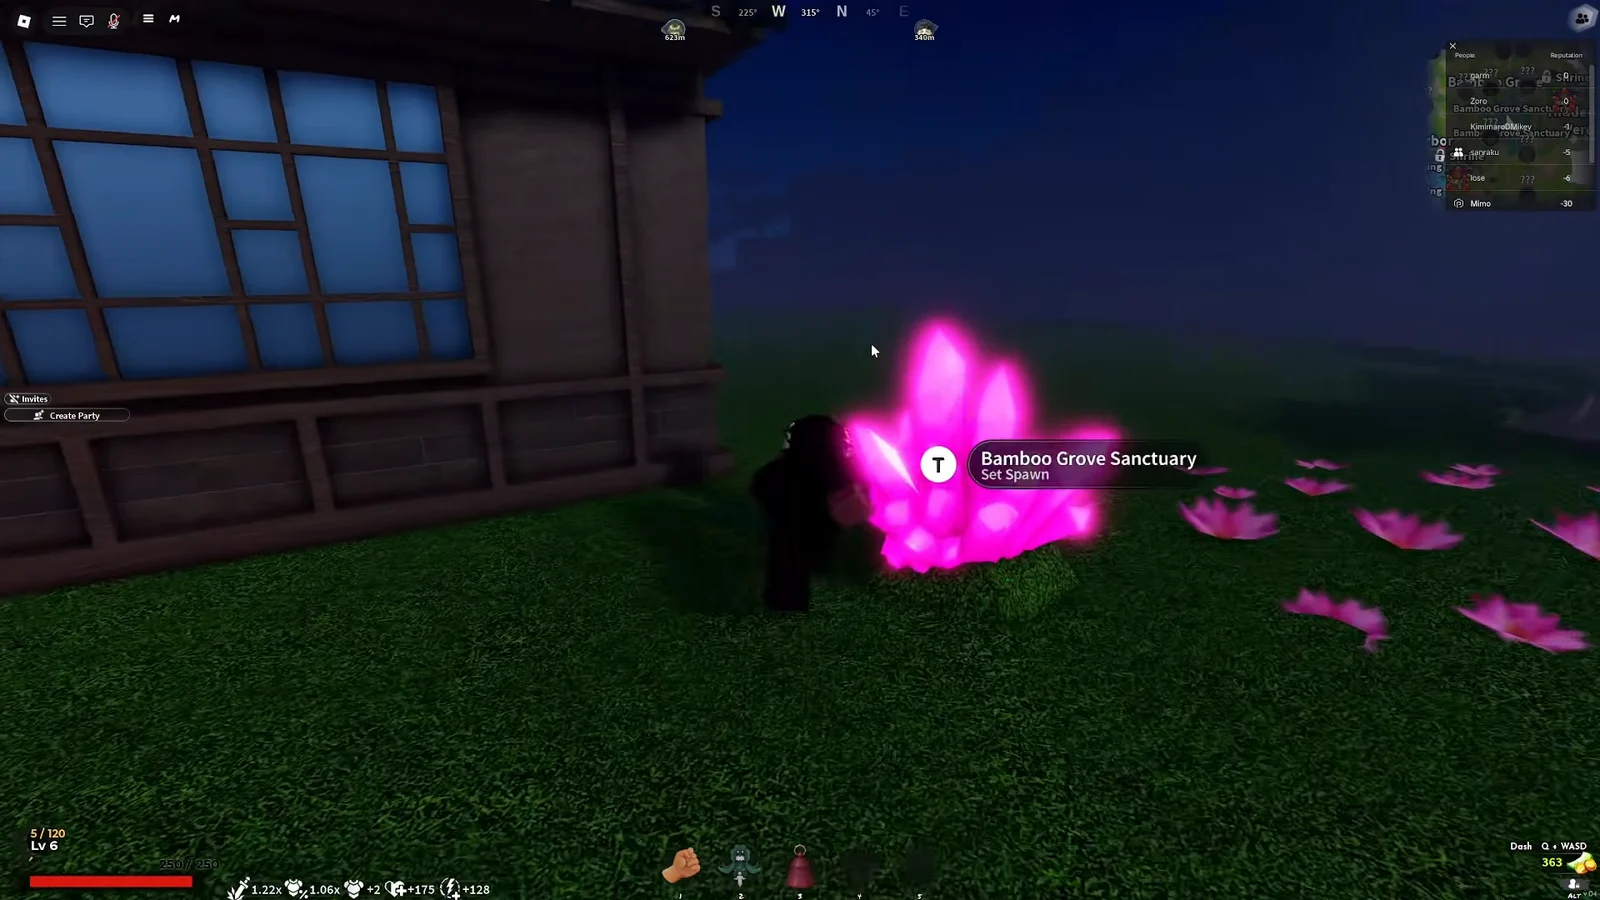
- Around the spawn crystal in the Bamboo Grove Sanctuary.
- Underneath the bridge next to that same crystal.
- In the open bamboo clearing nearby.
- Around lakes and the swamp, including the Water Training area, where red and blue lilies both spawn.
- Behind a house near Mistfall Harbor.
A single server rarely holds all nine. Clear every spot you know, then leave through the in-game server list and rejoin, or use a private server, and sweep the same locations again. Repeat until the counter reads 9. Private servers are the fastest option because the flowers are untouched every time.
Capturing and delivering Dr. Higoshima
Do not leave the server while the quest is active. Disconnecting mid-run loses your progress on it.
Drink Muzan’s Blood and confirm the transformation
With the doctor delivered and all nine flowers banked, you receive Muzan’s Blood. Open your inventory and drink it.
You will know it worked without checking anything: the transformation plays a red and green smoke animation on your character, and the Demon title unlocks on your profile afterward. The other confirmation is less pleasant. Step into daylight and you start burning, which is the clearest proof the race change applied.
Keep the Biwa Bell. It is the only way back into Muzan’s domain, and you will need it for everything that follows.
First things to do as a new demon
Sunlight kills demons, so the first purchase matters more than any combat upgrade. Speak to MoldySugar in the beginner village, take the package, deliver it to Elara the Tailor at Mistfall Harbor, and that unlocks the Black Amigasa for 10,000 Wen. It grants no stats, only daytime protection, and better hats with real buffs come later.
Your combat identity comes from a Blood Demon Art, also called an Evil Art. Use the bell, ask Muzan for power, and spin. Each spin has a 30 percent chance of rolling nothing and a 70 percent chance of a random art. Arts can also drop from bosses and chests, including luck chests. Whatever orb you land on, using it starts a core training questline that must be finished before the abilities work, and leaving the server during that questline loses the quest along with any cubes tied to it.
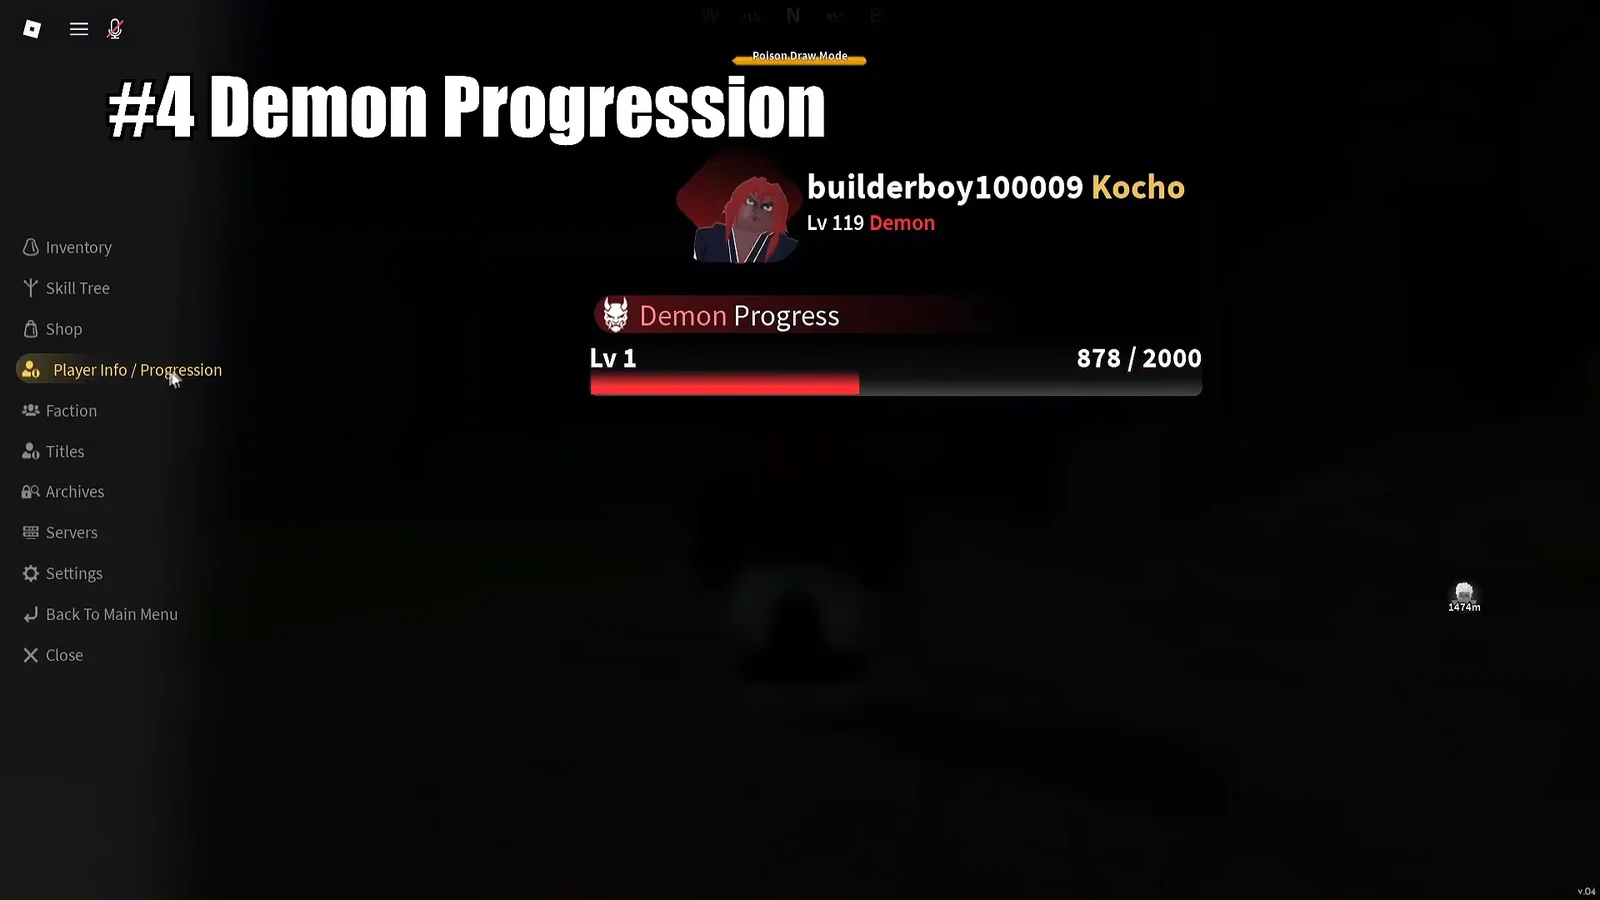
Demon progression runs on a separate bar. Press M, open Player Info, and select Progression to watch it. Defeated NPCs drop souls that fill it, with Weak Souls from low-level enemies, Strong Souls from tougher ones, and Brave Souls worth +25 progress from Hashira-tier targets. Other demons drop nothing, so farm slayers and civilians instead.
The whole transformation is really a timing problem more than a difficulty one. Bank your reputation kills and unlock your movement nodes during the day, save the flower sweep and the Higoshima run for nightfall, and the sequence collapses into one clean trip instead of two wasted in-game cycles.





