Water Breathing is the all-rounder pick in Slayers 2, and it is the style most new Slayers reach for first. It has a form for every problem, no glaring weakness, and a trainer who happens to sit at the end of one of the more memorable routes on the map. Getting it, though, takes a level check, two separate currencies, and a six-part training run before the moveset is yours.
Quick answer: Reach Level 25 on the Slayer path, bring 5,000 Wen and 30 Demon Horns to Urokodaki in the hidden underwater room near Bamboo Grove, then clear his six training tasks.
Water Breathing requirements in Slayers 2
Every Breathing style shares the same gate before its own costs apply. You need to be Level 25 and on the Slayer route, since Demon characters use Blood Demon Arts from a completely separate questline. On top of that, Water asks for currency and materials that you should have ready before you make the trip.
| Requirement | Value |
|---|---|
| Level | 25 |
| Path | Slayer (Demons cannot learn Breathing) |
| Currency | 5,000 Wen |
| Materials | 30 Demon Horns |
| Trainer | Urokodaki |
Arrive with everything in your inventory. Standing next to Urokodaki does nothing on its own, and reaching the room with only horns or only Wen means another long swim back through the tunnel.
Farming Demon Horns and Wen
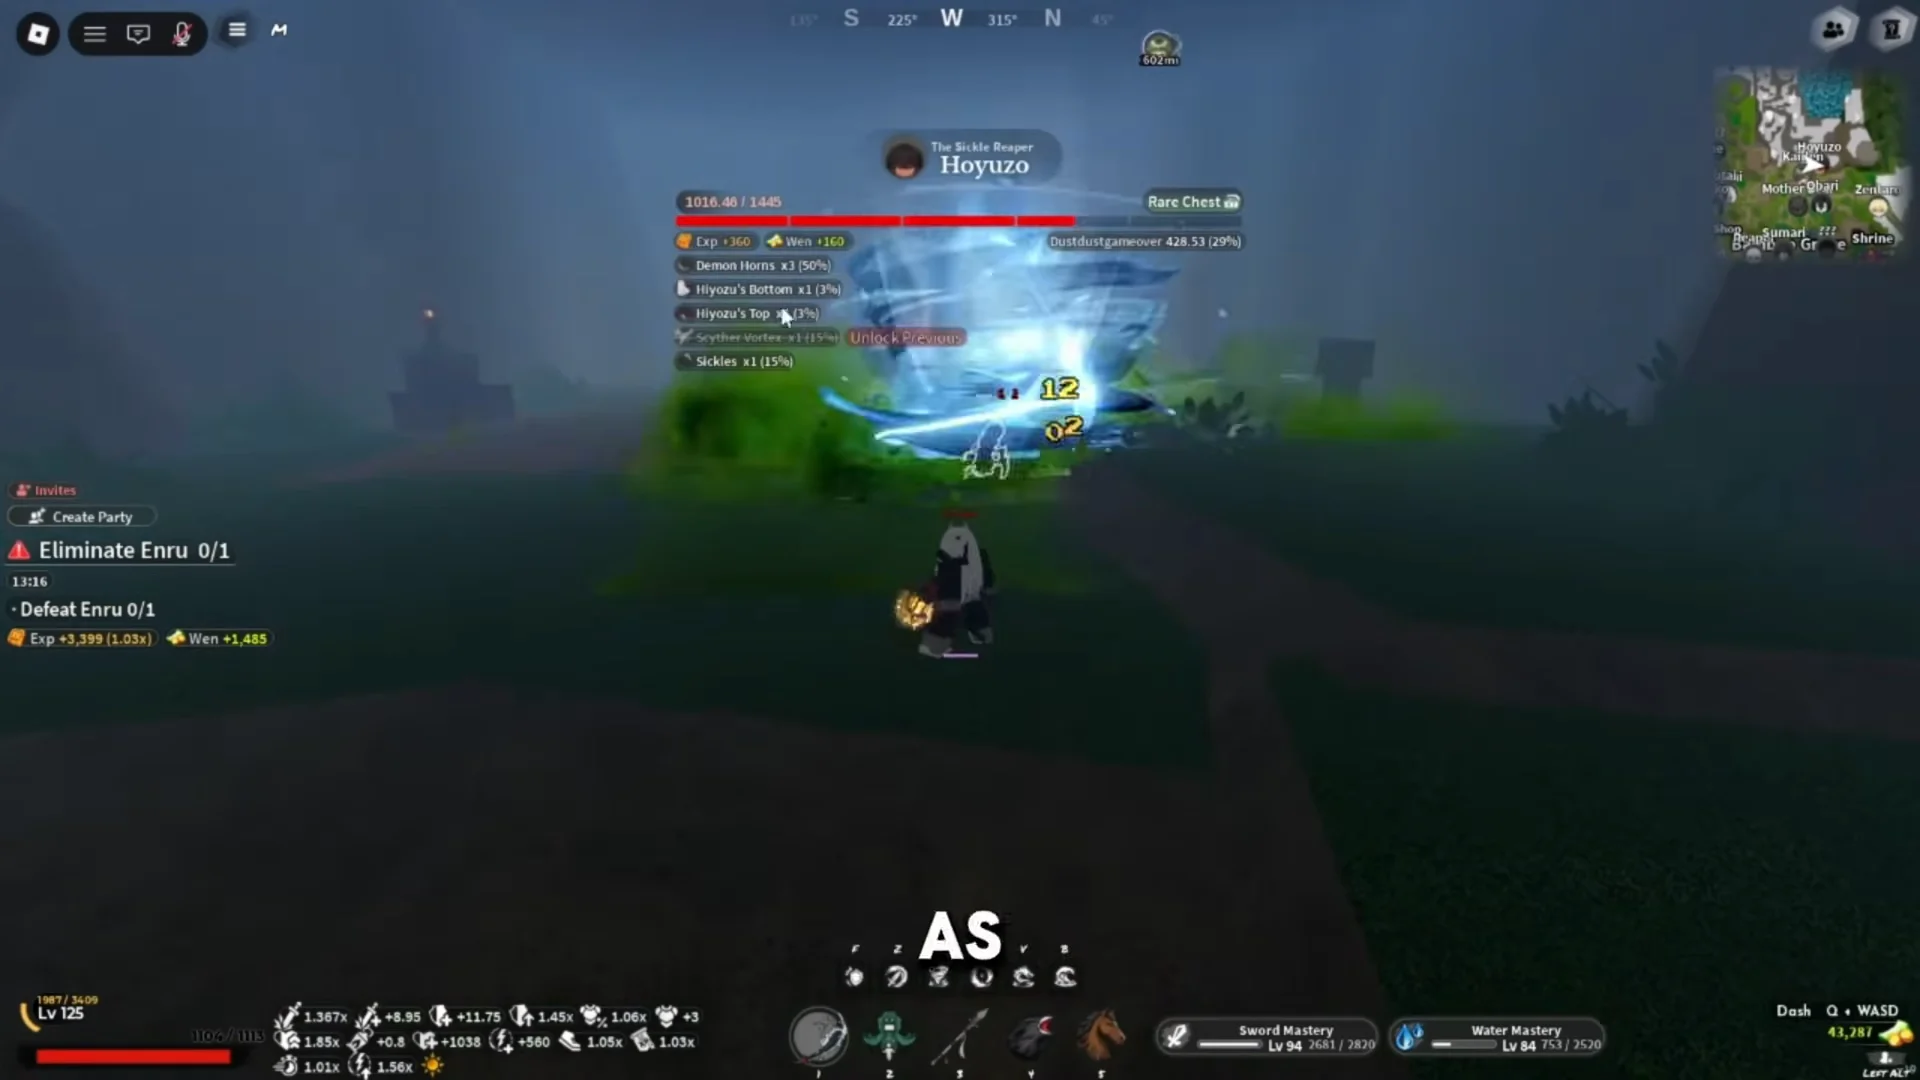
Demon Horns are the backbone of the whole trainer system, so gather them while you level rather than saving the grind for Level 25. Regular demons drop them one at a time, and the cliffside boss Hoyuzo drops 3 Demon Horns with a 50% chance per kill, which makes him the fastest reliable source for the 30 you need.
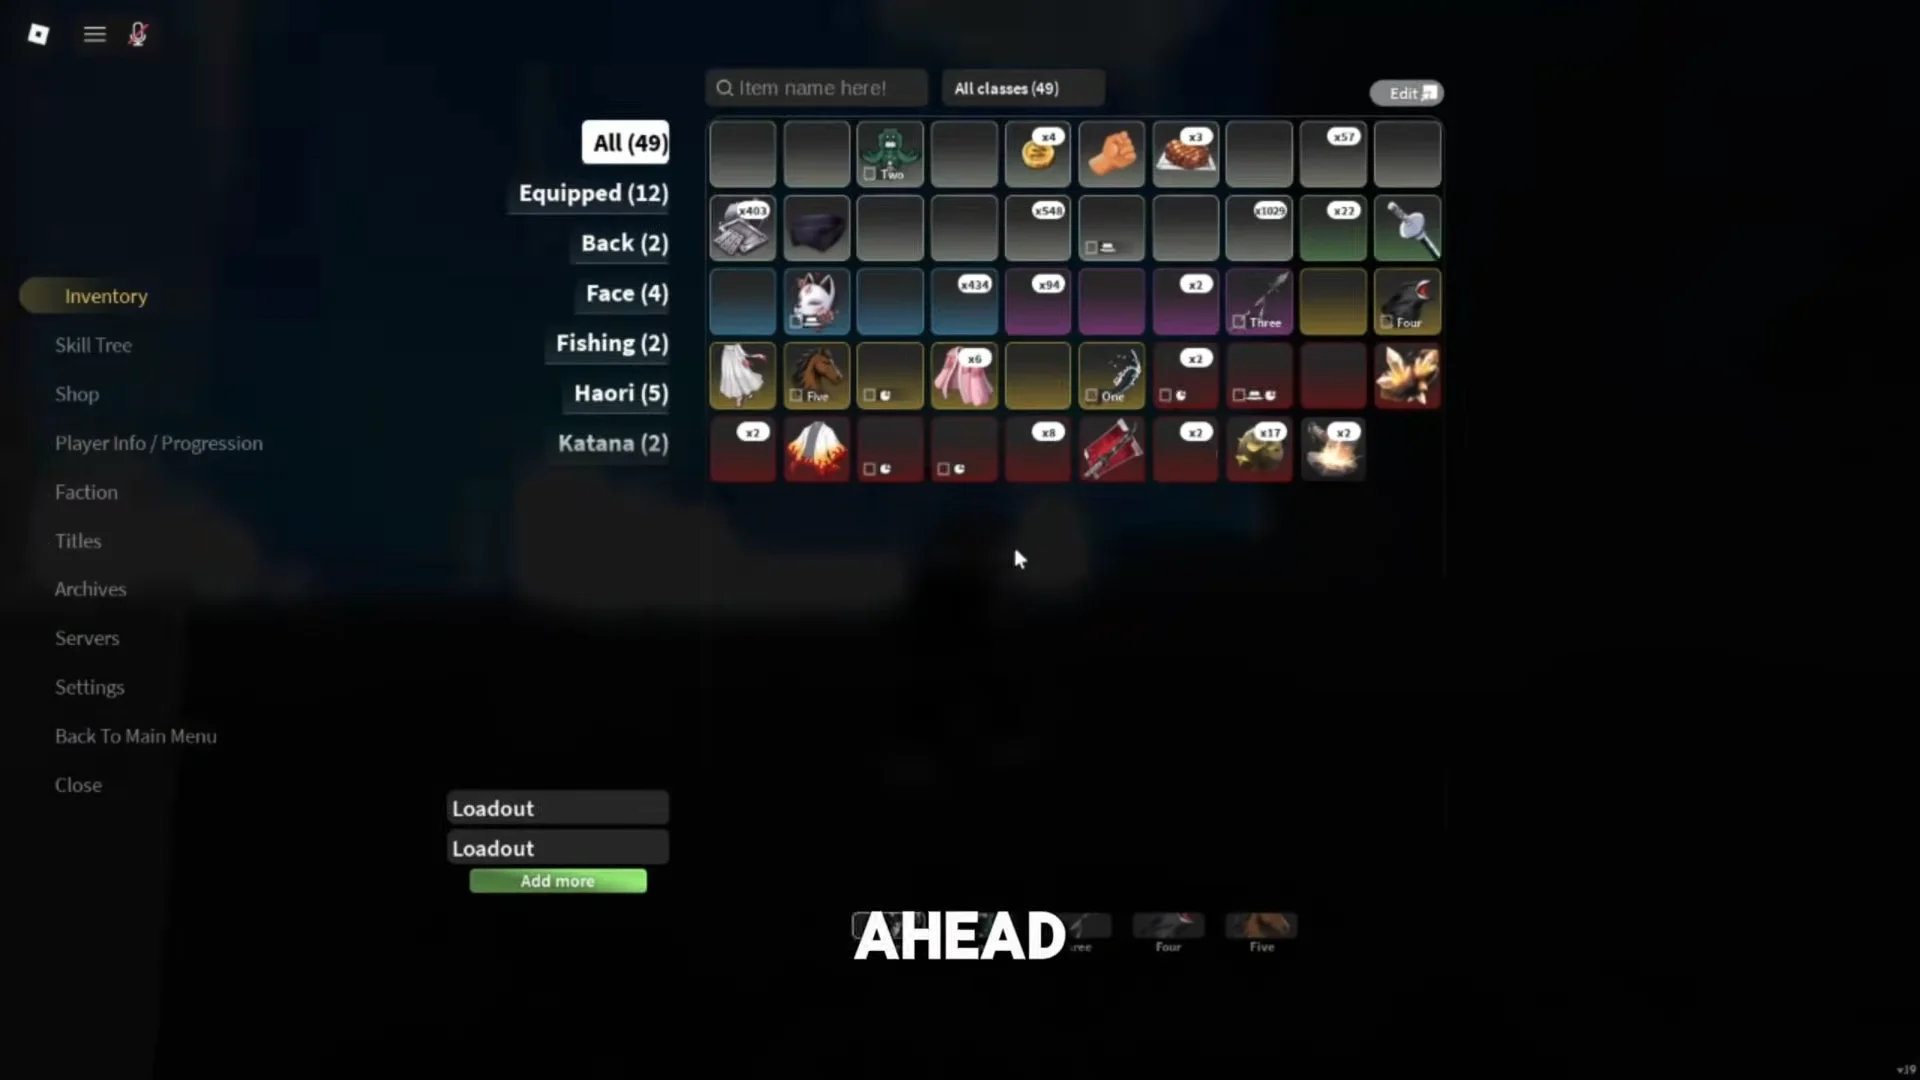
For faster stacks, the High Demons roaming the snowy ledges can drop 2 horns each, though they hit back with Demon Arts and are a genuine fight. Hoyuzo Subordinates that spawn in groups near the bear area are the safer low-level loop. For Wen, run nearby NPC quests and sell spare loot until you clear 5,000, then stop spending so the trainer fee stays intact.
How to reach Urokodaki near Bamboo Grove
Urokodaki is not standing out in the open. His dojo sits at the end of a concealed underwater passage, so the map marker only points you to the general area rather than the door.
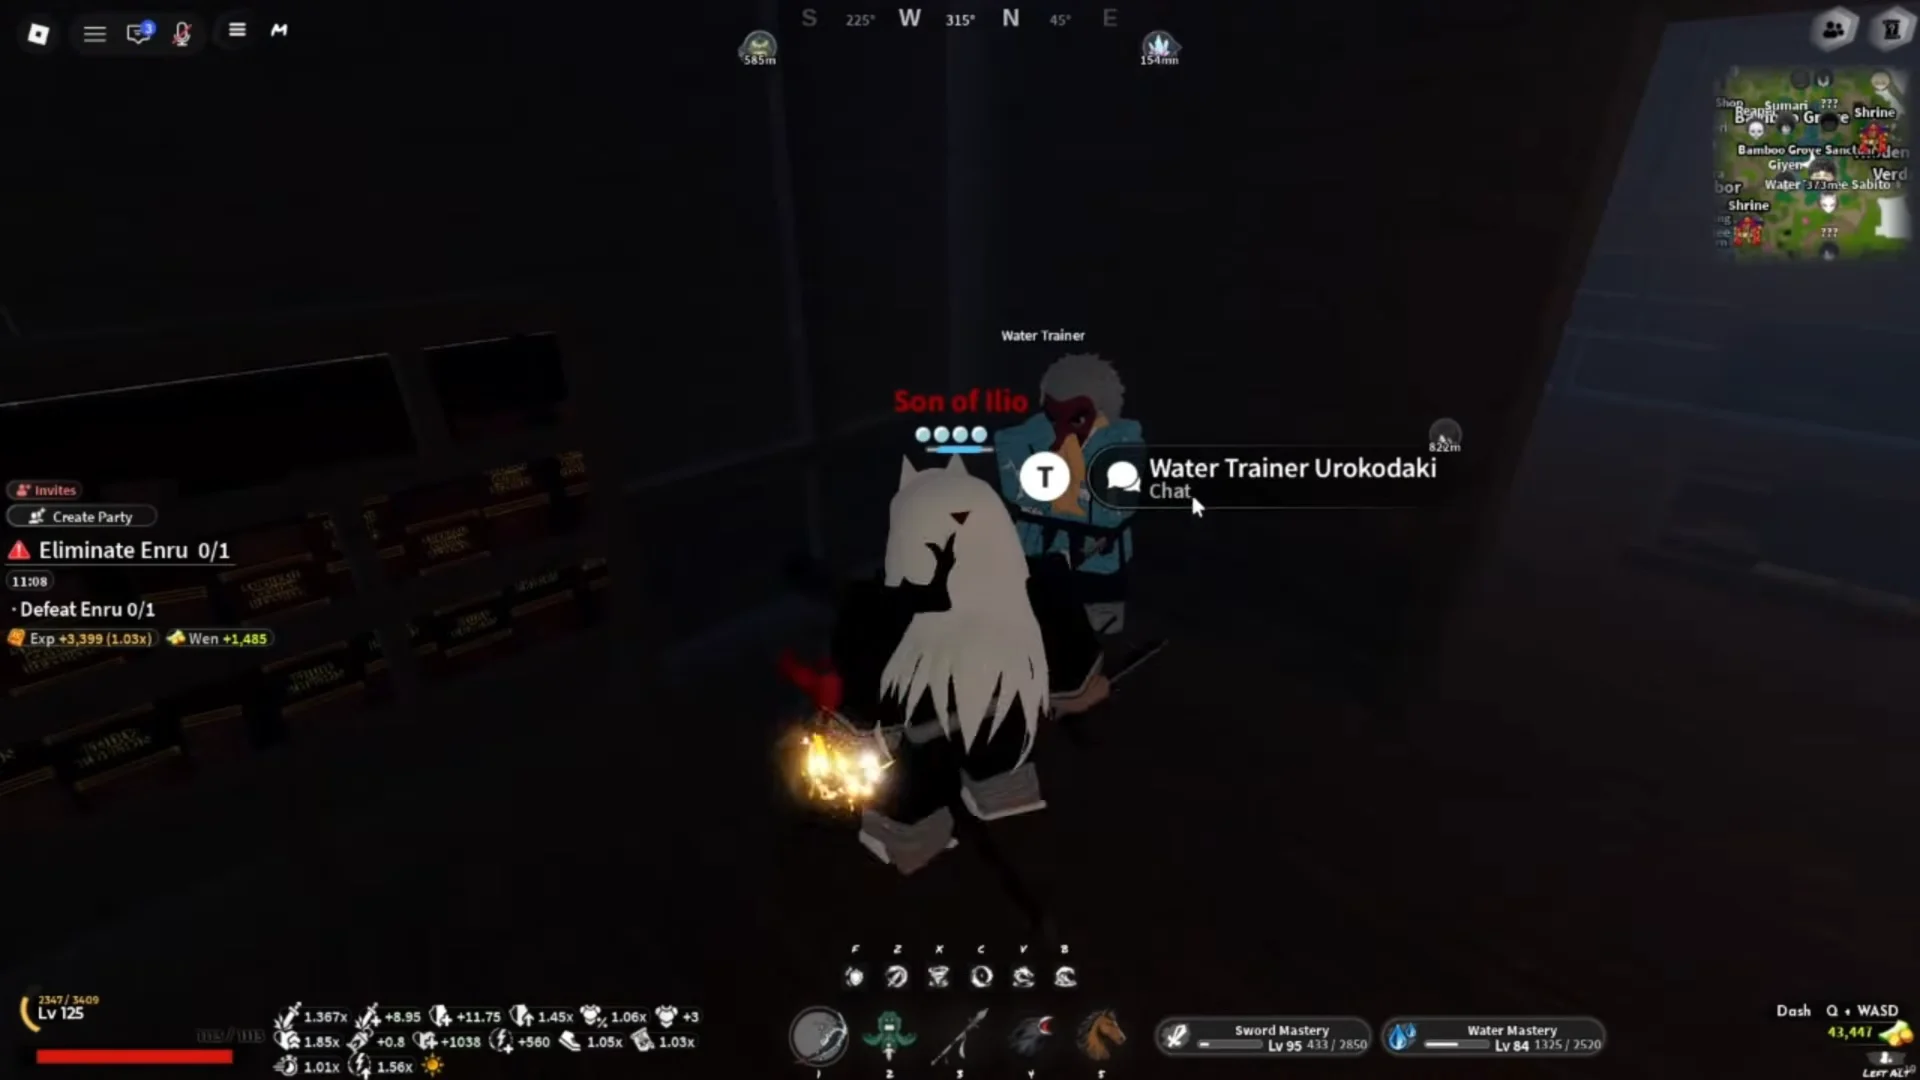
The tunnel is long enough to drown you. Swim straight through and surface the moment the passage opens, and if you lose the entrance, raise the camera above water and line up with the island before diving again.
Complete the six training tasks
Talking to Urokodaki starts a two-part quest. Once you have paid and met the requirements, he hands you six training objectives. Finish all six and Water Breathing unlocks.
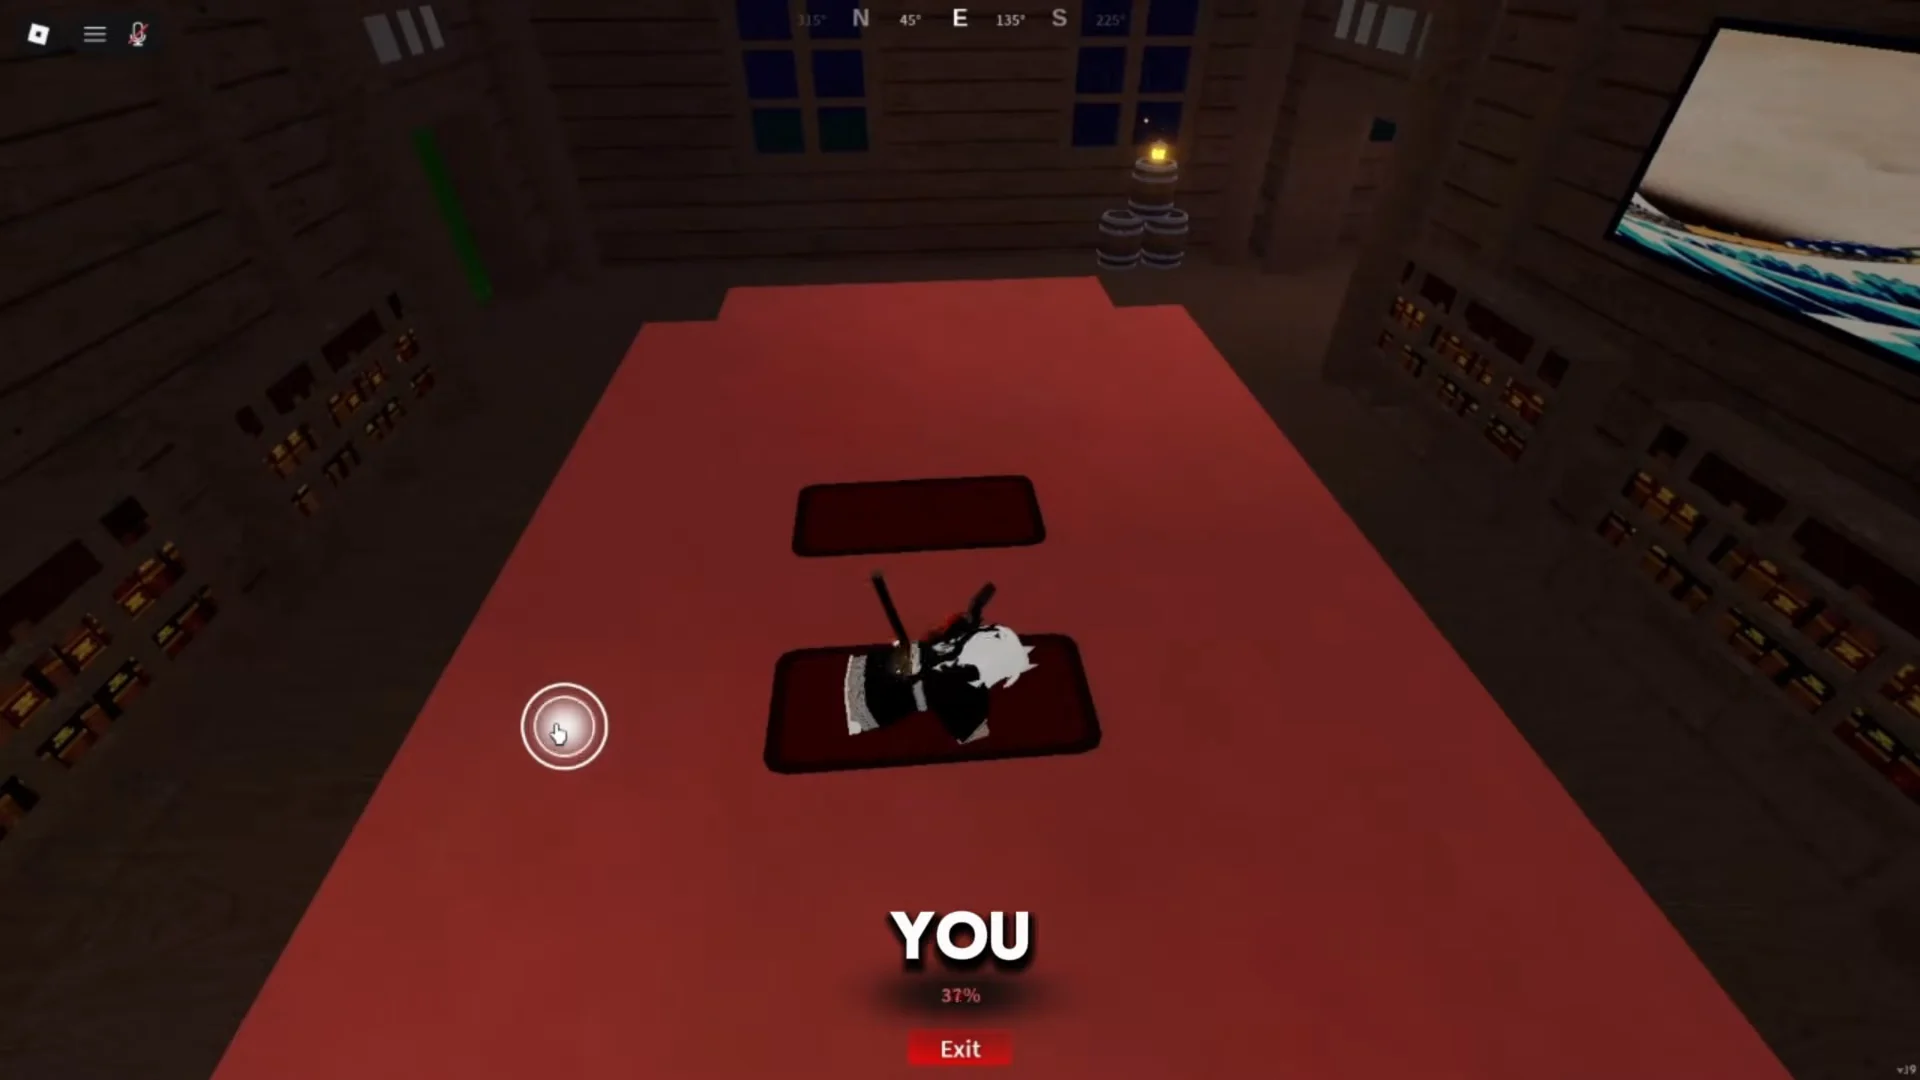

After Sabito is defeated, Water Breathing becomes available on the Slayer side of your Skill Tree. Completed objectives remain complete after a later failure, so you won’t need to redo them.
Water Breathing moveset
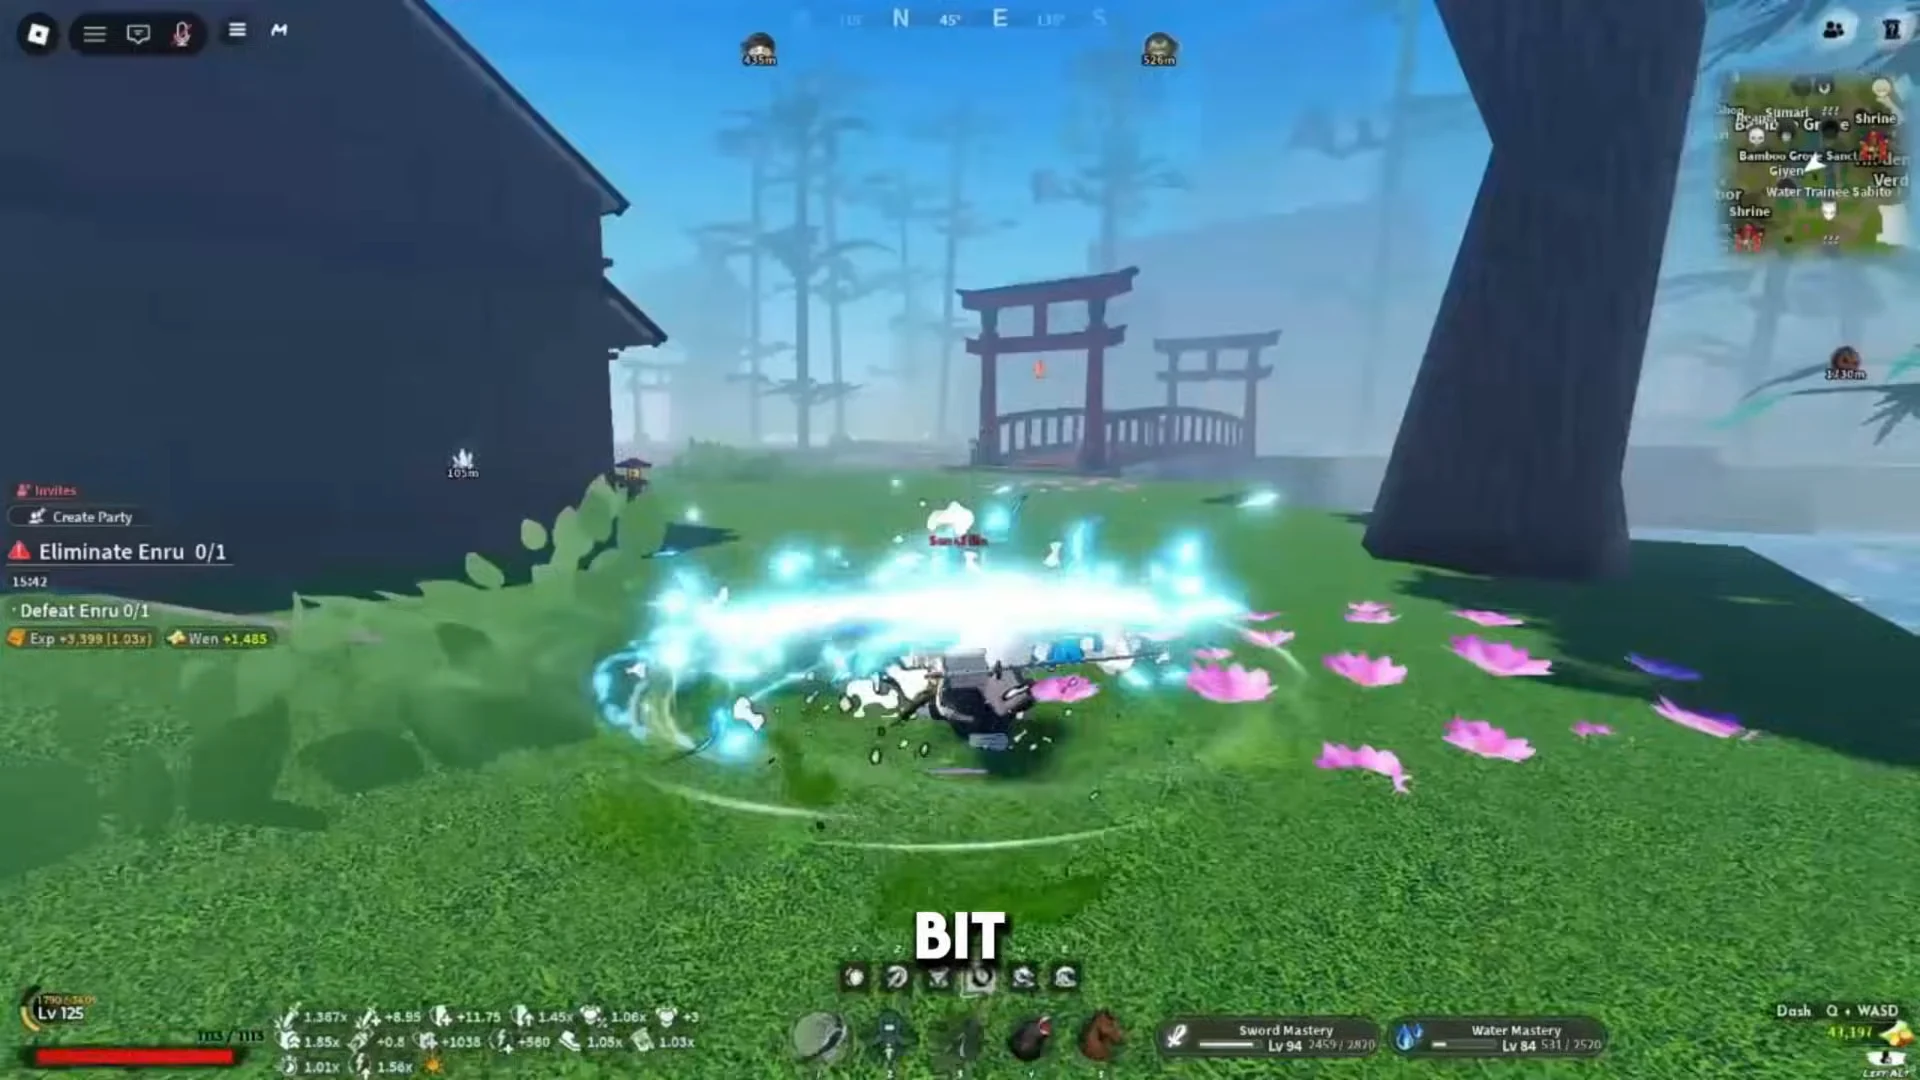
A finished style gives you five abilities bound to Z, X, C, V, and B, designed to chain into one another. Water covers an approach, crowd clear, repositioning, sustained pressure, and a finisher.
| Key | Move | What it does |
|---|---|---|
| Z | Water Surface Slash | Tap for a quick dash slash; hold to extend the dash and slash |
| X | Whirlpool | Swirling water around you; alternate input erupts an upward geyser |
| C | Water Wheel | Rolling wheel slash; hold for multiple slashes into a grab and slam |
| V | Constant Flux | Charges forward wrapped in a large water dragon |
| B | Dead Calm | Area finisher that one-shots low-tier enemies |
Water Surface Slash is your opener and gap-closer. A quick tap sends you dashing into a horizontal slash, while holding the key stretches the dash distance so you can catch a fleeing target or intercept a dash attack.
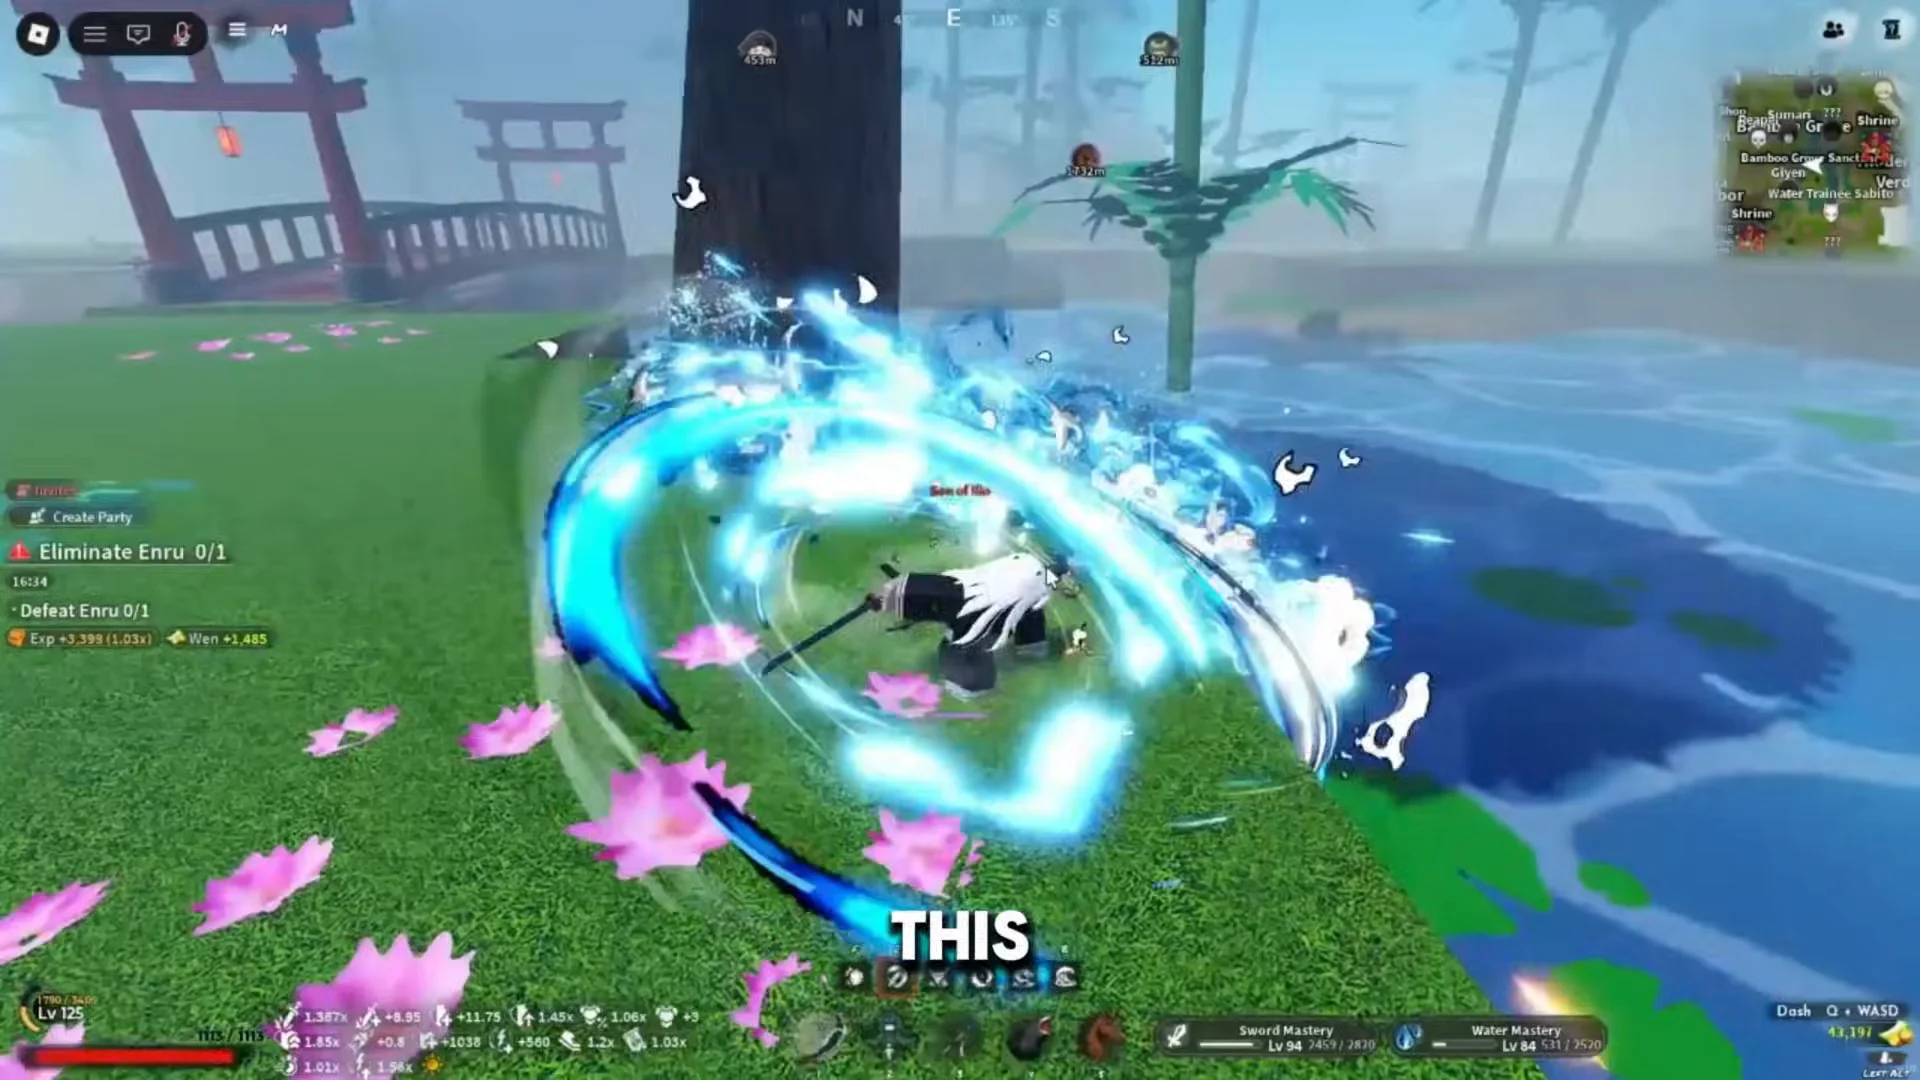
Water Wheel is the reposition and block-breaker. A single tap sends you rolling forward in a vertical water wheel, and holding the key extends it into a string of slashes that ends by grabbing and slamming the enemy.
Unlock Dead Calm and the Water Katana
Dead Calm is the final node on the Water Breathing branch; unlike the other four moves, skill points alone won’t unlock it. You also need a drop from The Water Hashira: Giyen, who appears periodically in Bamboo Grove.
A victory over Giyen has a 10% chance of yielding Dead Calm, and he may also drop the Legendary Water Katana. Since both rewards are uncommon, expect to farm him across several appearances. The Water Katana is a Sentinel-class blade that adds damage and block points. Take it to Verdant Cliffage’s blacksmith forge to raise it to V2.
| Water Katana V2 material | Amount |
|---|---|
| Dungeon Points | 90,000 |
| Silk Thread | 500 |
| Metal Scraps | 500 |
| Coins / Wen | 75,000 |
Building Water mastery in the Skill Tree
After unlocking the style, press M and open the Skill Tree; make Water Surface Slash your first purchase. Water Wheel, Constant Flux, and later techniques require skill points plus Water mastery, which increases as you use the style and defeat enemies.
Allocate points carefully: a reset costs premium currency. Repeated quick clears raise mastery faster than chasing knockouts, so practice on one enemy at a time to learn each move’s reach, then line up small groups for your area attacks to control. Against bosses, evade a heavily signaled move and strike during its recovery.
Every Breathing trainer location in Slayers 2
Urokodaki is one of eight Breathing trainers, and all of them share the Level 25 gate on top of their individual costs. Some require the Wall Climb movement skill just to be reachable, and Stone wants the Axe and Mace unlocked before the trainer will train you.
| Trainer | Style | Location | Extra cost |
|---|---|---|---|
| Obari | Serpent | Rocky crevice above the starting village | 20 Demon Horns, 5 Beast Cores |
| Gyorei | Stone | Temple courtyard below the bear area | Axe and Mace unlocked |
| Zentaro | Thunder | Mountain summit near the bear village | Wall Climb needed |
| Rengu | Flame | Rooftop by the red bridge past Mistfall Village | 10 Demon Horns |
| Shinora | Insect | Roof of Butterfly Mansion’s main building | — |
| Urokodaki | Water | Underwater passage near Bamboo Grove | 5,000 Wen, 30 Demon Horns |
| Saneri | Wind | Platform in the frozen water of Iceveil Valley | 50 Demon Horns |
| Tengai | Sound | High cliffs of Iceveil Valley | Wall Climb needed |
Several trainers are positioned above ground or require a climb to reach. Rengu and Shinora are on rooftops, while Zentaro and Tengai are high on mountain walls; Urokodaki is concealed beyond the underwater tunnel. If a trainer isn’t where expected, inspect the nearby vertical space first.
What comes after your first Breathing style
Learning Water at Level 25 marks the halfway point of your early Slayer path rather than the finish. The next major milestone is Final Selection, which unlocks at Level 45. To reach it, leave Mistfall Harbor for the Butterfly Estate, take the long bridge south into Final Selection Plains, and continue northeast to the trial entrance where The Sisters trigger the sequence.
Spend those twenty levels practicing all five Water abilities and banking skill points. Entering Final Selection with only the first move makes each demon fight far longer than it needs to be, so build out the branch, keep a useful spawn point, and make sure you can block a normal enemy string and land a short boss punish before you go.