

Slayers 2 drops you into Windy Peak with bare fists and almost no direction, and the early game punishes anyone who chases levels without finishing the village handoffs. Character level gates every worthwhile quest giver, so the fastest run is really just knowing which NPC to visit at which threshold and which side quests you cannot skip.
Quick answer: Grind Krue’s bandits to 7, kill Zuko, farm Tom’s bears to 25, unlock a Breathing Style at 25, run Chaka and Wagwan to 45, then complete Final Selection to earn Slayer rank.
Slayers 2 level route from 1 to 45
Use every row as a handoff point: when you reach its level, move to the next quest giver instead of farming the previous one longer. Since the ranges overlap a little, switch according to your kill speed rather than obeying the listed number exactly.
| Level | Quest giver / area | What you fight |
|---|---|---|
| 1–6 | Krue, Windy Peak | Three Bandits, repeated |
| 7 | Krue, Windy Peak | Mini Boss Zuko |
| 10–18 | Tom, Bamboo Grove | Bear Cubs |
| 18–25 | Tom, Bamboo Grove | Mother Bear |
| 25 | Breathing trainer | Style questline |
| 26–34 | Chaka | Kaiden’s subordinates |
| 34–40 | Chaka | Kaiden |
| 40–45+ | Wagwan, under the waterfall | Hoyuzo’s Guard |
| 45 | The Sisters, far west | Final Selection |
Whenever you move to a new area, set your spawn at the crystal closest to your current farm. After a death, the time spent traveling back is the route’s largest hidden expense.
Windy Peak: Krue, Zuko, and the mandatory side quests
Your run begins at the red torii gate, where Krue has a red exclamation mark over his head. His repeatable contract sends you to kill three bandits in the wilderness just past the gate, paying experience and a little Yen each time. Accept it before you swing, because kills made without an active quest give no reward. Repeat it until you reach level 7, when Krue offers the Mini Boss Zuko quest.
Make Zuko an early and frequent target. His common chest provides good early experience, with a 20% chance of giving Quick Draw and a 10% chance of giving the Cutlass. The Cutlass requires level 10 to equip, but its active skills are a genuine improvement over the starter blades. Anyone can loot the chest, not only the player dealing the most damage, so sprint over for it even when others are present.
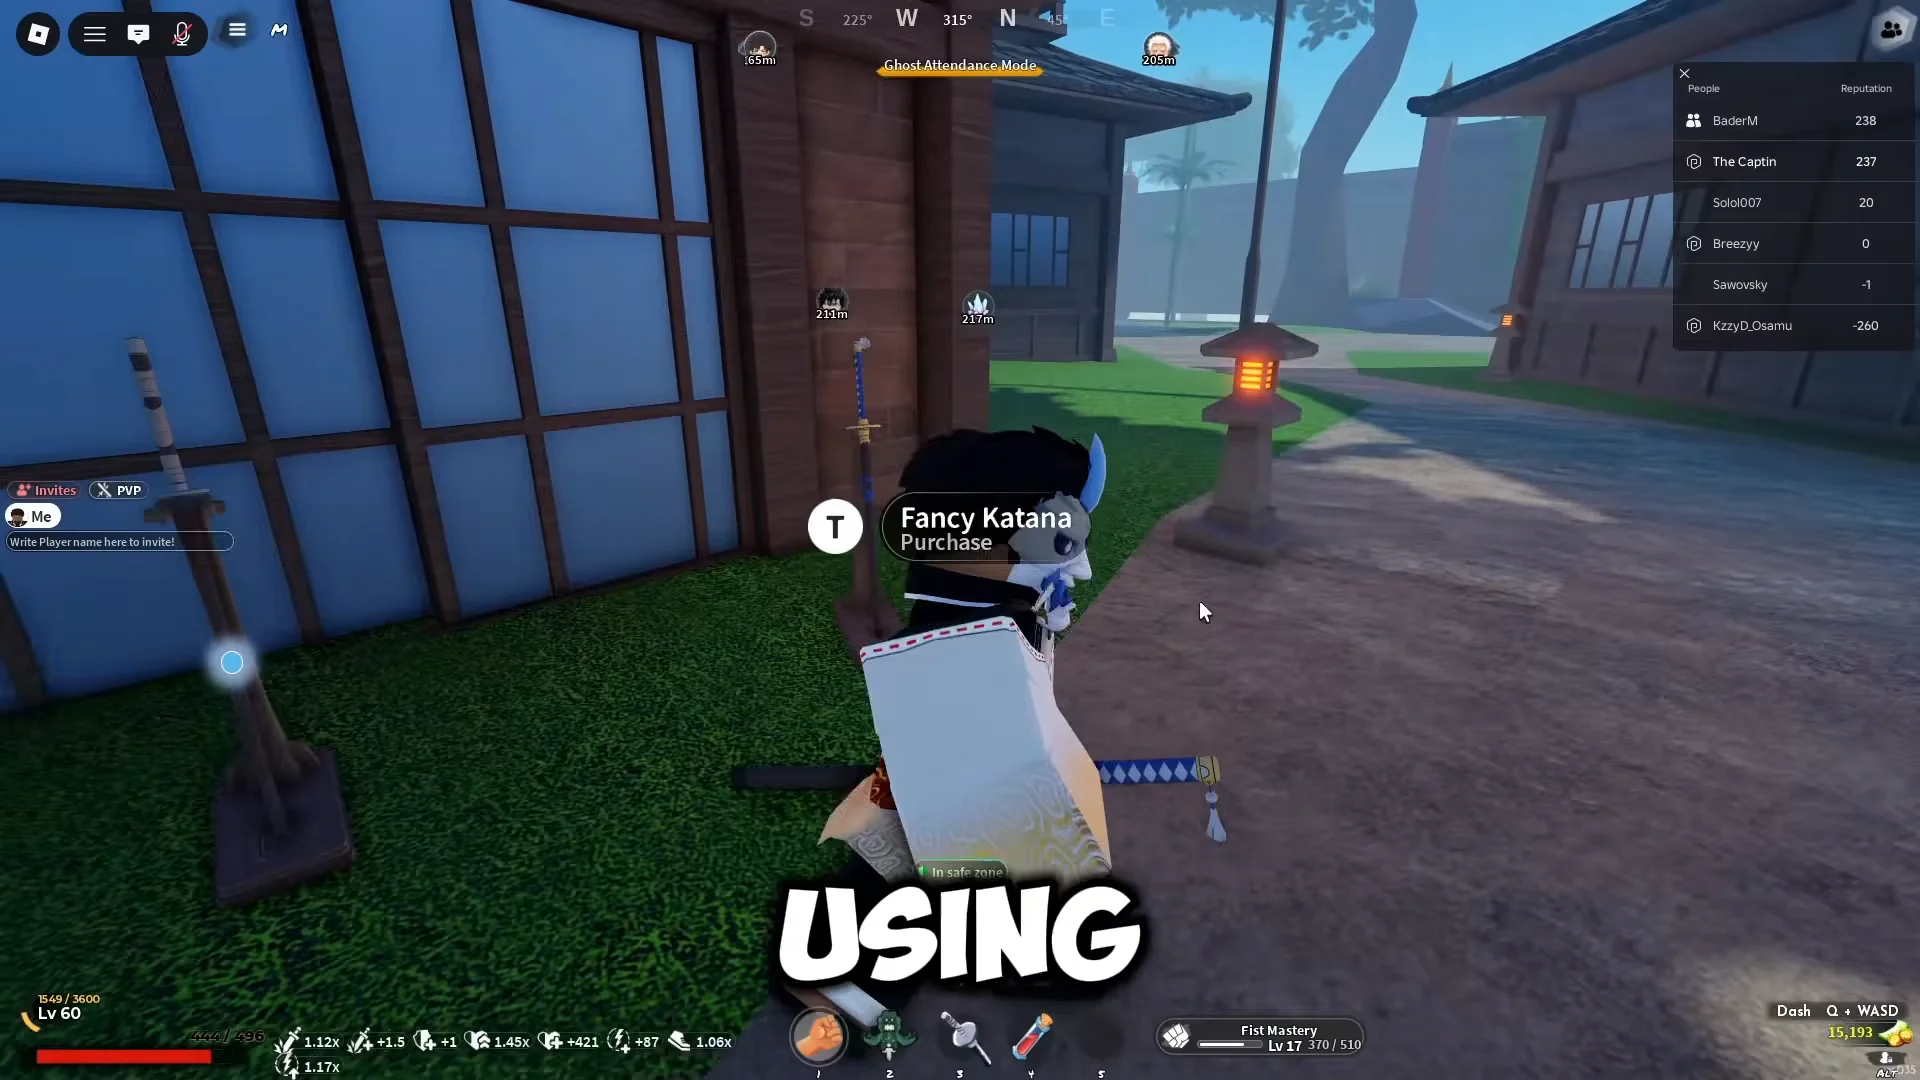
Raze sells the village katanas next to Krue. The Regular Katana runs 500 Wen and the Fancy Katana costs 1,500 Wen. Both beat fists and grant weapon mastery, so buy the cheap one if you die a lot, or keep saving for the Fancy Katana if you can survive.
Do not treat the village side quests as disposable. If you ignore them, the next quest giver will not speak to you, leaving your progress blocked around level 35. Finish each of the following at least once before departing:
- Kona’s Recover the Lost Pages quest sends you after five pages concealed throughout the village and rewards the Book of Guidance.
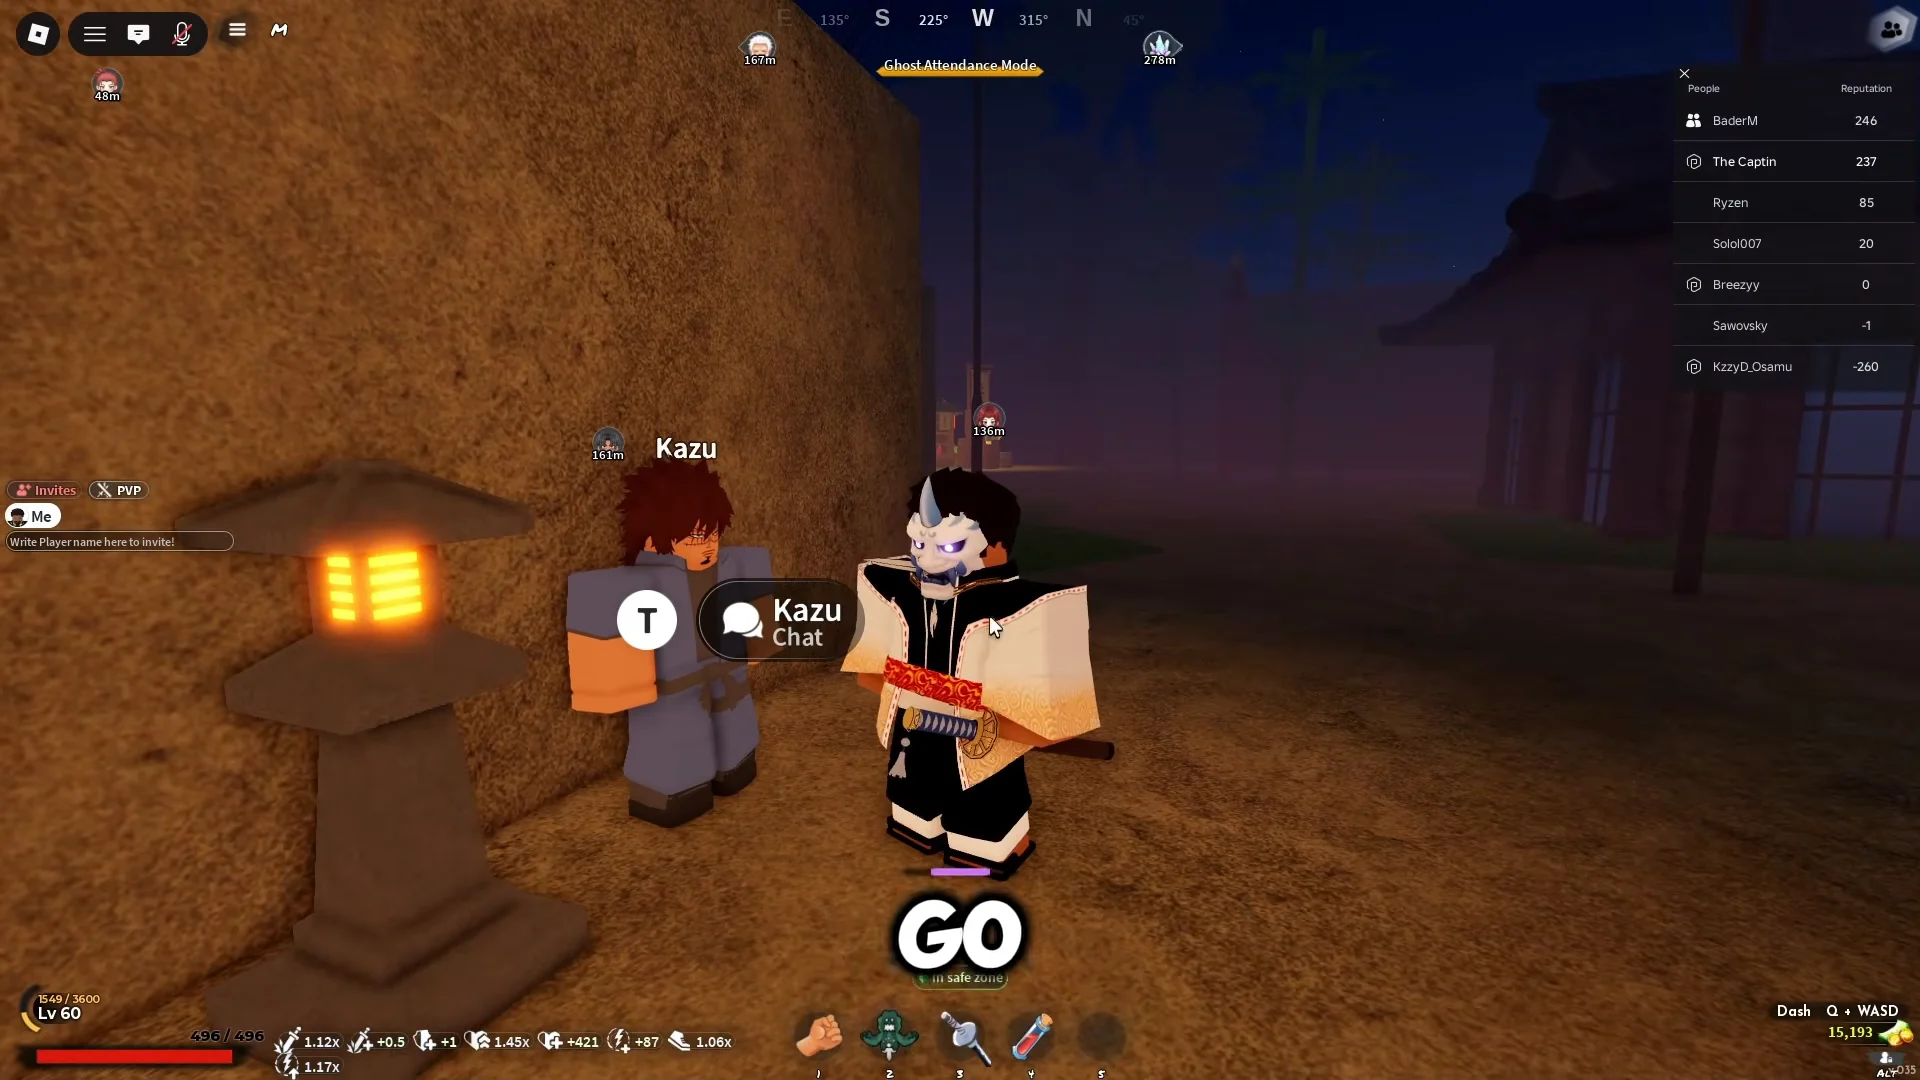
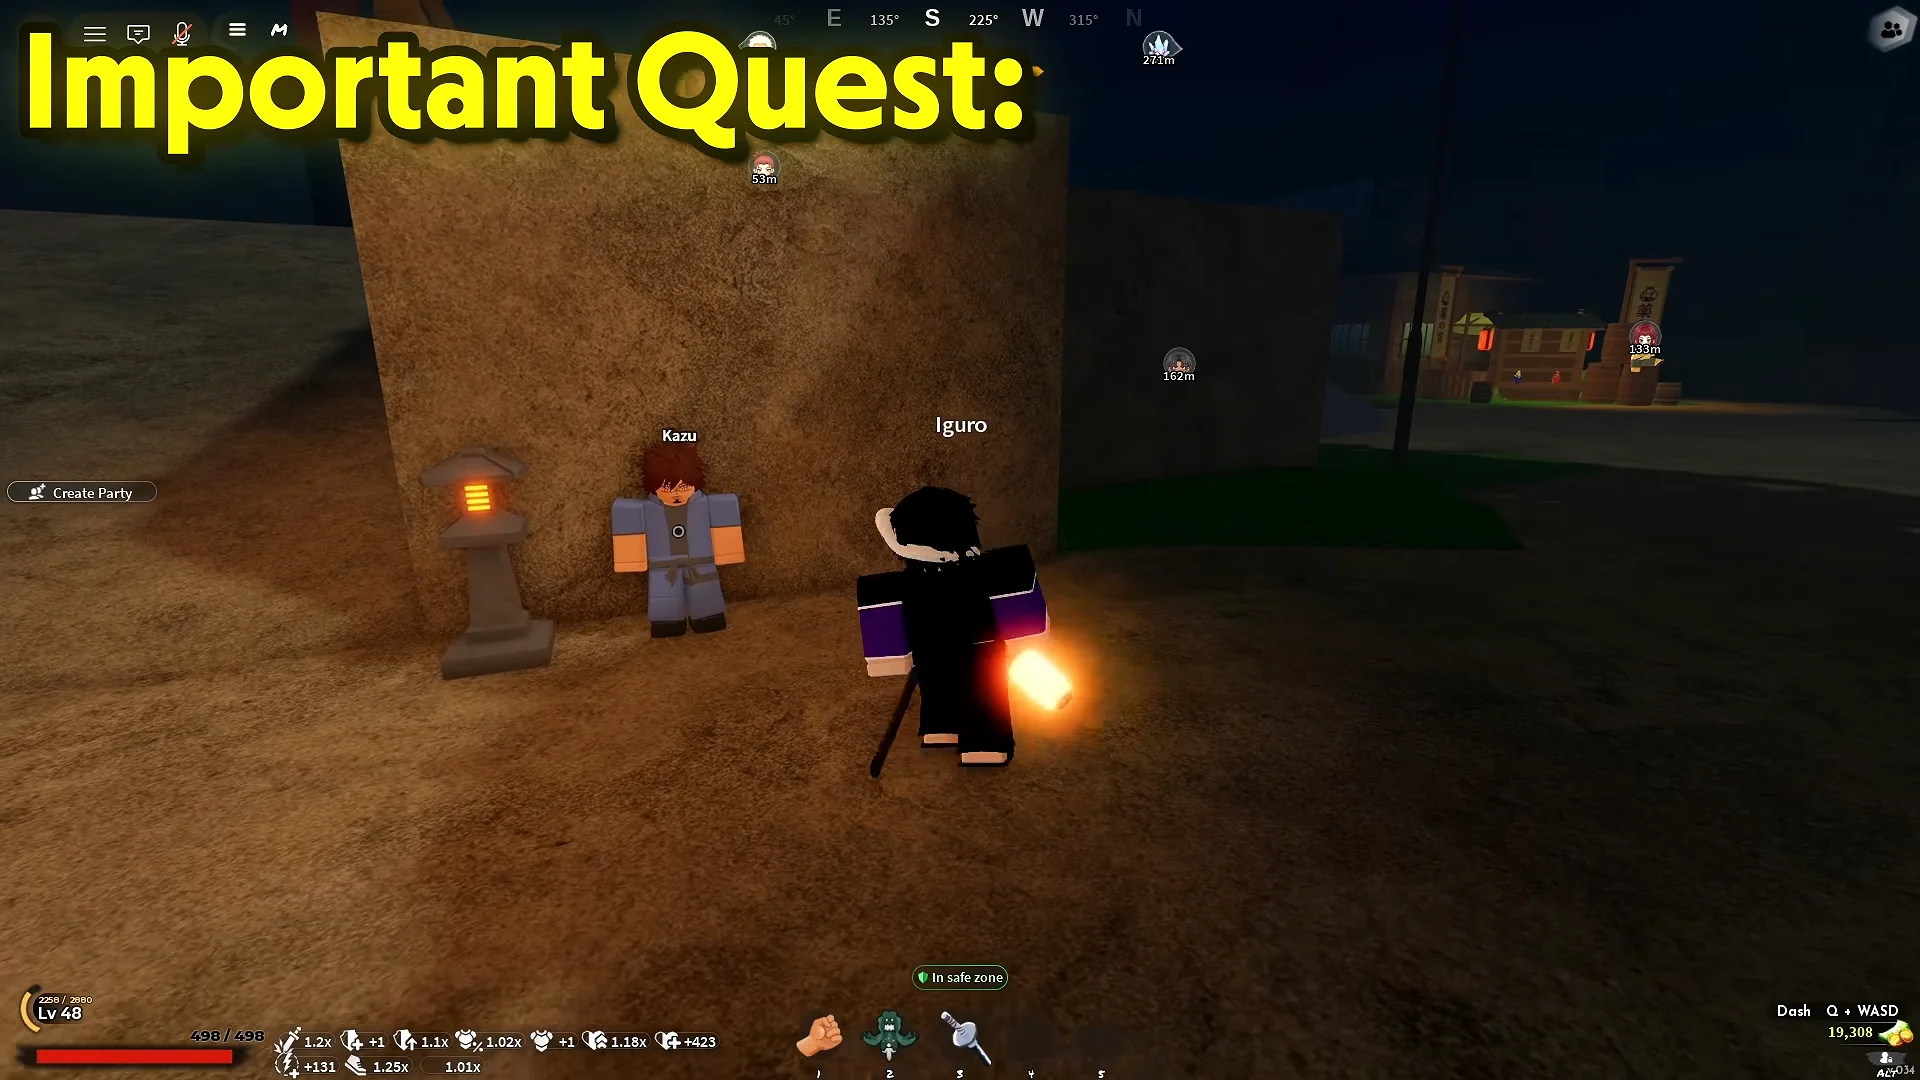
- Kazu’s spy quest — hit civilians and watch reactions; fighters are infiltrators, runners are ordinary villagers.
- MoldySugar’s short delivery run to Elara.
- Lucy asks you to Restock the Pantry with bear meat collected from Tom’s area.
- Deliver the shipment to Ora; doing so unlocks the zone that you will later farm for Beast Cores.
Prioritize the Lost Pages quest because the Book of Guidance permanently directs you to the next progression quest. Kazu’s spy assignment causes the most confusion. Look for targets marked with a dash or star; they drop a Suspicious Note, which you must take to Noote for translation. Noote then directs you uphill to Chaka, and his level 26 chain remains unavailable until you complete that handoff.
Spend skill points on movement first
You receive three skill points per level, and failing to spend them is the most common mistake early on. Body, Weapons, Clan, and Breathing use one shared tree; mastery is separate and increases only when you fight with the relevant weapon and style.
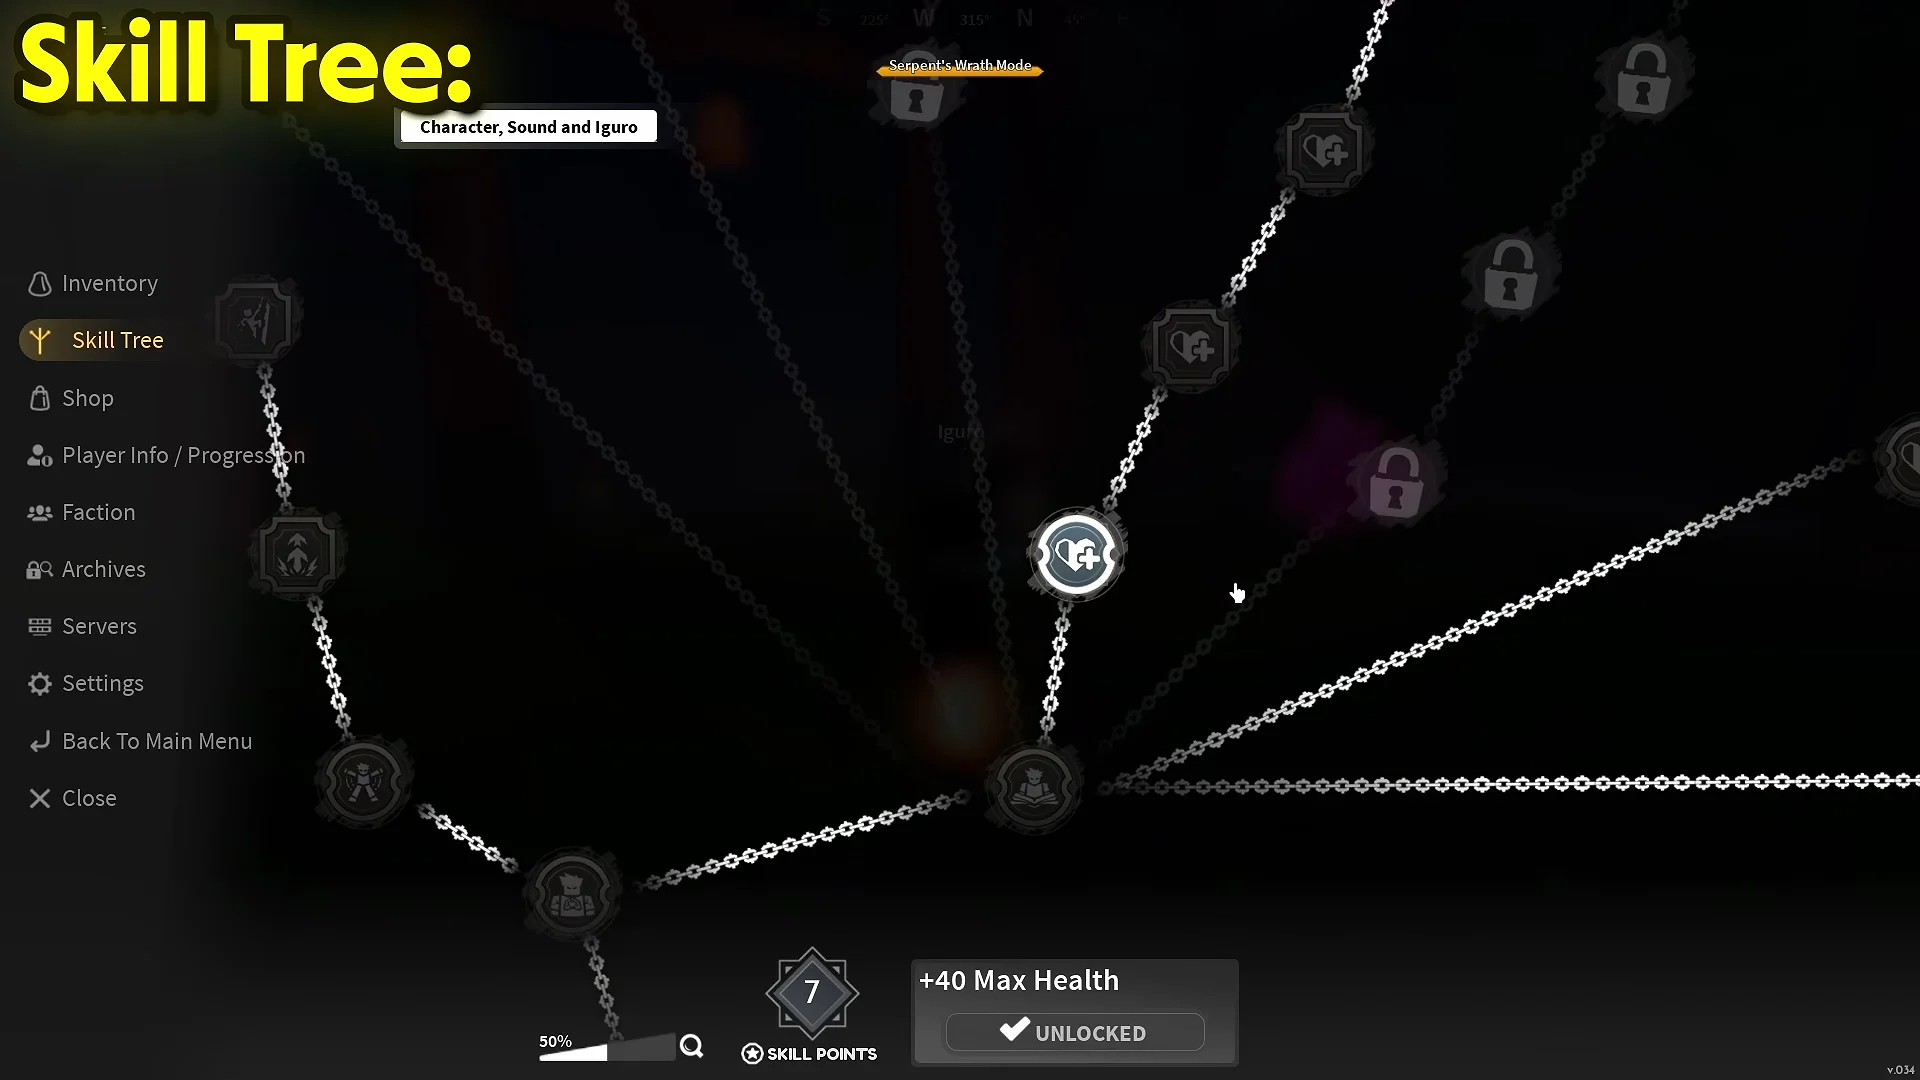
Buy the mobility nodes first. Double Jump and Wall Climb are effectively mandatory, because several Breathing trainers and the Final Selection parkour sit on cliffs and rooftops you cannot otherwise reach. By roughly level 15 to 20, aim to own both plus the +40 Max Health node, then invest around whatever is currently killing you: HP and block for repeated deaths, stamina for an empty combo bar, more traversal for an unreachable trainer.
Blocking defines the early combat loop. When the white shield icon appears, your block absorbed the blow. Rather than attacking continuously and getting stunned, strike in three-hit bursts and reset before a seven-hit chain’s later swings can punish you.
Tom’s bear quests in Bamboo Grove (level 10 to 25)
Tom stands in Bamboo Grove Sanctuary, straight downhill from the village. His Bear Cub task opens at level 10 and carries you to 18, then the Mother Bear boss quest unlocks and stays efficient into the mid-twenties. Both pay far more than bandit work. Mother Bear’s chest loot is mediocre, so fight her for experience, not gear, and use her readable attacks to practice block timing that every later boss will test.
Use this grind to begin saving Breathing materials. Along the mountain pass leading into Iceveil Valley, high-level snow demons yield Demon Horns at about two per kill; low-tier demons in the cave below Mother Bear also drop them. Nocturnal Beast Demons near the village gate at Mistfall Harbor provide Beast Cores, making that farm available only at night.
The black market merchant Kuro shows up by the bear area after dark and is gone by morning. His inventory includes lanterns and accessories, among them the Cherry Blossom Lantern, which makes night farming easier to see.
Unlock a Breathing Style at level 25
Breathing Styles come from trainer questlines that open at level 25. The current roster is Water, Thunder, Flame, Wind, Stone, Insect, Sound, and Serpent. Serpent is the cheapest popular starter and strong for farming, Thunder suits fast, aggressive play, Sound leans on control, and Flame is the straightforward damage pick. Pick your style before you farm, because materials collected for the wrong trainer are dead weight.
| Style | Trainer | Location | Known cost |
|---|---|---|---|
| Water | Urokodaki | Underwater cave near Bamboo Grove | 5,000 Wen, 30 Demon Horns |
| Serpent | Obari | Cliff north above Windy Peak | 20 Demon Horns, 5 Beast Cores |
| Flame | Rengu | House past Mistfall Harbor | 10 Demon Horns |
| Wind | Saneri | Iceveil Valley ice platform | 50 Demon Horns |
| Stone | Gyorei | Near Mist Village | Needs Axe and Mace |
| Insect | Shinora | Butterfly Estate roof | Not confirmed |
| Thunder | Zentaro | Mountain cliffs (needs Wall Climb) | Not confirmed |
| Sound | Tengai | Iceveil snowy mountains (needs Wall Climb) | Not confirmed |
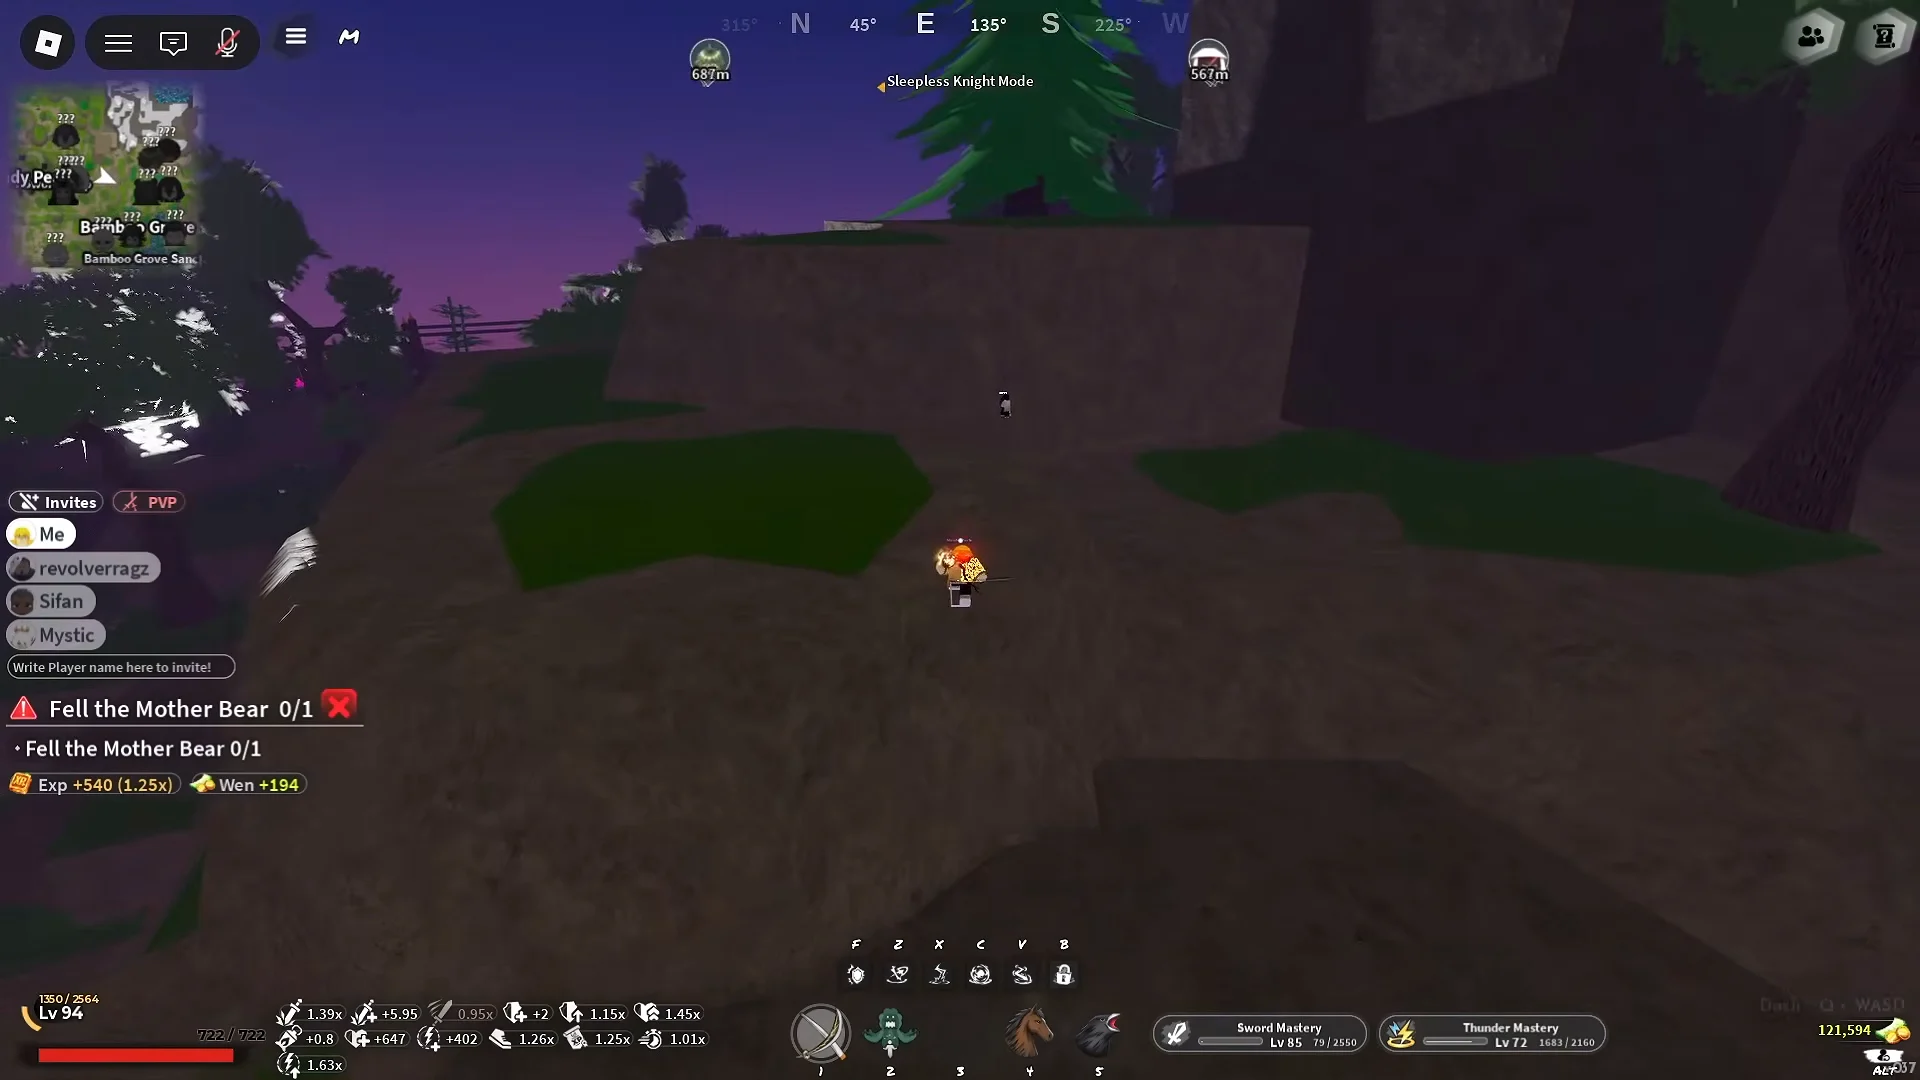
Before starting a lengthy farm, read all of the trainer’s dialogue. The listed horn requirement may not include every task or fee in the chain, and the final trainee fight genuinely tests your skill. Wall Climb is required to reach both the Sound and Thunder trainers, so unlock it beforehand.
Chaka, Kaiden, and Wagwan (level 26 to 45)
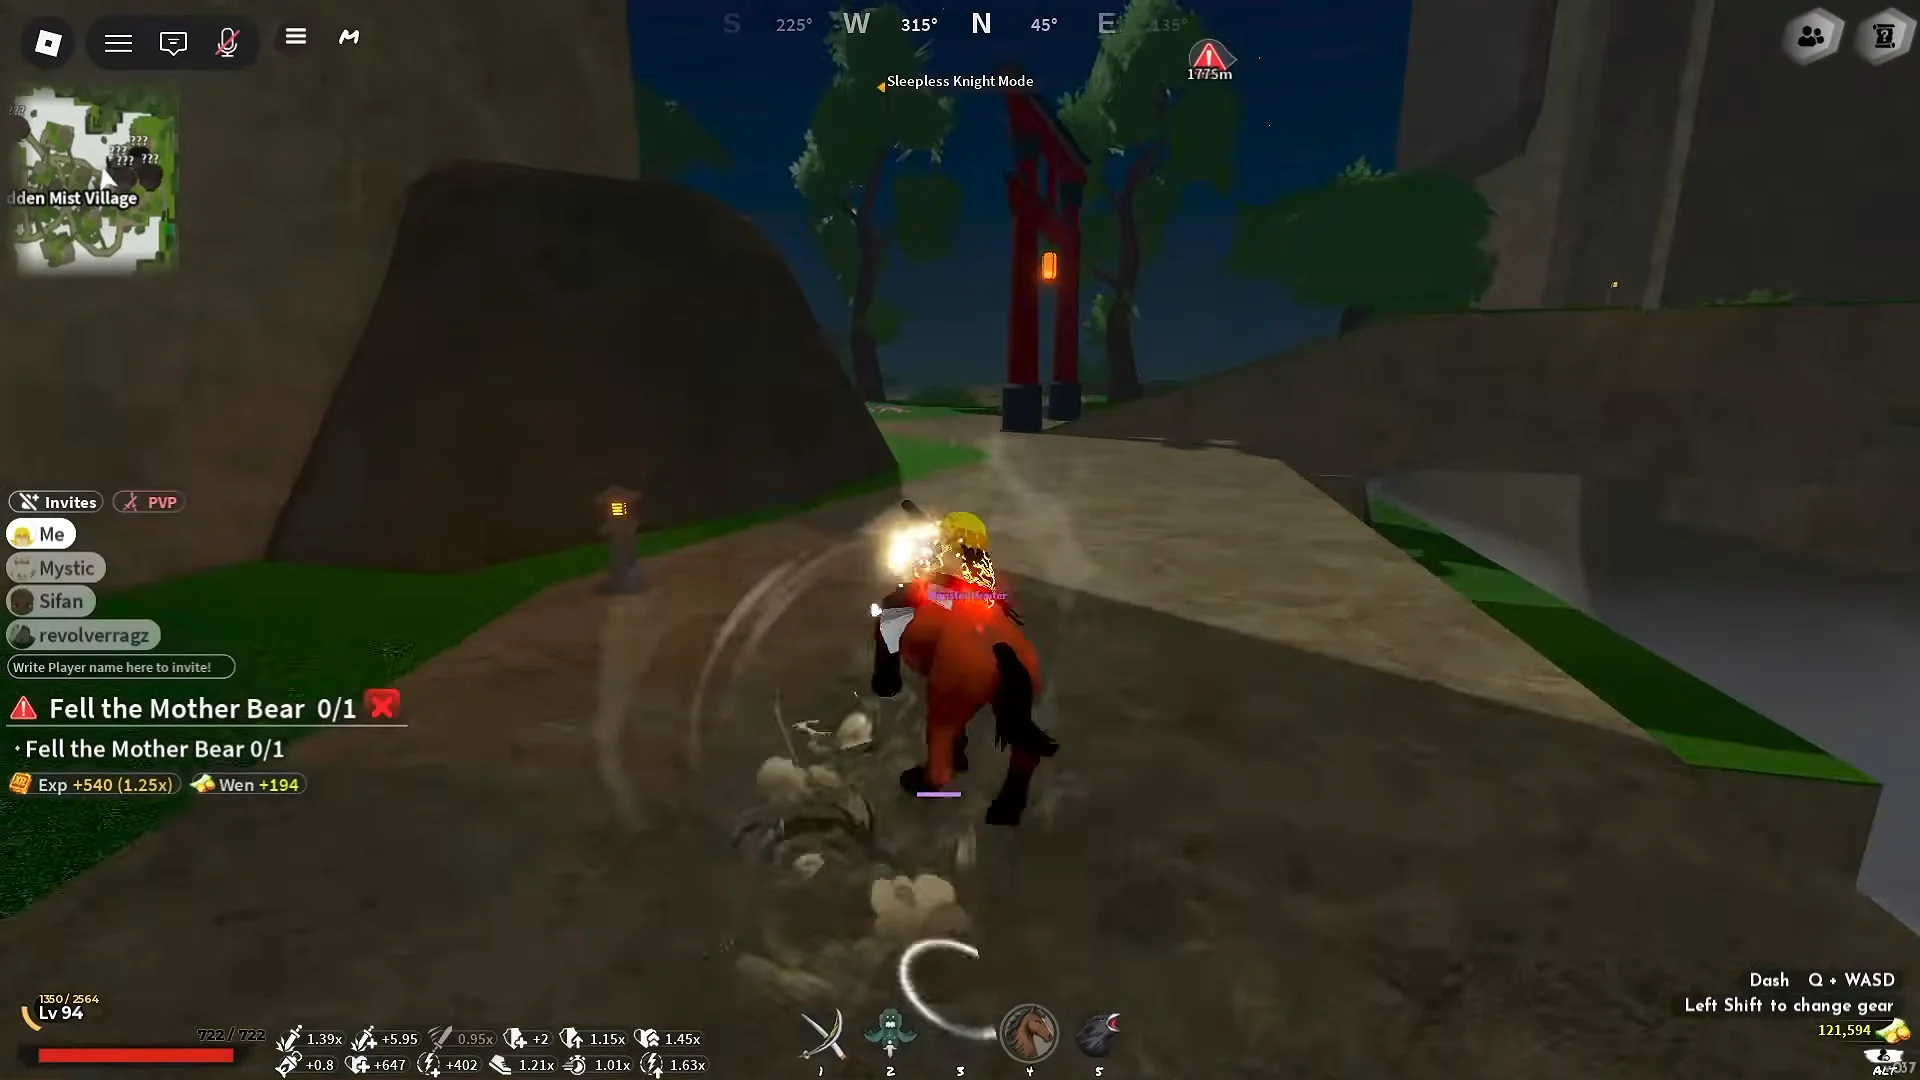
Chaka sits up the hill toward the snowy region, and his subordinate quest unlocks at level 26. If he offers nothing, Kazu’s spy chain is unfinished. His subordinates punish greedy openers, so bait their dash, let it whiff, and land your M1 string during recovery. That single habit clears fights faster than any early damage node.
At level 34 Chaka hands you the Kaiden quest, which carries you to 40. Kaiden also drops his claw weapon, which has its own skill tree, so beat him when the chance comes. His rewards fall off hard at 40. Drop down the cliff below the bear area to find Wagwan in the cave beneath the waterfall. His level 40 and level 50 demon quests send you after Hoyuzo’s Guard for experience and Demon Horns, and this is the quickest continuous grind right up to Final Selection and beyond.
Final Selection: requirements and quest order
Final Selection sits at the map’s far-western edge. Head to Mistfall Harbor, cross toward the Butterfly Estate, take the long bridge south, and follow the northeastern path to The Sisters at the gate. Two things gate entry: you must be human, and you must be at least level 45. The event opens every two hours on an even-numbered hour, so arrive a few minutes early to be placed inside when it begins. Level 45 is the floor, but solo players realistically want closer to level 60, and bringing others makes the whole run much safer.
Do not leave the moment the Hand Demon dies. The reward chest signals success, but you must return to The Sisters to close out the chain and confirm your rank.
Slayer rewards and your first katana
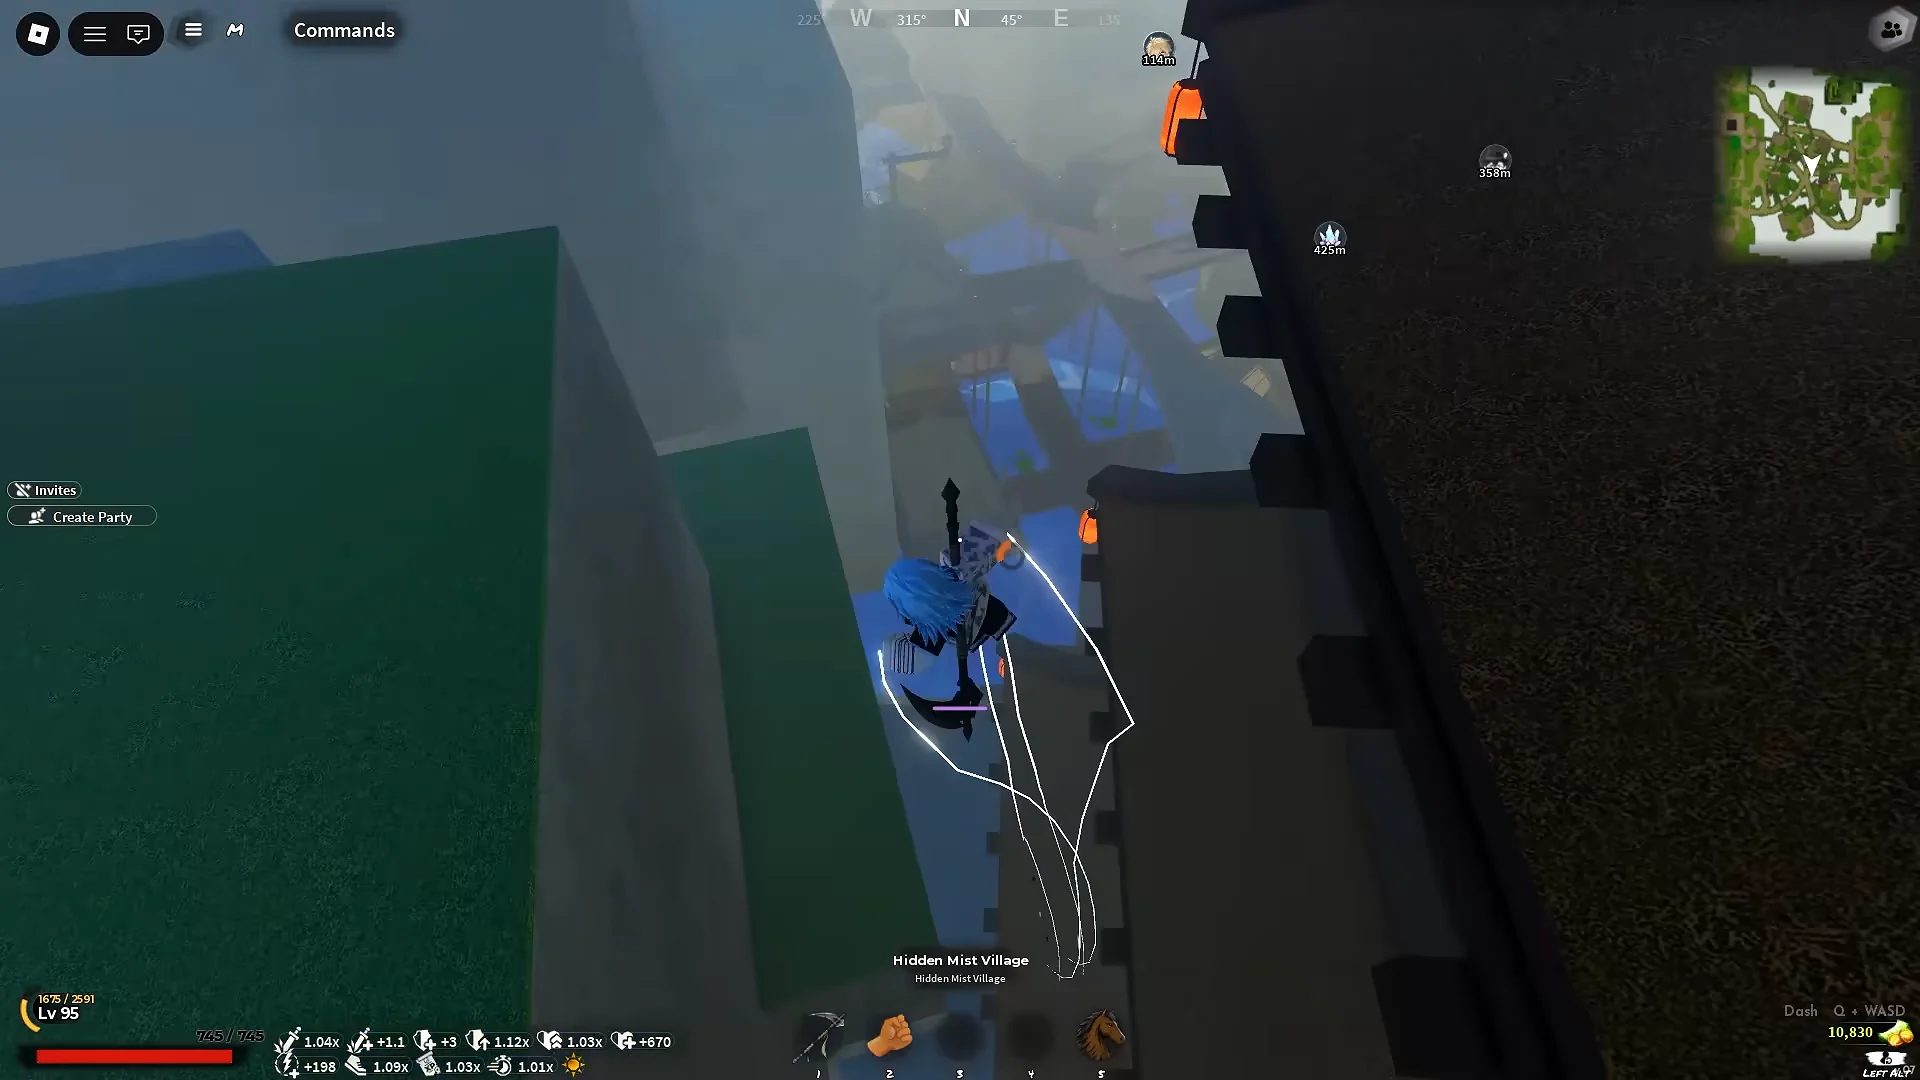
Completing Final Selection grants the Mizunoto rank, a Slayer Uniform, ore, and your Kasugai Crow. Take the Crude Iron Ingot to Yagane in Hidden Mist Village to forge one of three starter Nichirin katanas: the Enryu, Shinkage, or Tengoku. All three share identical stats, so pick whichever look you prefer.
Put the Kasugai Crow on from your inventory immediately. It offers repeatable boss bounties that adjust to your level. Start with the crow’s best-rarity bounty, then obtain the corresponding regular quest for that boss from the normal quest giver; one kill completes both objectives and approximately doubles the experience, Wen, and gear rewards. Prioritize Mythic targets, move to Legendary afterward, and settle for Epic only when higher rarities are unavailable.
Two permanent improvements deserve early attention. After you retrieve Ren’s missing blade near the waterfall, his Butterfly Estate shop sells gourds; use the small, medium, and large versions to increase Slayer Progress, health, and stamina. Bring Ginzo’s Jewelry Box back to unlock his Mistfall Harbor store, then sell unwanted drops there to fund training. Character level, mastery, and Slayer Progress function independently, so improving one will not complete either of the others.
The demon fork and the road past level 60
Because Final Selection requires a human character, becoming a demon is a separate route rather than a later enhancement. Lower Evil Reputation to -40 by killing civilians or slayer players near Mistfall Harbor, secure sun protection such as the Black Amigasa, and search for Muzan after dark. He can appear at Mistfall Harbor, Hidden Mist Village, or the Iceveil settlement, so changing servers is the quickest way to search. The storyline ends after you drink Demon Blood, which unlocks Blood Demon Arts and permanent Biwa Bell travel to his lair.
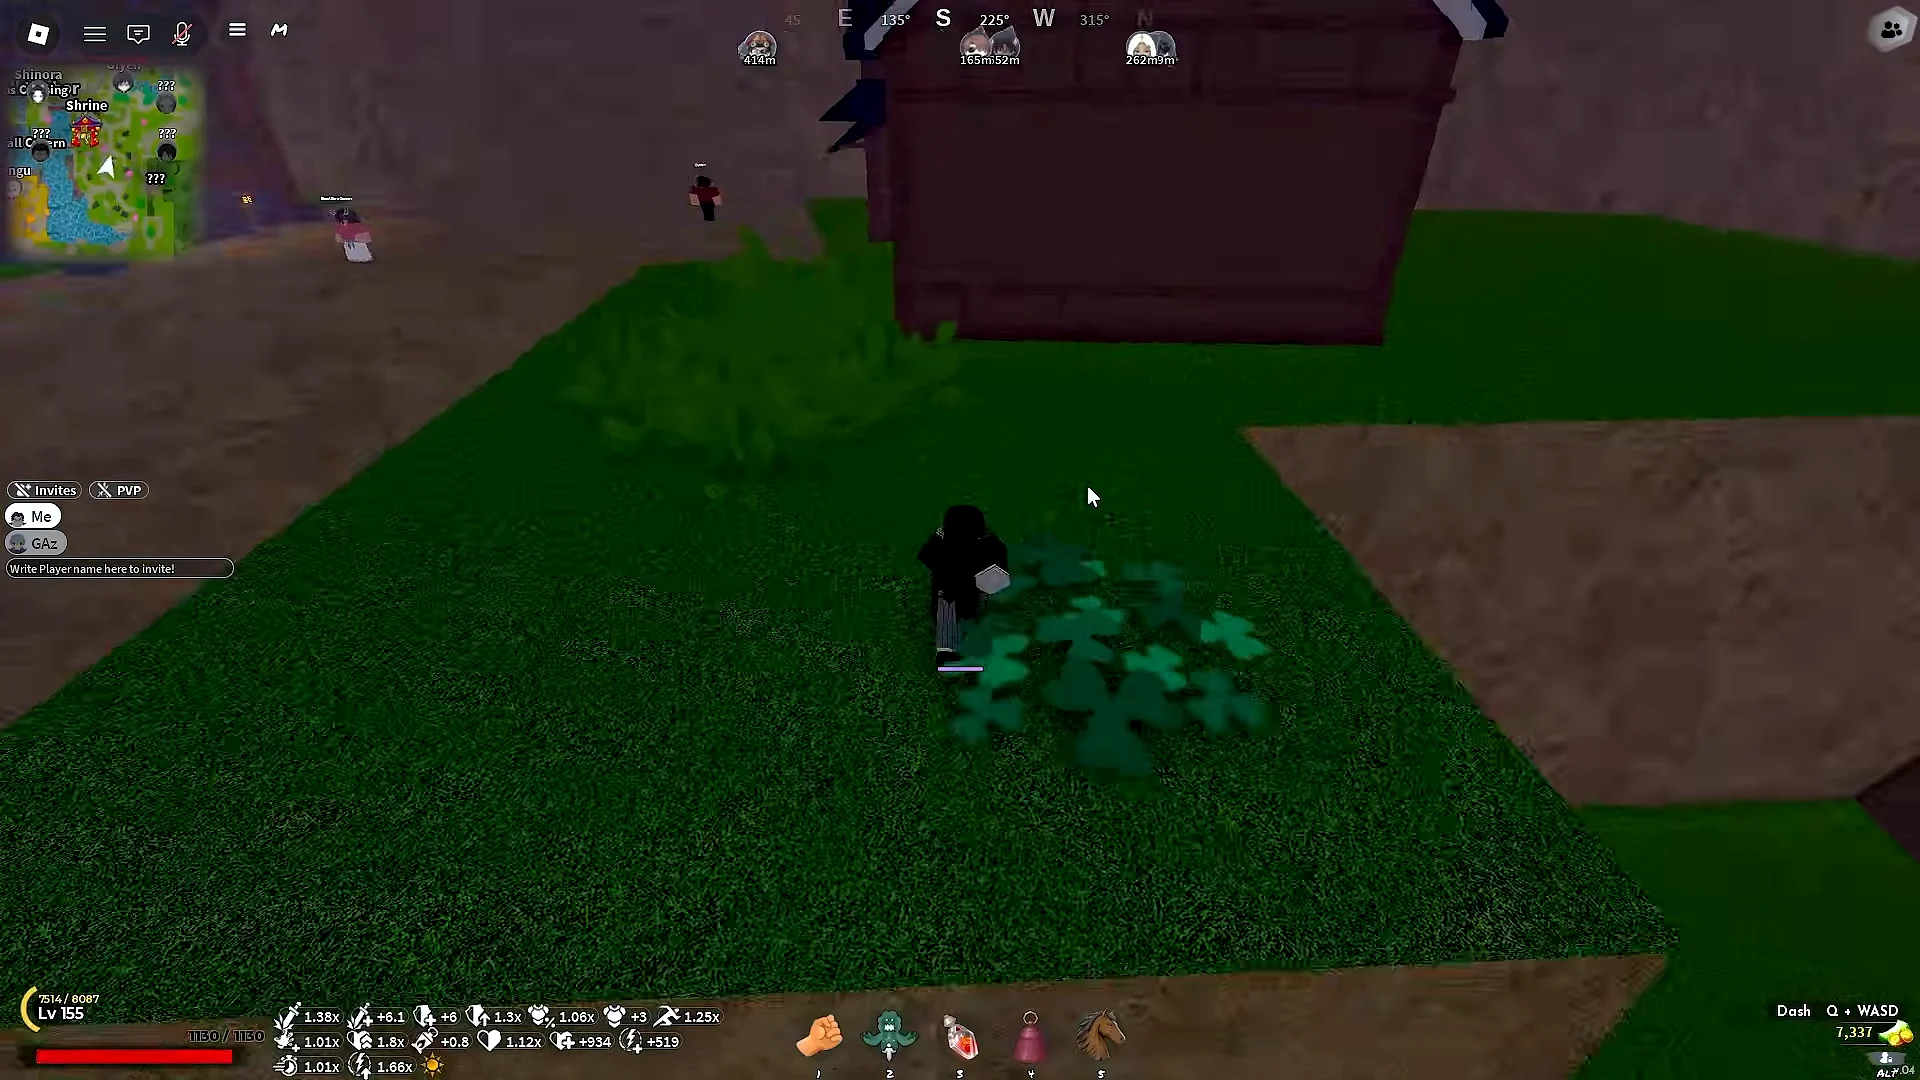
After Final Selection, the slayer zones follow this order: bridge quests at Mistfall Harbor from 62 to 75, Demon Mokuro’s cliff cave from 75 to 90, Demon Slayer Mitsu at Iceveil Settlement from 90 to 145, and the Ouwigahara dungeon portal from 145 onward. Cold resistance in Iceveil requires the Emberheart Lantern; obtain it by using a Frozen Heart to summon the Yeti Demon at the White Terror Lair. Once you reach level 60, Blacksmith Togane’s Nichirin Forge inside the dungeon can reforge weapons into Damascus tiers, so save your base weapons and refinement materials until you confirm the exact recipe costs.
Slayers 2 is still in early access, so patches may modify quest levels, trainer prices, or gate timers. Use these milestone numbers for planning, but rely on the NPC dialogue currently shown in your game as the definitive source.





