Leveling in Slayers 2 is not open-ended. The game funnels you through a fixed sequence of quest givers, and each one stops being worth your time at a specific level. Knowing where that cutoff is — and when to abandon quest grinding entirely for bounty stacking — is the difference between reaching Final Selection in an evening and spending days hitting bandits that give almost nothing.
Quick answer: Run the quest chain in order — Krue, Tom, Chaka, then Wagwan — until level 45, then switch to Kasugai Crow or Muzan bounties stacked on top of normal quests for double rewards.
Slayers 2 leveling route from level 1 to 60
Each row below is a hand-off point. When you hit the listed level, move to the next quest giver rather than finishing out the previous one.
| Level | Quest giver | Objective |
|---|---|---|
| 1–6 | Krue | Repeat the three Bandits quest |
| 7–9 | Krue | Mini boss Zuko |
| 10–17 | Tom | Bear Cub hunting |
| 18–25 | Tom | Mother Bear boss quest |
| 25 | Breathing trainer | Start your chosen style questline |
| 26–33 | Chaka | Kaiden’s subordinates |
| 34–39 | Chaka | Kaiden boss quest |
| 40–60 | Wagwan | Level 40 and 50 demon quests |
| 45 minimum | The Sisters | Final Selection (60 recommended) |
Set your spawn point to the Bamboo Grove nearest whatever you are farming. Travel time is the single biggest hidden cost in this route.
Levels 1–25: Krue’s bandits and Tom’s bears
Krue stands at Windy Peak near the starting spawn and offers two dialogue options that matter. “I’ll take 3 bandits” is available from level 0, and the bandit boss option unlocks at level 7. Repeat the bandit quest until Zuko opens up, then farm Zuko on a loop until level 10.
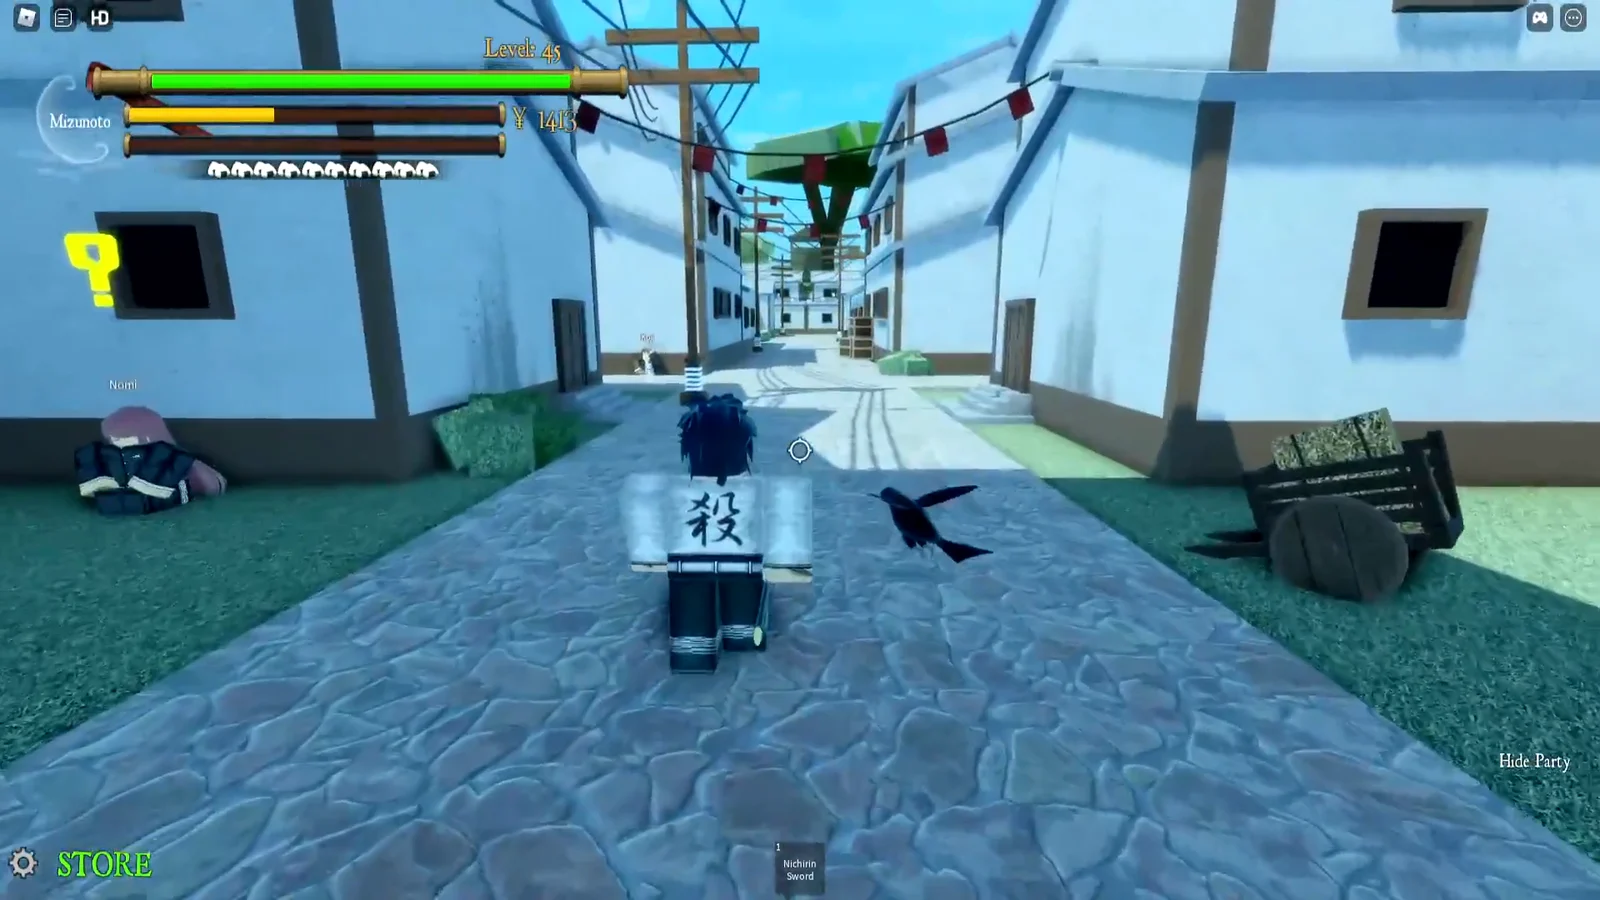
The map uses colour-coded quest markers, so you can identify quests without opening every icon you pass. Blue question marks indicate daily quests; green ones are one-time quests; yellow ones mark location quests; and red ones lead to boss quests.
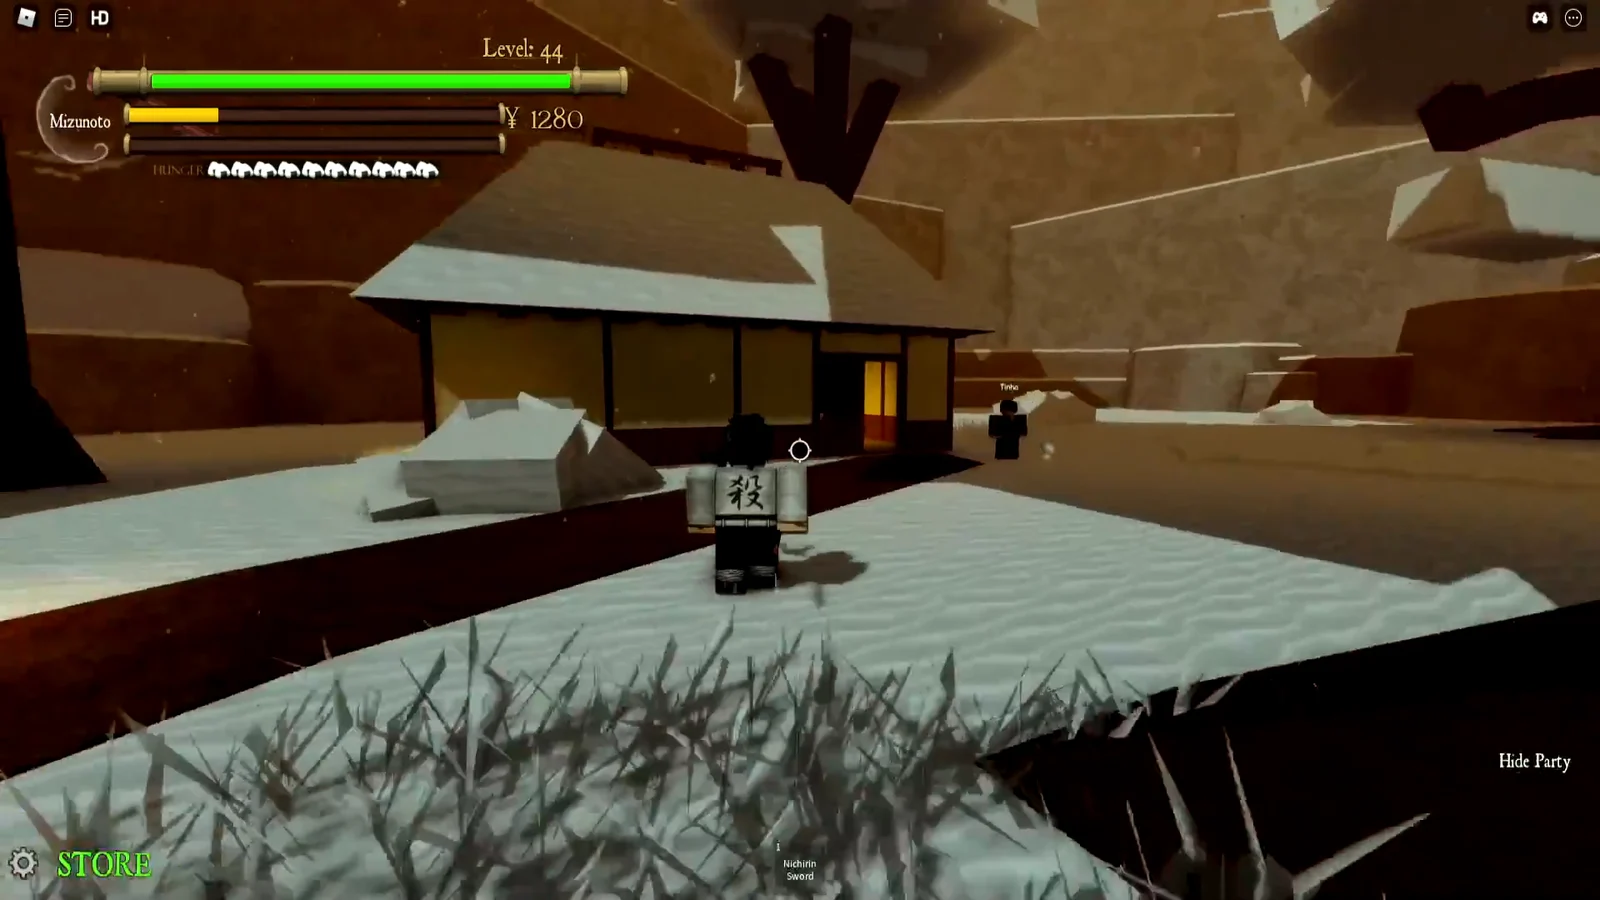
Before you leave the starting area, pick up a real weapon from Raze. A Regular Katana costs 500 Wen and the Fancy Katana runs 1,500 Wen. Also clear the Recover the Lost Pages quest for the Book of Guidance, which permanently points you at the next quest in the chain.
Tom takes over around level 10 at the Bamboo Grove Sanctuary. His Bear Cub quest carries you to 18, at which point the Mother Bear boss quest opens and stays efficient through level 25 or 26. Mother Bear has a readable attack pattern, so perfect blocking here is worth learning — it is the same timing you will lean on against every boss later.
Levels 26–45: Chaka, Kaiden, and Wagwan’s demon quests
Chaka sits near the snow area and hands out the level 26 and level 34 Kaiden quests. There is a prerequisite that trips people up: you must first complete Kazu’s quest back at spawn to defeat the civilians before Chaka’s chain becomes available.
Farm Kaiden’s subordinates from 26, then the Kaiden boss itself from 34. Around level 40, stop. Kaiden’s rewards fall off sharply and Wagwan’s demon quests scale far better.
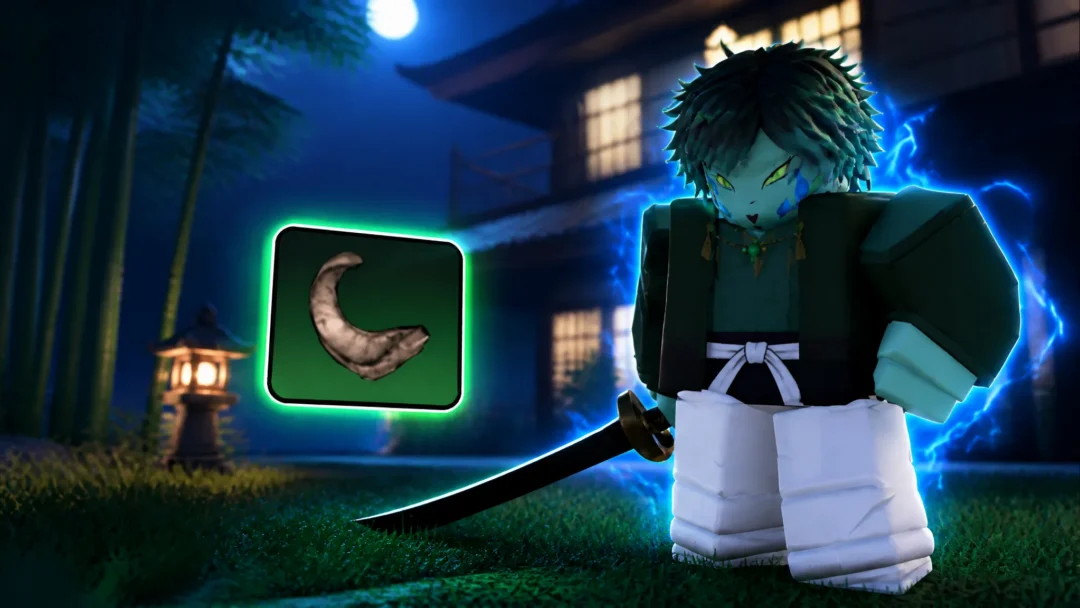
In a cave beneath the falls directly below the bear area, Wagwan provides Level 40 and Level 50 demon quests that reward EXP and Demon Horns. The Hoyuzo’s Guard NPCs in this section take longer to defeat, but it remains the quickest nonstop grind before level 60.
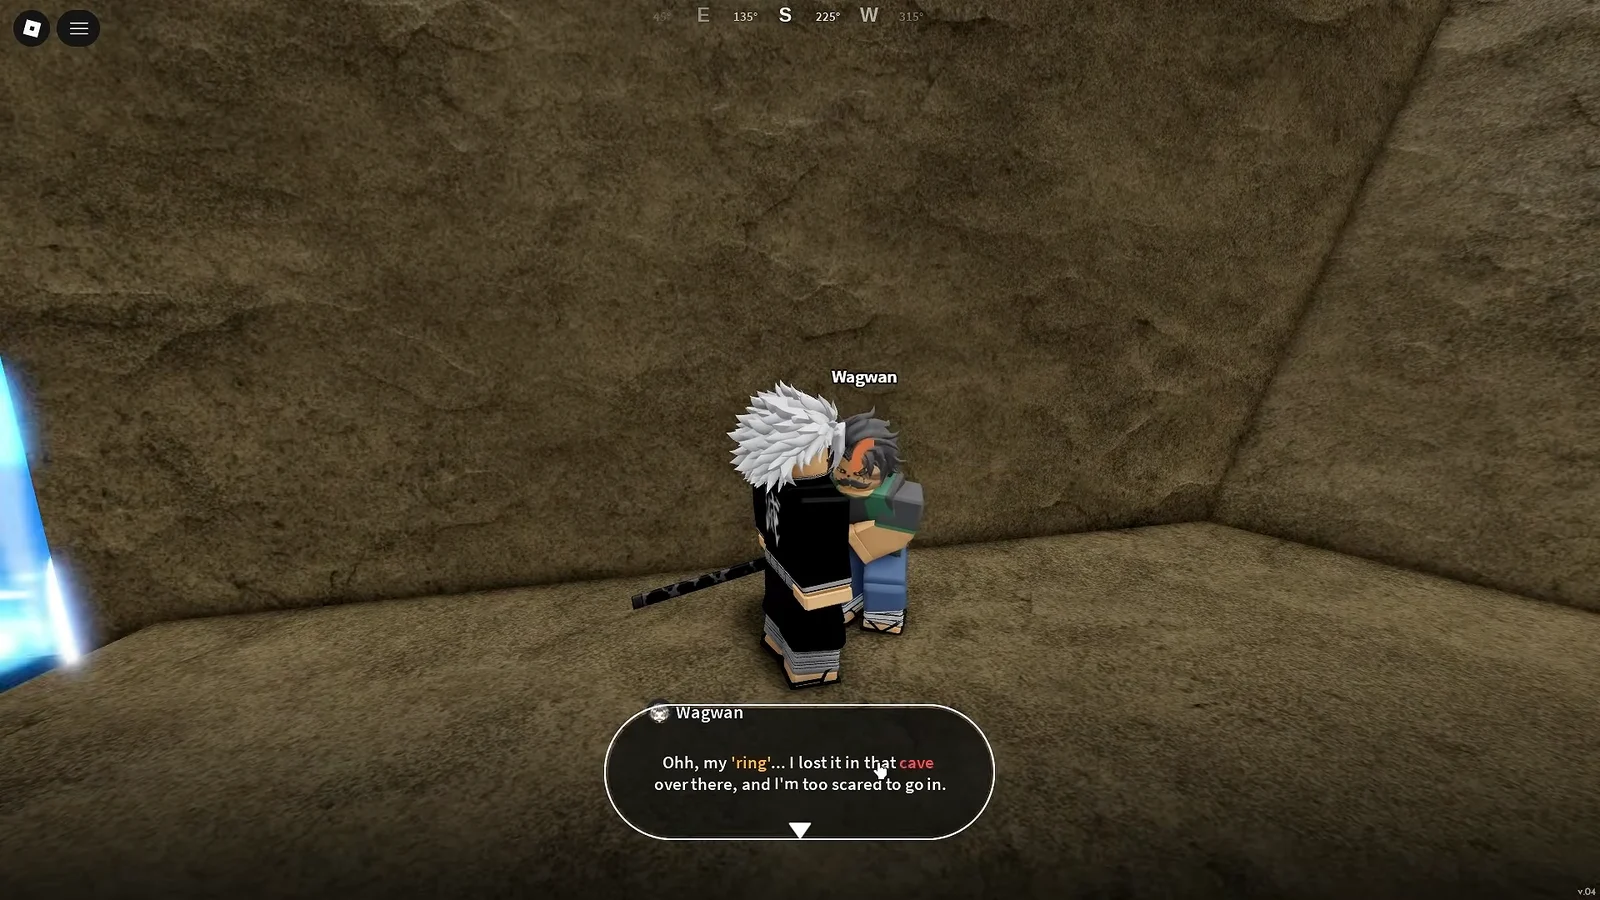
Breathing Styles unlock at level 25 through trainer questlines, and every trainer charges different materials. Water runs through Urokodaki via the underwater cave route near Bamboo Grove and costs 5,000 Wen plus 30 Demon Horns. Flame’s trainer, Rengu, sits past one of the two large bridges out of Mistfall Village and asks for 10 Demon Horns. Serpent’s trainer Obari is on the cliff north above Windy Peak and wants 20 Demon Horns and five Beast Cores.
Pick your style before you farm anything. Requirements differ by trainer, and a stockpile gathered for the wrong one is dead weight. Beast Born Demons near Mistfall Harbor spawn at night and drop both Beast Cores and Demon Horns.
Skill tree and weapon upgrades that keep the grind fast
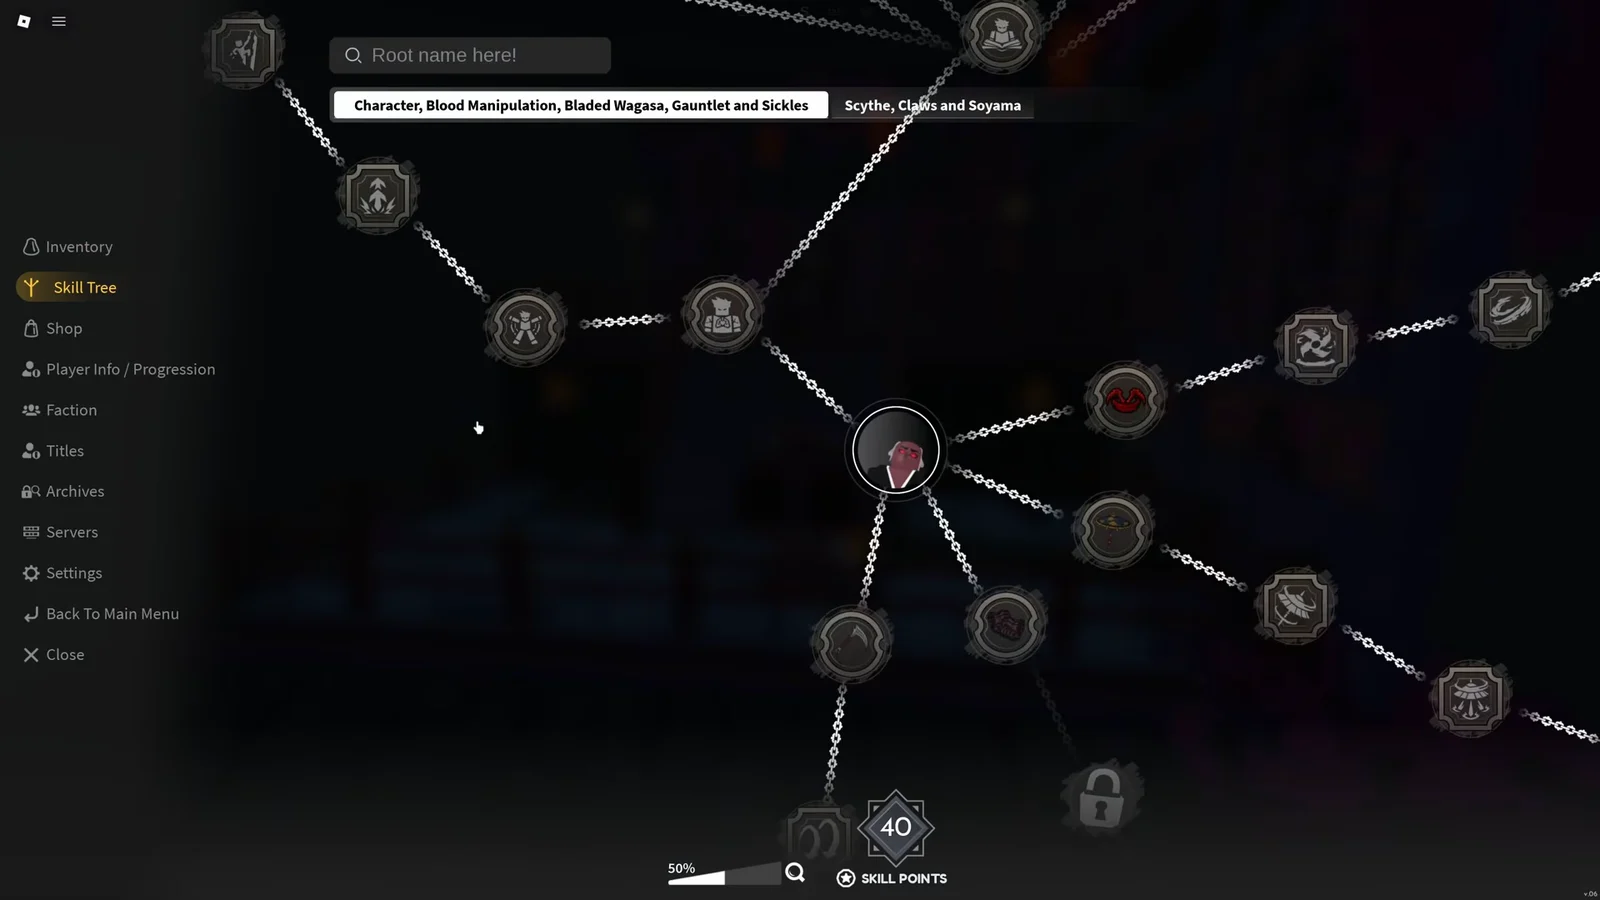
Your kill speed decides your EXP rate, so skill points go into damage and health first, with movement nodes treated as non-negotiable. Wall Climb and double jump are required to reach several trainers, and unlocking them late means walking the long way to every objective.
Mastery for your weapon and Breathing Style is tracked separately from your character level, so it only climbs when you actually use those moves in combat. Swinging the same starter katana at level 40 is the most common reason a grind stalls.
Swap into whatever the chain has dropped — Thunder Katana, Scythe, Spear, or Sickles all outclass the starter weapons. Village vendors cover the rest of the maintenance, including cheap apples for healing between runs.
Level 45 and up: stack Kasugai Crow or Muzan bounties
Level 45 is where you pick a faction, and that choice decides which bounty board becomes your main EXP source. Slayers talk to The Sisters and receive a Kasugai Crow. Demons go through Soyama and use the Biwa Bell to teleport into Muzan’s Lair.
Either way, the mechanic is the same and it is the fastest loop in the game. Take a boss bounty from your crow or from Muzan, then take the matching normal quest for that same boss from its regular quest giver. Killing the boss once completes both, which effectively doubles your EXP, Wen, and armour drops per fight.
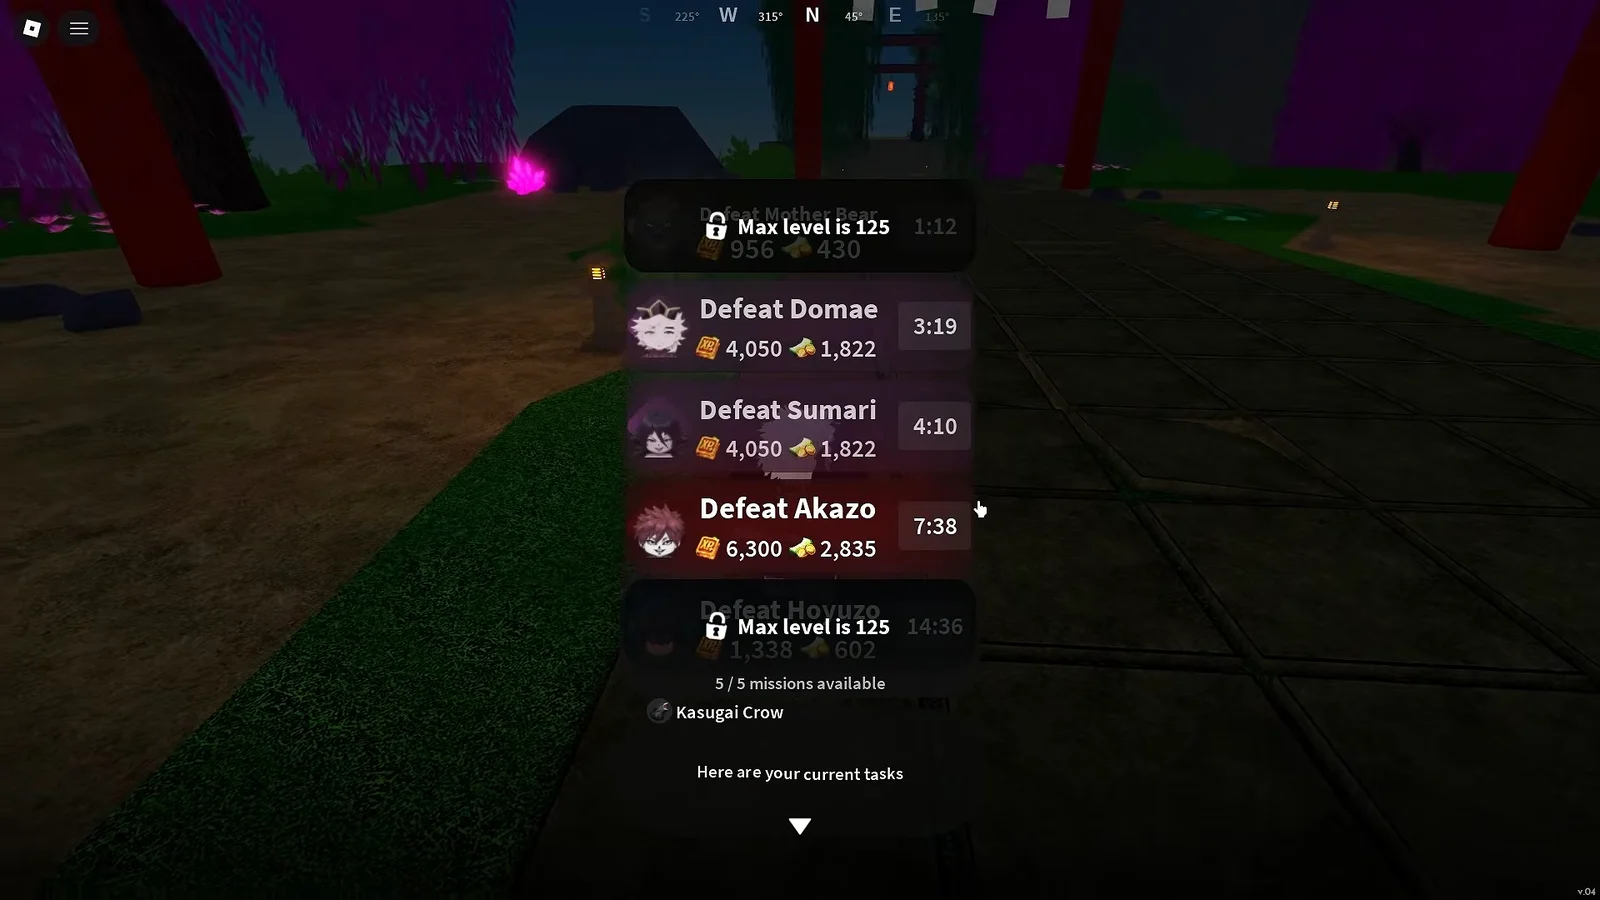
Bounties come in rarities, and they are not close in value. Always clear the highest rarity on offer before touching anything below it.
- Mythic — highest EXP and cash payout, take these first.
- Legendary — second priority.
- Epic — take only when nothing better is listed.
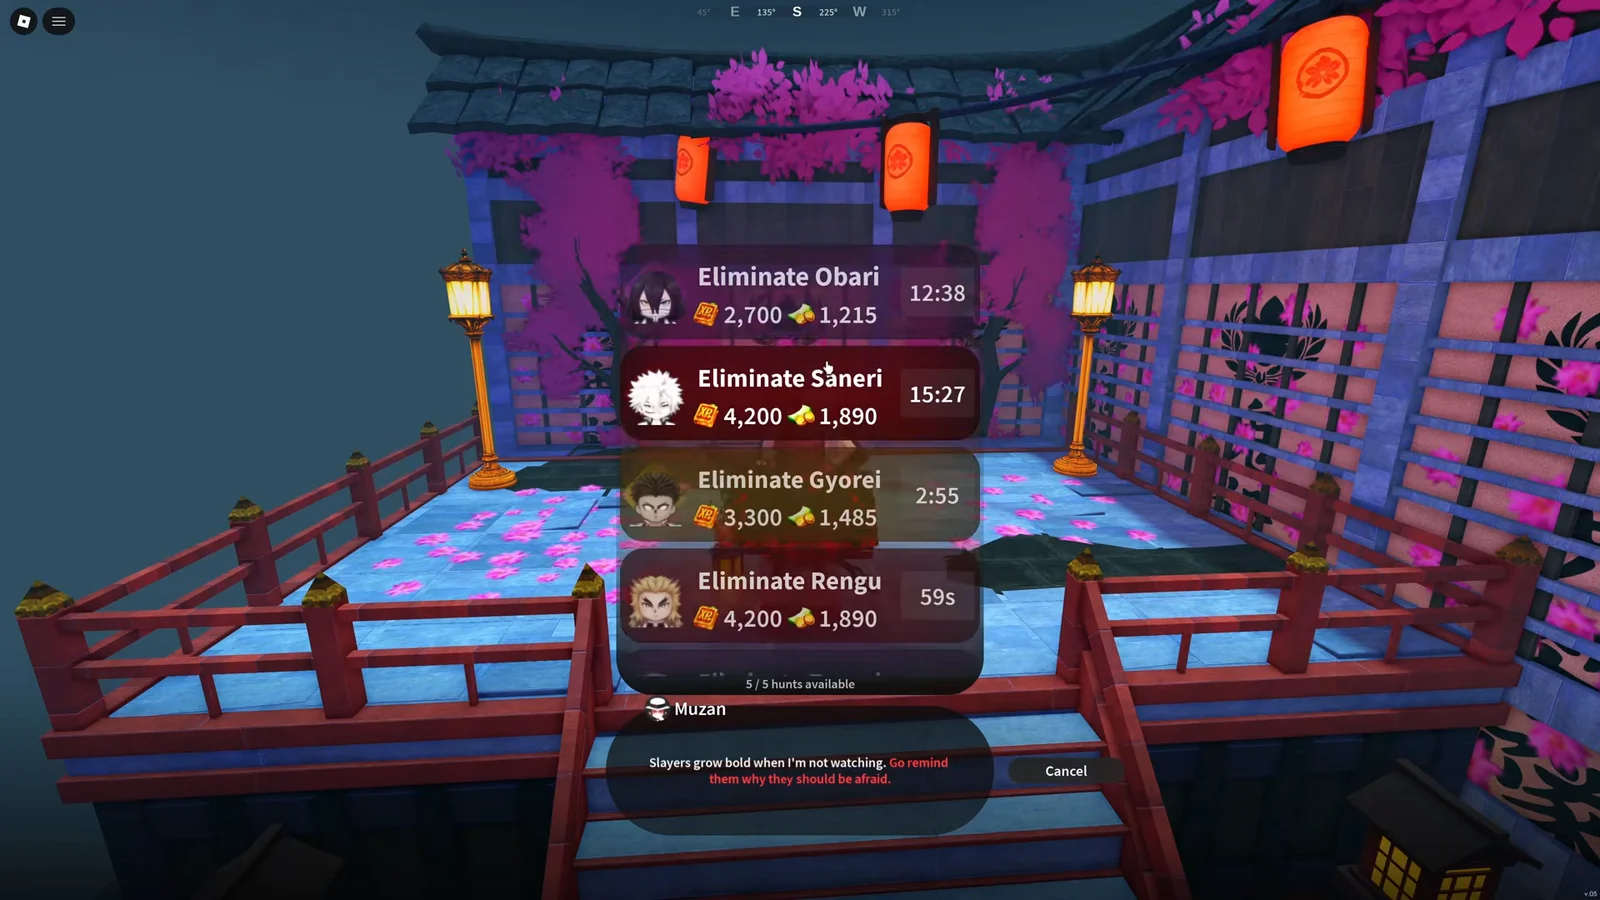
Targets like Zentaro, Obari, Saneri, and Rengu rotate through these boards. Use the Recommended Quest map settings to mark your target, teleport to the nearest unlocked shrine such as the Mistfall Harbor Shrine, kill the boss, turn in both quests, and immediately pull the next bounty.
EXP multipliers: titles and server choice
Progression titles apply a flat multiplier to quest EXP, and equipping one costs nothing. Open Titles, then the Progression tab, and wear the best one you own.
| Title | Quest EXP factor |
|---|---|
| Odd-Jobber | 1.03x |
| Village Pillar | 1.04x |
| Oathkeeper | 1.05x |
Server population cuts both ways. A busier server increases the EXP you earn from mobs and quest completions, and public servers behave differently from private ones. But crowded servers also mean other players are stealing boss spawns, which kills your turn-in rate once you are running bounties. During the early quest grind, stay on populated servers. Once you are chaining bosses, open the Servers menu and hop to a low-player server so the spawn is yours.
Shrines are the other time saver. They work as paid fast travel points for Wen, and unlocking them as you pass by removes most of the cross-map running from the bounty loop.
Final Selection: level requirement, route, and rewards
Final Selection sits in the far west of the map. Travel to Mistfall Harbor, cross the bridge toward the Butterfly Estate, then take the very long bridge south to the Final Selection Plains and follow the path northeast. The gate opens on a timer, currently once every hour, so plan to arrive with a few minutes to spare.
You must be at least 45, although solo players should reach level 60 first. The run combines parkour and puzzles with a set boss sequence: begin with The Sisters, then fight Rem, Vael, Klien, Mizuto, Lavato, Levi, and Steve, before ending at the Hand Demon.
You will know it worked when you return to The Sisters after the Hand Demon and the chain closes out. Completion awards Mizunoto rank, a Slayer Uniform, Ore, and a Kasugai Crow — and that crow is what turns on the bounty stacking loop above.
From there the pattern does not change much. Keep the highest-rarity bounty active at all times, pair it with a matching normal quest, teleport rather than walk, and check that your title is still equipped after every session.