Soul Searching is a long Forsaken Dominion main quest that runs from the Norgan Snowfield all the way to Mordria Fault. It asks you to copy three ancient slabs, break open a castletown gate, find a demonic pit, and finally pull Rovall’s soul from a rock. The route doubles back on itself more than once and even pauses mid-quest, so it helps to know exactly where each objective points before you set out.
Before you start
Soul Searching becomes your priority quest automatically the moment The Castle in the Ice ends. Your first objective, “Consult with someone who knows Norgan’s history,” points to Polyeidus in the Sealed Study. You can warp there with the Sealed Study Norgan Portcrystal. Speaking with him hands you the Transcription Kit and sets the next objective: find the passage beneath the Norgan Snowfield.
Carry at least one Climbing Hook. You need it twice, once inside the slab passage and again on the cliff down to Putrid Copse. Pack a Wakestone too, since one later fight can swallow a party member.
The three slab transcriptions in Snowfall Valley Derelict Passage
To reach it, warp to the Rivercave Campground portcrystal, climb into the Mountain Stronghold, take its hand-cranked cart, then exit through the open portcullis onto the Norgan Snowfield. The map marks the entrance as Snowfall Valley Derelict Passage. Descend into the snowy trench and enter through the stone cave mouth. Your objective updates to “Acquire all three slab transcriptions.” At every slab you use two prompts in order: Examine, then Hold to Copy.
Slab 1: Grotesquerie
Take the masonry corridor to the opening chamber, where enemies are waiting, and defeat them.
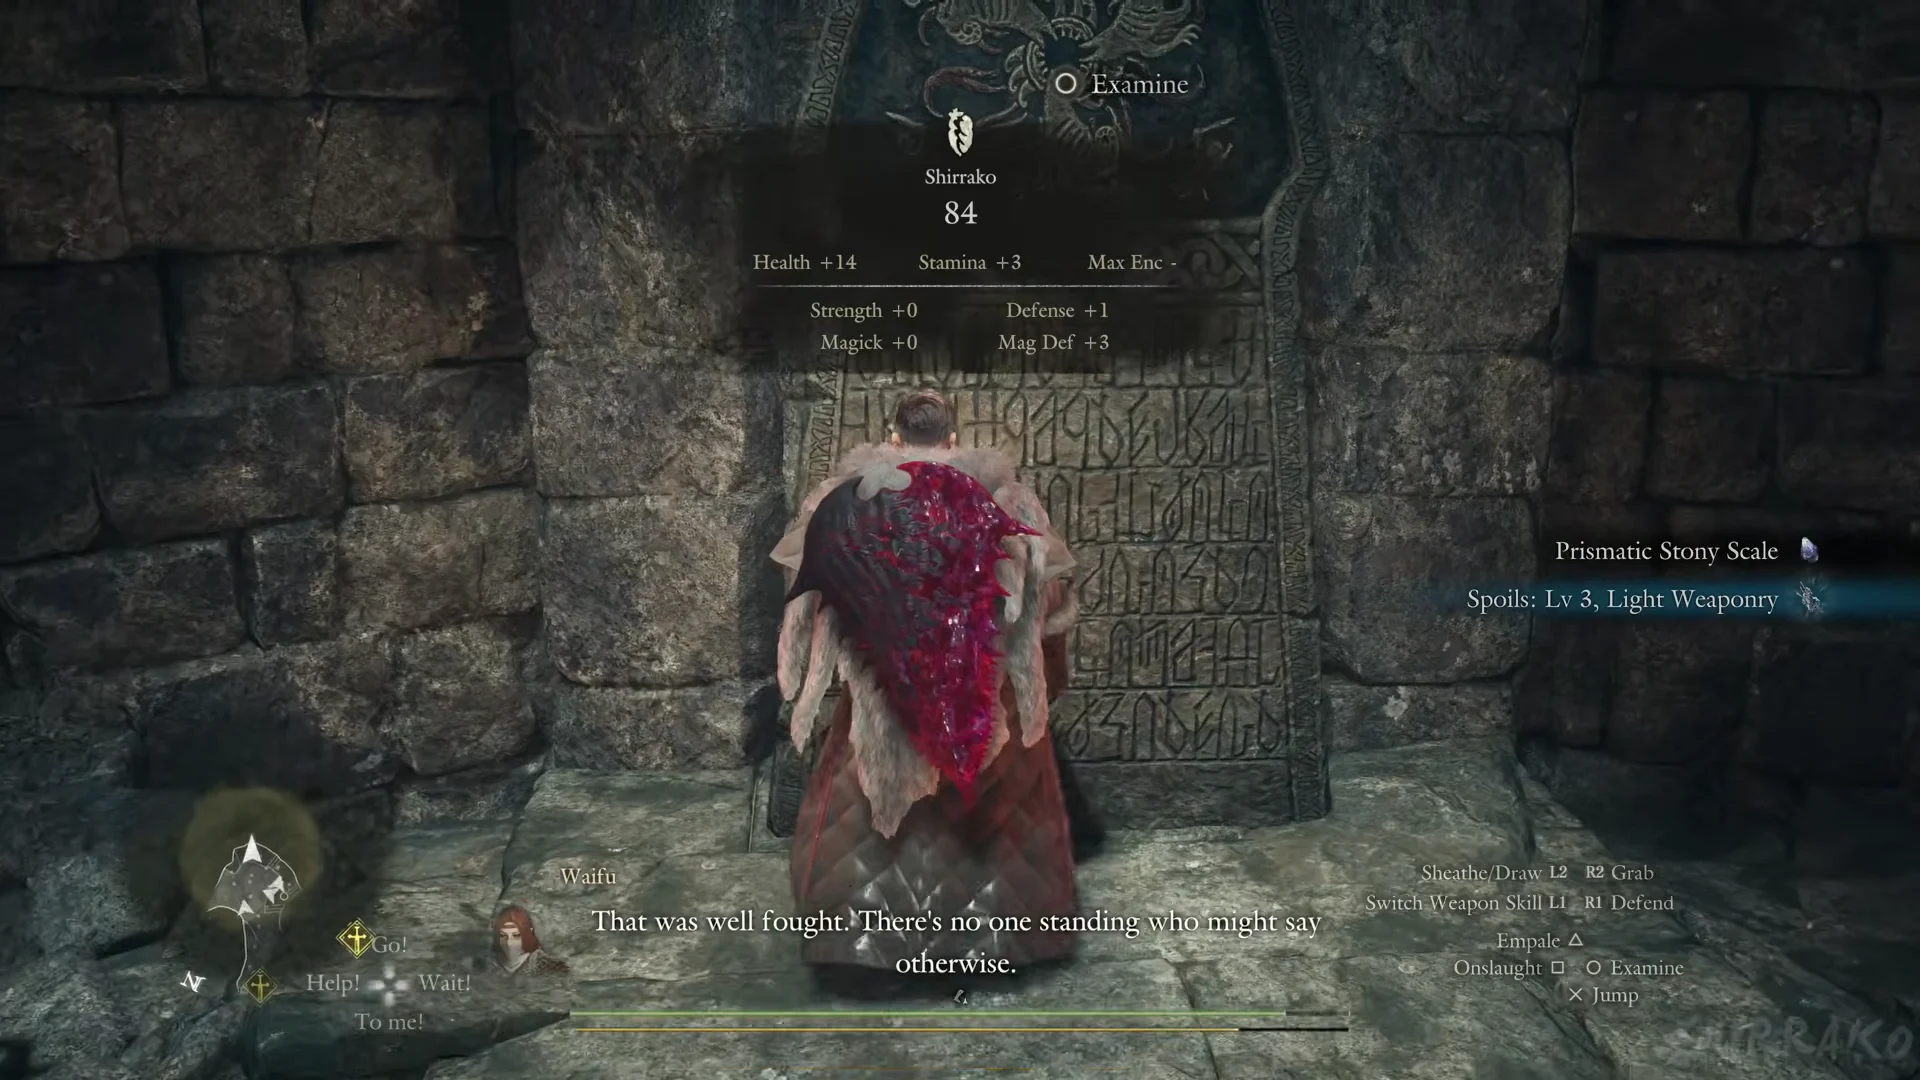
A few steps up, check the alcove in the wall for a tall standing stone covered in runes and topped by a relief of entwined beasts. Examine the stone, then hold to copy it and obtain the Grotesquerie transcription.
The broken slab (and why you do not repair it)
Continue through the cave until the “Use climbing hook” prompt appears at a ledge. Throw the hook, then climb the rope; chests are on the ledge above.
Descend through the tunnels and down two ladders. At the bottom of the longer, second ladder, you’ll enter a broad circular stone hall. A large round disc, cracked and covered in cobwebs, sits on a dais by the wall. Approaching it identifies it as a broken slab, so there’s no prompt to copy it.
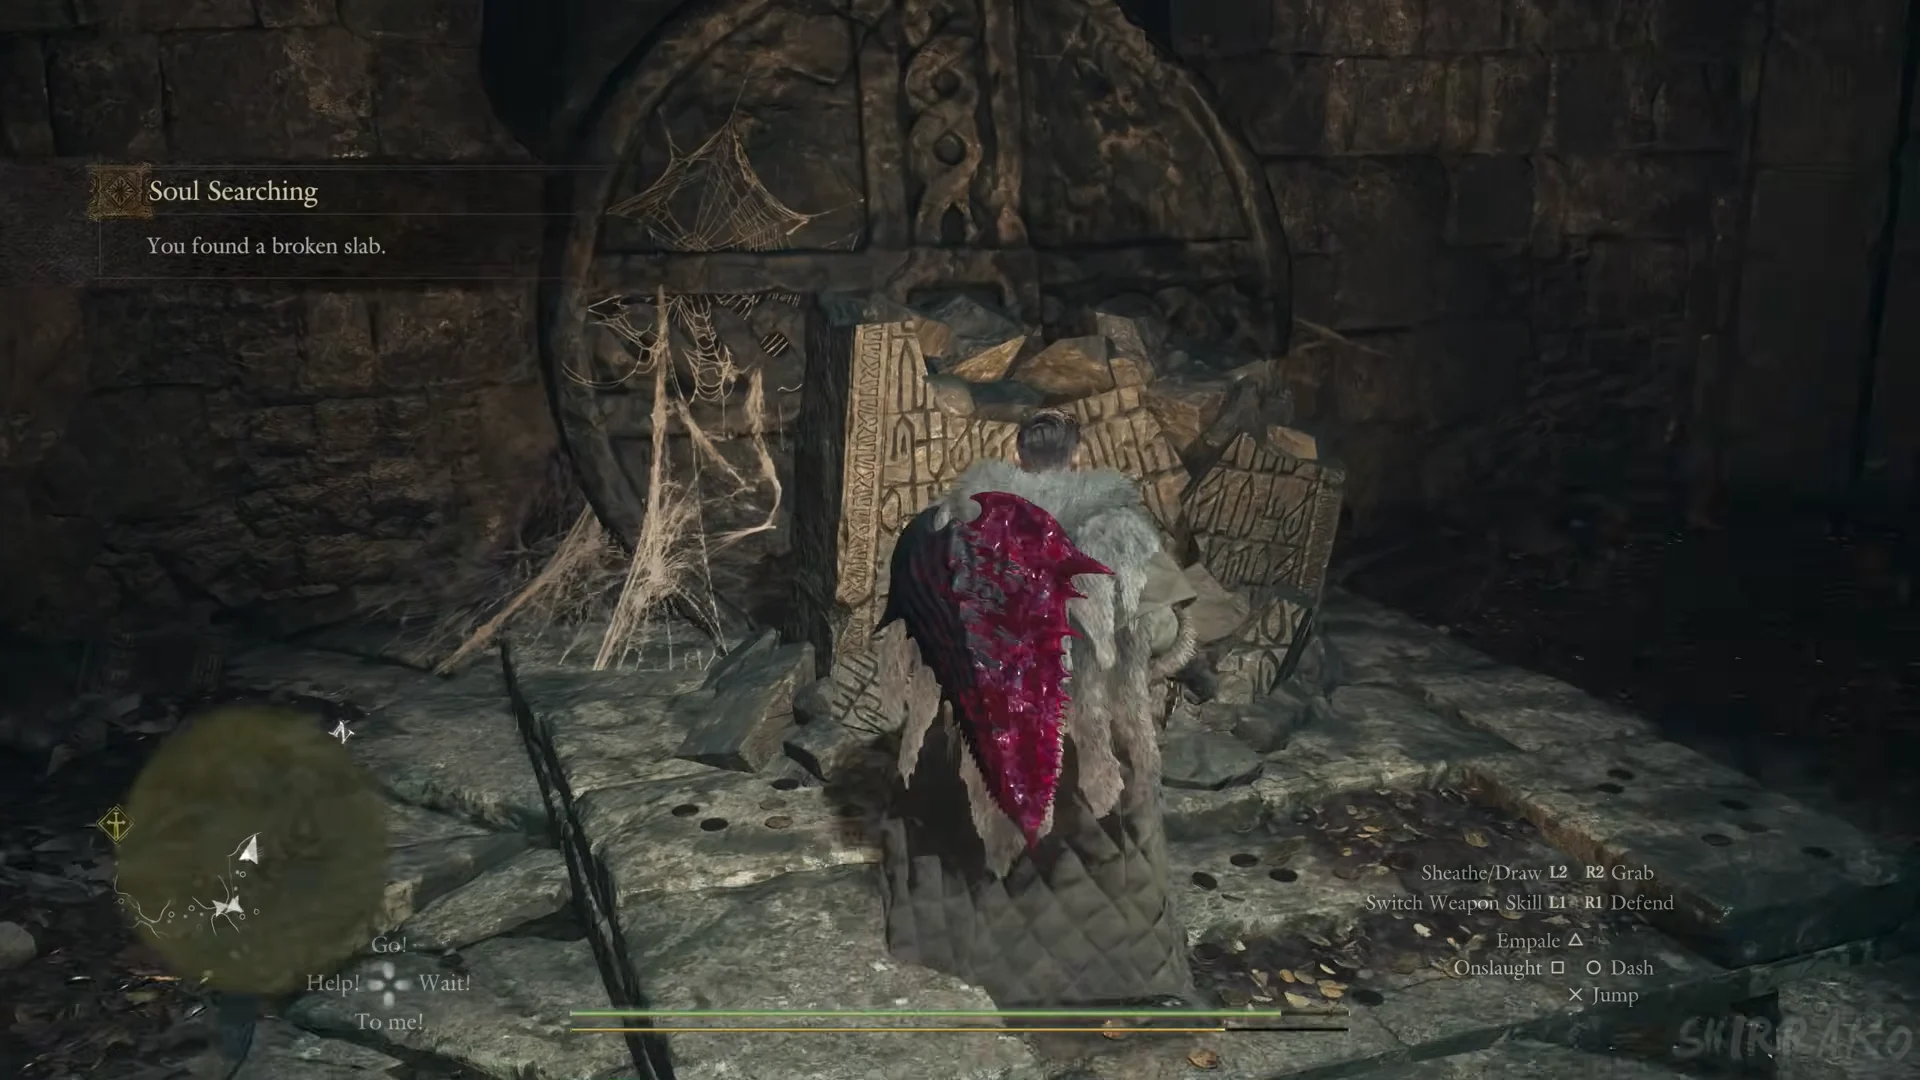
The broken slab is a dead end by design. There is no fragment to pick up and nothing to fit back into it. Searching the hall floor only turns up loot. The slab you actually need is intact and hidden behind a blocked doorway in the same hall.
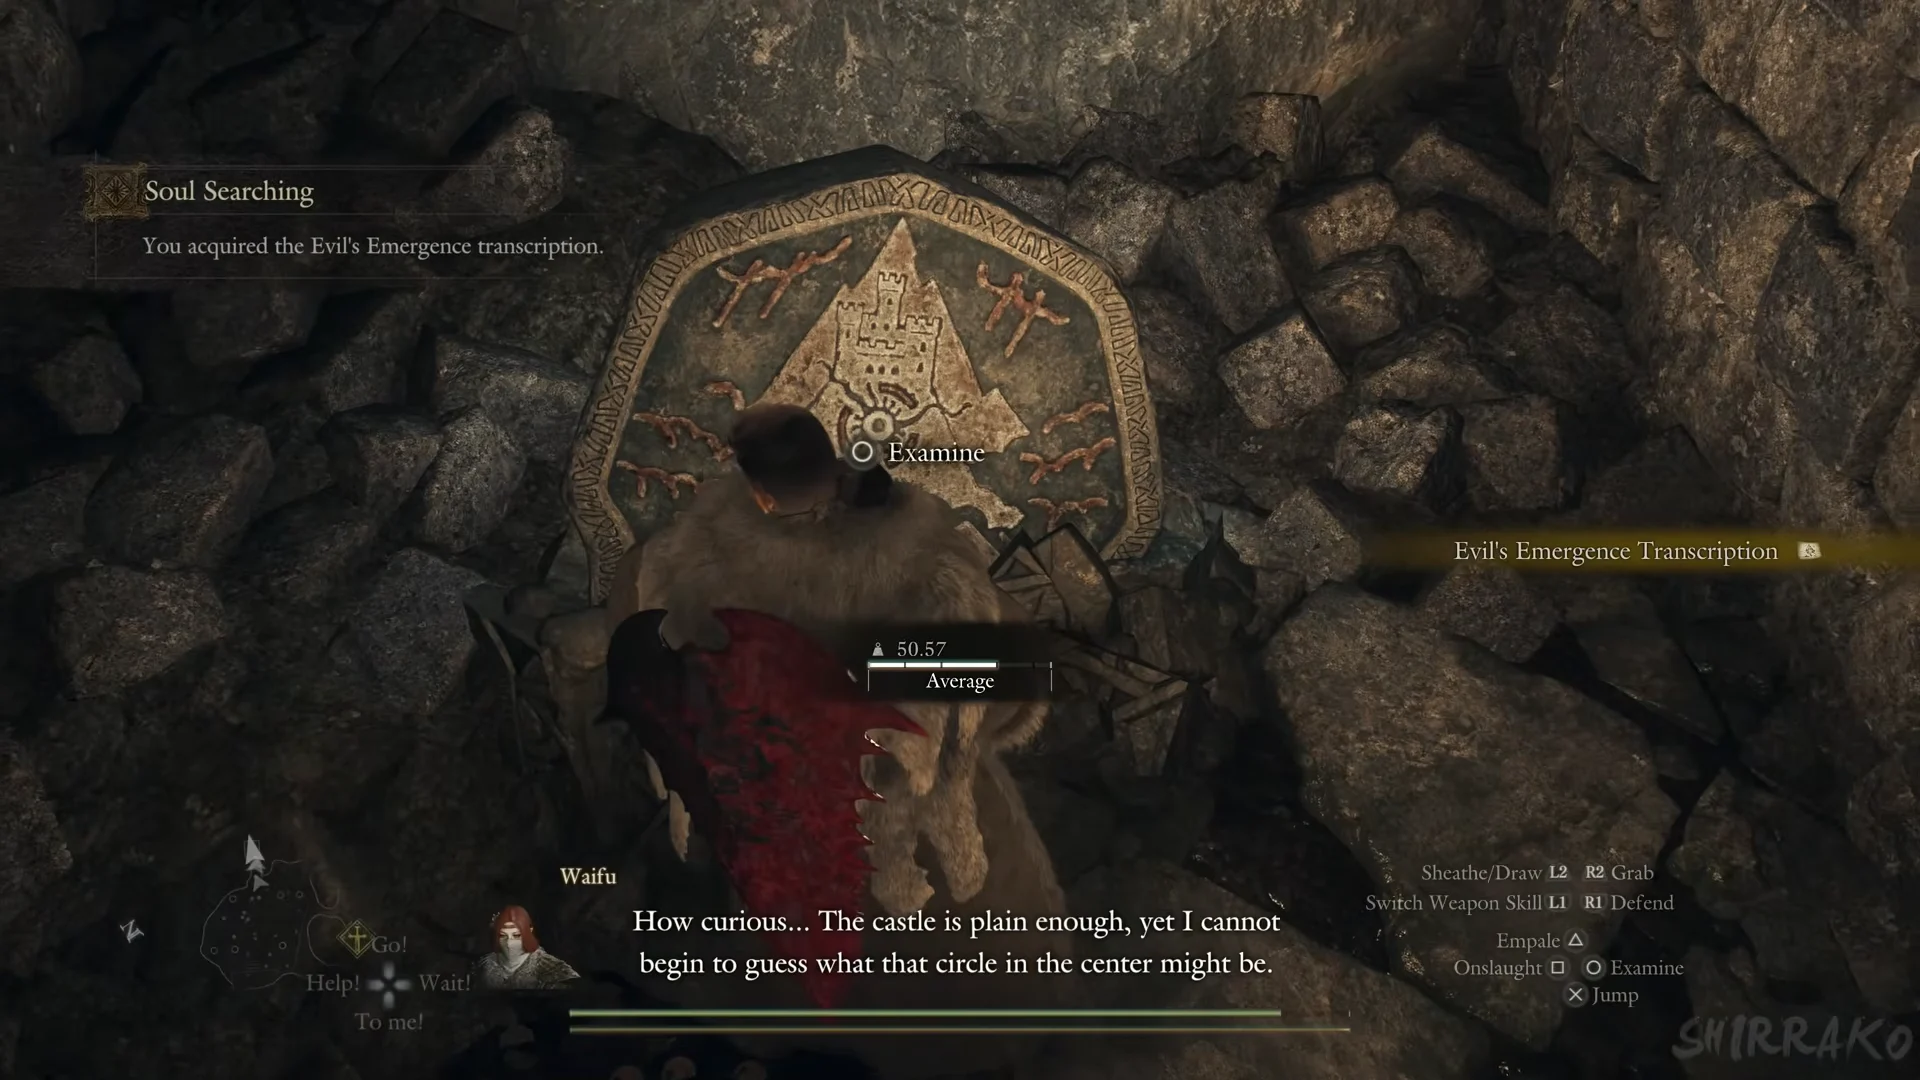
Slab 2: Evil’s Emergence behind the rubble
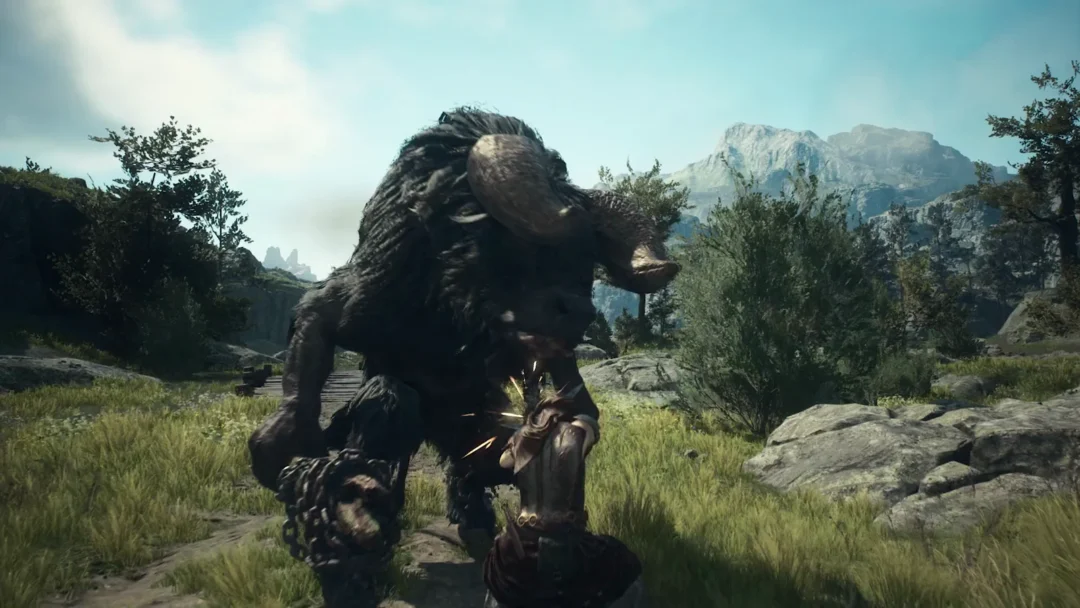
On the way back out, a large white ape ambushes you. Pawns call it a snowfoot, and its bar shows no name. It is weak to Lightning and resistant to Fire, so lean on shock attacks and cut at its legs and flanks.
Slab 3: Hero’s Blade past the lesser demon
Deliver the slabs and wait a day
Return to the Sealed Study and hand over all three transcriptions on the Deliver screen. The objective changes to “Wait for Polyeidus to decipher the slabs.” You must let a full day pass. A short line beginning “One day has passed” appears on its own wherever you are, followed by “Find out what Polyeidus learned from the slabs.” Speak to him again, and he sends you to look for the soldiers in Putrid Copse.
The place is Putrid Copse, not “Corpse.” Its banner spells it out when you arrive.
Rescue Morgus in Putrid Copse
Leave the study and make your way over the snow to the cliff edge. Look for a red-cloth-wrapped tether post; when “Use climbing hook” appears, throw your hook and descend into the foggy clearing. Your objective is “Rescue the soldier from the abomination.”
The abomination is a Blemmyae: a massive, headless beast with a mouth in its torso, and a weakness to Lightning. It can seize party members and swallow them; a pawn swallowed this way is lost, while the Arisen suffers heavy damage. Strike its mouth to make it release its prey. One dependable tactic is to cut at its legs until it falls, then attack its back, while your pawn keeps using lightning. A dark chest against the rock wall behind the fight contains 300 RC. Win the battle to rescue Morgus, then go to Wash by the gate.
Bring down the castletown gate with explosive casks
Head back to the Sealed Study. Wash stands at the wooden gate set into the stone wall beside it. After the talk, the objective becomes “Use the explosive casks to bring down the gate.”
There are stacks of three red casks on both sides in front of the gate. Pick up a cask, carry it to the planks and throw it against them; repeat until the gate breaks apart. Enemies rush in as soon as it gives way. If you run out of casks, the quest switches to a step that allows you to destroy the gate with your attacks. Go through the opening to see the Lorade Castletown banner. Battle your way up the stairs; once those fights are over, “You destroyed the gate.” appears, followed by “Explore the castletown and rejoin the soldiers.”
Find the demonic pit at Abyss Ridge
A locked iron portcullis blocks the top of the long staircase. Enter the tower on the side, climb up, and exit through the opening above to reach the bridge ramparts. The soldiers are quartered in the gatehouse called Castletown Campground, which contains a riftstone and a Norgan Portcrystal. Speak to Polyeidus there to set the objective “Search for the demonic pit.”
Cross the bridge, descend from the damaged battlement into the courtyard, and follow the snow-covered steps to Castle Barracks Ruins. In the upper courtyard, an unnamed hooded spellcaster hovers with a staff; its health bar has four pips. It teleports, launches homing spheres, uses lightning and creates ground runes, but stays still while casting. When it drops low, hit it with a jump-slash. After passing it, climb the stairs, cross a stone bridge and ascend the long outdoor staircase to Abyss Ridge, the chasm known as the demonic pit. A scene plays at the edge, after which you must tell Polyeidus about Niflhel. Go back to Castletown Campground and speak with him; the objective becomes “Seek Rovall’s will.”
Soul Searching stops here on its own. It only resumes during the quest Where There’s a Will, There’s a Way, after the scene in which you and Eir hear the heart speak. The objective then flips to “Inform Polyeidus of what you witnessed with Eir.”
Mordria Fault and Rovall’s soul
Rewards and what comes next
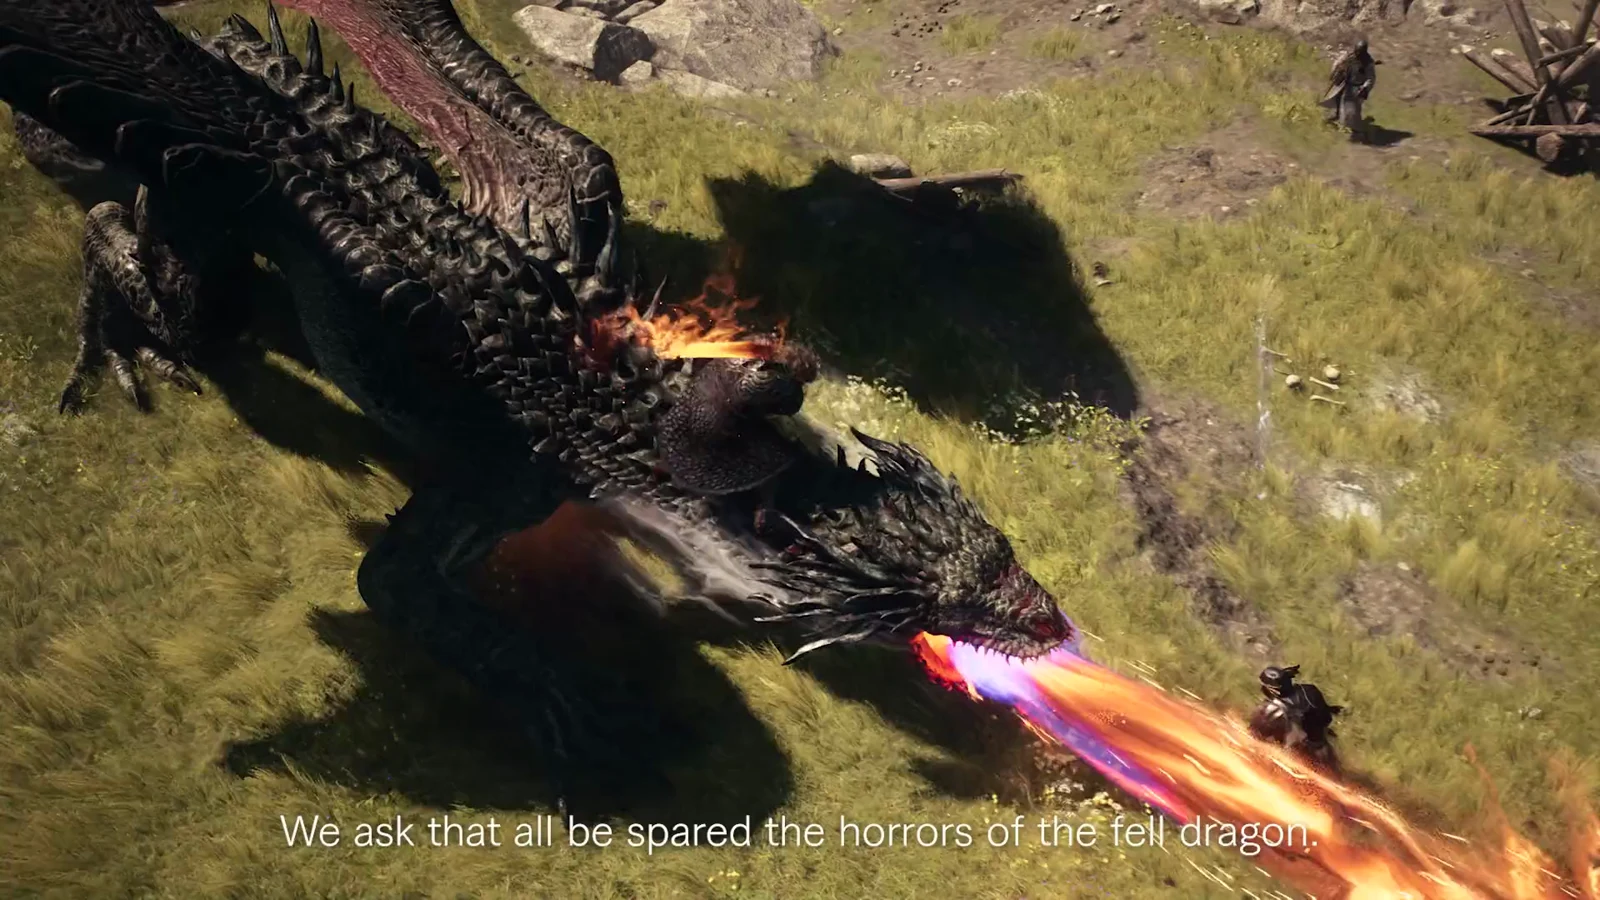
Completing Soul Searching after fighting and repelling the dragon pays 240,000 XP, 35,000 G and 3,000 RC. The slabs reveal where the demons came from and how Rovall sealed them, and his soul is the sword that still holds that seal. Reunion and Into Rancor are the main quests that follow, while Where There’s a Will, There’s a Way continues with the trip to Mordria Temple.
Enemy health for this quest
These are the health pools you are chipping through on the way to the soul. The lesser demon appears twice, and versions of it range between 240,000 and 300,000 health.
| Enemy | Health | Note |
|---|---|---|
| Snowfoot | 240,000 | Weak to Lightning, resists Fire |
| Lesser Demon | 260,000 | Weak to Ice; range 240,000–300,000 |
| Blemmyae | 300,000 | Weak to Lightning |
| Fallen Dragon | 500,000 | Repelled, not killed here |
Forsaken Dominion main quest chain and rewards
Soul Searching sits in the middle of the Norgan main story. Here is how the surrounding chain pays out.
| Quest | XP | Gold / RC |
|---|---|---|
| Soul Searching | 240,000 | 35,000 G / 3,000 RC |
| Where There’s a Will, There’s a Way | 220,000 | 35,000 G / 3,000 RC |
| Reunion | 450,000 | 100,000 G / 10,000 RC |
| Into Rancor | 500,000 | 100,000 G / 15,000 RC |