Priest is the advanced job of Acolyte in SpiritVale, and it earns its place in every serious group by keeping the party alive. The class leans on strong single-target and group heals, cleanses, protective buffs, and resurrection. Intelligence drives how much your heals restore, so a support Priest is built almost entirely around magic power, mana sustain, and cast speed rather than personal damage.
Quick answer: Run 99 INT and 99 VIT, equip the Master Wand slotted with the Archangel Card for a Holy enchant, wear defensive magic gear like the Azure Crown and Plasma Suit, pair the Spellthread set for pre-cast movement, and use the Lifebloom artifact set. Prioritize Sacrament, High Heal, Sanctuary, and Salvation.
Stat priorities for a support Priest
Two stats carry the entire build. INT raises your healing potency and magic output, while VIT keeps you standing when enemies turn their attention to the healer. Push both to the 99 point cap, then let gear substats handle the rest.
| Stat | Target | What it does |
|---|---|---|
| INT | 99 | Increases heal strength and magic attack |
| VIT | 99 | Raises HP and survivability under fire |
Weapon: Master Wand with the Archangel Card
The Master Wand is the core weapon here. It boosts Cast Speed, Attack Speed, and Magic Attack, which are exactly the stats a healer needs to land spells quickly during chaotic fights. Faster casts mean fewer moments where an ally drops before your heal completes.
Slot the Archangel Card into the Master Wand to enchant it with the Holy element. That turns your offensive casts into holy damage, which is especially effective against undead targets and adds value when you are not actively healing.
Armor and gear loadout
Because a healer often draws aggro, this gear leans into defense and magic defense while still feeding your INT-based healing. The Warlord Emblem Shield with the Golem Ice card is the standout piece, adding block chance, extra defense per refine, and knockback immunity so casts do not get interrupted.
| Slot | Item | Notes |
|---|---|---|
| Head | Azure Crown | Magic Defense against heavy magic hits |
| Offhand | Warlord Emblem Shield | Slot Golem Ice card: +20 defense (+1 per refine), 30% block, knockback immunity |
| Chest | Plasma Suit | Defense, Magic Defense, and +20% HP Regen for tanking |
| Legs | Spellthread Legs | Part of the Spellthread magic set |
| Shoes | Spellthread Shard | Boosts magic damage and grants pre-cast movement |
| Accessory 1 | Moon Band | Slot Soul Mage card for high healing |
| Accessory 2 | Sunbound Mitts | Slot Soul Mage card, supports Sacred Aegis against physical damage |
| Utility | Potion | Emergency recovery |
The Spellthread pieces matter for more than raw magic damage. Completing the set grants pre-cast, which lets you keep moving while a spell is charging. For a healer who needs to reposition around a boss, that mobility is the difference between landing a group heal and eating an avoidable hit.
Artifact set: Lifebloom
Lifebloom is the artifact set for this build because it centers on the healer role. It reinforces the support identity rather than pushing damage, keeping every part of the loadout pointed at party sustain.
Skill tree for maximum party sustain
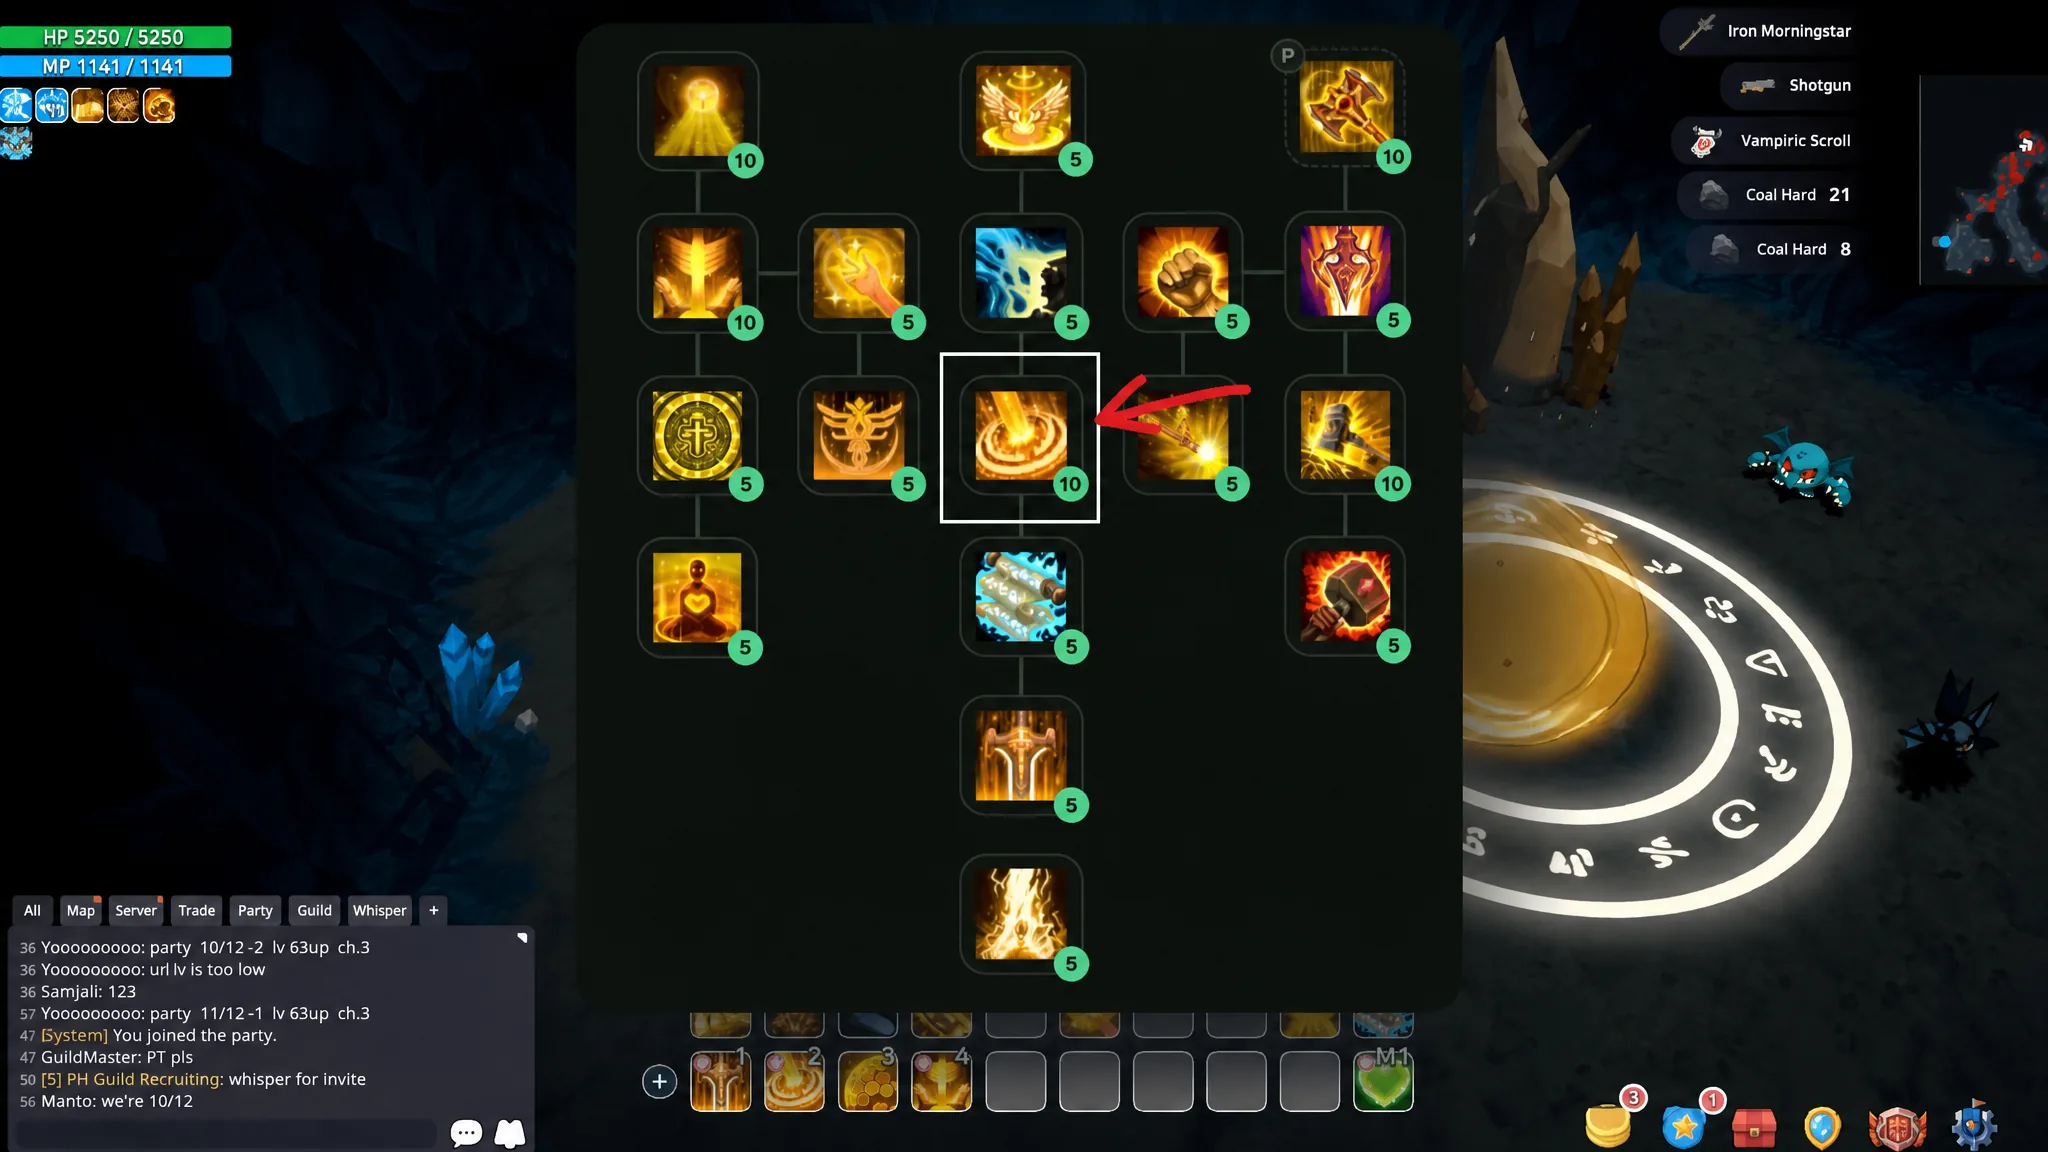
The skill spread balances raw healing with protection and cleansing. Sacrament grants Focus for faster casting, High Heal handles the heavy recovery, and Sanctuary plus Sacred Ground create safe zones around your allies. Guardian Spirit shields a target from ranged damage, while Divinity adds Vitality for extra durability.
| Skill | Level |
|---|---|
| Sacrament | 10 |
| High Heal | 5 |
| Salvation | 5 |
| Sanctuary | 10 |
| Status Recovery | 5 |
| Zeal | 5 |
| Sacred Ground | 5 |
| Guardian Spirit | 5 |
| Divinity | 5 |
How to play the build in combat
Where this build fits
This is a group-first setup, and that is by design. A support Priest shines in raids, the Echoing Spire, party dungeons, and boss runs, where your heals cut downtime from deaths and your buffs let Wizard and Gunslinger damage dealers play aggressively. Paired with a Paladin tank, a geared Priest forms the backbone of stable endgame attempts.
The tradeoff is solo speed. Priest has the slowest solo kill times among the advanced classes because its damage output cannot match a dedicated DPS job. If most of your play is grouped, that limitation rarely surfaces, and communities actively recruit and keep Priests geared for raid content. If you want a more self-sufficient support option, Weaver blends healing utility with better solo viability, but for pure party sustain this Priest loadout is the stronger pick.