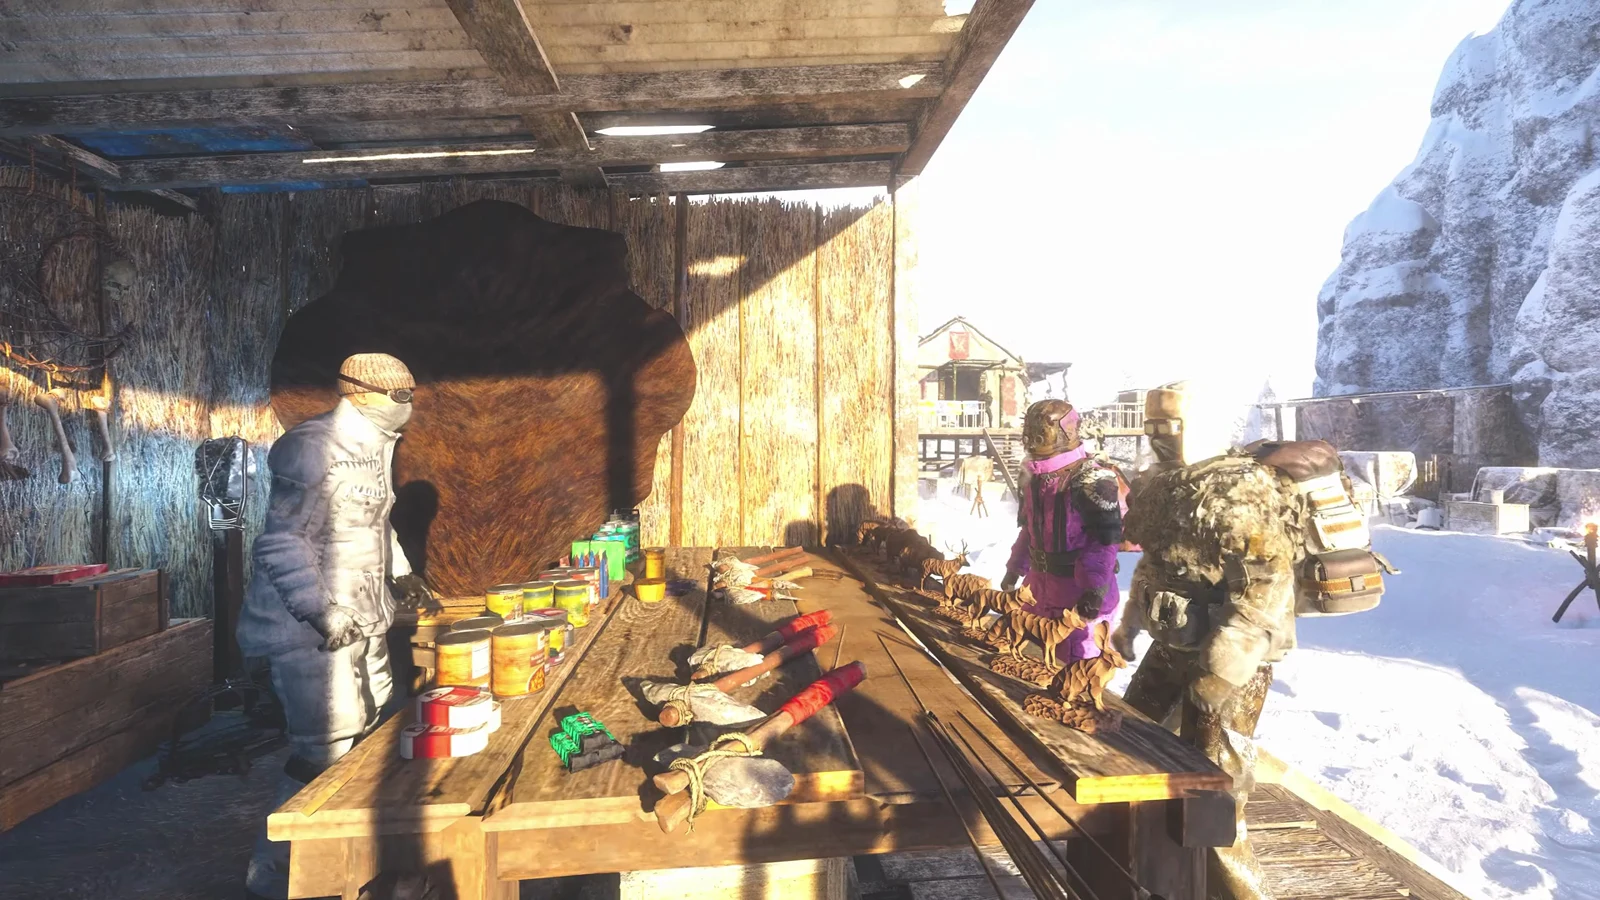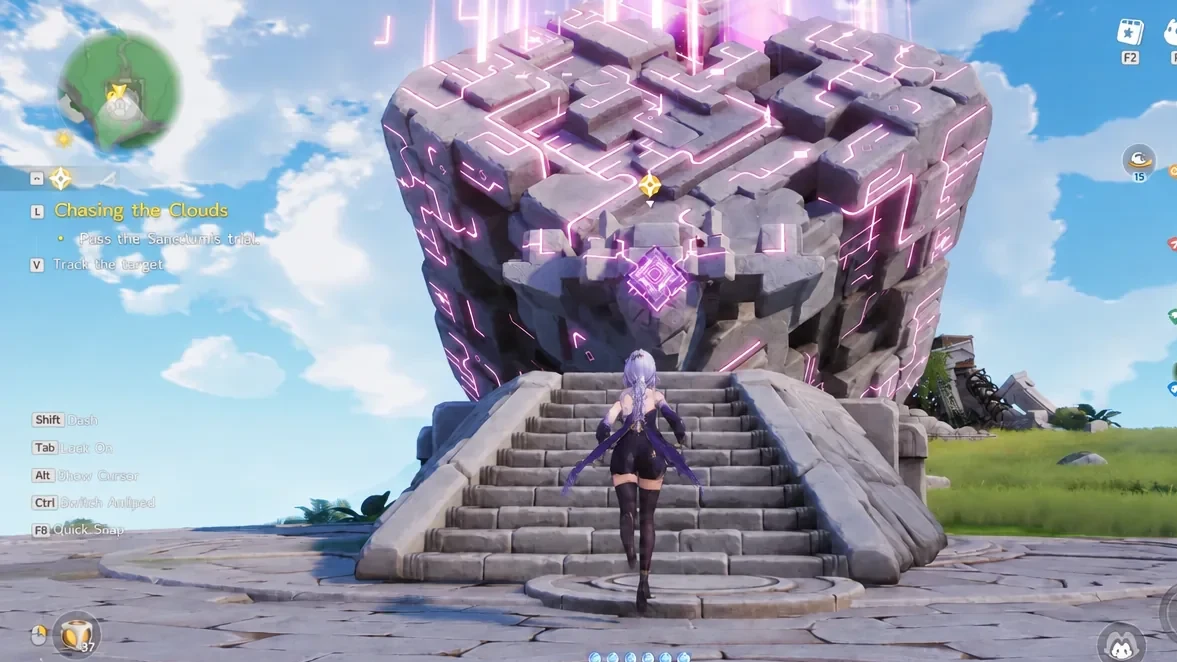
First Spark is the fire-themed Sanctum tucked into the Breezy Plains area of Nimbus Fields, and it is built around a single borrowed ability. You cannot bring your own team inside, so the whole run comes down to knowing which four objects to set alight and in what order.
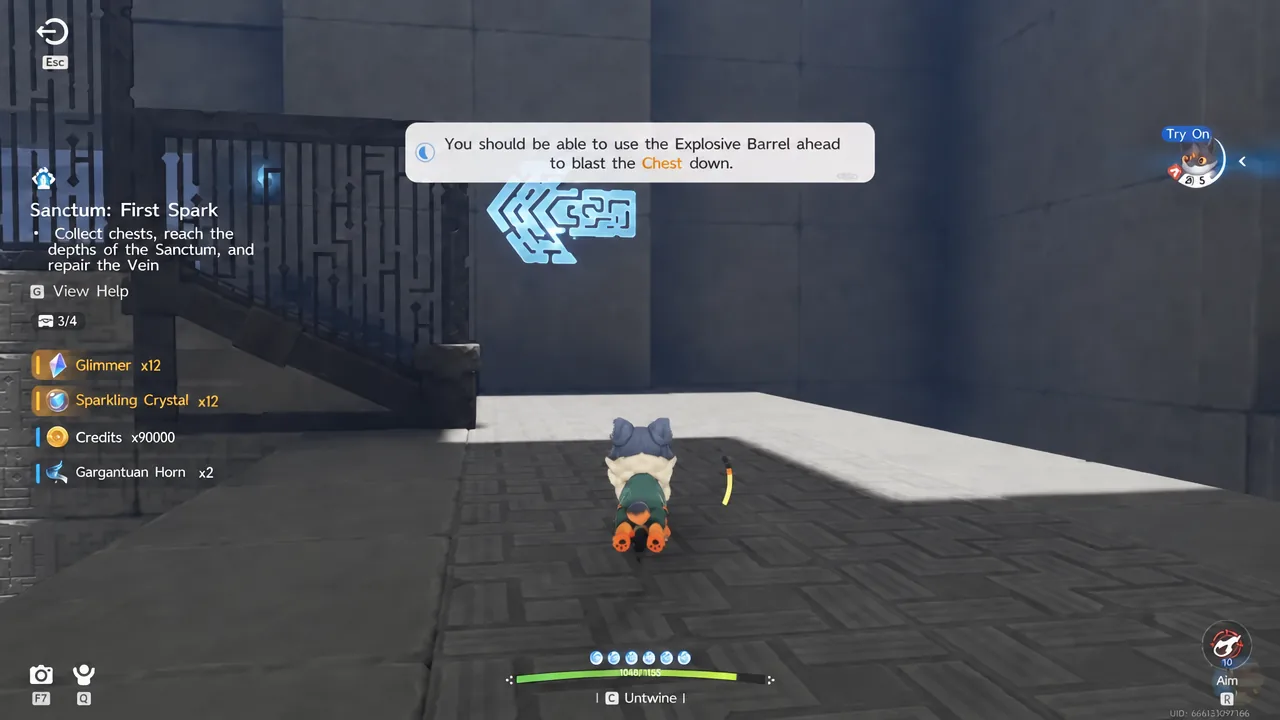
Quick answer: Claim Emberpup from the Animo Statue, then aim Fire Bolt at the vine archway, the barrel under the ice block, the chimney bonfire, and the barrel on the high ledge to drop all four chests.
First Spark Sanctum location and entry
The portal sits in Breezy Plains, Nimbus Fields, at coordinates -1018, 0648. The surrounding zone is tuned for Lv. 6-16, and the entrance is a large floating stone cube at the top of a short flight of stairs. Activating the cube opens the portal.
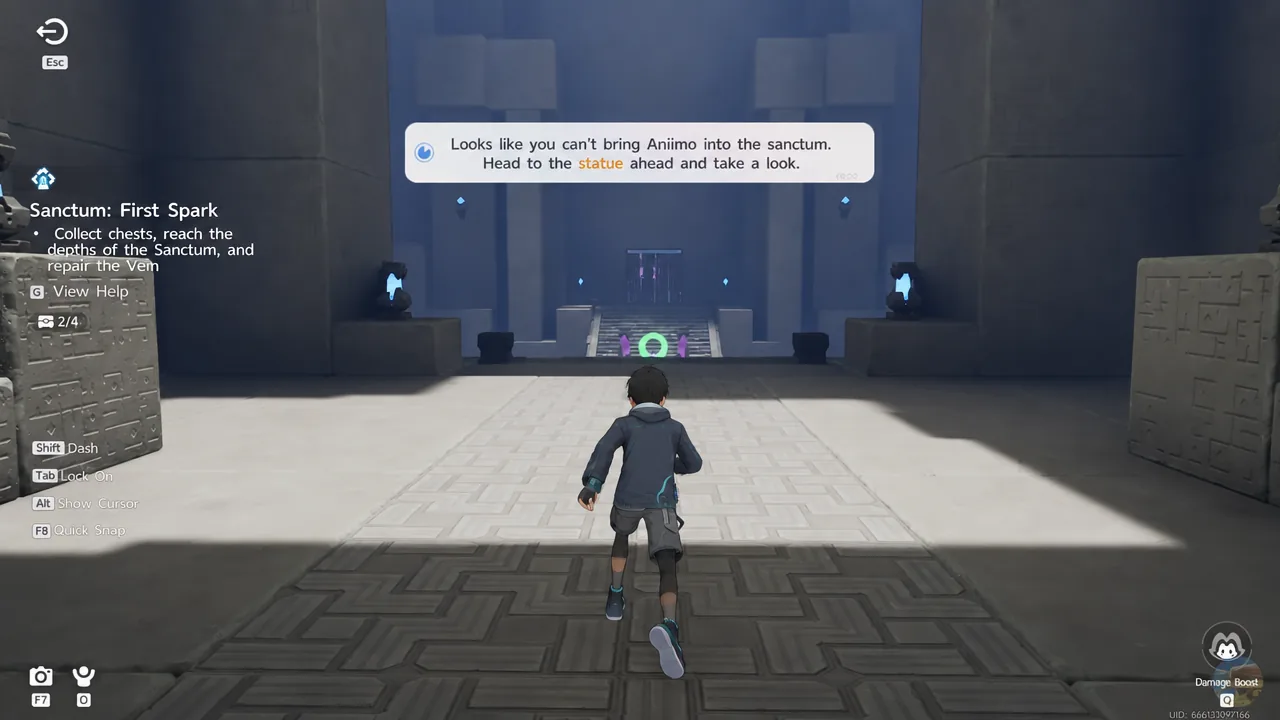
First Spark runs as a Solo Sanctum. The objective line is simple enough: collect chests, reach the depths, and repair the Vein. Finishing it for the first time pays out 500 EXP, 10,000 Credits and 10 Glimmer, on top of anything you pull out of the chests along the way.
Emberpup and how Fire Bolt works
Your own Animo are locked out at the door. Instead, a Sanctum-exclusive Emberpup is sealed inside the Animo Statue in the first chamber, and you awaken and twine with it there. Emberpup’s single ability, Fire Bolt, is what solves every puzzle in the place.

- Press E to twine with Emberpup.
- Hold Q to enter aim mode, then release to launch the fireball.
- Flammable objects such as wooden chests and vines ignite on contact and disappear once they burn through.
- The same shot detonates explosive barrels and lights bonfires.
Aim mode exists for a reason. Two of the four chests hang above barrels or bonfires that need a precise hit rather than a snap shot.
Full First Spark route with all four chests
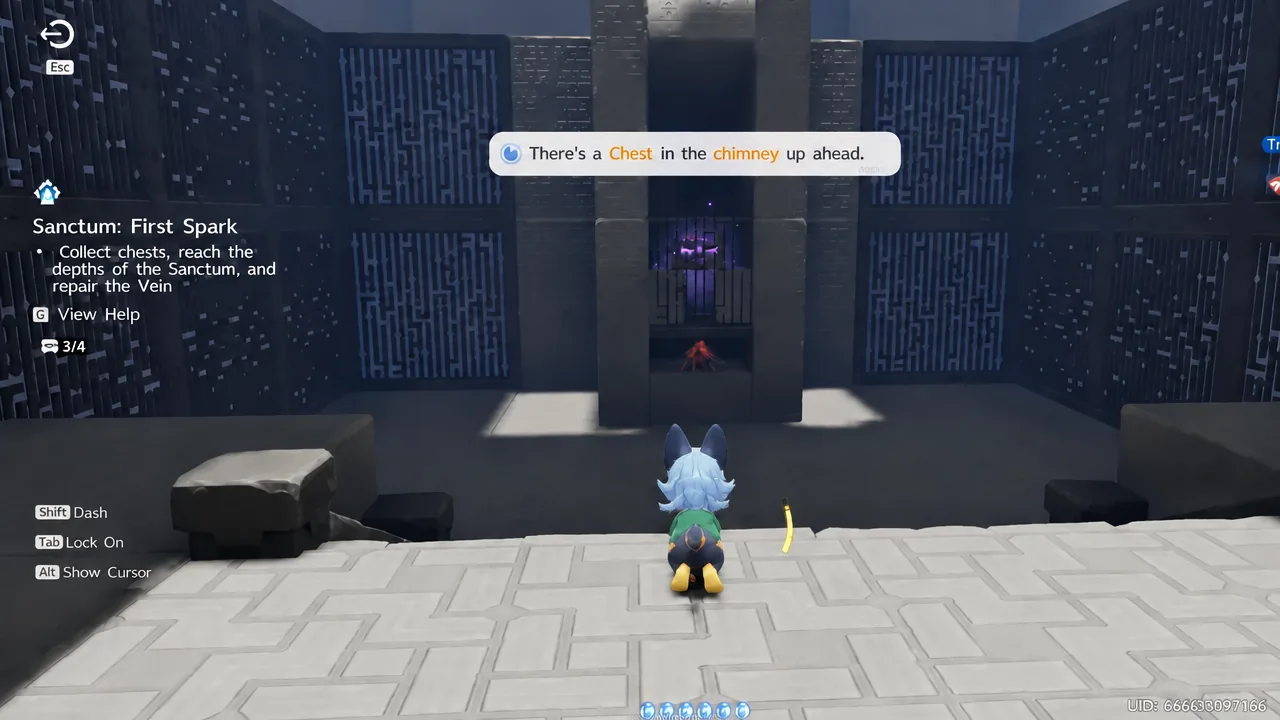
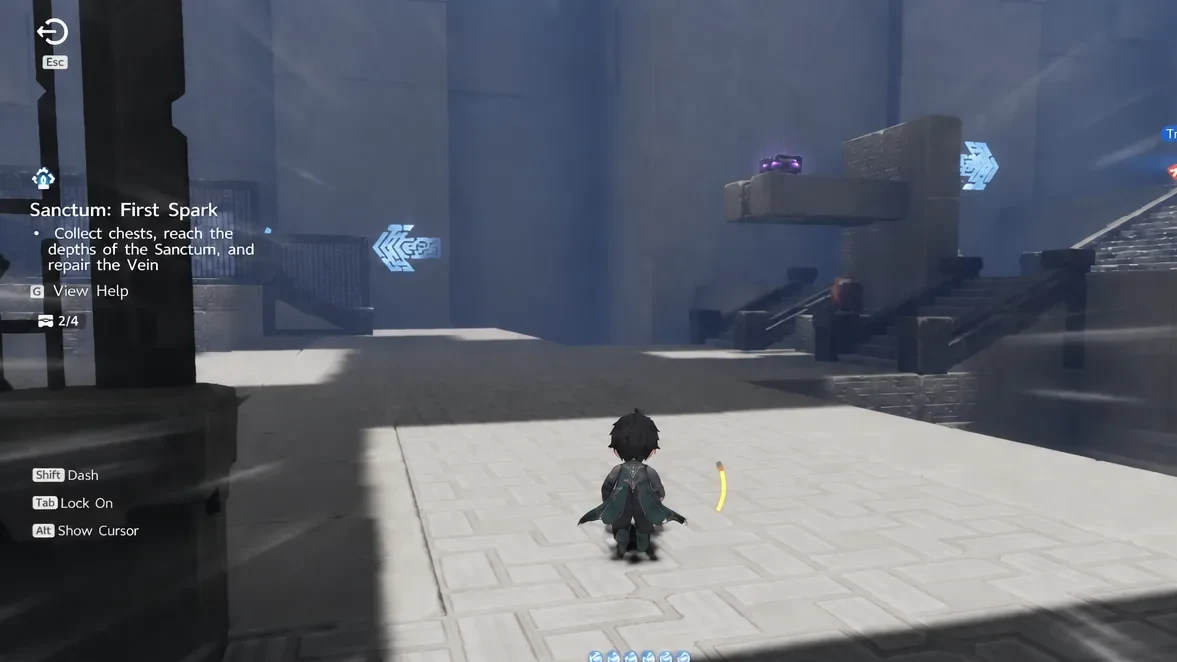
All First Spark chest rewards
| Chest | Location | Fire Bolt target | Unique item |
|---|---|---|---|
| 1 | Stone archway, first room | Hanging vines |  Gargantuan Horn Gargantuan Horn |
| 2 | Left-side stairs | Barrel under ice block |  Avenging Gear Avenging Gear |
| 3 | Chimney room, right side | Bonfire at chimney base |  Marching Flask Marching Flask |
| 4 | Central room, high ledge | Explosive barrel |  Explosive Gloves Explosive Gloves |
Every one of the four chests also pays out 10 Glimmer, 10 Sparkling Crystal and 10,000 Credits, so skipping any of them costs you a meaningful chunk of the run’s value. The two blue crystals on the stairs are worth grabbing in passing but are not tied to the chest counter.

How to confirm 100% completion
The Sanctum tracks your progress on screen with a “Chests Obtained” counter that starts at 0/4. Once it reads 4/4, the game confirms you have collected every chest and directs you to the high point in the central room to leave.
You can trigger the exit device at any point, even with chests still unopened, so check that counter before you touch it. When the Vein is repaired, the first clear rewards land and the Sanctum closes out with all four chests banked.