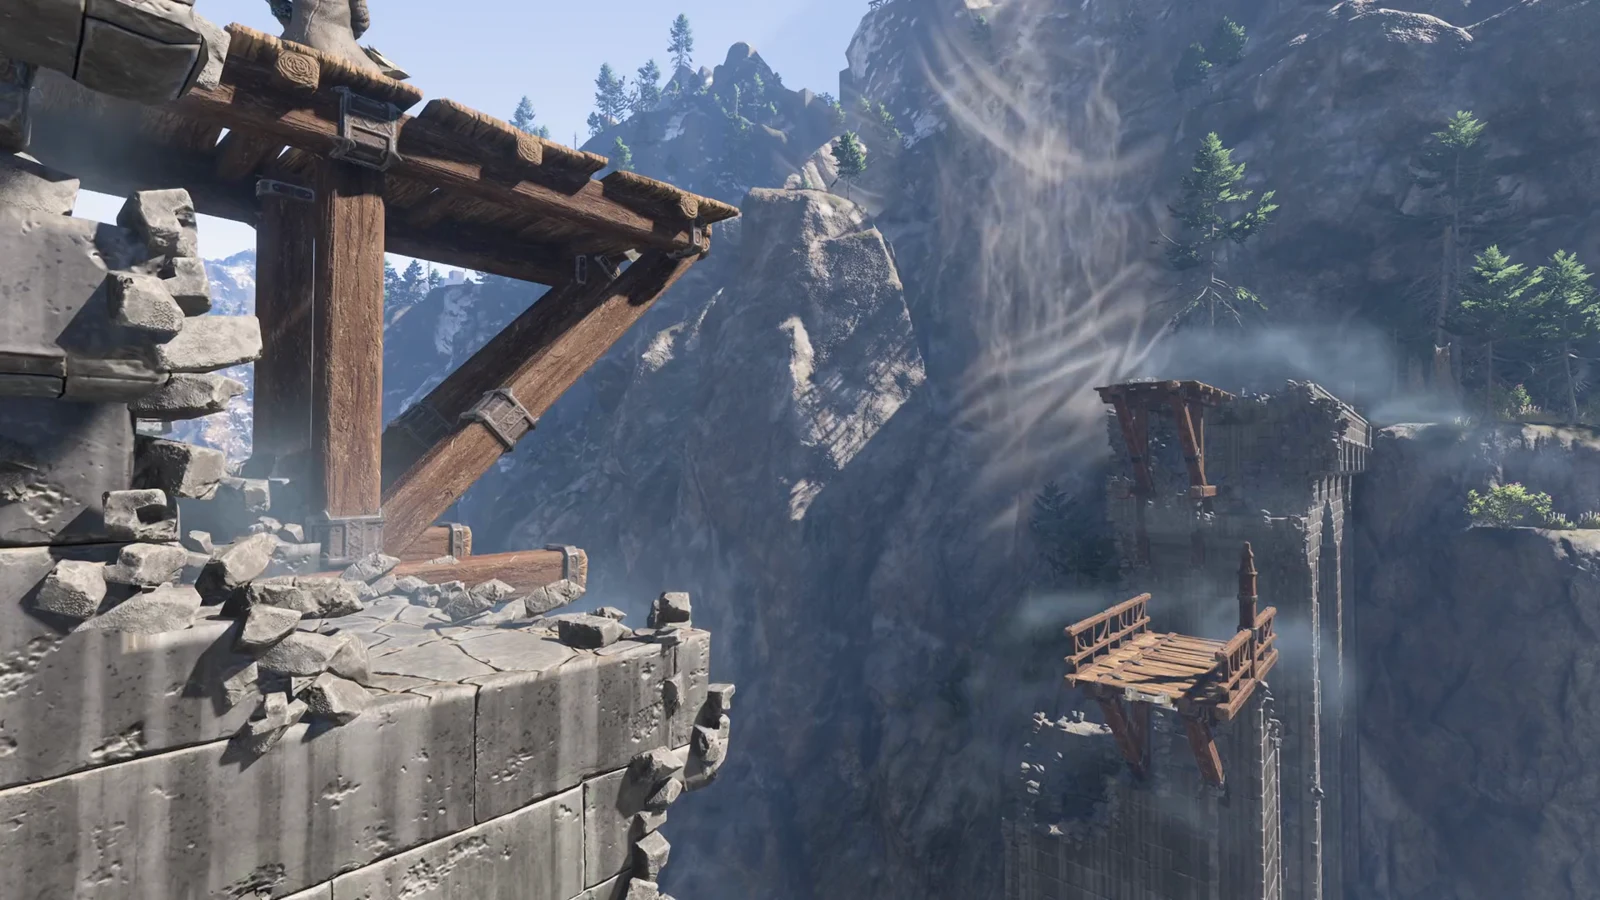
The Springlands Ancient Spire is the first fast travel tower most Enshrouded players reach, and it sits just north of Braelyn Bridge. The tower is a short dungeon with no enemies. It is built from traps, climbing frames, lava gaps and doors locked by glyphs, and several of its chests are tucked behind switches you could easily walk past.
Quick answer: Cross Braelyn Bridge, follow the trail north to the spire, then press yellow switches to open glyph doors on Floors 1 to 3. Commune with the Flame on the roof to unlock fast travel.
Springlands Ancient Spire location and route from Braelyn Bridge
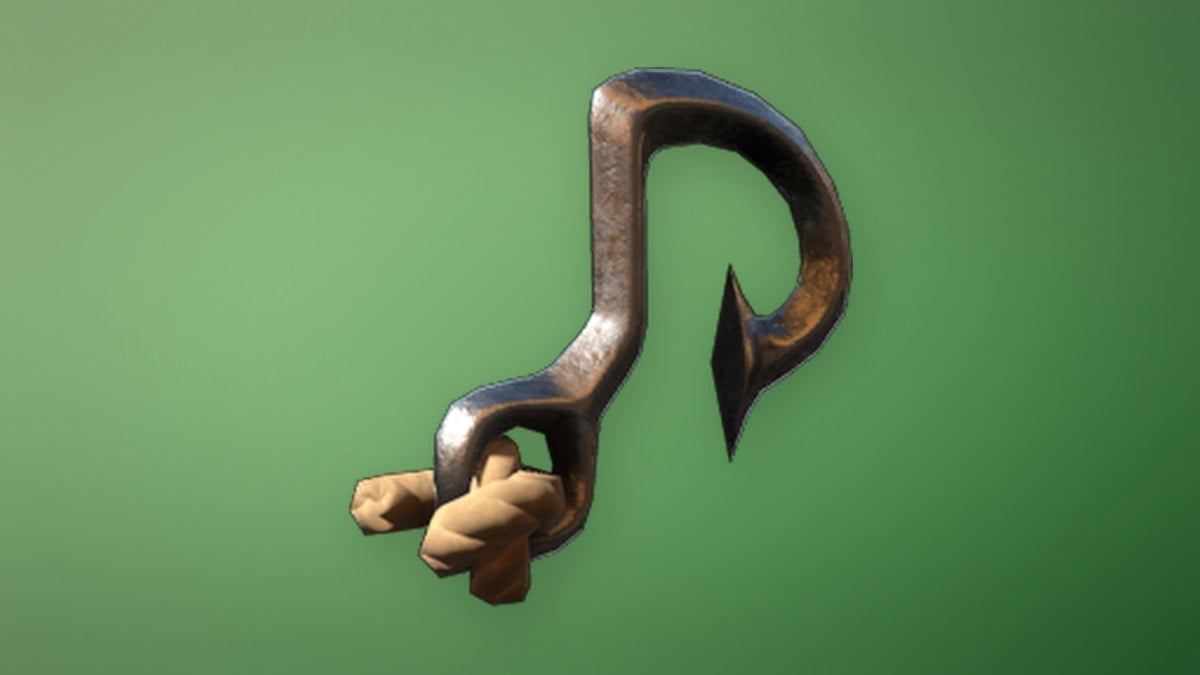
The trip starts with the main story quest The Ancient Spires, which the Blacksmith hands you once you’ve rescued him. It puts a marker on your map, so the tower is easy to track. Bring a Grappling Hook. You can technically skip the bridge by walking through the Shroud, but you’ll need the hook at the barricade and again inside the spire.
You craft the Grappling Hook at the Workbench. Its recipe unlocks when you pick up Animal Fur, Shroud Spores, Shroud Wood or String, and each grapple costs 40 stamina.
How Ancient Spire glyph doors and switches work
Every puzzle in the spire runs on the same rule. Locked doors have blue glyphs above them, and each glyph is lit by pressing one yellow switch somewhere nearby. A door with two glyphs needs two switches. Once every glyph is lit, the door opens.
- Switches within reach are pressed with the interact key.
- Switches out of reach are triggered by a bow, wand or staff shot.
- There are no enemies inside. The dangers are spike floors, spinning and swinging blades, and lava.
- Teleport pads move you from one floor to the next.
- Breakable pots throughout the tower drop crafting materials and consumables.
Floor 1: glyph door, balcony and lower-level chests
Floor 1 holds three chests. You don’t need any of them to progress, but they’re all quick to grab.
Floor 2: shoot the high switch, then cross the lava gap
Floor 2 has one chest, and it’s behind a switch you can’t press by hand. Any ranged weapon works on it, so a bow, wand or staff should be in your hotbar before you climb.
If you miss the running jump, drop back down near the pad, climb the frame again, and drop onto the same platform from above.
Floor 3: spike floor, two-glyph door and lava room
Floor 3 is where the spire starts to punish mistakes. A retracting spike floor greets you on arrival, and the final room has lava that kills on contact. The main puzzle is a door with two glyphs, so you’ll need to find two switches in different rooms.
Getting past the spike corridor
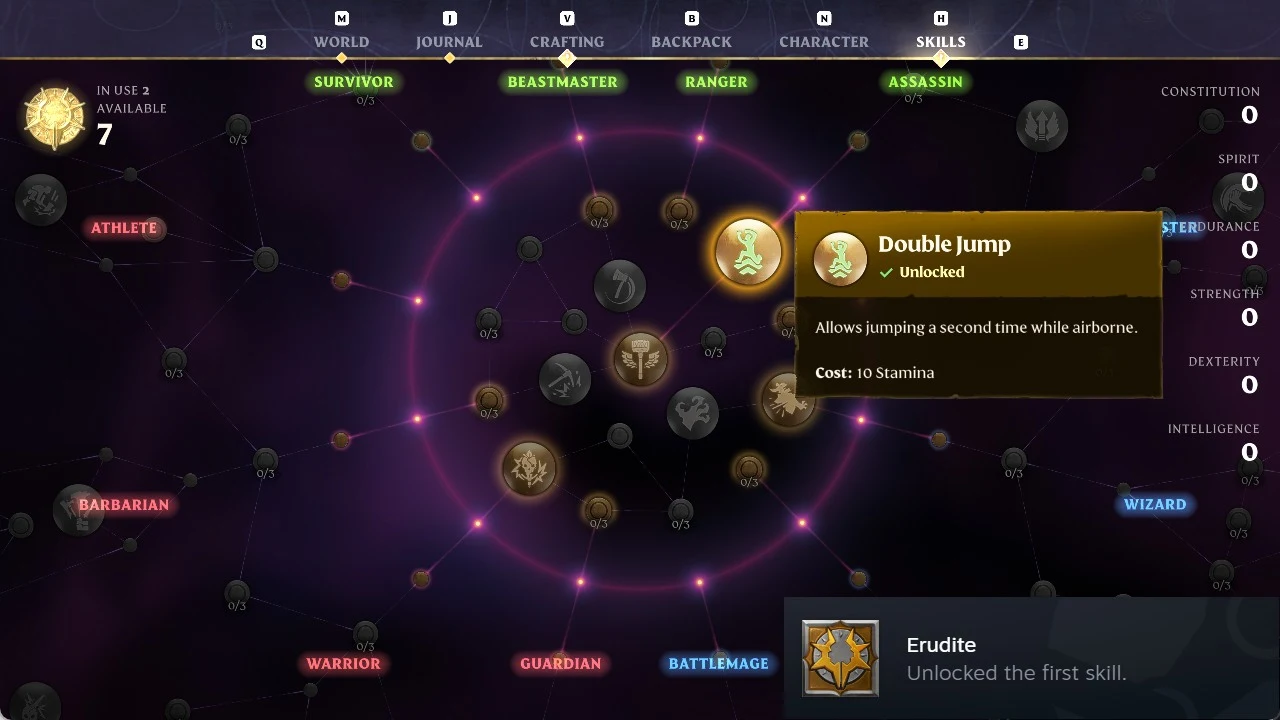
Spike contact hurts you and leaves you stunned for a moment. Once they drop, dash past the bend and enter the small brazier room on the east side. After they retract a second time, make a run for the door and open it. Jumping helps you cover ground faster, and an unlocked double jump makes you even quicker.
First switch and the hidden pillar chest
Second switch and the Guillotine chest
Touching the lava kills you instantly, so commit to a full sprint-jump on every pillar rather than stopping short at the edge.
Unlock the Springlands fast travel point on the roof
The last pad drops you on the open-air roof. Walk to the burning brazier in the center and select Commune with the Flame. That’s the only action left, and it finishes the spire.
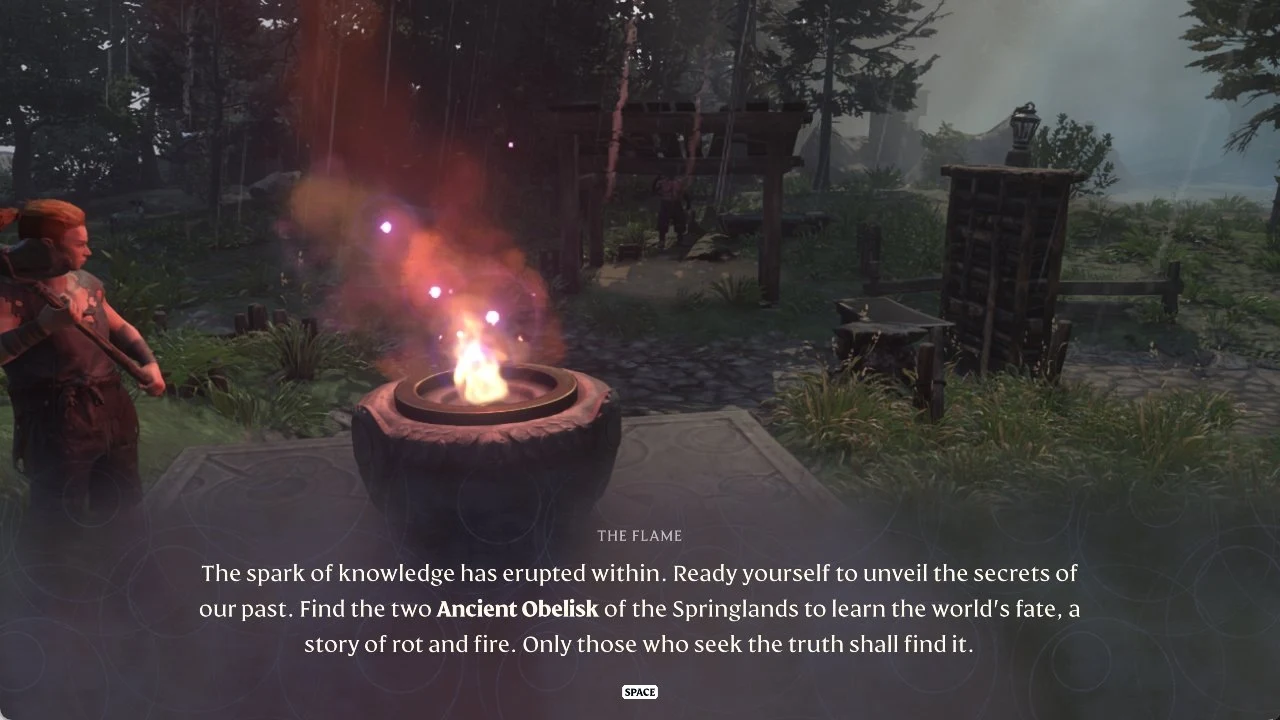
You’ll know it worked when these appear:
- A level-up notification and a “Quest Updated” prompt.
- The fog over the surrounding area of the world map clears.
- “Ancient Spire Springlands” shows on the map with a Fast Travel option.
- Nearby Ancient Obelisks are revealed across the biome.
From then on, you can open the map, select the spire, and choose Fast Travel. The Flame’s “Use Fast Travel” quest asks for exactly that, and it rewards 75 XP. Your own Flame Altars work as destinations too. Fast travel is blocked while you’re inside the Shroud, and the map tells you so with the message “FAST TRAVEL IS NOT POSSIBLE WHILE IN THE SHROUD.” Visiting the revealed obelisks then marks Shroud Roots and Flame Shrines in the region.
Springlands Ancient Spire chest loot and item stats
Here’s where each named reward drops, for a quick check that you didn’t miss a chest on the way up.
| Item | Where | Type | Rarity |
|---|---|---|---|
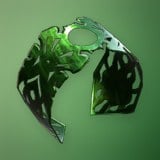 Spectral Ward | Floor 1, glyph door | Shield (Mage) | Uncommon |
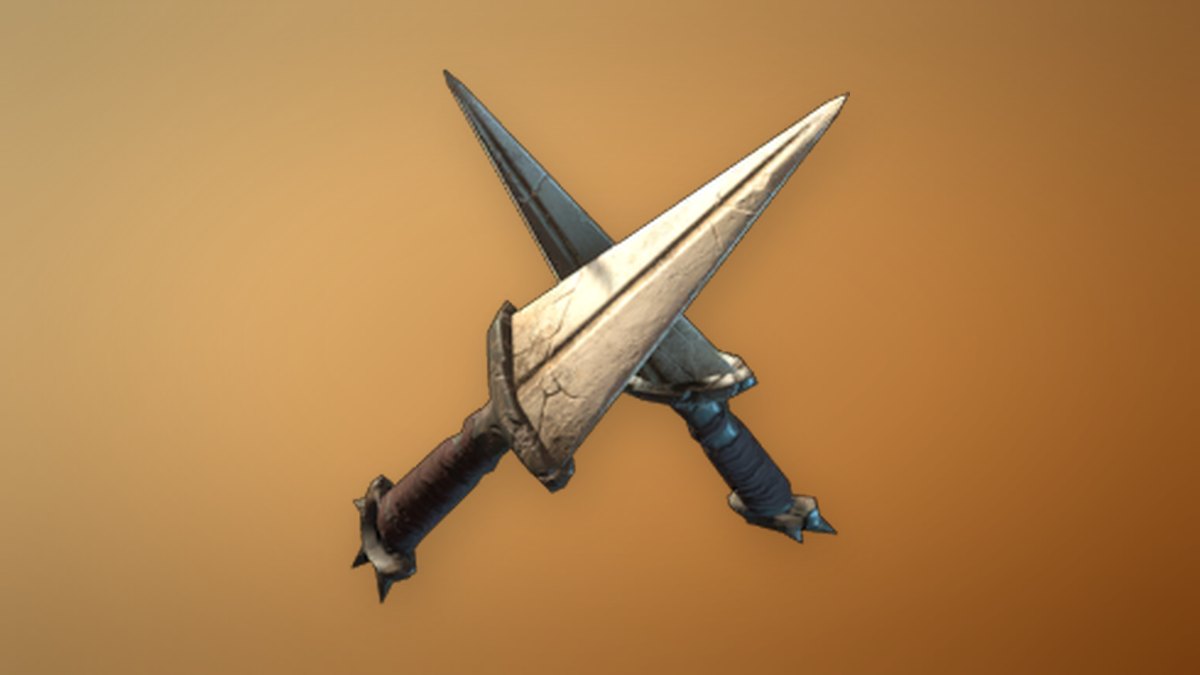
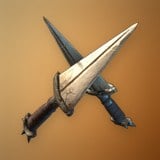 Shivs | Floor 1, glyph door | Daggers (Ranger) | Legendary |
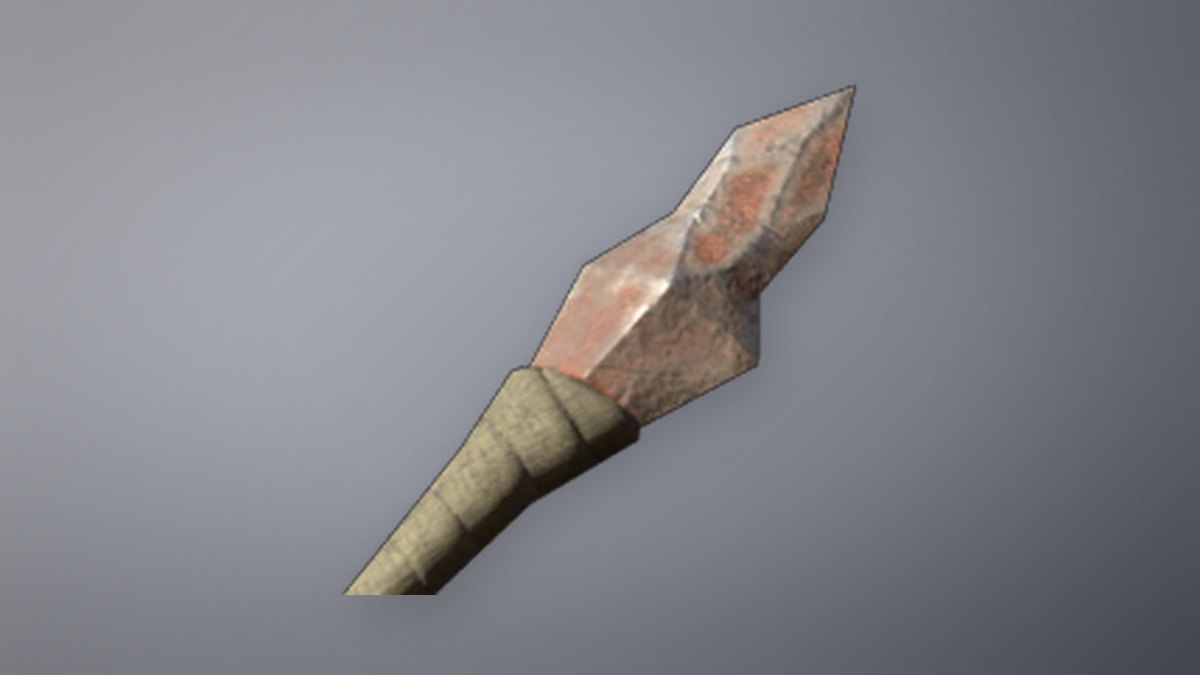
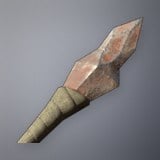 Scrap Arrow | Floor 1, balcony | Bow ammo (Ranger) | Common |
| Health Potion, Heal Channel | Floor 1, lower level | Consumable, staff charges | — |
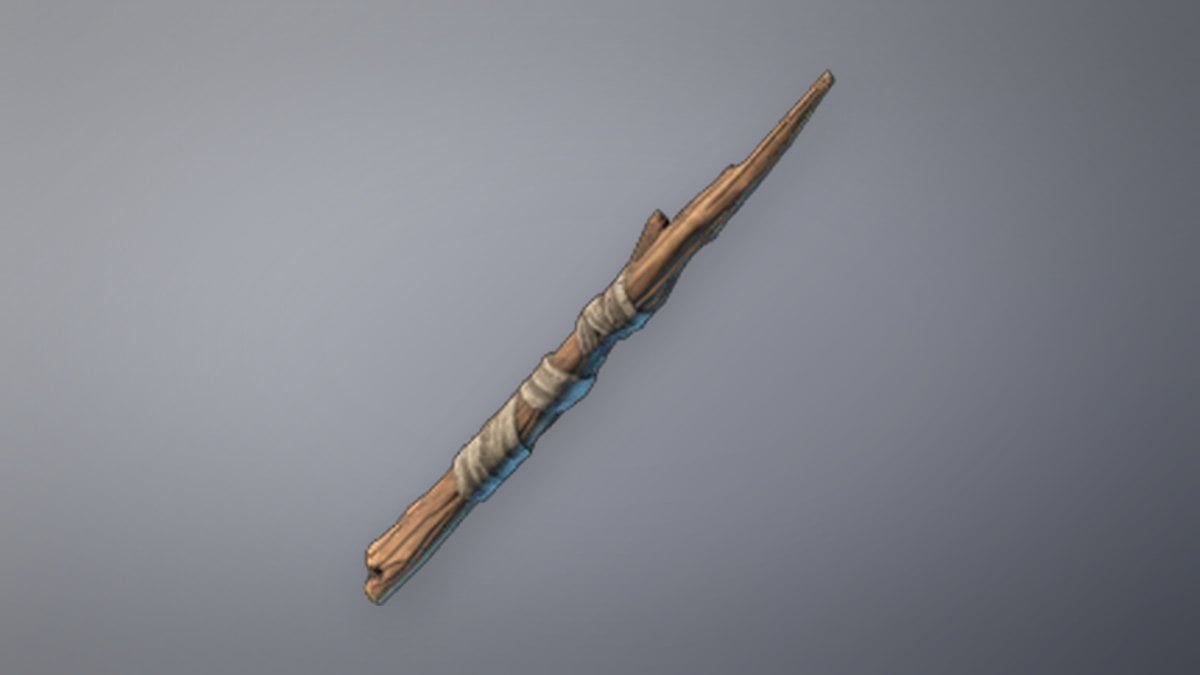
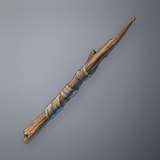 Apprentice Wand | Floor 2, high switch | Wand (Mage) | Common |
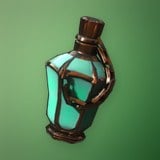 Flask of the Fell | Floor 3, behind pillar | Consumable | — |
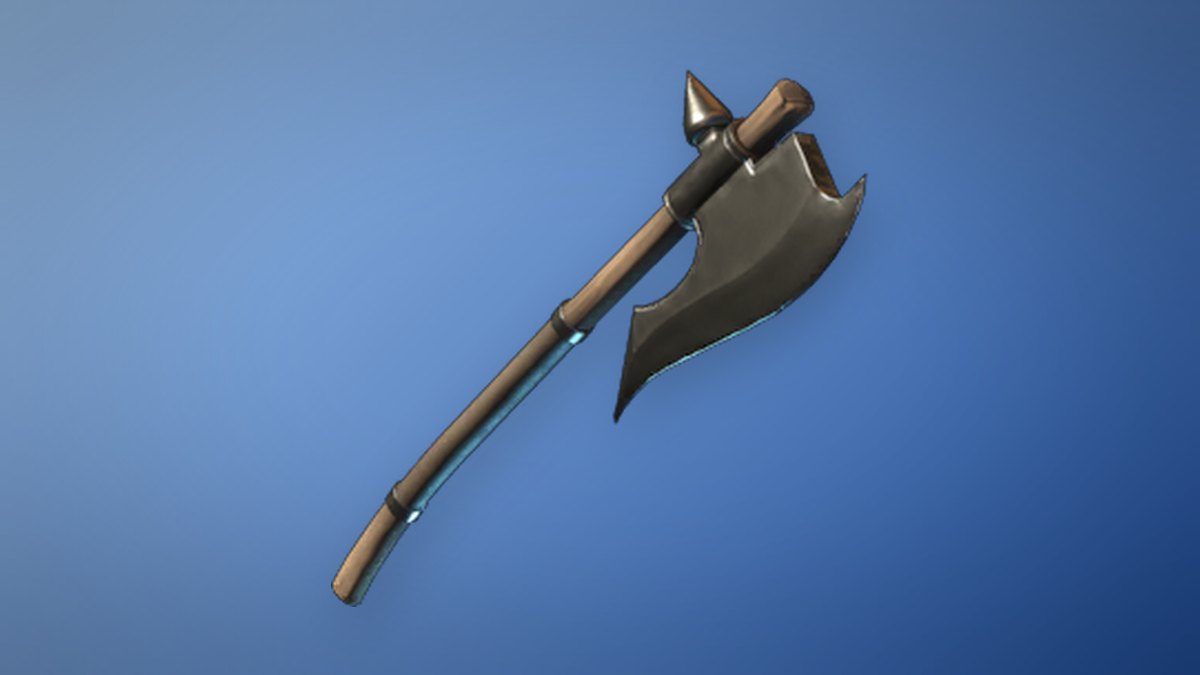
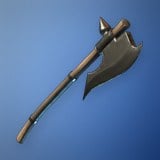 Guillotine | Floor 3, sarcophagus | Two-Handed Axe (Warrior) | Rare |
The weapons all scale from item level 1 to 55. Here’s how they compare at level 1.
| Weapon | Damage (lvl 1) | Attack speed | Perks |
|---|---|---|---|
| Guillotine | 16 Cutting | 0.774 s | Critical Strike Chance 4% |
| Shivs | 7 Piercing | 0.4 s | Renewal 1, Merciless Attack Damage 12% |
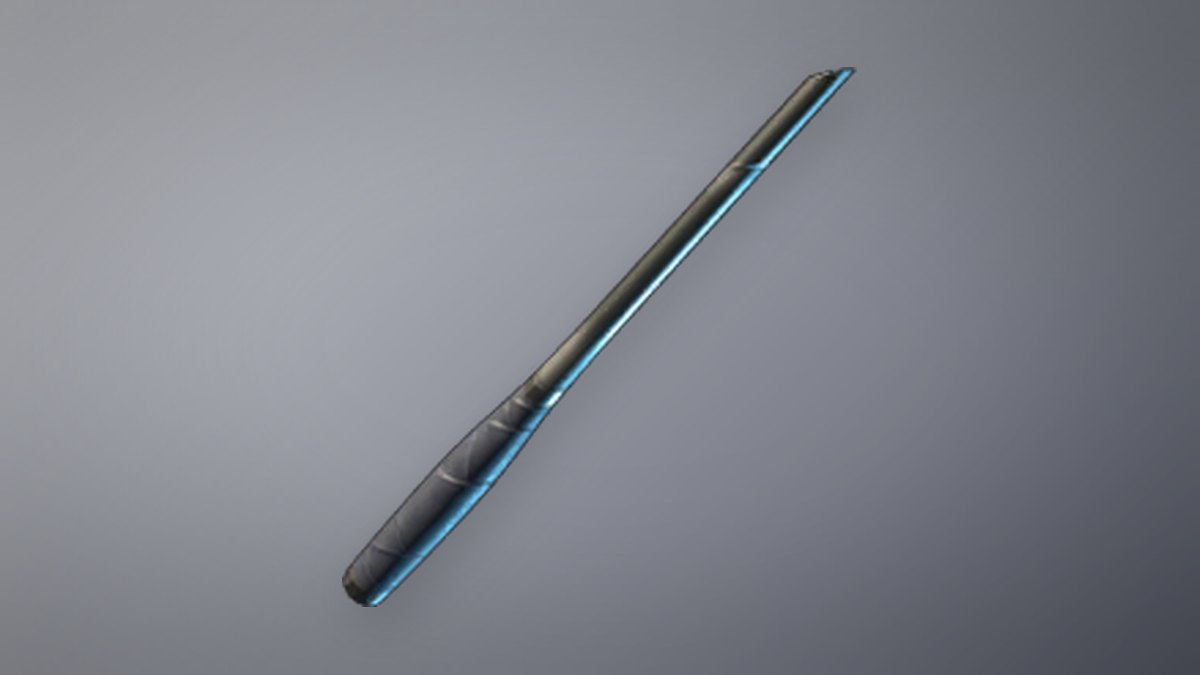
| Apprentice Wand | 7 Ice | 0.6 s | Renewal 1, Mana Leech 3 |
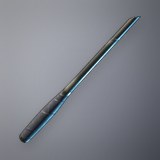 Frozen Core Wand | 7 Ice | 0.6 s | Mana Leech 3, Critical Strike Chance 4% |
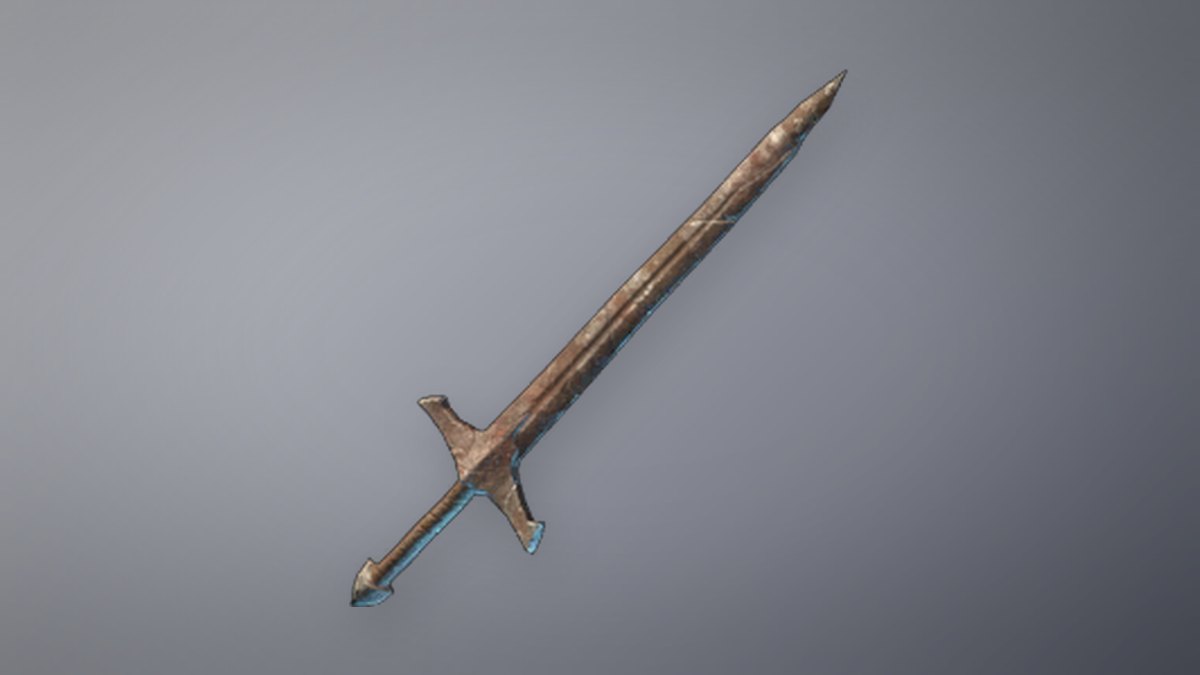
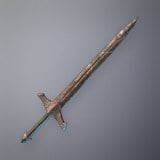 Rusty Sword | 11 Cutting | 0.6 s | Backstab Damage 12%, Critical Strike Chance 4% |
| Scrap Arrow | 6 Cutting, 6 Piercing | — | Stacks to 500 |
Spectral Ward is a Mage off-hand that lets you block and parry physical hits. It carries Parry Power 1, Mana Regeneration 2 and 5% Poison Resistance, plus the Unity, Snake Eater, Wand Mastery, Eternal Spark and Arcane Deflection perks.
Apprentice Wand fires ice projectiles. It has 12% Overcharge, which gives each attack a chance to deal bonus damage, and Mana Regeneration 4. The Frozen Core Wand shares the same base numbers and trades Renewal for a crit chance perk.
The Shivs are a quick dagger set for Rangers, with Parry Power 1. Like other daggers, they allow an immediate Riposte Kick after a parry, building the enemy’s stun bar.
Guillotine is a slower Warrior axe with the heaviest damage of the spire’s drops at level 1, plus Parry Power 1. The Rusty Sword is the one-handed Warrior alternative that can turn up on Floor 2. The Heal Channel charges load a healing staff, and the Scrap Arrows and Health Potion top up your supplies for the rest of the climb.