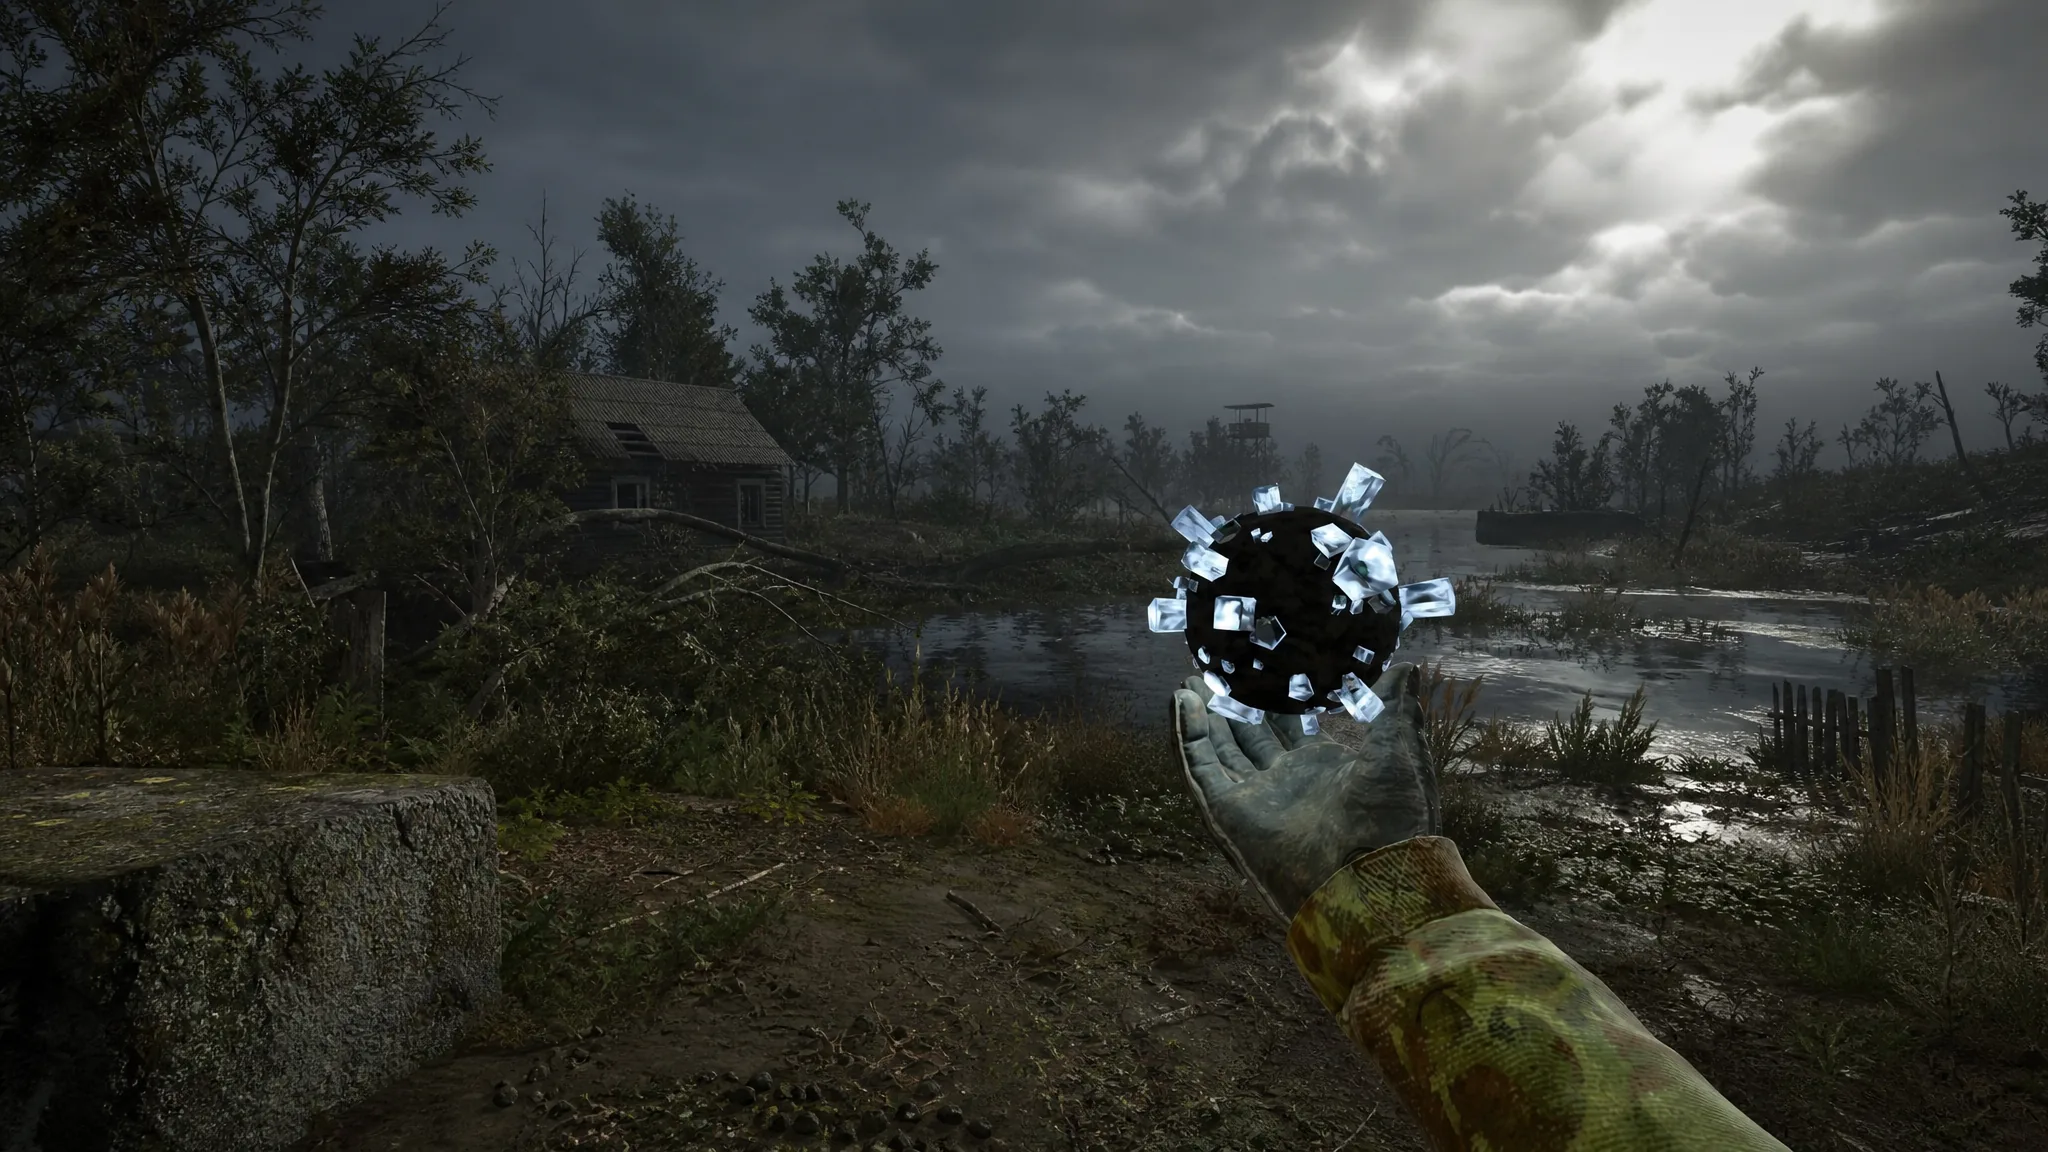
The Compass is a legendary artifact in STALKER 2: Heart of Chornobyl that spawns inside gravitational anomaly fields. Any zone packed with Vortexes and Whirligigs carries a small chance of holding one, but the drop rate for legendary artifacts is very low, so getting it usually means checking several fields and waiting for them to refill.
Quick answer: Search the gravitational anomaly fields at Deaf Meadow and the Ribs in the Lesser Zone first, then move to the Izumrudne and Claw fields in Zaton. Use your Detector at each field, and if the Compass isn’t there, wait for the next Emission to reroll the artifacts before returning.
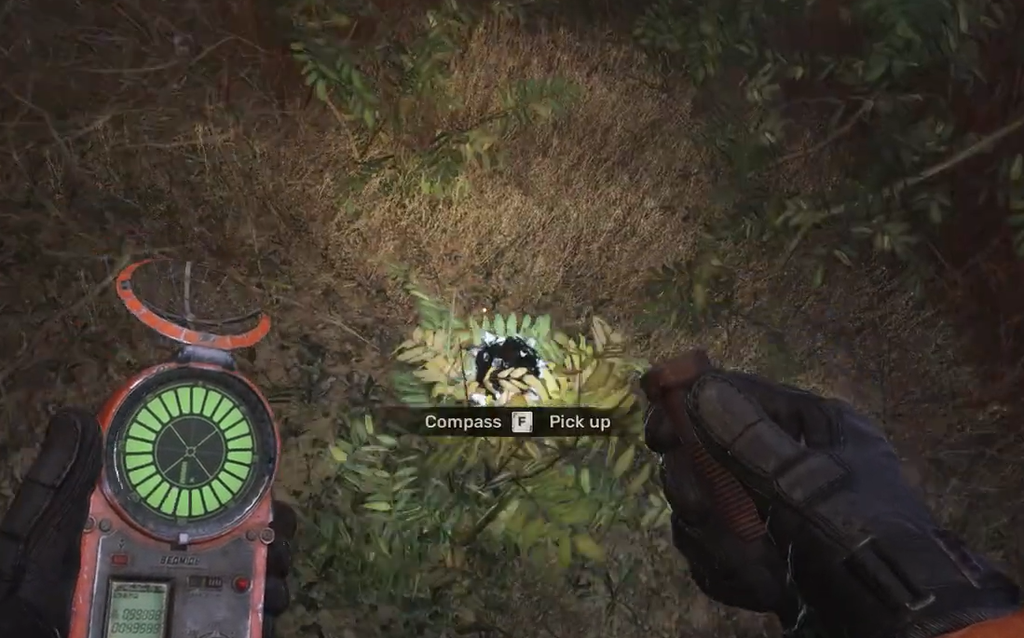
Best places to farm the Compass artifact
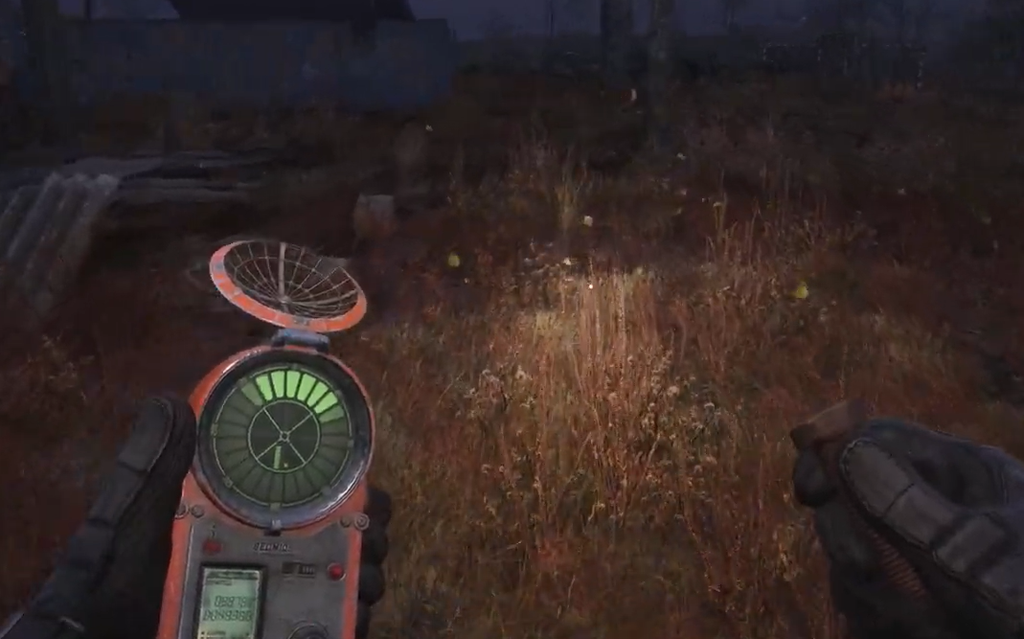
You can find the Compass without crossing the whole map by sticking to a short loop of gravitational fields. The Lesser Zone alone gives you two candidates before you ever leave the starting region, and Zaton has two more sitting close together.
| Field | Region | Where it is |
|---|---|---|
| Deaf Meadow | Lesser Zone | Northeastern end of the region, directly east of the Radiation Hazard Signs Storage POI, near where you meet Yurko Fantomas. |
| Ribs | Lesser Zone | Southeast of Zalissya. Try this next if Deaf Meadow comes up empty. |
| Izumrudne | Zaton | Southeastern part of the map. One of the most efficient spots because another field sits right next to it. |
| Claw | Zaton | Roughly 250 to 300 meters from Izumrudne, so you can check both in one short run. |
Start each session at Izumrudne, and if the Compass doesn’t appear, walk the short distance over to the Claw and search again. Pairing those two fields cuts your downtime and lets you clear more attempts per Emission cycle. A run across Zaton can produce the Compass without long travel, though it still comes down to luck.
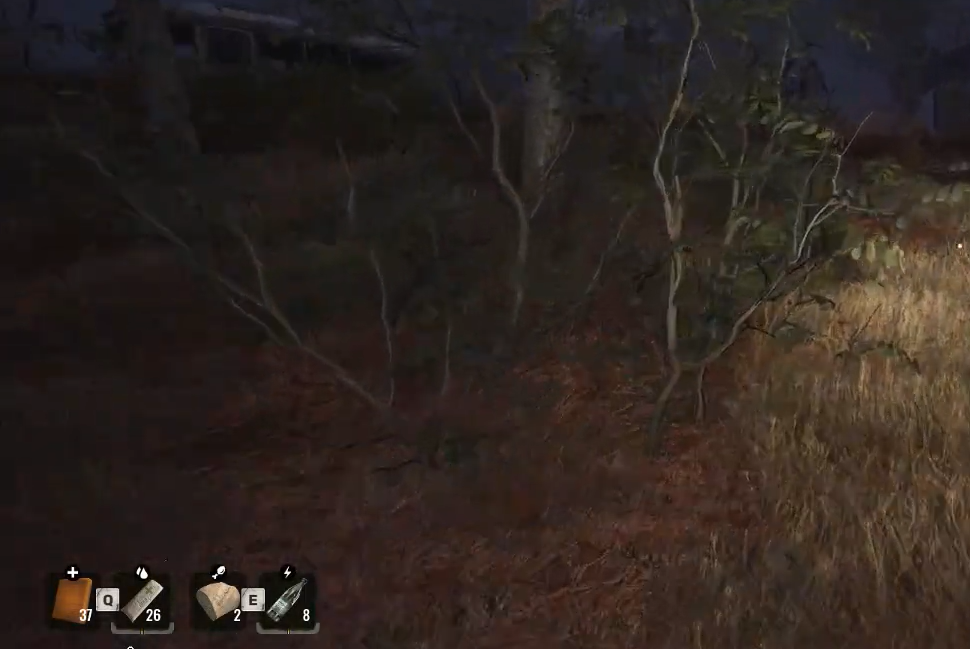
Bring a good Detector and plenty of healing supplies. These fields mix gravitational anomalies with bleed hazards, and unexpected mutant or Stalker encounters are common while you’re scanning. Bandages and med kits will keep you alive between checks.
How artifacts respawn and the save-reload method
Once you’ve looted a field, a new artifact rolls into it after an Emission. Emissions usually happen every three in-game days, though sometimes the gap is longer. If a field held a different artifact this time, you can return after the next Emission to see whether the Compass appeared.
In earlier versions of the game, a faster trick worked. You’d stop about 100 to 150 meters from a field, quick-save, then walk in and scan. If the artifact wasn’t the Compass, you’d reload and the field would reroll a different one, letting you try repeatedly without waiting for an Emission. You can track that distance by selecting the field’s marker on your map and watching the compass at the top of the screen.
In version 2.03, this save-reload method no longer seems to work. Repeated attempts across the same fields return the same artifact each time. It’s still worth testing yourself if you want to confirm, but don’t count on reloading to force a Compass to spawn.
Compass stats and effects
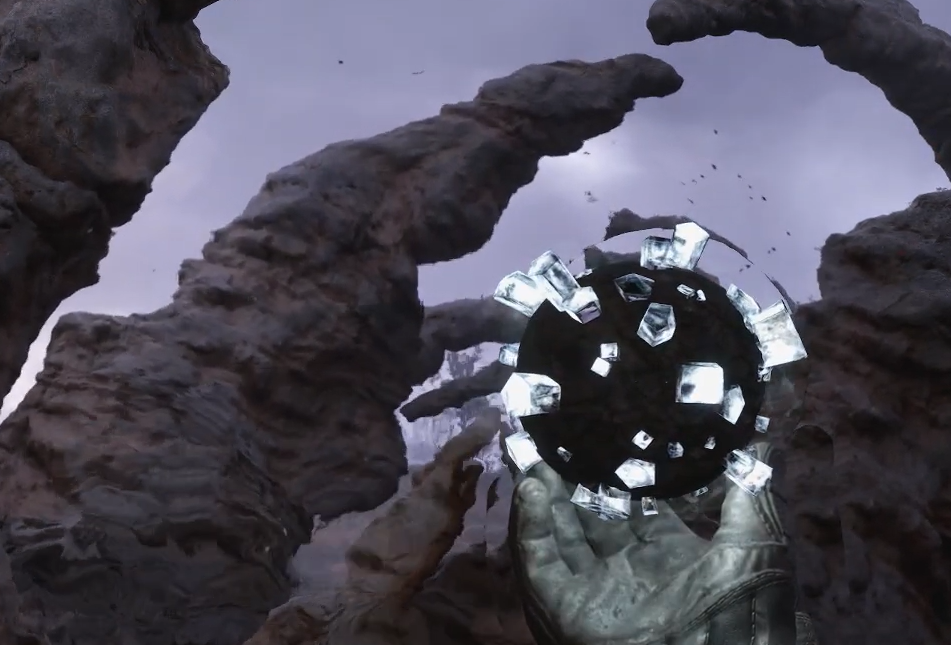
Equipping the Compass gives you a large boost to Physical Protection, which reduces damage from bullets, explosions, mutant melee hits, and gravitational anomalies. It does not lower bleeding damage, so you’ll still need bandages in a fight.
| Stat | Rating |
|---|---|
| Physical Protection | 5/5 |
| Radiation | 5/5 |
| Inventory value | Around 67,900 coupons |
Physical Protection has a maximum cap, shown by the bar on your inventory screen. Once that bar is full, extra Physical Protection from other sources stops mattering. Because of that cap, the Compass pays off most on suits that start with low Physical Protection, such as the various SEVA suits.
Handling the Compass radiation drawback
The Compass emits maximum radiation, so wearing it builds up radiation and damages you over time. There are two ways to keep that under control.
- Place the Compass in a lead-lined container. These slots have a metal border around them in your inventory and block all radiation from an equipped artifact.
- Pair it with Radio Protection artifacts, or only equip the Compass right before a dangerous fight, then swap it out. Keep vodka or anti-radiation drugs on hand to clear buildup before it becomes radiation sickness.
Beyond its defensive use, the Compass is one of the most valuable artifacts in the game. Selling it brings in a large sum, so it also works as an early source of cash for repairs, ammo, and gear if you’d rather trade it than wear it.